This post may contain affiliate links. Please see our disclosure policy.
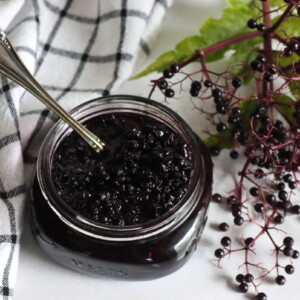
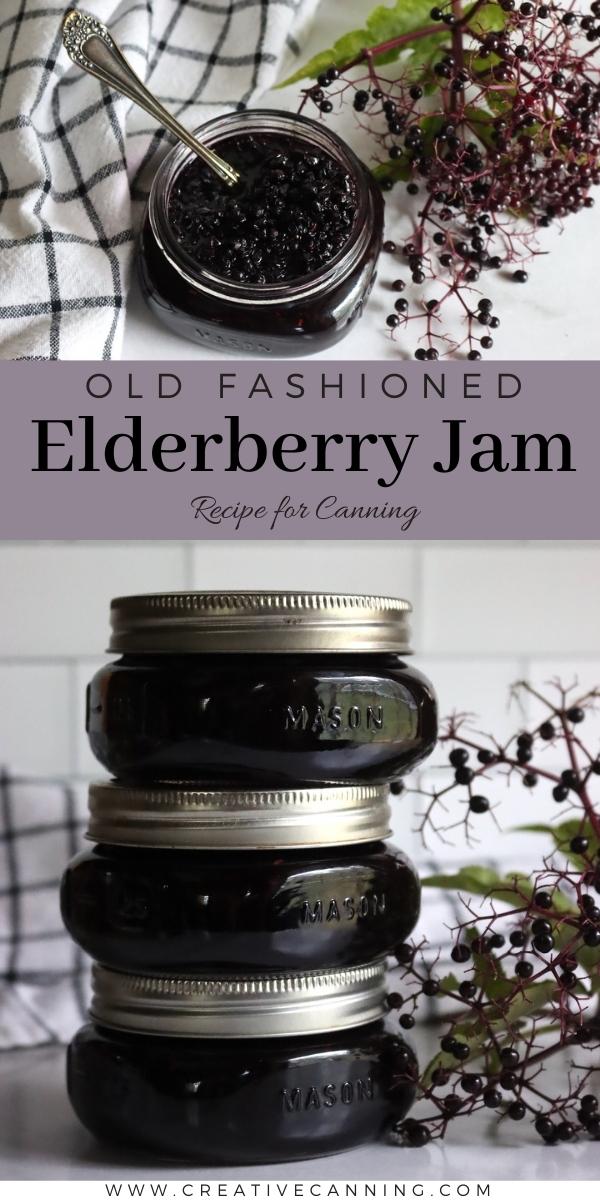
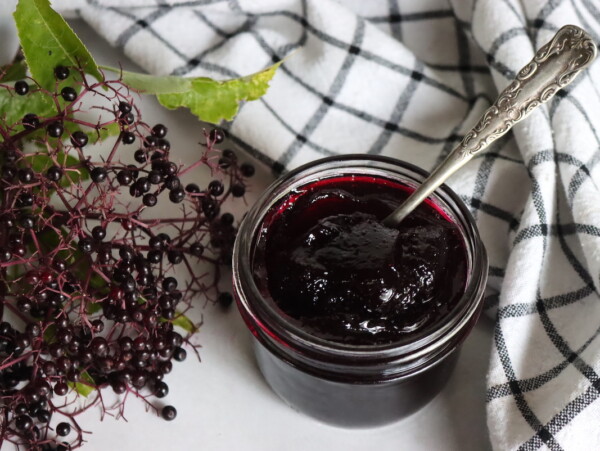
Old-fashioned elderberry jam is a delicious way to preserve elderberries and it comes together with just a few ingredients, no pectin required.
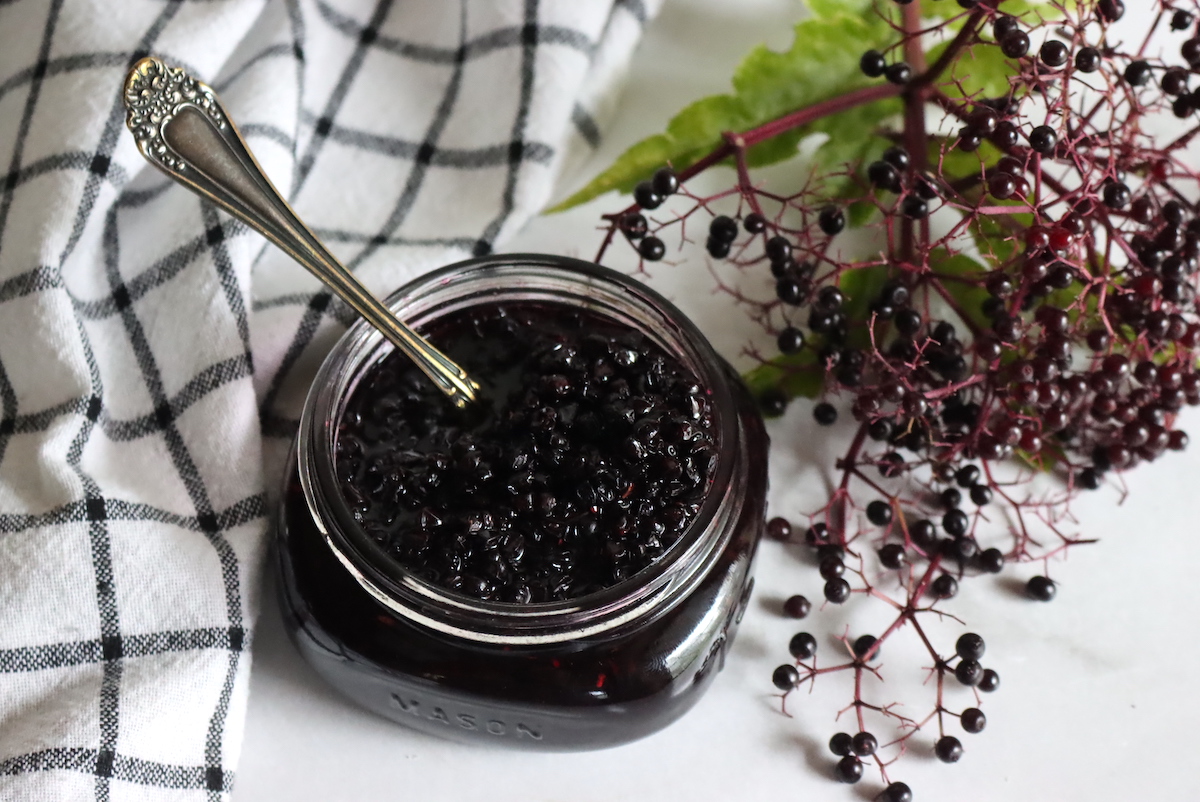
This past year, we harvested elderberries by the bucketful, and after I’d made elderberry wine and elderberry jelly, I started looking for a new way to preserve elderberries. We dehydrate elderberries for tea, and I’ll make them into fresh elderberry syrup as we want it during flu season, but sadly there’s no safe tested canning recipe for elderberry syrup.
There are, however, tested canning recipes for jam and jelly, and those are some of the tastiest ways to preserve elderberries.
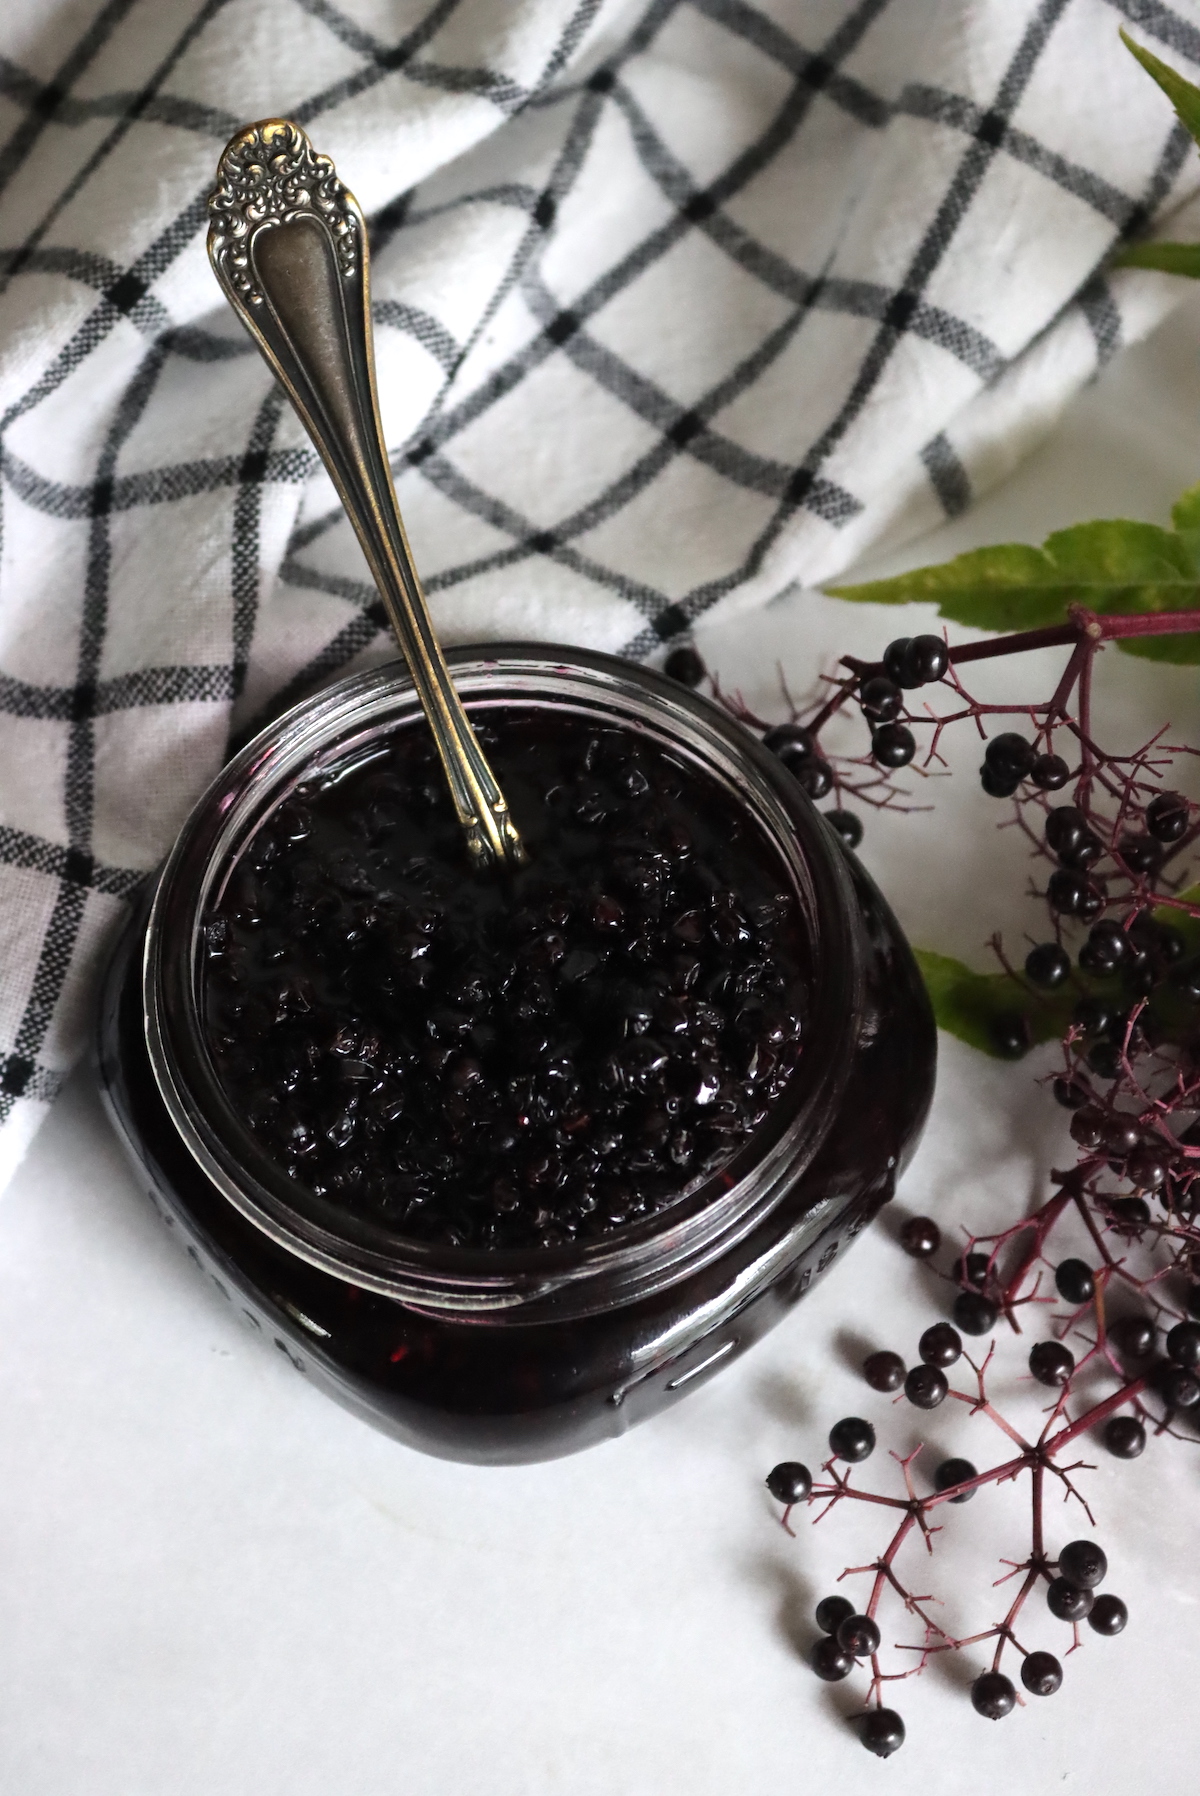
Are Elderberries Safe for canning?
Elderberries aren’t acidic enough for safe canning as they are, and there are only a few elderberry canning recipes that have been tested for safety. They use sugar, rather than the acidity from lemon juice, to preserve the fruit and make it shelf stable.
At this point, there are only two tested elderberry canning recipes, and that’s for jelly and jam. The jam is an old fashioned style jam that doesn’t use pectin. That means it has a loose set, but more intense flavor than jams thickened with pectin.
According to the University of Wisconsin, the following ratios are required for safely canning elderberry jam:
“For Jam, the weight ratio of elderberry pulp to sugar must be no more than: weight of fruit/ weight of sugar = 47/55 = 0.85. For every 16 ounces (1 pound) of fruit pulp for Jam, your recipe must include at least 18.9 ounces, by weight, of sugar. It is not acceptable to use dry measure cups or assume that a 1-cup measure of fruit or sugar weighs 8-ounces, it will not. You must weigh ingredients.”
Ingredients for Elderberry Jam
You should weigh your fruit and sugar, but if you’re looking for a general idea of ratios, here’s what you’ll need:
Since you can use more sugar for safety, we’ll error on the side of caution. When working with white sugar, a cup equals just under 1/2 pound (7.1 oz). For a pound of sugar (16 ounces) you need about 2 1/4 cups sugar. Since you need a bit more than a pound of sugar per pound of fruit (18.9 oz by weight), you’d need about 2 3/4 cups sugar for every pound of fruit.
That’s rounding up for safety, it’s actually ever so slightly less than that.
A quart of elderberries with stems is about 1 pound of fruit. If you measure the fruit that’s de-stemmed, 8 cups of de-stemmed elderberries is exactly 2 1/2 pounds.
A basic canning recipe for elderberry jam to make 6 to 7 half-pint (8 oz) jars of elderberry jam would require:
- 8 cups de-stemmed elderberries (2 1/2 lbs)
- 7 cups sugar (3 lbs)
- 1/2 cup lemon juice (optional, but reccomended)
Again, I’ve rounded the sugar up, you actually strictly need ever so slightly less than that, so there’s a margin of safety for inexact measurements here.
The lemon juice here is optional, but it helps cut the sweetness of the jam and it also adds pectin to help thicken the jam.
I went looking through my old canning books, and I could only find one recipe for elderberry jam. It was in the Ball Complete Book of Home Preserving and came across a recipe for “old-fashioned elderberry jam” (pg. 23).
The original recipe from Ball Canning includes:
- 8 Cups stemmed elderberries (2 1/2 lbs fruit)
- 1/4 cup white vinegar
- 6 cups sugar
It’s just short of the sugar minimums for safe canning, but it adds quite a bit of white vinegar to drop the acidity and help with safe canning. At least according to the university extension people, this recipe is no longer considered safe because it doesn’t have quite enough sugar based on their testing.
But, they didn’t test how adding acidity could impact those numbers, so there’s a good chance it’s fine…jut not specifically tested.
Either way, adding white vinegar to a jam gives it a harsh flavor, so I’d recommend lemon juice instead, as it will add tart notes to cut the sweetness (along with a much better flavor than vinegar). And still, 6 cups of sugar is quite a bit, and not all that different from 7, which gives you peace of mind that you’re using a safe tested recipe.
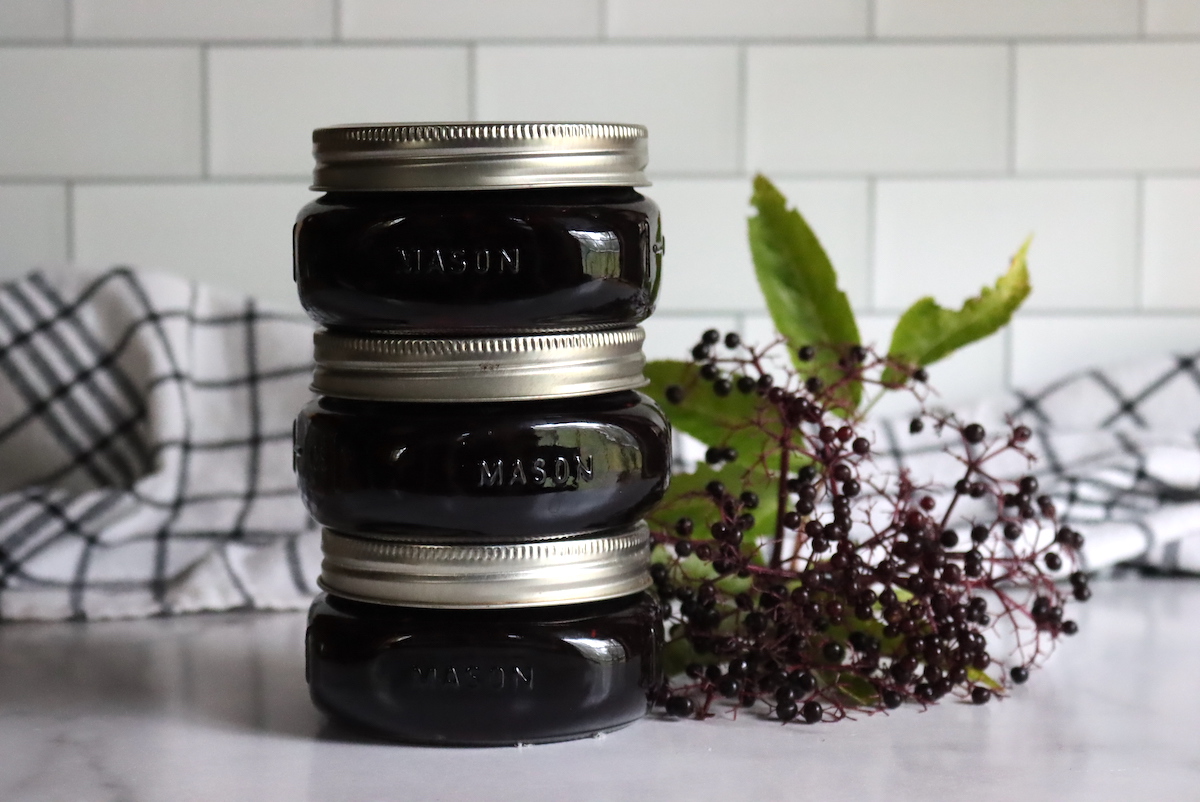
How to Make Elderberry Jam
Making elderberry jam starts by thoroughly de-stemming the elderberries, and removing every last bit of stem material.
You de-stem the fruit for making jelly too, since the stems can make it a bit bitter, but when you’re making jam you have to be extra careful. There’s no straining step where everything comes out of the mix, so if you leave stem pieces you’ll find them in the finished jam.
To make the process a bit easier, it can help to freeze the elderberries first. De-stemming frozen elderberries is much easier than fresh, and the hard frozen berries pop right off.
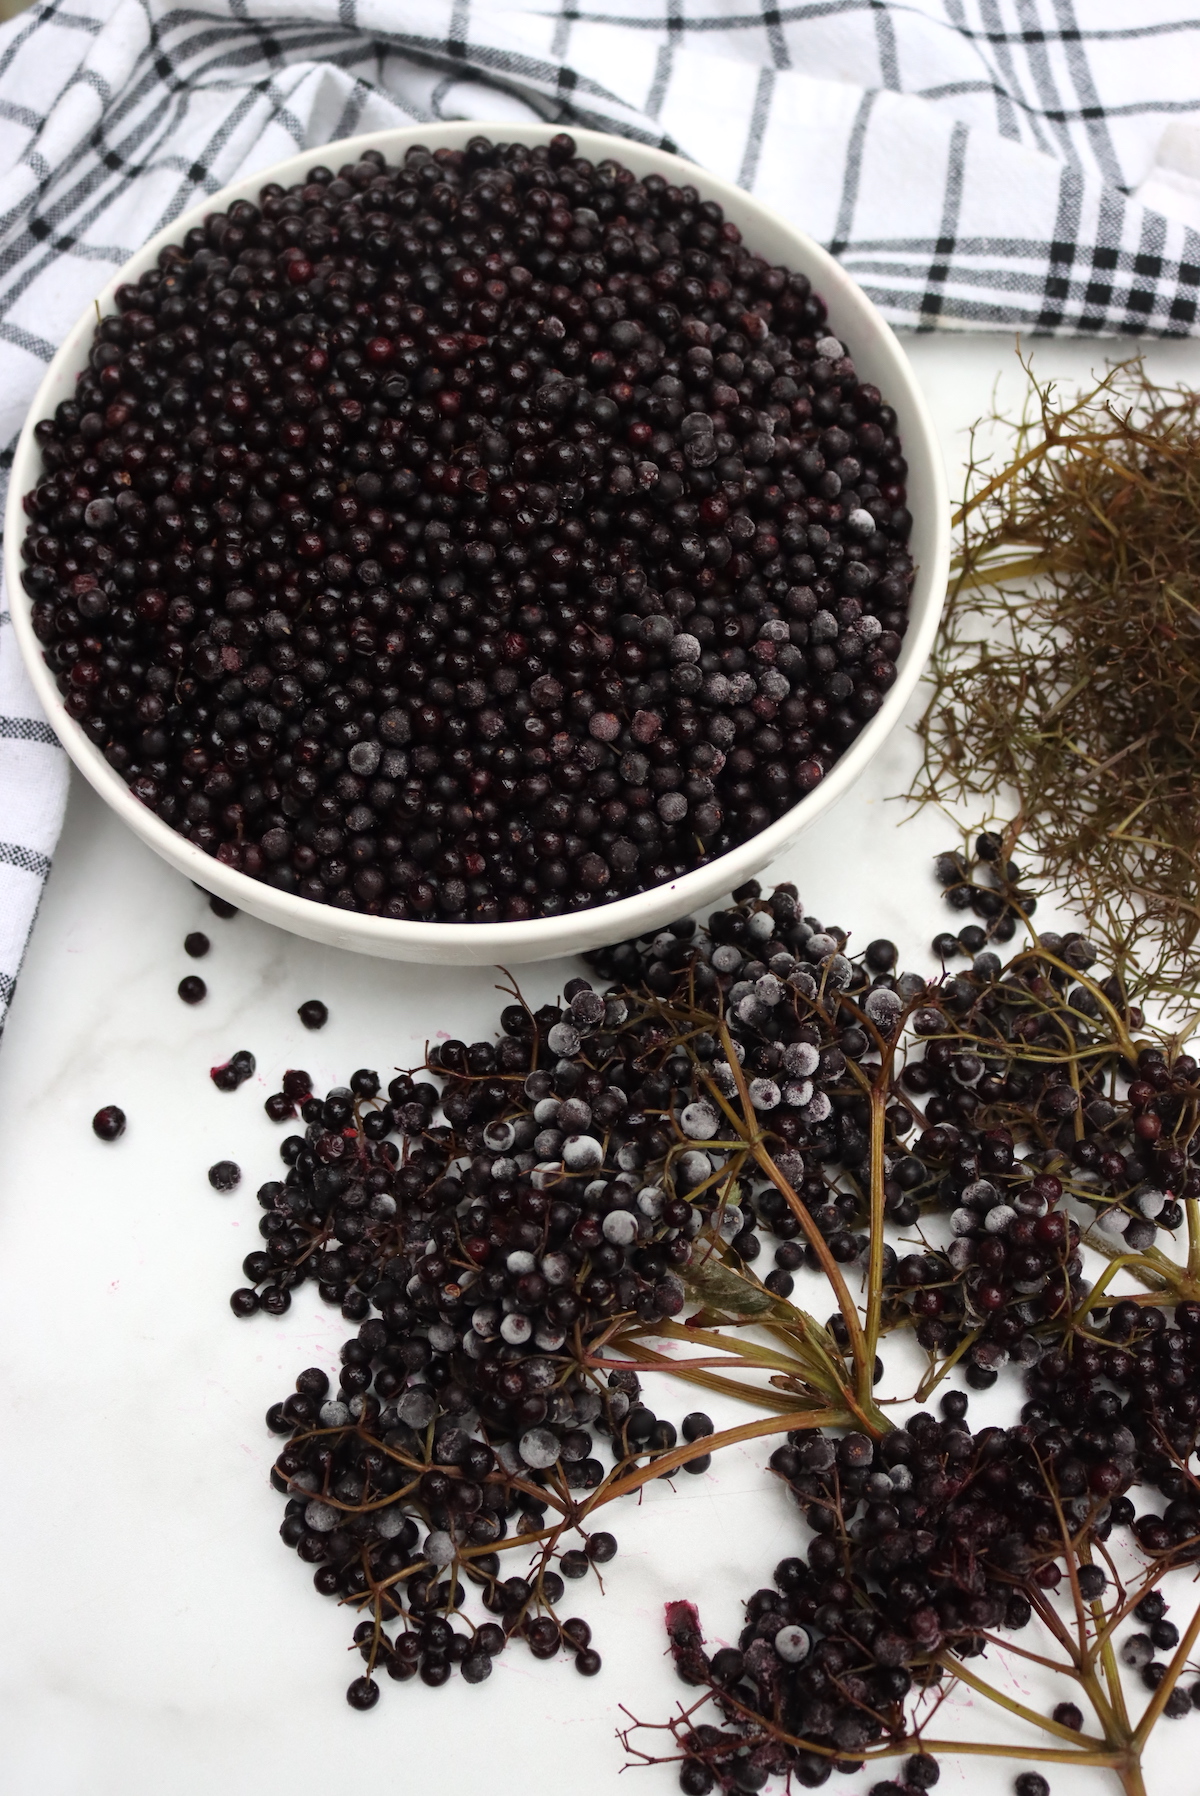
Once the elderberries are de-stemmed, it’s time to start making the jam. If canning, start by preparing a water bath canner, jars, lids and rings.
The total cook time is about 30 to 40 minutes, but it’s hard to get a canner going while the jam is cooking so it’s better to be prepared ahead of time.
Add all the ingredients to the pot and bring it up to a rapid boil. Boil the mixture hard until it reaches its set point, which is about 224 degrees F.
Make sure you have a nice deep pot for cooking the jam, as it foams up a lot and it’ll overflow if you’ve filled the pot more than 1/3 to 1/2 way at the beginning.
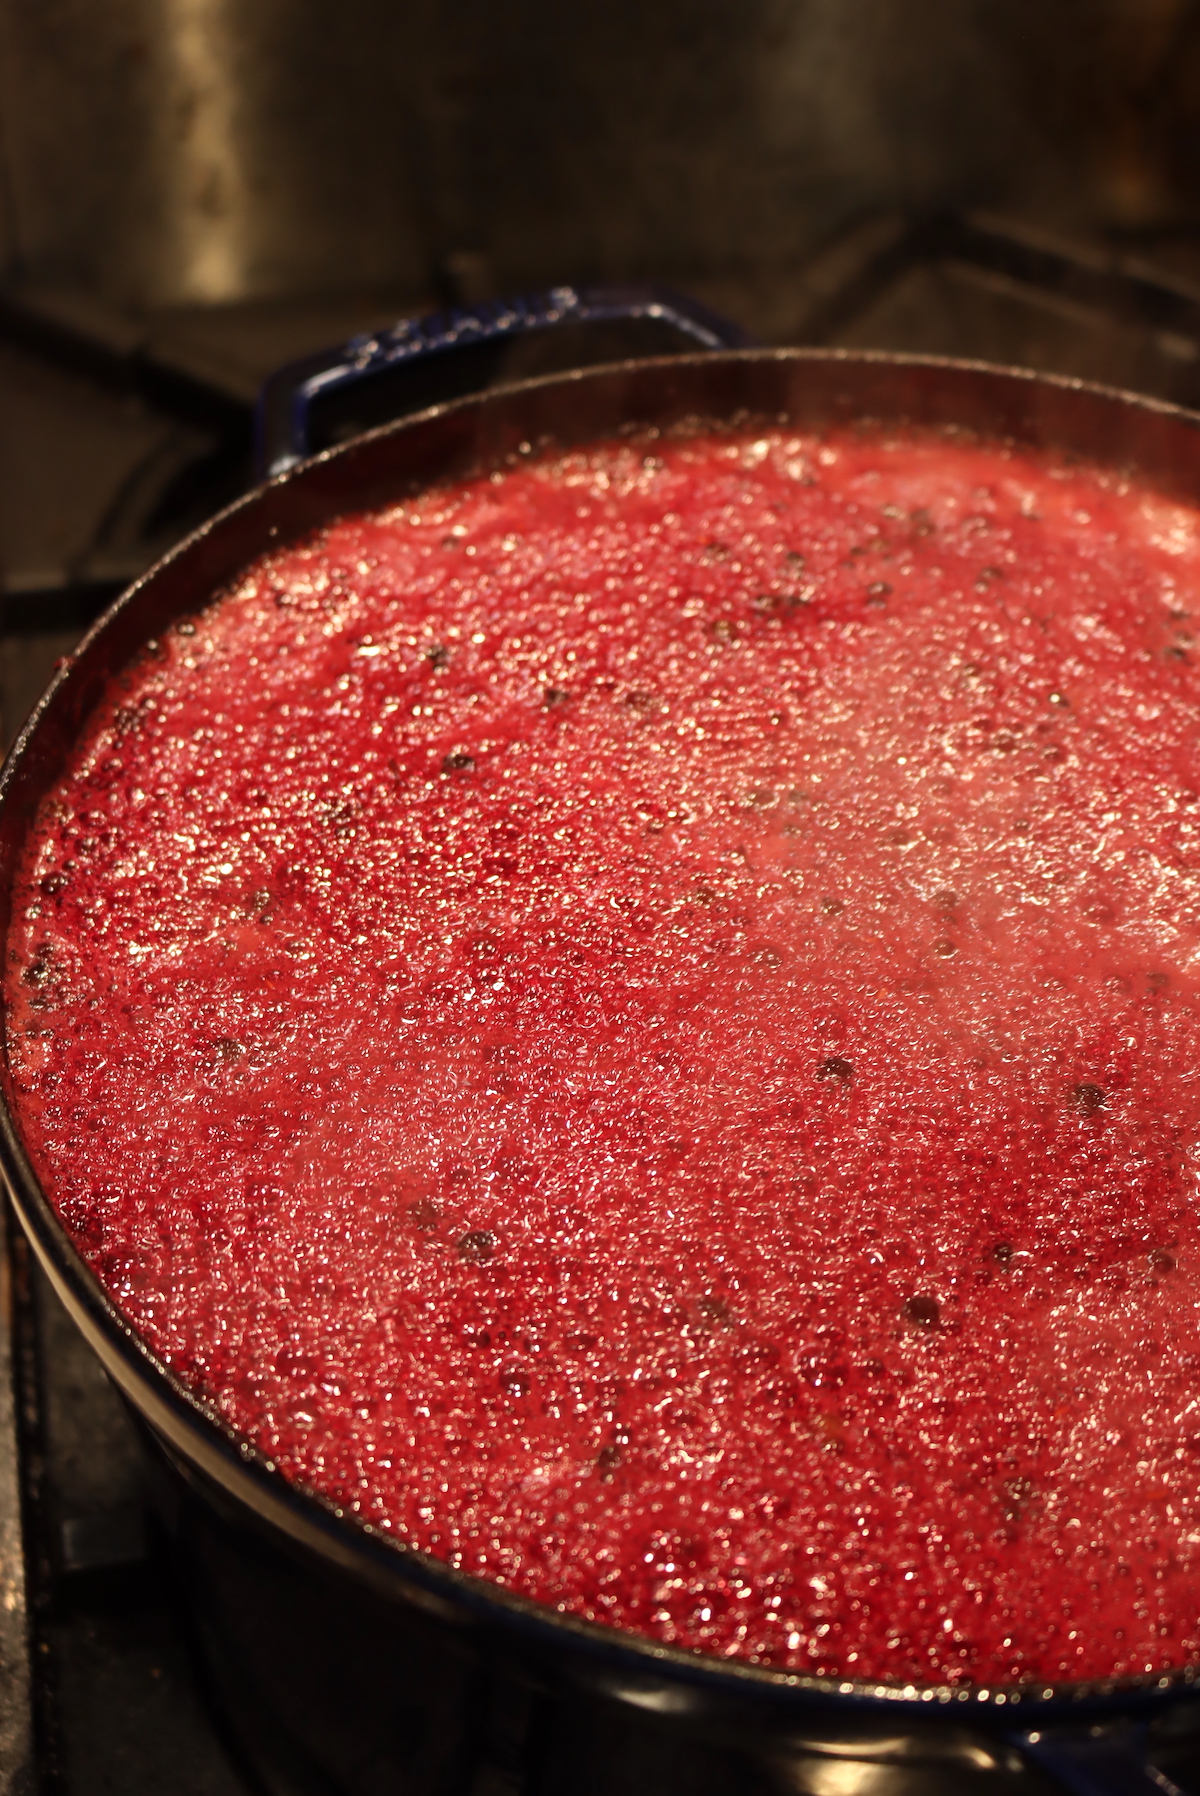
Most jams reach their set point at about 220 F, but since elderberries are low in pectin, you need to cook them a bit further to get the sugar to thicken further. Aim for 224 to 225-ish degrees F (or about 107 C).
Technically, if you’re a jam nerd, that’s not “gel stage” for a jam, but rather thread stage on a candy thermometer. In practice, it doesn’t matter what you call it, that’s the temperature you’re aiming for.
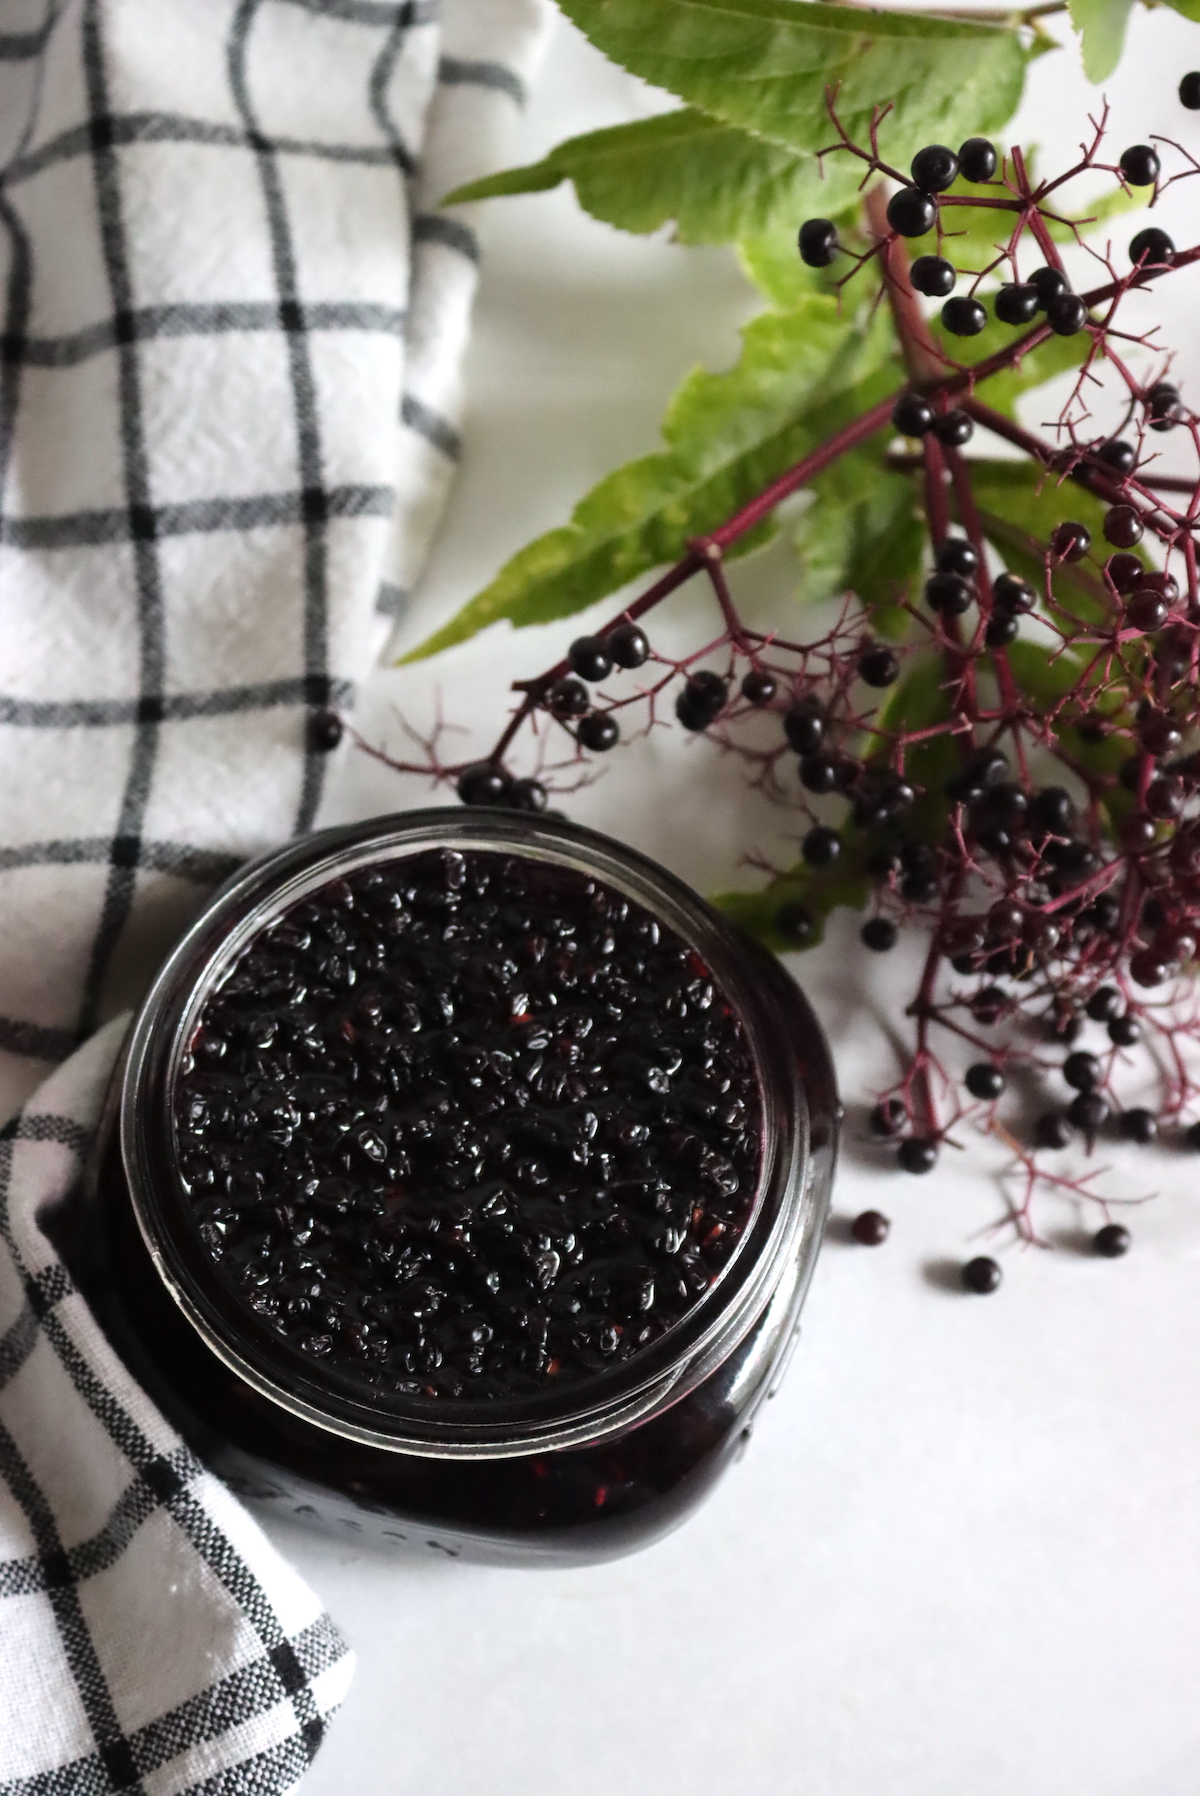
When the elderberry jam reaches it’s set point, remove it from the heat and ladle the mixture into prepared canning jars leaving 1/4 inch headspace. Try to distribute the actual elderberries evenly between the jars, as they tend to float in the jam pot and if you’re not careful, the last jars will be nothing but syrup.
Canning Elderberry Jam
This recipe for elderberry jam can be made as a refrigerator or freezer recipe, and it’ll keep in the refrigerator for a few weeks (or freezer for several months). If freezing, make sure you use freezer safe straight sided jars.
That said, I always prefer to can my jams because then I can store them right on the pantry shelf until I need them.
If canning, prepare a water bath canner, jars, lids and rings before you start cooking the jam.
When the jam reaches its set point, ladle it into prepared jars leaving 1/4 inch headspace. Process the jars in a water bath canner for 10 minutes (or 15 minutes if above 6,000 feet in elevation).
When the processing time is complete, turn off the heat and allow the jars to stand in the canner for another 5 minutes before removing them to cool completely on a towel on the counter. (This helps prevent siphoning.)
Wait 12-24 hours and check seals. Store any unsealed jars in the refrigerator for use within the next few weeks.
Properly canned and sealed jars of elderberry jam will maintain peak quality on the pantry shelf for 12-18 months, but be safe to eat so long as they’re sealed. Refrigerate after opening.
Can you Make Elderberry Jam with Dried Elderberries?
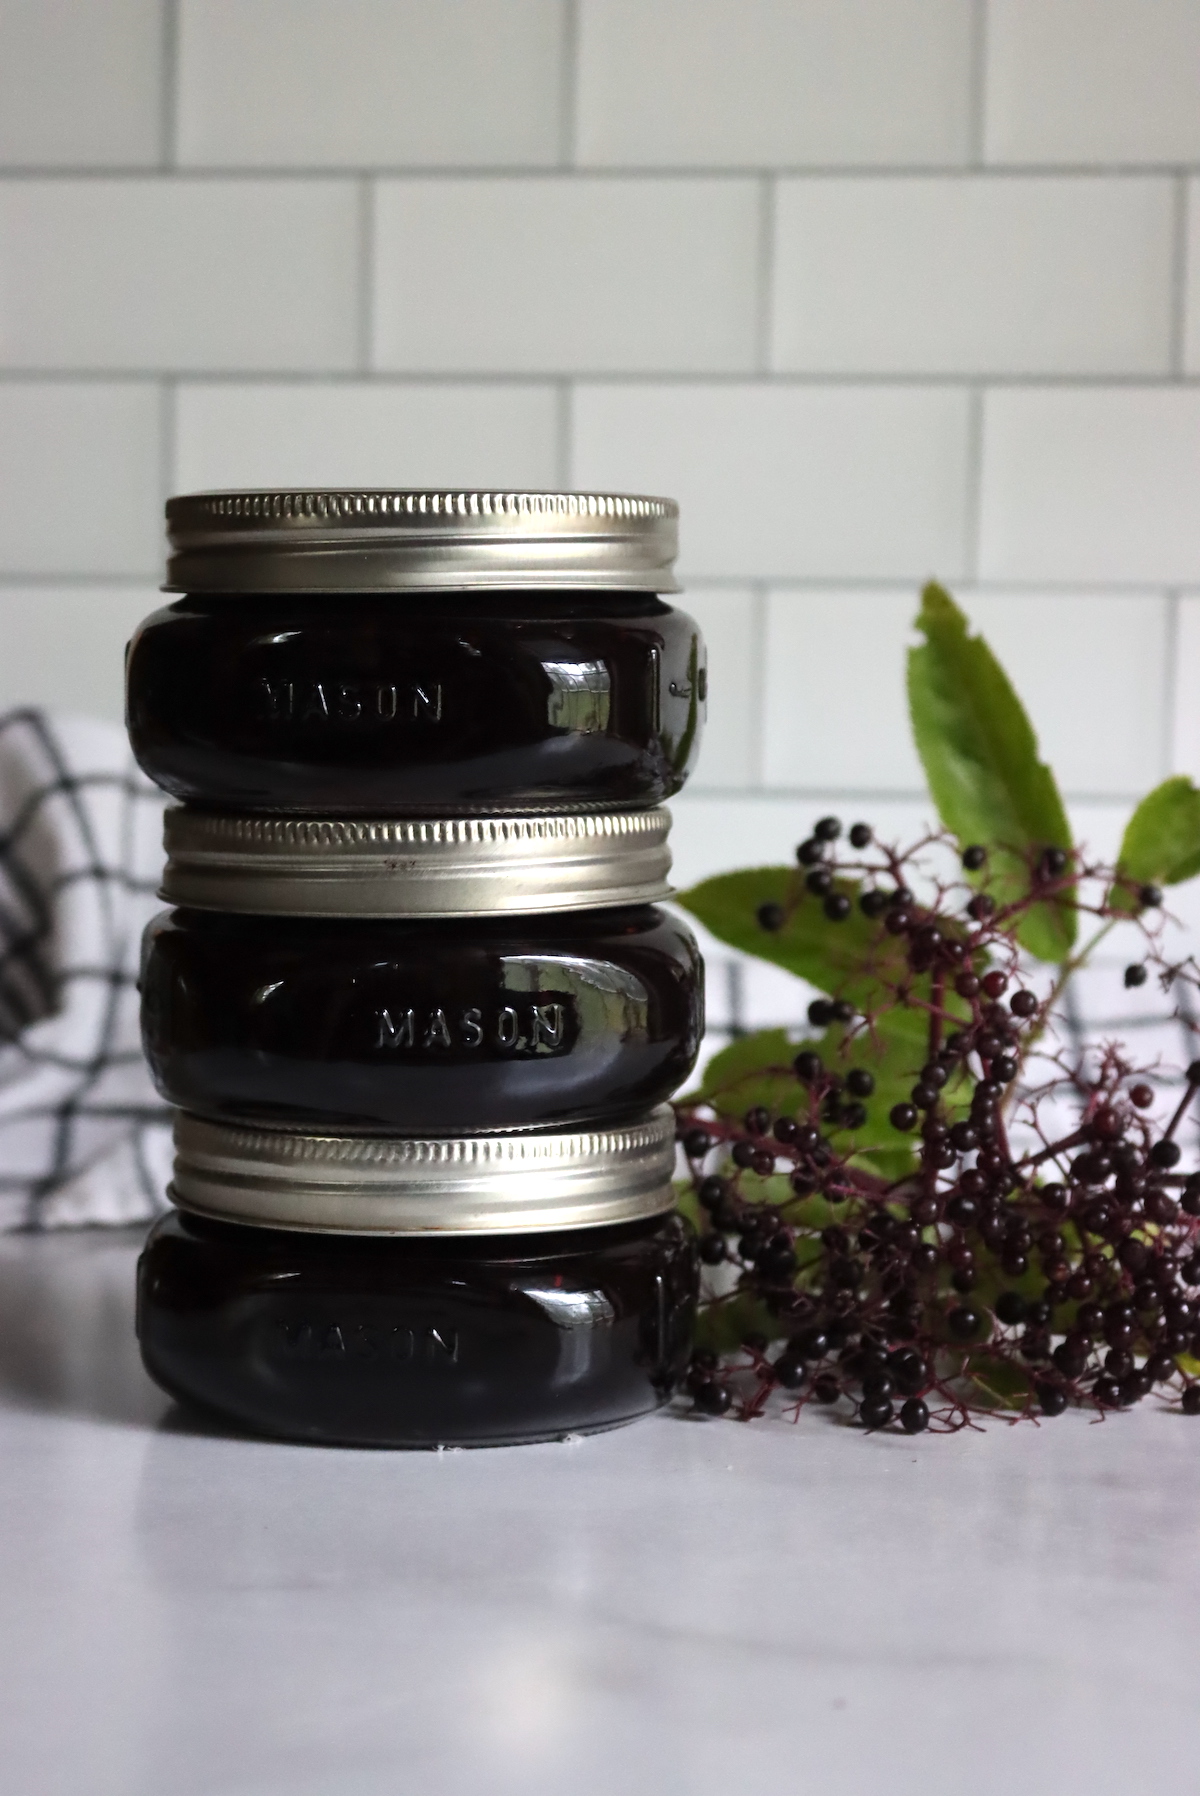
Yes, you can make elderberry jam with dried elderberries. They need to be rehydrated first, so they return to their original state before you start making the jam.
Start by pouring boiling water over the top of the elderberries and allowing them to re-hydrate for 12 to 24 hours. Just enough to cover them completely, and then let them absorb it all before adding a bit more until they stop absorbing the liquid.
To make 8 cups of re-hydrated elderberries, you’ll need about 4 cups dried elderberries as they double in size when re-hydrated.
Once re-hydrated, proceed with the recipe as you otherwise would.
Elderberry Canning Recipes
Ways to Preserve Elderberries
Looking for more elderberry canning recipes, and other ways to preserve this tasty summer fruit?
Old Fashioned Elderberry Jam
Equipment
Ingredients
- 8 cups elderberries, de-stemmed, 2 1/2 lbs
- 7 cups white sugar, 3 lbs
- 1/2 cup lemon juice
Instructions
- Start by de-stemming the elderberries, removing all bits of stem and leaf material, even small pieces. It helps to freeze the elderberries first as they stem easier when frozen.
- If canning, prepare a water bath canner, jars, lids and rings before you start cooking the jam.
- Place the de-stemmed fruit, sugar and lemon juice in a deep sized jam pot. Be sure that it doesn't come up past half way full before you start cooking, as the jam will foam up and you need that extra space.
- Turn the heat to high, and cook the mixture until it reaches 224 degrees F (107 C), or thread stage on a candy thermometer. This will take about 30 minutes of boiling, as the elderberries release their juices. Stir frequently to prevent scorching.
- When the mixture reaches its set point, remove the pot from the heat and ladle into prepared jam jars, leaving 1/4 inch headspace. Cap with 2 part canning lids to finger tight.
- If canning, process the jars in a water bath canner for 10 minutes (or 15 minutes if above 6,000 feet in elevation). Once the processing time is complete, turn off the heat and allow the jars to sit for another 5 minutes before removing them to cool completely on a towel on the counter.
- After 12-24 hours, check seals and store any unsealed jars in the refrigerator for use within the next few weeks.
- Properly canned and sealed jars of elderberry jam will maintain peak quality on the pantry shelf for 12-18 months, but be safe to eat so long as they're sealed. Refrigerate after opening.
Notes
Nutrition
Nutrition information is automatically calculated, so should only be used as an approximation.
Old Fashioned Jam Recipes
Love making jams the old-fashioned way, with no added pectin? Just sugar, fruit, and a little bit of love in each jar…
Homemade Jelly
Want to make it smoother? Switch things up and make jelly instead!

It depends if you are talking about European or American Elderberries ( both are grown in America) regarding toxicity in the raw state. American elderberry can be eaten raw just fine. Destemming wasnt a problem for ours but the seeds are rather large..
I wanted to try and make the jam. But I’m told I have to remove the seeds because they are poisonous?
That’s incorrect. Elderberry seeds aren’t poisonous. Raw elderberries cause a reaction in some people, and generally, it’s advised to cook elderberries before eating them (as you do in jam, jelly, pie or juice), but that has nothing to do with the seeds being edible or not.
I thank for all the information in this article. I am a little confused on the use of stemmed. Stemmed meaning the berries on the stem and destemmed meaning the berries removed from the stem. Example: “Once the elderberries are stemmed,” vs Once the elderberries are destemmed,
You’re right, that is a bit confusing. I’ve gone in and changed the wording around stemmed and de-stemmed in the article to make it clearer. Hopefully it all makes sense now. Thanks for that!
I’m planning to can elderberry jam from our exuberantly-productive shrubs this year. I’ll be combining your recipe here with the Clearjel recommendation from your blueberry recipe. But you’re the expert – I’d love it if you included a recipe that explicitly uses Clearjel with elderberries. 🙂 I’d be curious to see what proportions you recommend for ideal thickening. And I’ll be using weights rather than volume. I can do the conversions, but I think American cooks/bakers/preservers should get more accustomed to using weights. Once I started using weight vs volume, I’ve become a convert!
So this is tricky from a safety perspective, and I don’t have a good answer as to whether or not this is going to lead to a safe product. The idea behind making clearjel jams is that they’re lower in sugar, and you’re basically making a pie filling and spreading it on toast like jam. With clearjel, you have to use A LOT of lemon juice to get good acidification to make canning with starch viable. With the elderberry jam recipe you’re commenting on here, the preservative is the sugar. You cannot make this lower sugar and still have it be safe. To do it with clearjel, you’d have to make it both high sugar, and high lemon juice…but the exact amounts aren’t really clear as elderberries are much less acidic than blueberries. I don’t have really any good recommendations for you here, as it’s not something I’d do personally.