This post may contain affiliate links. Please see our disclosure policy.
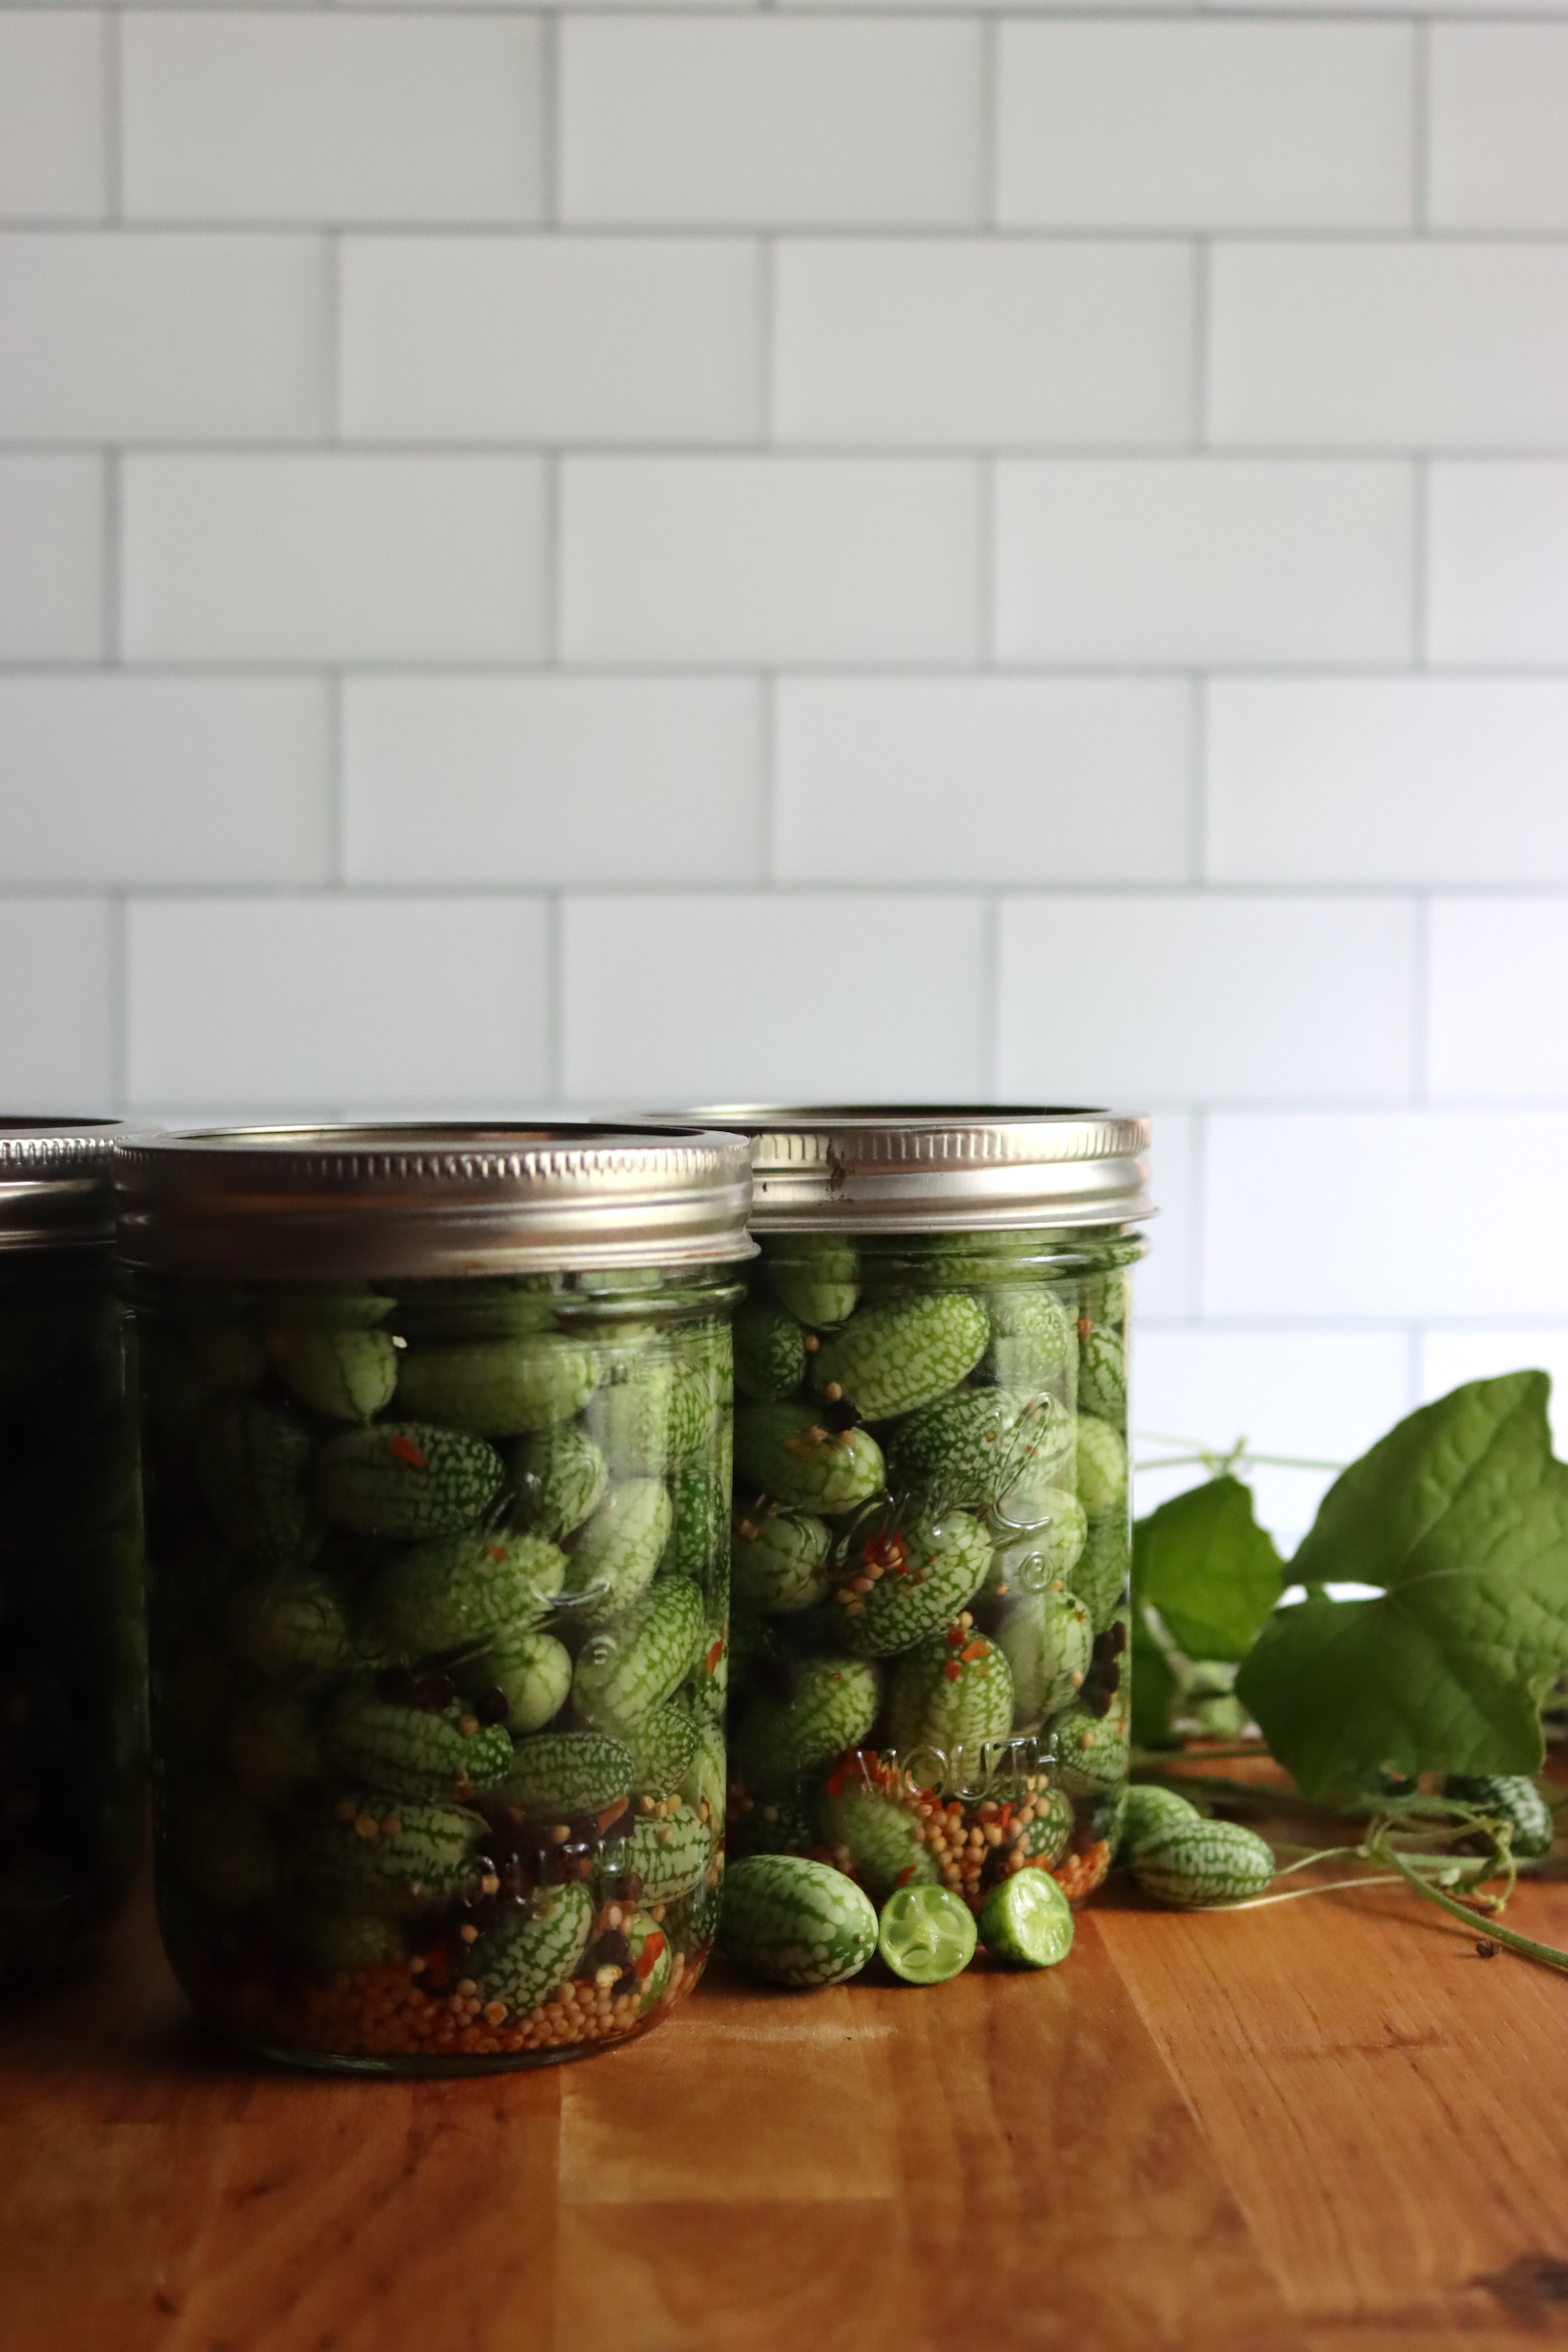
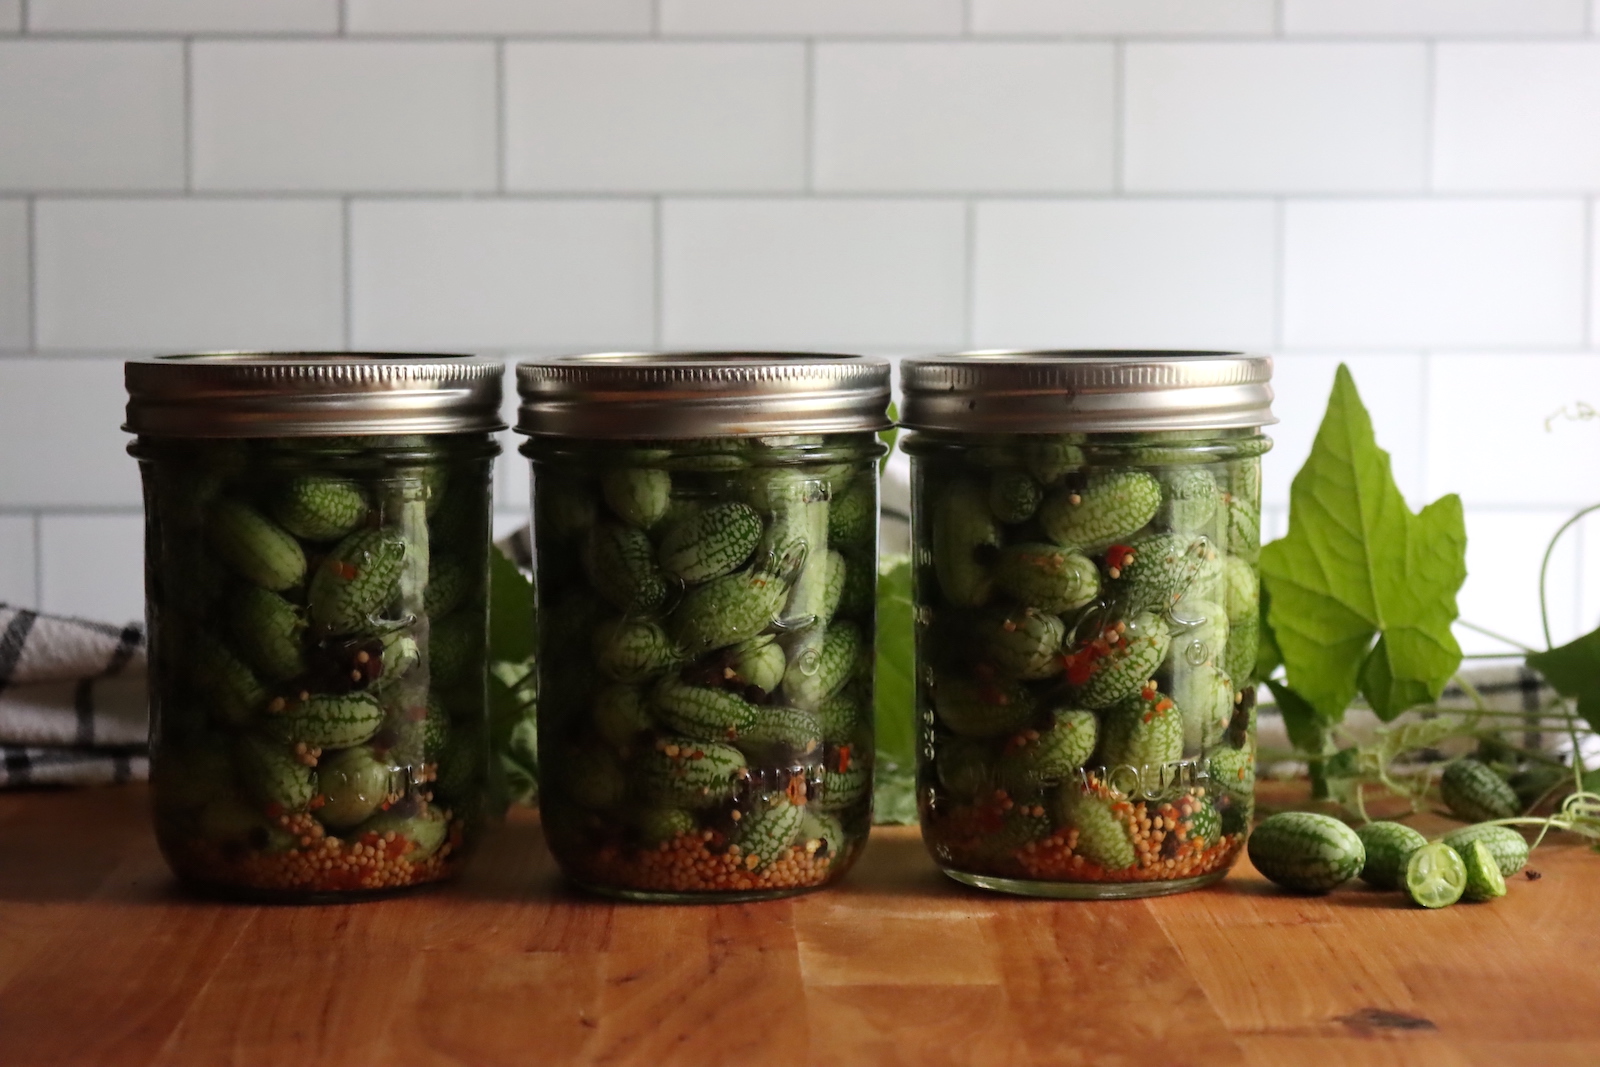
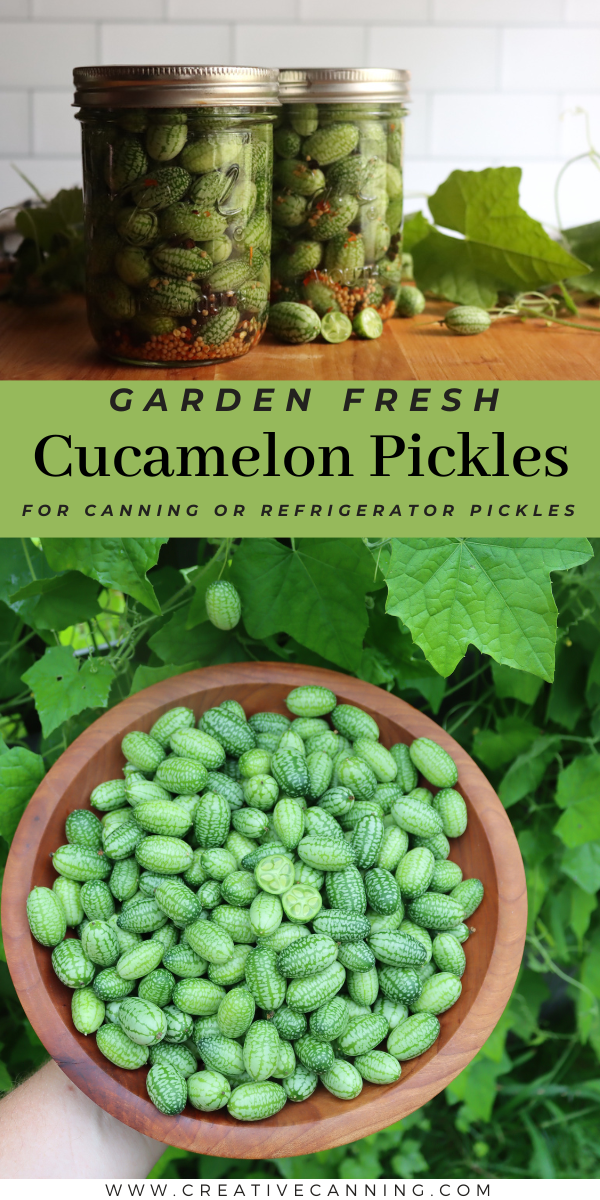
Cucamelon pickles are a unique twist on classic cucumber pickles, and these flavorful little watermelon-shaped orbs are sure to turn some heads at your next gathering.
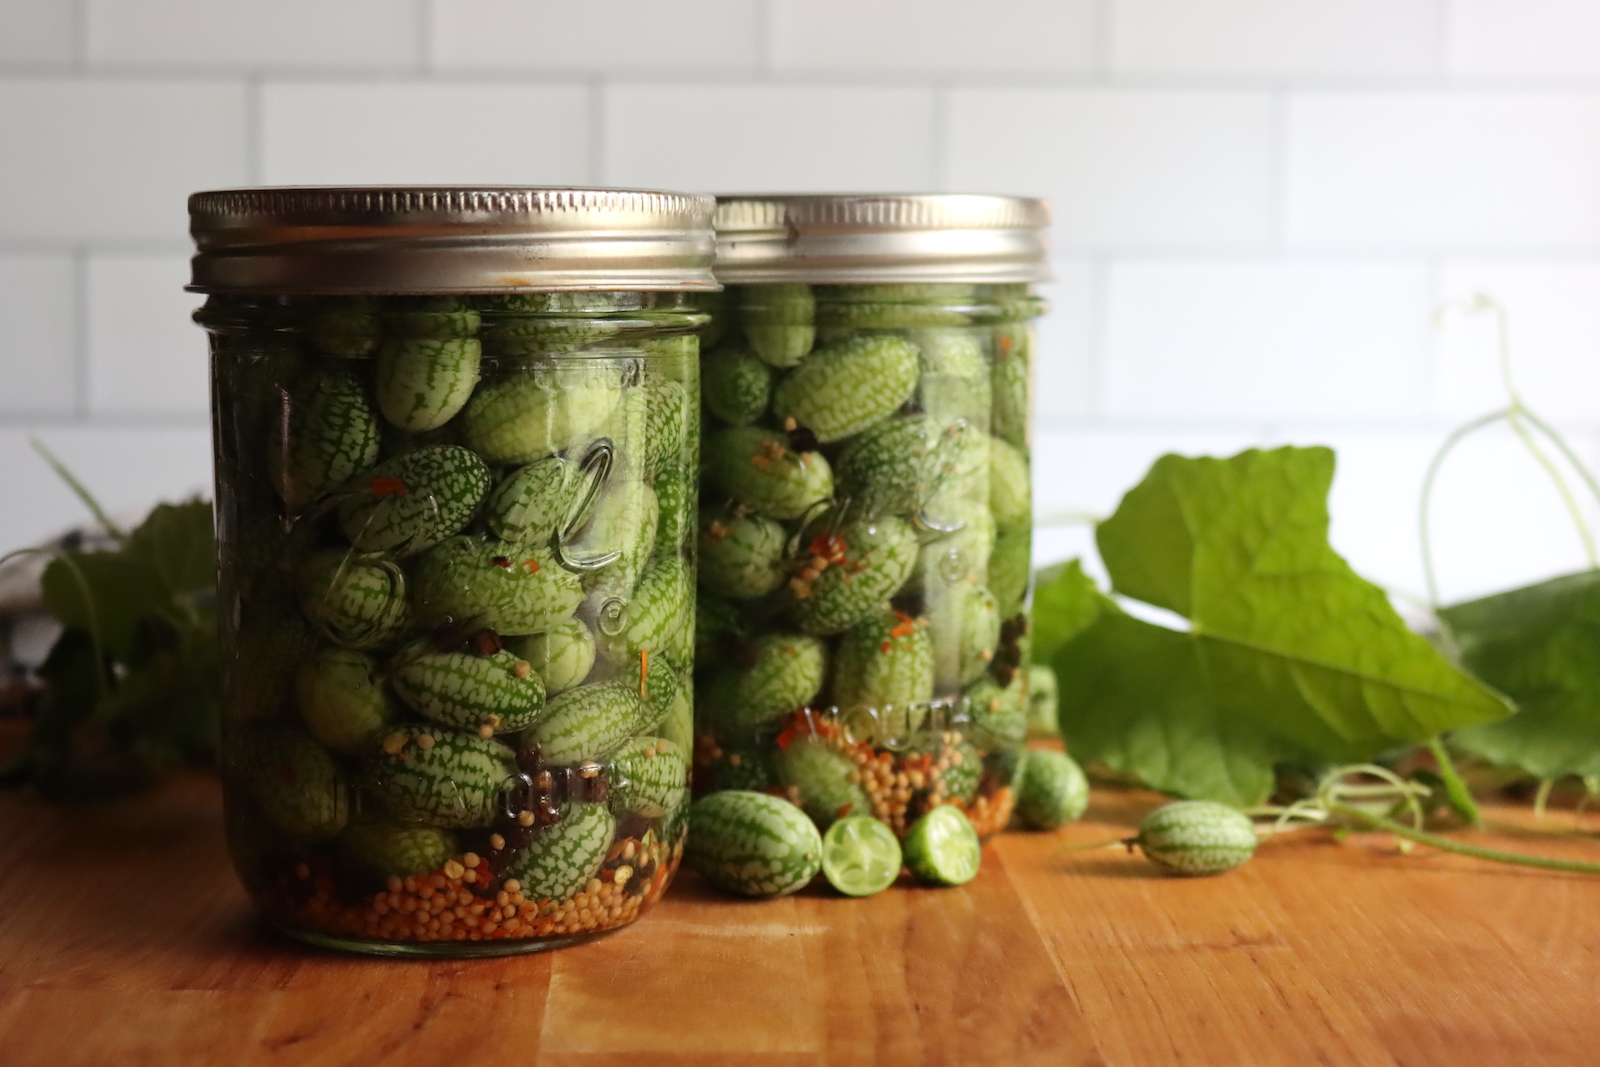
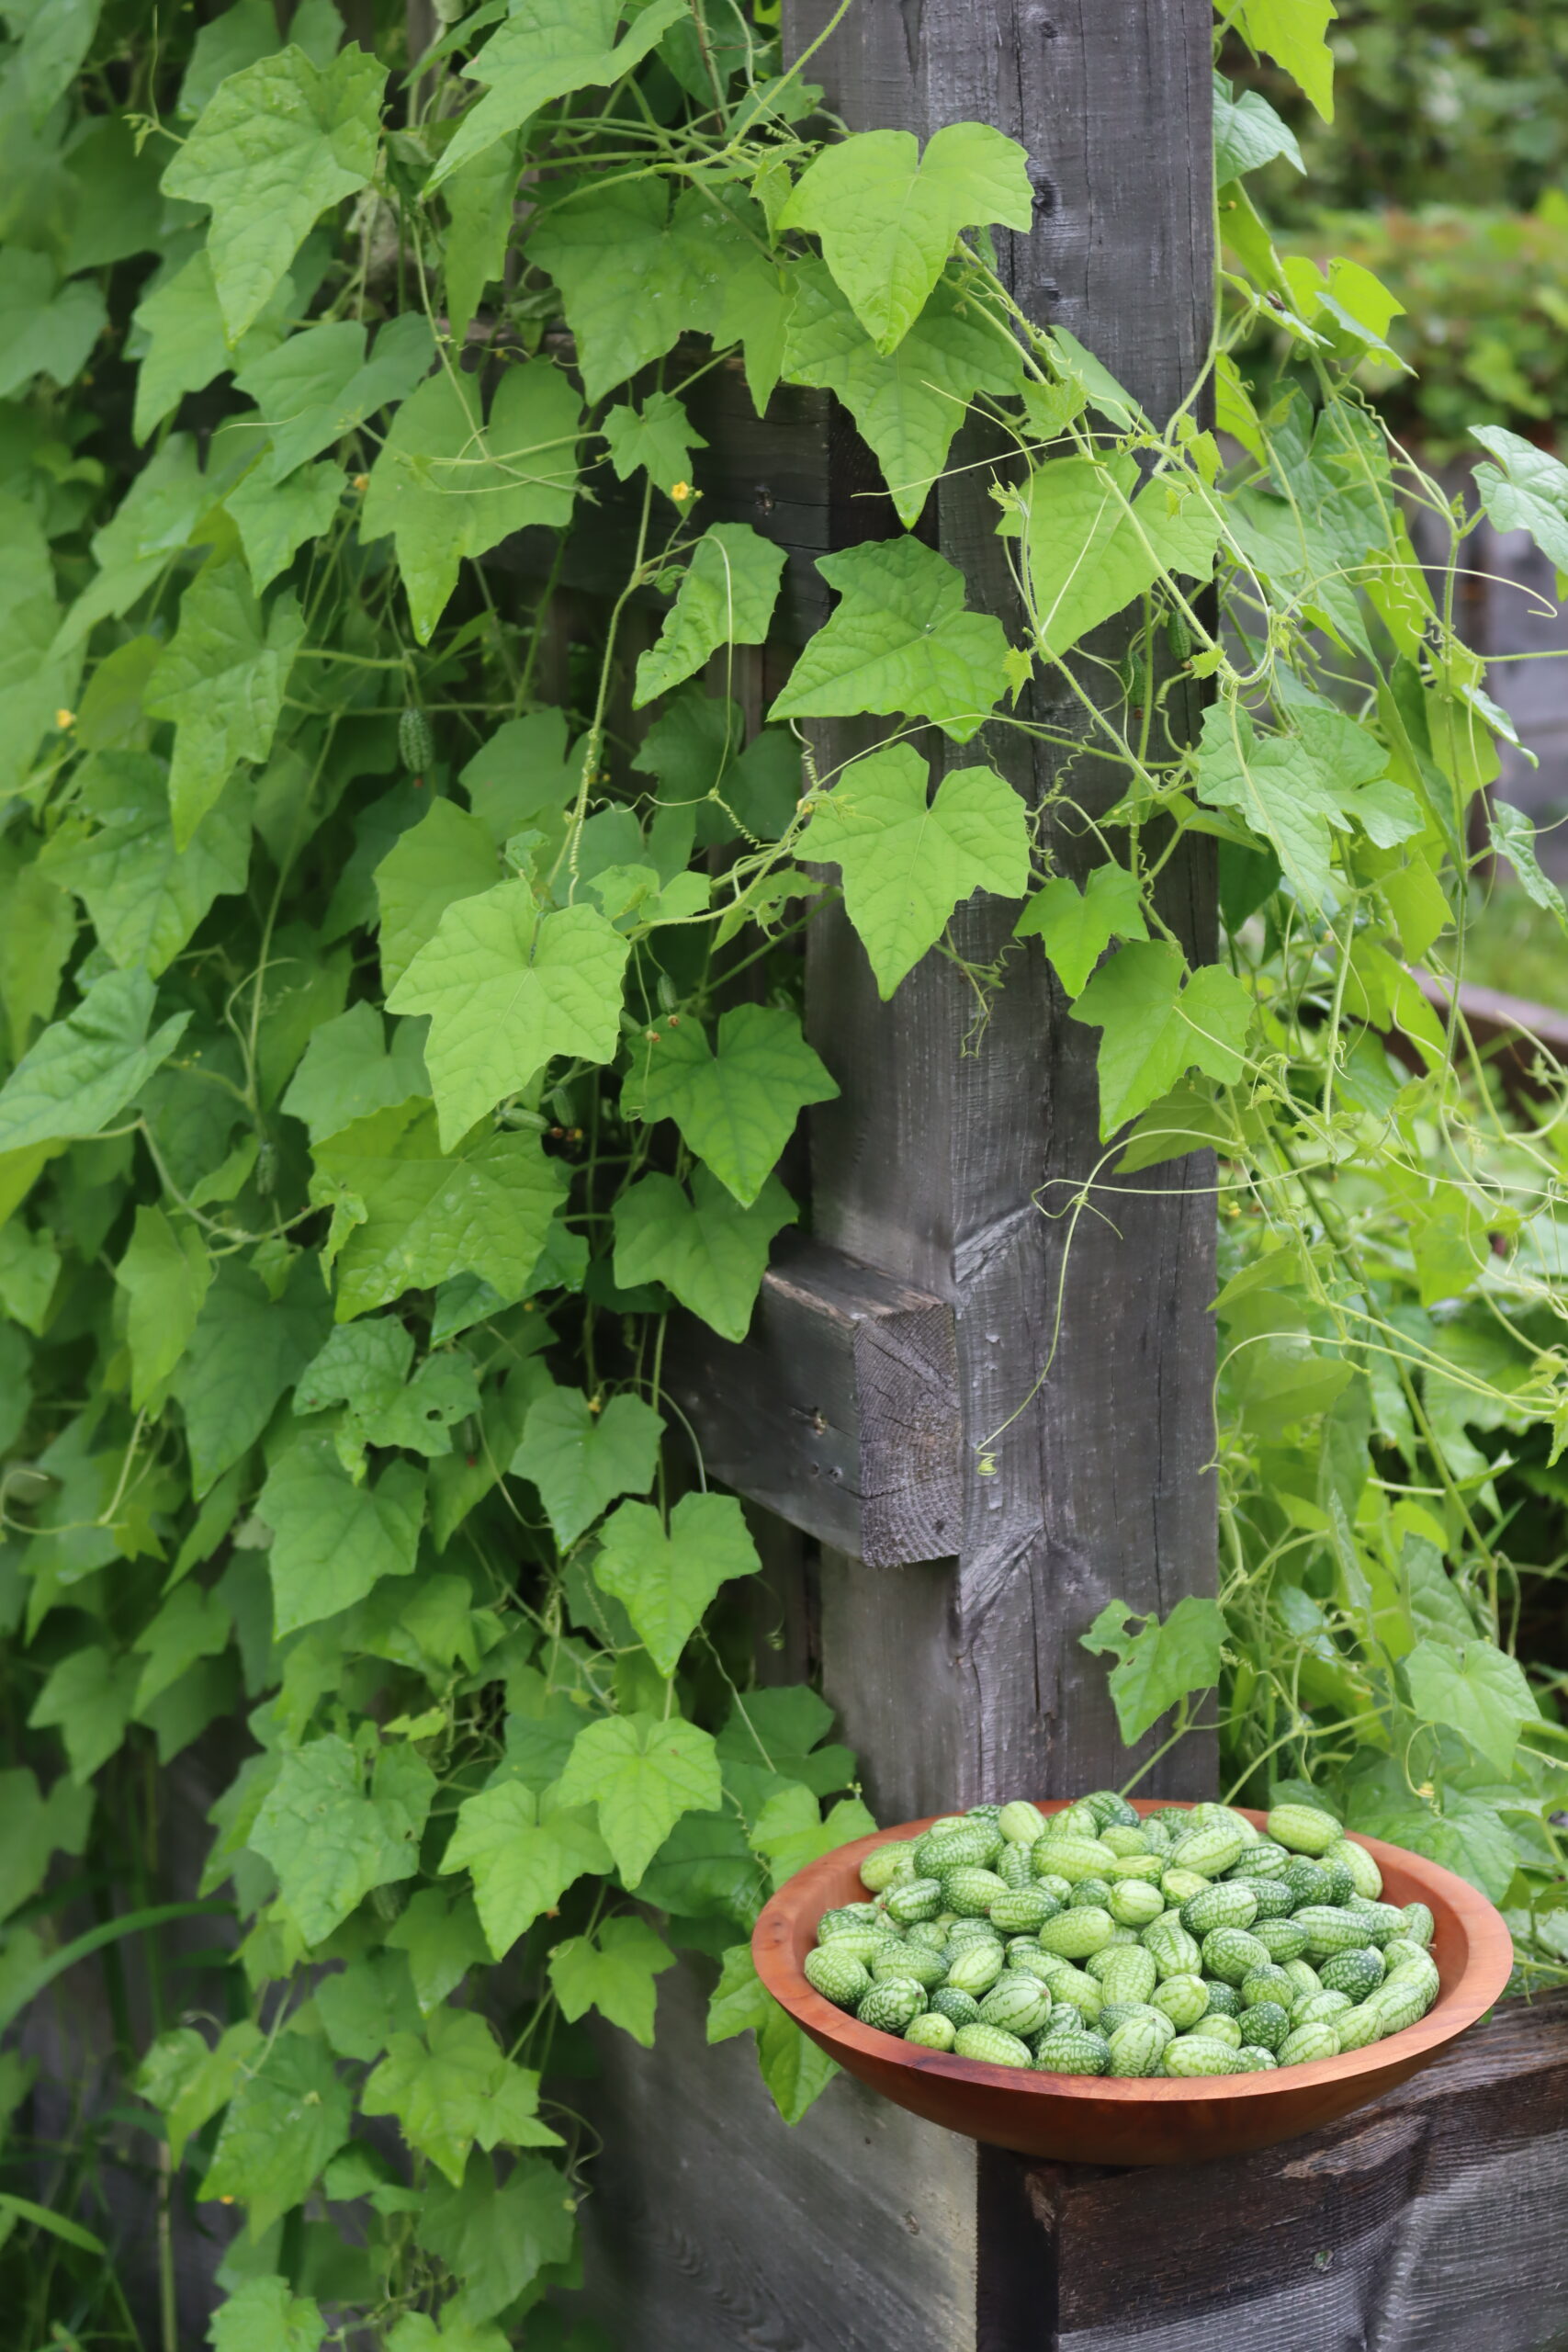
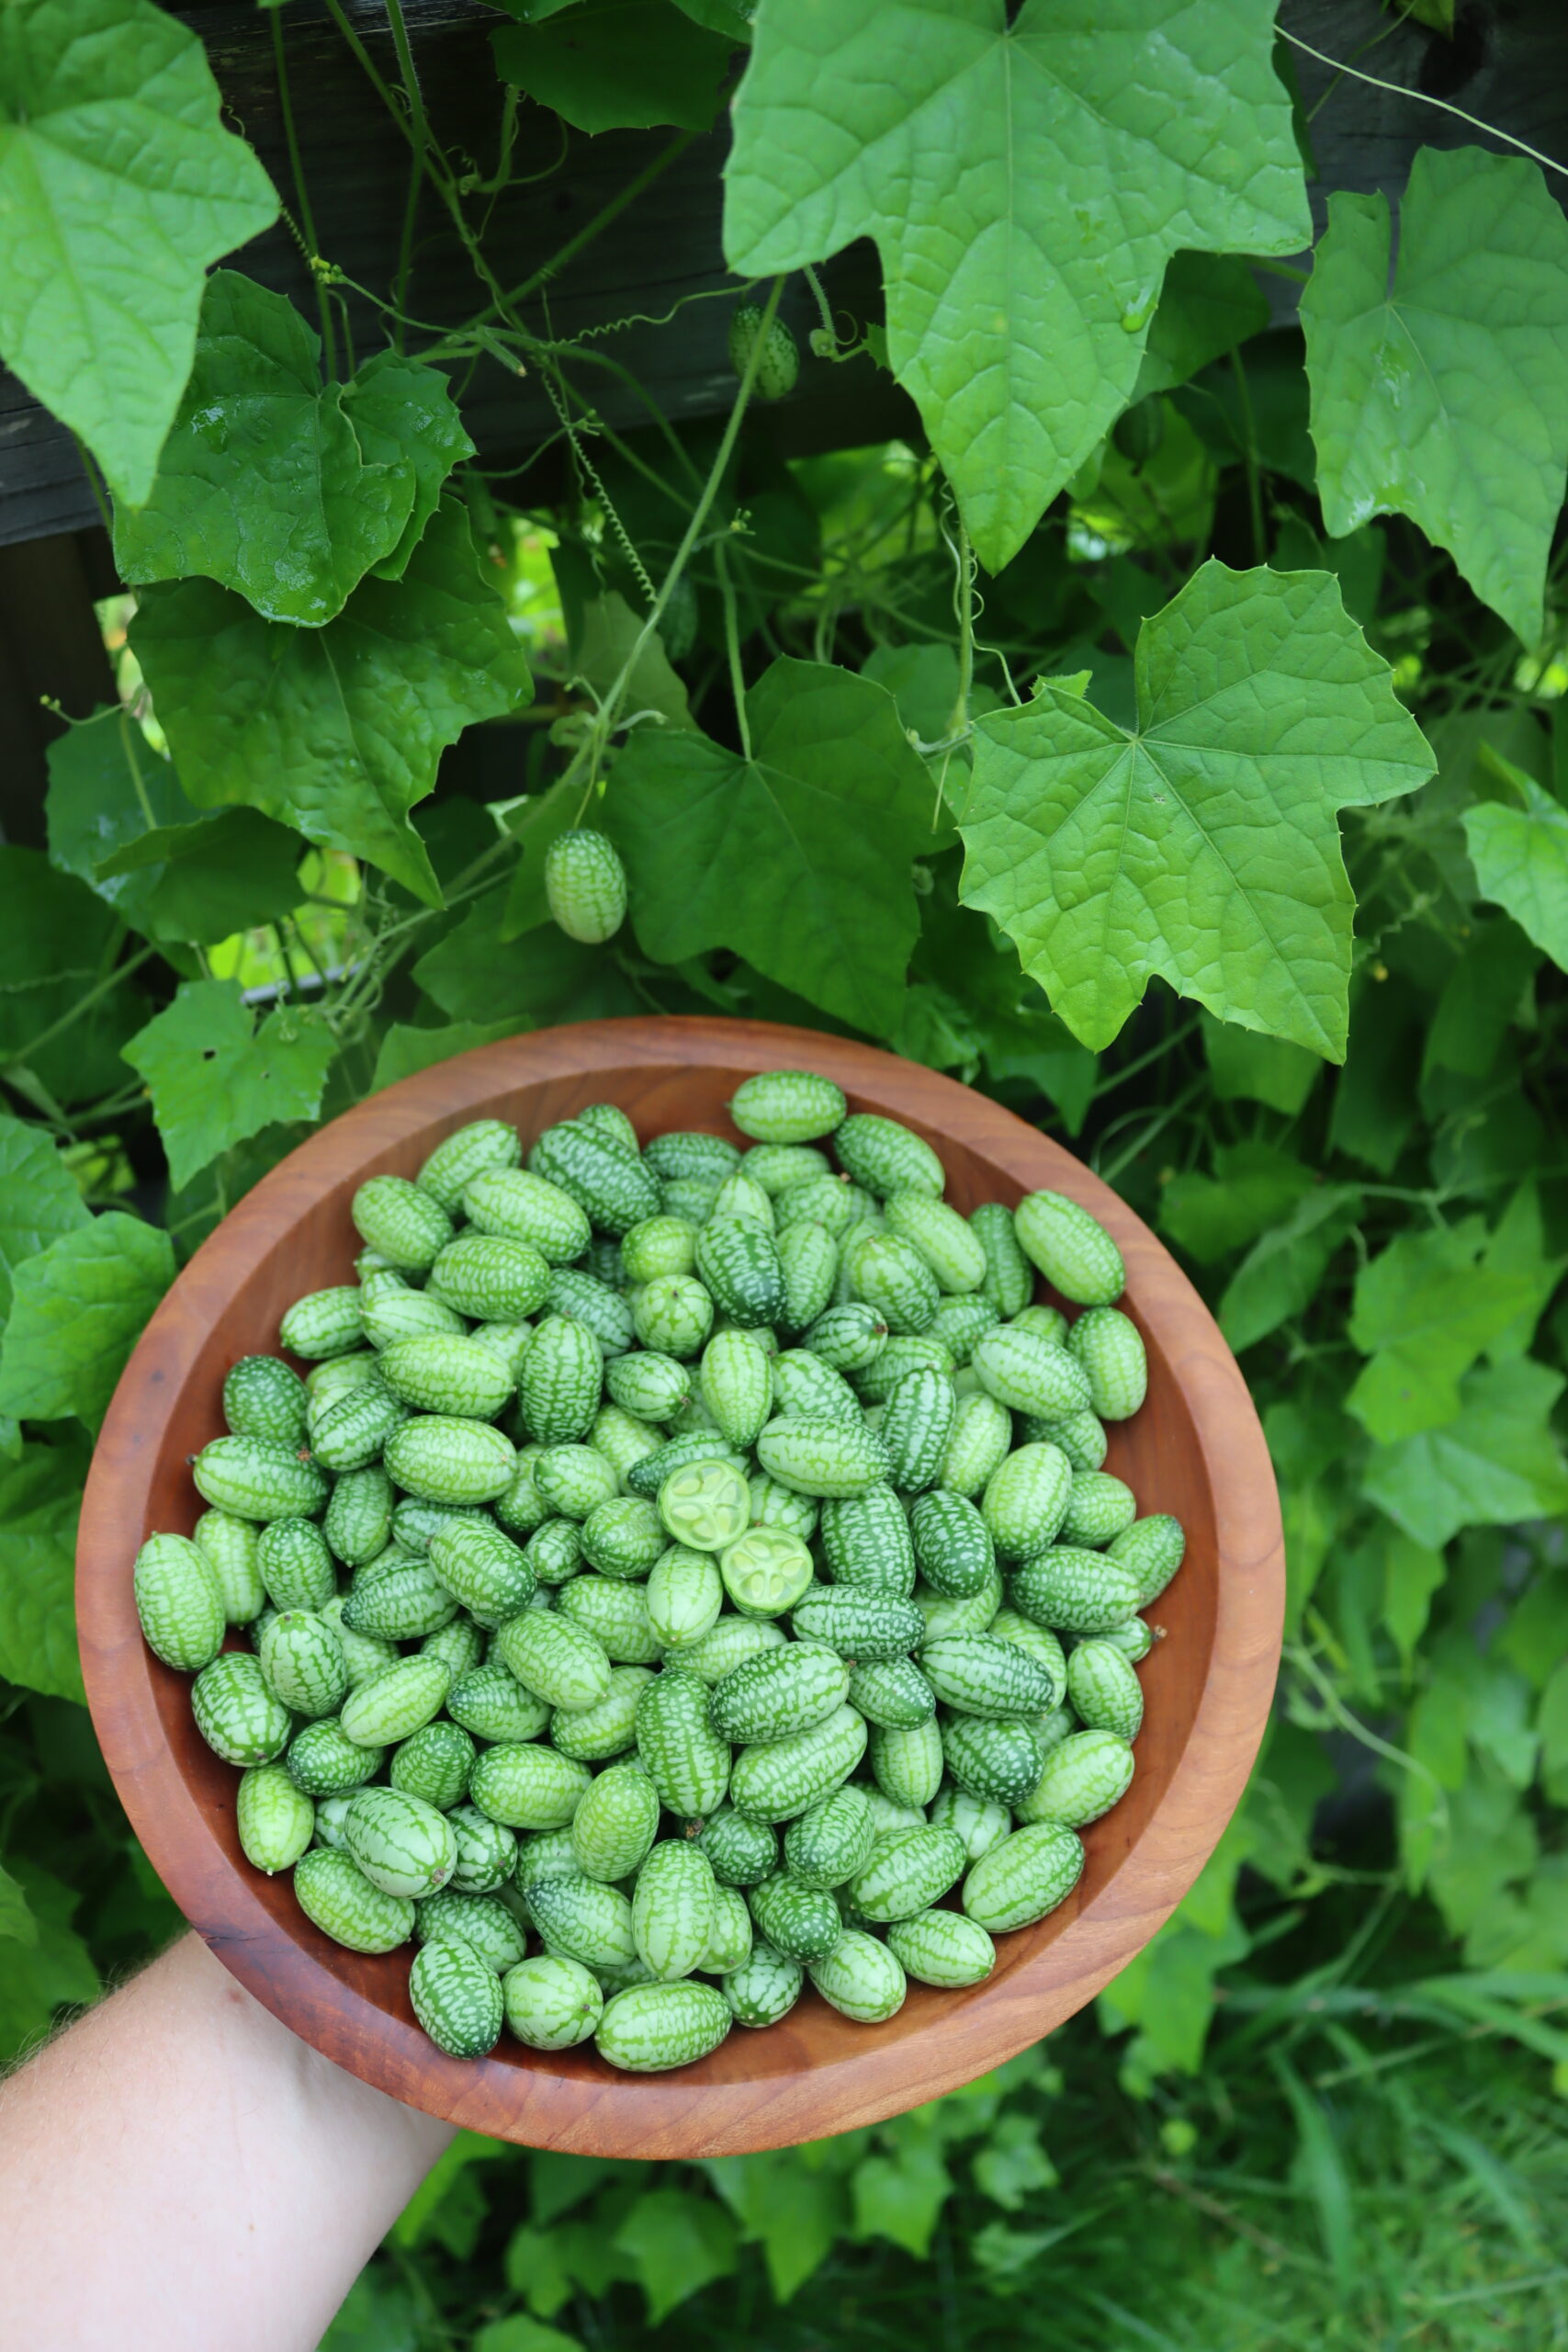
Cucamelons are fun to grow in the garden, and these days, they’re popping up at more and more farmers’ markets, too. They’re tiny bite-sized watermelon-shaped cucumbers with a zesty kick, and they’re perfect for pickling.
It’s time to learn how to make cucamelon pickles, and you’ll impress your guests with these fun little bite-sized beauties.
Cucamelons, also known as Mexican sour gherkins or mouse melons, are tiny fruits that look like miniature watermelons but taste like cucumbers with a hint of lime.
Originating from Central America, these adorable little gems are not only delicious but also packed with nutrients. They’re rich in vitamins A and C, potassium, and fiber, making them a healthy addition to your diet.
Why in the world would you want to make pickles out of them? For starters, cucamelons are naturally crisp, making them perfect for pickling. When pickled, they retain their crunch and develop a delightful tang that pairs well with a variety of dishes. Plus, they’re guaranteed to be a conversation starter at any gathering!
Ingredients for Cucamelon Pickles
The ingredients for canning cucamelon pickles are quite simple. To make a single pint of cucamelon pickles, you’ll need the following:
- 2 cups cucamelons (about 1/2 pound)
- 1 cups apple cider vinegar
- 1 tbsp sugar
- 1 tsp salt
- 1 tsp mustard seeds
- 1 tsp black peppercorns
- ¼ to 1 tsp red pepper flakes (to taste, adjust for heat)
When purchasing cucamelons, keep in mind that 1/2 to 3/4 pounds of fresh cucamelons will yield approximately 2 cups when cleaned and prepped. If you can’t find apple cider vinegar, white vinegar will work just as well. And if you’re not a fan of spicy foods, feel free to omit the red pepper flakes or reduce the amount to suit your taste.
How to Make Cucamelon Pickles
Begin by sterilizing two pint-sized canning jars and their lids. You can do this by boiling them in water for 10 minutes or running them through the dishwasher on the sterilize cycle.
Rinse the cucamelons thoroughly under cold water and remove any stems. Pat them dry with a clean towel.
Evenly distribute the mustard seeds, black peppercorns, and red pepper flakes (if using) between the two jars.
Pack the cucamelons tightly into the jars, leaving about ½ inch of headspace at the top.
In a medium saucepan, combine the apple cider vinegar, sugar, and salt. Bring the mixture to a boil, stirring occasionally to dissolve the sugar and salt.
Carefully pour the hot brine over the cucamelons, making sure to cover them completely while maintaining the ½ inch headspace.
Use a non-metallic utensil, such as a plastic knife or chopstick, to remove any air bubbles from the jars. Wipe the rims of the jars with a clean, damp cloth to ensure a good seal.
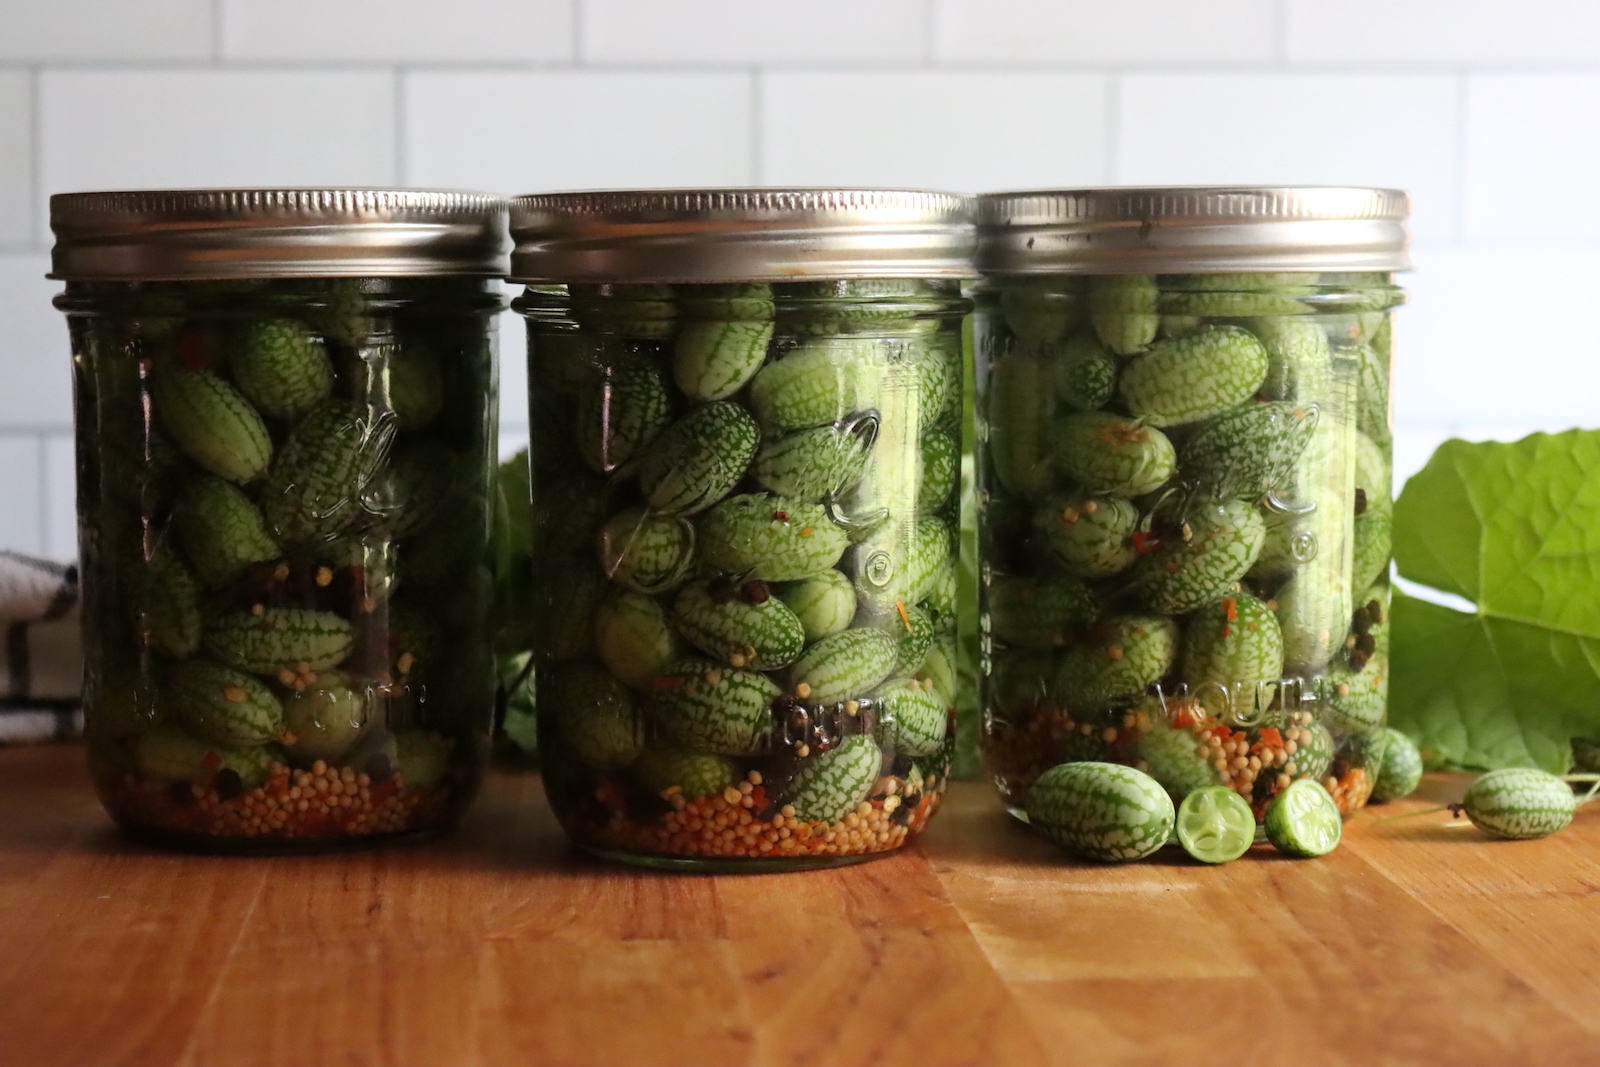
Place the sterilized lids on the jars and screw on the bands until fingertip tight.
Position the jars in a boiling water canner, making sure they’re covered by at least one inch of water. Process for 10 minutes (or 15 minutes if you live above 6,000 feet).
Carefully remove the jars from the canner and place them on a towel to cool. Once cooled, check the seals by pressing down on the center of each lid. If it doesn’t pop back, the jar is sealed. Store the sealed jars in a cool, dark place for up to one year.
Serving Cucamelon Pickles
Now that you’ve successfully made and canned your cucamelon pickles, it’s time to enjoy them! They can be served in a variety of ways that will elevate any meal or snack.
First and foremost, you can serve them straight from the jar as a crunchy, refreshing snack that pairs well with cheese platters or charcuterie boards. Their small size and unique flavor make them a perfect conversation starter at gatherings and picnics.
Another great way to enjoy cucamelon pickles is by incorporating them into your salads. Slice them thinly and toss them in your favorite green salad for a zingy twist. They can also enhance grain-based salads; try mixing them with quinoa, bulgur, or couscous, along with chopped herbs and a citrus dressing for a delightful side dish.
Cucamelon pickles can also jazz up your sandwiches and wraps. Sliced, they add a nice crunch and a tangy contrast to meats, cheeses, and spreads. Consider adding them to a classic deli sandwich or a fresh veggie wrap for an extra layer of taste.
For the adventurous, cucamelon pickles can serve as a surprising garnish for cocktails. Slice them and use them to adorn your favorite drink, or muddle them into a refreshing cocktail for an unexpected twist. Their texture and flavor can complement drinks like gin and tonics or even a bright and zesty mojito.
Finally, don’t overlook the potential of cucamelon pickles in your everyday cooking. Chopped finely, they can be incorporated into relishes, dressings, or even salsas, providing a unique flavor profile that can enhance a variety of dishes.
Cucamelon Pickles
Equipment
Ingredients
- 2 cups cucamelons, about 1/2 pound
- 1 cup apple cider vinegar
- 1 tbsp sugar
- 1 tsp salt
- 1 tsp mustard seeds
- 1 tsp black peppercorns
- ¼ to 1 tsp red pepper flakes, to taste, adjust for heat
Instructions
- Prepare a pint jar for this recipe, or as many as you’d like to make. (Multiply the recipe for each pint.)
- Rinse the cucamelons thoroughly under cold water and remove any stems. Pat them dry with a clean towel.
- Add the spices including the mustard seeds, black peppercorns, and red pepper flakes to each jar.
- Pack the cucamelons tightly into the jars, leaving about ½ inch of headspace at the top.
- In a medium saucepan, combine the apple cider vinegar, sugar, and salt.
- Bring the mixture to a boil, stirring occasionally to dissolve the sugar and salt.
- Carefully pour the hot brine over the cucamelons, making sure to cover them completely while maintaining the ½ inch headspace.
- Remove air bubbles. Then, wipe the rims of the jars with a clean, damp cloth to ensure a good seal.
- Place the sterilized lids on the jars and screw on the bands until fingertip tight.
- If canning, position the jars in a boiling water canner, making sure they’re covered by at least one inch of water. Process for 10 minutes (or 15 minutes if you live above 6,000 feet).
- Carefully remove the jars from the canner and place them on a towel to cool.
- Check the seals, label, and store.
Notes
Nutrition
Nutrition information is automatically calculated, so should only be used as an approximation.
Pickling Recipes
Looking for more simple pickling recipes?
- Pickled Corn Salad
- Pickled Green Coriander Seed
- Pickled Three Bean Salad
- Pickled Green Tomatoes
- Pickled Green Beans (Dilly Beans)
- Pickled Jalapenos
- Pickled Fiddleheads
Just made them today ! We will see how they go 🙂 First time canning anything, but im super excited !
I hope you enjoy them!