
This post may contain affiliate links. Please see our disclosure policy.
Canning pot roast in a jar puts a whole Sunday dinner on your pantry shelf, so a tender beef and vegetable supper is a jar and a saucepan away on the nights you have no time to cook. You do the slow part once, in the pressure canner, and then dinner is ready to heat, thicken into gravy, and spoon over mashed potatoes or egg noodles whenever you want it.
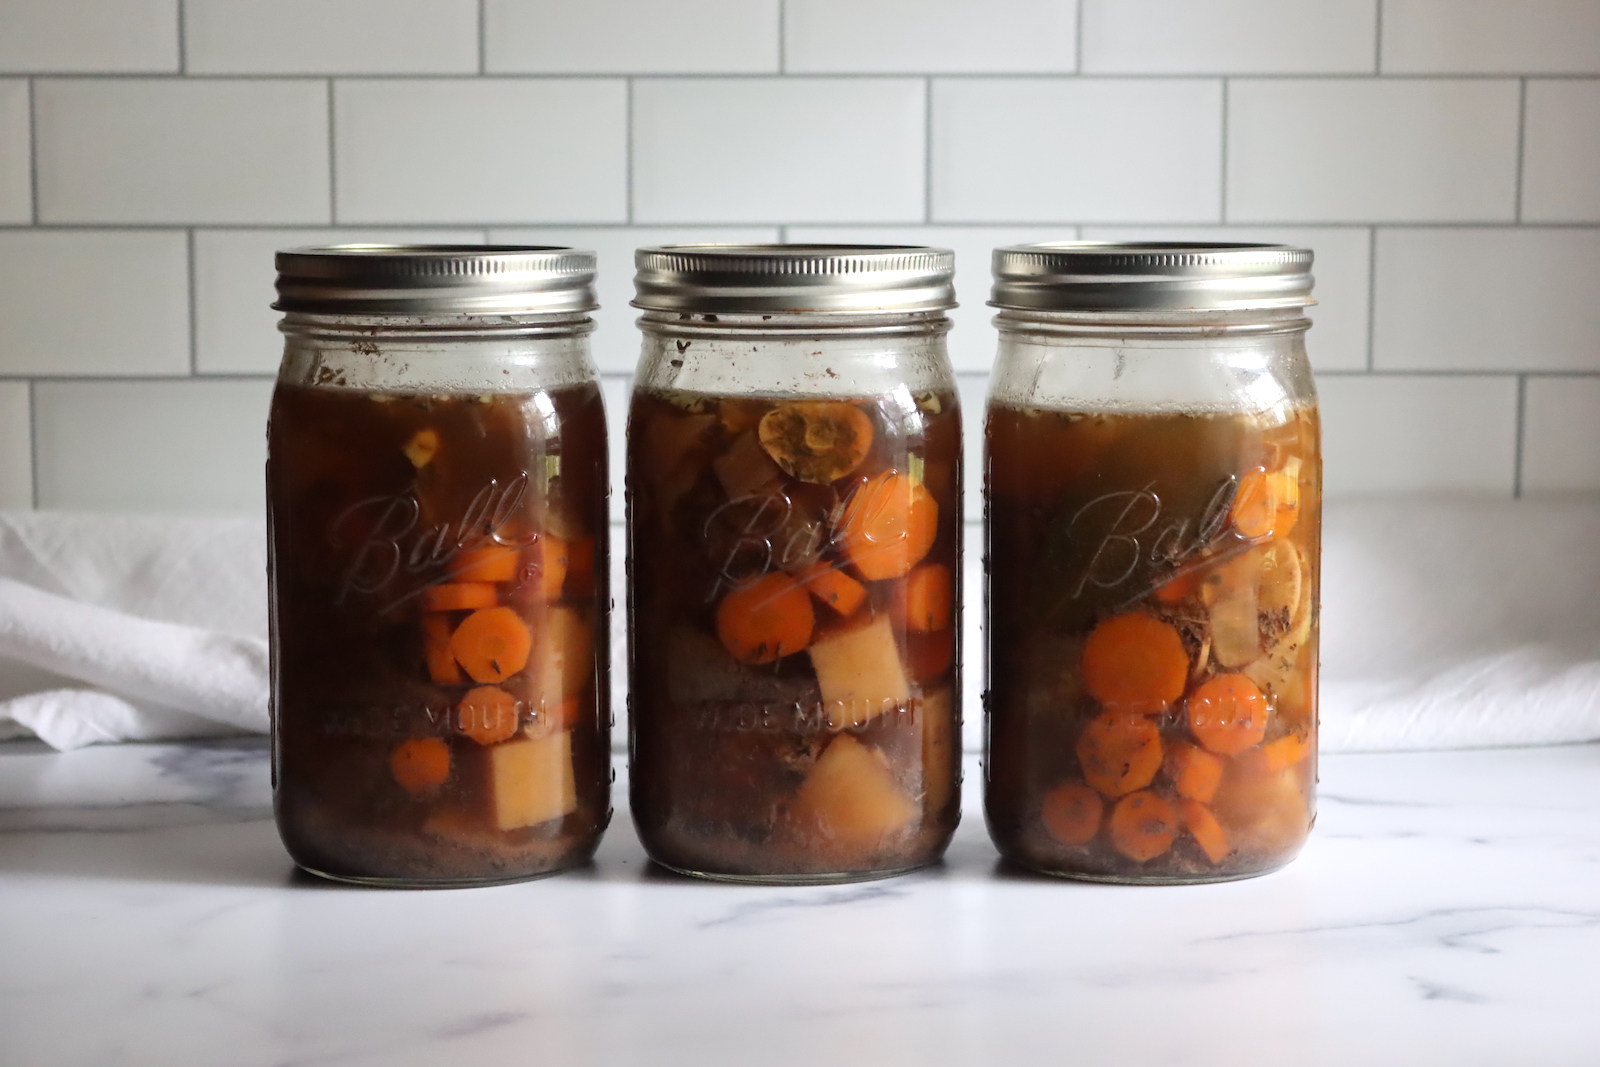
Table of Contents
- Notes from My Kitchen
- Quick Look at the Recipe
- Choosing the Beef
- Ingredients for Pot Roast in a Jar
- Pot Roast Variations
- How to Make Pot Roast in a Jar
- Canning Pot Roast in a Jar
- Altitude Adjustments
- Canning Leftover Pot Roast
- Serving Ideas for Pot Roast in a Jar
- Yield Notes
- Canning Pot Roast FAQs
- Meal in a Jar Canning Recipes
- Canning Pot Roast in a Jar Recipe
- Pressure Canning Recipes
This recipe has been reviewed for safety and accuracy by a Master Food Preserver certified through the University of Cornell Cooperative Extension.
This is a raw pack recipe, adapted from a tested pot roast in the “Simple One Jar Meals” section of The All New Ball Book of Canning and Preserving. Everything goes into the jars cool and raw, then boiling water or broth fills the gaps, which is a lot friendlier on your hands than wrestling hot chunks of beef into jars. Like all of my meal in a jar canning recipes, it is low acid, so it is processed in a pressure canner the same way I put up canning beef stew and the rest of my beef canning recipes.
If you are new to putting up meat in general, my broader guide to canning meat is a good place to start.
One thing worth knowing up front is that the meal goes into the jar thin. There is no flour or cornstarch in the jar, because a thickened liquid is too dense to let heat move through safely during processing. You can the pot roast with a thin broth and then thicken it into gravy on the stove when you reheat it, which is exactly how it was meant to be served.
The tested batch here is small, four pints or two quarts, but you can run several batches at once to fill a canner load, and I usually do.
Notes from My Kitchen

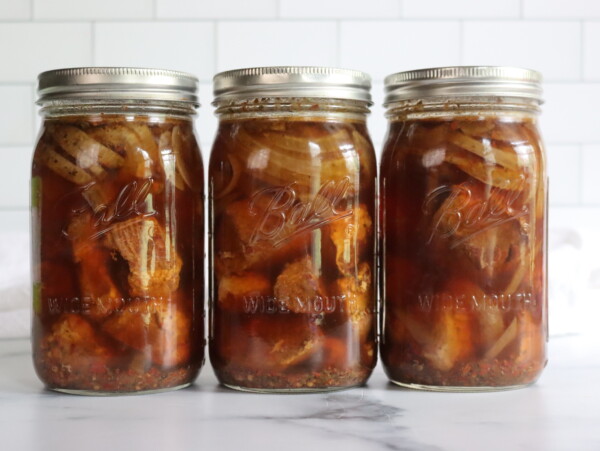
I like putting these up when there is a good price on chuck roast, since a few batches back to back fill the canner and give me a shelf of dinners that only need a saucepan and a spoonful of flour to finish. I can mine in quarts. Celery is in the original recipe, but I skip it (I am not a fan), and I just add a little extra broth in its place.
The part I appreciate most is how forgiving the raw pack is on a busy afternoon. You are not simmering anything for hours before it goes in the jar, just chopping, packing, and pouring broth over the top. It turns a project into an assembly job, which is the whole point of a meal in a jar.
Quick Look at the Recipe
- Recipe Name: Canning Pot Roast in a Jar
- Recipe Type: Meal in a Jar Canning Recipe (raw pack, solids-forward)
- Canning Method: Pressure Canning
- Prep Time: About 30 minutes
- Cook Time: None before canning (raw pack)
- Canning Time: Pints 75 minutes, Quarts 90 minutes
- Yield: 4 pints or 2 quarts per batch (scale up to fill a canner)
- Jar Sizes: Pints or quarts
- Headspace: 1 inch
- Ingredients Overview: Beef chuck roast, carrots, onions, potatoes, celery, garlic, herbs, dry red wine, broth
- Safe Canning Recipe Source: Adapted for raw pack from The All New Ball Book of Canning and Preserving, “Simple One Jar Meals”
- Difficulty: Easy
- Similar Recipes: Canning pot roast is a lot like other pressure-canned meals in a jar, such as canning beef stew and canning sloppy joe filling. If you love putting up beef, try other beef canning recipes like canning ground beef or canning chili con carne.
Choosing the Beef
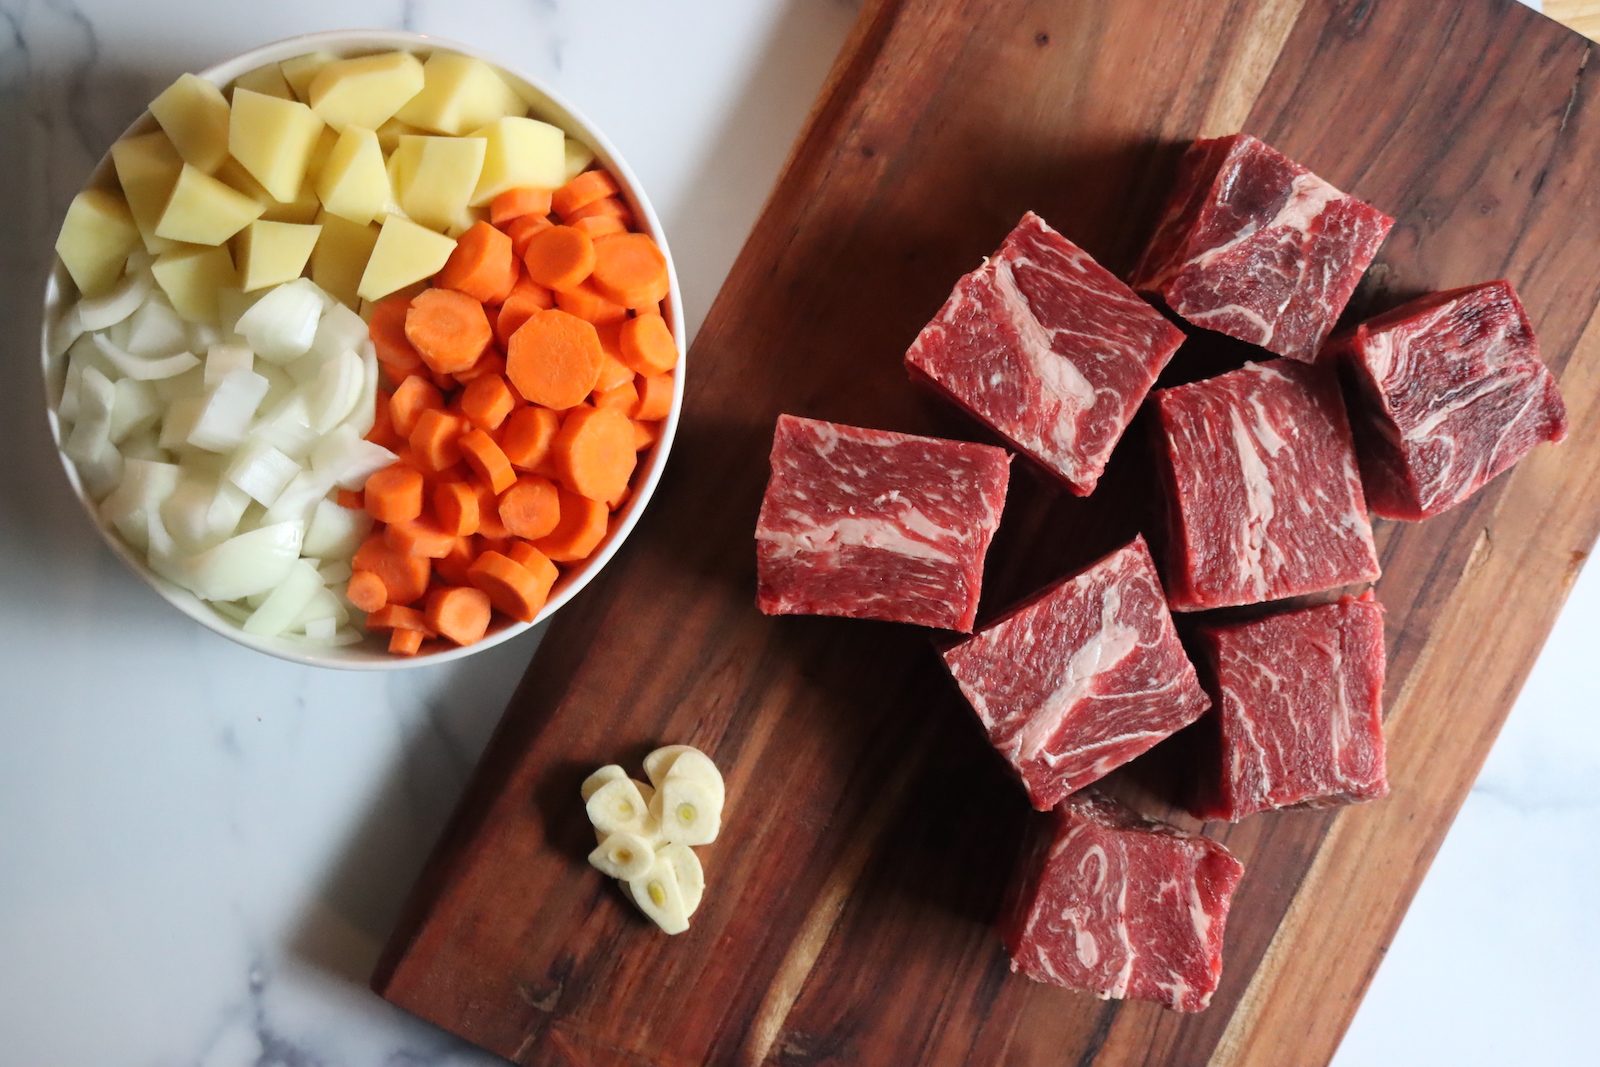
Pot roast is a recipe built for a tough, well-marbled cut, and that works in your favor here. A boneless beef chuck roast is the traditional choice, and it is the one Ball calls for, because all of the connective tissue and marbling that make chuck too chewy for a quick sear break down beautifully over a long cook in the canner. Ninety minutes at pressure is exactly the kind of long, moist heat that turns chuck tender, so you do not want a lean cut like round or sirloin here. They dry out and go stringy.
Trim off the big pieces of hard fat before you cube the meat, since a lot of fat can interfere with a good seal and leave a greasy layer in the jar. Then cut the beef into chunks around two inches square. The main thing is to keep them small enough to fit easily through the jar opening, so you can pack the jars without forcing anything, and to divide the meat evenly across your jars so no single jar is overpacked.
Ingredients for Pot Roast in a Jar
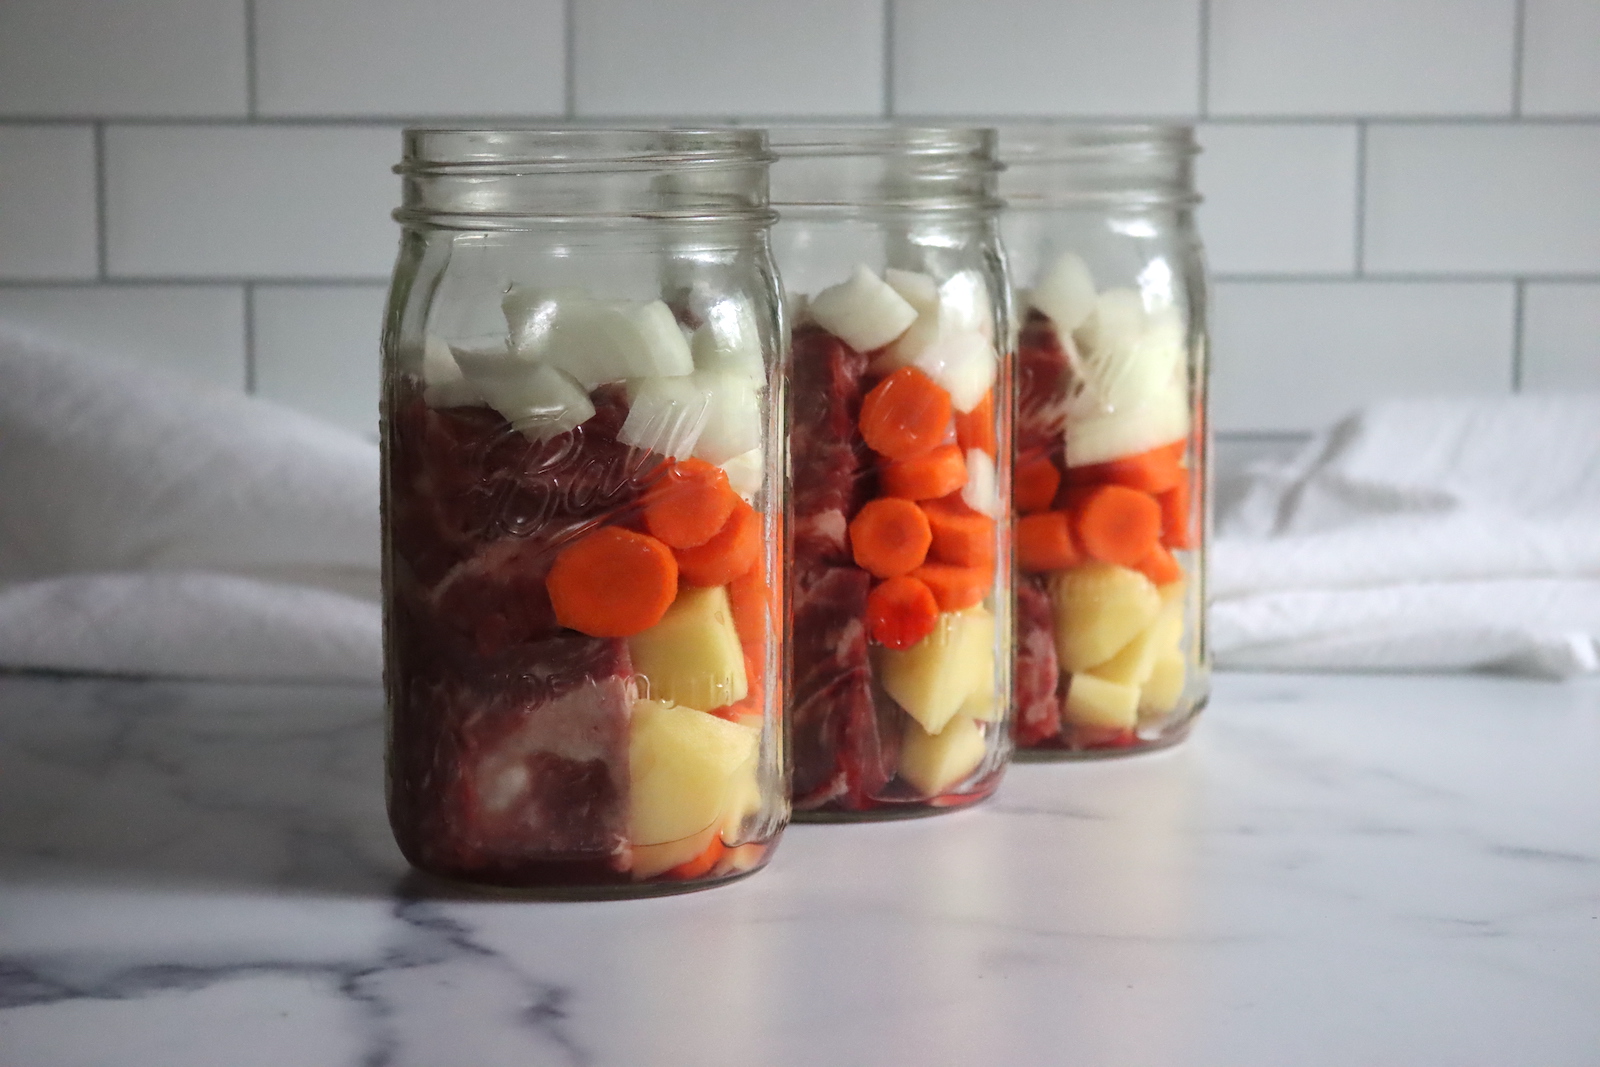
The ingredient list is short and familiar, which is part of what makes this such a comfortable recipe for most home cooks. The exact amounts are in the recipe card below, so here I want to walk through what each part is doing and where you have room to change things.
- Beef chuck roast: The heart of the meal, and the reason for the long process time. Trim the hard fat and cube it to fit the jars. If you want to put up beef on its own instead of a full meal, that has its own method in my beef canning recipes.
- Carrots, onions, and potatoes: The classic pot roast vegetables, and each one has a tested home-canning basis on its own, so they are all safe in the jar. You can read through on the guidance in my canning carrots and potato canning recipes if you want to see how those vegetables behave in a jar.
- Celery: Adds background savory flavor. It is allowed by extension guidance for meals, but it is easy to leave out (I do). If you skip an ingredient, do not add something else in its place, just make up the space with a little extra broth.
- Garlic, bay leaves, thyme, salt, and pepper: The seasoning. These are the parts you can adjust freely to taste, since spices and non-safety seasonings are not what makes the jar safe. Fresh or dried both work.
- Dry red wine: Optional, and added at a rate of about half a cup per quart jar. It deepens the flavor of the finished gravy. If you leave it out, replace it with more broth or water so the jars still fill to the right headspace.
- Boiling water or broth: This fills the jar around the solids. Homemade stock, store-bought broth, or plain water all work. It goes in thin, with no thickener, and you will need roughly one and a half to two cups per quart to reach the 1 inch headspace line, though it varies with how tightly you pack.
The one thing that is not on the ingredient list is flour, as that’s not approved for canning. The gravy comes together at serving, not before canning, and that’s the point where you can add corn starch, flour or your thickener of choice when heating.
Pot Roast Variations
This particular recipe is a tested raw pack recipe from Ball Canning. You can leave vegetables out with extra broth to make up the difference, but you cannot add to it. This kind of change, and the reasoning behind it, is covered in my article on safe changes to canning recipes.
If you would rather design your own meal from scratch instead of following this specific recipe, use the extension-tested Choice Meal in a Jar protocol. It lets you build a custom combination within safe limits, and it happens to run the same 75 and 90 minute times as this recipe, the main difference is that it’s a hot pack process before canning.
This is a low-acid meal, so the pressure and the time are what make it safe, and neither can be shortened, lowered, or replaced with a water bath. You also cannot add a thickener, dairy, pasta, rice, or noodles to the jar. Those all go in later, on the stove, when you finish the pot roast into a plated dinner.
How to Make Pot Roast in a Jar
The whole process is closer to assembling a jar than cooking a meal, which is what makes it so quick to put up. There is no browning and no simmering before canning, since this is a raw pack. You chop, you fill, you top with boiling liquid, and the pressure canner does the actual cooking.
Read through the steps once before you start so your jars, lids, and canner are all ready to go at the same time, since a raw pack moves quickly once the boiling broth is poured. Here is how it comes together.
Prepare the Ingredients
Trim the hard fat off the chuck roast and cut it into chunks about two inches square, small enough to drop through the jar opening without forcing. Slice the garlic and carrots, and dice the onions, potatoes, and celery. Make sure you peel the potatoes and carrots, as root crops always have to be peeled for canning.
Combine the beef, vegetables, garlic, salt, pepper, thyme, and bay leaves in a large bowl and mix well. Mixing everything first makes it easy to divide the solids evenly across the jars, though you can also just portion each ingredient into the jars separately if that is easier for you. (Adding 1 bay leaf per quart jar, or 1/2 leaf per pint.)
Pack the Jars and Fill with Broth
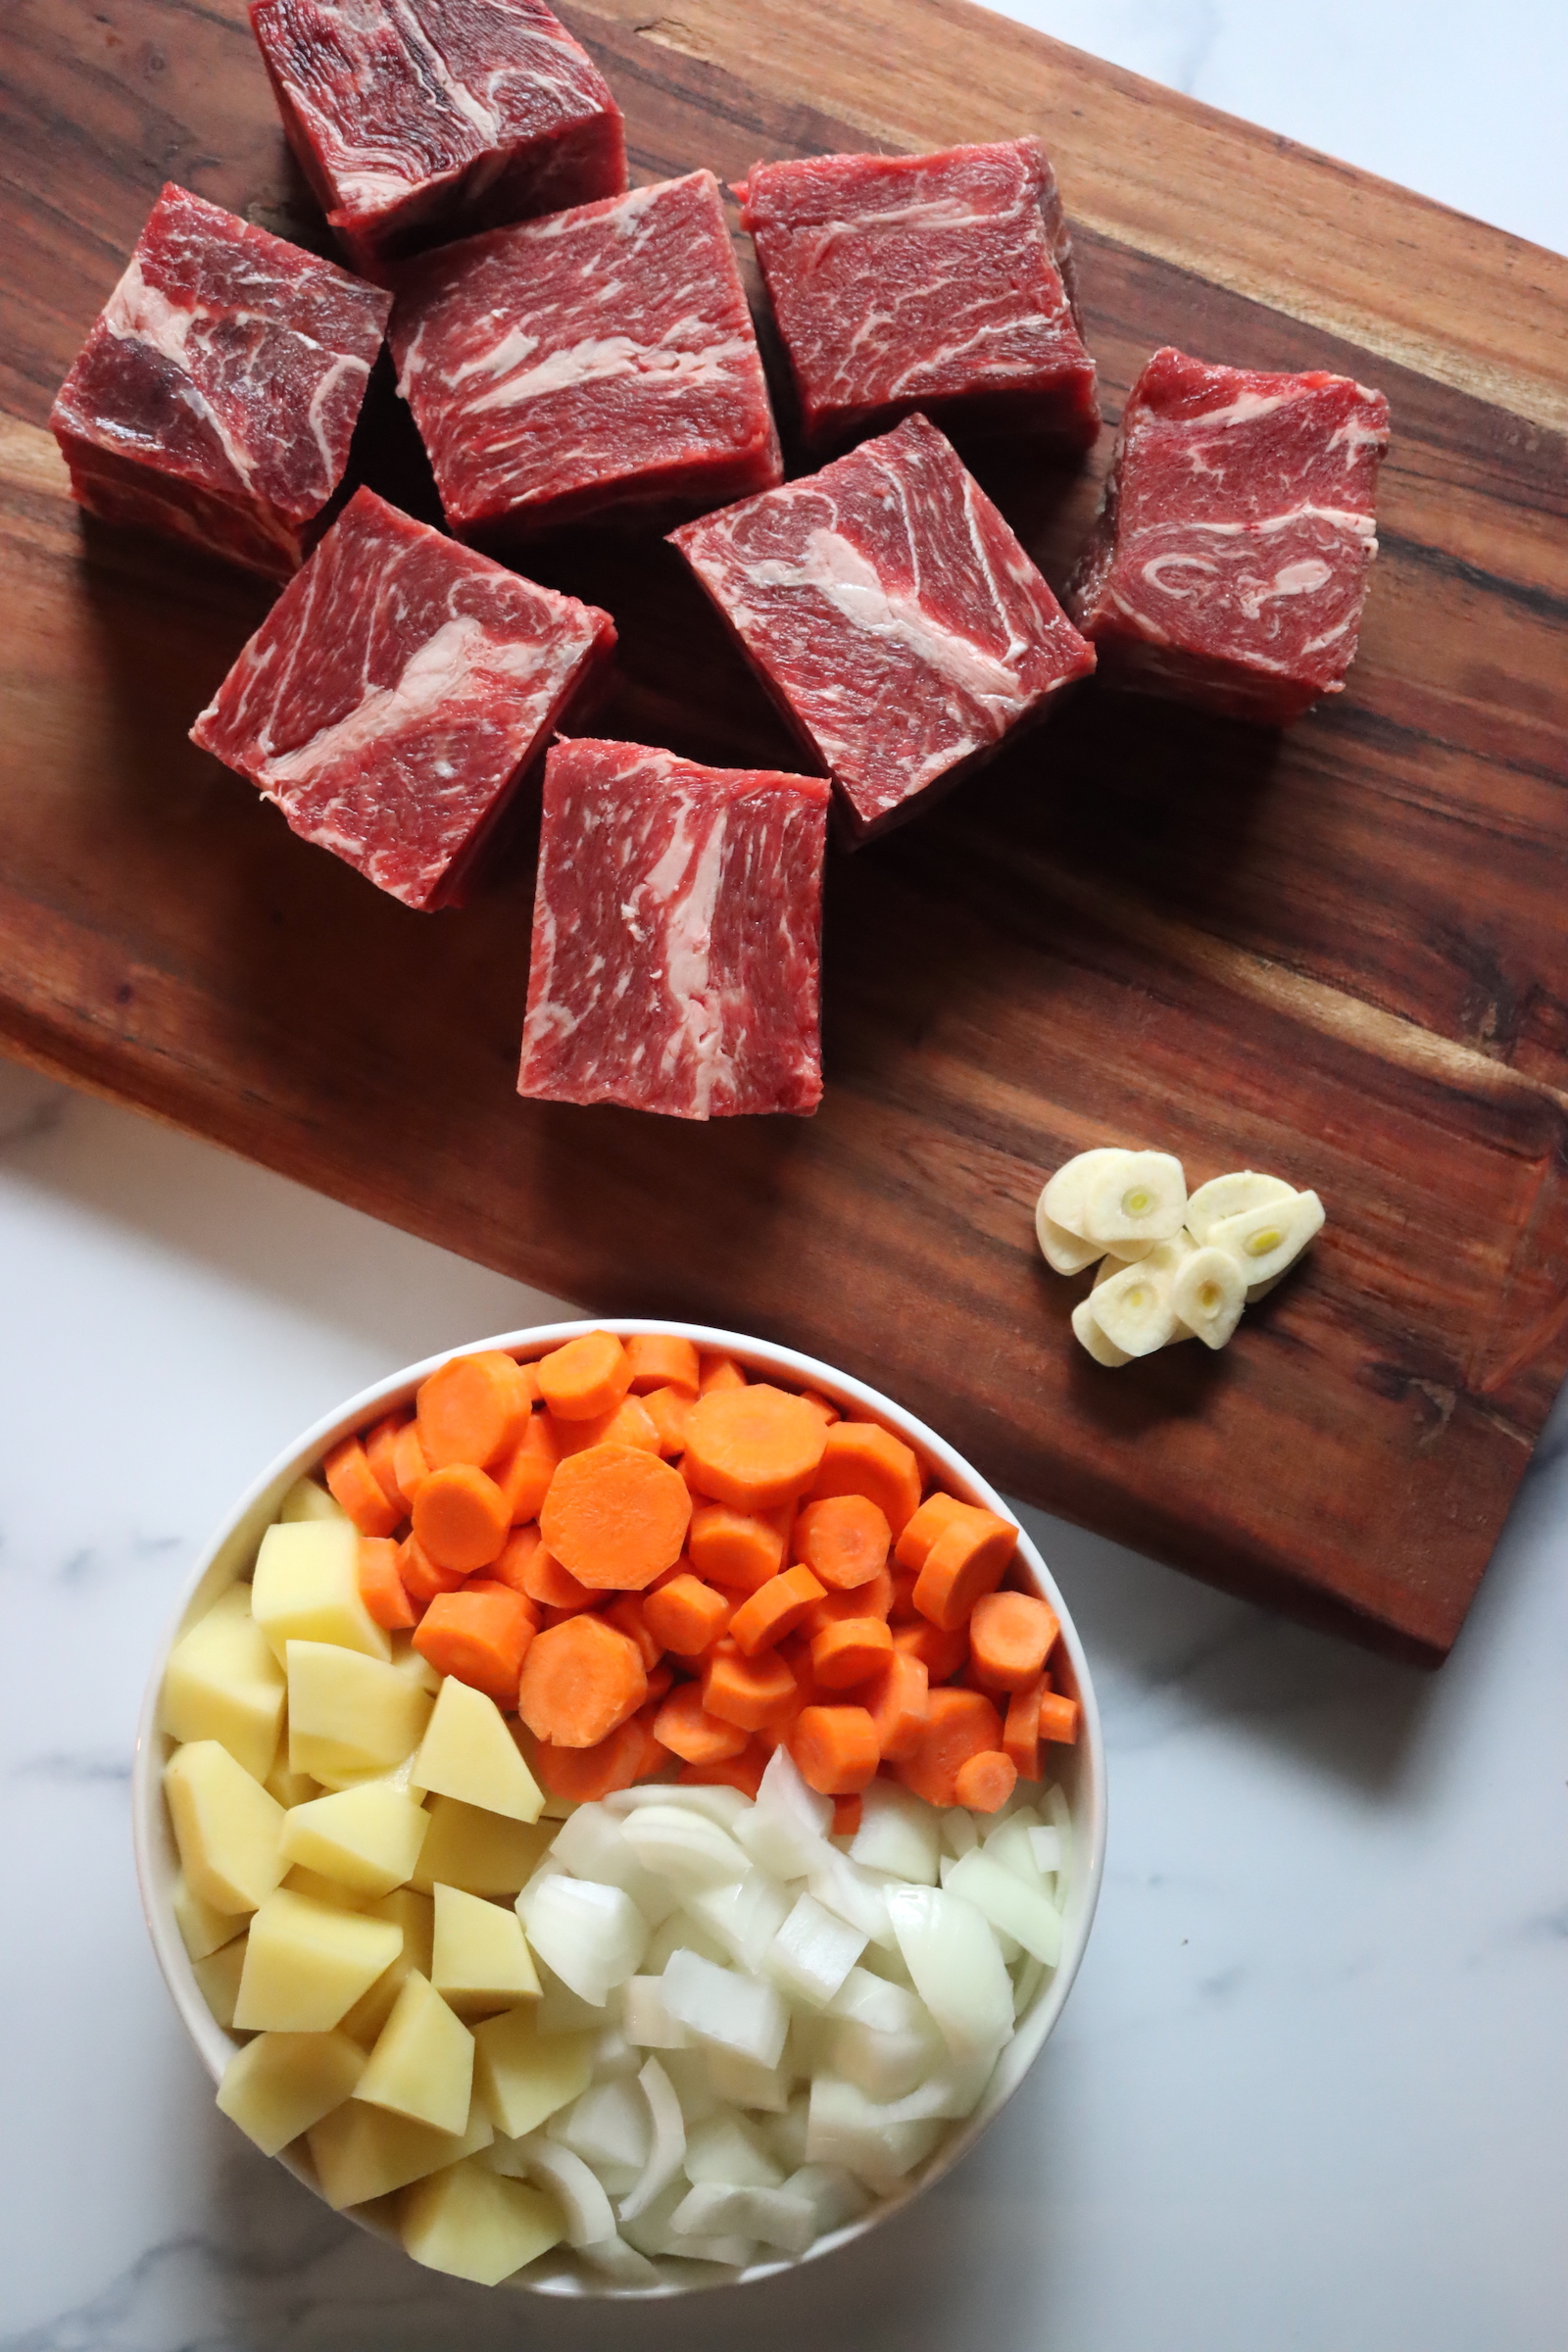
Get your pressure canner on the stove with about two inches of water, following your canner manufacturer’s instructions. Because this is a raw pack, keep the canner water only just warm, around 140 degrees Fahrenheit, rather than bringing it to a simmer before the jars go in. Pack the raw beef and vegetable mixture into the jars, dividing it evenly and not packing it down too tightly, then add the red wine if you are using it, about half a cup per quart.
Pour boiling water or broth over the solids until you reach 1 inch of headspace, using a canning funnel to keep the rims clean. Run a bubble tool around the inside of each jar to release trapped air, then recheck the headspace and top up with a little more liquid if needed. Wipe the rims clean, set on the lids, and screw the bands down to fingertip tight.
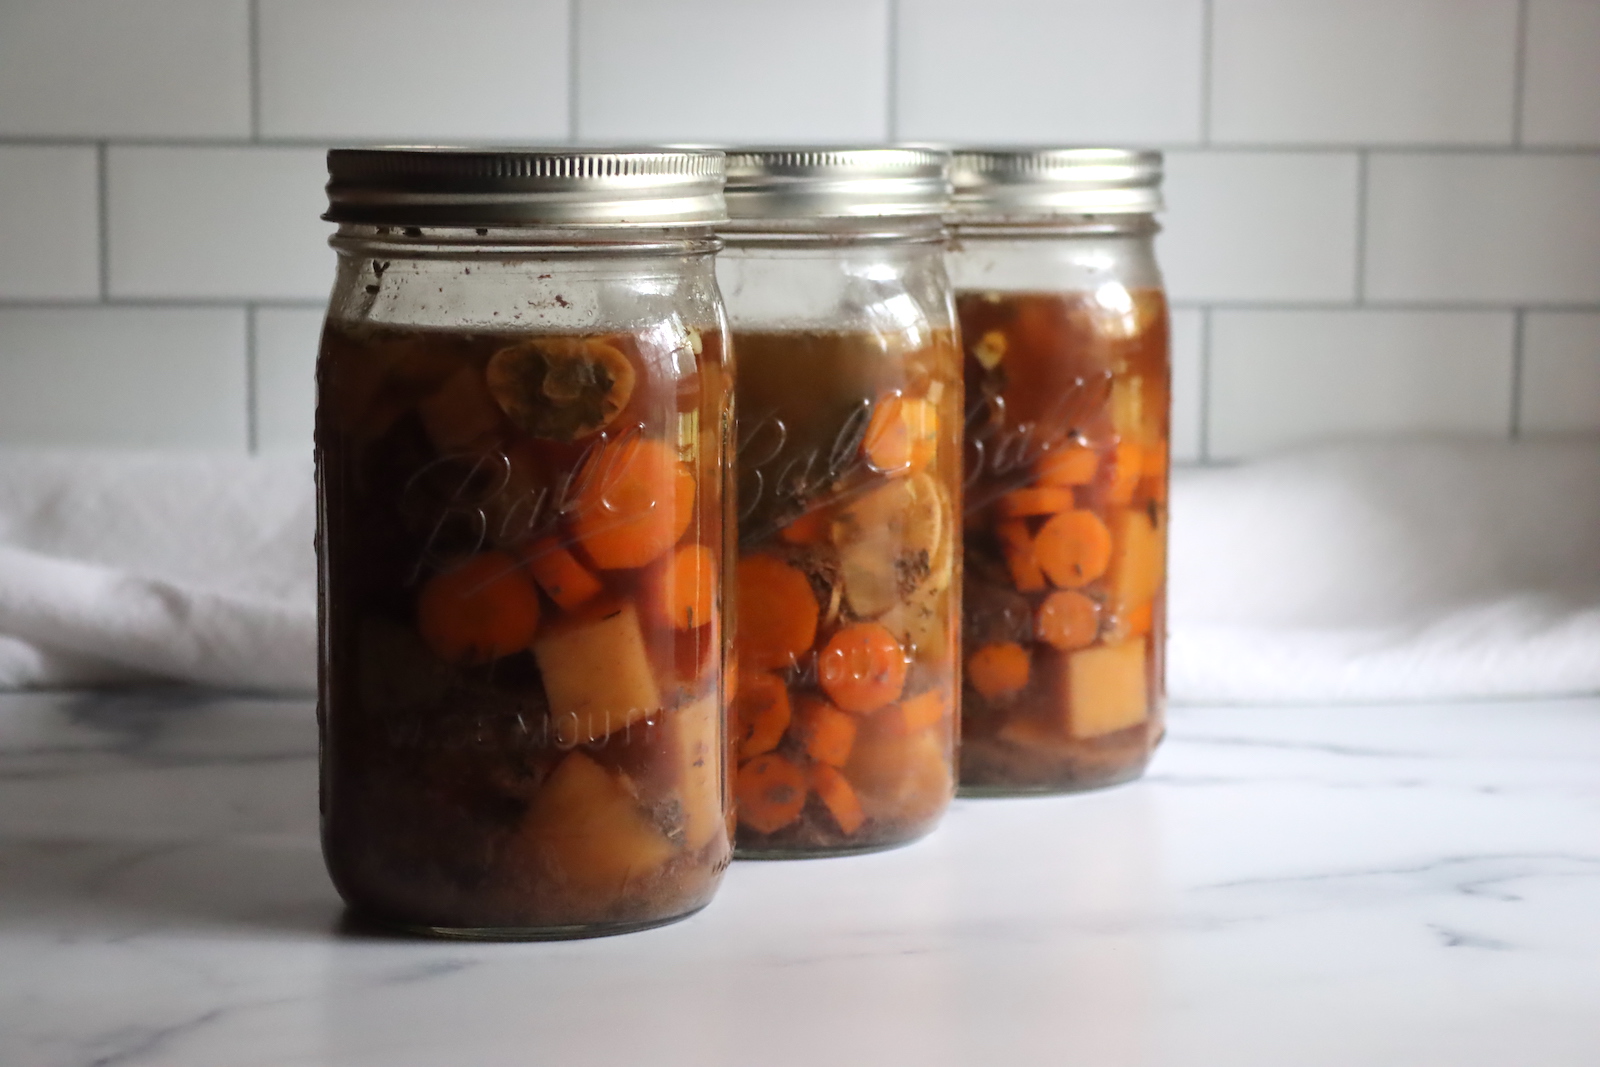
Canning Pot Roast in a Jar
Once your jars are packed and sealed, the meal goes into the pressure canner. The smallest batch worth running is 2 quarts or 4 pints, and since the tested recipe is on the small side, most people run two or three batches together to fill a canner load.
Load the jars into the canner with a jar lifter, lock the lid, and let the canner vent a steady stream of steam for 10 minutes before you add the weight. Bring it up to 10 pounds pressure for a weighted gauge canner or 11 pounds for a dial gauge canner, adjusting for your altitude using the chart below.
Process pints for 75 minutes or quarts for 90 minutes, keeping the pressure steady the entire time. If it dips below the target, bring it back up and restart the timing.
When the time is up, turn off the heat and let the canner depressurize on its own, never forcing it cool. Wait five minutes after it depressurizes, then remove the lid, let the jars sit 10 minutes, and lift them out to cool undisturbed for 24 hours before checking the seals.
Altitude Adjustments
With pressure canning, the processing times stay the same at higher altitudes, but the pressures change. Here are the altitude adjustments for pressure canning pot roast in a jar:
For dial gauge pressure canners:
- 0 to 2,000 feet: 11 lbs pressure
- 2,001 to 4,000 feet: 12 lbs pressure
- 4,001 to 6,000 feet: 13 lbs pressure
- 6,001 to 8,000 feet: 14 lbs pressure
For weighted gauge pressure canners:
- 0 to 1,000 feet: 10 lbs pressure
- Above 1,000 feet: 15 lbs pressure
Canning Leftover Pot Roast
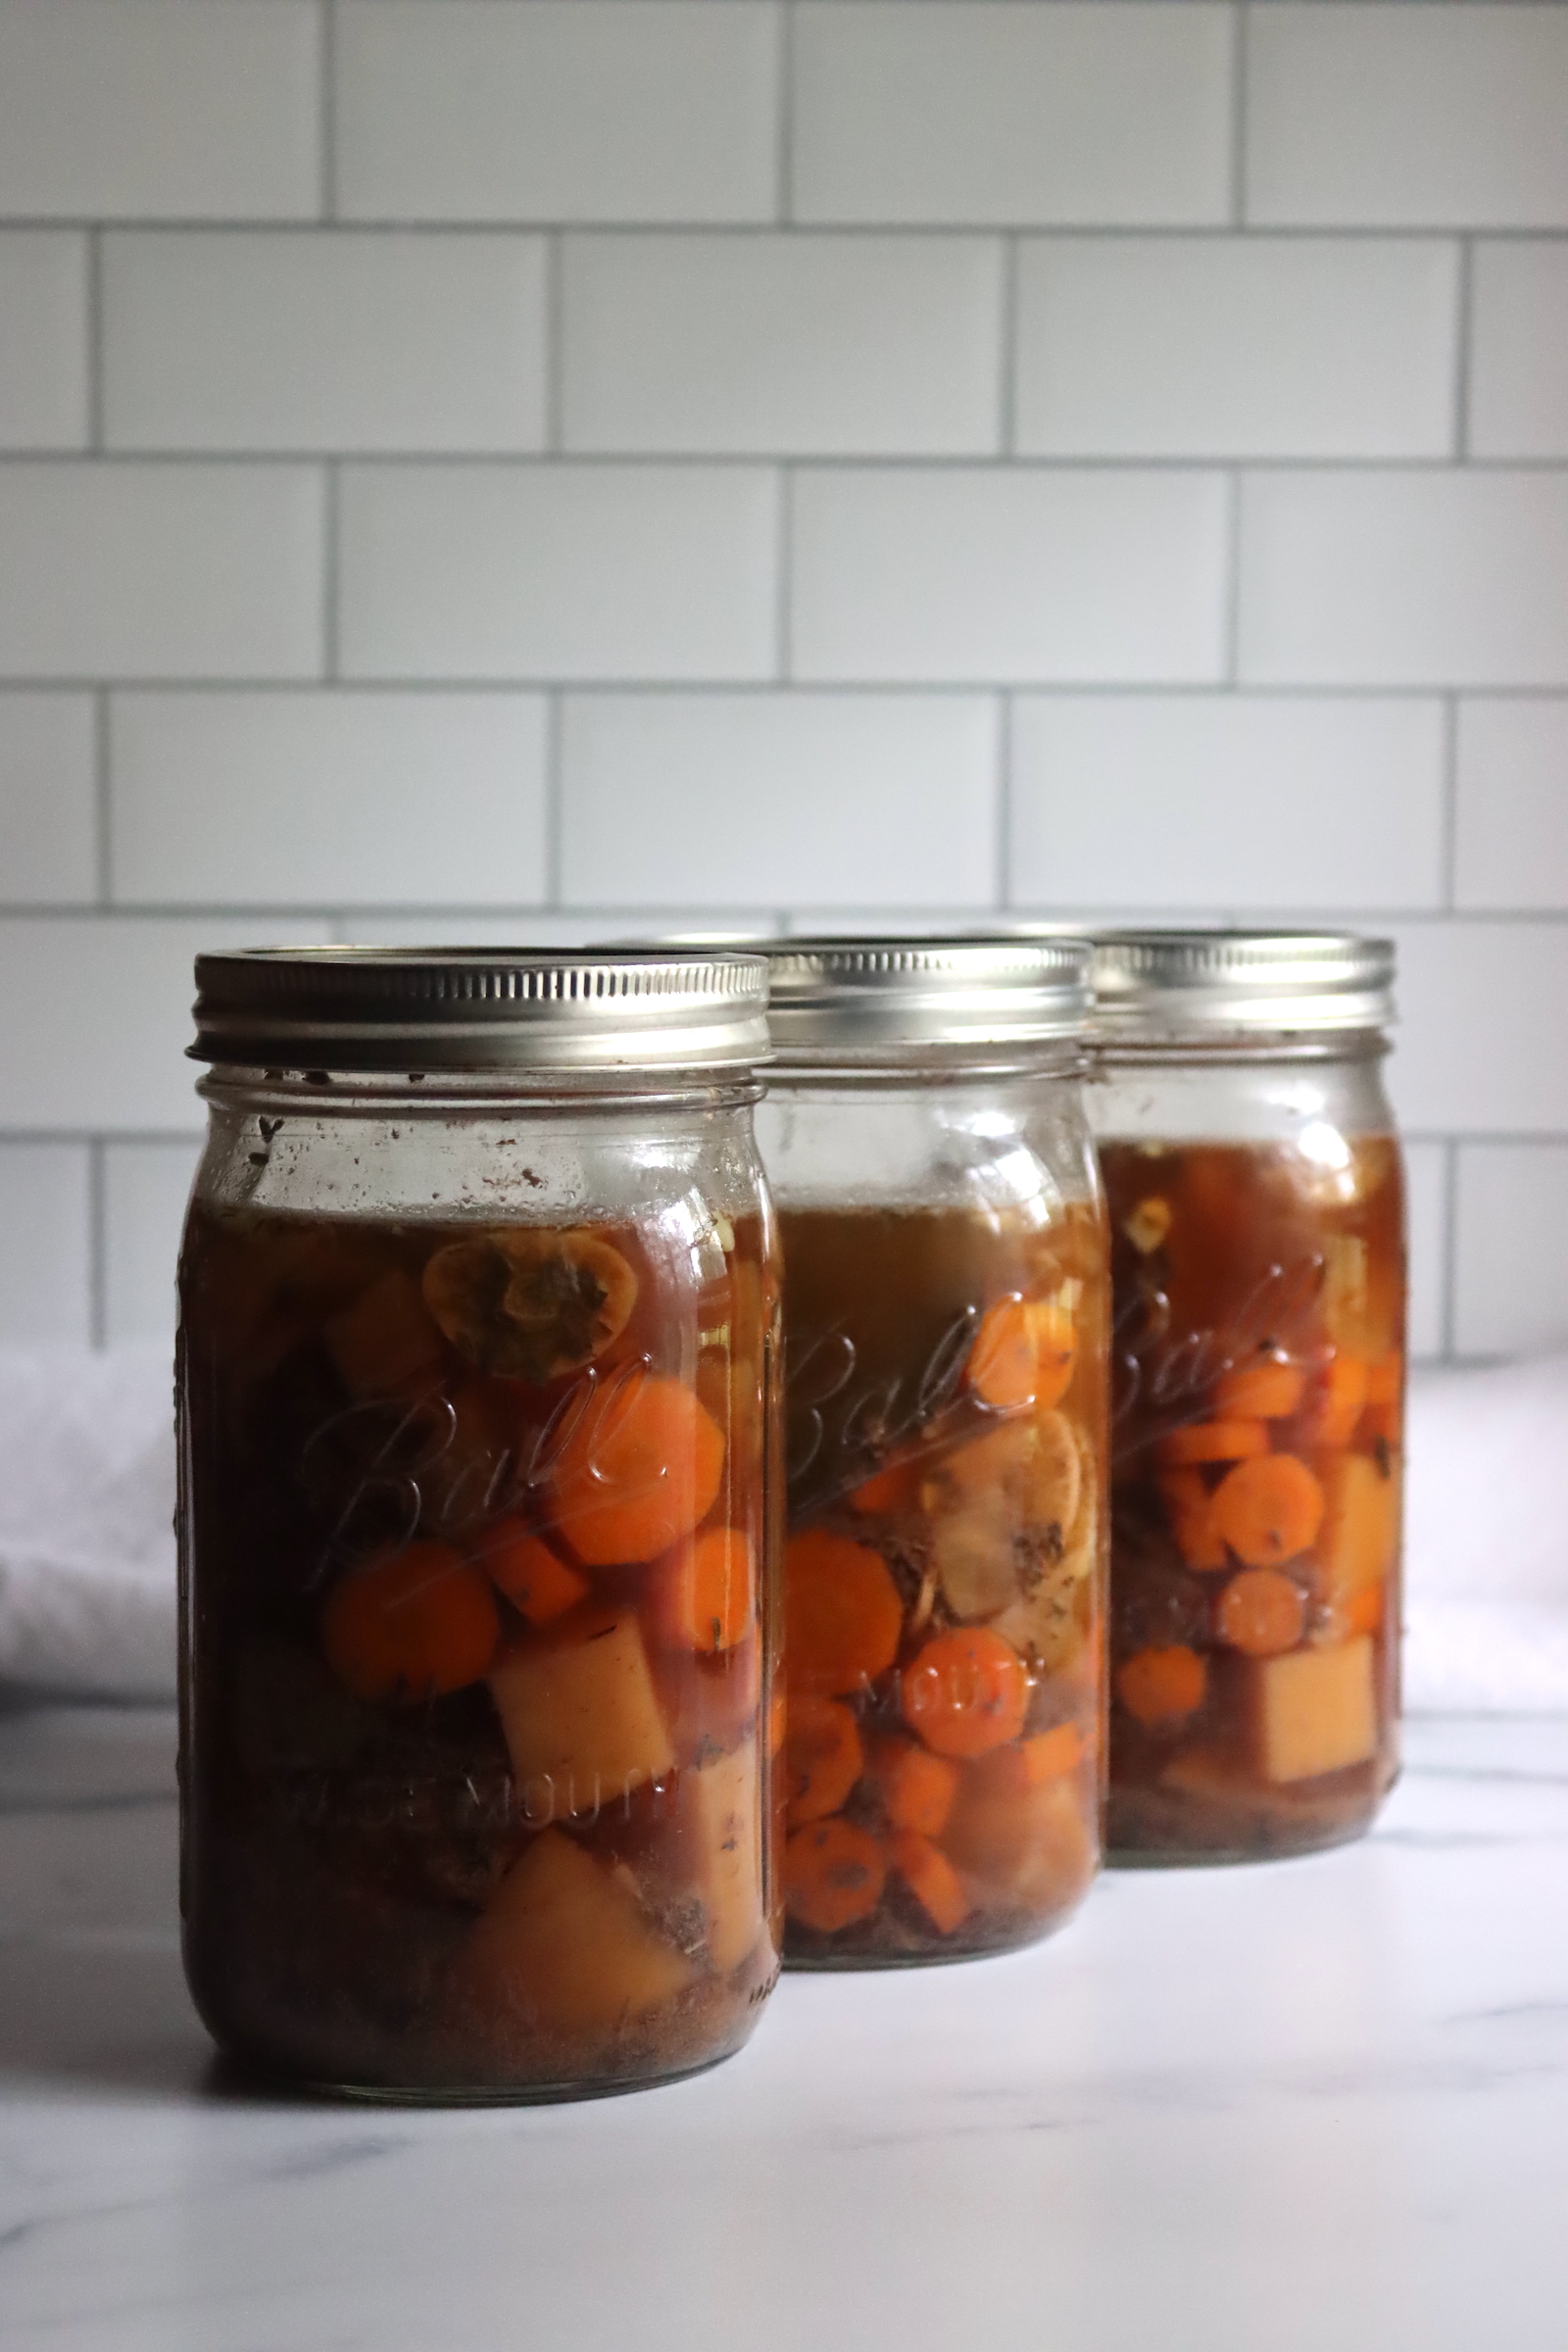
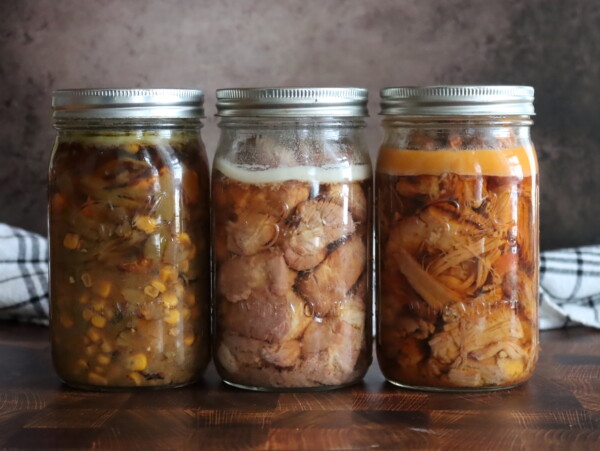
This recipe is written as a raw pack, but I get asked all the time about canning leftover pot roast after making a big batch in the slow cooker or oven. Believe it or not, there is a good chance you can put up those leftovers too, as long as you check a couple of things first.
The first is your ingredients. Every part of the pot roast has to be approved for home canning, and the one that trips people up is flour. If you dredged the meat in flour before browning it, or used any flour or thickener in the cooking liquid, that batch cannot be safely canned, even if it is only a small amount. Look back over how you made it before you decide.
The second is the pack. Fill the jars no more than one half to two thirds full of solids, loosely rather than packed down, and then top them off with boiling broth, water, or the thin liquid from the pot roast itself, leaving 1 inch of headspace. From there you follow the same canning instructions, the same pressures, and the same 75 and 90 minute times, and you can put up your leftover pot roast safely.
Serving Ideas for Pot Roast in a Jar
This is the step where a thin jarful becomes an actual pot roast dinner, and it takes about ten minutes. Empty the jar into a saucepan and bring it to a gentle simmer, then whisk in flour to thicken the liquid into gravy. Use about 2 tablespoons of flour for a quart or 1 tablespoon for a pint, adding it slowly and stirring often so it does not clump, then simmer for 10 minutes until it is glossy and thick. If you would rather skip the flour, a cornstarch slurry stirred in at the end works just as well.
From there, serve it the way you would any pot roast, spooned over mashed potatoes, egg noodles, or a split biscuit to soak up the gravy. It also makes a quick weeknight filling for a hearty sandwich or wrap, and the leftovers reheat well for lunch. If you like the idea of dinner from the pantry shelf, it keeps good company with the rest of my meal in a jar canning recipes and beefier options like canning beef pot pie filling.
Yield Notes
The tested recipe makes a small batch, 4 pints or 2 quarts, from about 2 pounds of beef and a cup each of the vegetables. That is a modest yield for a full afternoon of canning, so most people scale it up. Because the process time is fixed and does not change with the size of the batch, running two or three batches at once fills a standard canner load for the same 90 minutes of processing.
How far a batch stretches at the table depends on how you serve it. A quart jar holds roughly half the solids and feeds a family when it is thickened into gravy and served over potatoes or noodles, while a pint makes a generous single or double serving. Doubling and tripling the recipe works cleanly, since you are just filling more jars with the same evenly divided mixture.
A few questions come up often enough about canning pot roast that they are worth answering directly before you get started.
Canning Pot Roast FAQs
No. Pot roast in a jar is a low-acid meal, so it is not safe for water bath canning. A water bath does not reach a high enough temperature to make it shelf stable, so you need a pressure canner to make safe jars.
No. Flour, cornstarch, and other thickeners are too dense to let heat move safely through the jar, so they are never added before canning. Can the pot roast with thin broth and stir in a thickener on the stove when you reheat it to serve.
No. The 75 minutes for pints and 90 minutes for quarts is the safety control for this low-acid meal, and it cannot be shortened. The time and pressure are what make the jars safe, so both are fixed.
Properly processed and sealed jars keep for about 12 to 18 months in a cool, dark place, though they stay safe longer. Refrigerate after opening and use within 3 to 4 days.
For more dinners you can pull straight off the pantry shelf, browse the rest of my meal in a jar canning recipes below.
Meal in a Jar Canning Recipes
If you tried this Canning Pot Roast in a Jar recipe, or any other recipe on Creative Canning, leave a ⭐ star rating and let me know what you think in the 📝 comments below!
And make sure you stay in touch with me by following on social media!
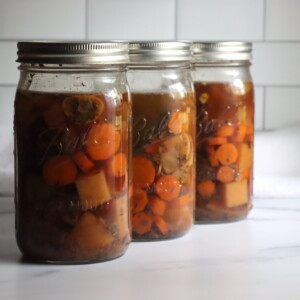
Canning Pot Roast in a Jar
Equipment
- Wide Mouth Quart Mason Jars
- Wide Mouth Canning Lids
Ingredients
- 2 lb beef chuck roast, boneless, fat trimmed and meat cut into 2-inch (5 cm) chunks
- 2 tsp salt
- 1 tsp Ground black pepper
- 2 cloves garlic, sliced
- 2 whole bay leaves, 1 per quart, or 1/2 per pint
- 2 tsp dried thyme
- 1 cup dry red wine
- 1 cup carrots, sliced
- 1 cup onions, diced
- 1 cup potatoes, peeled, diced
- ½ cup celery, diced
- Boiling Water or Broth to Fill, about 1 quart
Instructions
- Prepare the pressure canner and jars, keeping the jars warm. Place the canner on the stove with about 2 inches of water, following your canner manufacturer's instructions. Since this is a raw pack, heat the canner water only to about 140 degrees Fahrenheit, not to a simmer, before loading the jars.
- Trim the hard fat off the beef and cut it into 2-inch chunks that fit through the jar opening. Slice the garlic and carrots, and dice the onions, potatoes, and celery.
- Combine the beef, vegetables, garlic, salt, pepper, thyme, and bay leaves in a large bowl and mix well.
- Pack the raw mixture into the jars, dividing it evenly and not packing it down too tightly. Add the red wine if using.
- Pour boiling water or broth over the solids, leaving 1 inch headspace.
- Remove air bubbles, recheck the headspace, wipe the rims, and apply the lids and bands fingertip tight.
- Load the jars into the pressure canner, lock the lid, and vent steam for 10 minutes. Bring to pressure, at 10 lbs in a weighted gauge canner or 11 lbs in a dial gauge canner, adjusting for altitude.
- Process pints for 75 minutes or quarts for 90 minutes, keeping the pressure steady the whole time.
- Turn off the heat and let the canner depressurize naturally, never forcing it cool. Wait 5 minutes, then remove the lid.
- Let the jars rest 10 minutes, then remove them and cool undisturbed for 24 hours. Check the seals, label, and store.
Notes
- 0 to 2,000 feet in elevation – 11 lbs pressure
- 2,001 to 4,000 feet in elevation – 12 lbs pressure
- 4,001 to 6,000 feet in elevation – 13 lbs pressure
- 6,001 to 8,000 feet in elevation – 14 lbs pressure
- 0 to 1,000 feet in elevation – 10 lbs pressure
- Above 1,000 feet – 15 lbs pressure
Nutrition
Nutrition information is automatically calculated, so should only be used as an approximation.
Working with a pressure canner opens up a whole shelf of savory jars, from meats to soups to plain vegetables. Here are more pressure canning recipes to try next.
Pressure Canning Recipes
Find the perfect recipe
Searching for something else? Enter keywords to find the perfect recipe!

Very flavorful overall, beef tender. Great recipe, will repeat.
Do veggies have to be diced? I love large chunks of veggies in pot roast.
With this particular recipe, you could leave the vegetables in somewhat bigger chunks pot roast style, but keep the chunks under 2” so heat can still penetrate each chunk. It doesn’t have to be dice, but you can’t quite just leave a whole potato in there either.
What do you do with the bay leaves??
The bay leaves go in with the other spices. You add 1 bay leaf per quart or 1/2 bay leaf per pint.
This is so close to the way I make my pot roast so I’m sure it will be wonderful canned!
Would it be possible to brown the chuck roast cubes lightly & let them cool before mixing with the vegetables & seasonings?
I also add 1 TBSP of tomato paste to my usual pot roast. Could I possibly add a tablespoon to my water/broth for added flavor? Thanks so much!
Both of those are perfectly fine additions and wouldn’t change the canning instructions on this recipe. Browning shrinks the meat a bit, so you’ll need extra broth to make up the space in the jars. Other than that, enjoy!
Thank you so much!
Can you substitute soy sauce for red wine in the pot roast recipe.
That’s fine in terms of canning safety, as the red wine in this recipe is for flavor rather than adding acidity. That’d be a lot of soy sauce, so I’d personally recommend using a bit of soy sauce and then water or broth to make up the difference. You can use Worcestershire sauce too, which I think would give you better flavor than soy sauce. Both, however, have a lot of extra salt, and you may need to adjust the salt in the recipe down a bit. I’m not sure exactly how much, it depends on how much soy sauce you use. Best of luck with it!
Could I add Worcestershire Sauce to this? Like 1/2 tablespoon per quart?
Yes, that’s perfectly fine. Enjoy!
Does each guart get a bay leaf?
Yes, each quart gets a bay leaf.
How many quarts does this recipe make?
This is a small batch recipe that makes 2 quarts or 4 pints. You can increase the recipe as much as you like, based on the capacity of your canner.
Is it okay to can more than 2 quarts at a time?
Yup, you can make this recipe as large as you like. The minimum for a pressure canner batch is 2 quarts, but the maximum is as much as your canner can hold. I make this as a 14 quart batch in my All American Canner.