This post may contain affiliate links. Please see our disclosure policy.
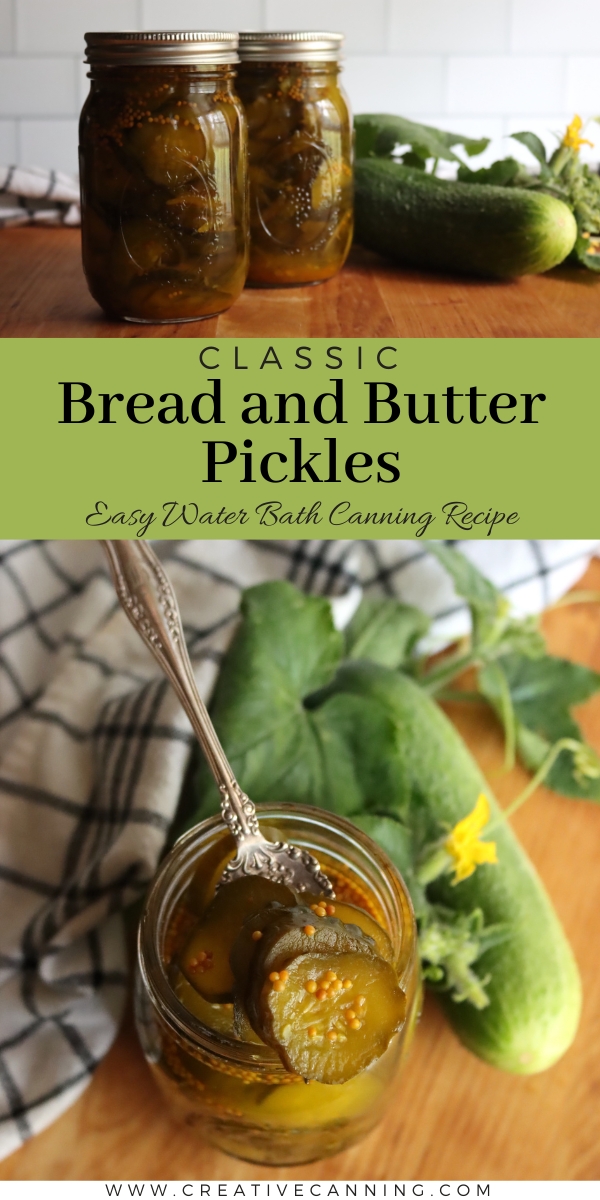
Bread and butter pickles are an old-fashioned classic that remains popular to this day. They’re one of the most common types of pickles, and a favorite of home canners everywhere. This is a tested canning recipe, but they can also be made as quick refrigerator pickles.
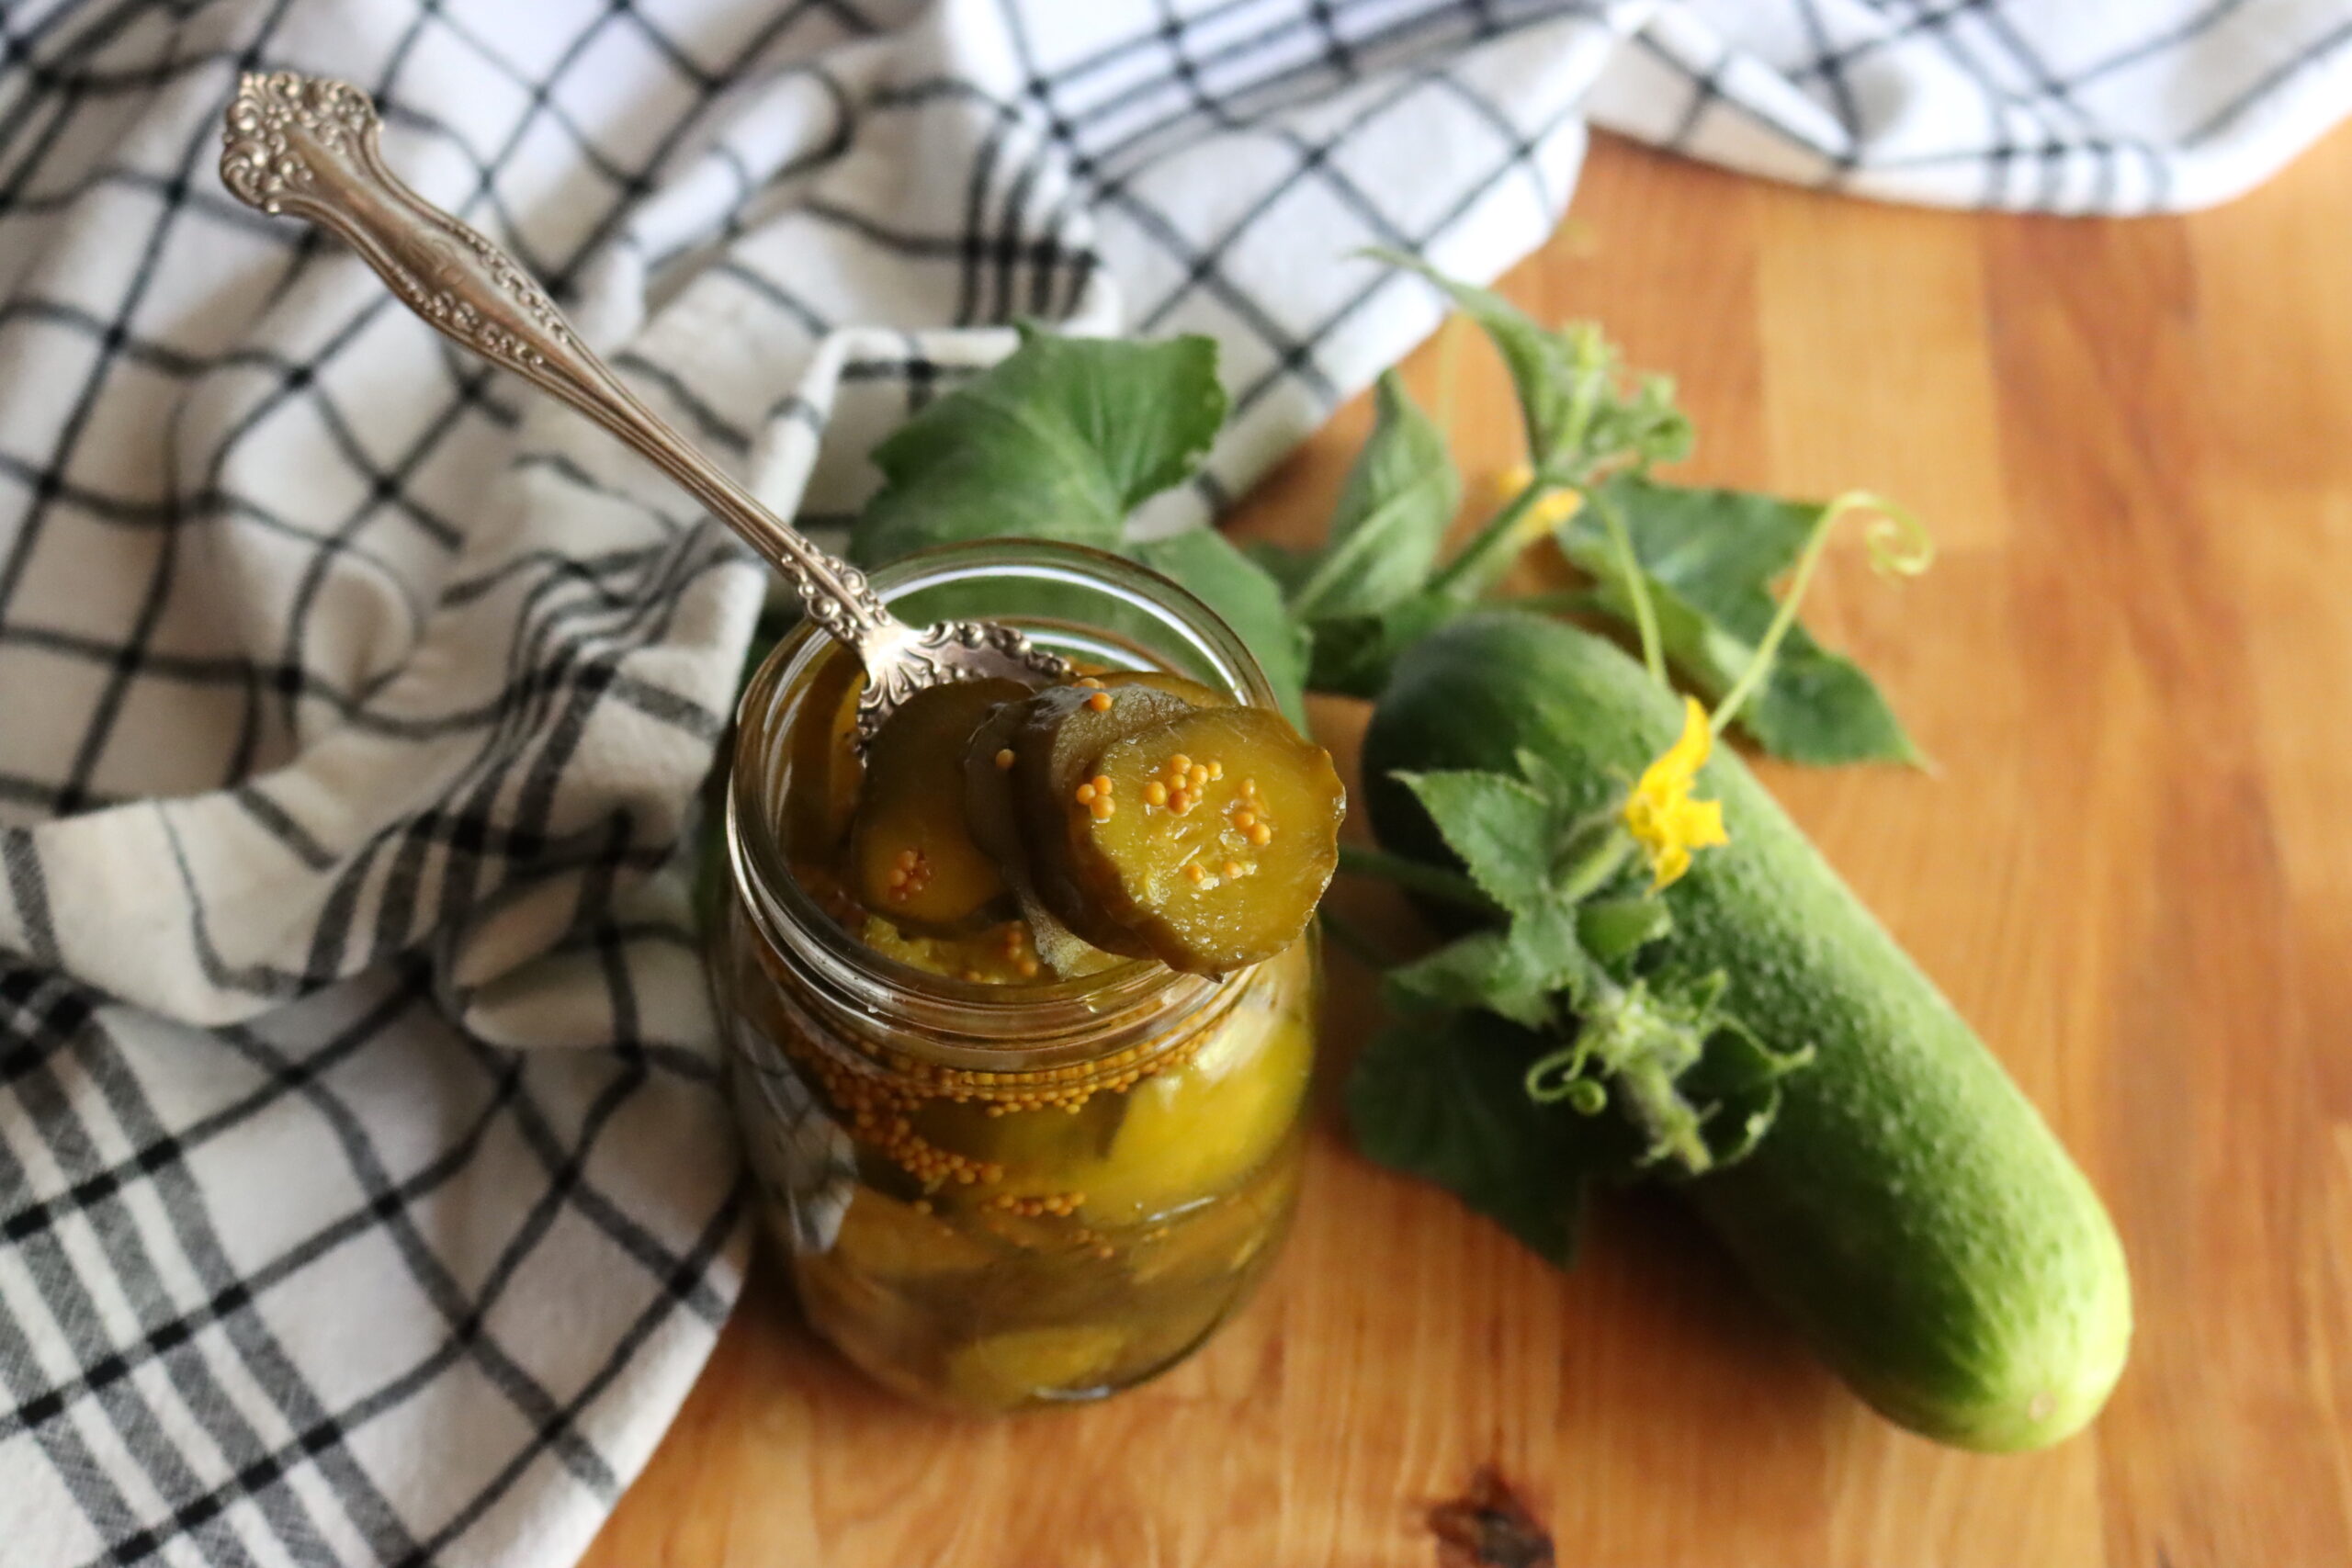
Imagine opening your pantry in the middle of winter and finding jars of homemade bread and butter pickles, brimming with the sweet and tangy flavors of summer. These aren’t just any pickles – they’re a slice of nostalgia, a taste of tradition, and a burst of flavor that takes any dish to the next level.
Bread and butter pickles are made from pickling cucumbers, which are sliced into thin rounds and then soaked in a flavorful brine of vinegar, sugar, and spices. The result is a crunchy, tasty pickle that pairs beautifully with a wide range of dishes. They’re like the dill pickles you know and love from all those backyard summer barbecues – but even better.
Whether you’re new to canning or a seasoned pro, we’re diving into the delightful world of making and canning bread and butter pickles. So, roll up your sleeves, and let’s get started!
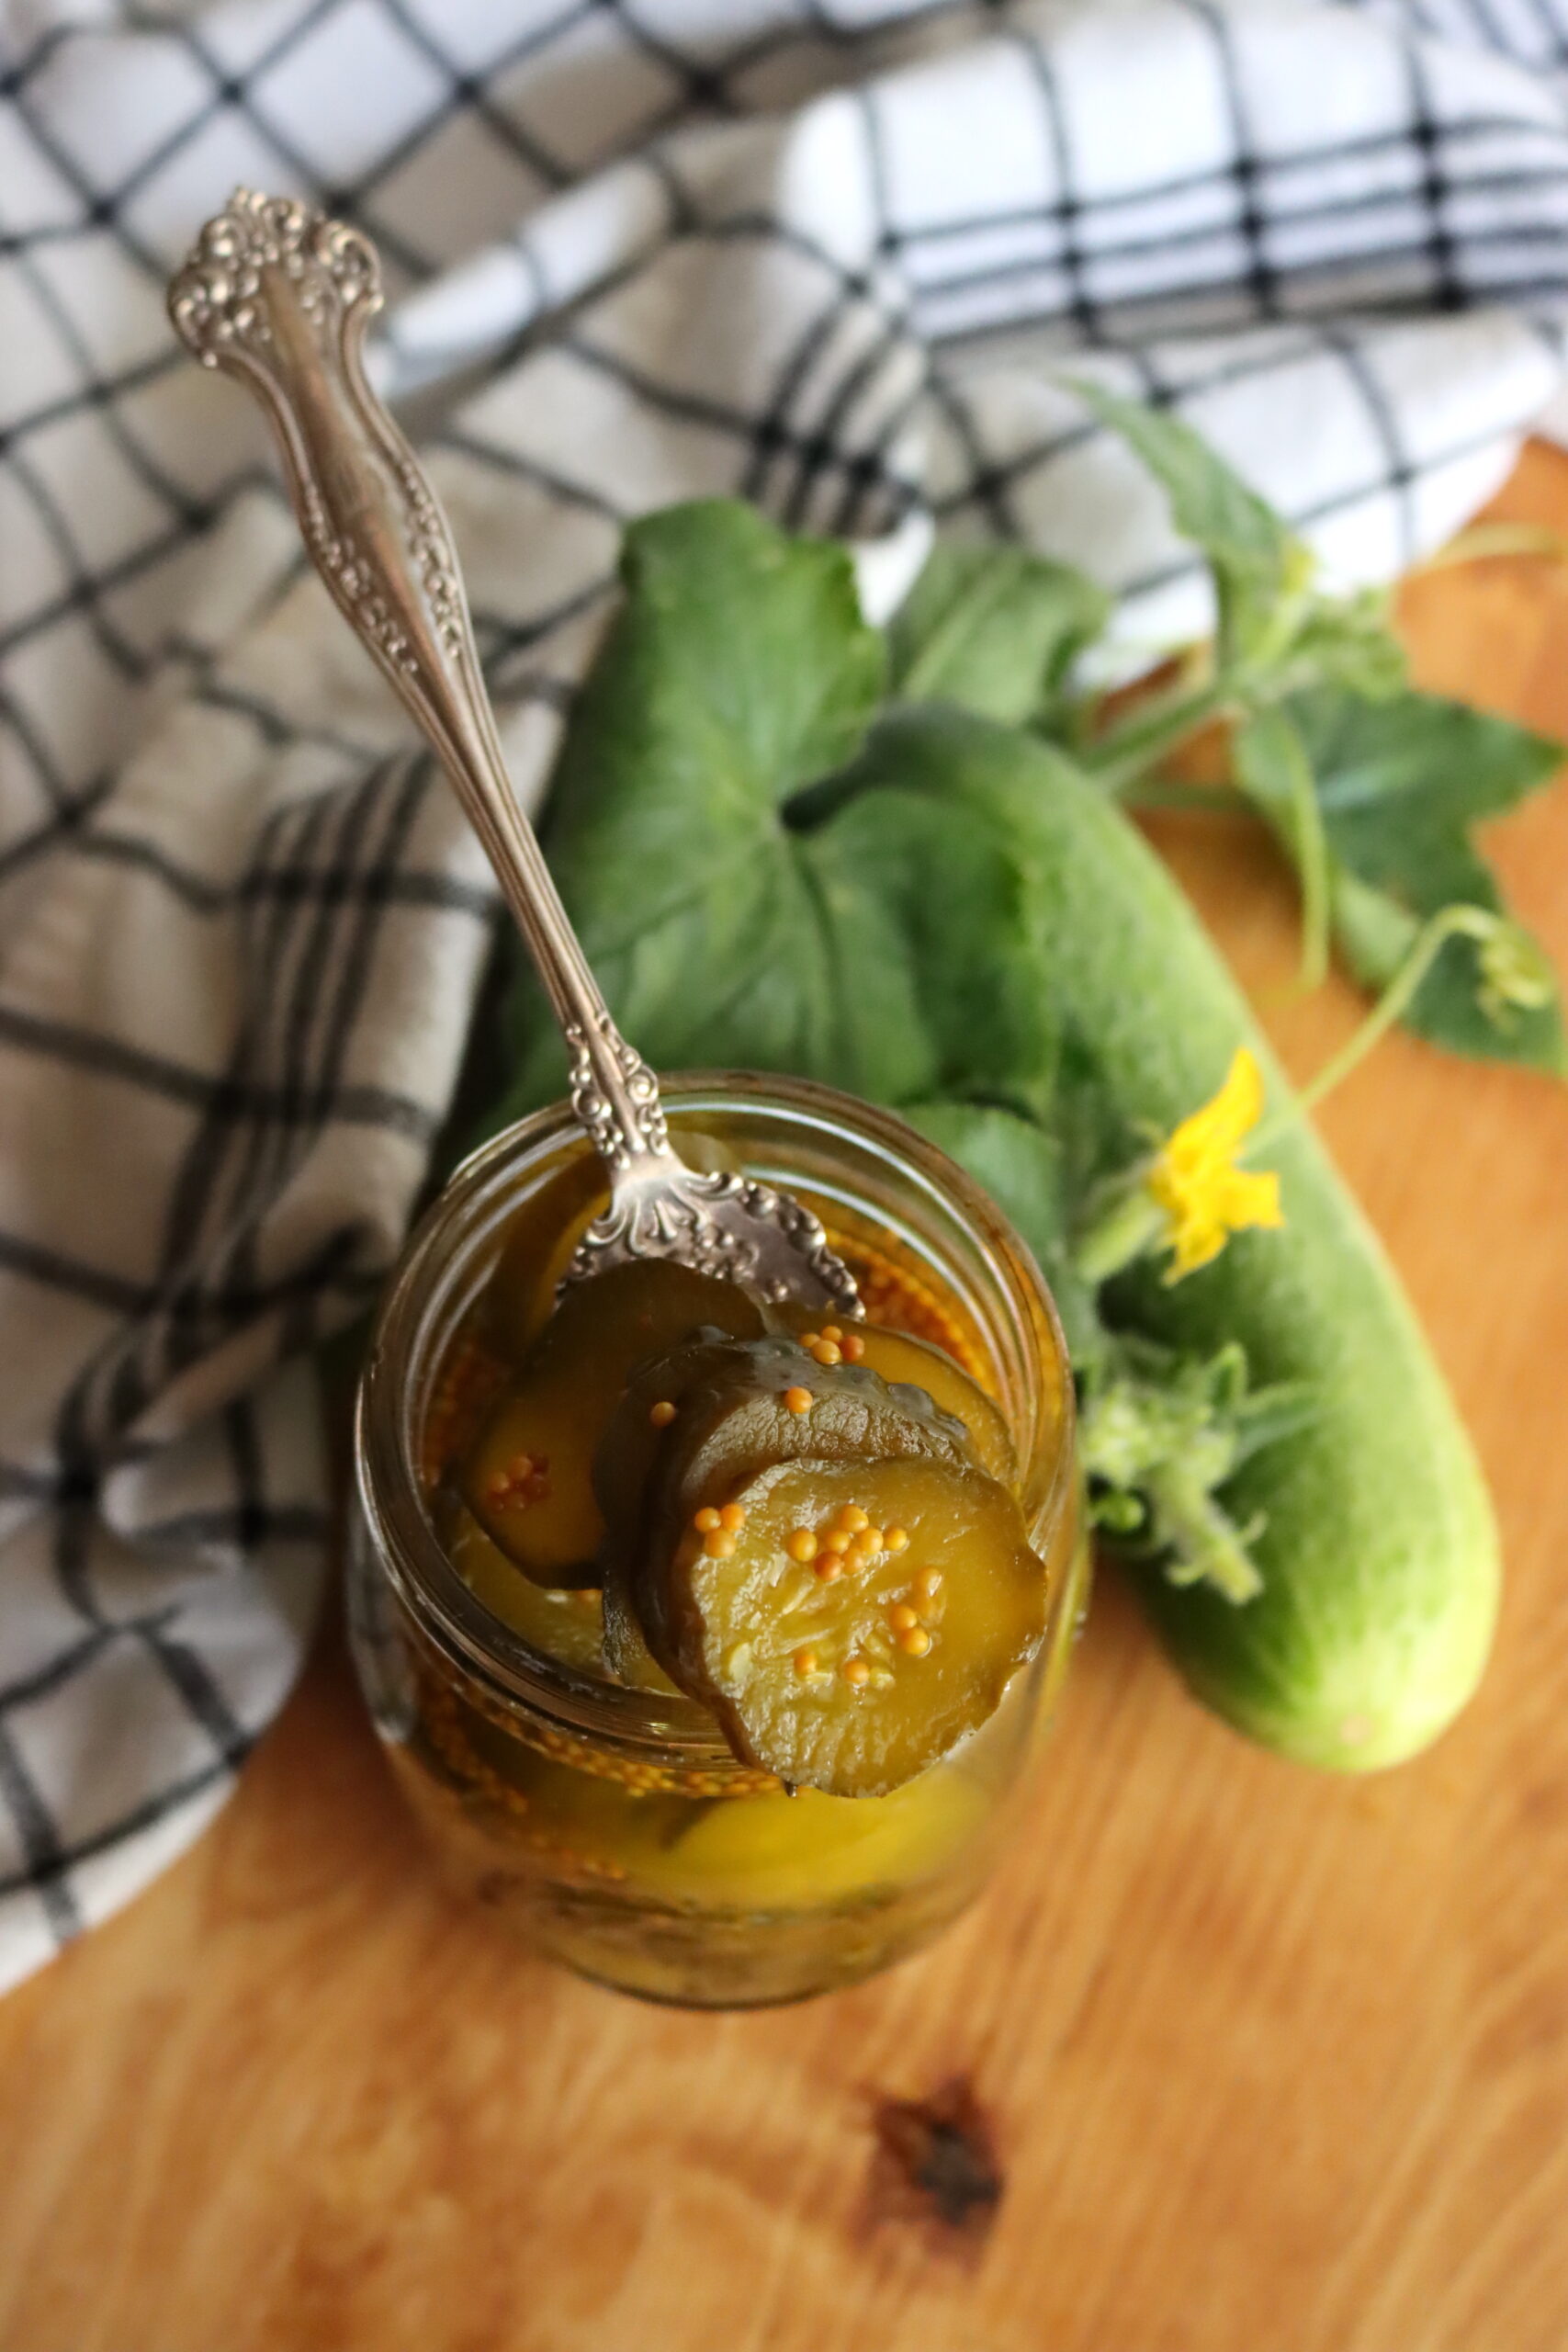
Ingredients for Bread and Butter Pickles
This tested recipe for bread and butter pickles comes from the Ball Complete Book of Home Preserving, and it’s a traditional recipe that’s stood the test of time. They can be made as refrigerator pickles or quick pickles, but the recipe is designed to be a safe canning recipe if you choose to preserve them for longer.
The ingredients for canning bread and butter pickles are quite simple. To make a canner batch of 5 pint jars (500 ml each), you’ll need the following:
- 10 cups (2.5 L) pickling cucumbers, sliced and trimmed into ¼” (0.5 cm) slices
- 3 cups (750 ml) white vinegar
- 4 medium onions, sliced
- 2 cups (500 ml) white granulated sugar
- ½ cup (125 ml) canning salt
- 2 tbsp (30 ml) mustard seeds
- 1 tsp (5 ml) celery seeds
- 1 tsp (5 ml) ground turmeric
When you’re selecting cucumbers to make your pickles, choose ones that are uniformly sized and fresh. This helps ensure even heating during processing, which is crucial for maintaining a great texture. Start by slicing your cucumbers into ¼” rounds. For the onions, slice them thinly to match the cucumber slices.
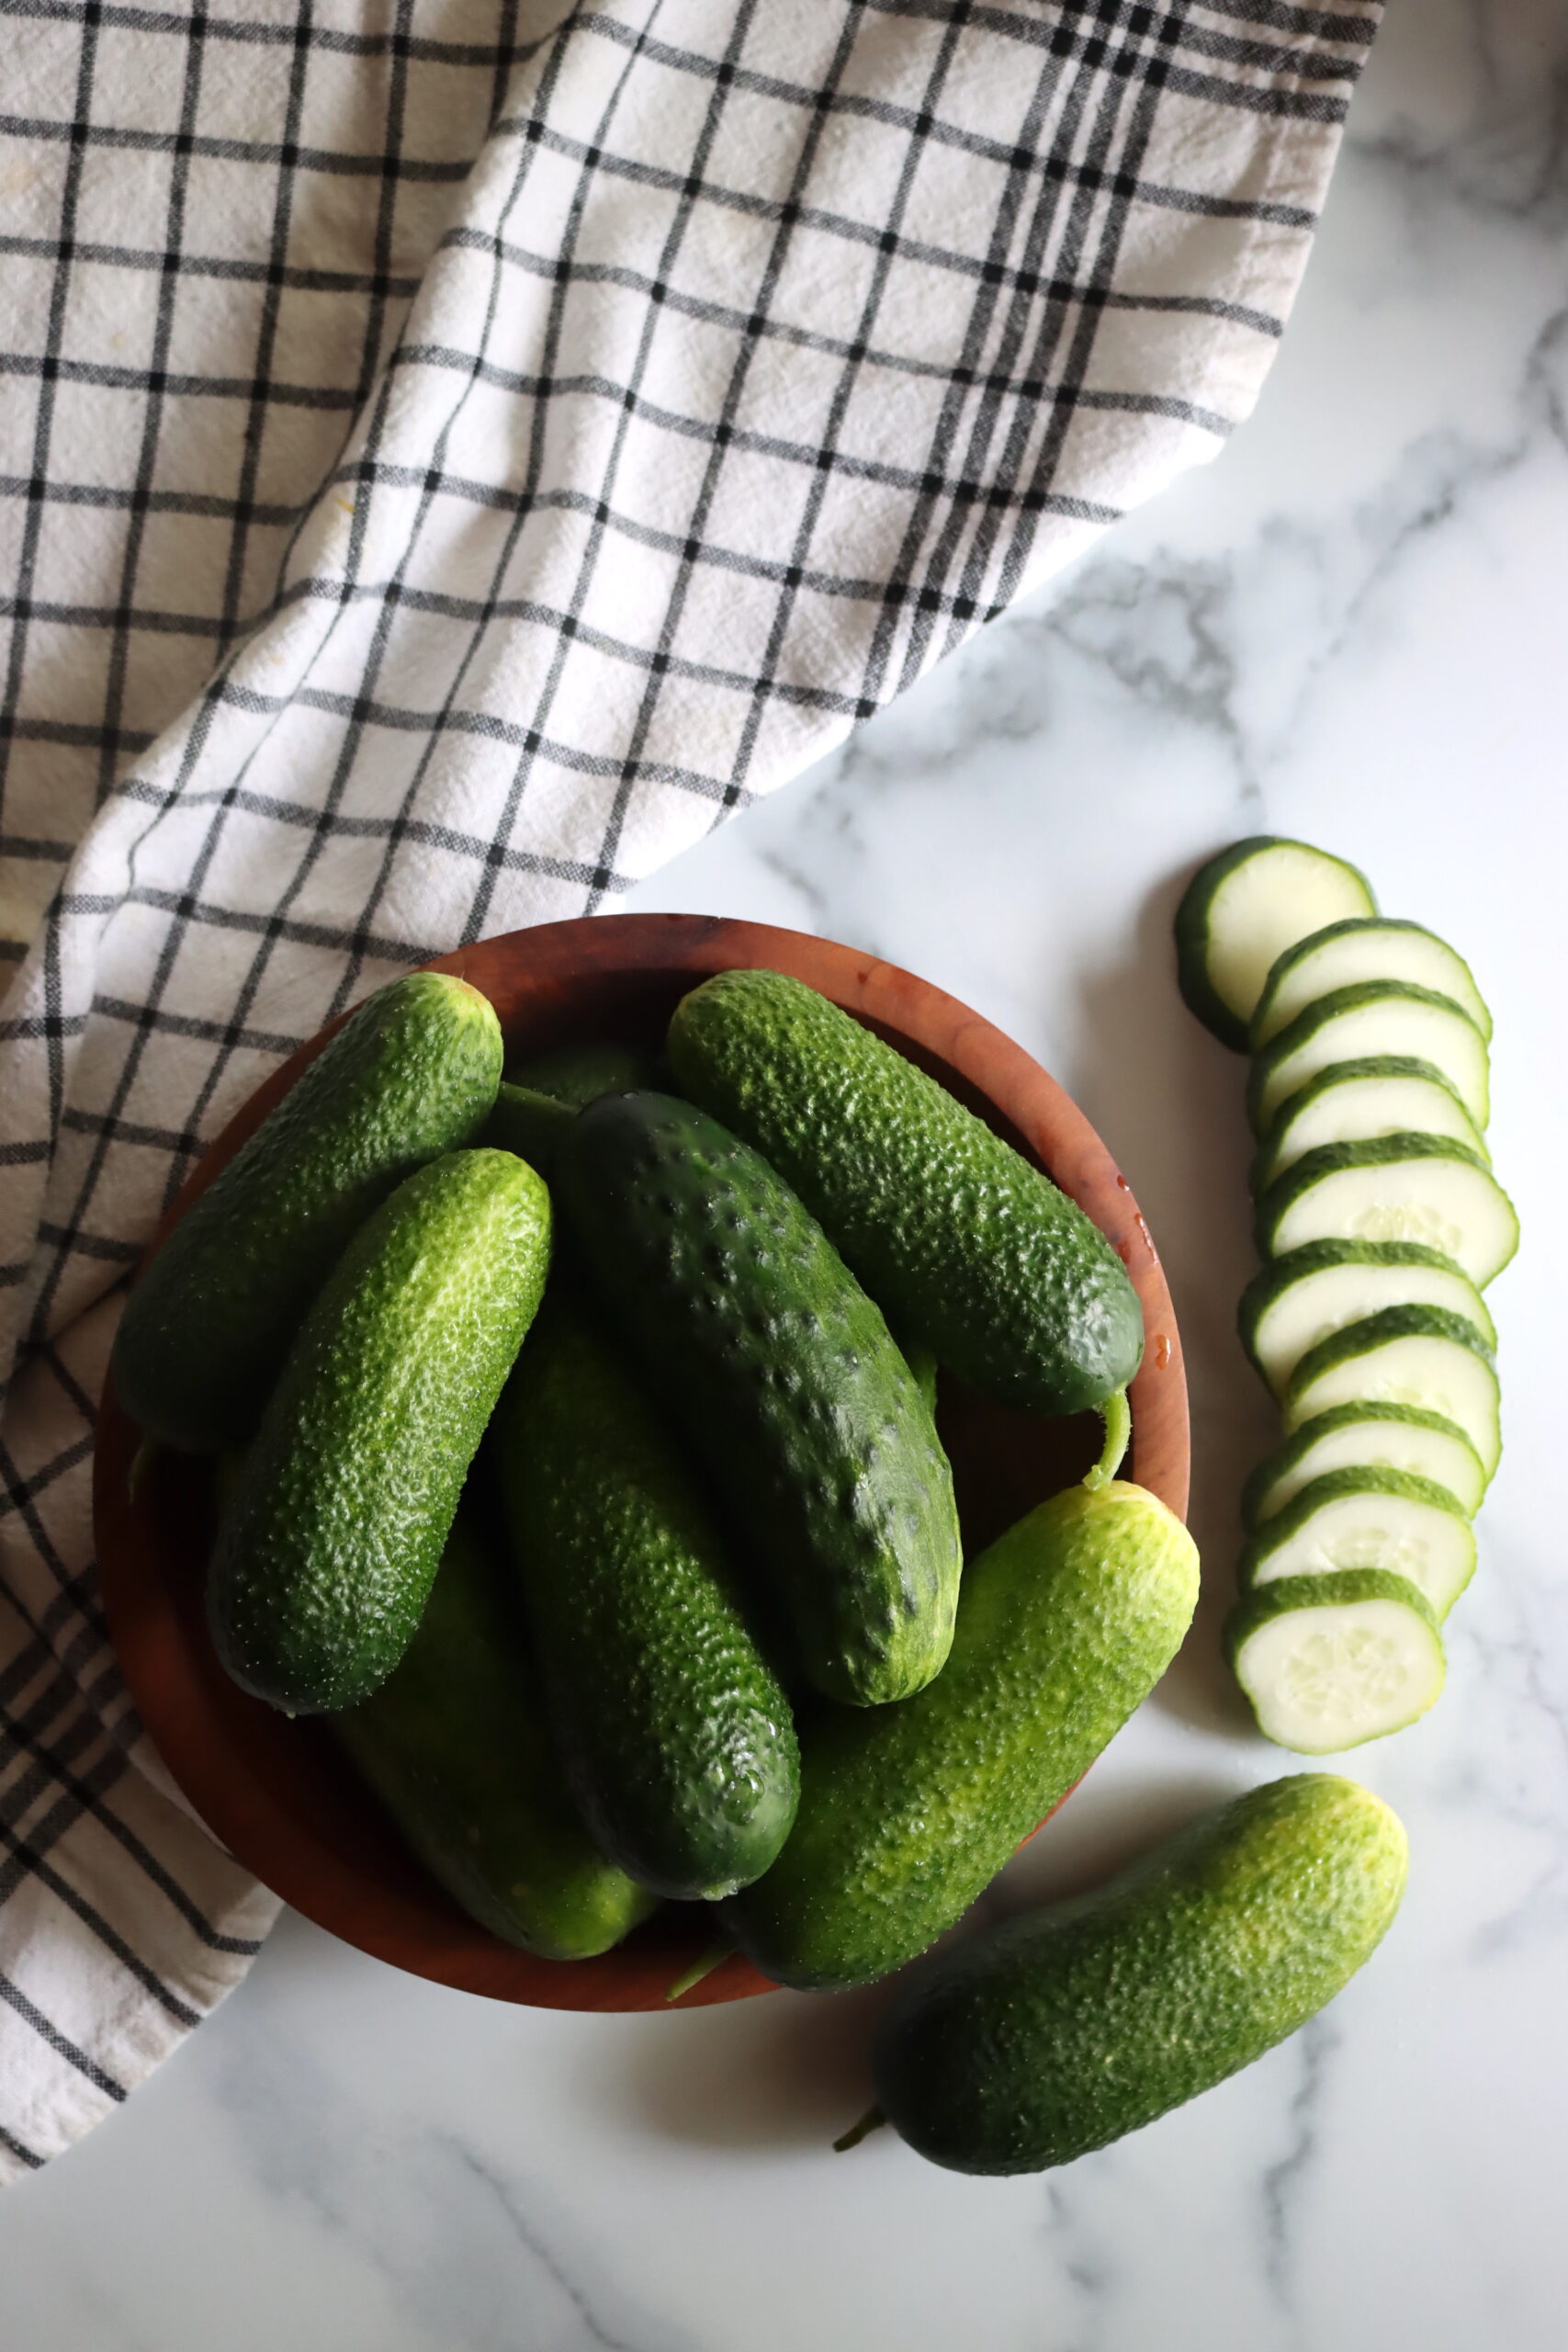
Keep in mind that 1 ½ pounds of cucumbers usually yield about 1 pound of prepared cucumber slices. Make sure you have enough cucumbers to meet the recipe requirements. Also, feel free to experiment with substitutions.
If you’re feeling creative and you want to try some fun variations, consider making British bread and butter pickles. For these, you’ll replace the white vinegar with 3 cups of apple cider vinegar and the granulated sugar with 2 cups of packed brown sugar. Add a teaspoon of ground ginger to your turmeric for a unique twist.
You can also try zesty bread and butter pickles, in which you’ll swap out the celery seeds for 2 tbsp of prepared horseradish and the turmeric for 2 tbsp of grated ginger for a spicy kick.
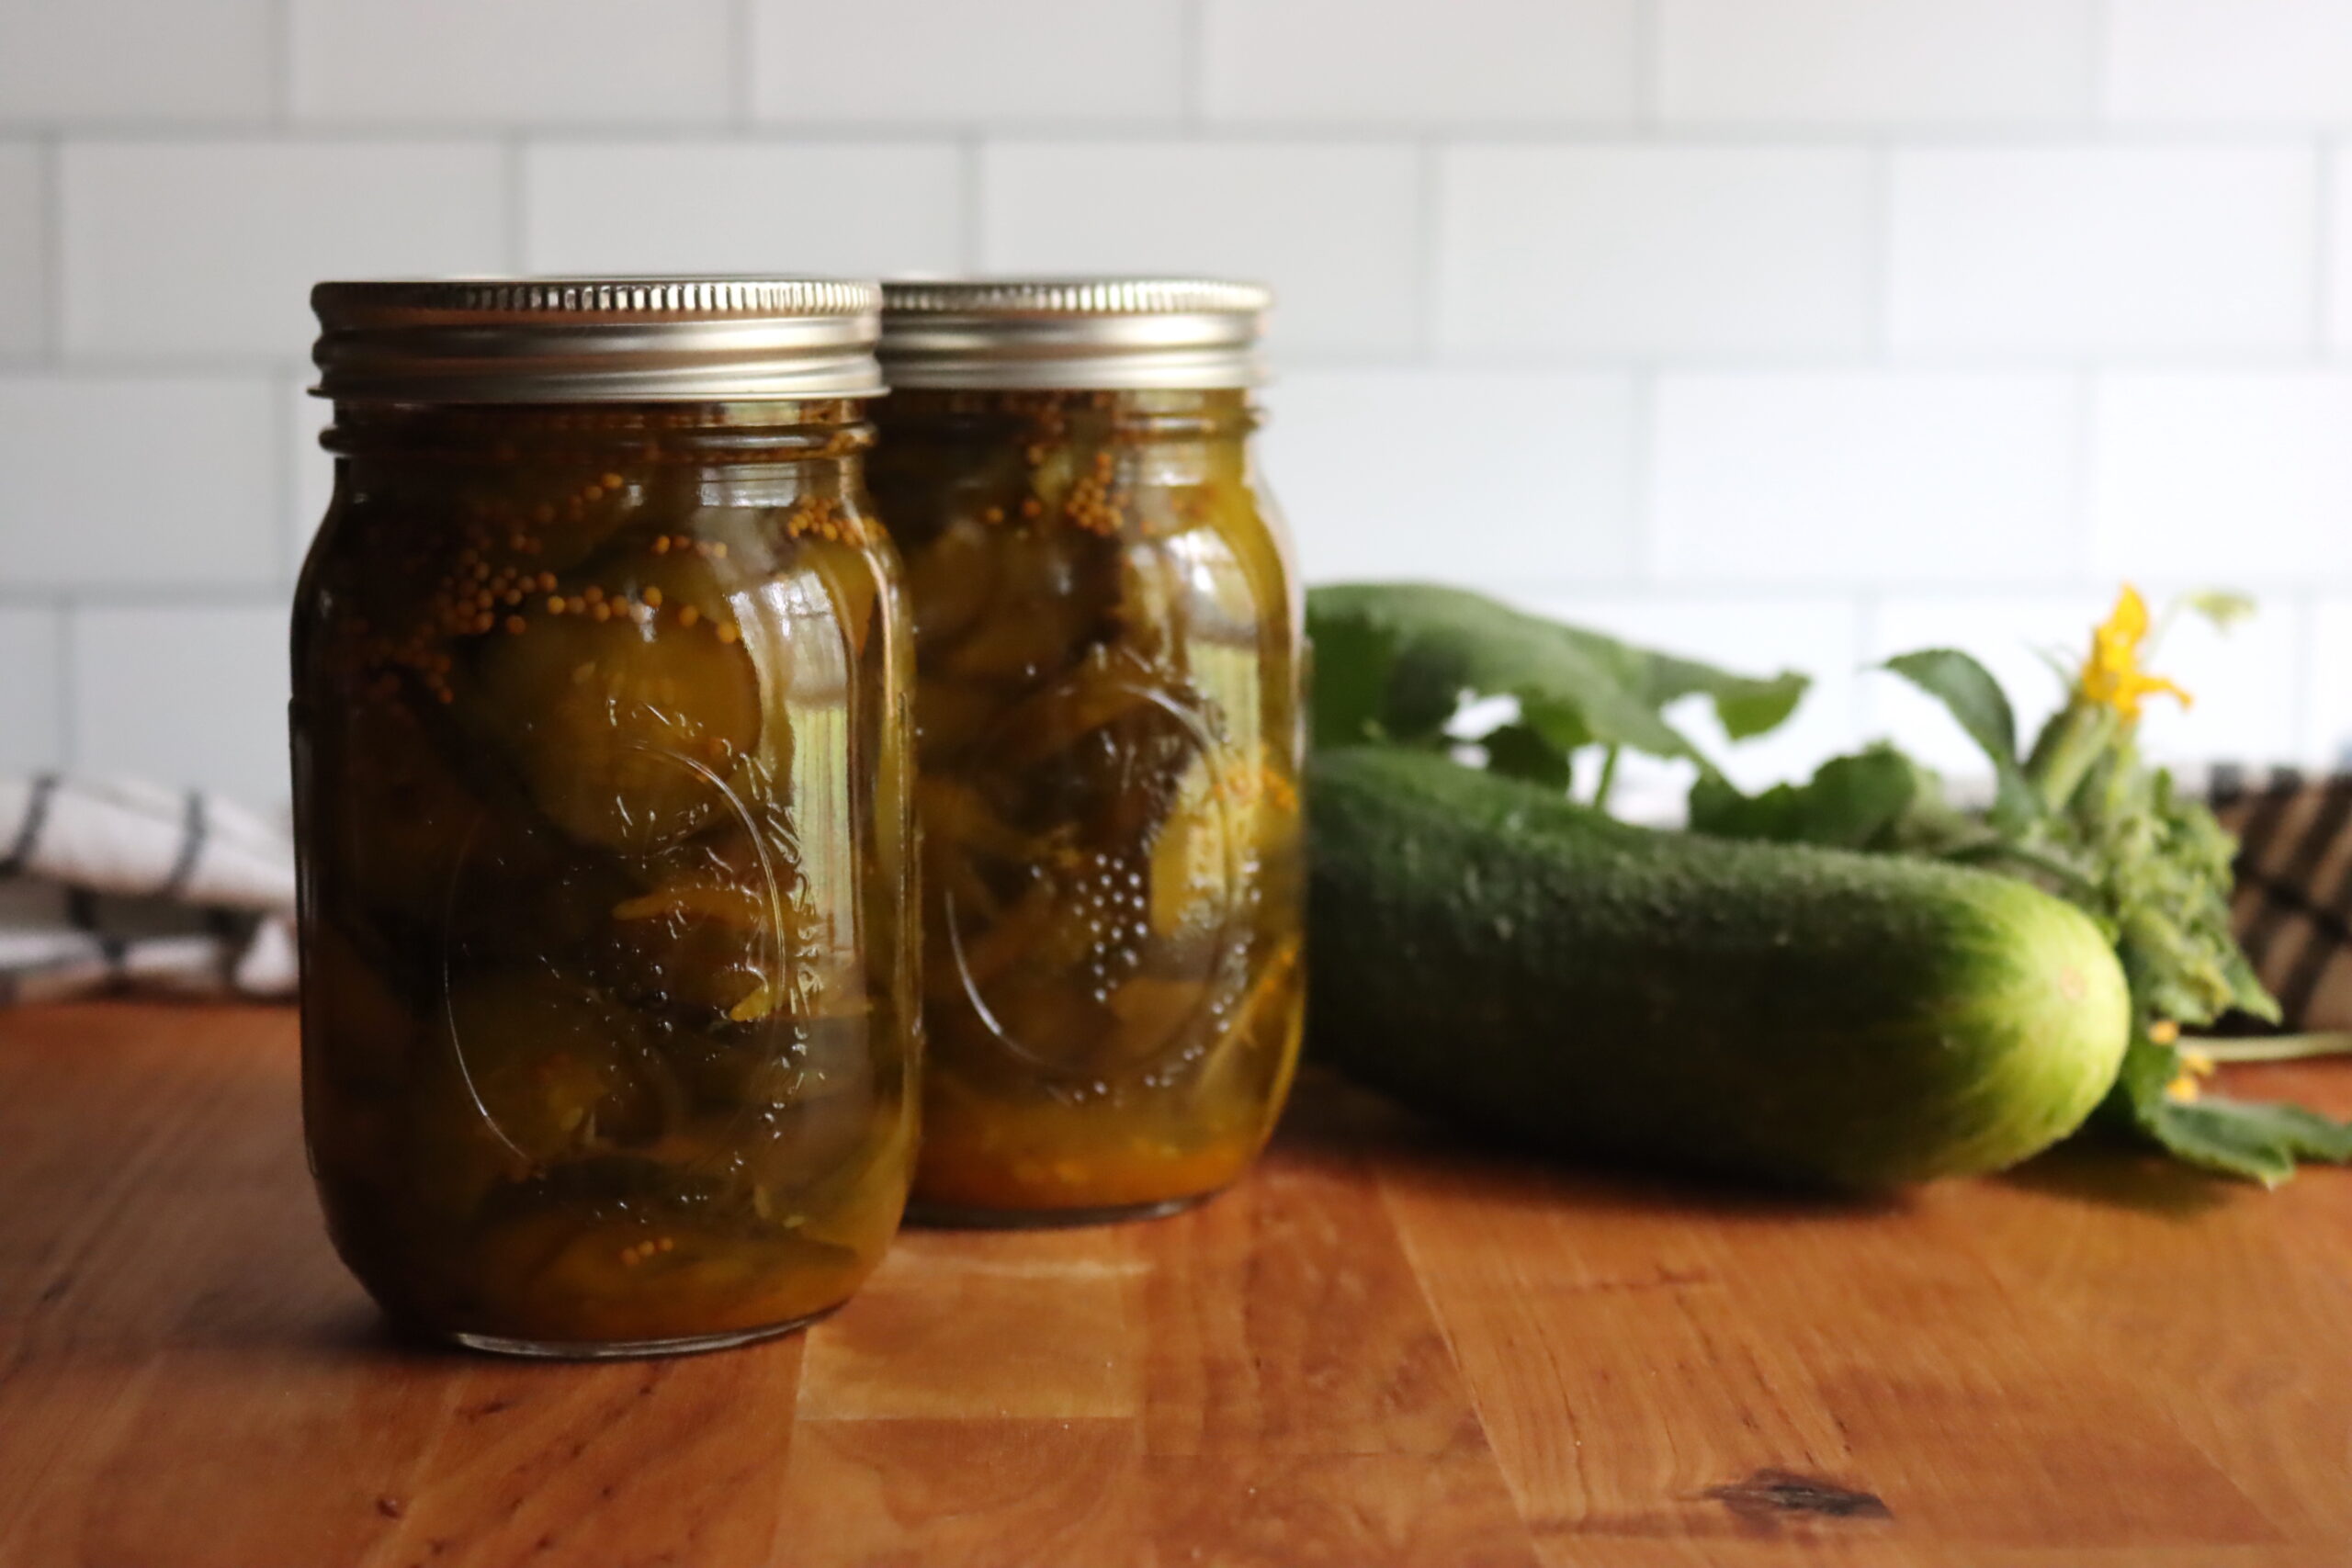
Canning Bread and Butter Pickles
In a glass or stainless steel bowl, combine the sliced cucumbers, onions, and canning salt. Mix everything together, then cover the mixture with ice water. Let it stand at room temperature for two hours. This step helps to firm up the cucumbers so they stay crisp during the canning process.
After letting the mixture sit for two hours, transfer it to a colander placed over a sink. Rinse thoroughly with cool water to remove excess salt, then drain completely. Pat the cucumbers and onions dry with a clean towel to remove any remaining moisture.
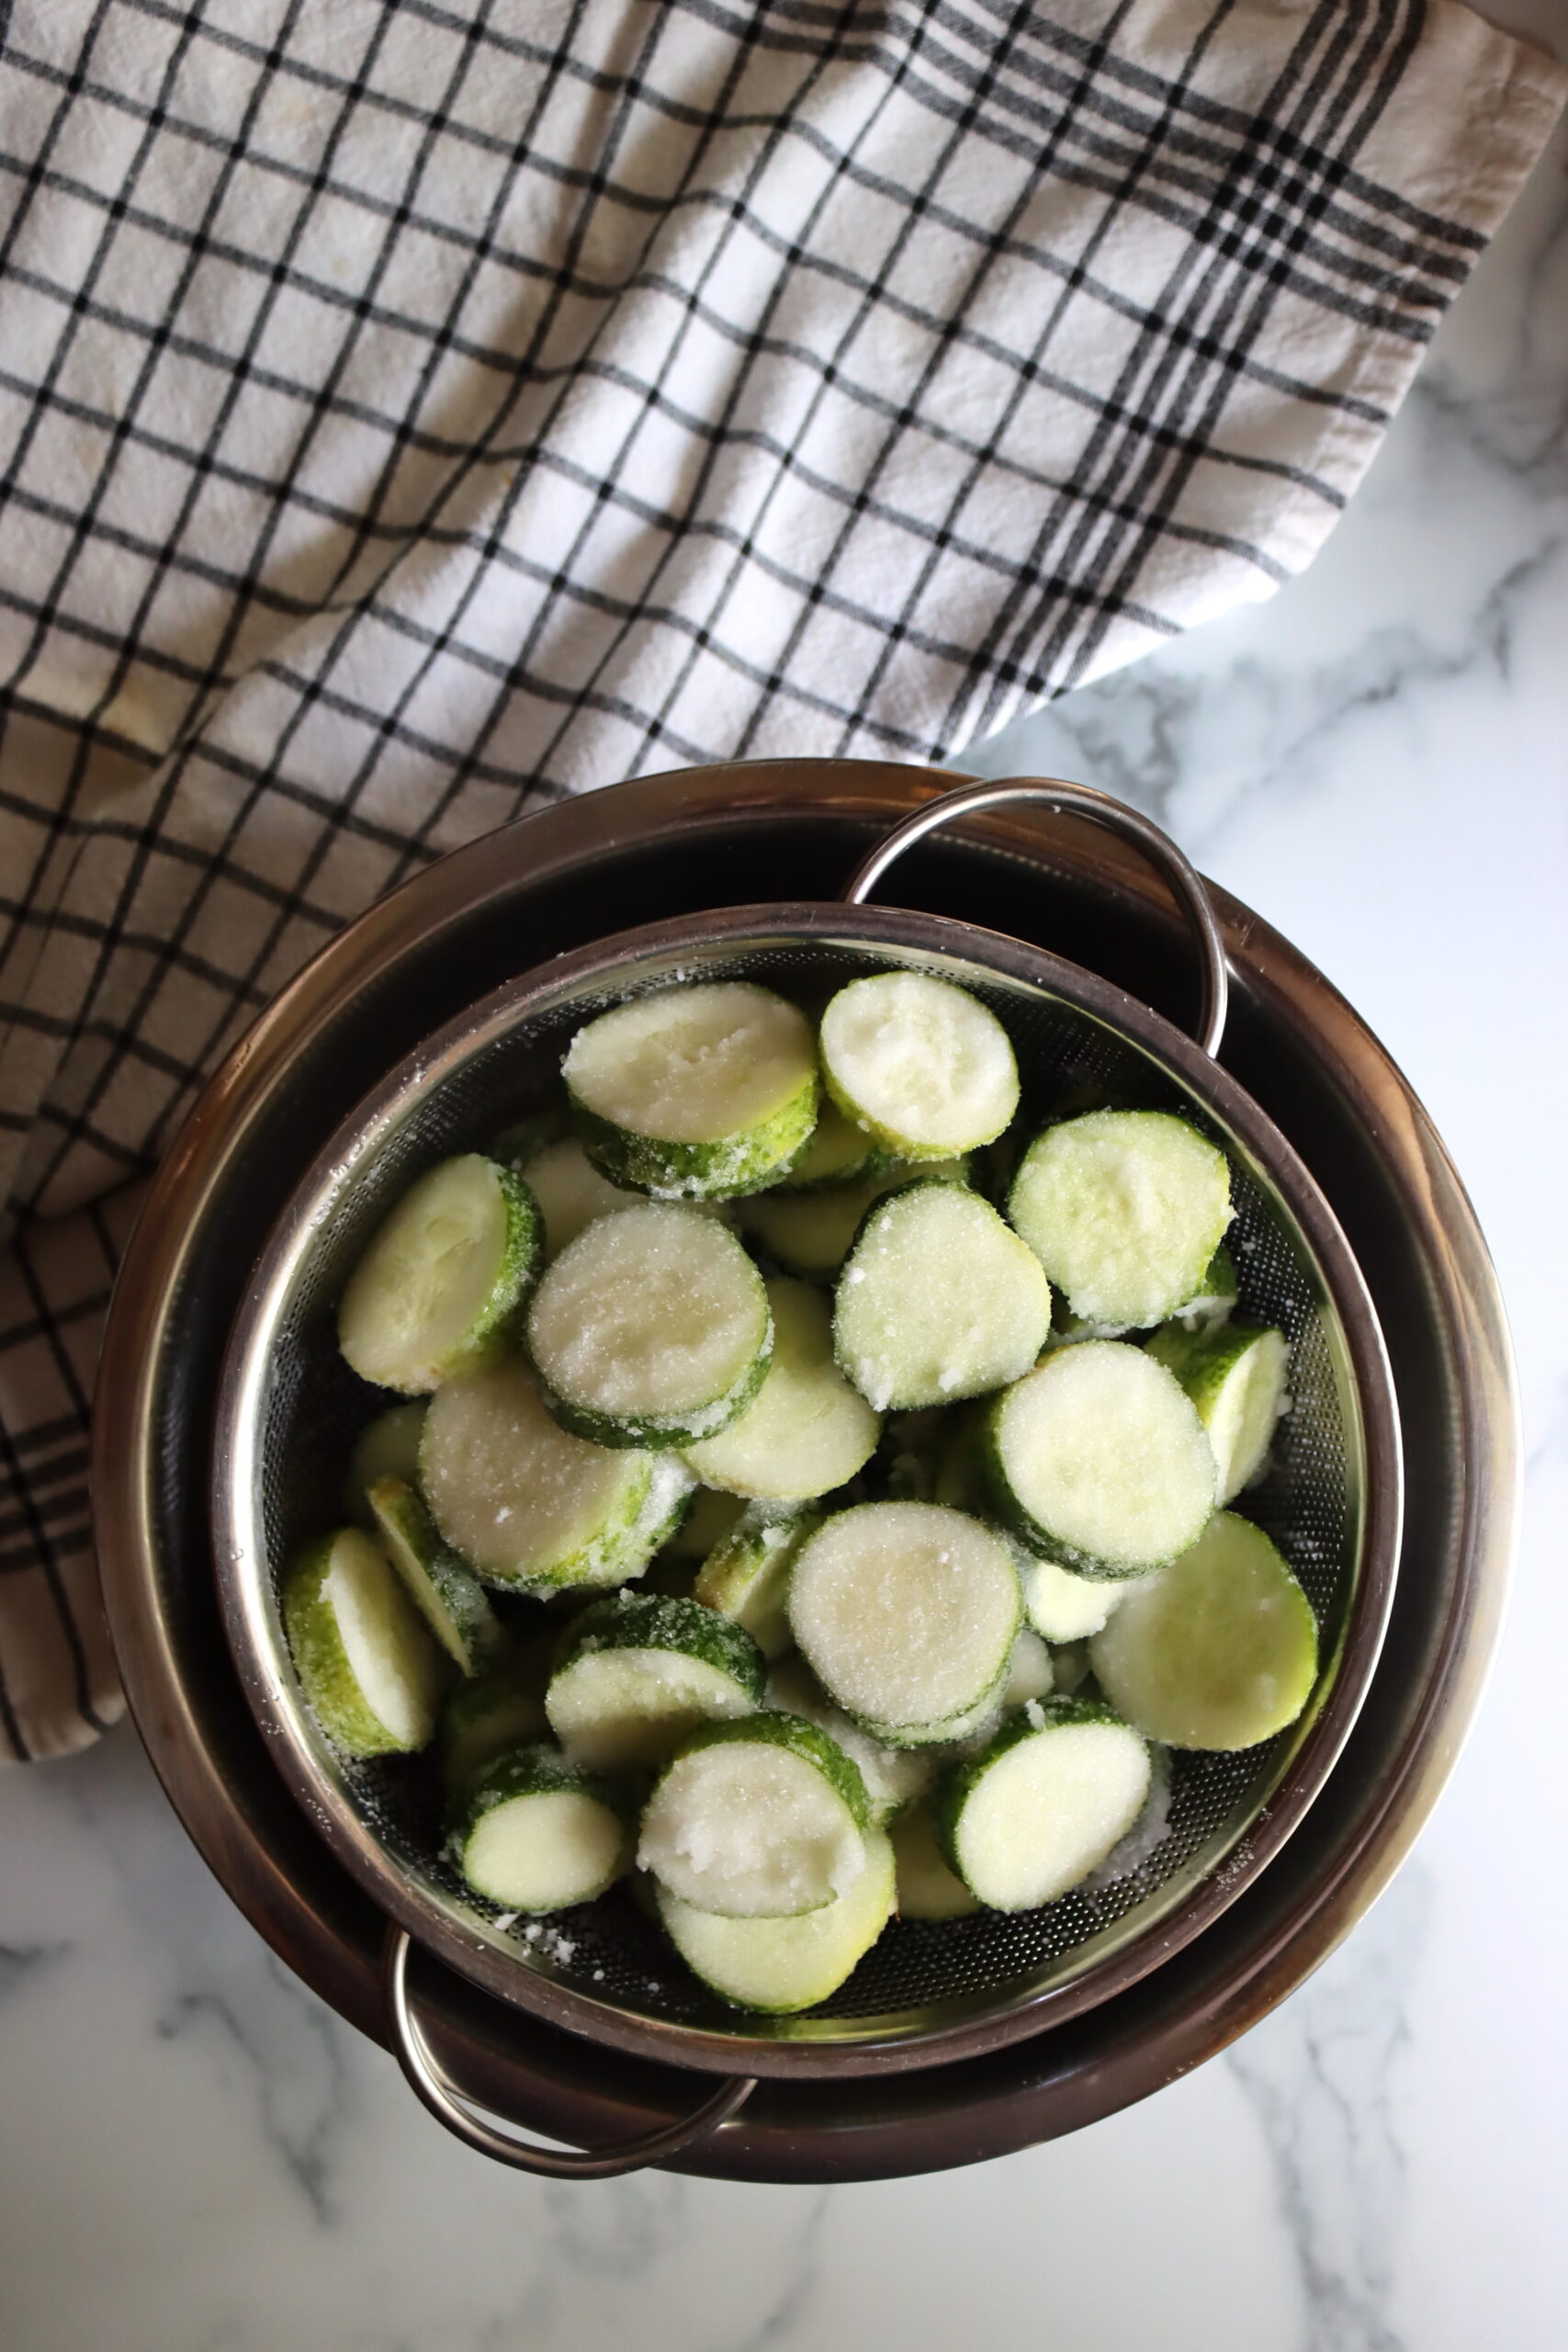
Next, you’ll need to prepare your canner, lids, and jars. This involves sanitizing the jars and lids to ensure they’re free from bacteria and ready for use. Follow the manufacturer’s instructions for your canner and set up everything before you begin preparing the pickling liquid.
In a large saucepan, combine the vinegar, sugar, mustard seeds, turmeric, and celery seeds. Bring this mixture to a boil over medium-high heat, stirring often to dissolve the sugar. Once the sugar has completely dissolved, add in the cucumber and onion mixture. Stir frequently and bring the entire mixture back to a boil.
Using a slotted spoon, pack the vegetables into the hot, sanitized jars. Leave about ½ inch (1 cm) of headspace at the top of each jar. This is important for proper sealing.
Next, use a ladle to pour the hot pickling liquid over the vegetables, again ensuring you leave that ½ inch of headspace. Use a non-metallic spatula or a bubble remover tool to remove any air bubbles trapped inside the jars. Adjust the headspace if necessary by adding more pickling liquid.
Wipe the jar rims with a clean, damp cloth to remove any food residue. Place the lids on the jars and screw on the bands until they’re fingertip tight. This ensures a secure seal during processing.
Place the jars into your boiling water bath canner, ensuring they’re completely covered with water. If needed, add more water to cover the jars by at least 1 inch. Bring the water to a boil and process the jars for 10 minutes, adjusting for altitude if necessary (see below). After processing, remove the canner lid and let the jars sit in the canner for an additional five minutes.
Carefully remove the jars from the canner and place them on a towel or cooling rack. Allow them to cool undisturbed for 24 hours. After the jars have cooled, check the seals by pressing down on the center of each lid. If the lid doesn’t pop back, the jar is sealed properly. Store your canned pickles in a cool, dark place for up to one year.
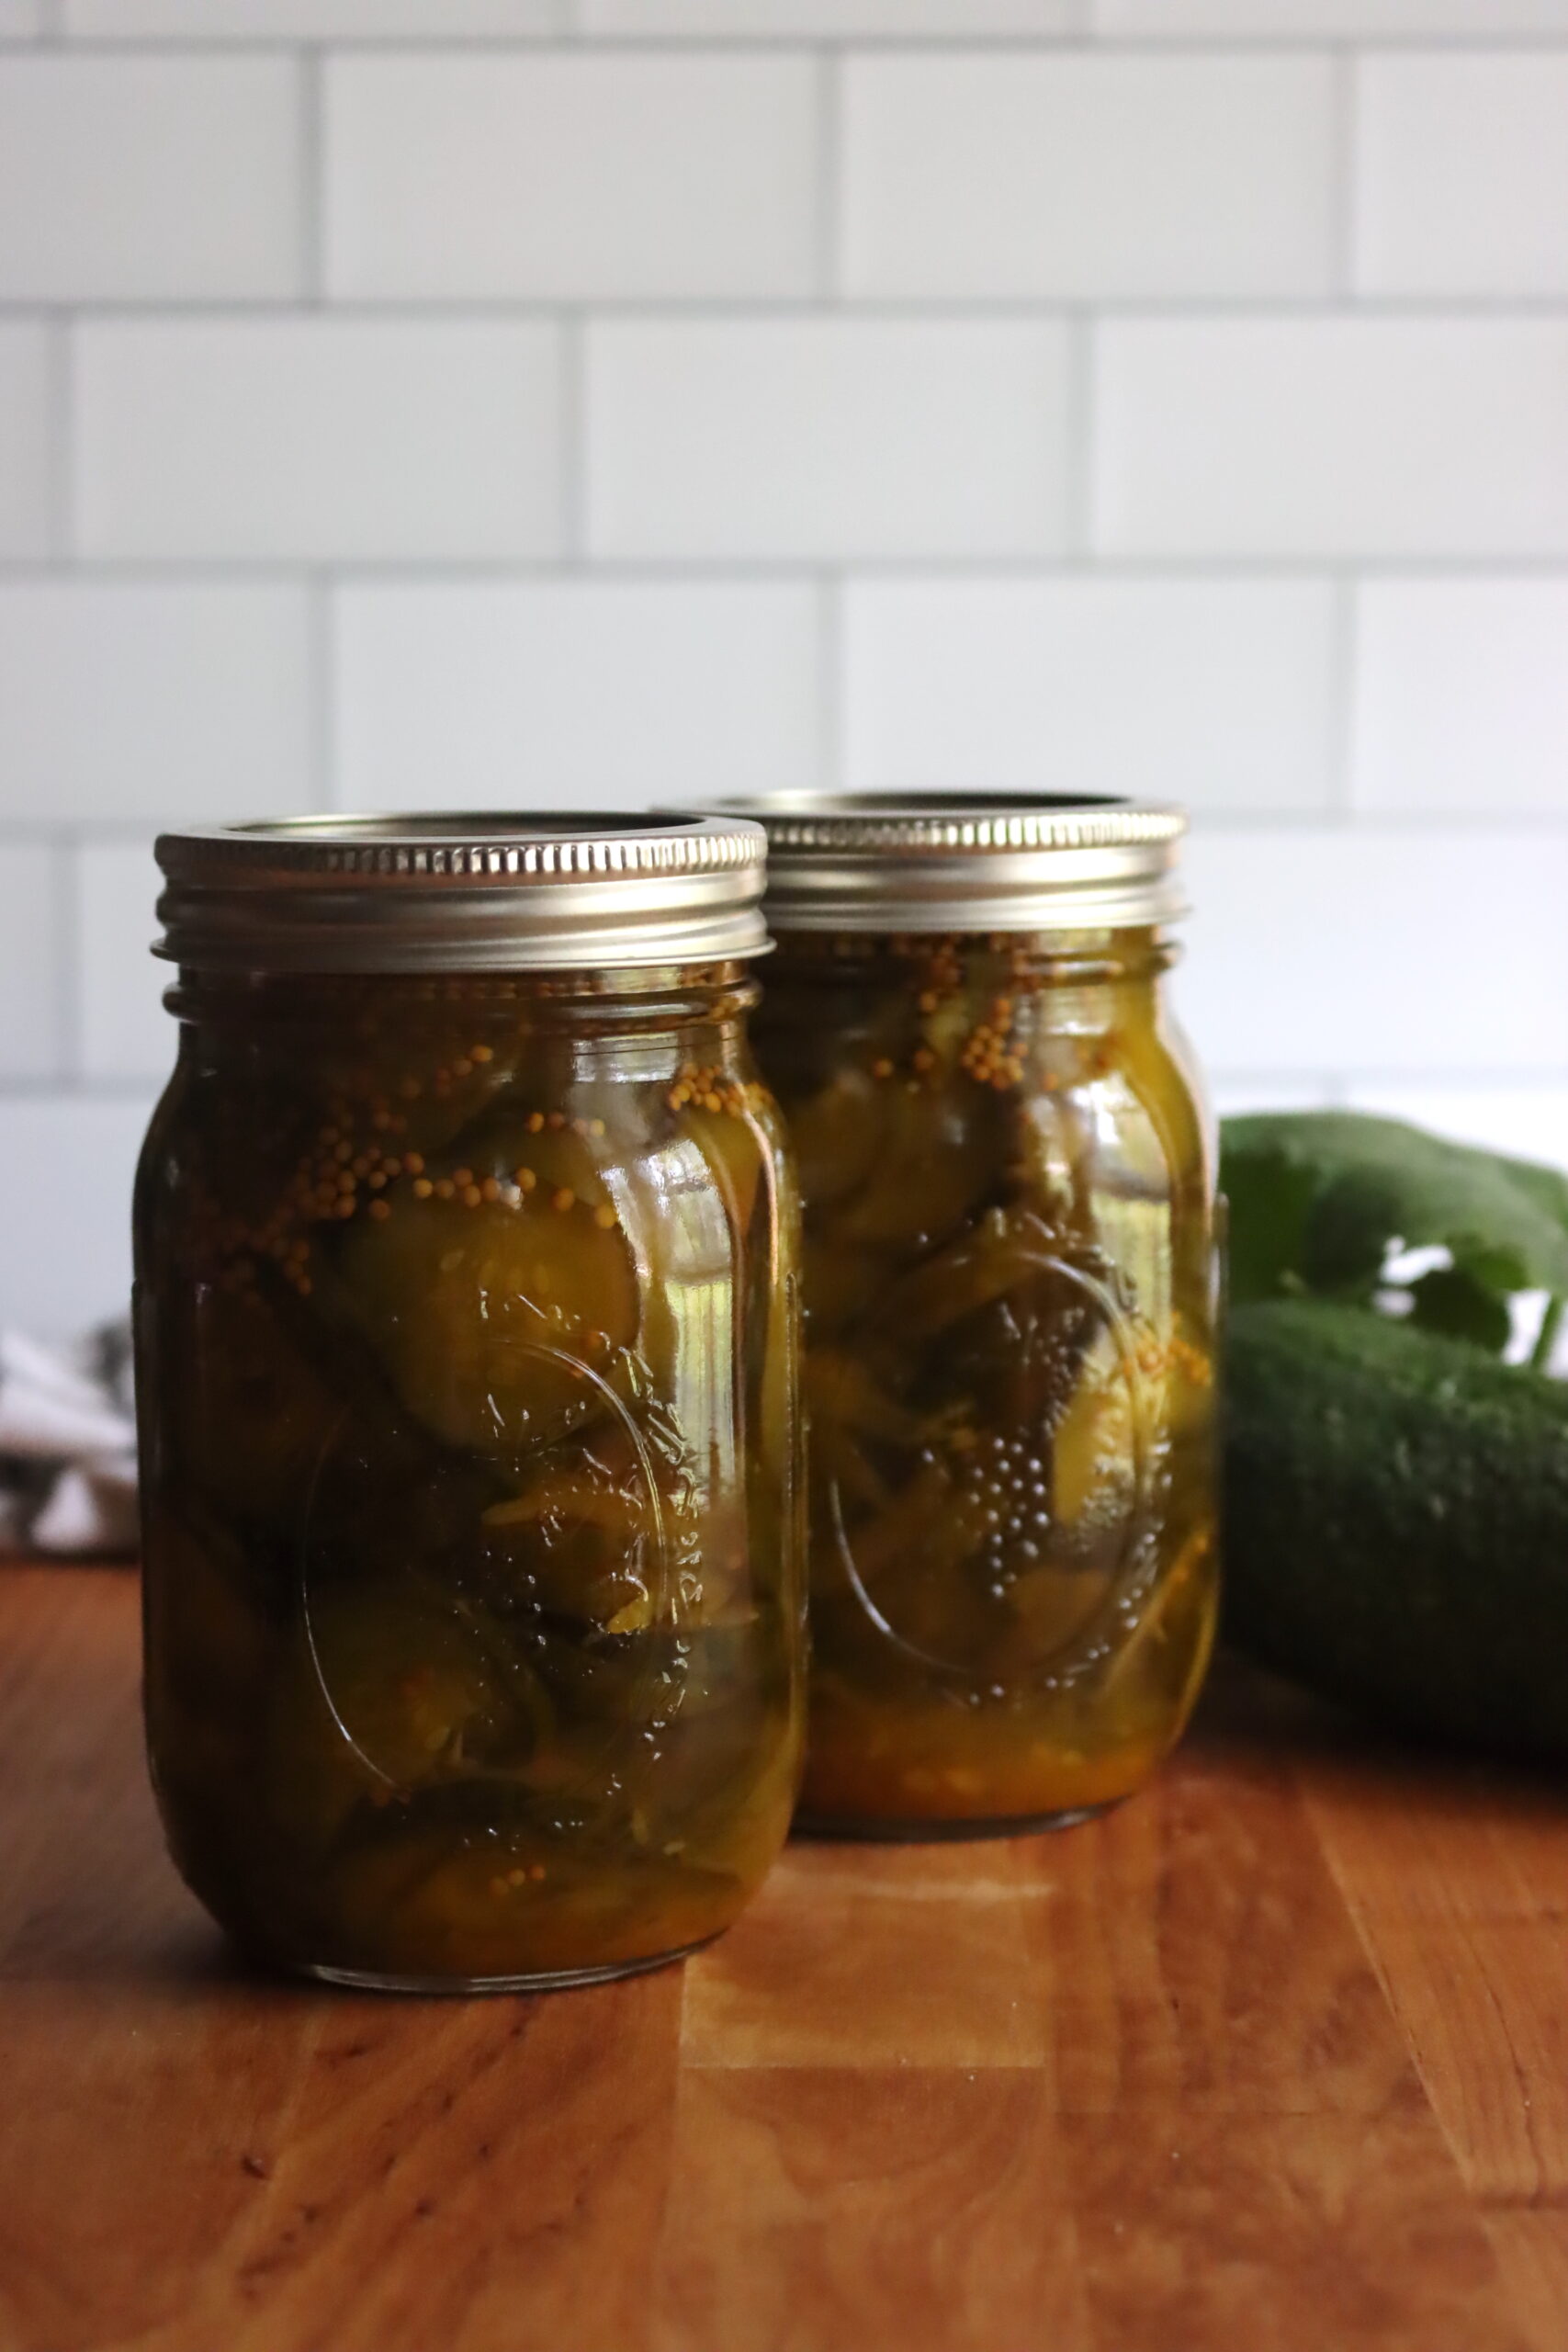
Altitude Adjustments for Canning Pickles
Water boils at a lower temperature at higher altitudes, so jars need to be processed a bit longer as you go up in elevation. Here are the altitude adjustments for canning Bread and Butter Pickles:
- For 0 to 1,000 Feet in Elevation – Process pint jars for 10 minutes, and quart jars for 15 minutes.
- For 1,001 to 6,000 Feet in Elevation – Process pint jars for 15 minutes, and quart jars for 20 minutes.
- Above 6,001 Feet in Elevation – Process pint jars for 20 minutes, and quart jars for 25 minutes.
Serving Bread and Butter Pickles
Congratulations! You’ve just made your very own batch of sweet and tangy bread and butter pickles.
Not only are they perfect for adding a zesty crunch to your sandwiches, but they also make fantastic gifts for friends and family. Imagine the smiles on their faces when they receive a jar of your homemade pickles!
While bread and butter pickles are traditionally enjoyed as a condiment for sandwiches and burgers, there are countless ways to incorporate them into your meals. Chop them up and add them to your potato salad for an extra burst of flavor, or mix them into your tuna or chicken salad for a delightful twist. The possibilities are endless!
Bread and Butter Pickles
Equipment
Ingredients
- 10 cups pickling cucumbers, sliced and trimmed into ¼" (0.5 cm) slices
- 3 cups white vinegar
- 4 medium onions, sliced
- 2 cups sugar
- ½ cup canning salt
- 2 tbsp mustard seeds
- 1 tsp celery seeds
- 1 tsp ground turmeric
Instructions
- Combine cucumbers, onions, and canning salt in a bowl. Cover with ice water and let sit for 2 hours.
- Transfer mixture to a colander, rinse with cool water, and pat dry.
- Sanitize jars, lids, and canner before making pickling liquid.
- Boil vinegar, sugar, mustard seeds, turmeric, and celery seeds. Add cucumber and onion mix and bring to a boil.
- Pack vegetables into jars, leaving ½ inch of space at the top.
- Pour hot pickling liquid over veggies, remove air bubbles, adjust headspace if needed.
- Wipe jar rims, seal with lids, and tighten bands.
- Place jars in boiling water bath canner, process for 10 minutes.
- Remove jars, let cool for 24 hours, check seals.
- Store canned pickles in a cool, dark place for up to one year.
Notes
- British Bread and Butter Pickles: Replace the white vinegar with 3 cups of apple cider vinegar and the granulated sugar with 2 cups of packed brown sugar. Add a teaspoon of ground ginger to your turmeric.
- Zesty Bread and Butter Pickles: Replace the celery seeds with 2 tbsp of prepared horseradish and replace the turmeric with 2 tbsp of grated ginger.
Altitude Adjustments for Canning Pickles
Water boils at a lower temperature at higher altitudes, so jars need to be processed a bit longer as you go up in elevation. Here are the altitude adjustments for canning Bread and Butter Pickles:- For 0 to 1,000 Feet in Elevation - Process pint jars for 10 minutes, and quart jars for 15 minutes.
- For 1,001 to 6,000 Feet in Elevation - Process pint jars for 15 minutes, and quart jars for 20 minutes.
- Above 6,001 Feet in Elevation - Process pint jars for 20 minutes, and quart jars for 25 minutes.
Nutrition
Nutrition information is automatically calculated, so should only be used as an approximation.
Vegetable Pickling Recipes
Put up a few more veggies with these vegetable-pickling recipes!
- Pickled Corn Salad
- Pickled Three Bean Salad
- Pickled Green Tomatoes
- Pickled Green Beans (Dilly Beans)
- Pickled Jalapenos
- Pickled Fiddleheads
- Old Fashioned Lime Pickles (Cucumber pickles with pickling lime)
