Pickled garlic scapes are a creative way to use garlic scapes, and they preserve the unique flavor of this spring vegetable for year round enjoyment.
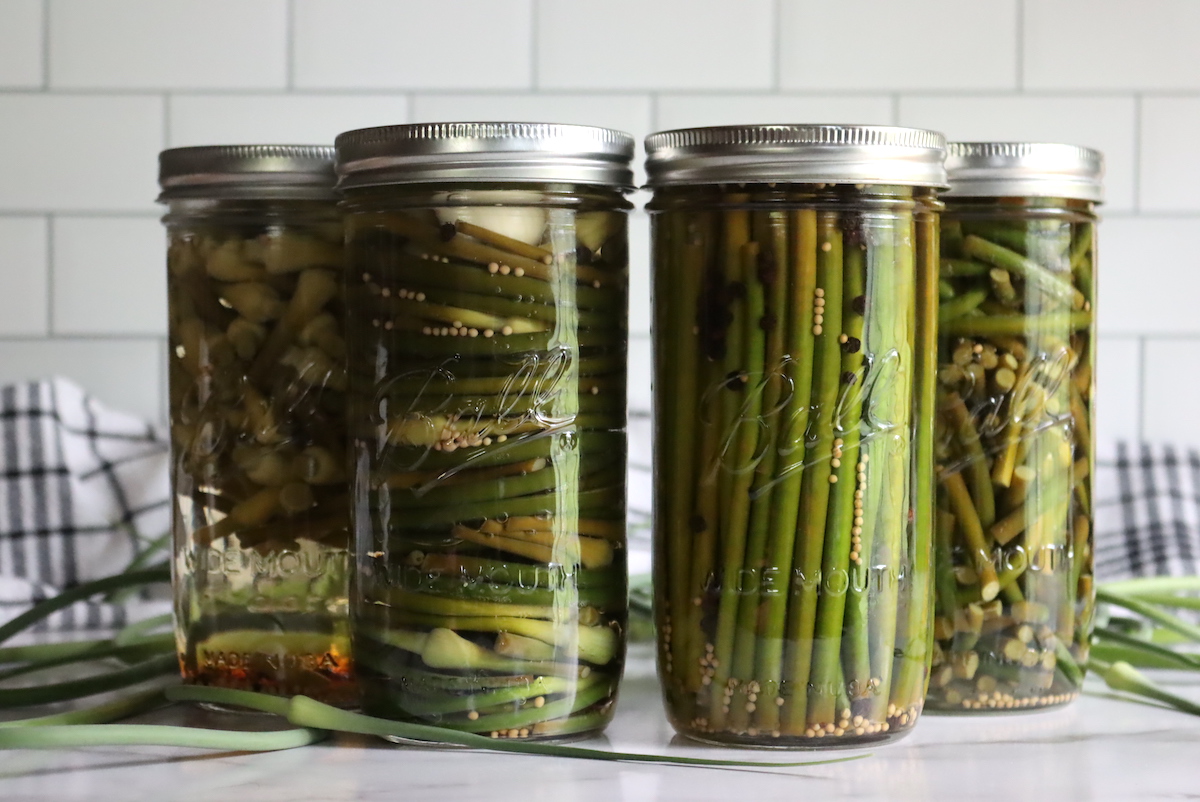
We grow a lot of garlic on our homestead, and a few hundred hardneck garlic bulbs means that we have a few hundred garlic scapes each spring.
There are plenty of garlic varieties, but up here in the north, we grow hardneck garlic because it’s hardier and quite frankly, tastes a lot better than softneck garlic. The flavor is richer, and more rounded, than most grocery store garlic varieties, and you get a bonus crop of garlic scapes early in the season.
Every year I find myself looking for new garlic scape recipes, and while we always try a few new recipes with our crop, pickled garlic scapes always find their way into the rotation.
These easy to make pickles are the perfect way to preserve garlic scapes, and they taste a lot like old fashioned pickled dilly beans (but crunchier) and a bit like pickled garlic (but less intense).
You get great flavor, good crunch and plenty of savory green in every garlic scape pickle. They’re great on their own, and even better on a plate beside a sandwich.
Choosing Garlic Scapes for Pickling
When harvesting garlic scapes, it’s important to get them early, when they’re just starting to uncurl out of the garlic plant. Wait too long and the garlic flowers will open and they’ll get tough and fiberous.
Ideally, they’re no longer than about 12” but sometimes you can get away with a bit longer if they’re still tender and it’s been a cool spring.
If you’re buying garlic scapes at the farmers market, choose bright, fresh looking bunches with a tight curl to them. (The scapes straighten out as they grow).
Even if they are a bit longer and straighter, they still make great pickles, they’re just not quite as tender. Either way, you have quite a few choices (shapes and cuts) when it comes to preparing garlic scapes for pickling.
Preparing Garlic Scapes for Pickling
There are quite a few ways you can cut or shape garlic scapes for pickling.
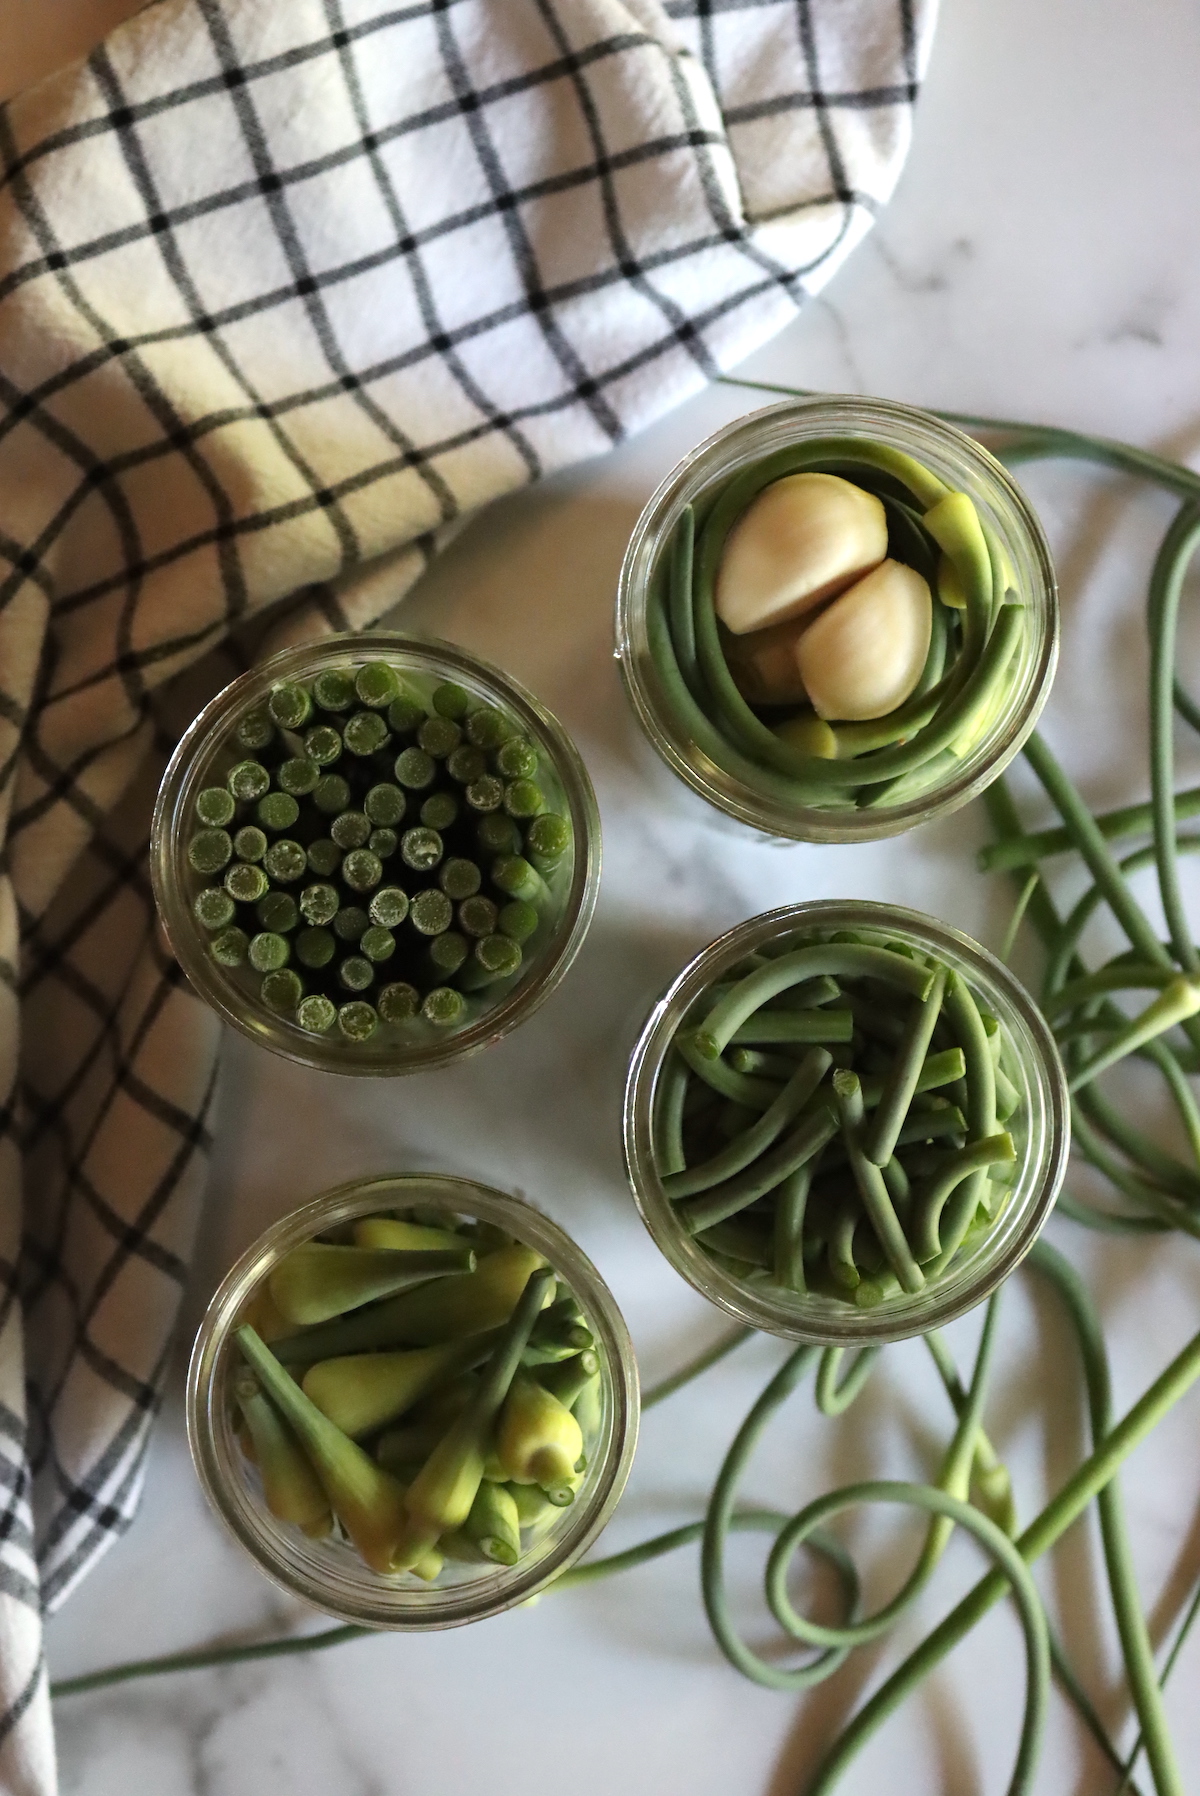
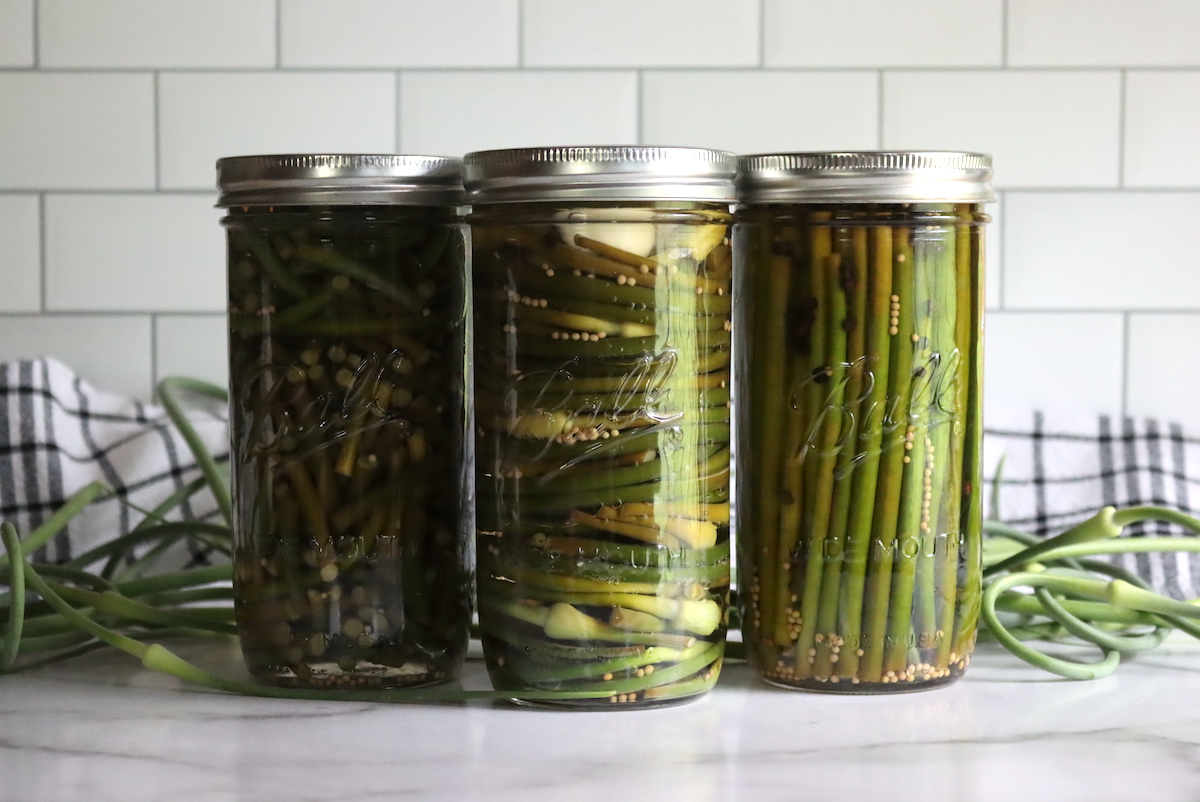
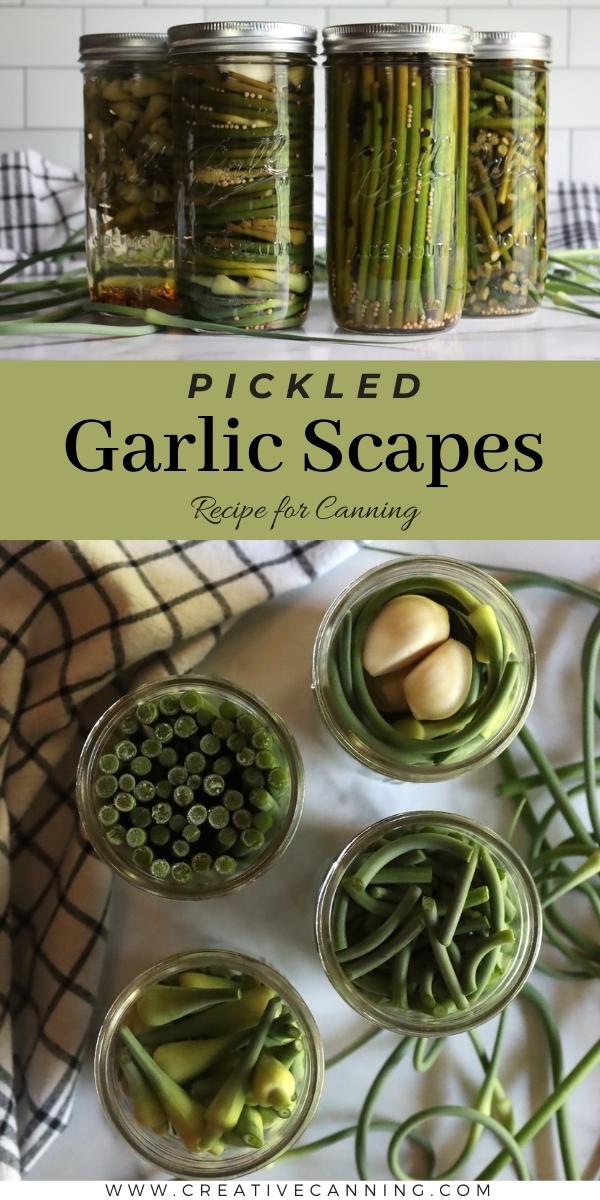
Small Pieces: By far the simplest is to just cut them into short segments, around 1 to 3 inches long, depending on how you hope to use them. They’ll pack into the jar quickly that way, and it doesn’t much matter if they’re curled or straight. They’re just fine next to a sandwich, and though they don’t look “fancy” in the jar, they do get the job done. This is the quickest and easiest way to put up a bumper crop of garlic scapes.
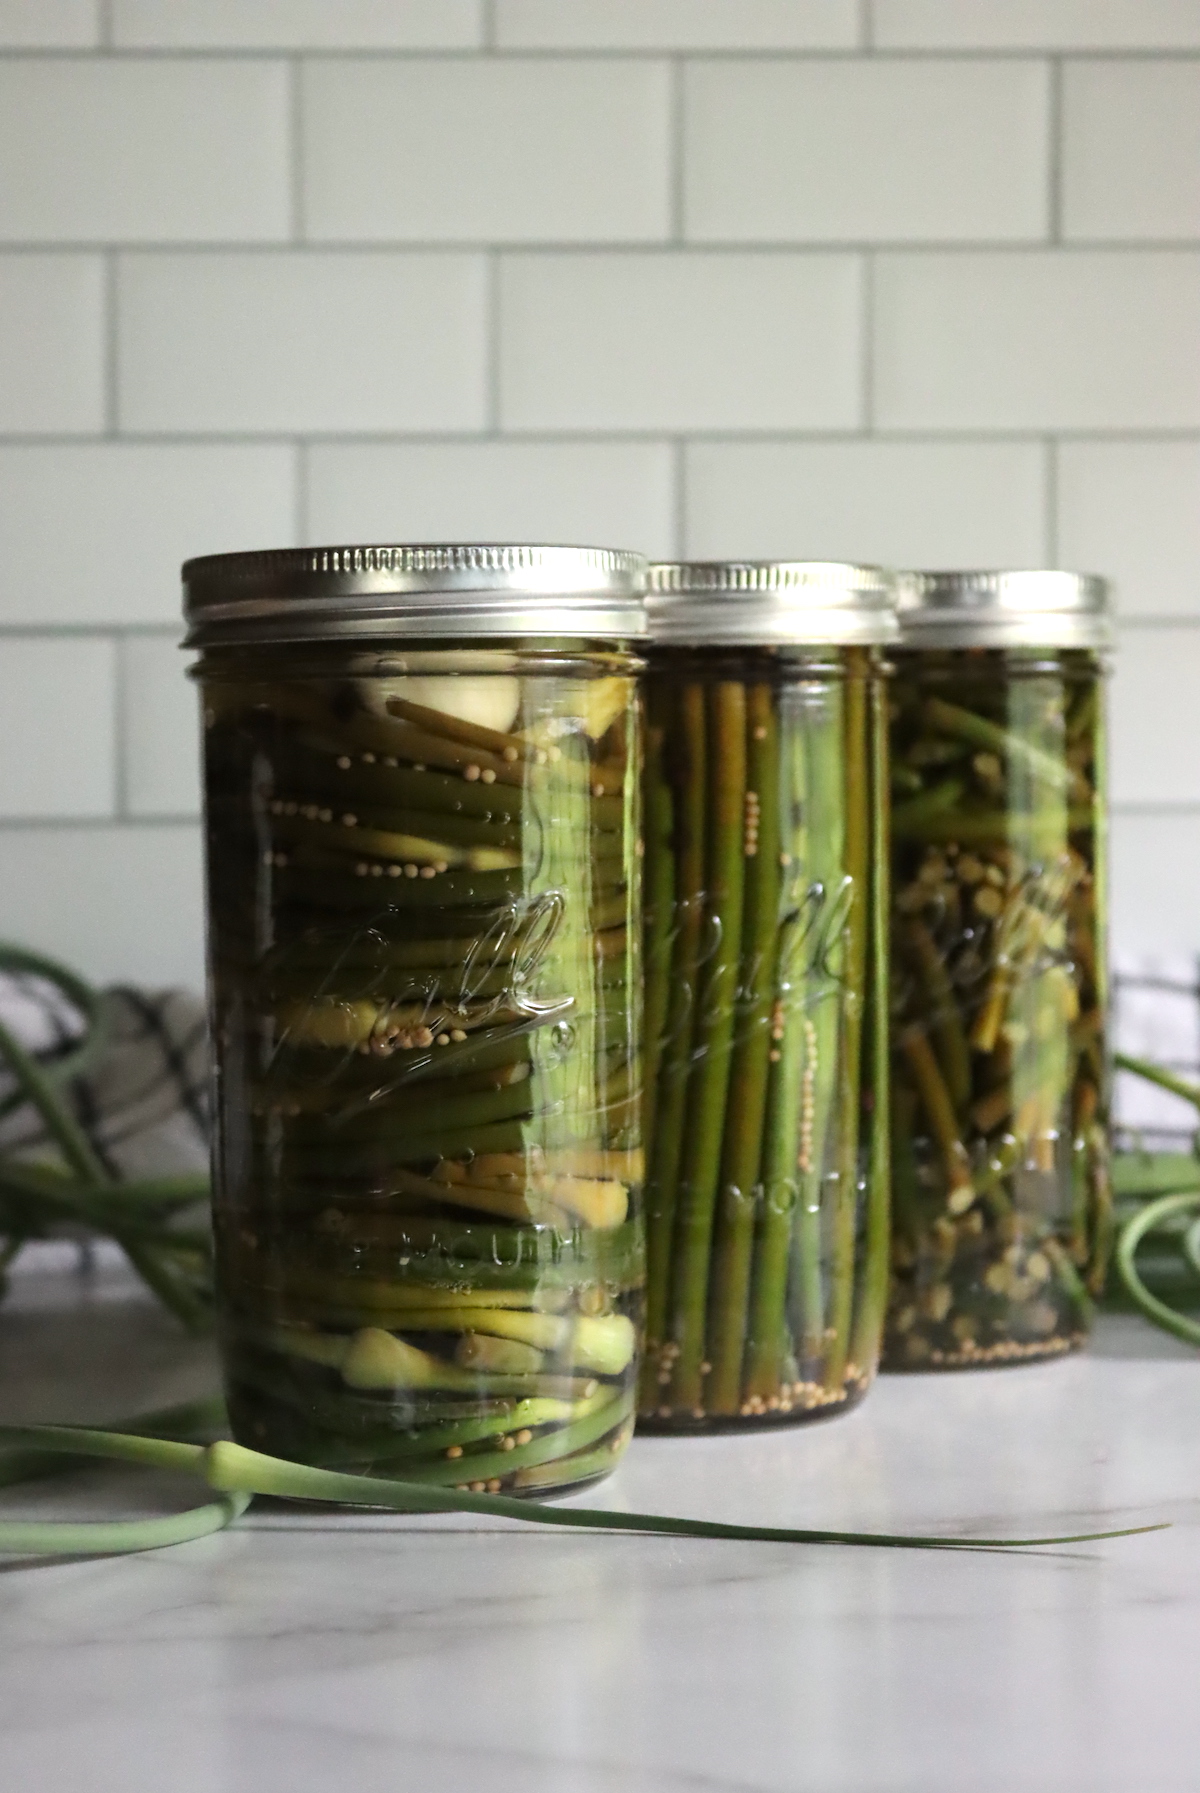
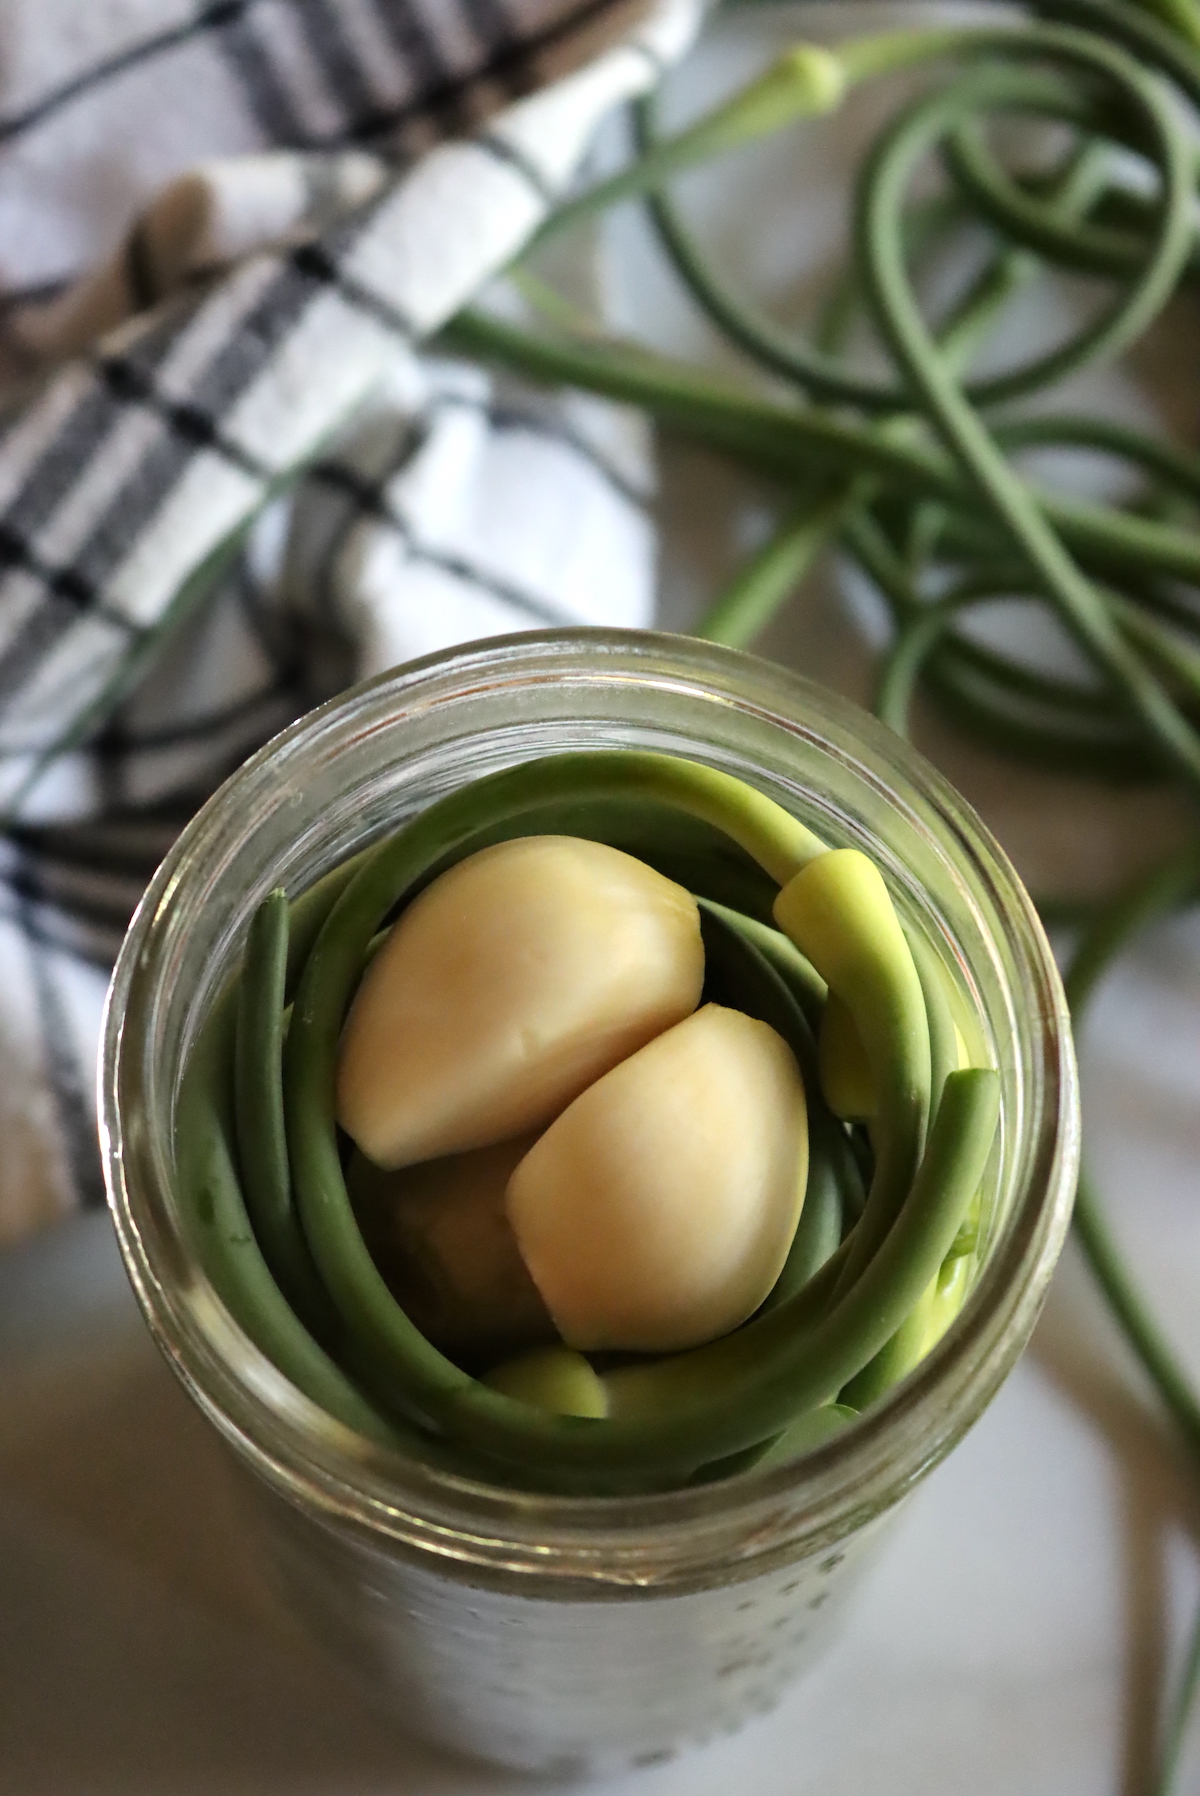
Curls: If you have extra curly garlic scapes, you can wind them around in the jar and they’ll look especially neat, both in the jar and on the plate when you serve them up. These are really fun on charcuterie plates, because it really showcases what you’ve preserved. They are, in fact, still fun little garlic flavored cury-q’s. It’s hard to fill the center of the jar that way, but I toss in a few garlic cloves and it works out wonderfully.
Straight Sticks: We have so many garlic scapes that I let some of ours grow out a bit longer so I get a long straight section to pack into the jar. They’re a bit like pickled asparagus in appearance, but crisper and garlic flavored.
Flower Blossoms: I went ahead and removed the actual blossom ends from our garlic scapes to put into a separate jar. These make the most interesting pickles, in my opinion, and I keep them for special occasions. Pickled garlic flower buds are fun for gatherings, and they’re sure to turn a few heads. You don’t have to separate them out, and you can just leave them attached and pickle them in with the rest of the scapes.
The choice is completely up to you, and you can go for an elaborate presentation or a simple one. Spirals and sticks look great in a jar, but they’re a lot more effort.
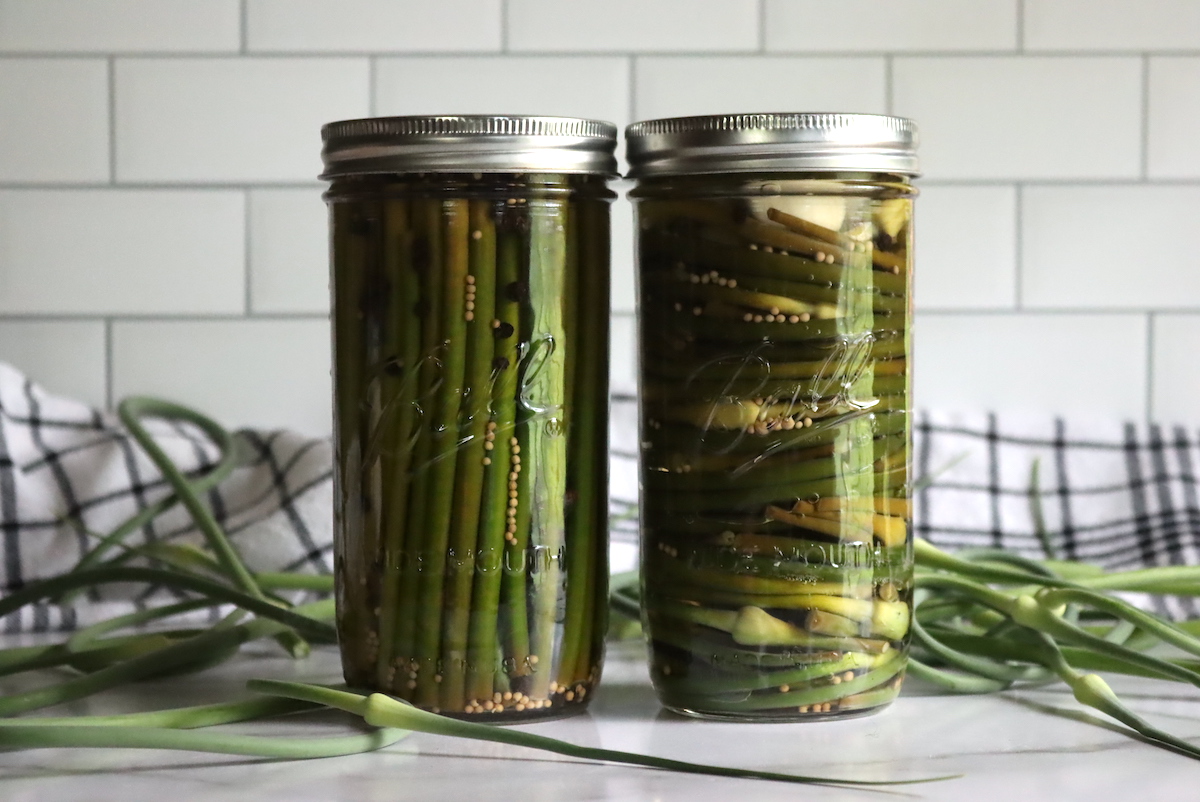
Pickled garlic scape curls and sticks.
It is much simpler to just chop them into quick sections and fill the jar. Small chunks make convenient pickles, and they’re much more manageable that way. (It takes a long time to carefully curl the scapes in a jar, or cut them into long equal length strips…so fancy it up if you want…or be practical and keep it simple.
Even when keeping it simple, I do tend to separate the blossoms and chunks because they’re different textures and I use them a bit differently. Keep in mind that the flower buds contain a lot of air and they’ll shrink when you pickle them. No matter how tight you pack that jar, there’s still going to be a bit of empty space at the bottom and the blossoms will probably float.
You can just toss them in together and it’s simpler all around, the choice is yours.
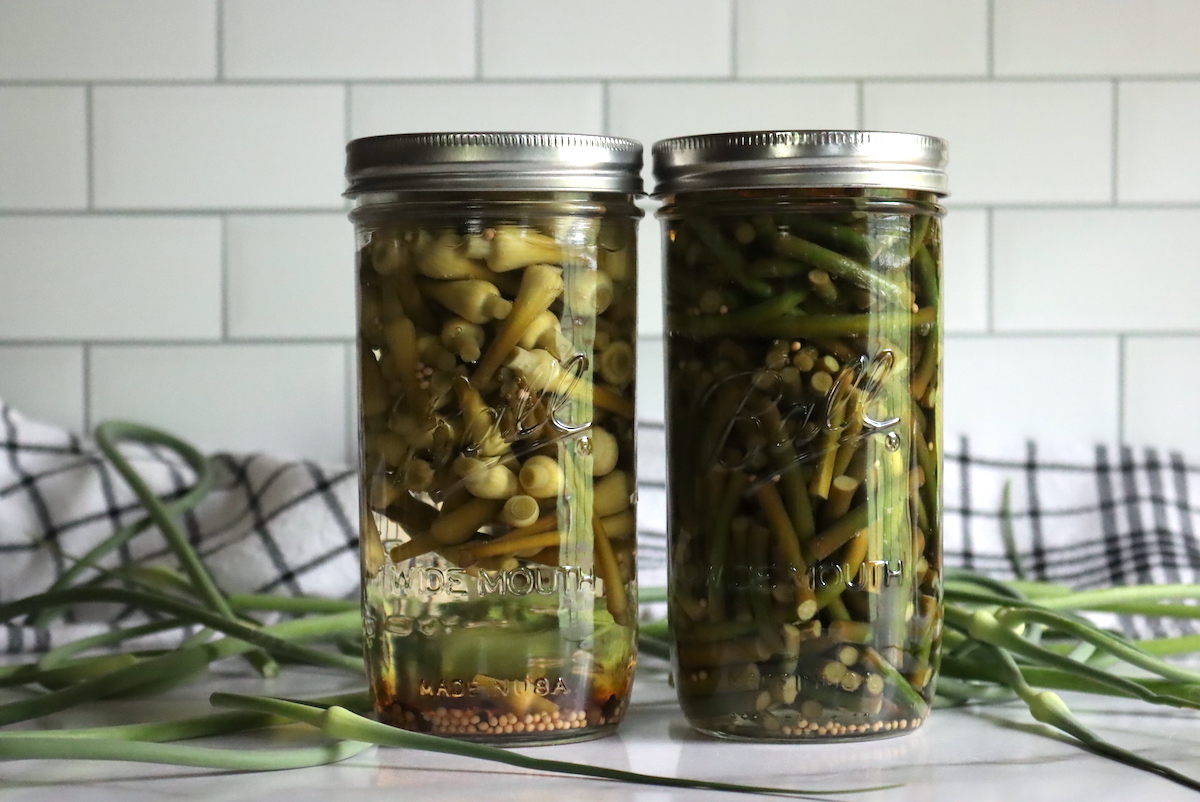
Pickled garlic scape flower buds and stem segments.
Brine for Pickled Garlic Scapes
Regardless of the shape you choose, the recipe for pickled garlic scapes is the same. You’re making a simple brine, and pouring it over the prepared garlic scapes in the jars. I’ve included four different variations, which are all classic pickle brine recipes that work well with garlic scapes.
You can do these as refrigerator pickles, or for canning.
For each pint jar, you’ll need about 1/4 pound of garlic scapes, along with a smidge more than 1 cup of brine. Each of the recipes below is scaled for 1/2 pound of garlic scapes, which is about 2 to 3 farmer’s market bundles, dependign on how generous they are. That will yield 2 pints of pickled garlic scapes.
You can cut the recipe in half to make a single pint if you have fewer scapes, or increase it if you have more. Start by packing the jars with the raw prepared scapes, and then you’ll know about how much brine you need to prepare.
(If you come up slightly short on brine, add in a splash more vinegar to fill the final jar. Don’t use water, that’ll make it less acidic. More vinegar is fine, more water is not. If your jars are well packed, you should have plenty of brine, and even a bit extra.)
Basic Pickled Garlic Scapes
- 1 1/4 cup water
- 1 1/4 cups vinegar (white, cider, or any type standardized to 5% acidity)
- 1 1/2 Tbsp. salt
- 1 Tbsp. sugar
- 2 tsp. mustard seeds (1/2 tsp per pint)
- 2 tsp. black peppercorns (1/2 tsp per pint)
Dill Pickled Garlic Scapes
- 1 1/4 cup water
- 1 1/4 cups vinegar (white, cider, or any type standardized to 5% acidity)
- 2 Tbsp. salt
- 2 tsp. dill seeds (1/2 tsp per pint)
- 2 tsp. black peppercorns (1/2 tsp per pint)
- A few fresh dill fronds, optional
Bread and Butter Pickled Garlic Scapes
- 2 cups white vinegar
- 1 cup granulated sugar
- 1 Tbsp. salt
- 2 Tbsp mustard seeds (1/2 Tbsp per jar)
- 1 tsp celery seed (1/4 tsp par jar)
- 1 tsp ground turmeric (1/4 tsp per jar)
Spicy Pickled Garlic Scapes
- 1 1/4 cup water
- 1 1/4 cups vinegar (white, cider, or any type standardized to 5% acidity)
- 1 Tbsp canning salt
- 1 Tbsp sugar
- 2 to 4 tsp. red pepper flakes (1-2 tsp added to each pint jar)
- 4 tsp. black peppercorns (3 tsp, one tsp added to each pint jar)
Each of these recipes makes enough brine to pickle about 1/2 pound of garlic scapes (2-3 farmer’s market bunches), to yield 2 pints. The total yield will depend on how well you pack the scapes into the jar and the cut type you’ve chosen, as some shapes pack better than others. If you end up short on scapes, you can pack in other veggies, or just add extra brine to fill the space. I like to pack in either whole garlic cloves or sliced onion, as they pickle well with garlic scapes. Either is fine for canning or refrigerator pickles, assuming you’ve followed the recipes above and used at least 50% brine in your pickling liquid (standardized to 5% acidity).
Start by packing the garlic scapes into the jars, add in the dry spices, and then bring the brine (vinegar, water, salt and sugar) to a boil on the stove. Pour the boiling brine over the scapes and spices, and either more to the refrigerator for quick pickles or proceed to the canning instructions below.
Canning Pickled Garlic Scapes
Water bath canning pickled garlic scapes is completely optional, and it’s perfectly fine to make these as quick refrigerator pickles. They’ll actually keep pickled in the fridge for at least a month, no canning required.
That said, we preserve a lot of garlic scapes each year and I don’t have that much refrigerator space. Canning pickled garlic scapes allows me to preserve them at room temperature right on my pantry shelf.
The canning instructions are similar to what you’d do for any pickle.
Start by preparing a canner for water bath canning. (If you’ve never canned before, please read my guide to water bath canning before beginning.)
Prepare the pickled garlic scapes, packing them into the jar raw, leaving 1/2 inch headspace. Add the dry spices to each jar.
Put the brine ingredients into a saucepan (water, viengar, sugar and salt) and bring it to a boil. Stir to dissolve the sugar and salt.
Pour the boiling brine over the scapes in the jars, leaving 1/2 inch headspace.
Process in a water bath canner for 10 minutes (or 15 minutes over 6,000 feet in elevation).
Garlic Scape Recipes
Looking for more garlic scape recipes?
Pickled Garlic Scapes
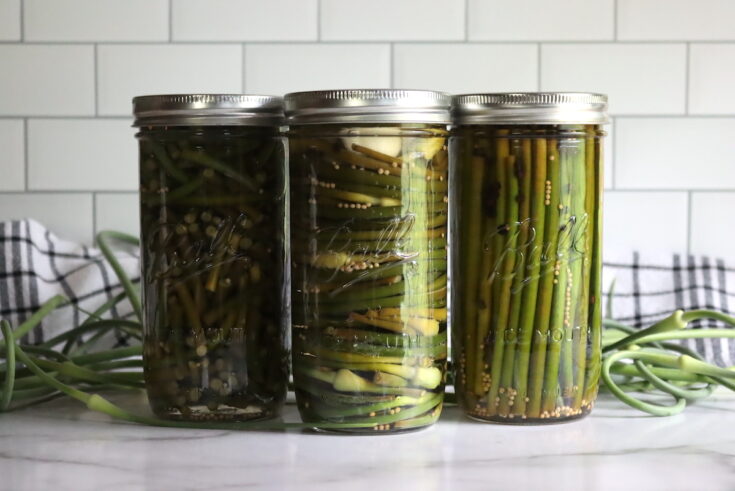
Pickled garlic scapes are the perfect way to preserve garlic scapes right on your pantry shelf. They're crisp and flavorful right out of the jar, and they're perfect on a charcuterie plate or next to a lunchtime sandwich.
Ingredients
- 1/2 Pound Garlic Scapes (about 2 to 3 farmer's market bunches)
Basic Pickled Garlic Scapes
- 1 1/4 cup water
- 1 1/4 cups vinegar (white, cider, or any type standardized to 5% acidity)
- 1 1/2 Tbsp. salt
- 1 Tbsp. sugar
- 2 tsp. mustard seeds (1/2 tsp per pint)
- 2 tsp. black peppercorns (1/2 tsp per pint)
Dill Pickled Garlic Scapes
- 1 1/4 cup water
- 1 1/4 cups vinegar (white, cider, or any type standardized to 5% acidity)
- 2 Tbsp. salt
- 2 tsp. dill seeds (1/2 tsp per pint)
- 2 tsp. black peppercorns (1/2 tsp per pint)
- A few fresh dill fronds, optional
Bread and Butter Pickled Garlic Scapes
- 2 cups white vinegar
- 1 cup granulated sugar
- 1 Tbsp. salt
- 2 Tbsp mustard seeds (1/2 Tbsp per jar)
- 1 tsp celery seed (1/4 tsp par jar)
- 1 tsp ground turmeric (1/4 tsp per jar)
Spicy Pickled Garlic Scapes
- 1 1/4 cup water
- 1 1/4 cups vinegar (white, cider, or any type standardized to 5% acidity)
- 1 Tbsp canning salt
- 1 Tbsp sugar
- 2 to 4 tsp. red pepper flakes (1-2 tsp added to each pint jar)
- 4 tsp. black peppercorns (3 tsp, one tsp added to each pint jar)
Instructions
Start by choosing your brine from the list above. Each type will make enough brine to fill about 2 pints, which will pickle about 1/2 pound of scapes (1/4 pound per pint jar).
- Prepare your garlic scapes by cutting them however you choose. You can do short segments, curly Q's, long straight pieces or just the blossom ends. Pack them into jars leaving 1/2 inch headpace.
- Add the dry spices to each jar (or fresh dill fronds, if using).
- If canning, prepare a water bath canner at this point. (Optional)
- Prepare the brine by adding all the brine ingredients for the type you've chosen to a saucepan (just water, vinegar, salt and sugar). Bring it to a boil and stir to dissolve the salt/sugar.
- Pour the boiling brine over the garlic scapes and spices in each jar, maintaining 1/2 inch headspace.
- Seal with 2 part lids.
For refrigerator pickles, allow the jars to cool to room temperature and then store in the refrigerator. The pickles need at least 2 days for the spices to infuse before eating. They'll keep in the refrigerator for at least a month.
If canning, process the jars in a water bath canner for 10 minutes (or 15 mintues above 6,000 feet in elevation). Check seals and store any unsealed jars in the refrigerator for immediate use. Properly canned and sealed jars of garlic scape pickles will maintain peak quality on the pantry shelf for about 12 months, but be safe to eat so long as they're properly sealed. Refrigerate after opening.
Notes
This recipe for pickled garlic scapes is actually four different recipe variations. Each type listed above is enough brine to pickle 1/2 pound of scapes, yielding about 2 pints. Choose your type and just use the ingredients for the type you've selected.
You can cut the recipe in half if you only have enough scapes to pack a single pint jar, or increase the recipe if you have more. Be sure to pack the scapes into jars first so you know how much brine you'll need. It takes a bit more than 1 cup of brine to fill a pint jar if it's well packed with garlic scapes.
Feel free to add other vegetables to the mix, especially if you don't have quite enough scapes to fill the jar. Garlic cloves and sliced onion work particularly well. (If canning, be sure they're canning apporve vegetables. For refrigerator pickles, any will do.)
Pickling Recipes
Looking for more simple pickling recipes?
- Pickled Corn Salad
- Pickled Three Bean Salad
- Pickled Green Tomatoes
- Pickled Green Beans (Dilly Beans)
- Pickled Jalapenos
- Pickled Fiddleheads
Alison
Can I leave the sugar out of the variations that include it without issue? I assume it’s for sweetness and not for preservation? The. Vinegar does the preserving?
Ashley Adamant
Yes, in this recipe it’s the vinegar doing the preserving. You can reduce or eliminate any of the other ingredients (spices, sugar, salt, etc), but just make sure you don’t reduce the vinegar.