
This post may contain affiliate links. Please see our disclosure policy.
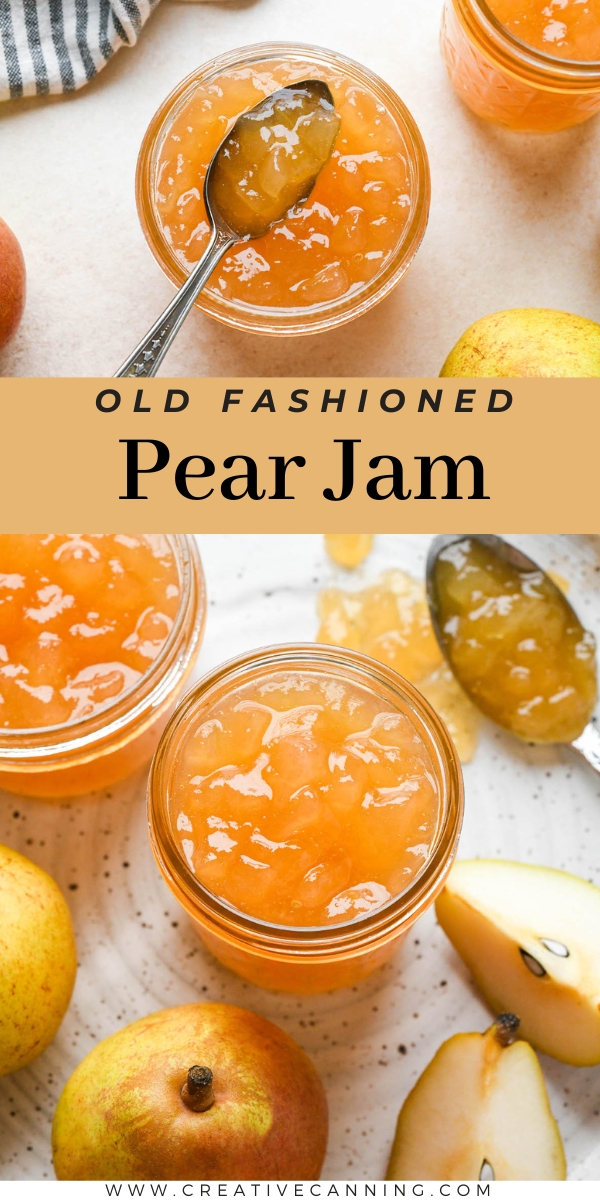
Pear jam turns a countertop full of ripening pears into a soft, honey-sweet preserve that tastes like autumn in a jar, ready to spoon over pancakes or spread on warm toast.
It takes just three ingredients and no boxed pectin, so you can start a batch tonight with what’s already in your pantry.
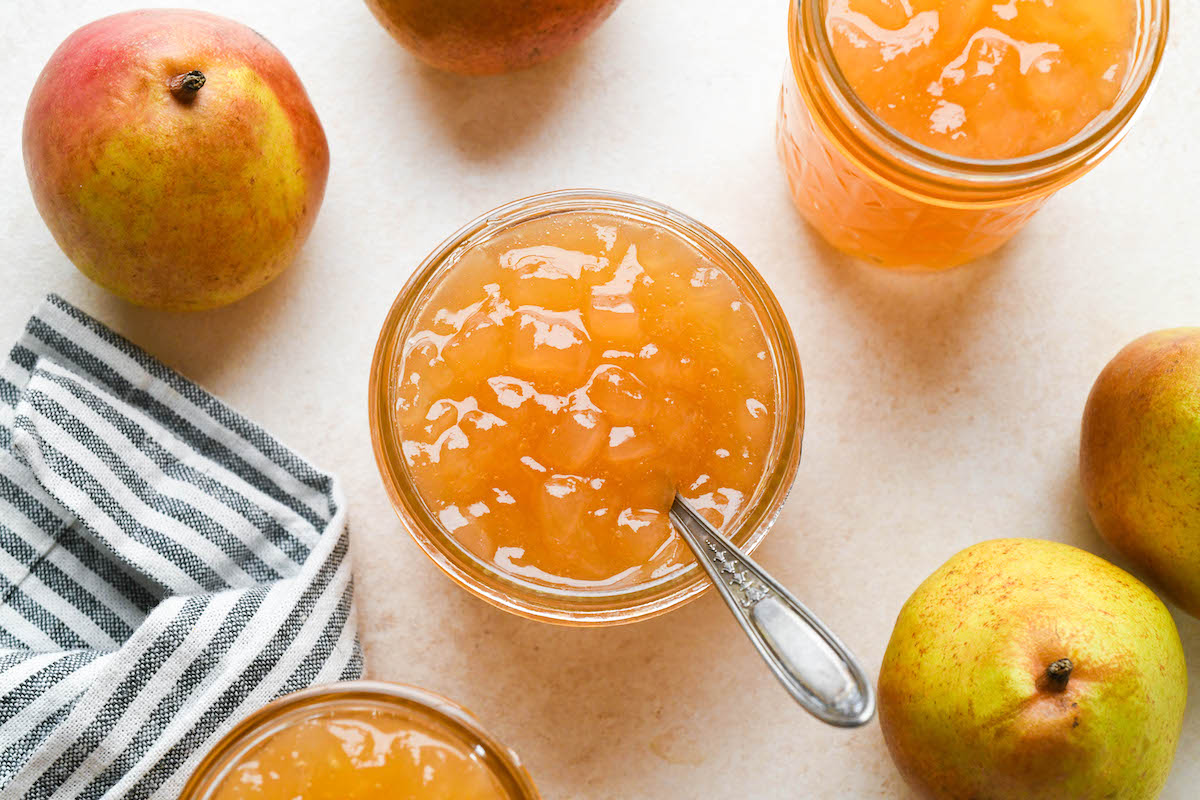
Table of Contents
- Notes from My Kitchen
- Quick Look at the Recipe
- Ingredients for Pear Jam
- Low Sugar Options
- How to Make Pear Jam
- Pear Jam Variations
- Canning Pear Jam
- Altitude Adjustments
- Setting Notes
- Ways to Use Pear Jam
- Storage and Shelf Life
- Yield Notes
- More Ways to Preserve Pears
- Pear Jam FAQs
- Pear Canning Recipes
- Pear Jam Recipe
- Jam Canning Recipes
This recipe has been reviewed for safety and accuracy by a Master Food Preserver certified through the University of Cornell Cooperative Extension.
Pear trees have a way of ripening everything at once, and once you’ve put up jars of canned pears and a batch of pear sauce, jam is a natural next step for the fruit still piling up on the counter. Pear jam is an old-fashioned preserve, simple in flavor, and I think that simplicity is exactly why it shines. Every spoonful tastes like pure pear, as if the fruit came off the tree only moments before.
This recipe is made without added pectin, like most of my old-fashioned jams. Pears are naturally rich in pectin, especially when they’re just barely ripe, and the lemon juice contributes a bit more while helping the fruit keep its color. I cover the whole technique in my guide to making jam without added pectin, which explains how sugar, acid, and a good rolling boil work together to set a preserve.
The pears macerate in sugar and lemon juice overnight, which draws out their juices and creates the syrup the fruit cooks in the next day. It’s mostly hands-off time, and the actual cooking only takes 10 to 15 minutes.
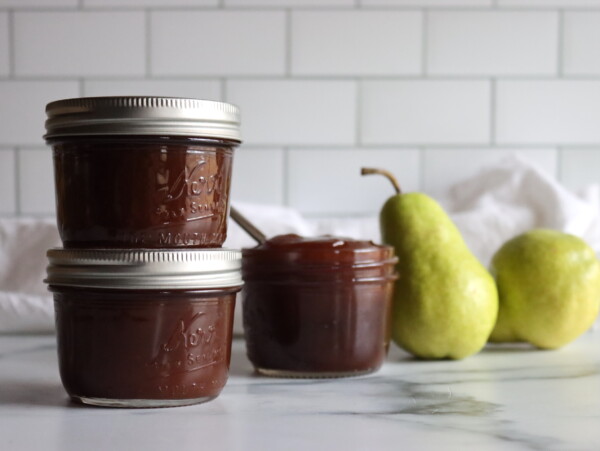
If you have more fruit than jam jars, and you’re looking for something even more hands-off, pear butter, maple bourbon pear butter and pear honey are a few other slow-cooked pear canning recipes that work through a lot of pears in one batch.
Notes from My Kitchen

Here in Vermont, pear season comes right as the days start getting shorter, and there’s always more fruit than time. That’s part of why this recipe suits busy fall weeks, since the overnight maceration splits the work into two short sessions instead of one long day at the stove.
I usually set the pears to macerate after dinner, then can the next morning while the kitchen is still cool. A batch this size fits into an evening and a morning without much fuss, and the jars make welcome gifts once the holidays roll around (assuming they last that long).
Quick Look at the Recipe
- Recipe Name: Pear Jam
- Recipe Type: Jam (no added pectin)
- Canning Method: Water Bath Canning
- Prep Time: About 30 minutes (plus 12 to 24 hours macerating)
- Cook Time: About 15 minutes
- Canning Time: 10 minutes for half pints
- Yield: About 4 to 5 half pints
- Jar Sizes: Half pints or quarter pints
- Headspace: 1/4 inch
- Ingredients Overview: Pears, sugar, lemon juice
- Safe Canning Recipe Source: Follows NCHFP guidance for fruit jams
- Difficulty: Easy
- Similar Recipes: Making pear jam is similar to other old-fashioned no-pectin jams, like Raspberry Jam, Apple Jam, and Blueberry Jam. If you love pear preserves, try other pear canning recipes like Pear Butter and Old Fashioned Pear Preserves.
Ingredients for Pear Jam
This pear jam calls for just three ingredients, and each one is doing real work in the finished preserve. Quantities are in the recipe card at the bottom of the post, and here’s what to know about each ingredient before you start, including what to look for at the orchard and what can (and can’t) be adjusted.
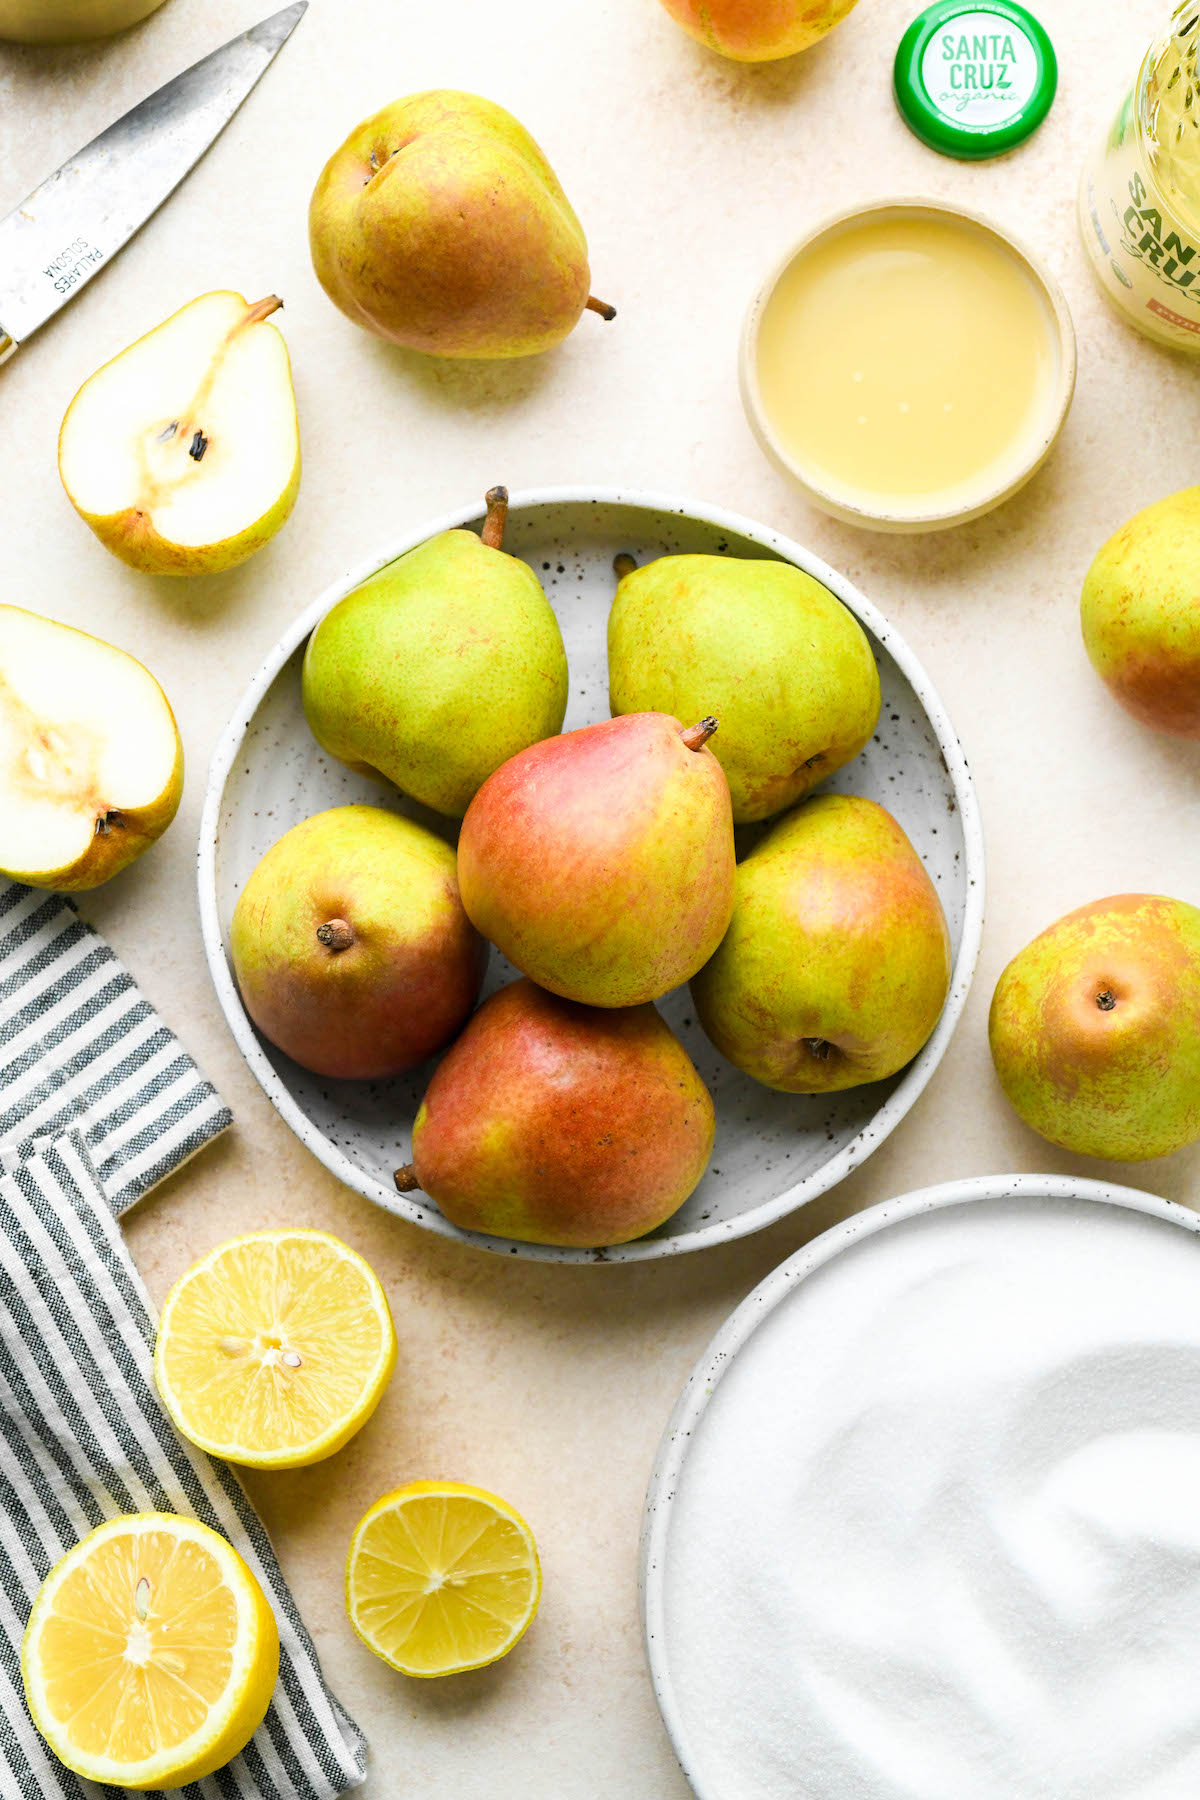
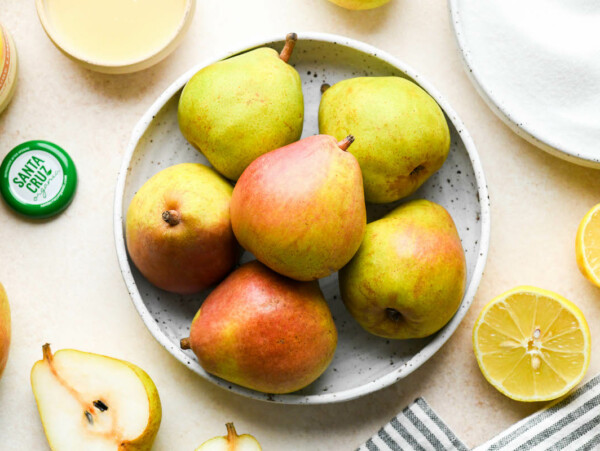
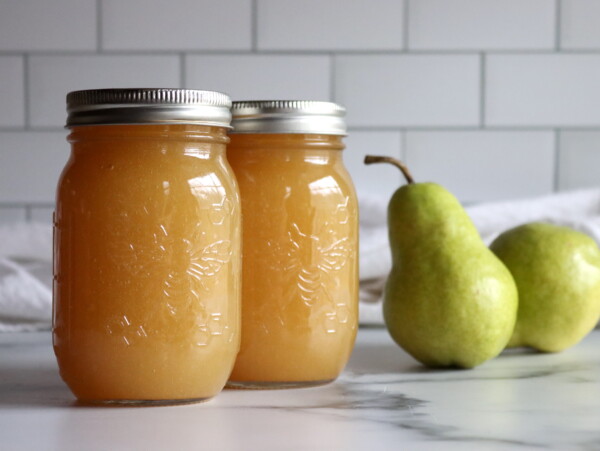
- Pears: Choose flavorful pears that are slightly underripe or barely ripe, since fruit at that stage carries the most natural pectin. According to the PennState Agricultural Extension, varieties that hold up well in home canning include Bartlett, Bosc, Anjou, and Comice (Bartlett pears are pictured in this post). Asian pears are lower in acid and are handled differently, so read about canning Asian pears before substituting them here.
- Granulated Sugar: Sugar sweetens the jam, helps it reach a good set, and builds the syrup the pears cook in. This recipe gives a range so you can adjust to taste, and since ripe pears bring plenty of their own sweetness, the lower end still makes a lovely preserve. If you’d like to cut sugar further, see the low sugar options below.
- Lemon Juice: Lemon juice brightens the flavor, keeps the diced pears from browning while you work, and contributes extra natural pectin during maceration. It also adds acidity, which also helps with set and balances the flavor with all the sugar required. I use Santa Cruz organic lemon juice for canning whenever lemon juice is listed as an ingredient, since bottled juice has a consistent, tested acidity.
That’s the whole list, no boxed pectin and no special trip to the grocery store. Beyond the ingredients, you’ll want a heavy-bottomed jam pot with plenty of room, since this jam foams up as it cooks, plus your usual water bath canning setup and 4 to 5 half-pint jars.
Low Sugar Options
This recipe is already flexible on sugar, and the lower end of the range makes a noticeably more fruit-forward jam. Less sugar means a softer set, a slightly longer cook, and a smaller yield, since sugar is part of what thickens the preserve in a no-pectin jam.
To go lower than the recipe allows, use a citrus pectin like Pomona’s Universal Pectin, which sets jam with little or no sugar. It works a bit differently than other pectins, so I’d suggest reading about how to use Pomona’s pectin before your first batch.
How to Make Pear Jam
Plan to start this recipe the day before you want to can, since the pears need 12 to 24 hours to macerate before they’re cooked. The hands-on work is minimal on both days, and the overnight rest is what builds the syrup that becomes the base of the jam.
If you’re truly pressed for time, you can shorten the maceration to about 4 hours, though I’d treat that as the bare minimum. The longer soak pulls more juice from the fruit, gives the sugar time to dissolve completely, and lets the lemon juice work its way through every piece of pear.
Prep and Macerate the Pears
Peel, core, and coarsely dice the pears using a small, sharp knife. A fairly small dice is a good idea here, because the chopped pear doesn’t break down much during the short cooking time.
If the finished jam seems lumpier than you’d like, you can always mash the pieces with a potato masher or the back of a wooden spoon before filling the jars.
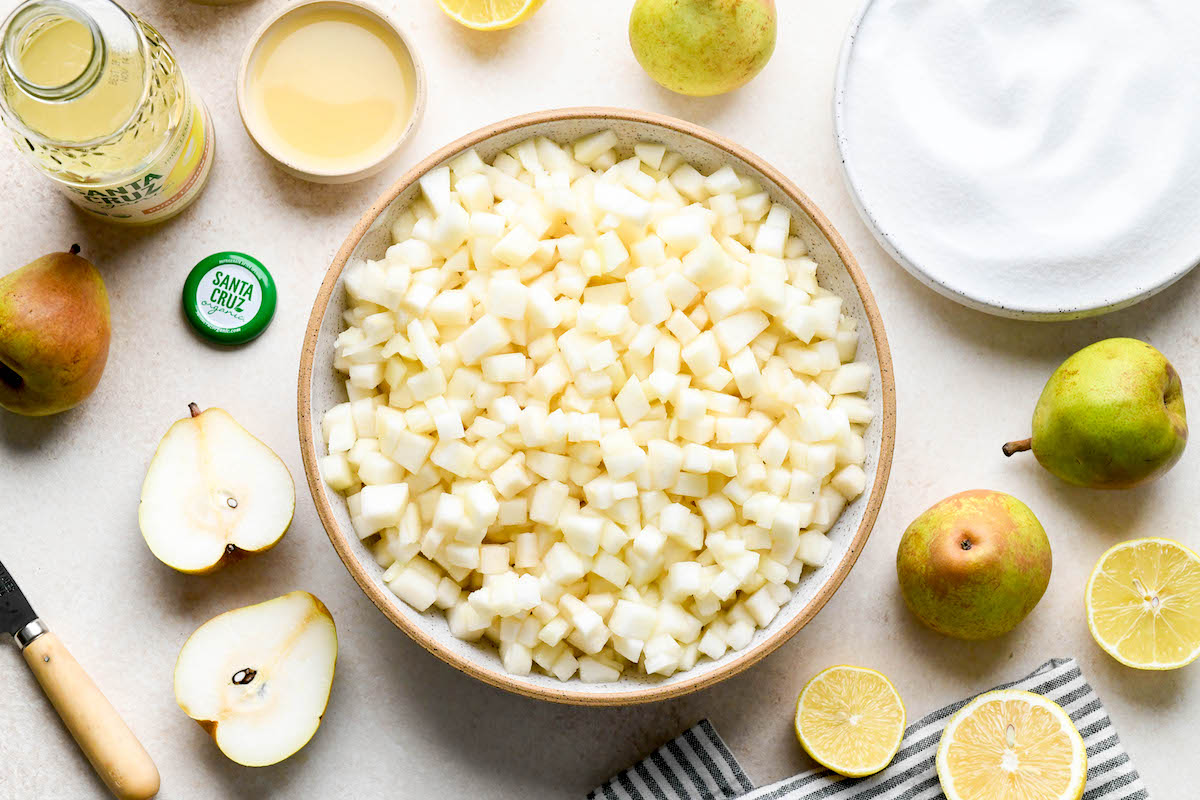
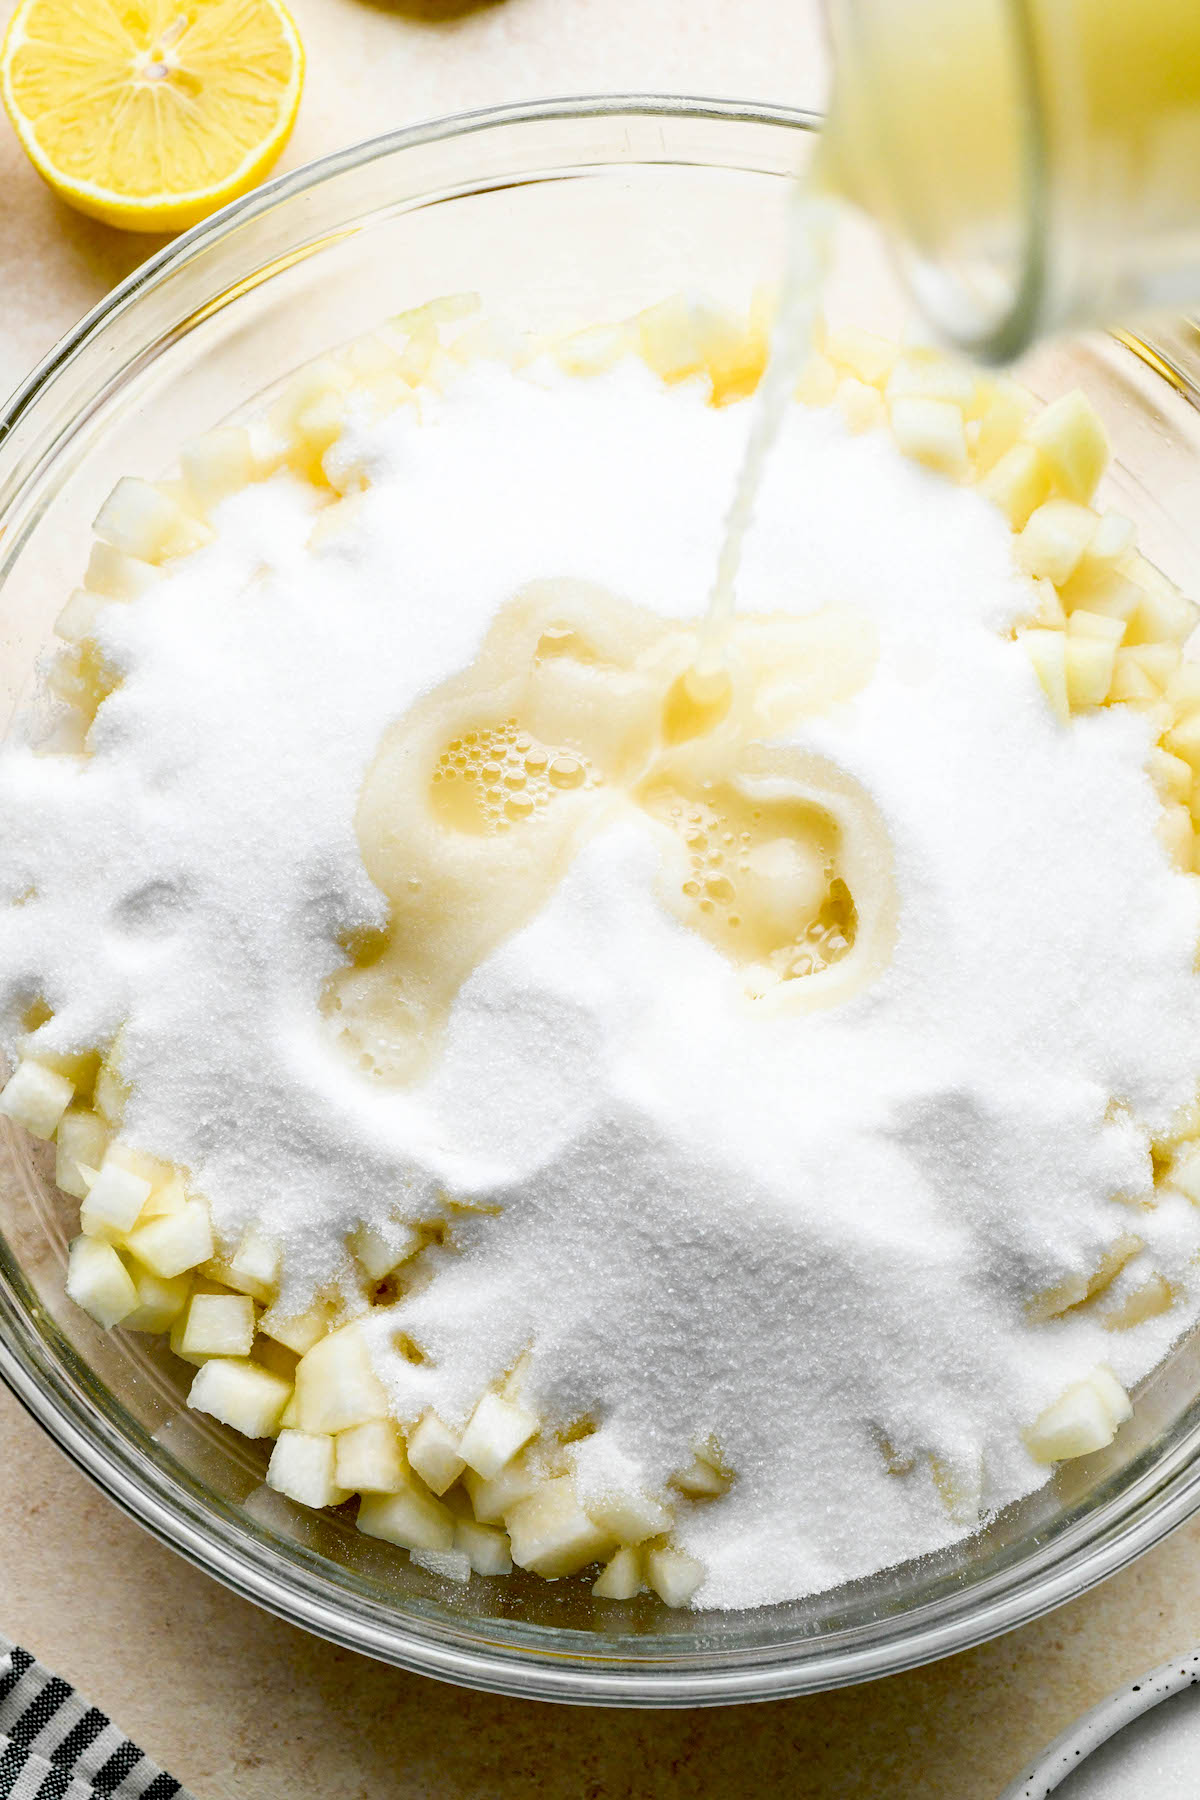
As you work, toss the pear pieces with the lemon juice in a large bowl. This keeps the cut fruit from browning and coats it in acid, which helps draw out the natural pectin (any citrus juice is a good source of this gelling agent). Then sprinkle the granulated sugar over the top and toss again so every piece is evenly coated.
Cover the bowl and tuck it into the refrigerator so the pears can macerate for 12 to 24 hours. There’s nothing to do during this stage but wait, which makes it a fine project to start after dinner and finish the next morning.
Cook the Pear Jam
When you remove the macerated pears from the fridge, you’ll notice a rich, syrupy liquid at the bottom of the bowl.
This syrup is liquid gold, and it’s going to form the base of the pear jam, a sweet cooking liquid that will poach the fruit until it’s tender.
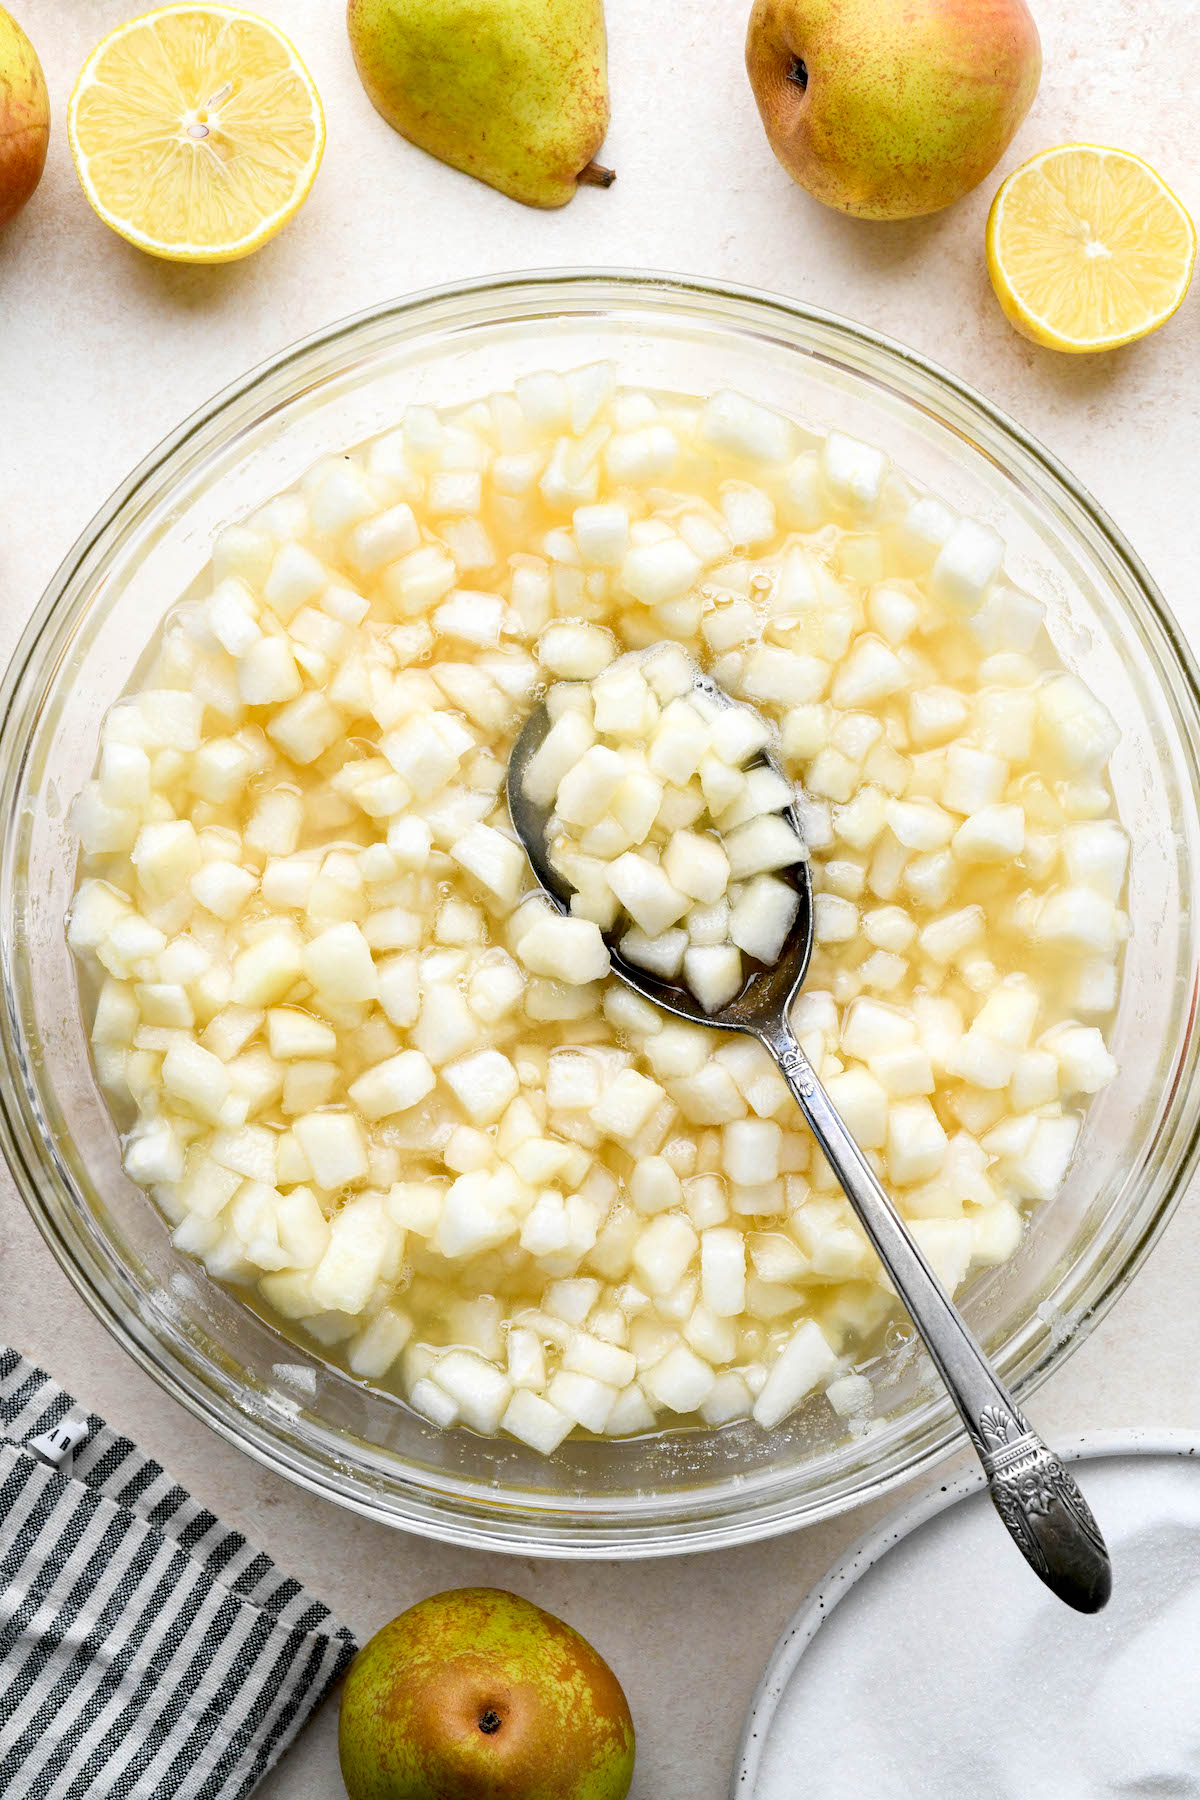
Pour the contents of the bowl into a jam pot or large saucepan with a heavy bottom.
Give yourself more room than you think you need, since this jam has a tendency to foam up as it cooks.
I’ve learned from past canning projects that ample space goes a long way toward preventing unnecessary messes.
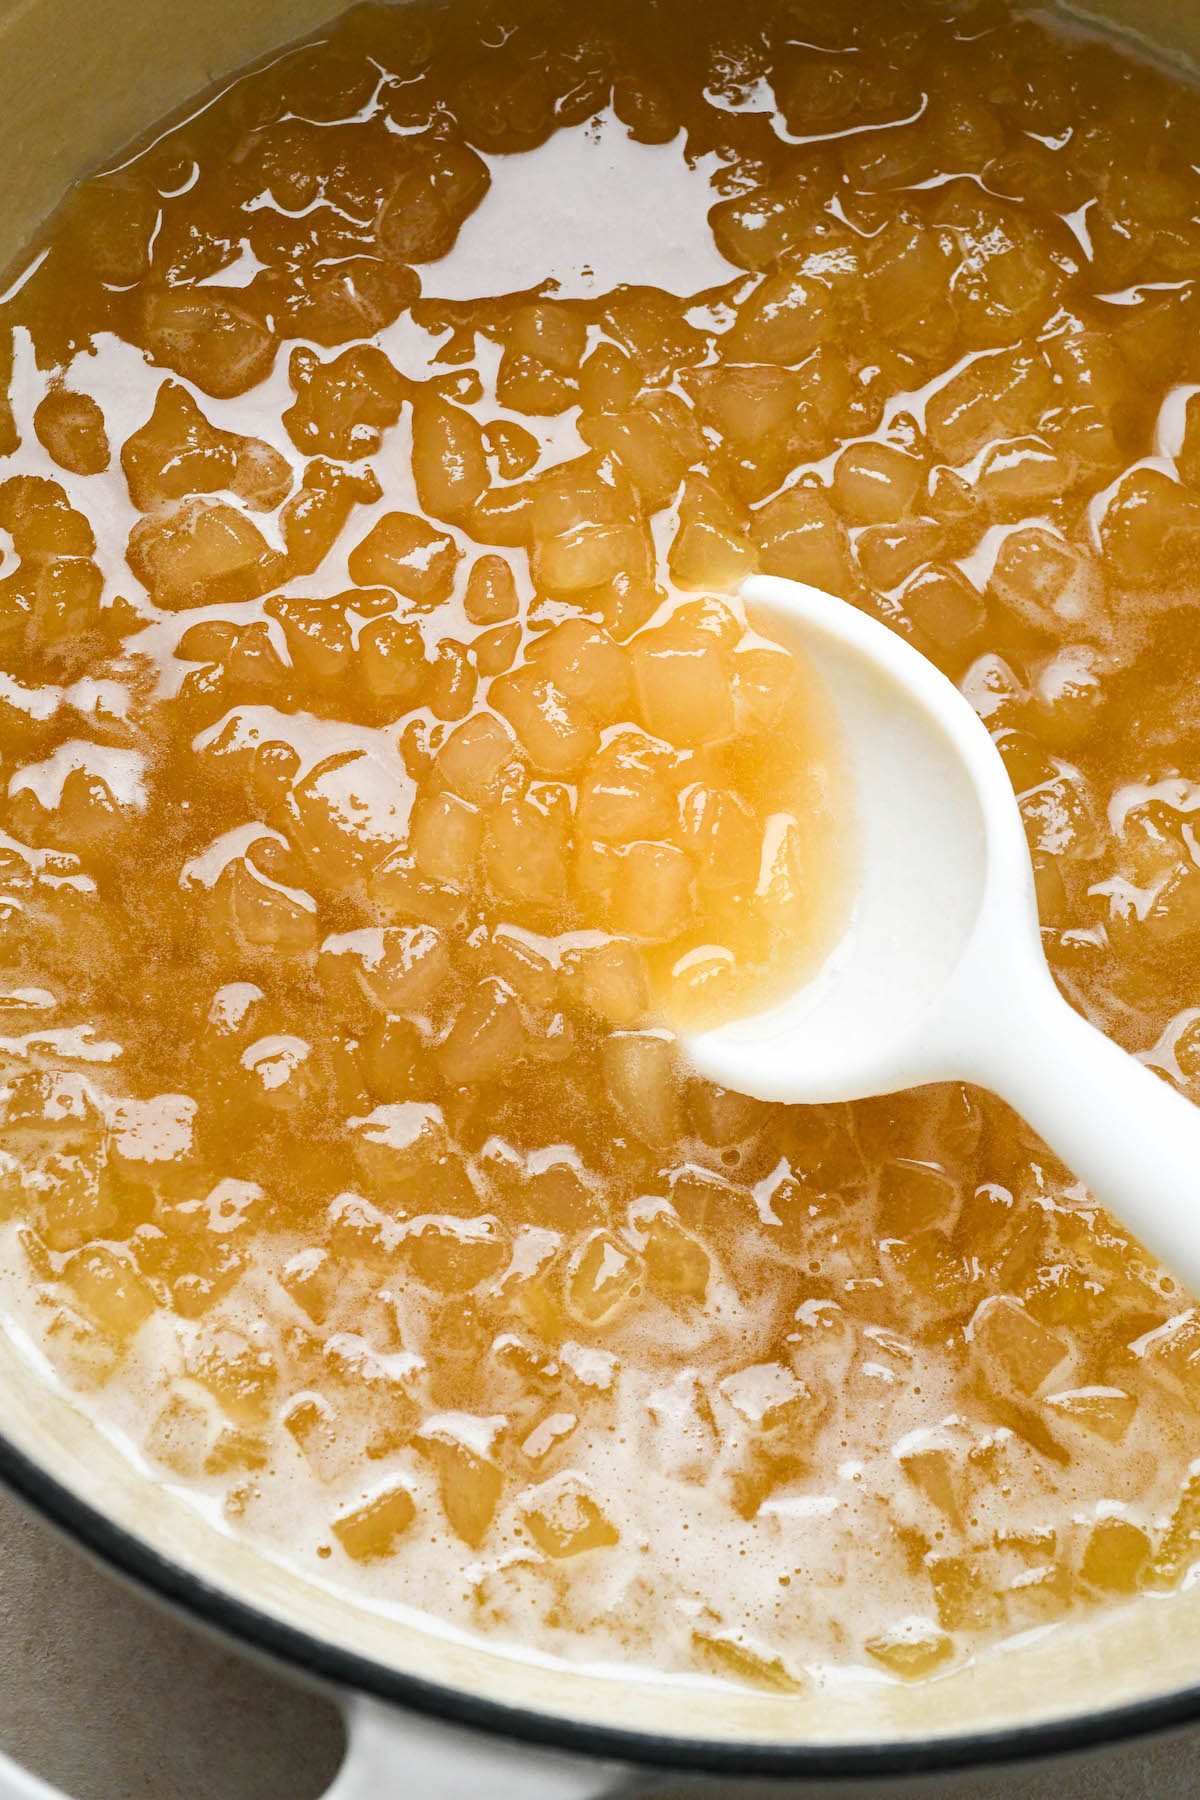
Bring the pears and their liquid to a boil over high heat.
Once the jam comes to a boil (it will be quite foamy), reduce the heat to medium-high and cook for 10 to 15 minutes, stirring occasionally, until the mixture thickens and approaches the gel stage.
Test the Gel Stage
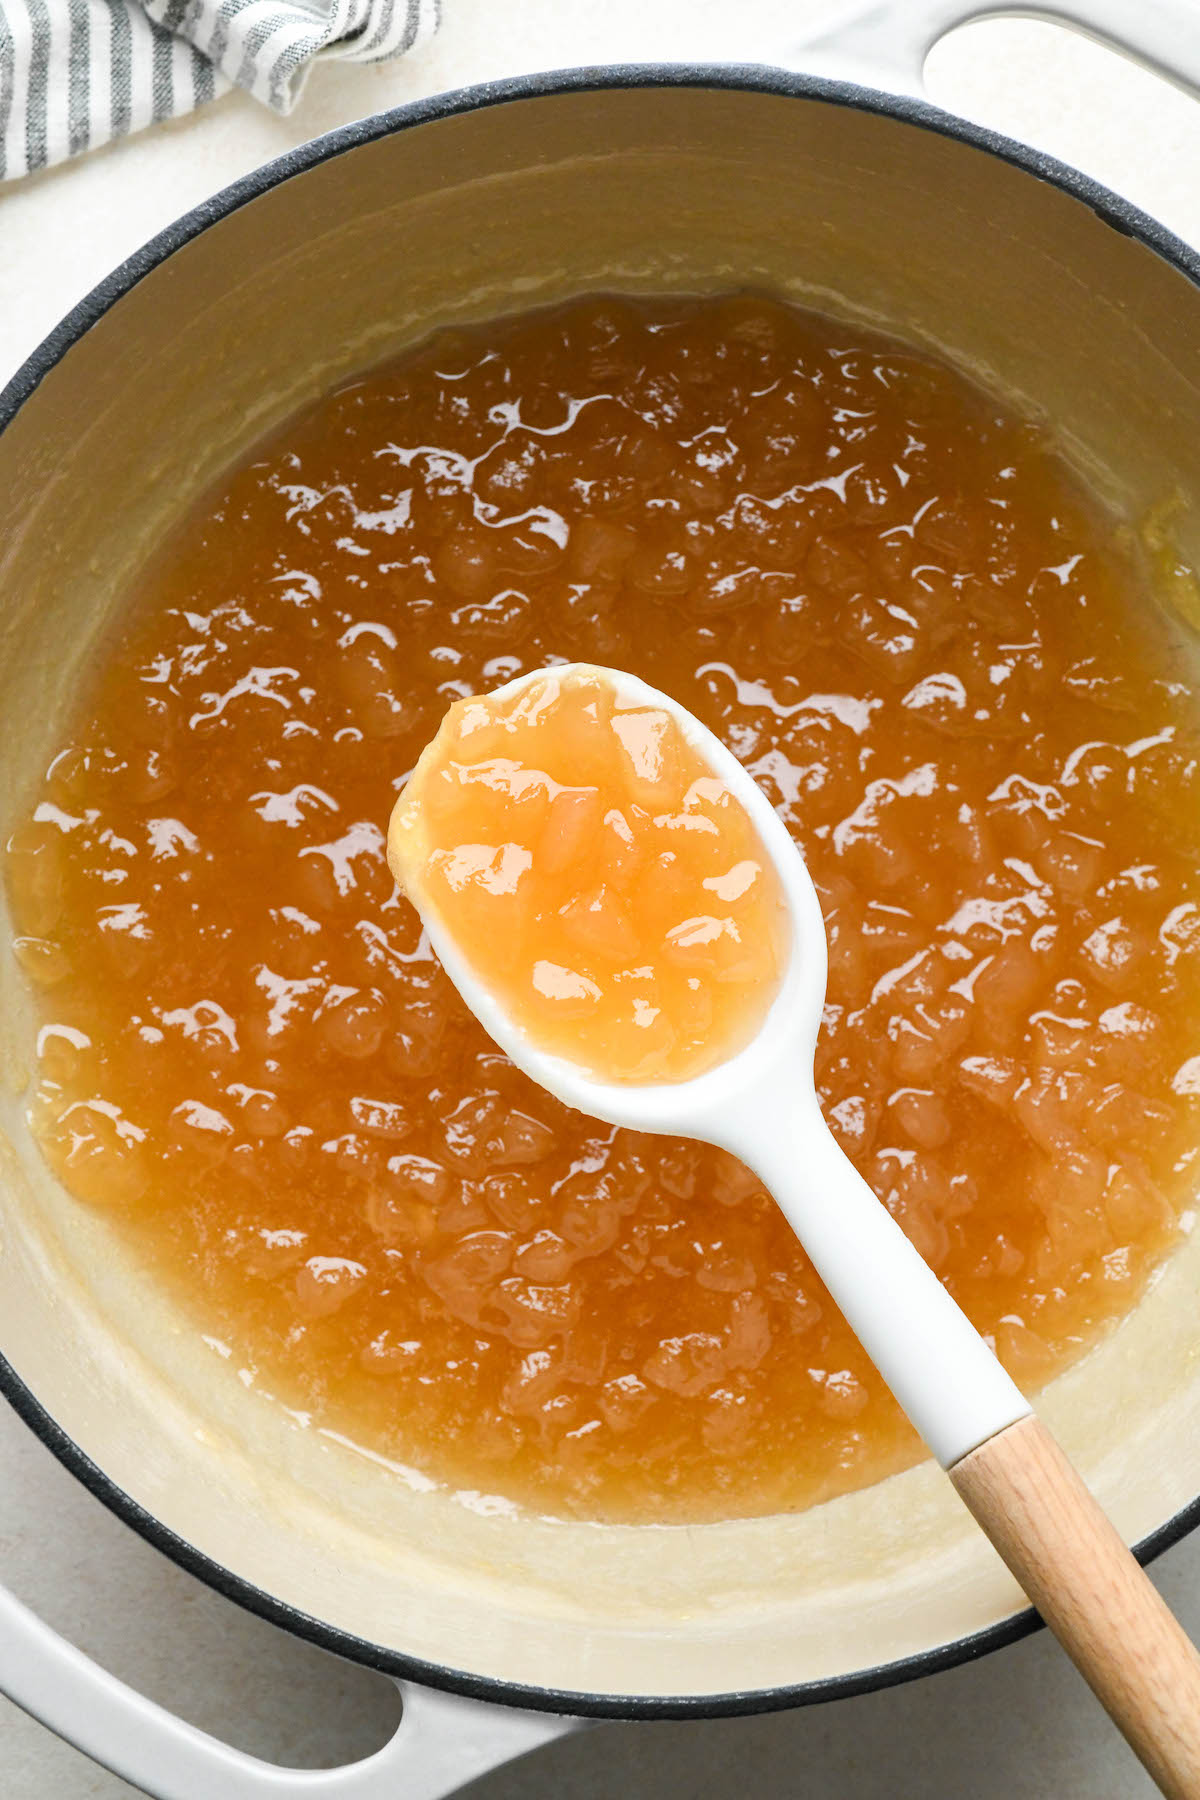
A reliable way to test the jam is with an instant read culinary thermometer. Gelling occurs at 220 degrees F (105 degrees C) at sea level, and slightly lower at higher elevations, so once the jam holds that temperature you know it’s ready for jars.
No thermometer?
Place a glass plate in the freezer while the jam cooks, then dollop a small spoonful of hot jam onto the chilled surface. If it sets quickly and wrinkles when you nudge it with a fingertip, you’ve hit the gel stage.
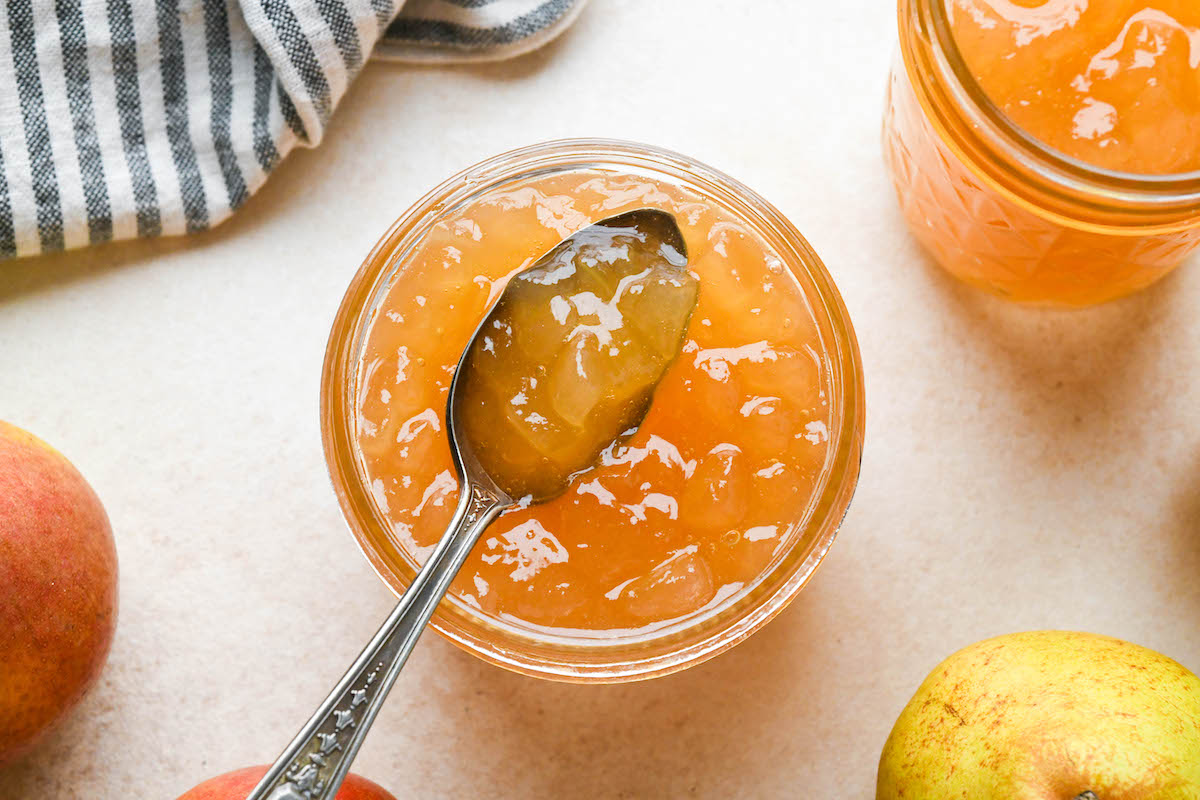
You can also watch how the jam falls from a spoon. Lift out a small spoonful, blow on it to cool it quickly, then tip it back into the pot. If it “sheets” off the spoon rather than dripping, the pear jam has gelled.
Once the jam is done, remove the pot from the heat while you get the jars ready.
Pear Jam Variations
Once you’re comfortable with a basic pear jam, it’s a natural base for warm spices and other flavors that pair beautifully with the fruit. Vanilla, cinnamon, fresh ginger, and even a splash of spiced rum all have a place in a pear preserve, and the method stays much the same.
These versions from other canning writers show just how many directions you can take a batch:
- Pear vanilla jam: this recipe calls for vanilla beans, which are split, scraped, and added to the jam during the cooking stage.
- Spiced pear jam: in this recipe, cinnamon and cloves are simmered with pears before canning.
- Rum spiced pear jam: another recipe that uses warm winter spices, this version finishes the jam off with spiced rum before canning.
- Vanilla pear berry jam: a combination of pears and strawberries that would be delicious served on pancakes or waffles.
- Pear ginger jam: a zippy pear jam made with fresh ginger and lemon zest.
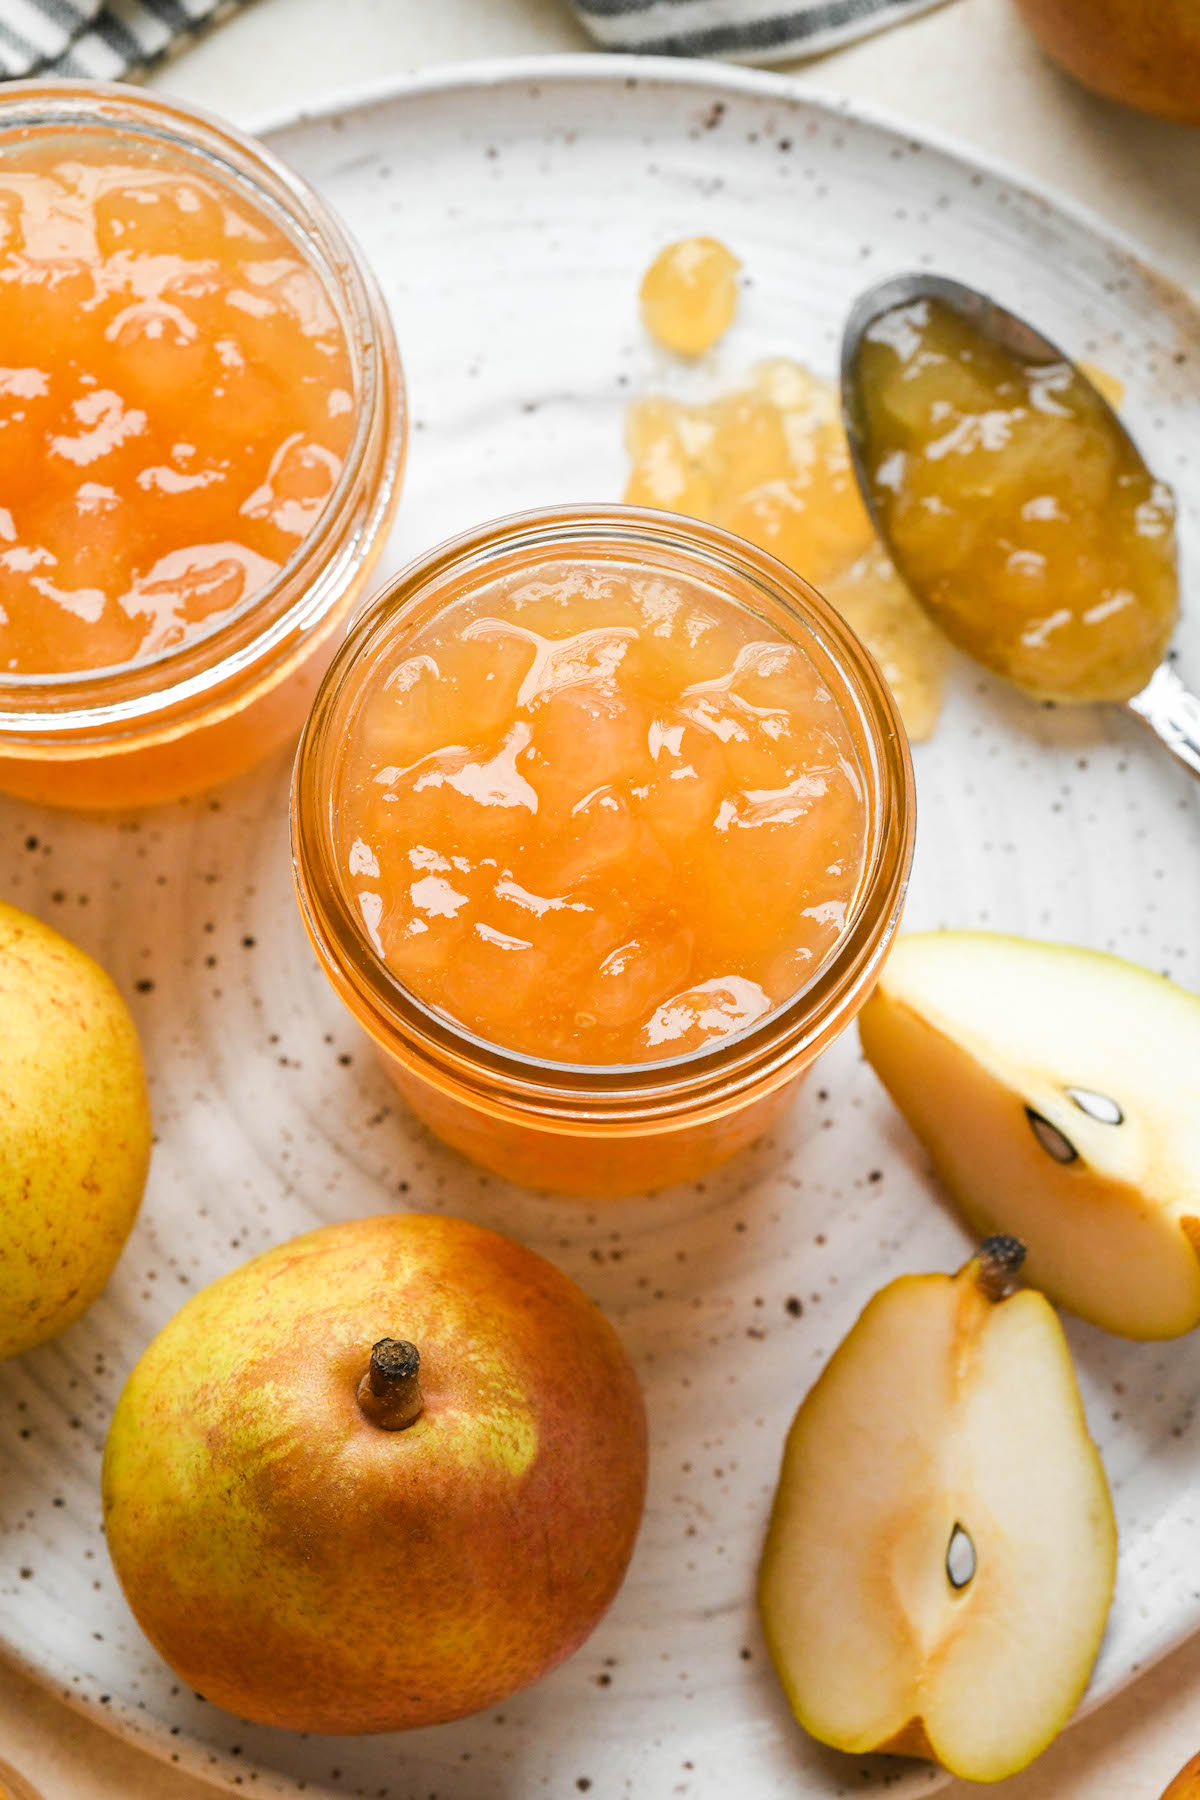
Canning Pear Jam
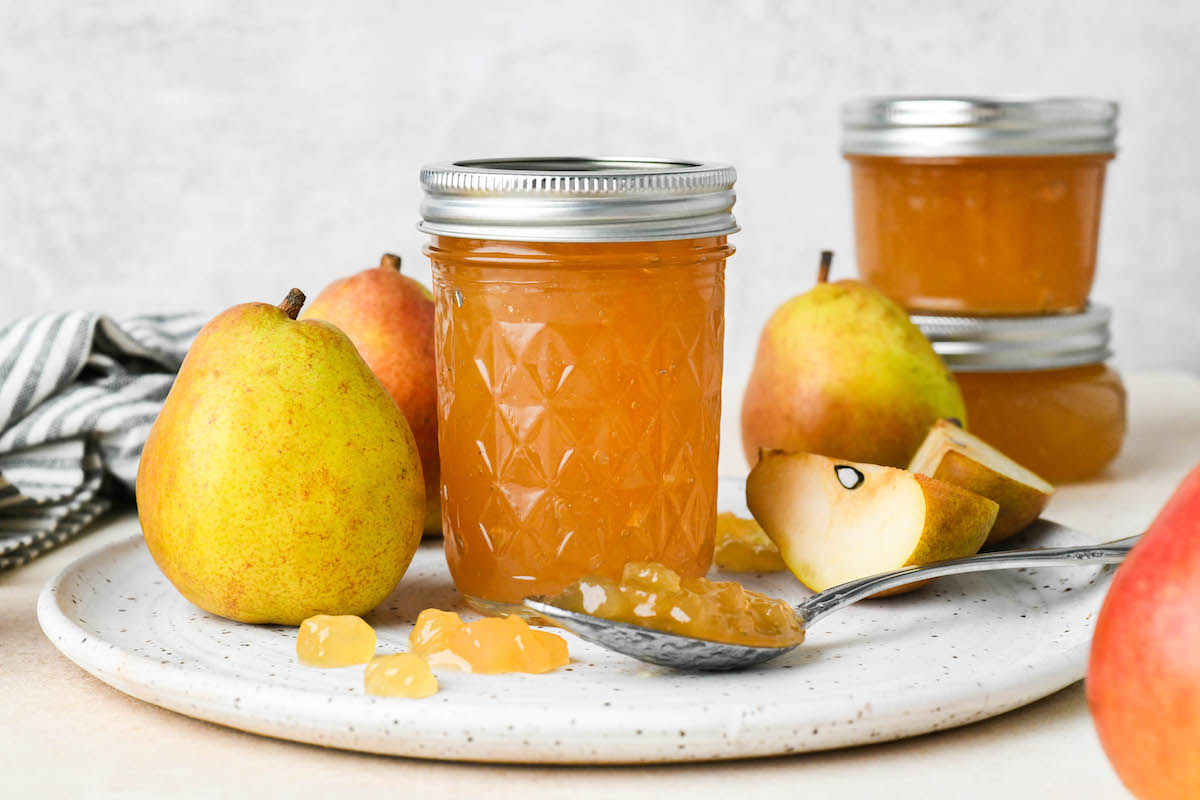
To can, prepare your water bath canner, jars, and lids before the jam finishes cooking, so everything is hot and ready when the fruit reaches the gel stage. This recipe fills 4 to 5 half-pint jars.
Carefully fill the prepared jars with the still hot jam, leaving 1/4 inch headspace at the top. Run a silicone spatula or plastic knife around the inside of each jar to release trapped air bubbles, re-measure the headspace, and add more jam if needed. Wipe the rims and apply two-piece canning lids until fingertip tight.
Process the jars in a boiling water bath canner for 10 minutes, adjusting for altitude, then turn off the heat and let the jars sit in the hot water for another 5 minutes before removing them, which helps prevent siphoning.
Set the jars on a towel-lined counter with at least an inch of space between them, and leave them undisturbed for 12 to 24 hours before checking seals.
Altitude Adjustments
For water bath canning, processing times increase at higher elevations:
- 0 to 6,000 feet: 10 minutes
- Above 6,000 feet: 15 minutes
Setting Notes
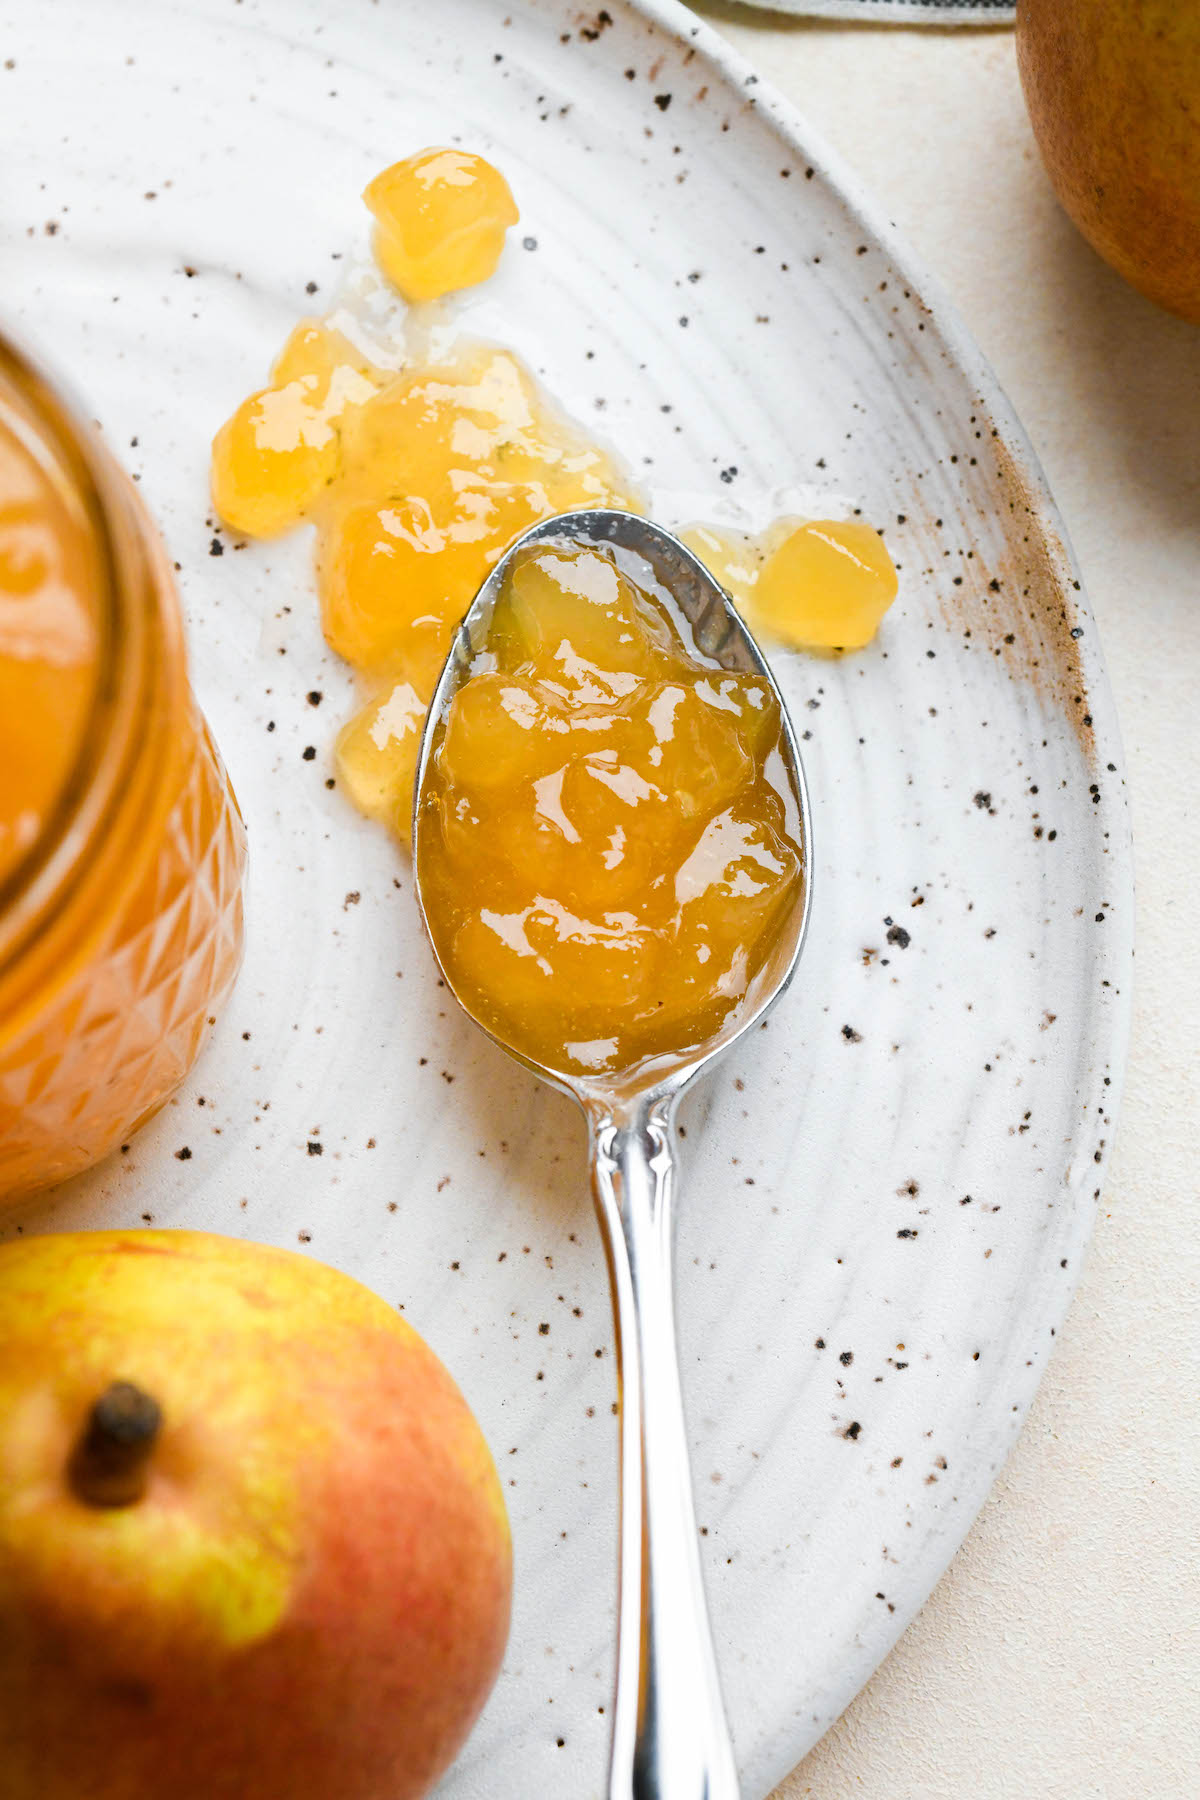
No pectin jams firm up as they cool, so don’t judge the set while the jam is still hot in the jar. A properly cooked batch can take 24 to 48 hours to reach its final texture, and pear jam in particular tends toward a soft, spoonable set rather than a stiff one, which suits the delicate flavor of the fruit.
If the jam still hasn’t set after two full days, something likely went wrong at the gel stage, usually pulling the pot off the heat before the jam reached 220 degrees F. A runny batch isn’t lost, and my guide to troubleshooting jelly set walks through how to re-cook it (or you can simply relabel it as pear syrup for pancakes).
Ways to Use Pear Jam
Despite being a relatively unknown preserve, pear jam lends itself to all kinds of uses in the kitchen. Spread it on toast or English muffins with butter, spoon it over pancakes and waffles, or tuck it into sandwiches with nut butter for a lunchbox upgrade that beats anything from the store shelf.
In baking, it’s lovely tucked between the layers of a cake or coffee cake, swirled into muffins and quick breads, or stuffed into French toast. It also makes a memorable filling sandwiched into pear jam donuts with vanilla and cinnamon.
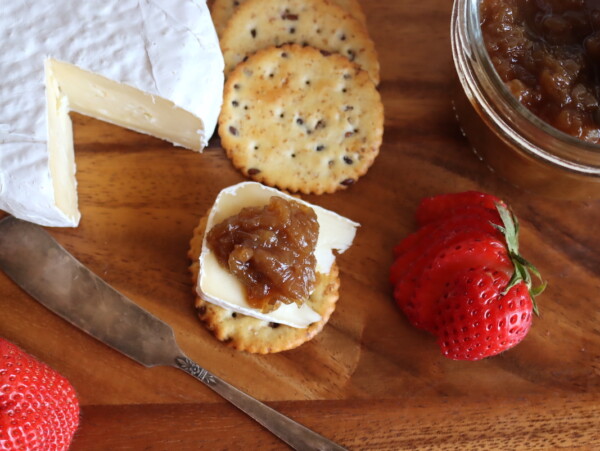
On the savory side, dollop pear jam beside roasted pork, boar, or other gamey meats with a side of spicy mustard, or set it out on a cheese board next to something sharp. And for something different entirely, it shakes into a gin and pear jam smash cocktail.
Storage and Shelf Life
Once the jars have cooled for 12 to 24 hours, check the seals and move any jar that didn’t seal to the refrigerator, planning to use that jam within a week or two. Sealed jars go into the pantry, ideally somewhere cool, dry, and away from direct light.
Properly sealed jars keep their quality for 12 to 18 months on the shelf. Once opened, refrigerate the jar and use the jam within a couple of weeks.
Yield Notes
This recipe yields 4 to 5 half pint jars, roughly 4 to 5 cups of finished jam, from 4 pounds of pears. The final count depends on how juicy your fruit is, how much sugar you use, and how long the batch cooks, since a longer boil evaporates more liquid and concentrates the jam into fewer jars.
The recipe halves or doubles with no changes to the method. Don’t go beyond a double batch, though, because a crowded pot takes much longer to reach the gel stage and the fruit can overcook along the way, so make back to back batches instead.
More Ways to Preserve Pears
Jam is just one direction for a heavy pear harvest. On the canning side, old fashioned pear preserves keep the fruit in tender chunks suspended in syrup, pickled pears go sweet and tangy for the holiday table, and pear pie filling puts dessert on the pantry shelf. My collection of fruit canning recipes has plenty more where those came from.
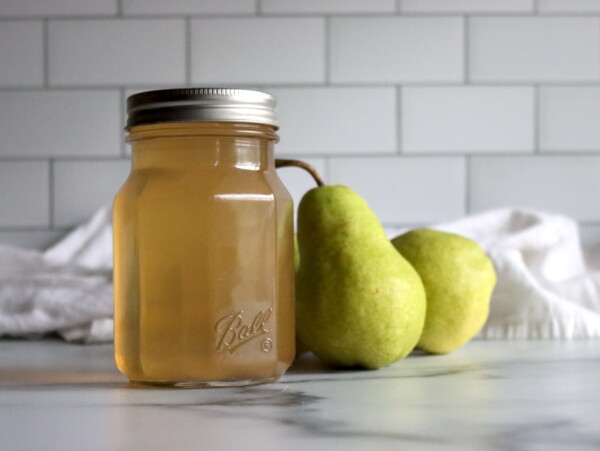
Beyond the canner, pears ferment beautifully into pear cider (hard or sweet) and pear wine, and a dehydrator turns them into pear chips or pear fruit leather for snacking. If a clear amber spread is more your style, pear jelly uses just the juice.
Before you head down to the recipe card, here are answers to the questions readers ask most often about making pear jam at home.
Pear Jam FAQs
No. Pears are naturally high in pectin, especially when slightly underripe, and the lemon juice adds a bit more during maceration. Cooking the jam to 220 degrees F sets it without any boxed pectin.
The most common reasons are pulling the jam off the heat before it reached 220 degrees F, using very ripe pears with less natural pectin, or making more than a double batch. Give it 24 to 48 hours to finish setting, and if it still hasn’t, read through my guide on troubleshooting jelly set.
Yes, within the range given in the recipe. Less sugar means a softer set, a slightly longer cook, and a smaller yield. For a very low sugar jam, use a citrus based pectin like Pomona’s and follow the package directions instead.
Properly processed and sealed jars keep for about 12 to 18 months in a cool, dark place. Once opened, refrigerate and use within 1 to 2 weeks.
If you’re canning your way through a bushel, my full collection of pear canning recipes will keep the canner busy all season.
Pear Canning Recipes
If you tried this Pear Jam recipe, or any other recipe on Creative Canning, leave a ⭐ star rating and let me know what you think in the 📝 comments below!
And make sure you stay in touch with me by following on social media!
Pear Jam
Equipment
- Canning Jars, Lids and Bands
Ingredients
- 4 lbs pears, as purchased
- 2 to 3 cups sugar, to taste
- 1/4 cup lemon juice, fresh or bottled
Instructions
- Peel, core, and coarsely dice the pears, tossing the pieces with the lemon juice in a large bowl as you work to prevent browning.
- Sprinkle the sugar over the pears and toss to coat. Cover the bowl and refrigerate for 12 to 24 hours so the fruit can macerate (4 hours minimum).
- Prepare a water bath canner, jars, and lids.
- Pour the pears and their syrup into a large, heavy bottomed jam pot. Bring to a boil over high heat, then reduce to medium high and cook for 10 to 15 minutes, stirring occasionally, until the jam reaches the gel stage (220 degrees F at sea level, or test with a chilled plate).
- Remove the pot from the heat. If you’d like a smoother texture, mash the fruit with a potato masher before filling jars.
- Ladle the hot jam into prepared jars, leaving 1/4 inch headspace. Remove air bubbles, re-check the headspace, wipe the rims, and apply two piece lids until fingertip tight.
- Process in a boiling water bath canner for 10 minutes, adjusting for altitude. Turn off the heat and let the jars rest in the canner for 5 minutes before removing.
- Cool the jars on a towel lined counter for 12 to 24 hours, then check seals. Refrigerate any unsealed jars and store sealed jars in a cool, dark place.
Notes
Nutrition
Nutrition information is automatically calculated, so should only be used as an approximation.
Jam makers, there are more than 50 jam canning recipes to try, from berries to stone fruit, plus hundreds more water bath canning recipes beyond that.
Jam Canning Recipes
Find the perfect recipe
Searching for something else? Enter keywords to find the perfect recipe!

Absolutely perfect!
Glad to hear it!
This turned out so well! My first time making pear jam. I decided to try it since I have a bunch of pears itching to spoil. Flavor is lovely, great texture, etc. I’m excited to make more batches. Thank you for writing such clear, accurate instructions!
So glad you enjoyed it! Pear jam is perfect for a big pile of pears that are ripening all at once. Happy canning!
I have never made jam going to give this a try. I have a friend giving me pears. Do how many cups of cut up pears?
Welcome to jam making! I didn’t measure by volume last time, but 4 pounds of pears is usually about 8 medium pears, which works out to roughly 8 to 9 cups once they’re peeled, cored and diced. I’ll measure when I make it again this season to double check and add the cup amount to the recipe. Good luck with the batch!
Do I need to macerate pears even when they are mostly at peak or near past peak ripeness. Im working on chopping all the pears so I can’t honestly rate the recipe but I’ve never had anything bad from Ashley.
Yes, you do need to macerate the pears regardless here. Past-peak pears are a bit softer, so maceration helps firm them up so they hold together better in the jars. Enjoy!
Great recipe and instructions. Easy to follow.
Lovely!
Made this for a friend whose favorite jam is pear. He can’t find it locally. He told me several times that this is the best pear jam he has ever had!
Thank you for such a great recipe!!
Lovely! That’s such a great compliment, I’m glad he likes it!
Amazing!!!
I highly recommend; my jam turned out spendidly!
Wonderful!
This jam is SO GOOD, it almost didn’t make it into the water bath to can, lol!
This is worthy of being served alongside some Brie cheese and fresh sourdough bread!
I was just trying to use up some pears from our old backyard tree, and now I’m ready to head to the Farmer’s Market to buy more, just so I can make more of this! The ratios given here seem to be perfectly balanced. I used raw sugar, lemon and put a few peeled, fresh ginger slivers in as well.
I also happen to own a stainless steel jam kettle that I was given several years ago, which helps immensely with the cooking process. For those who don’t have one, cooking this in a wide, shallow pan helps a lot. (I did this for a number of years.)
Your instructions are easy to follow and I am happy as can be with the results!
A million thanks for featuring a method that requires no commercial pectin. I was dismayed to learn a few years ago that many commercial pectins contain genetically modified ingredients. I set out to find a solution and discovered that it’s really not even necessary if you know what you’re doing, and guess what? Jams and jellies taste better without it! So, thanks!
Fabulous! I’m so glad I could help!
Made this with Ayers pears off my tree in the yard. Magnificent!
Wonderful! Nothing beats jam from your own backyard tree. So glad you enjoyed it!
Can I use this recipe with a steam canner?
Yes, this works just fine in a steam canner. Enjoy!
Going to make some more jam. Just making 2 lbs.
Thank you,
I didn’t have the quantity of pears, so I cut directions in half. Worked perfectly. Looking forward to making more.
Lovely!
Dumb question probably… is it 8 lbs before or after you peel & core the pears?
That is a really great question, and I will go clarify in the recipe. A single batch uses 4 pounds of pears as purchased, and then you go from there.
First time to make pear jam. Looks delicious and easy to make. Thank you for the recipe.
You’re quite welcome!
Delicious!
Thank you.
Wonderful!
I’m going to make this but I’m confused as to the 14 INCH space? Should that be 1/4 inch?
Ha ha, oops. Thanks for catching that type-o. Missed the slash there =)
I made the Pear Jam per your instructions and am very pleased with how it turned out. It is delicious and it looks exactly like your pictures. Thank you for sharing your recipe!
Wonderful! I’m so glad you liked it!
I am just trying this pear jam recipe (peeled, diced pears being macerated in my fridge right now)…I used 2 cups of sugar, 1/4 cup lemon juice and lots of pears from my garden. I am thinking I will maybe add finely chopped ginger when I am cooking the maserated fruit. Thanks for the recipe.
You’re quite welcome, enjoy!
Is it possible to use a steam canner for processing the jam?
Yes, that’s perfectly fine. You can process just about anything you can do in a waterbath canner in a steam canner, it works just fine. Enjoy!
I AM TRYING YOUR RECIPE FOR PEAR JAM FOR THE FIRST TIME SO FINGERS CROSSED IT TURNS OUT OKAY
Good luck!
Hey! I was wondering if this could be processed in pint jars instead of half pint. I made one batch in half pint and it worked great, it carmelized a bit trying to get to gel temp but tastes good. I can’t find info anywhere about adapting from half pint to pint or if the processing time is the same.
Both pints and half pints of jam are canned for the same time, for 10 minutes (or 15 minutes over 6,000 feet in elevation). That’s true for almost every jam with few exceptions.
Do you have to peel the pears?
I would like to try this recipe next week when my pears will be ready.
Thank you in advance for your recipe and response
Fay Kraynyk of Manitoba Canada
Peeling the pears isn’t required for canning safety or for the recipe to set. It’s only because most people prefer their pear preserves to be without skins. But it’s totally a matter of personal preference.
So yummy. I used the parts from my tree and the recipe turned out delicious! Thank you.
Wonderful!
So yummy! I doubled the recipe, so had to cook and stir closer to 30 – 35 minutes to reach gel stage. Tastes delish right out of the jar! Can’t wait to try on pancakes, waffles, toast, vanilla ice cream, etc etc. 🙂 Thanks for the recipe!
Lovely! I’m so glad you like it =)
Made this today. Easy to follow recipe, and a welcome use for some of the many pears I was gifted. I used the lower snood sugar (2c) and the jam is still plenty sweet. What is the least amount that can be used and still have the jam gel? Also can the recipe be doubled? Thank you for your terrific recipe!
With pears, I think you might be able to go as low as 1 cup and still get a good product. They’re quite sweet on their own, and they don’t fall apart after maceration. I haven’t tried it with that little sugar yet, but I think it’d probably be just fine. As to doubling, yes, you can double the recipe, but you shouldn’t increase it beyond that. Too big a batch and it won’t heat evenly when cooking. Enjoy!
What about substituting honey for sugar?
You can use honey for at least half the sugar, but beyond that, it may burn when you try to cook it to gel stage (though it may not). I’ve had mixed results with honey in jams. If you give it a try, let me know how it works out for you. However, I’ve had great results with maple in jams like this, and if you’re looking for an alternative sugar, I think maple would be lovely.
I tried one batch with 1 cup of honey, and one with 1 c honey + 1 c maple syrup. Both had to boil quite a bit more than the time given, and are still ‘pourable’ but not so thin that you can’t scoop some out with a knife. The maple does indeed complement it well; it seems to pull the pear flavor out a little more. The bread I use has a pretty strong flavor so I found the pear jam was actually not strong enough for it, but on a lighter bread I think it would be delicious! I will admit to just eating this as pear sauce so I can really enjoy the flavor… 😀 Also good in yogurt!
Good to know it doesn’t set all that well with alternative sweeteners, I hadn’t tried this particular recipe with anything but sugar. Still sounds tasty though!
Just looking back at the pictures and the description of ‘sheeting off the spoon’ and wondering if maybe I just had a different understanding of ‘gelled’, as mine looks very similar to the picture. Happy to send you a picture/video if you care.
That sounds just right! Pear jam is a soft, spoonable set rather than a firm one, so pourable but still scoopable is right where it should be. Glad the maple worked out so well with the pears.