This post may contain affiliate links. Please see our disclosure policy.
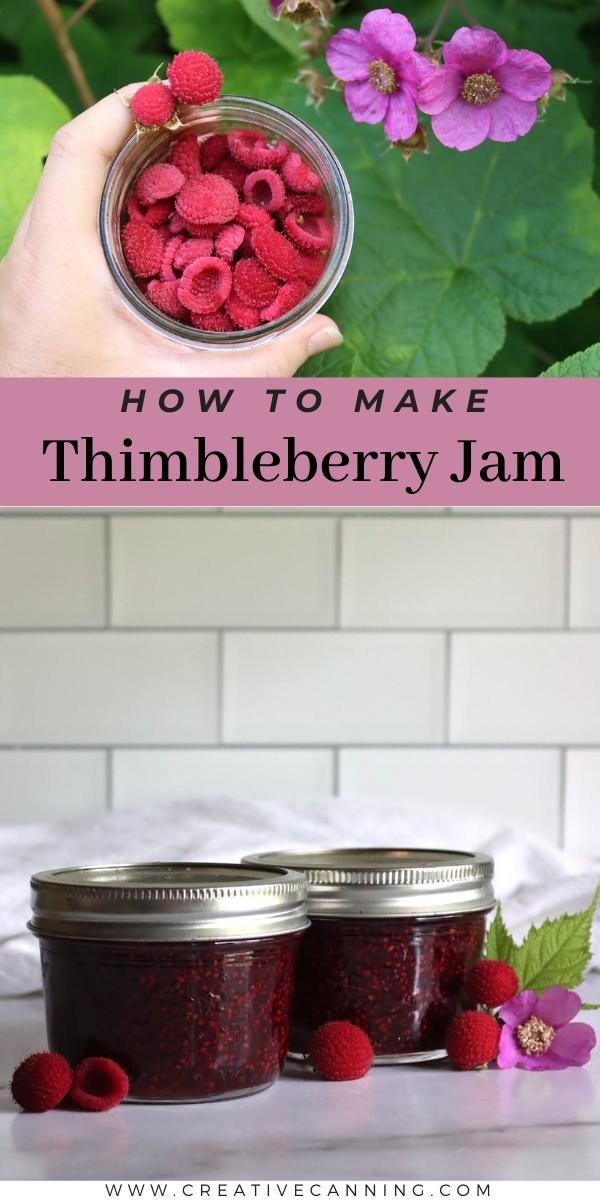
Thimbleberry jam is one of the simplest ways to preserve thimbleberries, and it comes together in minutes with just a few ingredients.
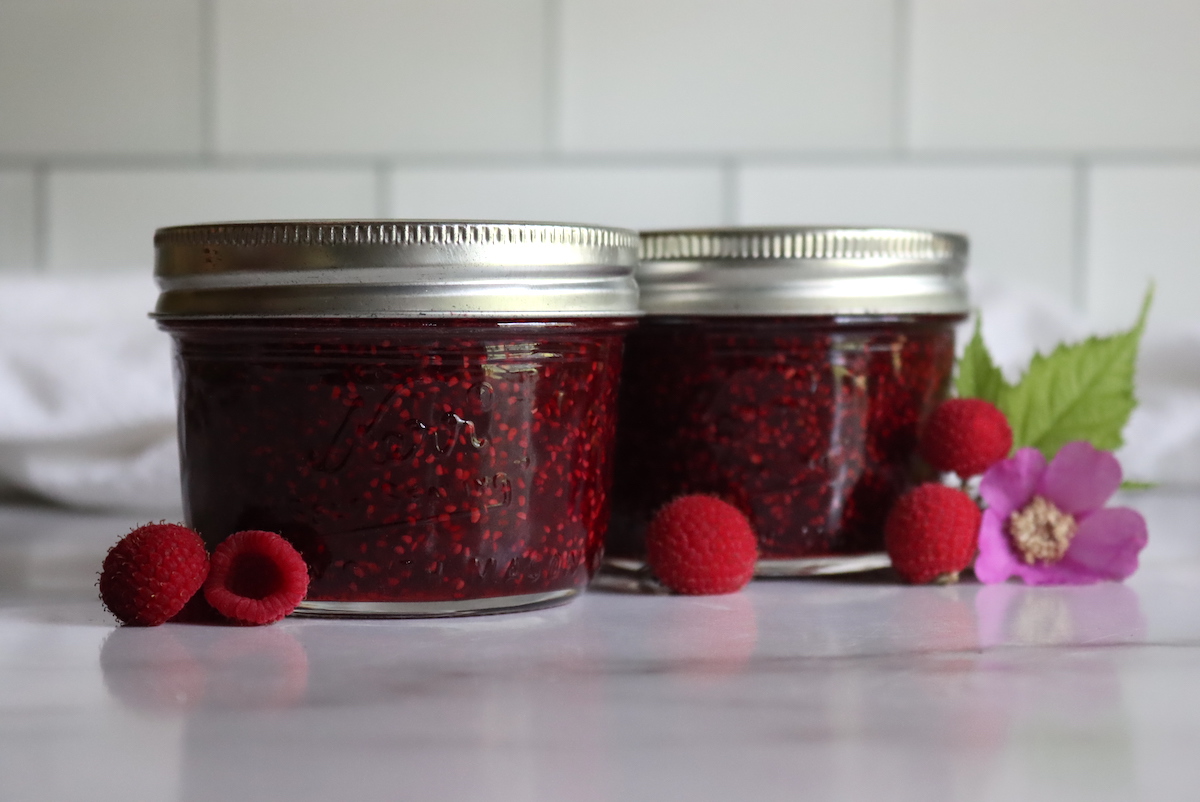
There are literally hundreds of unique fruits in the raspberry family, and thimbleberries (also known as flowering raspberries) are one of the tastiest. The best way to describe their flavor is “more raspberry than raspberry” or like an raspberry flavored candy that someone dumped too much raspberry flavoring into.
They’re really spectacular…but short lived.
The fruit start to degrade within minutes of picking, and though they’ll keep a day or two if refrigerated, they’ll spoil in just hours at room temperature. That’s one reason you’ll never see them in stores, and it makes homemade thimbleberry jam even more precious.
In order to make it, you have to either forage wild thimbleberries, or harvest you own homegrown thimbleberries. There are a few boutique sellers on etsy that make thimbleberry jam, so it is possible to try thimbleberry jam before you make it if you’re curious.
Harvesting Thimbleberries
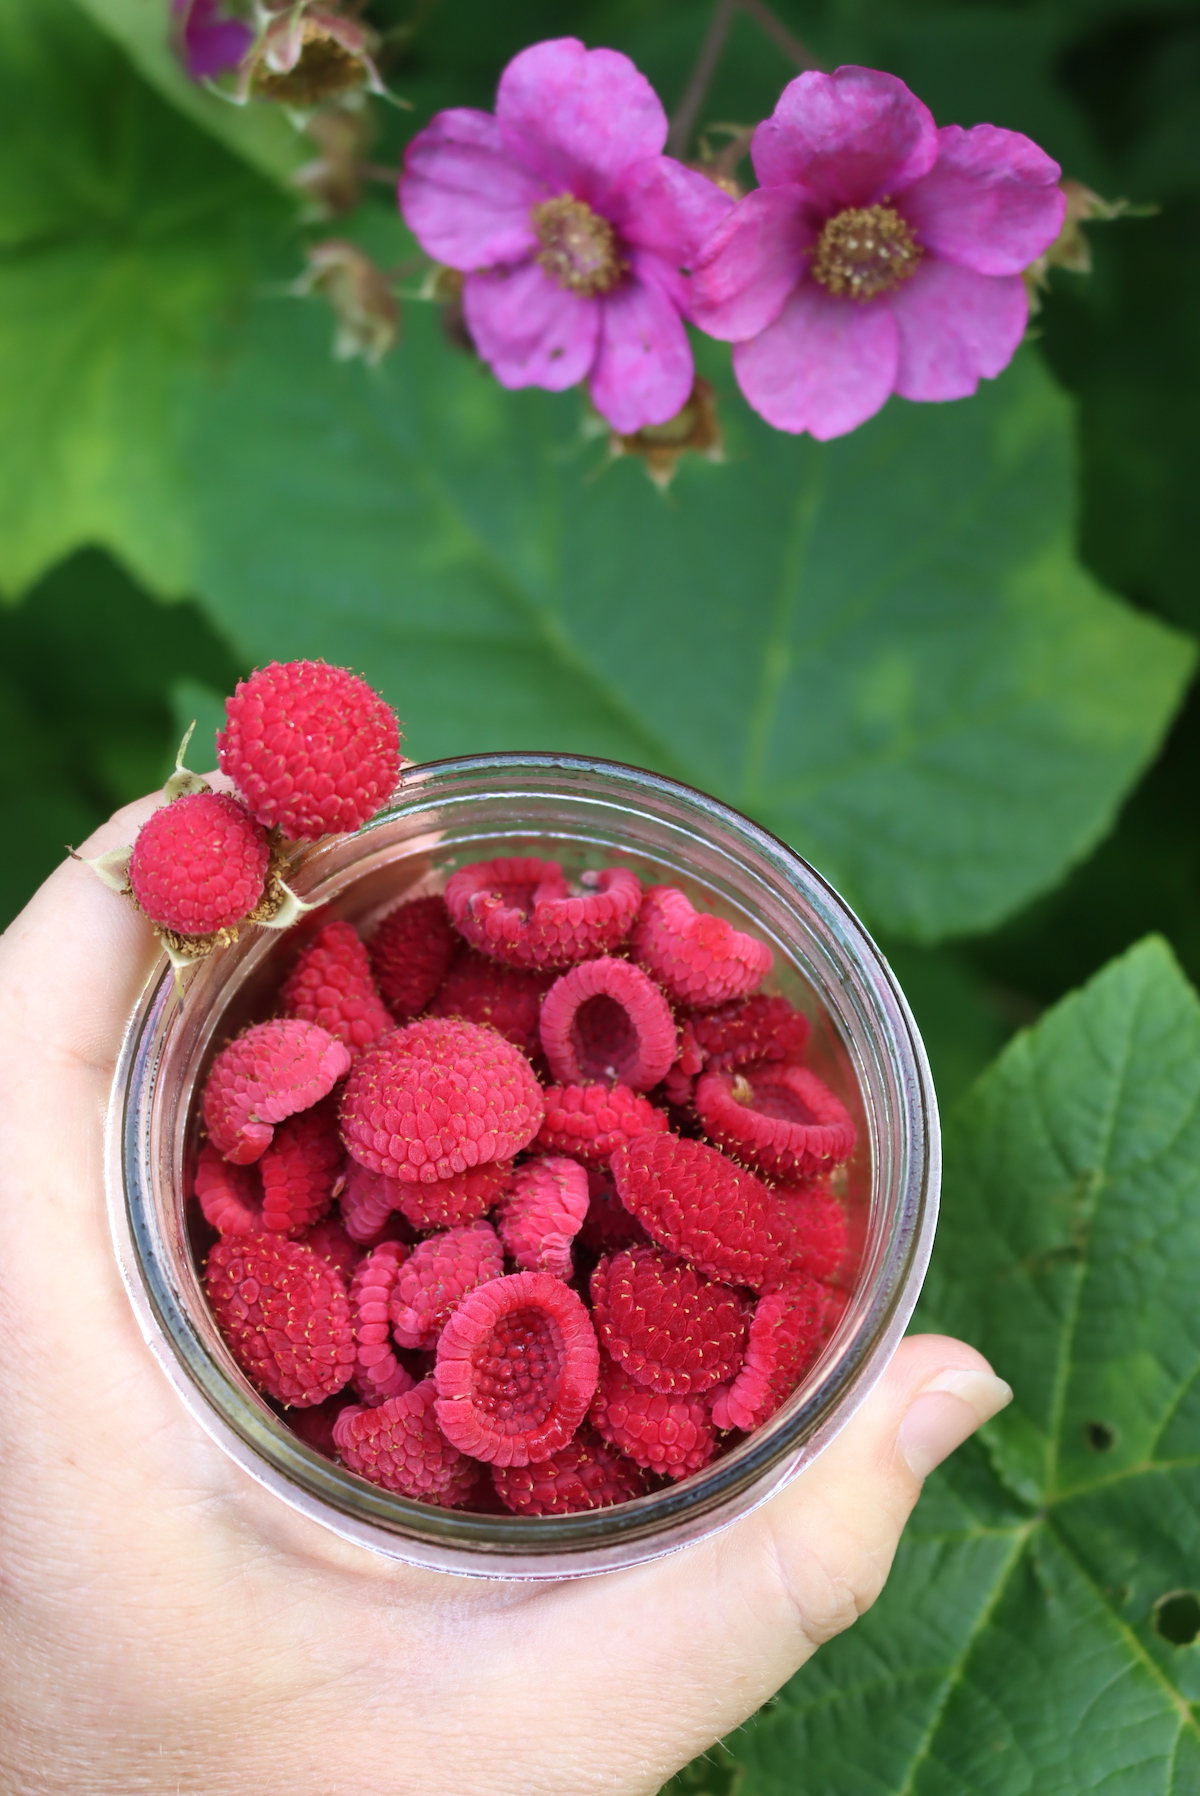
The trick to making thimbleberry jam is harvesting enough fruit to get the job done. Out west, there is the Western Thimbleberry (Rubus parviflorus) and they’re very similar to our eastern thimbleberries (Rubus odoratus) which are often known around here as “Purple Flowering Raspberreis.”
The east coast version has purple/pink flowers (instead of the white flowers they have out west), but it’s also much less prolific. Both berries taste and cook the same in thimbleberry jam, the main difference is the harvest. If you’re out west, it’s a lot easier to pick these by the bucket full.
Here in the northeast, you can have a plantation of them, but only harvest 2 to 3 cups at a time. They tend to ripen over a long season, with larger clusters of fruit…but only one berry in the cluster ripens every few days. That makes them an especially rare treat.
This year, the harvests were huge, at least by thimbleberry standards…and we pulled in 2 to 3 cups of fruit nearly every day. They’ll keep 24 to 48 hours if you get them to the refrigerator right away, but not much longer than that.
For that reason, I’ve written this as a small batch thimbleberry recipe, using only a few cups of fruit.
Thimbleberry Jam Yield
Starting with about 3 cups of fruit, you should be able to make two jars of jam (8 oz each). So three cups of fresh fruit will yield roughly 2 cups of finished jam using this recipe.
I’m using a scaled down version of my basic “Any Berry Jam Recipe” which starts with 9 cups of mashed berries (which is usually about 18 cups whole), and 6 cups sugar.
That’s a 3 to 2 ratio, assuming the fruit is mashed, or a 3 to 1 ratio with whole fruit. Three cups of whole thimbleberries is about 1.5 cups of mashed fruit, and you’ll need to add 1 cup of sugar.
If you’re out west and you’re able to harvest pounds of fruit, you’ll want 2 pounds of fruit to every 1 pound of sugar.
Ingredients for Thimbleberry Jam
I’ve already covered the basic sugar ratios, and yield, but I want to mention that I am making one change to my basic berry jam recipe particularly for thimbleberries. I’m adding lemon juice, for a couple of reasons.
First, thimbleberries are very dry and you’ll need some liquid in the pot to start the jam or they’ll scorch right as they begin to cook. You can add water, but lemon juice will yield a better flavor.
Second, it adds acicity, which helps bring out the fruity flavor of the thimbleberries.
Third, lemon juice is high in pectin, so it improves your jam yield.
Thimbleberries already set nicely without lemon juice and they’re reasonably acidic, so you can skip it if you really want to and just use a bit of water to get the cooking started. It is optional, and not strictly required (even if you care canning thimbleberry jam).
I would suggest adding 1 tablespoon of lemon juice for every 3 cups of fresh fruit (or about 3/4 pound fruit).
How to Make Thimbleberry Jam
To make thimbleberry jam, start by mashing the thimbleberries, sugar and lemon juice together. Allow the mixture to sit a few minutes before you turn on the heat in your jam pot. This will allow some of the juice to come out of the thimbleberries, which will help prevent scorching when you start cooking them.
It also helps to dissolve the sugar, which is important because this jam isn’t going to cook very long. It could be grainy if you don’t give it a few minutes to macerate together to help dissolve the sugar before cooking.
After 5 to 10 minutes, turn on the heat and bring the mixture up to a rapid boil (stirring continuously).
Thimbleberries are very dry and have a lot of natural pectin. They’ll thicken quickly, and you should only have to cook them for 5 to 8 minutes before they reach their set point.
The exact cooking time will depend on your thimbleberries, and how much water they’ve had recently (as well as how fresh they are). More water recently means a longer cook time, and fresher fruit means a shorter cook time (as very fresh fruit has more pectin).
Don’t rely on the “5 to 8 minutes” as a guide, you need to test for set, as it’s very easy to overcook this jam and have something that’s too thick/hard to spread.
To test for set, place a couple of small plates in the freezer before you begin cooking the jam. Test for set by placing a small amount of fruit on the plate and seeing if it sets in contact with the cold plate.
Alternately, a more dependable method is the temperature method. Jams set at 220 degrees F at sea level. Use an instant read thermometer to take the temperature of your jam as it cooks, and turn off the heat once it reaches its set point.
(Above sea level, the “set point” drops by 1 degree for every 500 feet. For example, at 1000 feet in elevation, jams set at 218 F.)
Once the jam reaches its set point, remove it for the heat immediately and ladle into prepared jars.
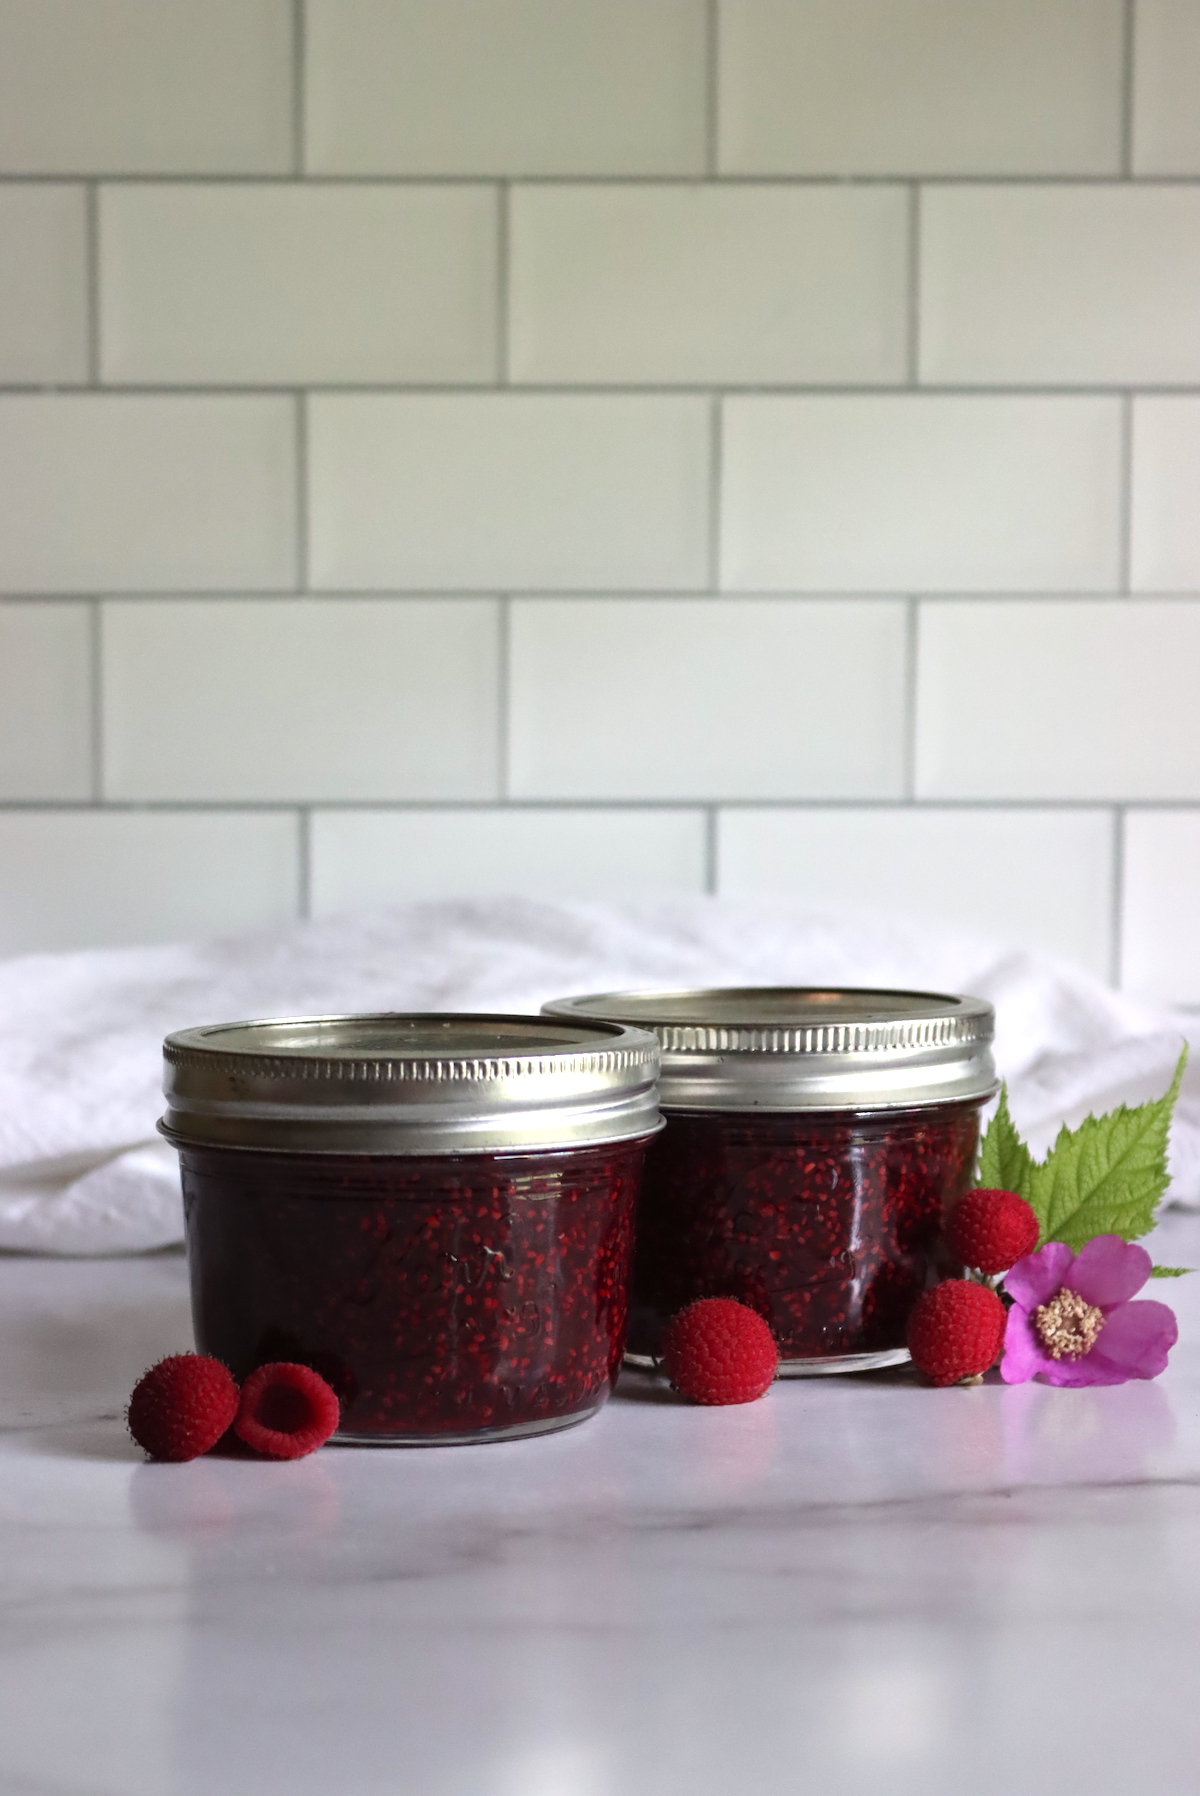
Canning Thimbleberry Jam
It’s perfectly fine to make this thimbleberry jam recipe as a refrigerator jam or freezer jam. It’ll keep for several weeks in the refrigerator, or up to 6 months in the freezer.
That said, canning is always my preference because it allows me to preserve the flavors of the season right on my pantry shelf. A properly sealed jar of home canned jam will keep for 18 months without losing quality, and be safe to eat for much longer than that provided it’s not opened. (Refrigerate after opening.)
Canning thimbleberry jam in a water bath canner simply means preparing the canner before you start cooking the jam, along with canning jars, lids and rings.
Cook the jam as you otherwise would, and once it reaches its set point, ladle the jam into the prepared canning jars leaving 1/4 inch headspace. Seal with 2 part canning lids and use a jar lifter to place the jars into a simmering water bath canner.
Bring the canner up to a full rolling boil and process the jars for 10 minutes (or 15 minutes if above 6,000 feet in elevation). Turn off the heat and allow the jars to sit for an additional 5 minutes before removing them to cool on a towel on the counter.
After 12-24 hours, check seals and store any unsealed jars in the refrigerator for immediate use. Store sealed jars on the pantry shelf until you’re ready to use them.
Ways to Use Thimbleberries
Thimbleberry recipes are pretty hard to find, largely because they’re one of those fruits you just can’t find in the grocery store. You can use them in place of raspberries in most recipes, but they actually do especially well in cookies and ice cream. Their dry texture means they’re incredibly flavorful, but not particularly juicy, which is ideal because it won’t mess up the texture of an ice cream or cookie the way that a fresh raspberry would.
Thimbleberry Jam
Equipment
Ingredients
- 3 cups Thimbleberries, about 1.5 cups mashed, or 3/4 pound fruit
- 1 cup sugar
- 1 Tbsp lemon juice, fresh or bottled
Instructions
- If canning, prepare a water bath canner and jars before beginning. Canning is optional, and the jam will keep in the refrigerator for several weeks without canning, or for up to 6 months in the freezer.
- Mash the thimbleberries with the sugar and lemon jucie and allow the fruit to macerate for at least 10 minutes.
- Place the mixture in to a jam pot on the stove and bring the mixture to a hard boil over high heat, stirring continiously to prevent scorching.
- Cook the jam on high heat until it reaches its set point . You can test for set on a plate thats been placed in the freezer, or use an instant read thermometer. Set point is 220 degrees F on at sea level, and drops by 1 degree for every 500 feet above sea level. For example, at 1,000 feet the set point would be 218 F.
- Once the jam reaches its set point, remove the pot from the heat and ladle the jam into prepared jars.
- If canning, make sure you leave 1/4 inch headspace (no more and no less). Seal with 2 part canning lids and use a jar lifter to place the jars in a simmering water bath canner. Bring the canner to a hard boil and process the jars for 10 minutes (of 15 minutes above 6,000 feet in elevation). Turn off the heat and allow the jars to sit for 5 minutes before removing them with a jar lifter to cool on a towel on the counter. After 12-24 hours, check seals and store any unsealed jars in the refrigerator for immediate use. Properly canned and sealed jars will keep on the pantry shelf for 18 months.
Nutrition
Nutrition information is automatically calculated, so should only be used as an approximation.
Old Fashioned Jam Recipes
Looking for more easy, old fashioned jam recipes that come together without added pectin?
- Old Fashioned Grape Jam
- Old Fashioned Strawberry Jam
- Easy Raspberry Jam
- Blackberry Jam
- Nectarine Jam
Fruit Canning Recipes
Jam’s not the only way to put fruit in a jar!
