This post may contain affiliate links. Please see our disclosure policy.
White chicken chili is a tasty twist on an old time classic, with the lighter flavors of chicken and white beans, along with classic chili seasonings. This chicken chili canning recipe is perfect for a quick weeknight meal in a hurry.
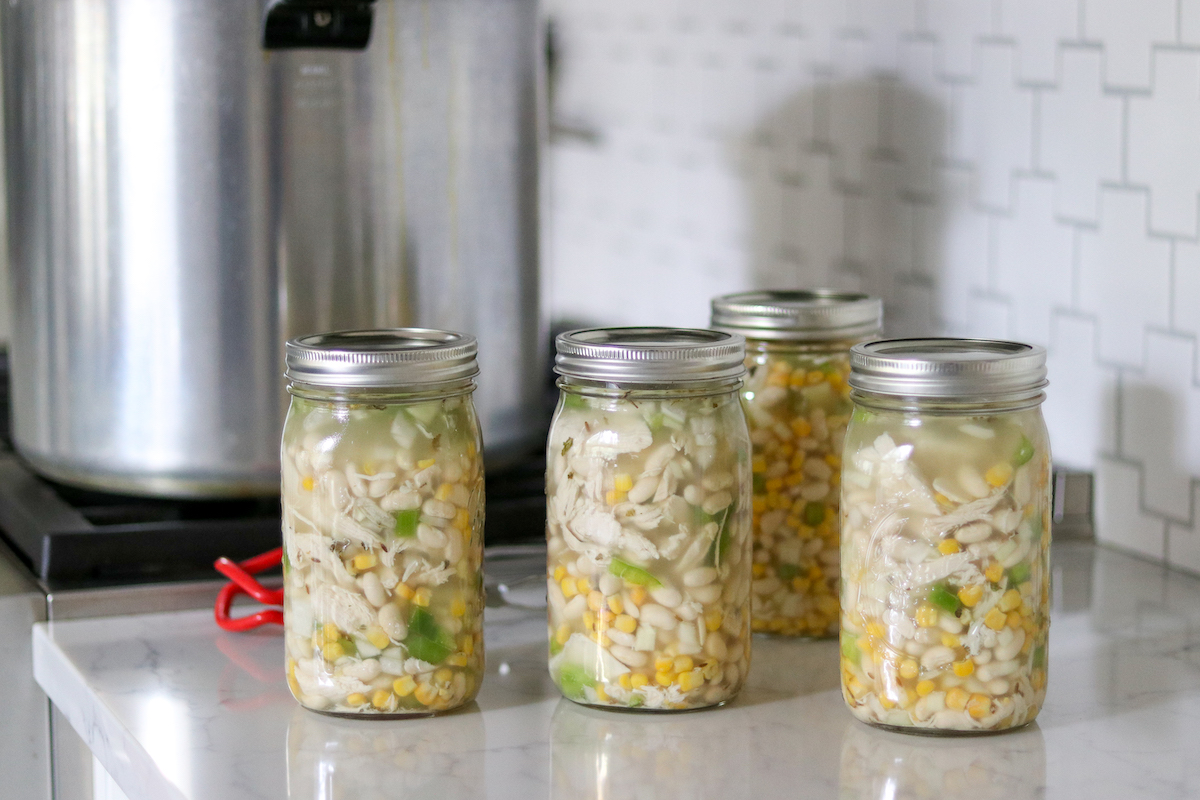
This versatile alternative to classic beef chili gives you plenty of serving options. It’s perfect “as-is,” with tender white beans, chicken, and traditional Mexican flavors, for a light meal option.
Topping with shredded jack cheese, a spoonful of sour cream and a sprinkle of cilantro really brings the dish together.
Or you can indulge in a thick, rich version by adding cream cheese and cream.
It’s easy to keep this chili on hand by preparing a big batch for canning. Then, you simply heat, eat, and enjoy.
This recipe is adapted from the White Chicken Chili canning recipes in Pressure Canning for Beginners and Beyond by Angi Schneider and The Complete Guide to Pressure Canning by Diane Devereaux. Both books have very similar recipes, but include slightly different spicing and vegetables.
I’ve adapted the recipe to combine the best elements of both, while still following the principles of home canning so that this is still safe for home pressure canning.
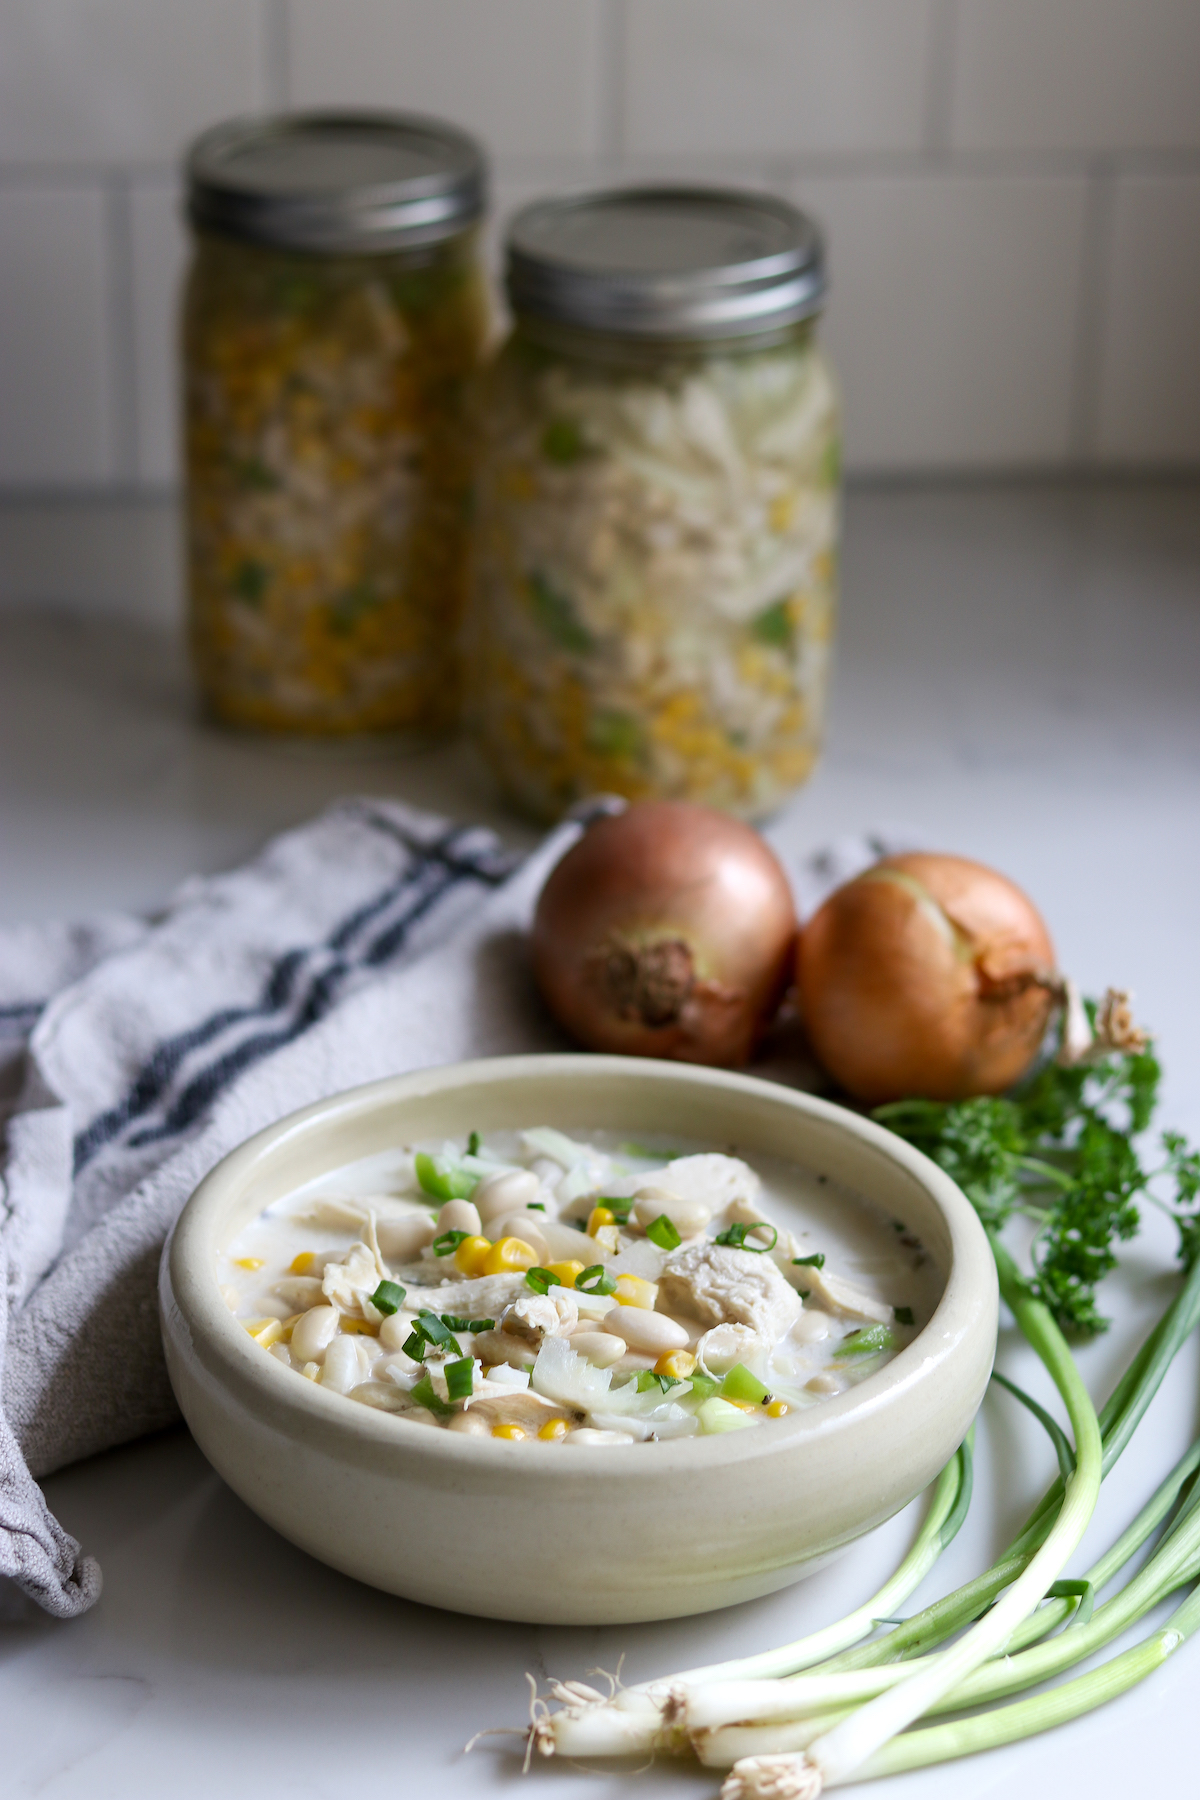
Ingredients for White Chicken Chili
You likely have several of these ingredients in your pantry already, so bringing them together will be quick and easy.
To make a 7 quart (or 14 pint) batch, you’ll need the following:
- 1 lb (450 g) great northern beans, pre-soaked overnight
- 12 cups (2.8 L) chicken broth
- 2 lb (900 g) chicken breast, cooked and shredded
- 4 cups (650 g) onions, diced
- 4 cups (600 g) corn kernels
- 1 1/2 cups (220 g) peppers, diced
- 4 cloves of garlic, minced
- 2 tsp (12 g) non-iodized salt (prevents cloudy liquid)
- 1 tsp black pepper, ground
- 1 Tbsp (6 g) cumin, ground
- 1 Tbsp Mexican oregano
- 1 tsp cayenne powder (optional)
You may also need a bit more boiling water to top off the jars to bring them to 1” headspace.
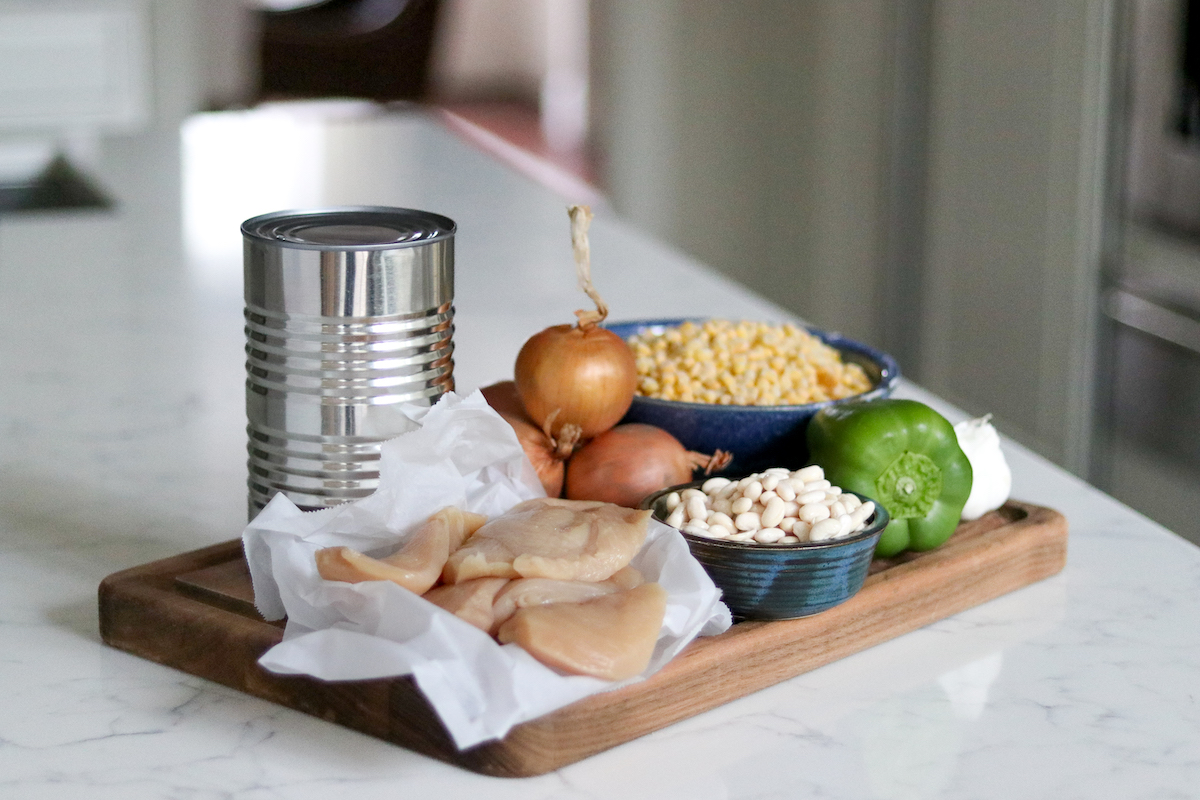
You can use fresh, frozen or canned corn in this recipe. If using fresh corn, you’ll need 6 to 7 ears of corn to make the 4 cups each for this recipe.
For the onions, you’ll need about 1 ½ pounds of unprepared onions.
For peppers, you can use any type, hot or mild. Green bell peppers give a nice neutral taste, but hatch green chili will give you more of a classic chili taste. Jalapenos will be hotter, but also delicious. Choose what your family likes. It takes about 1/2 pound of peppers as purchased to reach 1 1/2 cups, or roughly 2-3 medium bell peppers.
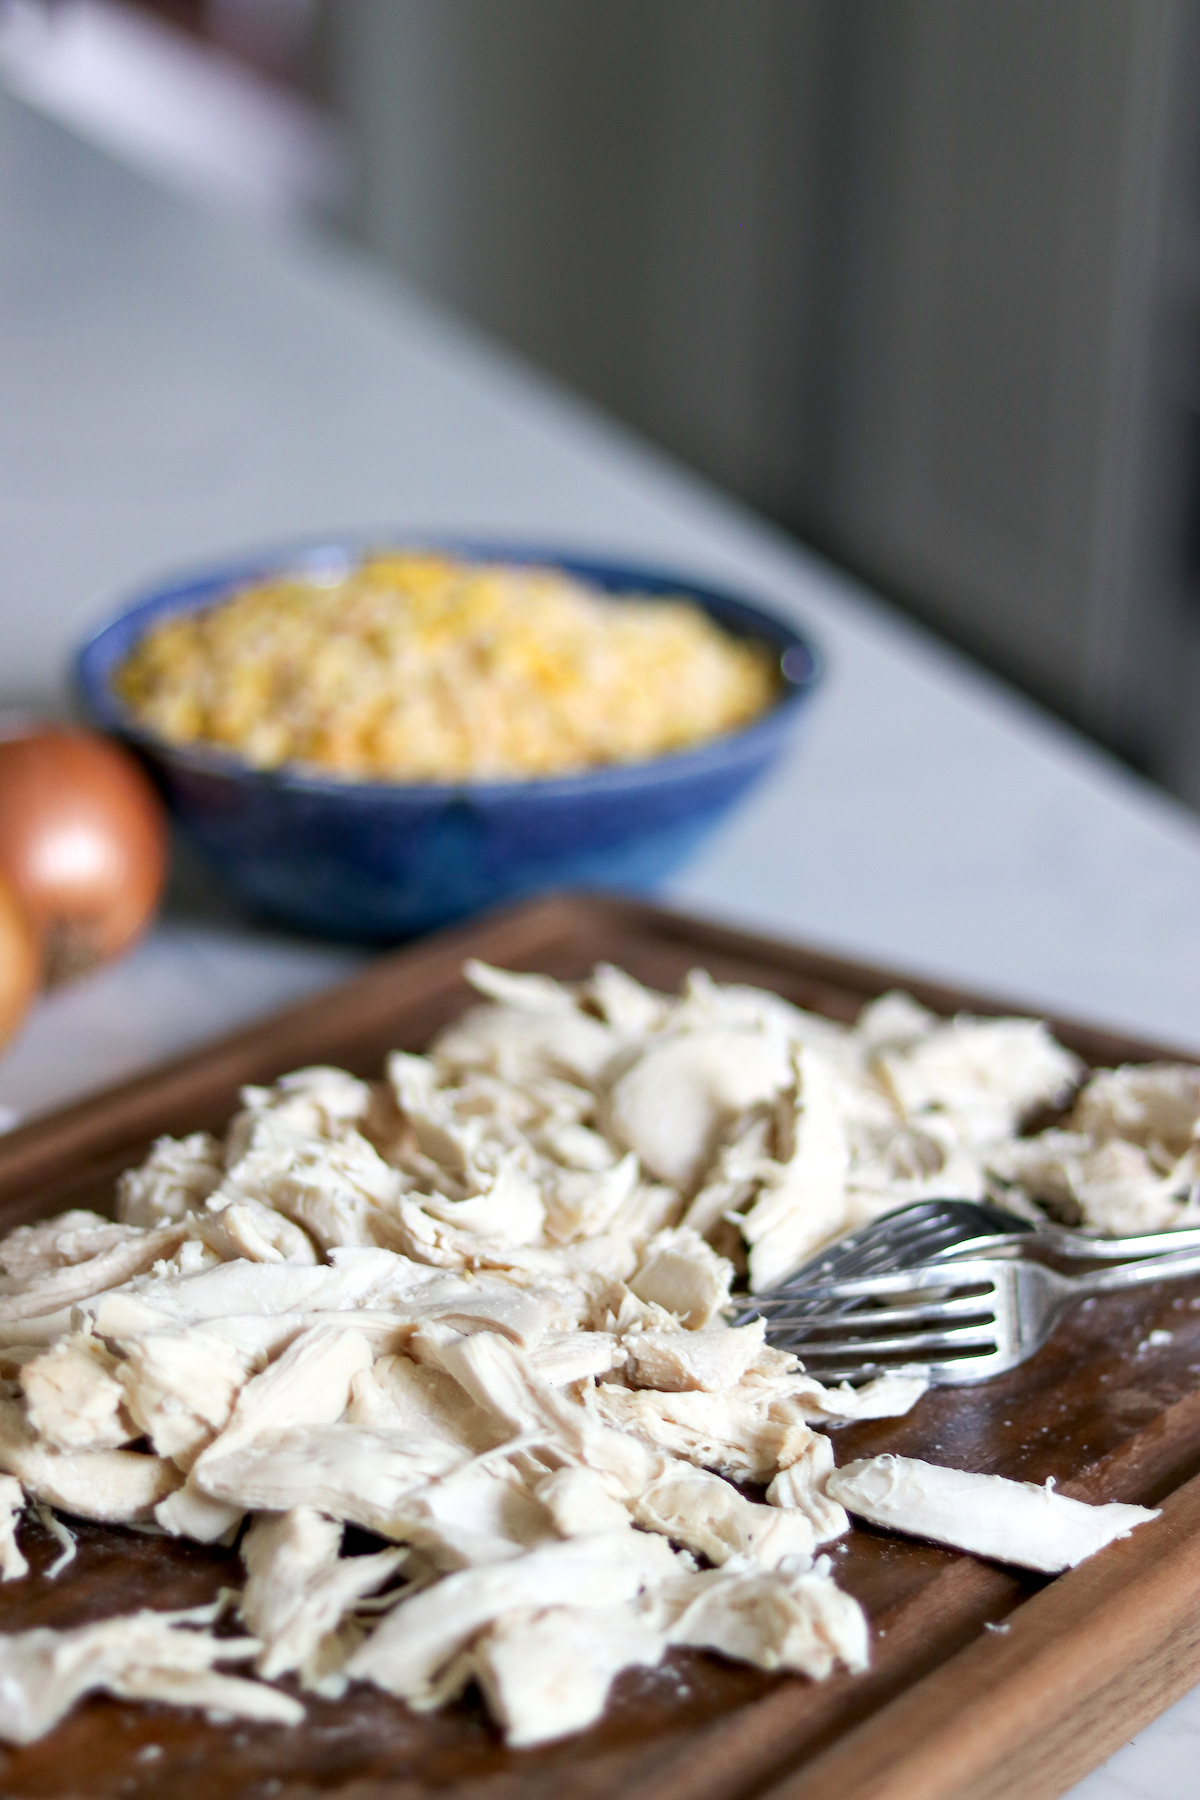
The chicken is pre -cooked and shredded with a fork. You can use breast, thigh or really any part that’s been picked and shredded. You also could turn this into a pork chili canning recipe by using pulled pork instead, and that’s perfectly fine for pressure canning.
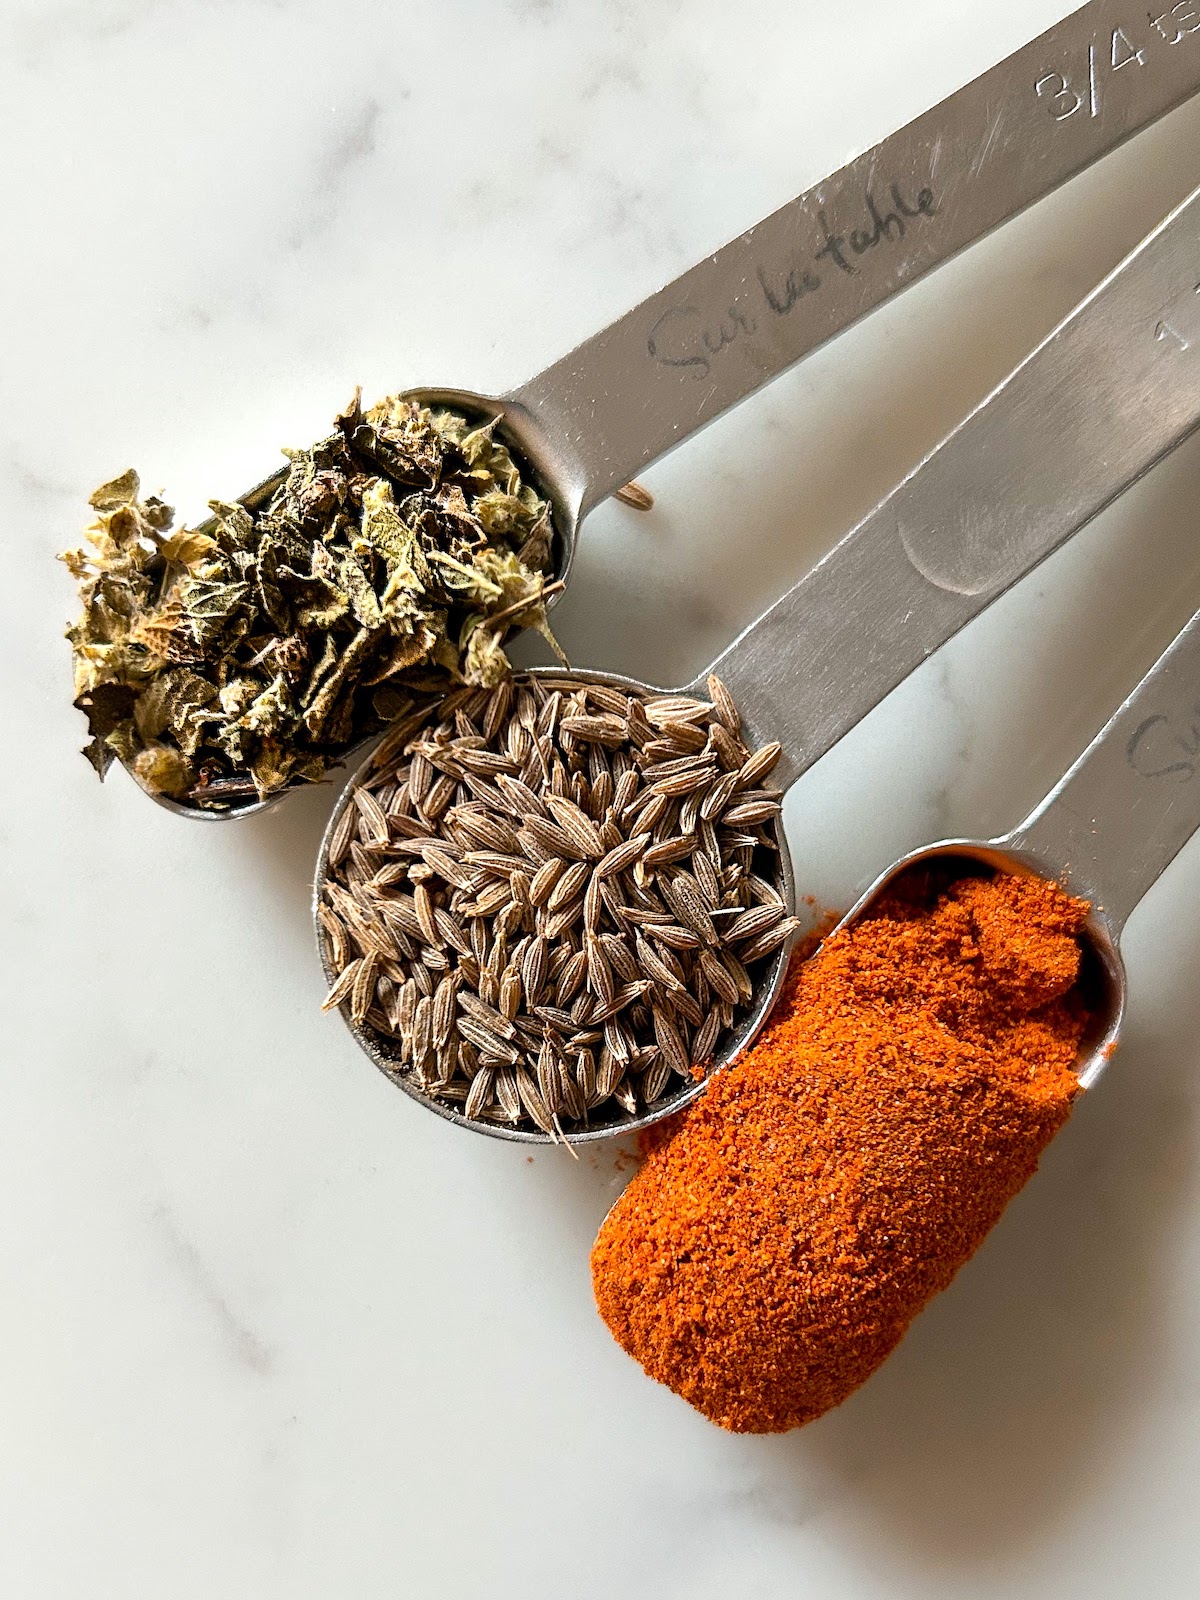
You’re allowed to change the quantity, prepositions and types of dry spices in canning recipes without impacting canning safety. That means you can season this chicken chili however you’d like, provided you’re using dry spices.
The original recipes both use Mexican oregano, cumin seeds (ground) and cayenne.
If you’d like more cumin flavor, you can start with whole cumin seeds and dry toast them in a pan before grinding them yourself (or just buy the pre-ground stuff). You can also just leave them whole, which will give you a whiter color in the finished chili.
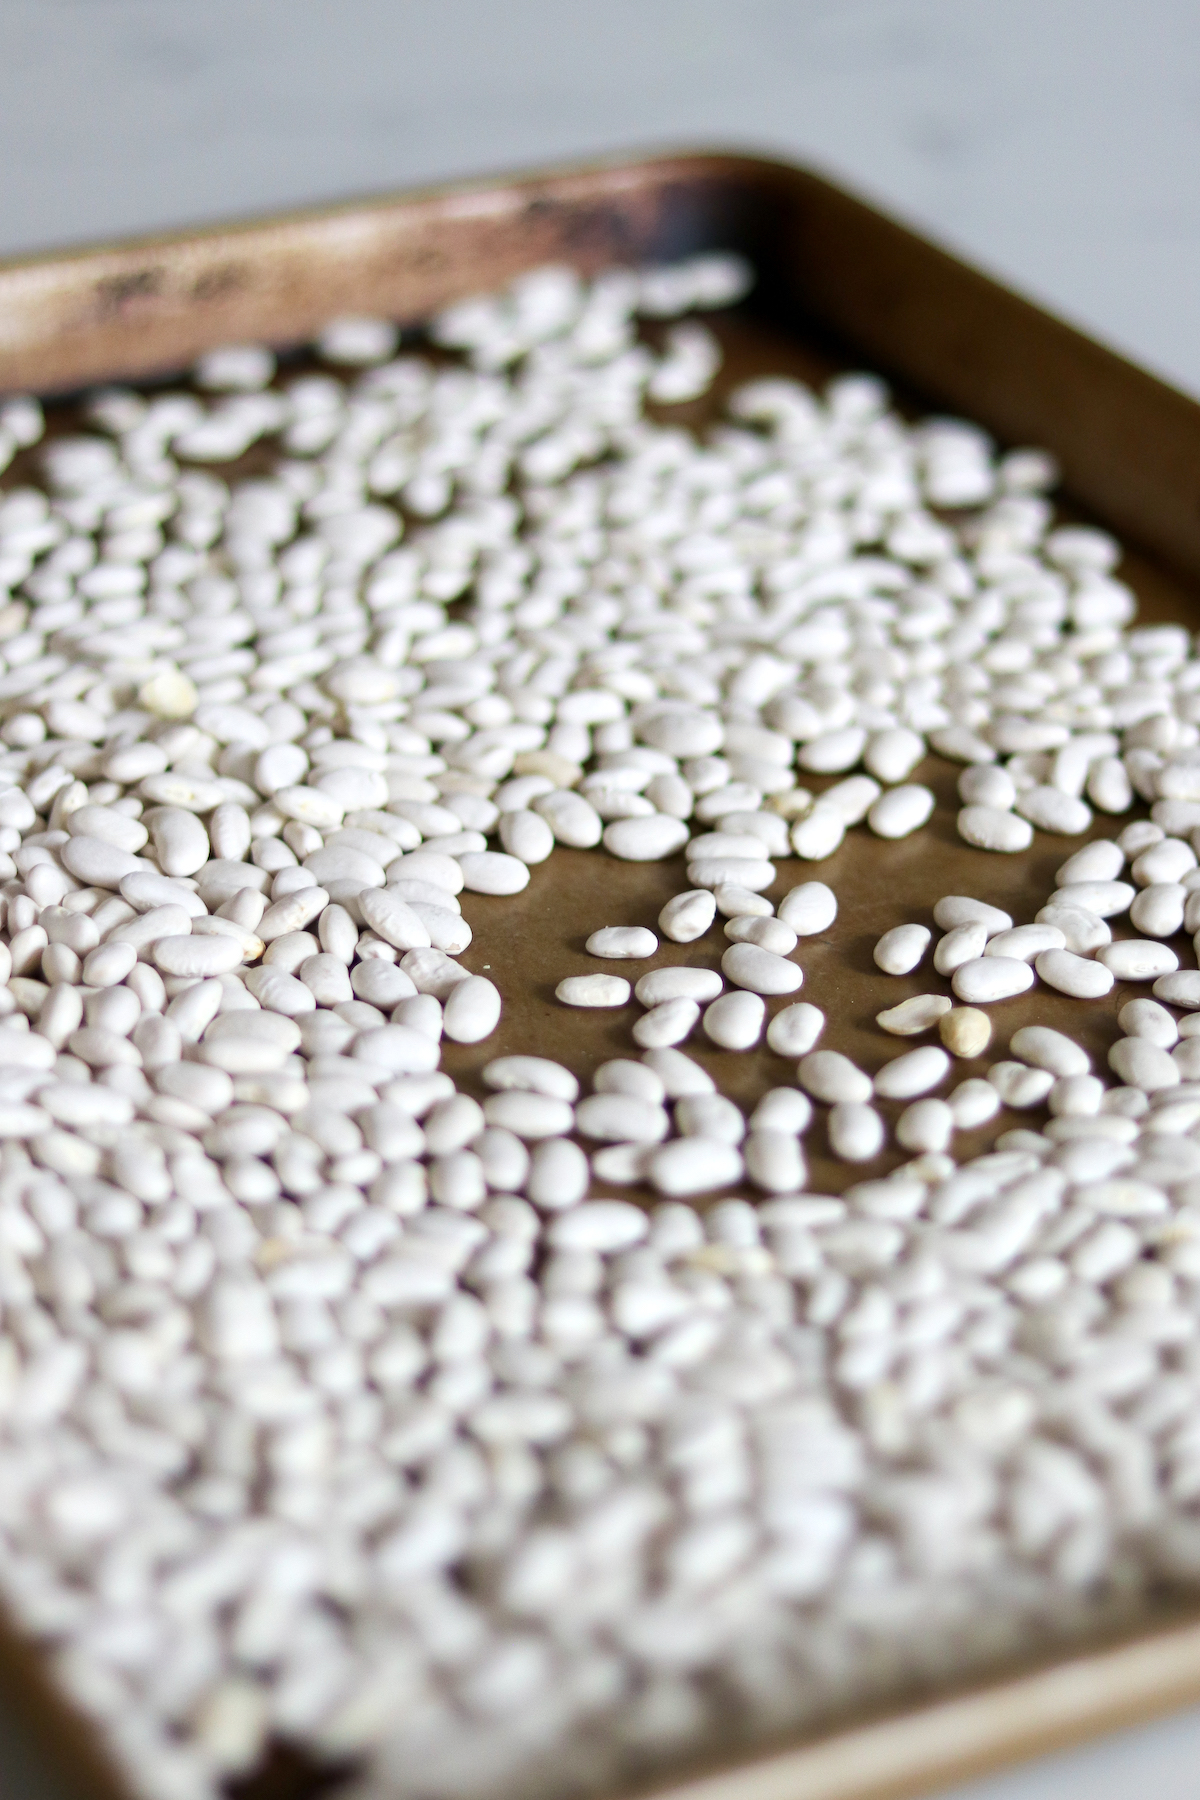
The beans are pre-soaked dry beans, and should either be soaked overnight or “quick soaked” by bringing them to a boil and then letting them stand in the hot water for 1 hour.
It is also fine to use pre-cooked canned beans in this recipe, and in that case they’ll just be added to the pot along with the cooked chicken and veggies. If using canned beans, you’ll need about 6 cups fully cooked canned beans to equal a pound of dry beans. A single 15 ounce can of canned beans is about 1 1/2 cups, so that’s 4 full cans (15 oz each).
Additional Ingredients to Serve
For serving, the chili can just be warmed and eaten as is, but you wont get that classic “white chili” flavor, as that usually involves creamy elements added at serving.
The original recipe from Angi Schneider’s pressure canning book suggests adding ½ cup (120 ml) cream and ¼ lb (115 g) cream cheese to serve, as well as chopped green onions, chives and cilantro. Those really take this dish to the next level.
The cream and cream cheese are not canning safe, so they’ll have to be added at serving (if desired).
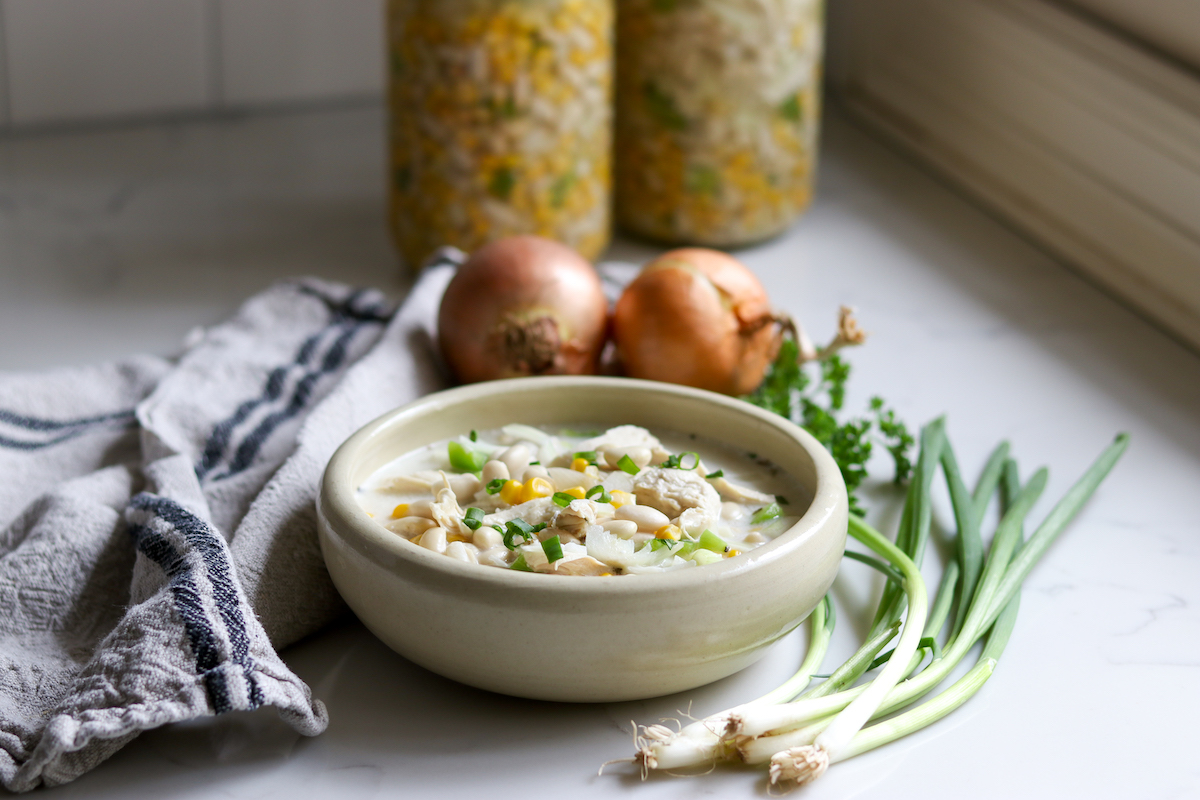
You could add the green onions, chives and cilantro to this recipe in the jar…but really, they’re there to add fresh flavor and a bit of crunch. They’re also completely optional, and I wouldn’t have them on hand except in the summer months when I could harvest them fresh from my garden.
They’re nice, but feel free to leave them out, as they’re not things most people have in the refrigerator and this is supposed to be a labor saving, quick weeknight meal.
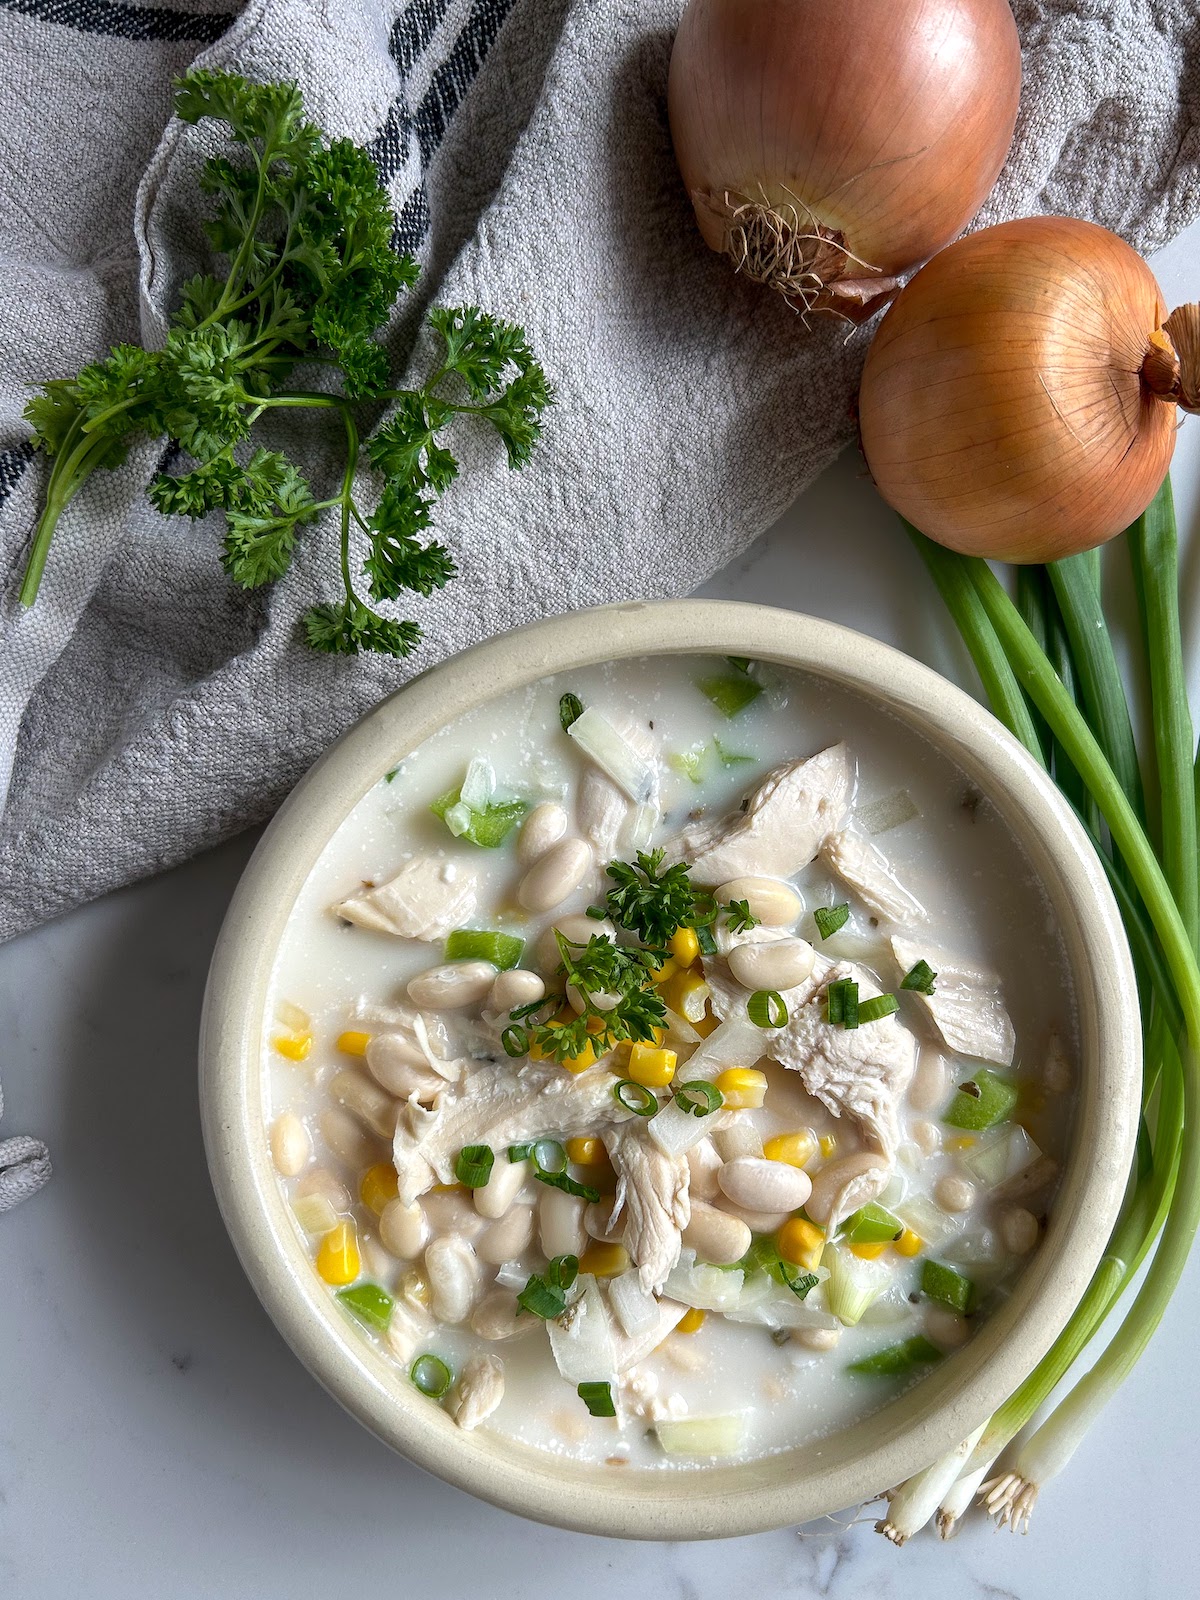
Diane Devereaux suggests simpler toppings, without any cream or cream cheese mixed in. She opts for topping this white chicken chili with shredded jack cheese, a spoonful of sour cream and a sprinkle of cilantro.
Top it with whatever you want, or eat it as is, your choice.
Canning White Chicken Chili
Start by pre-soaking the dry beans overnight in plenty of water. This helps soften them, and also allows them to soak up the liquid they’ll need to re-hydrate (without stealing liquid from your canning jars).
When canning, soaking beans is not optional. You can, however, do the “quick soak” method by bringing them to a boil for 1 minute, then turning off the heat and allowing them to sit in that hot water for 1 hour. Next drain and proceed with the recipe.
Either way, soak the beans using the method of your choosing before continuing.
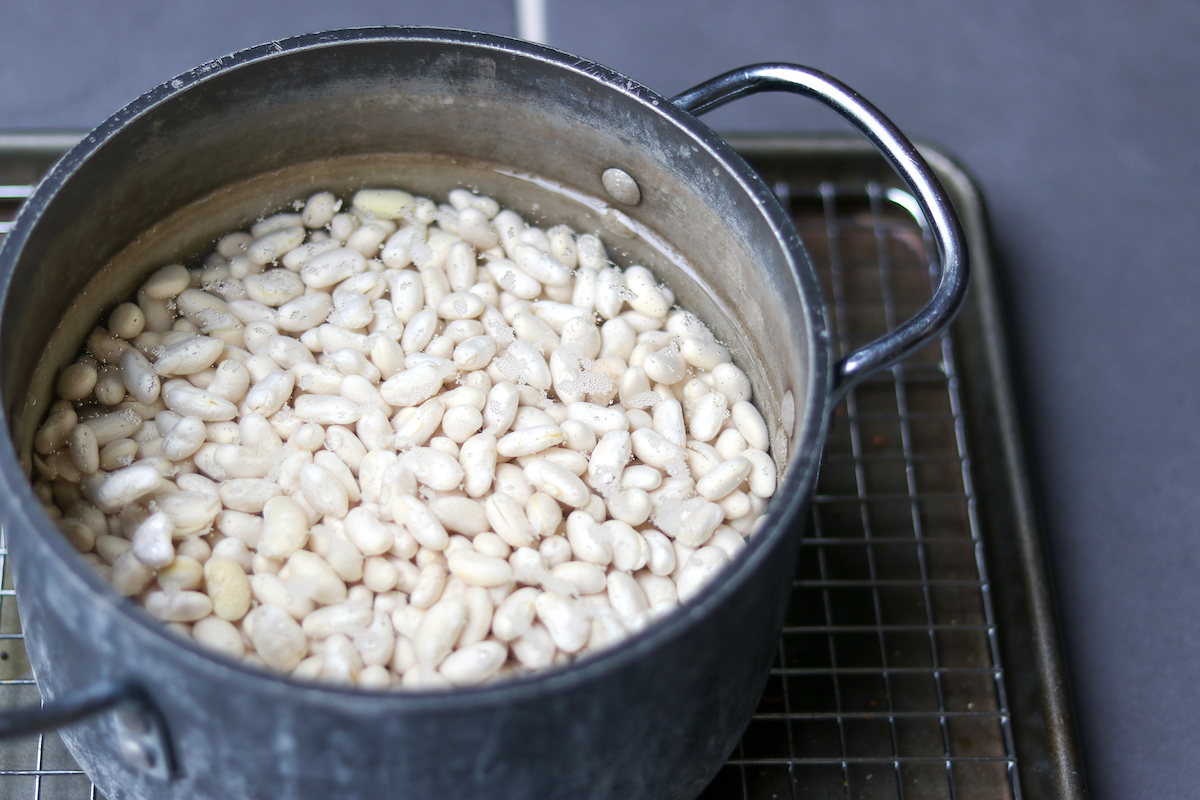
When you’re ready to start canning, prepare your pressure canner according to the manufacturer’s instructions. This usually means adding 2-3 inche of water into the bottom and bringing it up to a gentle simmer (180 F) for hot pack.
Also prepare jars, lids, and rings. This recipe makes 7 quarts or 14 pints, so plan accordingly.
Take your pre-soaked beans and drain off the soaking water, then add them back into a large stock pot and cover them with fresh water. Bring this to a boil, then immediately drain again.
When you add them back into the stockpot this time, you’ll add the broth (instead of water), shredded cooked chicken, veggies, and spices. Bring this to a rolling boil over high heat, then bring it down to a gentle boil and simmer gently for 5 minutes.
You’ll see the beans and veggies won’t be thoroughly cooked, but the cooking will continue in the jars during pressure canning, so don’t worry.
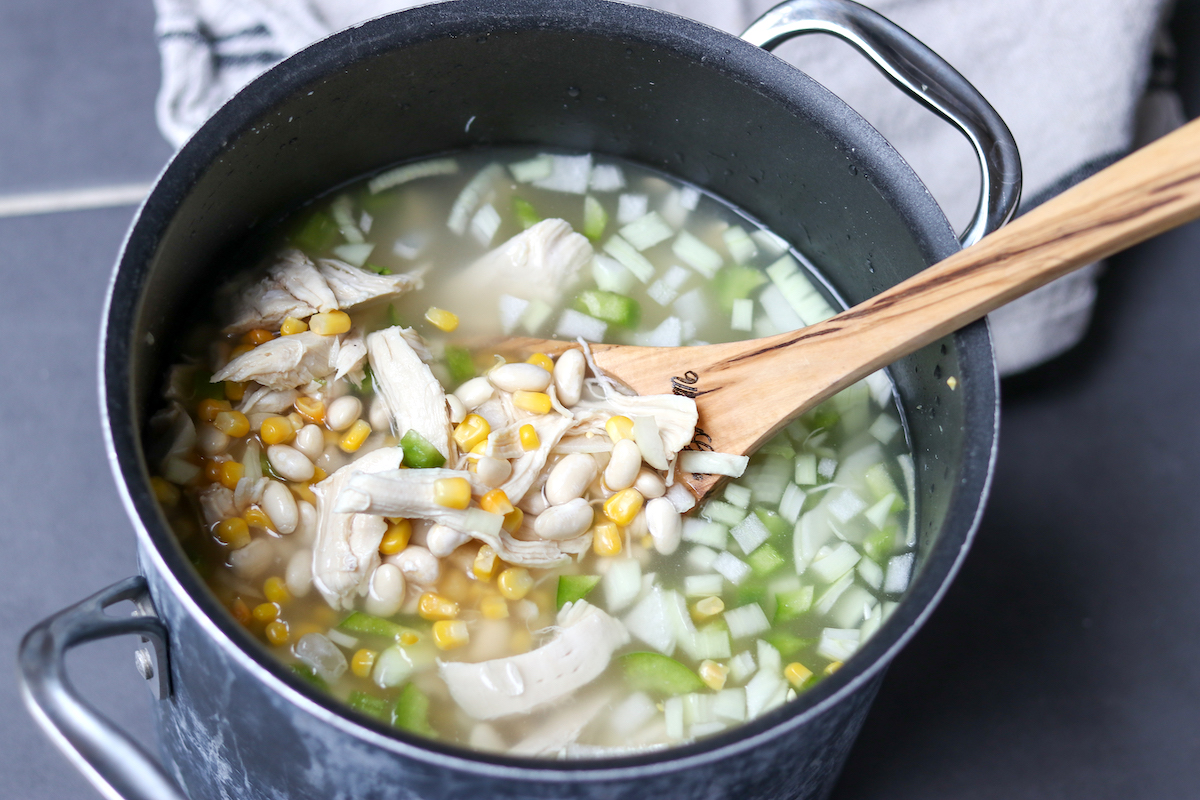
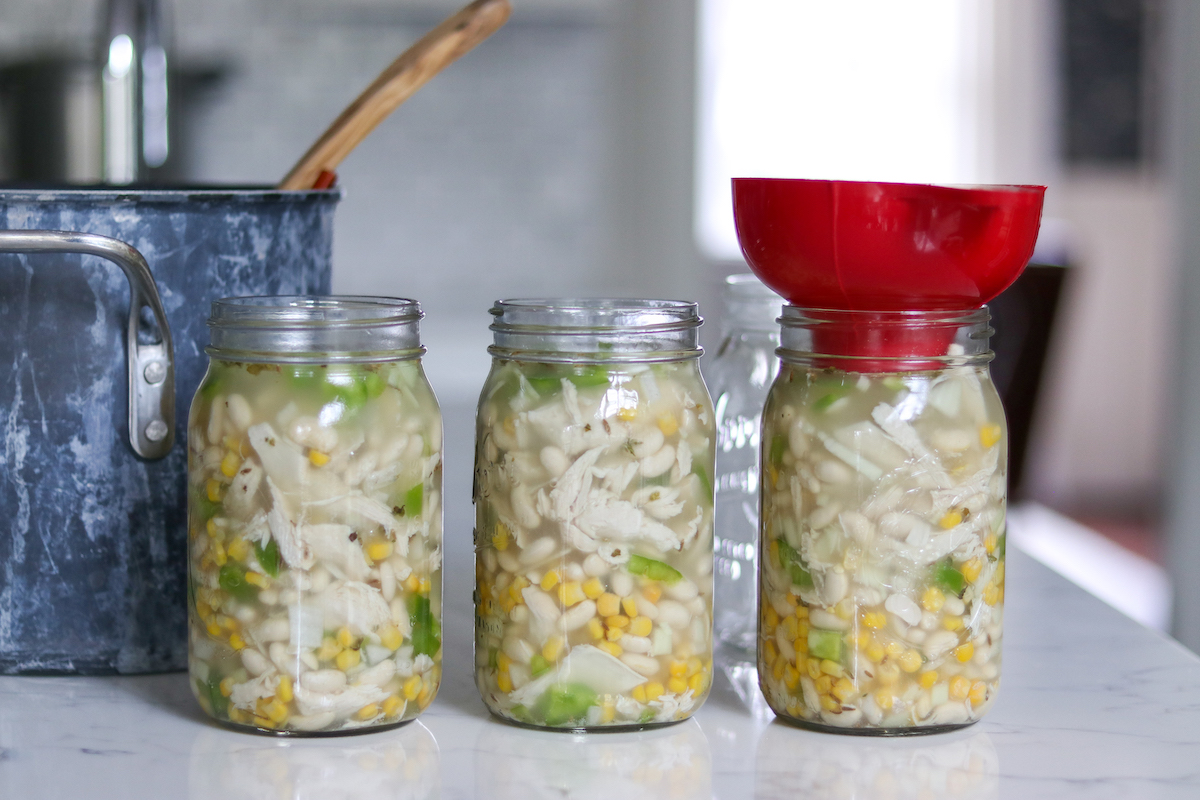
Ladle the hot chili into jars, and be sure to add the same amount of solids to each jar for even distribution.
This recipe should fill the jars pretty well, but be sure you take care to evenly distribute the solids across either 7 quarts of 6 pints. Do not over pack the jars.
If you’re short on liquid, add a little bit of hot water to bring the jars up to nearly full, leaving 1” headspace.
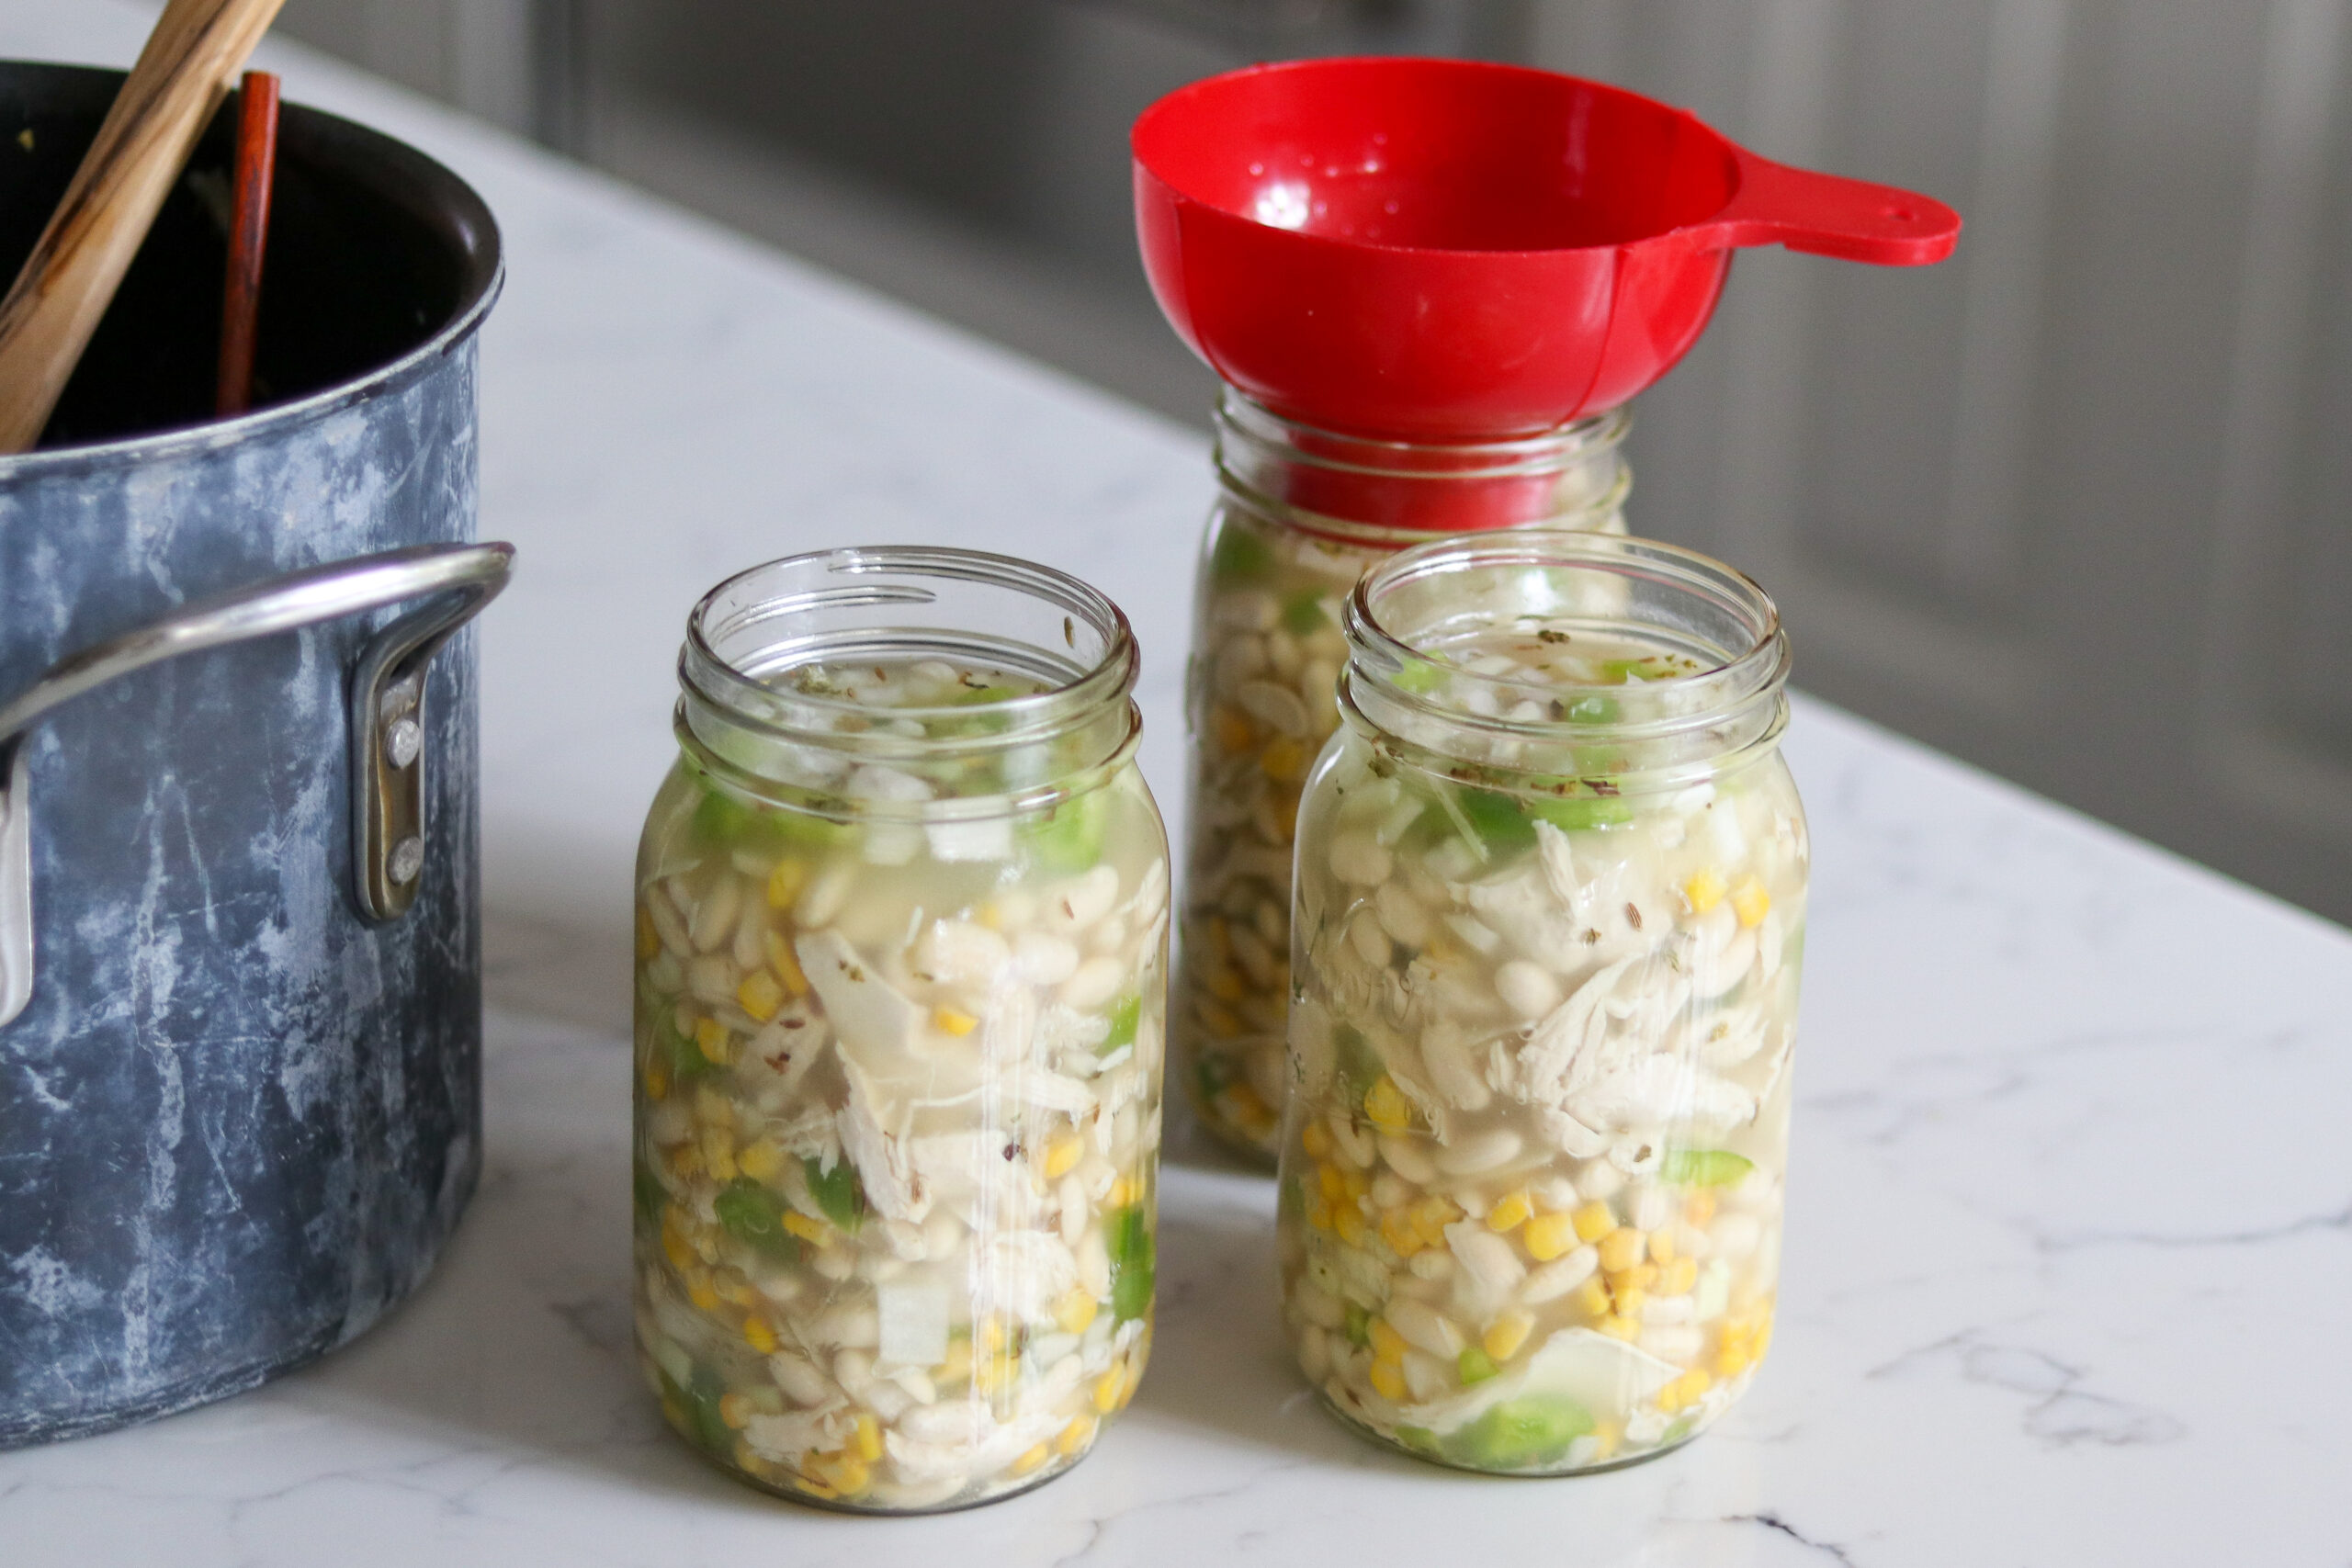
Wipe each jar rim, add lids, tighten the bands, then load them into your warmed pressure canner.
Turn the heat up to high and allow the canner to vent steam for 10 minutes. Next, add the canning weight and bring the canner up to pressure. Once at pressure, begin your timer.
The processing time for quart jars is 90 minutes, or 75 minutes for pint jars, set at 10 psi. If you live in a high-altitude area, be sure to adjust times as necessary.
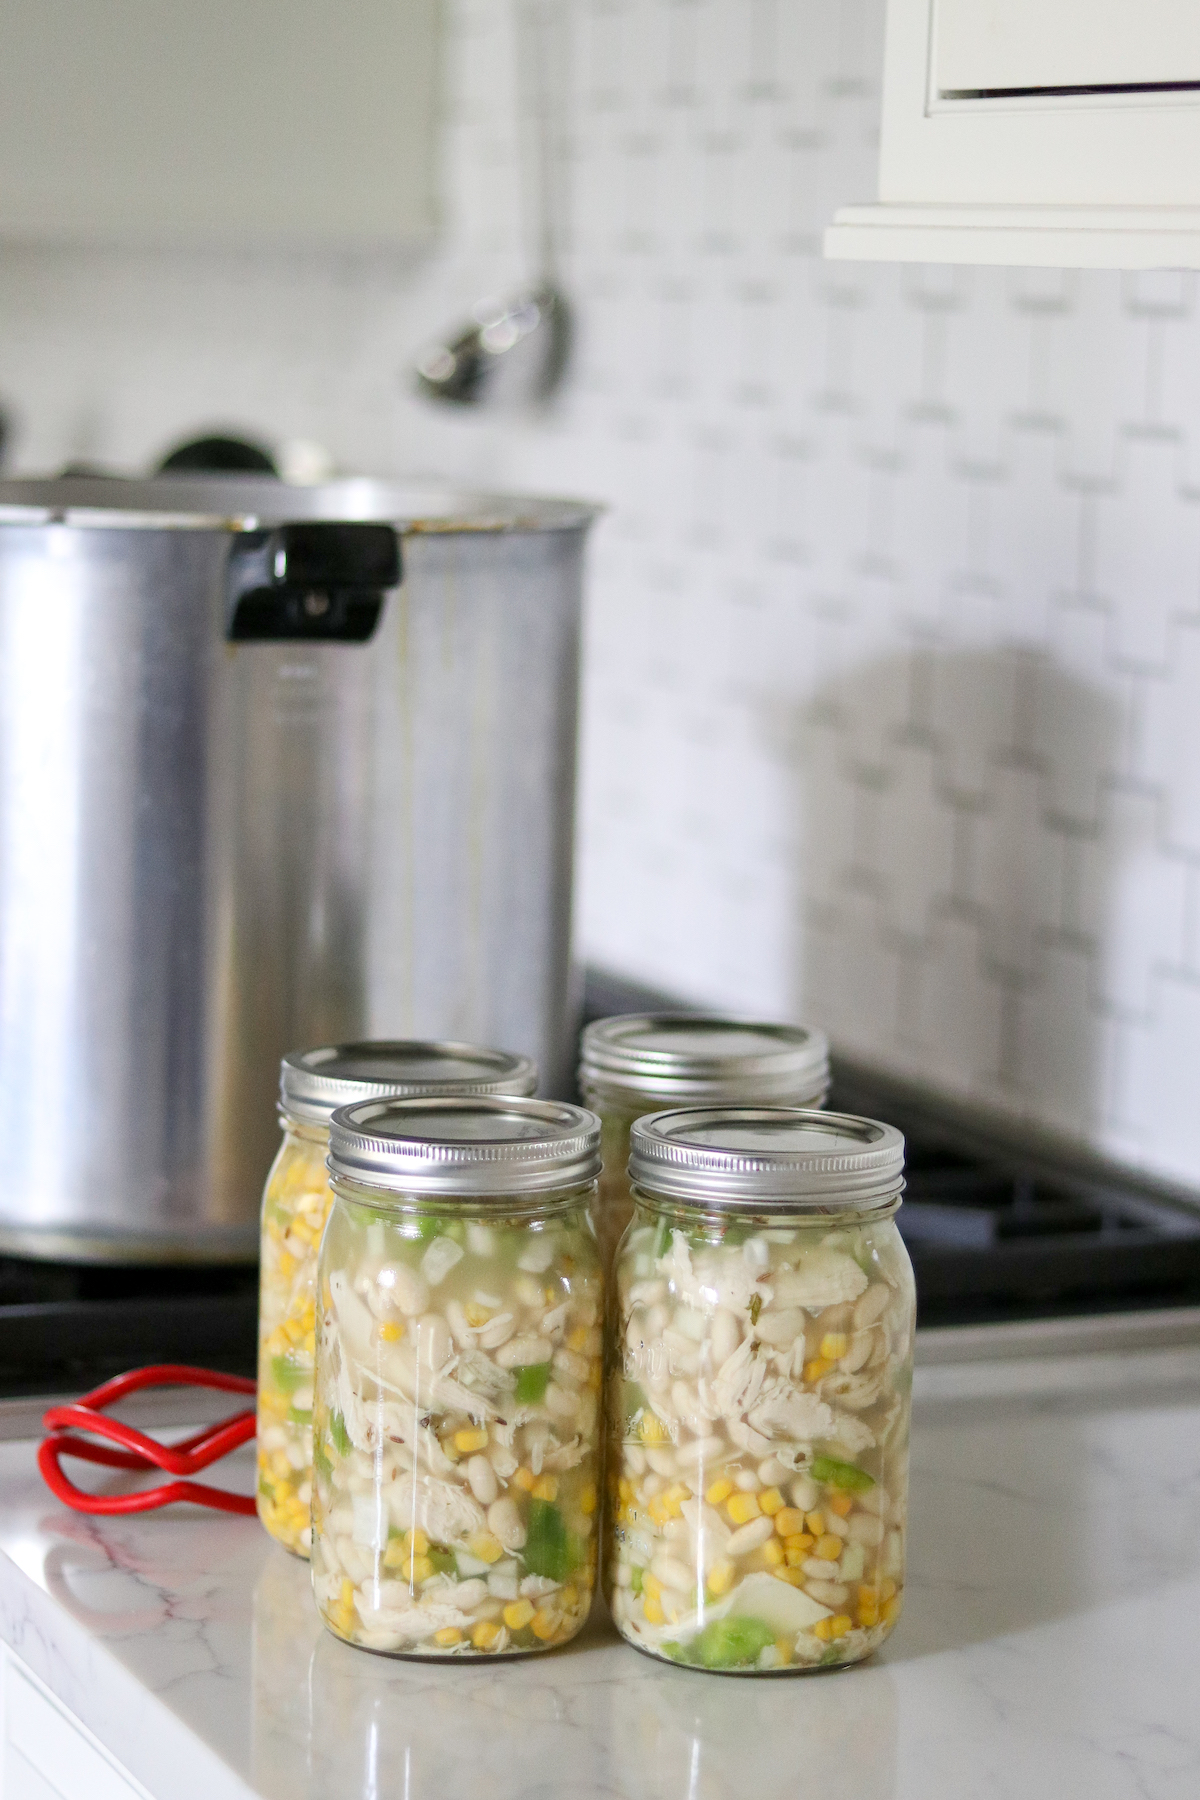
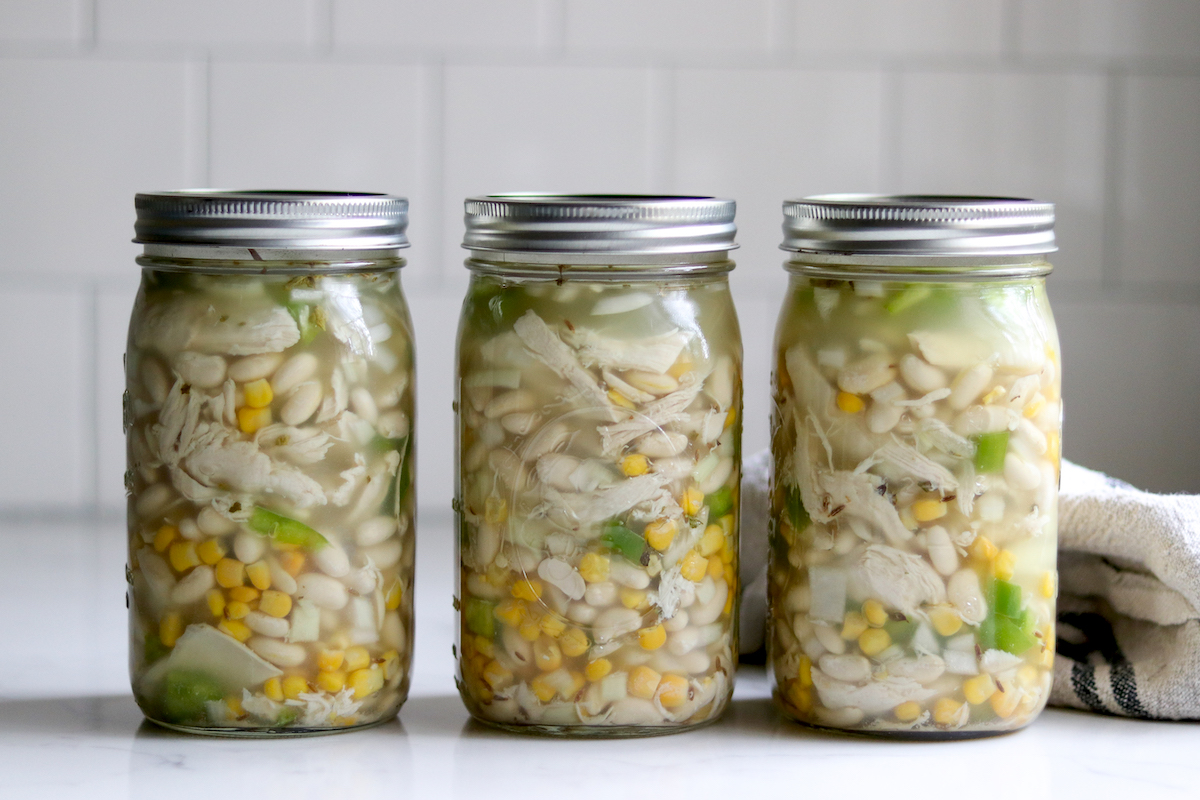
Once the processing time is up, allow the canner to depressurize before removing the jars to your cooling space. I suggest at least 12 hours of cooling time, after which you can check the seals and store them.
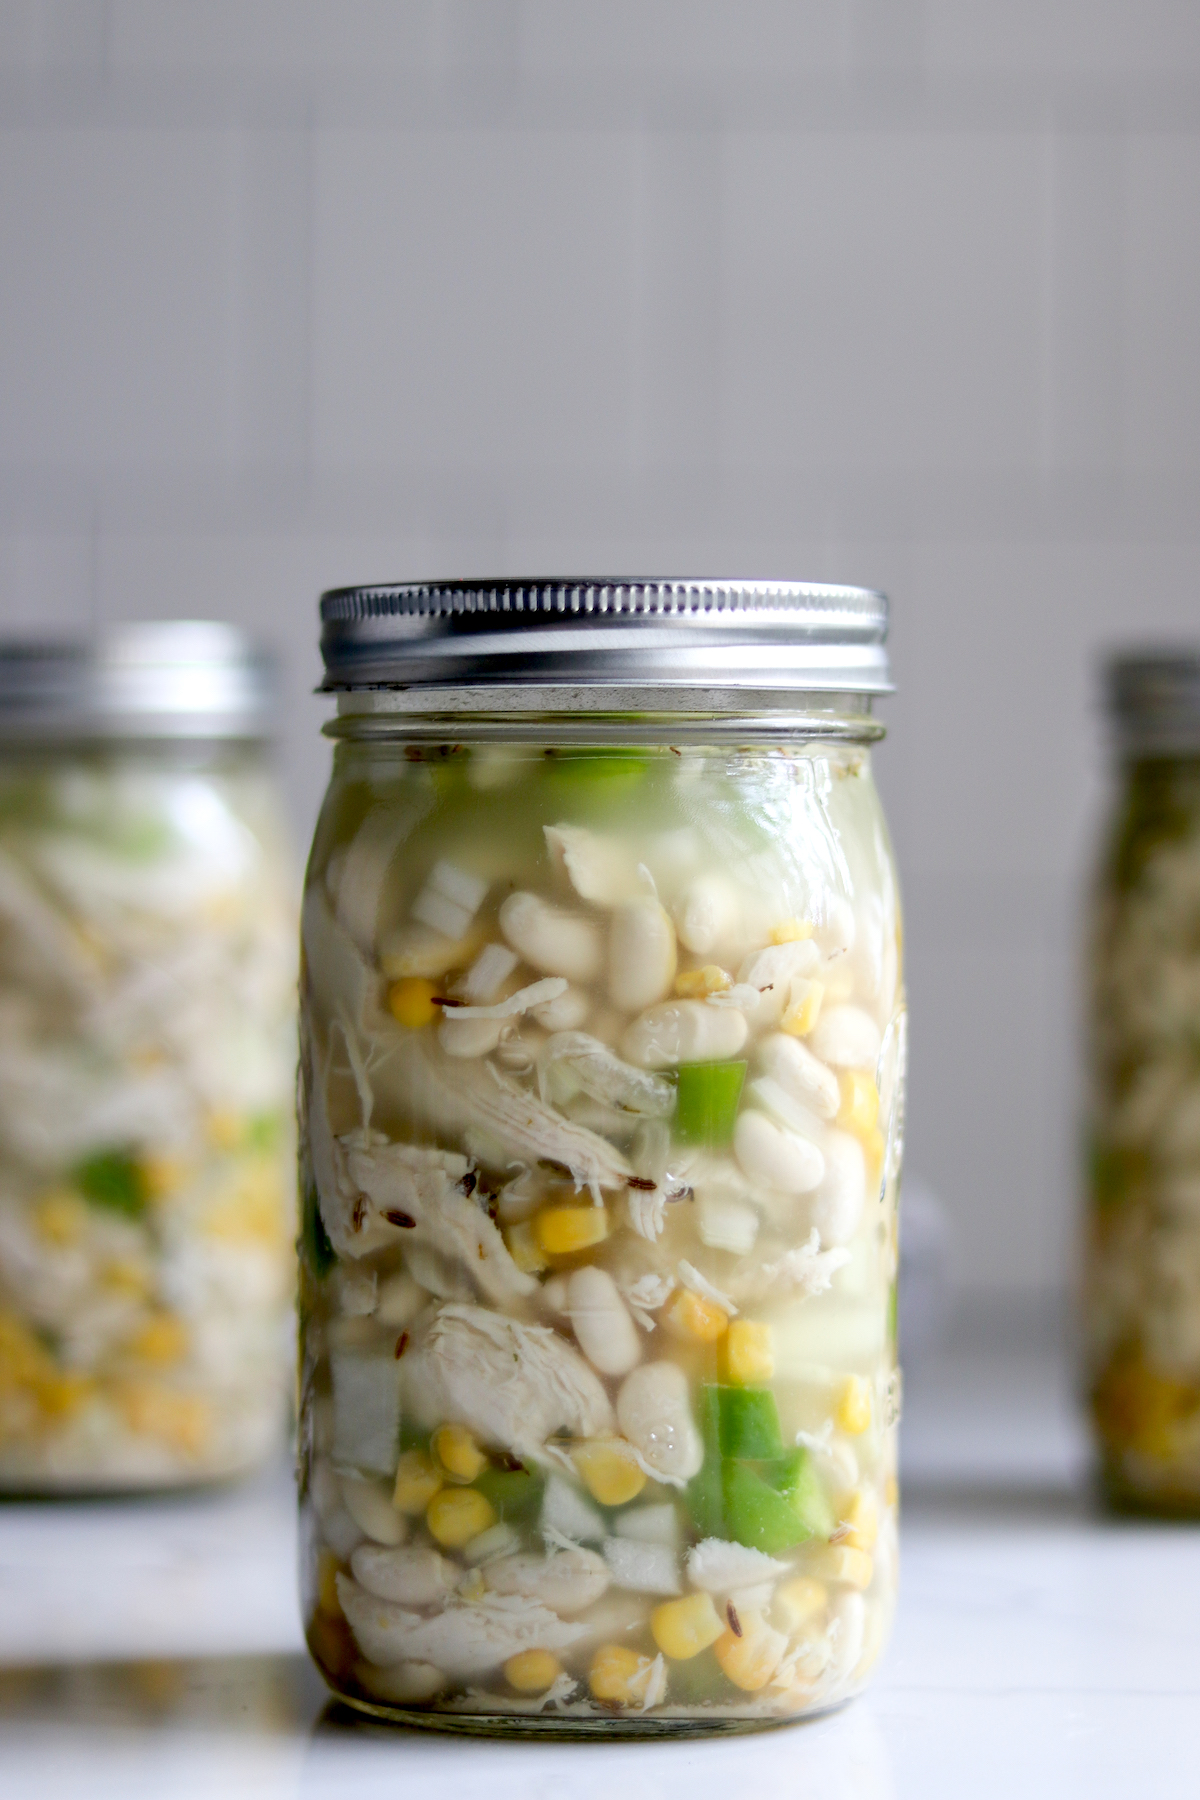
Properly canned and sealed, these pressure canned meals in a jar will keep for 18 months without losing quality. Past that point, they’re still good if sealed, but quality will begin to degrade.
Refrigerate after opening.
Altitude Adjustments
Canning time remains the same regardless of altitude, however, the processing pressure increases as altitude increase.
Use the following table to determine the correct processing pressure if you’re above 1,000 feet in elevation.
For dial gauge pressure canners:
- 0 to 2,000 feet in elevation – 11 lbs pressure
- 2,001 to 4,000 feet in elevation – 12 lbs pressure
- 4,001 to 6,000 feet in elevation – 13 lbs pressure
- 6,001 to 8,000 feet in elevation – 14 lbs pressure
For weighted gauge pressure canners:
- 0 to 1,000 feet in elevation – 10 lbs pressure
- Above 1,000 feet – 15 lbs pressure
Serving White Chicken Chili
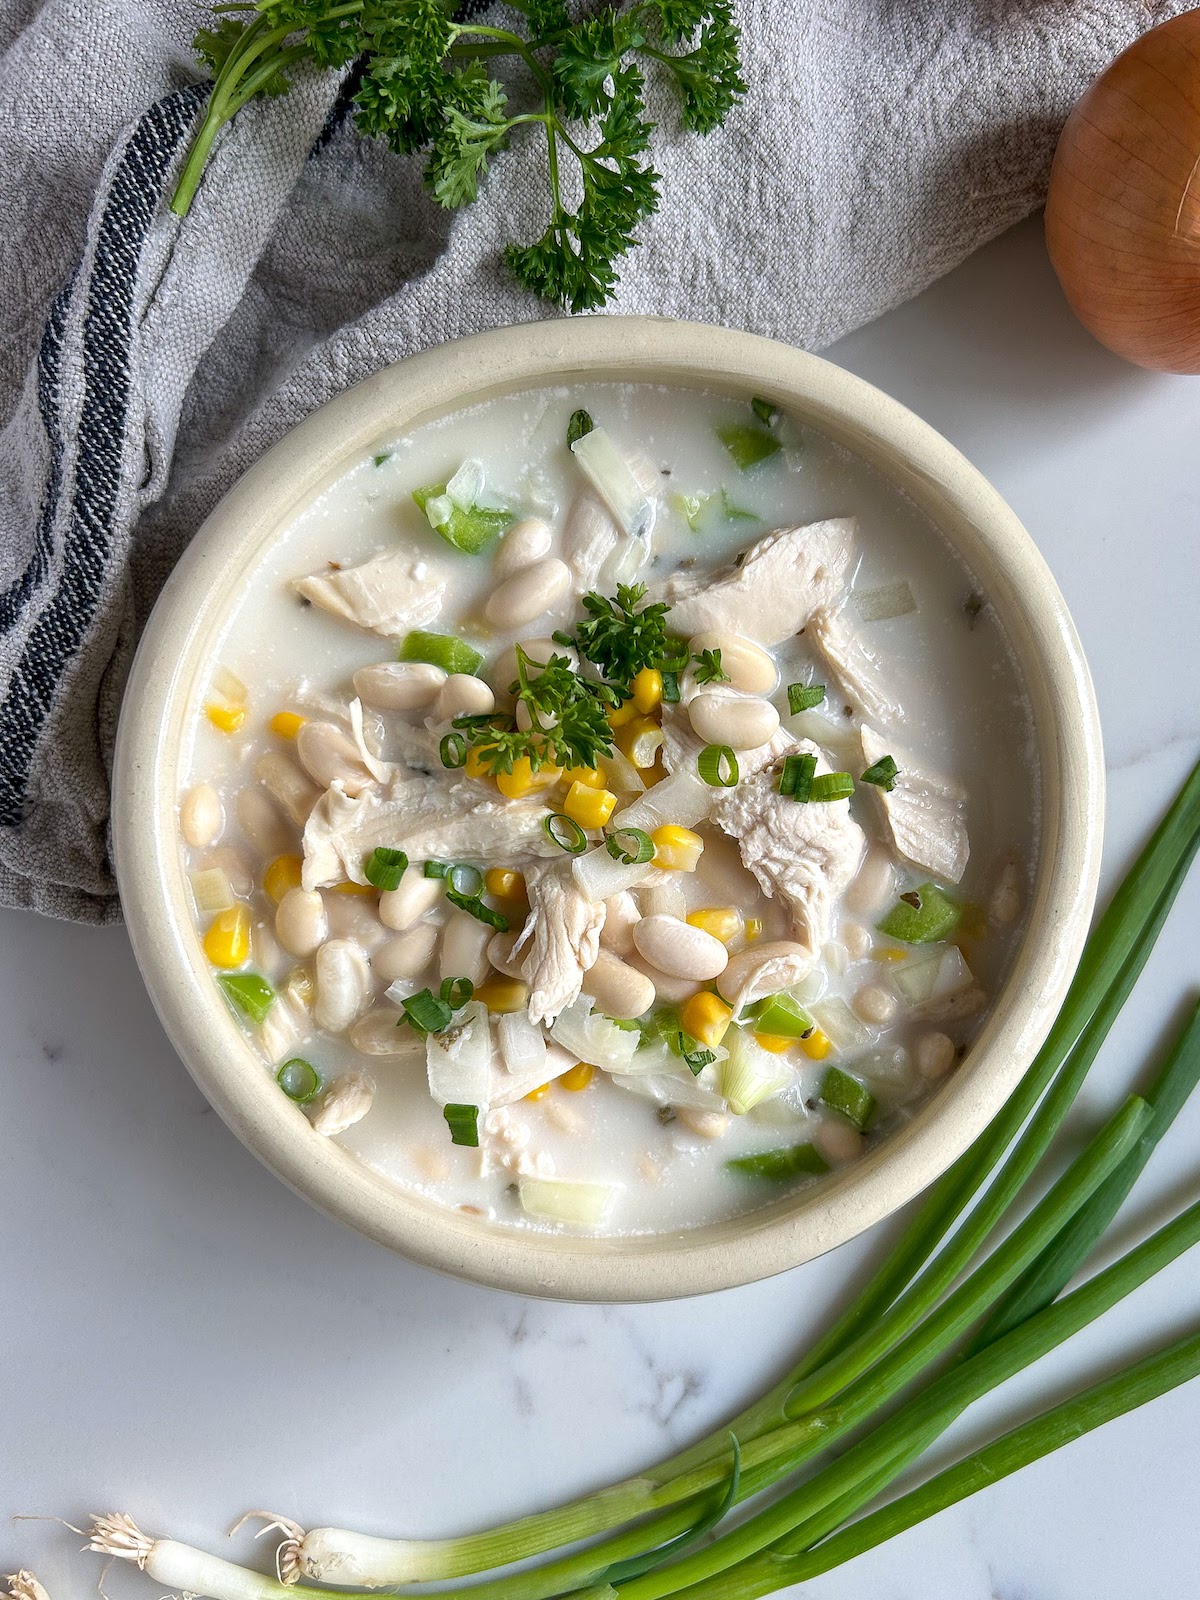
When you’re ready to serve White Chicken Chili, put the contents of one or more jars into a pot and boil over medium heat for at least ten minutes.
You can add cream cheese and cream, which will add a rich thickness to the soup, and a fresh garnish, such as cilantro, chives, or green onions. For the perfect finishing touch, add tortillas, tortilla chips, or your favorite Mexican cornbread recipe, and enjoy.
The original recipe suggests adding ½ cup (120 ml) cream and ¼ lb (115 g) cream cheese to serve, as well as chopped green onions, chives and cilantro. Those are optional, but delicious, and it can just be served as a heat and eat meal in a pinch.
Chicken Canning Recipes
Looking for more chicken canning recipes?
Meal in a Jar Canning Recipes
I have dozens of meal-in-a-jar canning recipes to keep your pantry full!
- Canning Beef Stew
- Canning Boston Baked Beans
- Canning Split Pea Soup
- Canning Sausage, Potato and Kale Soup
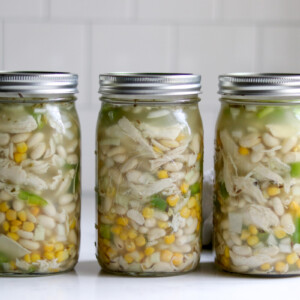
Canning White Chicken Chili
Ingredients
- 1 lb 450 g great northern beans, pre-soaked overnight
- 12 cups 2.8 L chicken broth
- 2 lb 900 g chicken breast, cooked and shredded
- 4 cups 650 g onions, diced
- 4 cups 600 g corn kernels
- 1 1/2 cup 220 g peppers, diced (see note)
- 4 cloves of garlic, minced
- 2 tsp 12 g canning salt
- 1 tsp black pepper, ground
- 1 Tbsp 6 g cumin, ground
- 1 Tbsp Mexican oregano
- 1 tsp cayenne powder, optional
Instructions
- Prepare pressure canner, jars, and lids. If using quarts, you’ll need 7 (1L) or 14 pint jars (500 ml). Add a few inches (about 8 cm) of water to your canner, following the manufacturer’s recommendations, and place it over a low-heat burner with the jars inside, keeping them hot for this hot-pack process. The water should register 180 degrees F (82 degrees C)
- Drain soaking water from the beans and add them to a large stockpot. Completely cover with fresh water and bring the pot to a boil. Once they boil, remove the pot from the heat and drain.
- Add the beans to the stock pot with chicken, broth, peppers, corn, onions, garlic, and all the spices. This time, bring the pot to boiling over a high setting to start and reduce to a gentle boil. Continue at a gentle boil for five minutes longer. (NOTE: The beans and veggies won’t be completely cooked after this five-minute period, but don’t worry. The pressure canning process will finish them.)
- After the 5-minute boil time, remove the stockpot from the burner and carefully transfer the chili into the jars you’ve prepared and held in reserve. Make sure you add the same amount of solids into each jar and leave one inch or 2.5 cm of headspace for each jar, whether quart or pint. (NOTE: If your last jar is short on liquid, top it off with hot broth or boiling water.)
- Wipe each jar rim with a dampened cloth, situate lids in place, and tighten bands to finger-tight. Bands that are screwed on too tightly can cause lids to buckle. Then place the jars into your pressure canner.
- Process the filled jars: For pint jars, process for 75 minutes at 10 psi. For quart jars, process for 90 minutes at 10 psi. Adjust this schedule for your specific altitude if necessary.
- Once processing is complete, let the canner naturally depressurize before removing the jars to the counter for cooling. Allow them to cool for 12 hours or more, check the seals, and then they’ll be ready for storage.
- To serve, boil chili in a pot over a medium burner for at least 10 minutes. Additions such as cream cheese or cream can be used to thicken the chili. Add them and stir until the cheese fully melts. Cilantro, chives, or green onions make a fresh, tasty garnish, and the dish is complemented best by tortillas, tortilla chips, or a nice Mexican cornbread.
Notes
Ingredient Notes
Most pressure canning recipes cannot be changed much without altering canning safety, but here are some of the allowed substitutions.Chicken
The meat used in this recipe is precooked shreaded chicken. You can use any part of the chicken (breast, thigh, etc) provided it's pre-cooked and shreaded. Other poulty also works, including turkey, duck or goose. You can also substitute pulled pork in place of the chicken for a pork chili.Corn
Fresh, frozen or canned corn will work in this recipe. If using frozen corn, you may add it to the pot frozen or thawed, but be sure to bring the pot to a boil and simmer for 5 minutes before filling jars as the recipe instructs. If using canned corn, do not drain. If using fresh corn, you’ll need 6 to 7 ears of corn.Onions
It takes about 1 ½ lbs of fresh, unprepared onions as purchased to get 4 cups diced.Peppers
You may use green bell peppers for mild results or hatch or jalapeno peppers for a bit more spice. Any other type of pepper (hot or sweet) can also be substituted, or you can omit the peppers altogether if that’s your preference.Spices
You're allowed to change the quantity, prepositions and types of dry spices in canning recipes without impacting canning safety. That means you can season this chicken chili however you'd like, provided you're using dry spices. The original recipes both use Mexican oregano, cumin seeds (ground) and cayenne. I've kept those, but increased the amounts for a more flavorful chili.Broth
You can use any type of broth (chicken, beef, pork or veggie) and you can also substitute plain water, or use a combination of broth and water.Altitude Adjustments
Canning time remains the same regardless of altitude, however, the processing pressure increases as altitude increase. Use the following table to determine the correct processing pressure if you’re above 1,000 feet in elevation.For dial gauge pressure canners:
- 0 to 2,000 feet in elevation – 11 lbs pressure
- 2,001 to 4,000 feet in elevation – 12 lbs pressure
- 4,001 to 6,000 feet in elevation – 13 lbs pressure
- 6,001 to 8,000 feet in elevation – 14 lbs pressure
For weighted gauge pressure canners:
- 0 to 1,000 feet in elevation – 10 lbs pressure
- Above 1,000 feet – 15 lbs pressure
Chili Canning Recipes
Keep those jars filled with home-canned chili!
- Classic Chili con Carne
- Meat Lovers Chili
- Chipotle Ground Beef Chili (no beans)
- Beef Chuck Chili (no beans)
Pressure Canning Recipes
Fill those pantry shelves with these pressure-canning recipes!
Can navy beans be substituted for the great northern?
My jars seem like they have less liquid than your pictures. I didn’t notice any siphoning, will it be fine that they aren’t full of broth?
So long as they’re sealed and were properly processed, it’s ok if they lost some liquid. Generally, the NCHFP says jars that lost liquid are still safe so long as they sealed, and so long as the liquid loss isn’t “excessive” which they define as the water line in the jar being half or below. If they only lost an inch or two of liquid, they’re fine. Enjoy!
Can I use canned beans?
Yup, that’s fine. Just treat them as though they’re already soaked.
Can rotisserie chicken be used in the chili?
Yes, that would work just fine.
How do I keep the chicken from getting somewhat dry in texture during the canning process?
Using thighs instead of breasts helps, as does making sure you added the correct amount of salt (or even adding a bit extra). Chicken is tricky when it comes to canning though, and sometimes it’s just going to depend on your particular bird.
Is it possible to use canned green chiles rather than fresh? My white chili recipe has canned chilies and we like them soft.
Yup, that’s perfectly fine.
Can I increase the amount of chicken in this recipe? We like more protein in our meals.
Yes, provided that you don’t pack the jars too tightly. This recipe is set so that the jars are pretty full of solids, but not jam packed. If you add more chicken, you can either add another jar to the batch, or decrease the amount of the other ingredients accordingly. (Ie. if you add 1 cup chicken, decrease the other total solids by 1 cup). If you increase the batch size, for every 3 cups chicken, add another quart jar and several more cups of broth. (Note that you’re not adding 4 cups chicken to get a full extra quart, because you don’t want it packed too tightly.) Enjoy!
I usually add salsa to my white chicken chili. Can I incorporate that into this recipe?
Yup! You can add salsa to this recipe, no problem. Enjoy!
Would it be a problem to take out the corn? (other than of course there would be a little less finished product.
No problem. Taking out the corn is perfectly fine, and yes, it’ll have a lower yield, but that’s fine safety-wise.
Can I safely cut this recipe in half?
Yes, you can always make a recipe smaller.