This post may contain affiliate links. Please see our disclosure policy.
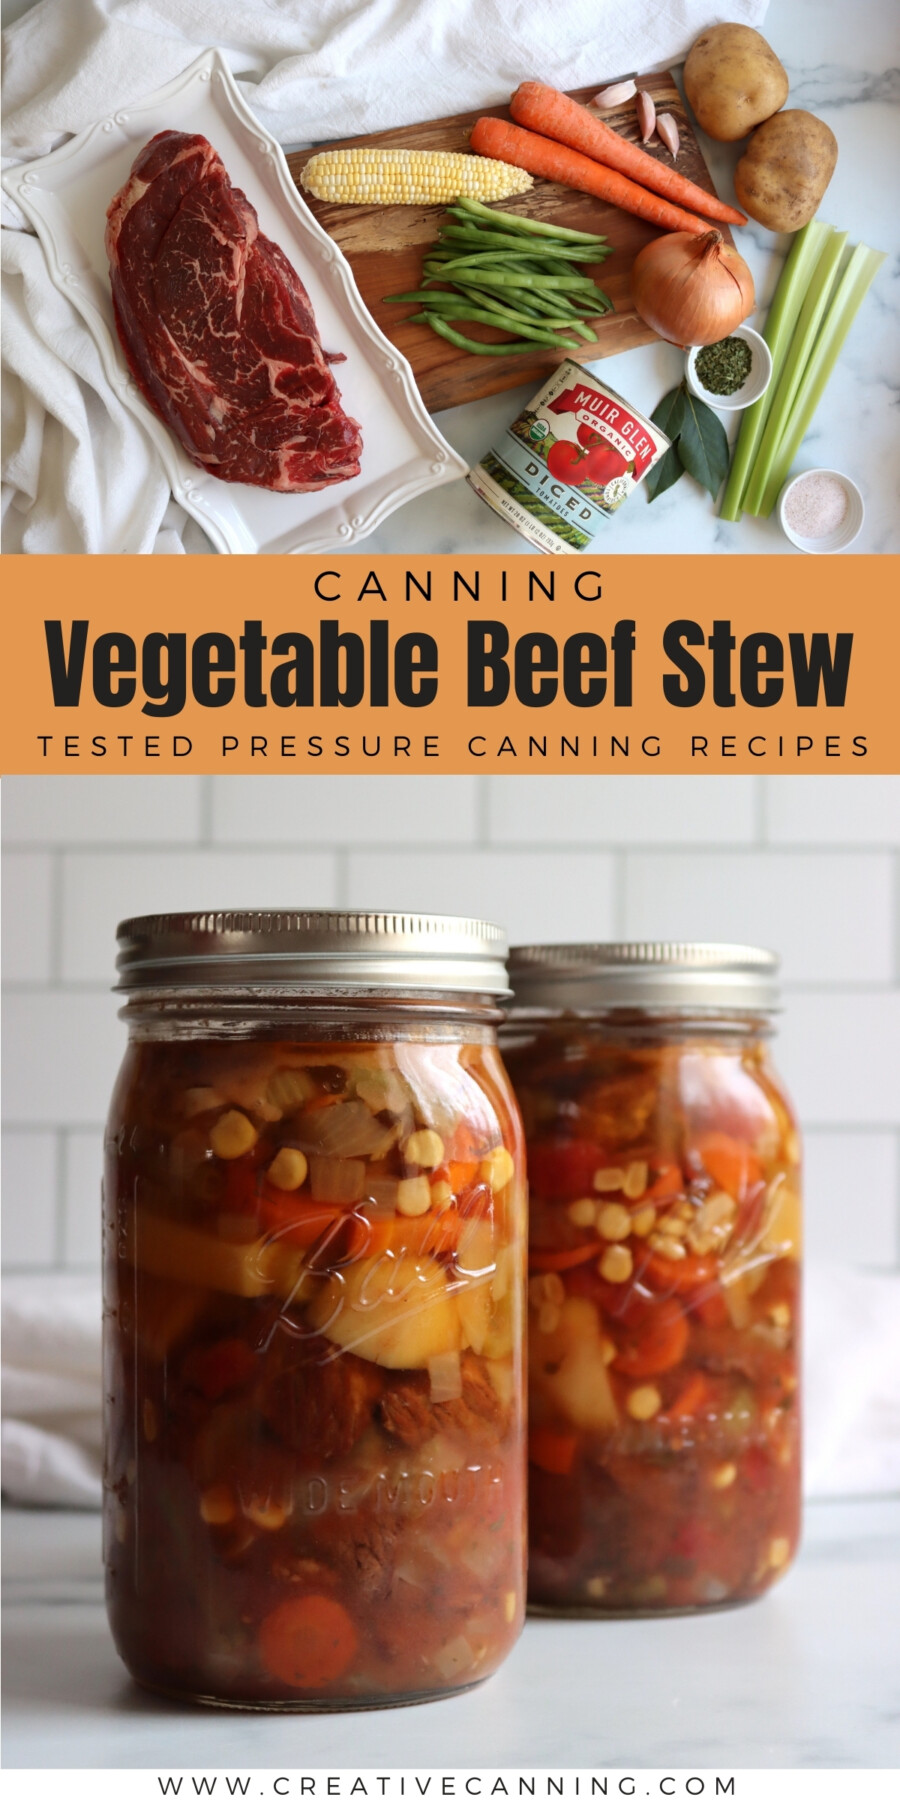
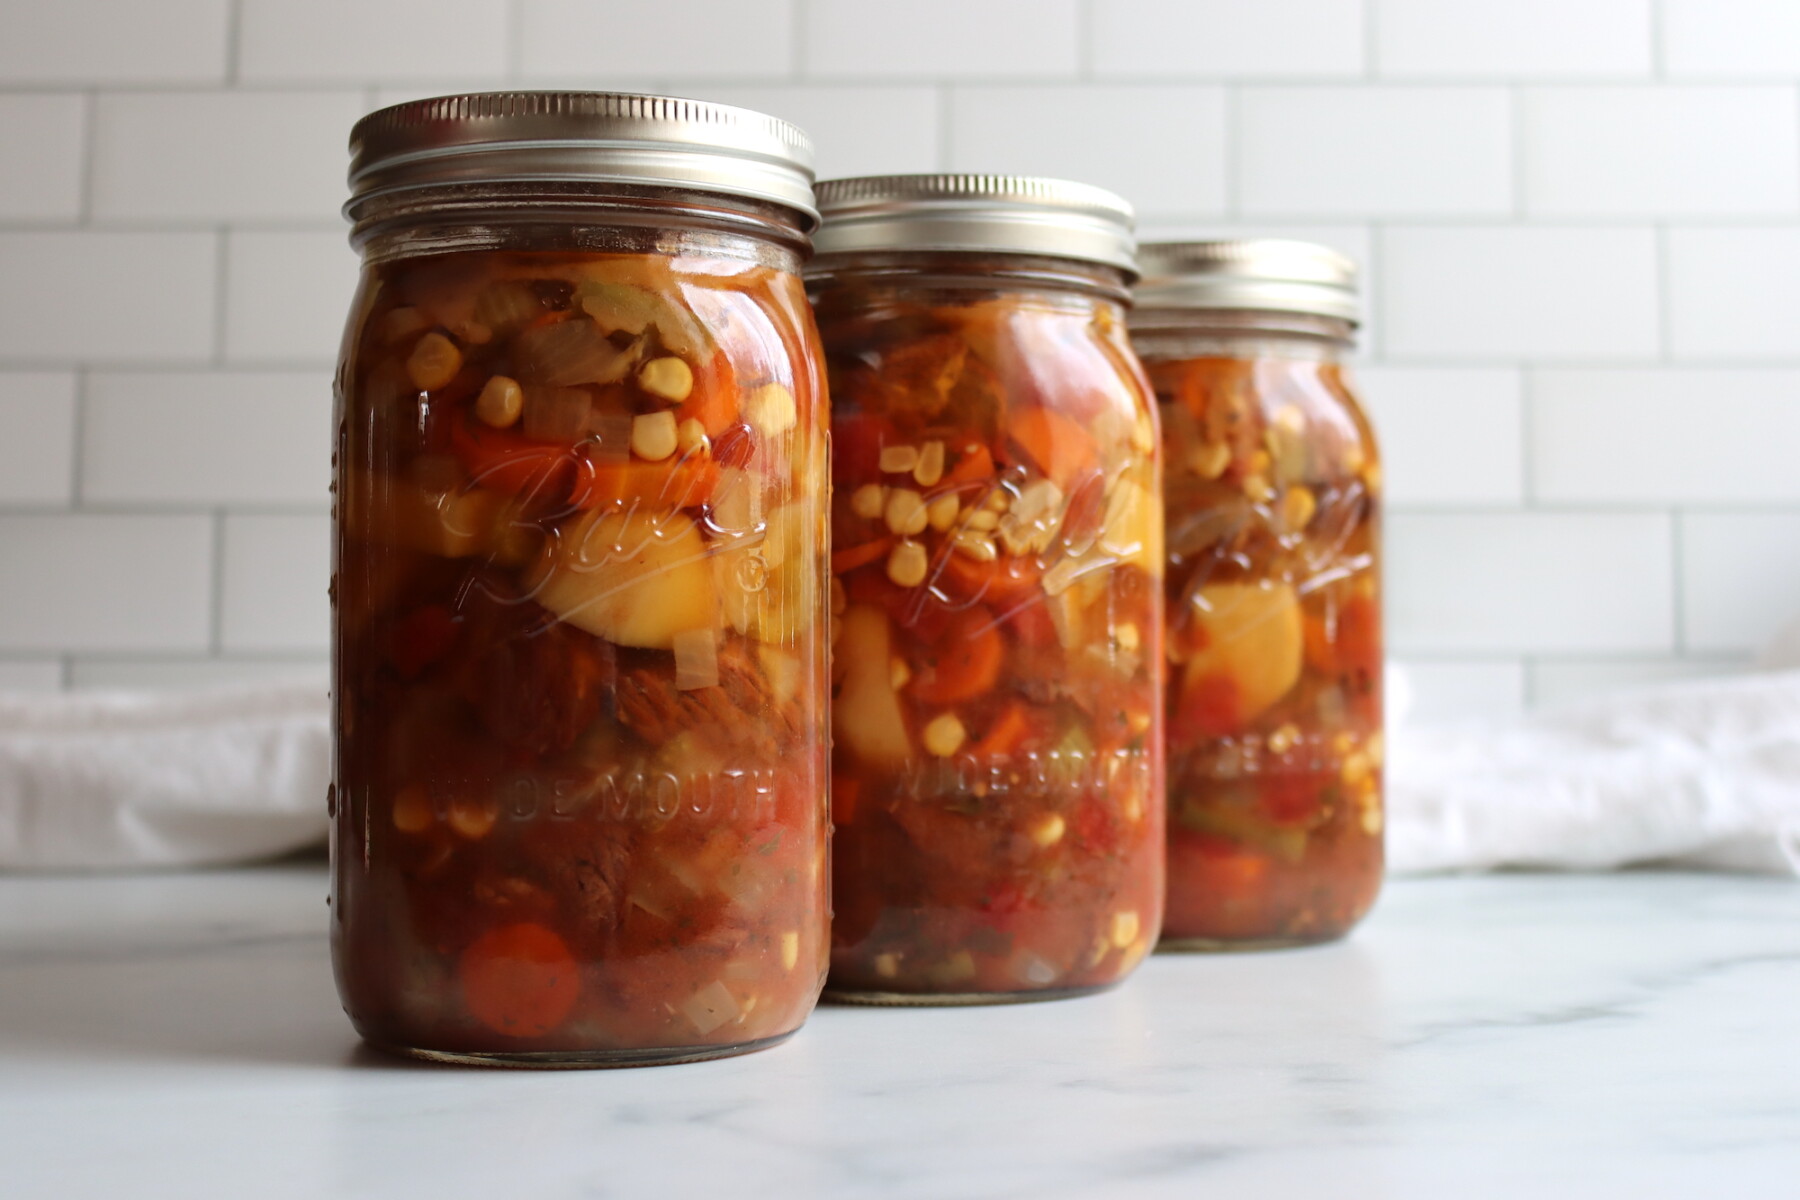
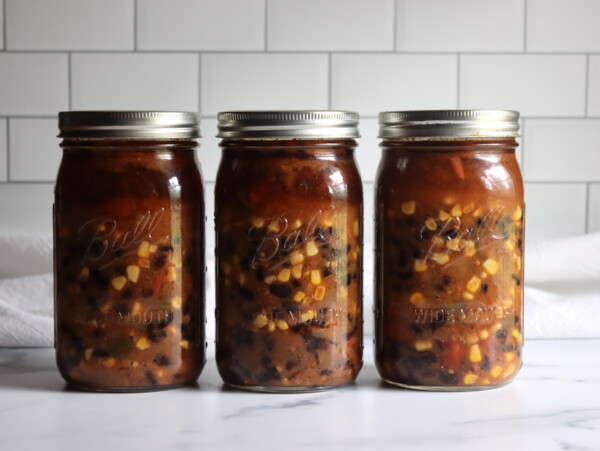
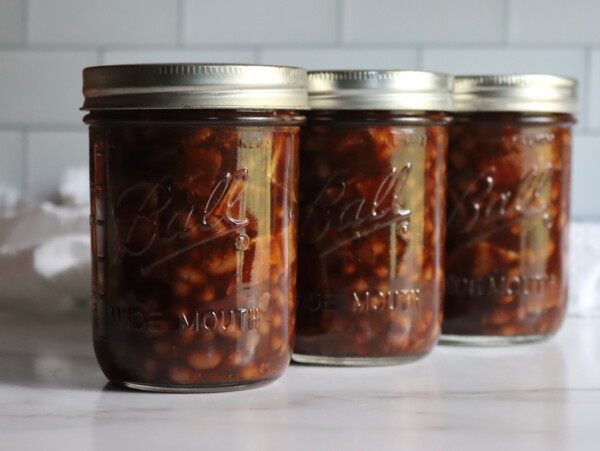
Canning vegetable beef stew is a hearty soup that’s a fantastic meal in a jar, and it’s an easy heat and serve dinner all on its own. Every jar is packed with tender stew beef, potatoes, carrots, celery, corn, green beans, and tomatoes in a rich, seasoned broth that tastes like it simmered all day. Open a jar on a busy weeknight and dinner is ready in minutes.
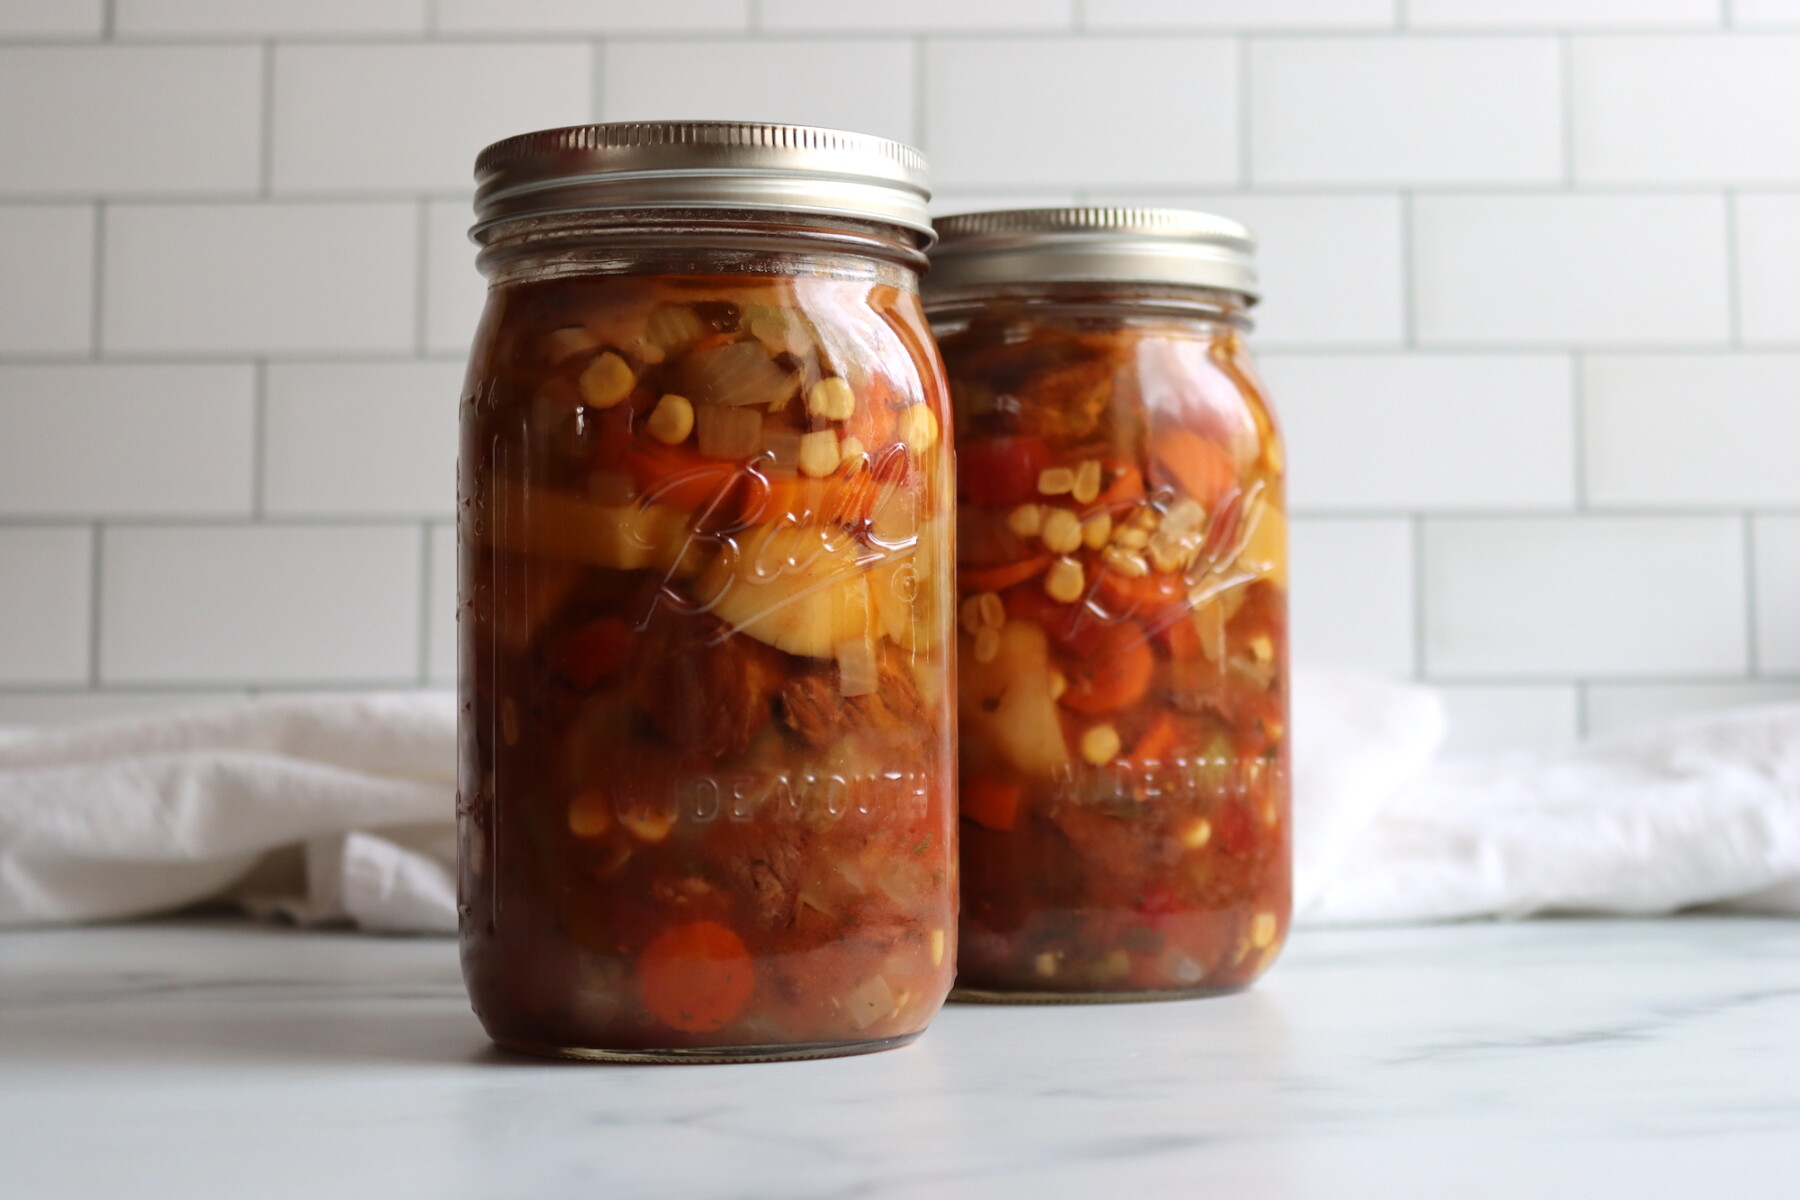
Table of Contents
- Why you’ll love this vegetable beef stew recipe!
- Quick Look at the Recipe
- Ingredients for Vegetable Beef Stew
- Step by Step Instructions
- Canning Vegetable Beef Stew
- Altitude Adjustments
- Serving Ideas
- Canning Vegetable Beef Stew FAQs
- Beef Canning Recipes
- Canning Vegetable Beef Stew Recipe
- Meal in a Jar Canning Recipes
This recipe has been reviewed for safety and accuracy by a Master Food Preserver certified through the University of Cornell Cooperative Extension.
Vegetable beef stew is a heartier, more filling version of classic vegetable soup, with a rich tomato base and plenty of summer veggies. The main difference here is that it’s filled out with stewing beef, which bumps up the protein and gives you lovely, rich umami flavor.
The canning instructions are built around the Ball Beef Stew with Vegetables from the Ball Complete Book of Home Preserving and the University of Alaska Cooperative Extension Hearty Soups Protocol.
While Classic Beef Stew keeps it simple with just beef, potatoes, carrots, celery, and onions. This version builds on that foundation with tomatoes, corn, green beans, and Italian seasoning for a stew that is more of a complete meal in a jar.
Why you’ll love this vegetable beef stew recipe!

The flavor in this stew is incredible. It tastes like a really good homemade vegetable soup, but the stew beef gives it a richness and body that makes it a full meal. My family loves it, and I love having it on the shelf because it means dinner is handled on the nights when I just don’t have the energy to cook from scratch.
As written, this recipe yields 4 hearty quart jars packed with meat and vegetables. If you want a brothier stew, add an extra 4 cups of beef stock and you’ll get 5 jars. The seasoning is spot on at about 3/4 teaspoon of salt per quart, but read the notes on broth carefully — if you’re using store-bought salted broth, cut the salt way back or the finished jars will be too salty.
Quick Look at the Recipe
- Recipe Name: Vegetable Beef Stew
- Recipe Type: Meal in a Jar Canning Recipe
- Canning Method: Pressure Canning
- Prep/Cook Time: About 1 hour
- Canning Time: 75 minutes for pints, 90 minutes for quarts
- Yield: 4 quarts (or 5 brothier quarts with extra stock)
- Jar Sizes: Pints or Quarts
- Headspace: 1 inch
- Ingredients Overview: Stew beef, potatoes, carrots, celery, onion, corn, green beans, diced tomatoes, beef broth, and seasoning.
- Safe Canning Recipe Source: Adapted from the Ball Complete Book of Home Preserving and the University of Alaska Cooperative Extension Hearty Soups Protocol
- Difficulty: Moderate. There is some chopping and browning involved, but once everything is in the pot it comes together quickly.
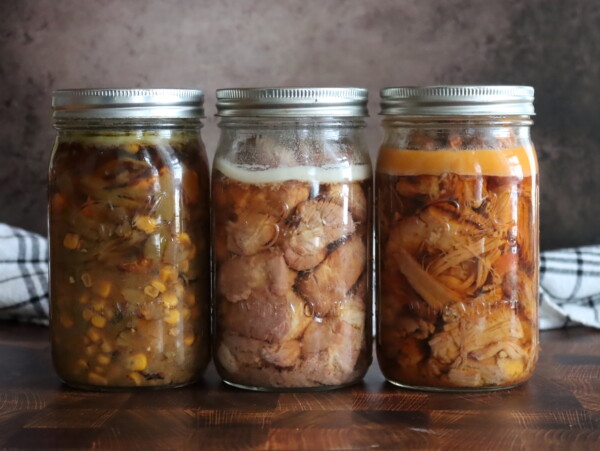
- Similar Recipes: This recipe is similar to other hearty pressure canned meals like Classic Beef Stew, Beef Stroganoff, and Beef Burgundy. It also pairs well on the shelf with Classic Vegetable Soup and Chicken Vegetable Soup, both of which use up plenty of summer veggies in season. Find more ideas on the Meal in a Jar Canning Recipes and Beef Canning Recipes pages.
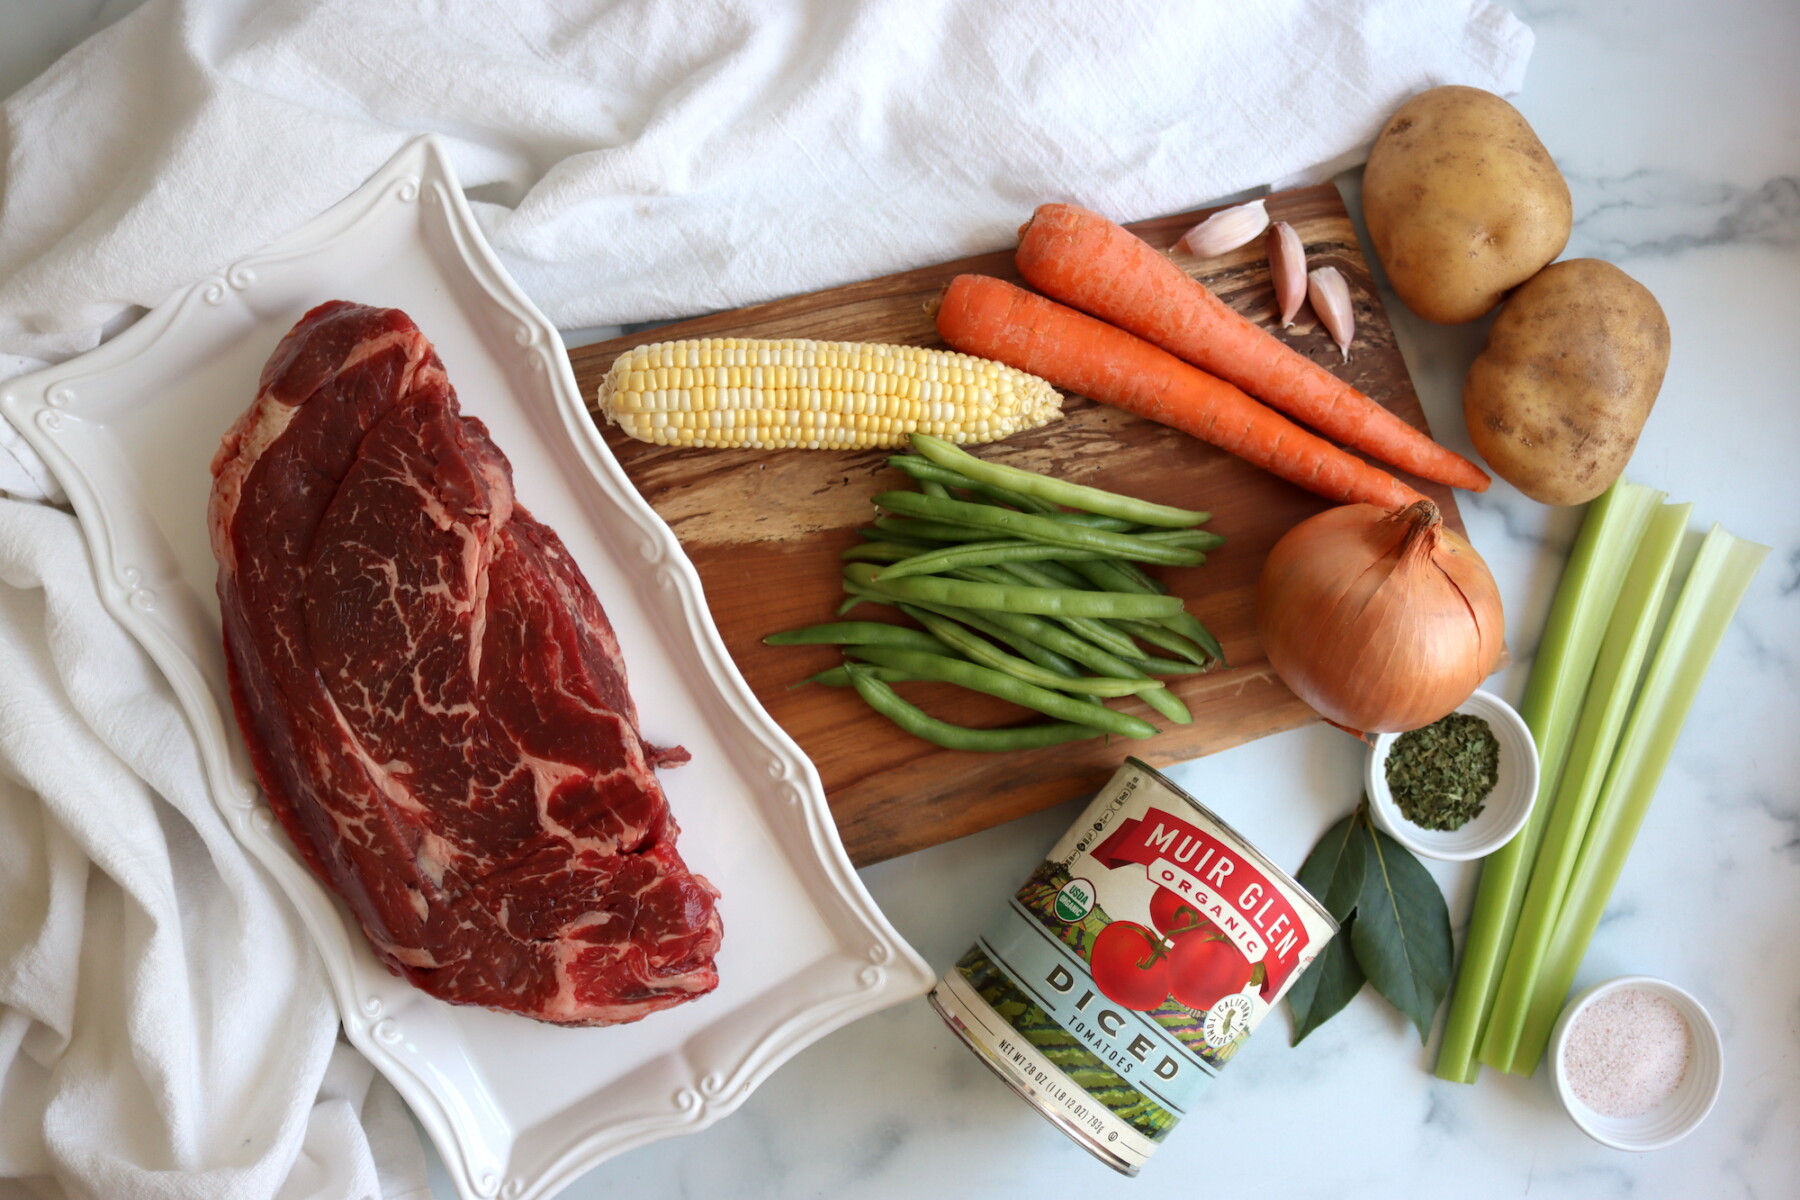
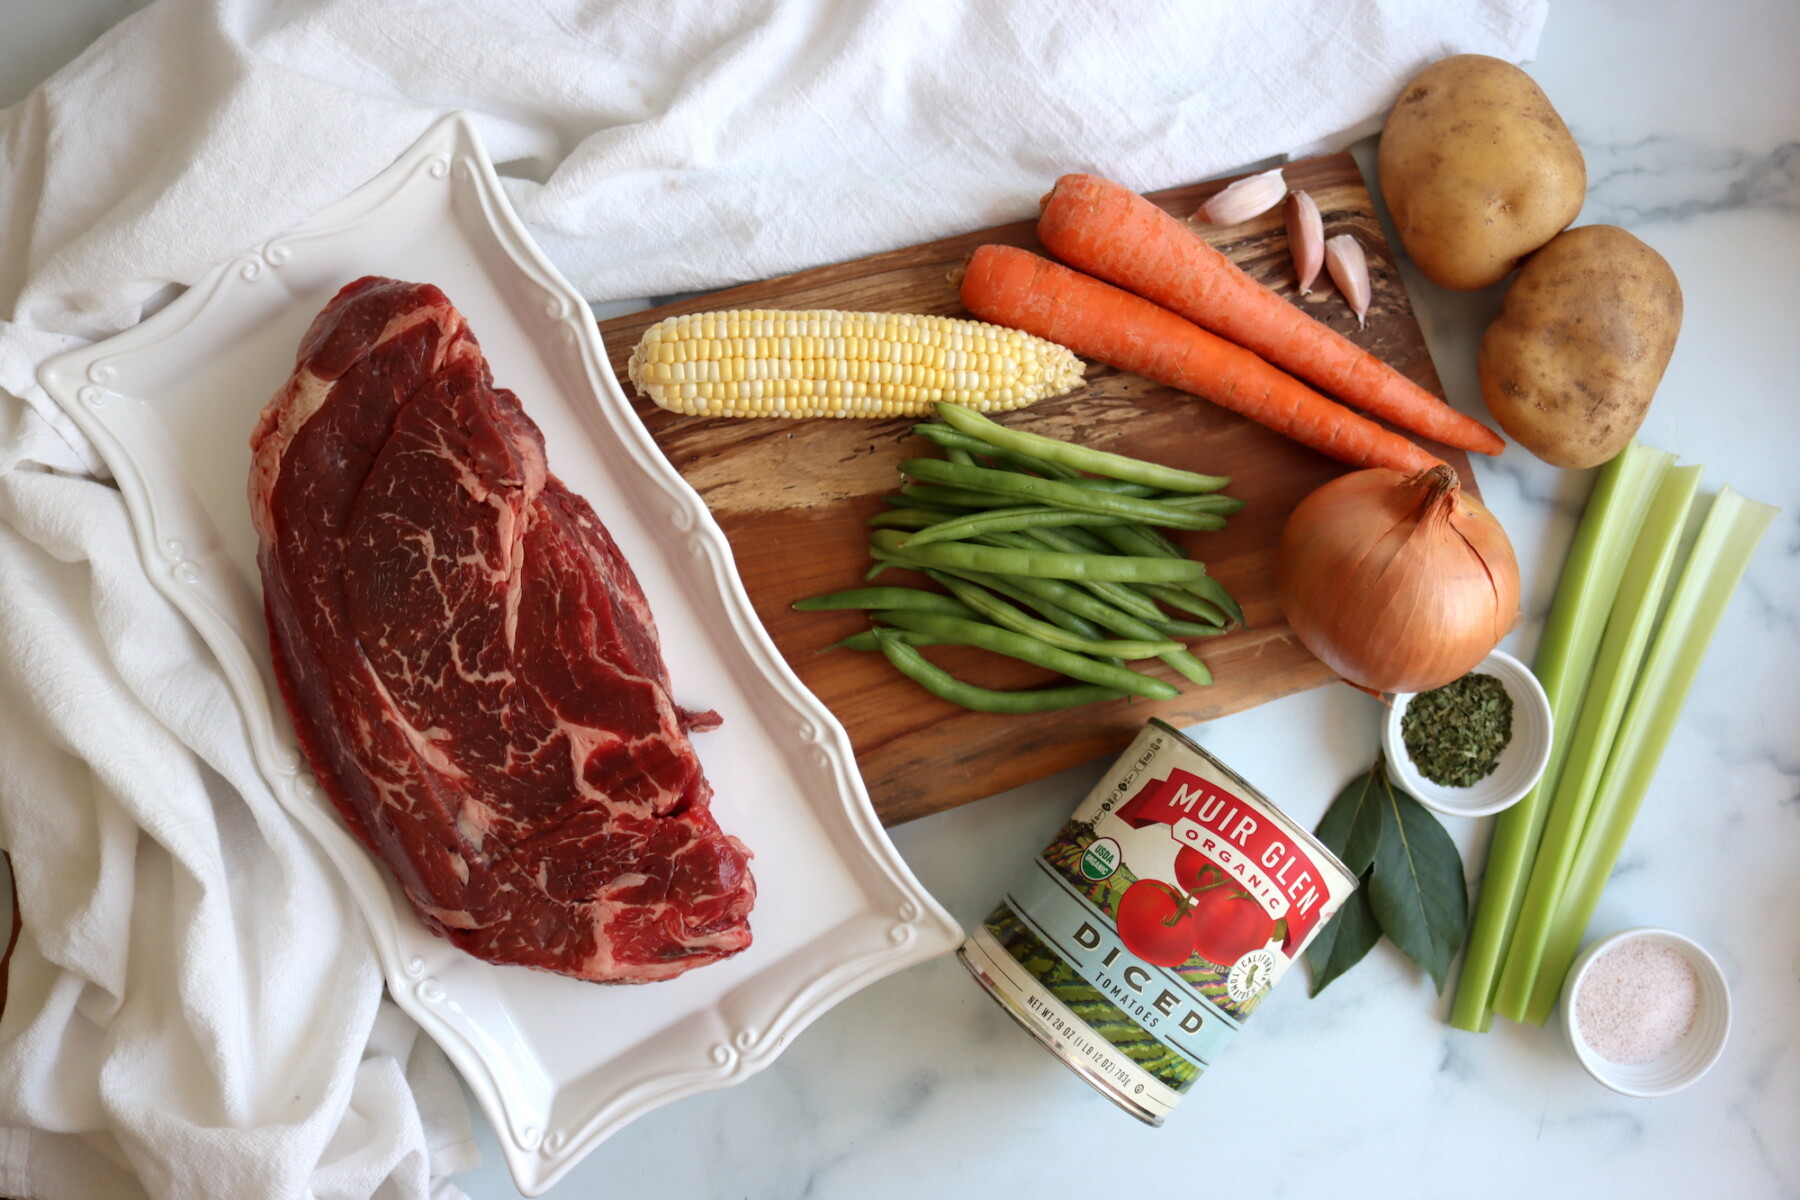
Ingredients for Vegetable Beef Stew
This recipe uses a straightforward mix of beef, root vegetables, and aromatics, with tomatoes and broth building a rich base. Each ingredient plays a role in the final flavor and texture of the stew.
- Beef stew meat: The heart of the recipe. A well-marbled cut like chuck roast gives the best flavor and holds up well through the long pressure canning process. Cut into even 1 to 1.5 inch pieces for consistent cooking and packing.
- Olive oil: Used to brown the beef before everything goes into the pot. Any neutral oil works fine here.
- Onion: Adds sweetness and savory depth to the broth. One small onion yields about 1 cup chopped.
- Carrots: Add color, sweetness, and classic stew flavor. Use hearty storage carrots rather than delicate summer salad carrots, which tend to fall apart in canning.
- Celery: Adds savory depth and that familiar stew base note. Two large stalks or three small give you about 1 cup.
- Garlic: Three cloves of minced garlic round out the broth with a little extra richness. Add more (or less) if you like, it’s up to your taste.
- Diced tomatoes: A 28-ounce can, undrained, adds body and a subtle acidity that brightens the whole stew. Do not drain — the tomato liquid is part of the broth. If you want a thicker tomato base, you can add 1 Tbsp of tomato paste as well.
- Beef broth: Forms the base of the stew. Unsalted homemade broth gives you the most control over salt levels. See the notes below before using salted store-bought broth.
- Potatoes: Cut into 1-inch pieces, potatoes add substance to the stew. Russets release a bit more starch than Yukon Golds, which gives the broth a little body. But you can go use gold potatoes if you’d like a clearer broth. About 3 cups prepared.
- Corn: Fresh corn cut from one large cob gives you about 1 cup. Frozen corn works well too. It adds sweetness and makes the stew feel more complete.
- Green beans: Add color and a fresh vegetable element. Just a handful is enough to get the job done.
- Italian seasoning and parsley: The seasoning blend that sets this stew apart from a plain beef stew. It gives the broth a herby, savory complexity without being overpowering.
- Bay leaf: Added to the pot for the simmer, and it can be placed in the jar or removed before canning, your choice. Adds subtle background flavor to the broth.
- Salt: 1 tablespoon for the full batch, which works out to about 3/4 teaspoon per quart jar. See the notes carefully before adding salt if using salted commercial broth.
This recipe follows the University of Alaska Cooperative Extension Hearty Soups Protocol, which allows for flexibility in the vegetable mix. You can swap in other firm vegetables such as peas or bell peppers, or leave out any vegetable you prefer. Make sure you check the specific hearty soups protocol to see which vegetables are allowed for canning. You cannot add sweet potatoes, winter squash, creamed corn or greens.
You cannot add thickeners, dairy, pasta, rice, pureed vegetables, or cured meats before canning. A tablespoon of tomato paste can be stirred in for a slightly richer broth, but is not necessary.
Do not add flour or cornstarch; if you want a thicker stew, stir in a slurry after opening the jar at serving time.
Step by Step Instructions
- Prepare your pressure canner, jars, lids, and bands. Gather your ingredients and wash your vegetables.
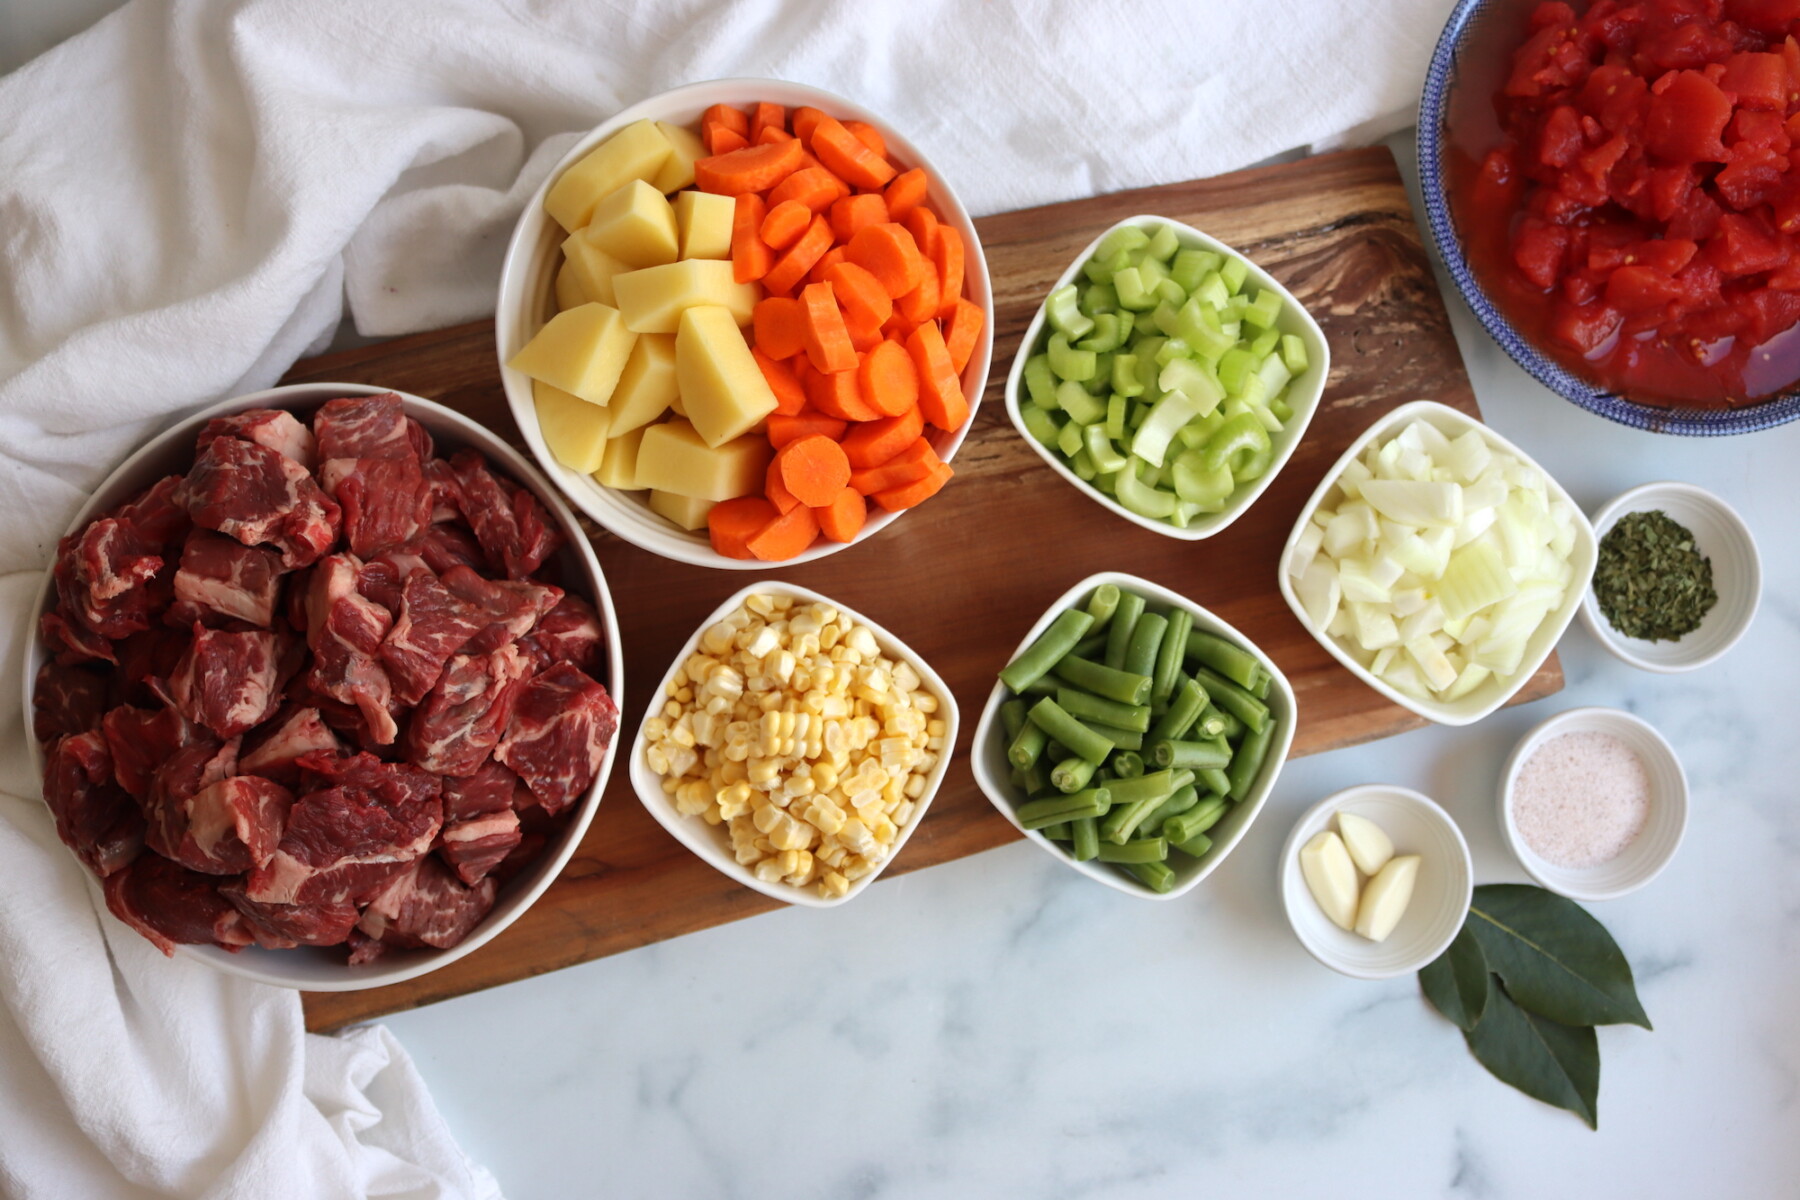
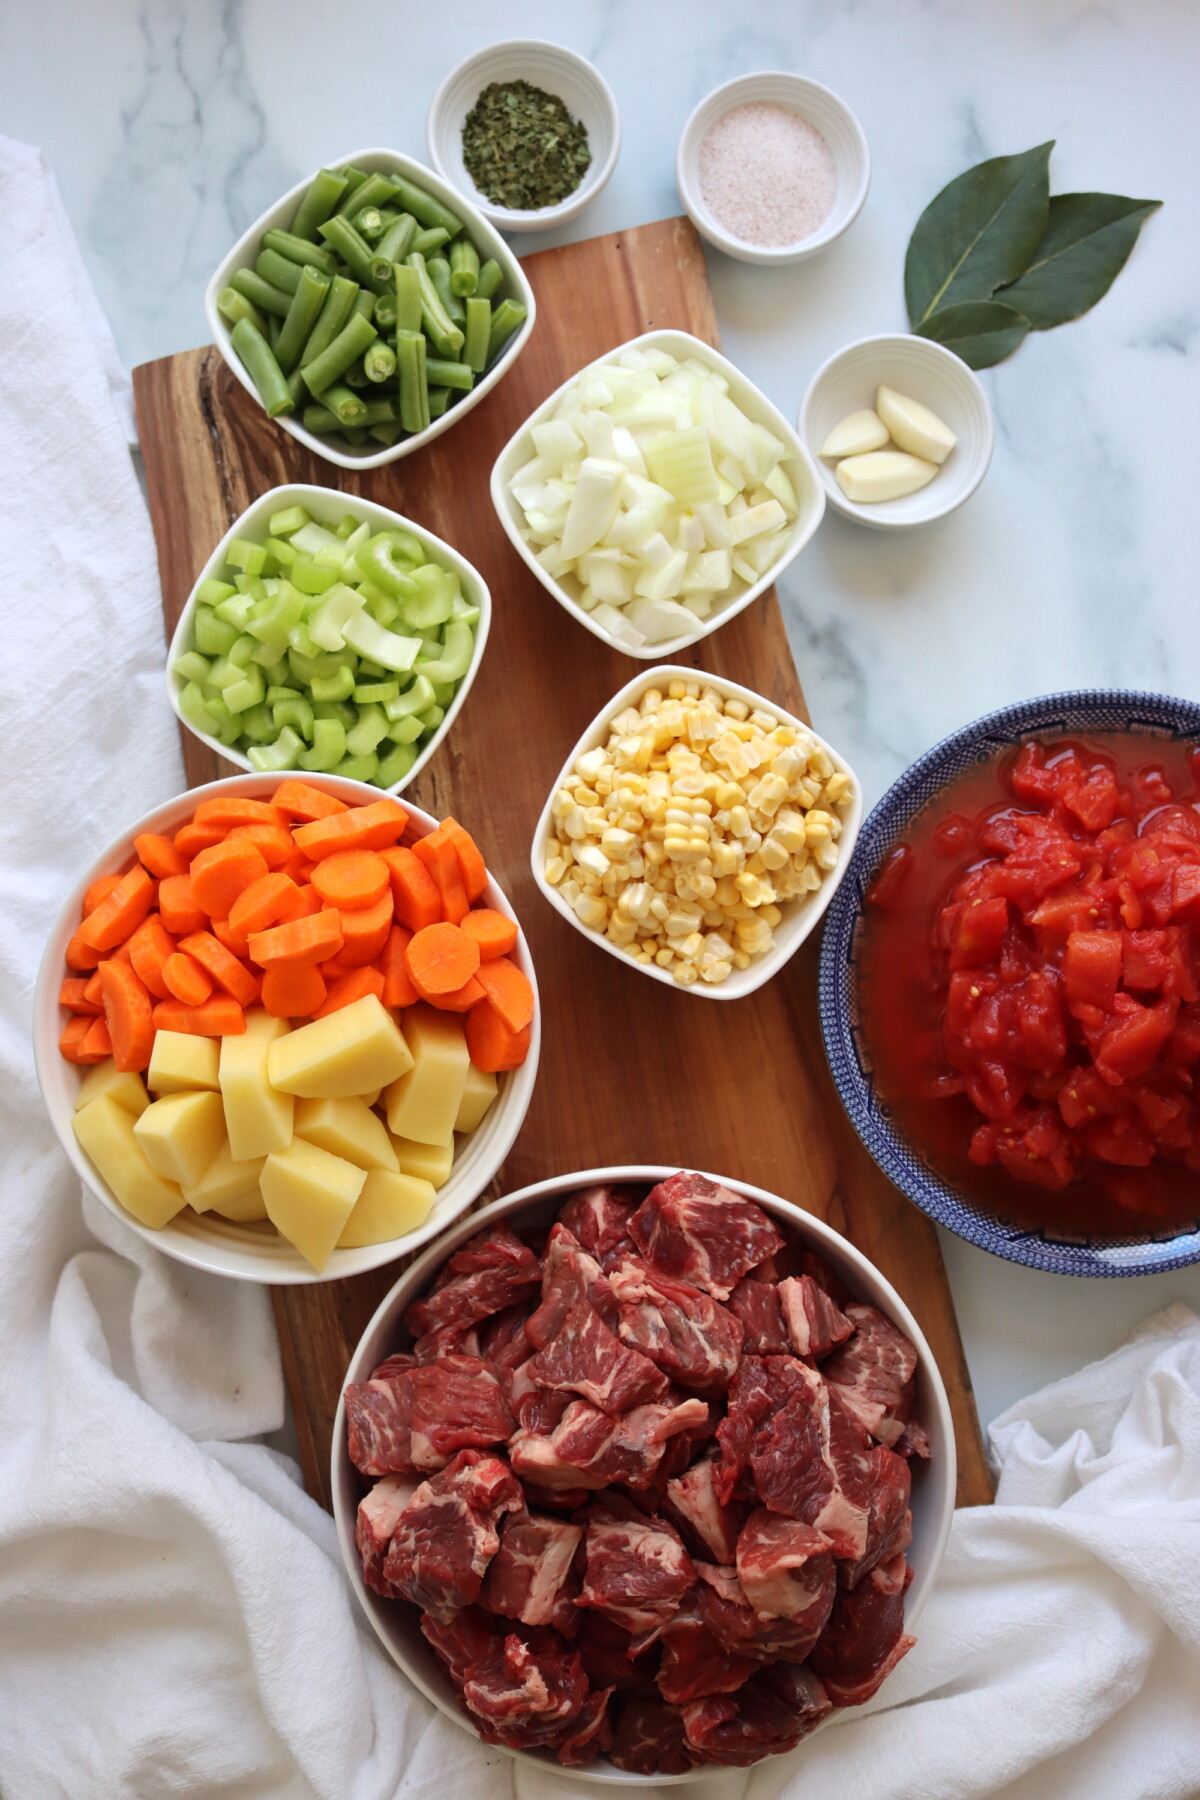
- Peel and cube the potatoes, slice the carrots, chop the celery and onion, mince the garlic, and cut the beef into 1 to 1.5 inch pieces. Cut corn from the cob and trim the green beans if using fresh.
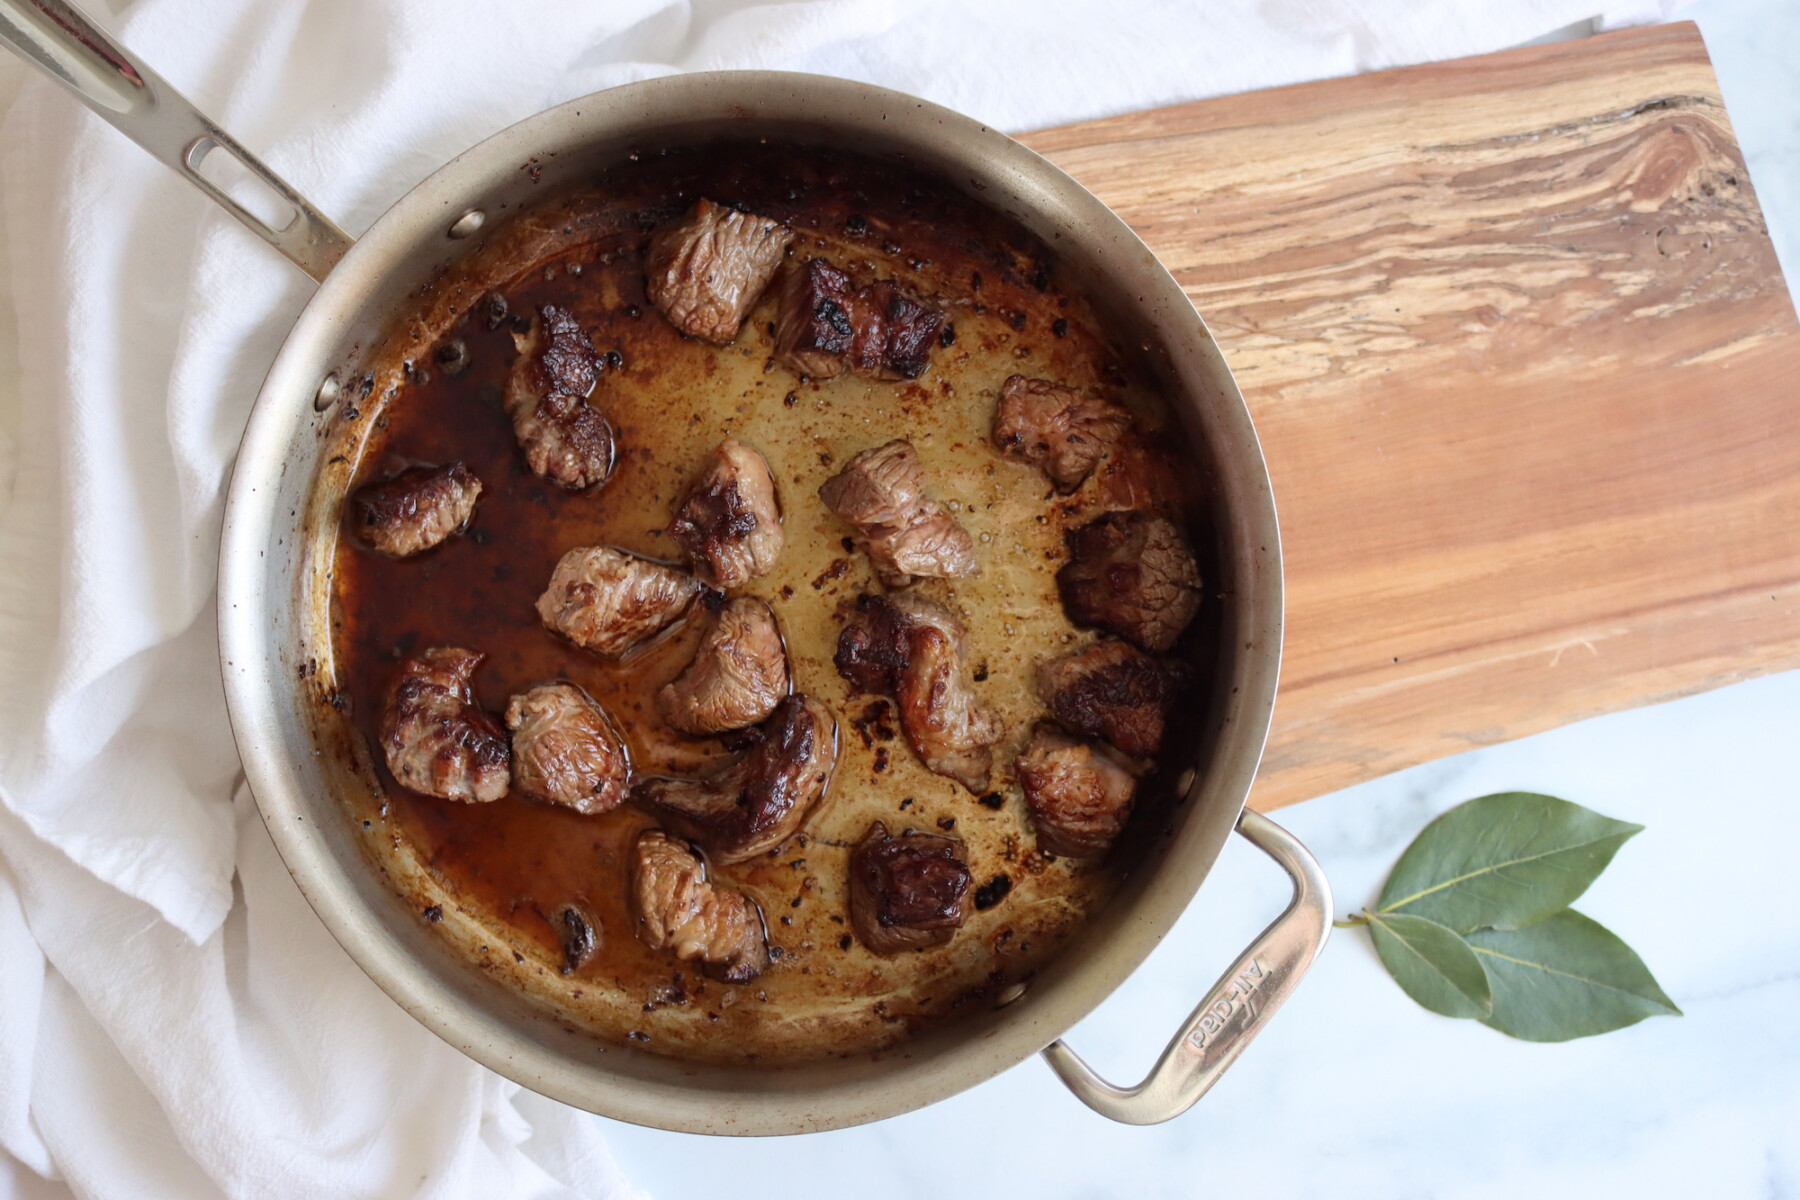
- Heat the olive oil in a large heavy-bottomed pot over medium-high heat. Brown the beef in batches, adding more oil as needed. Do not crowd the pan — browning in batches builds much better flavor. Set the browned beef aside.
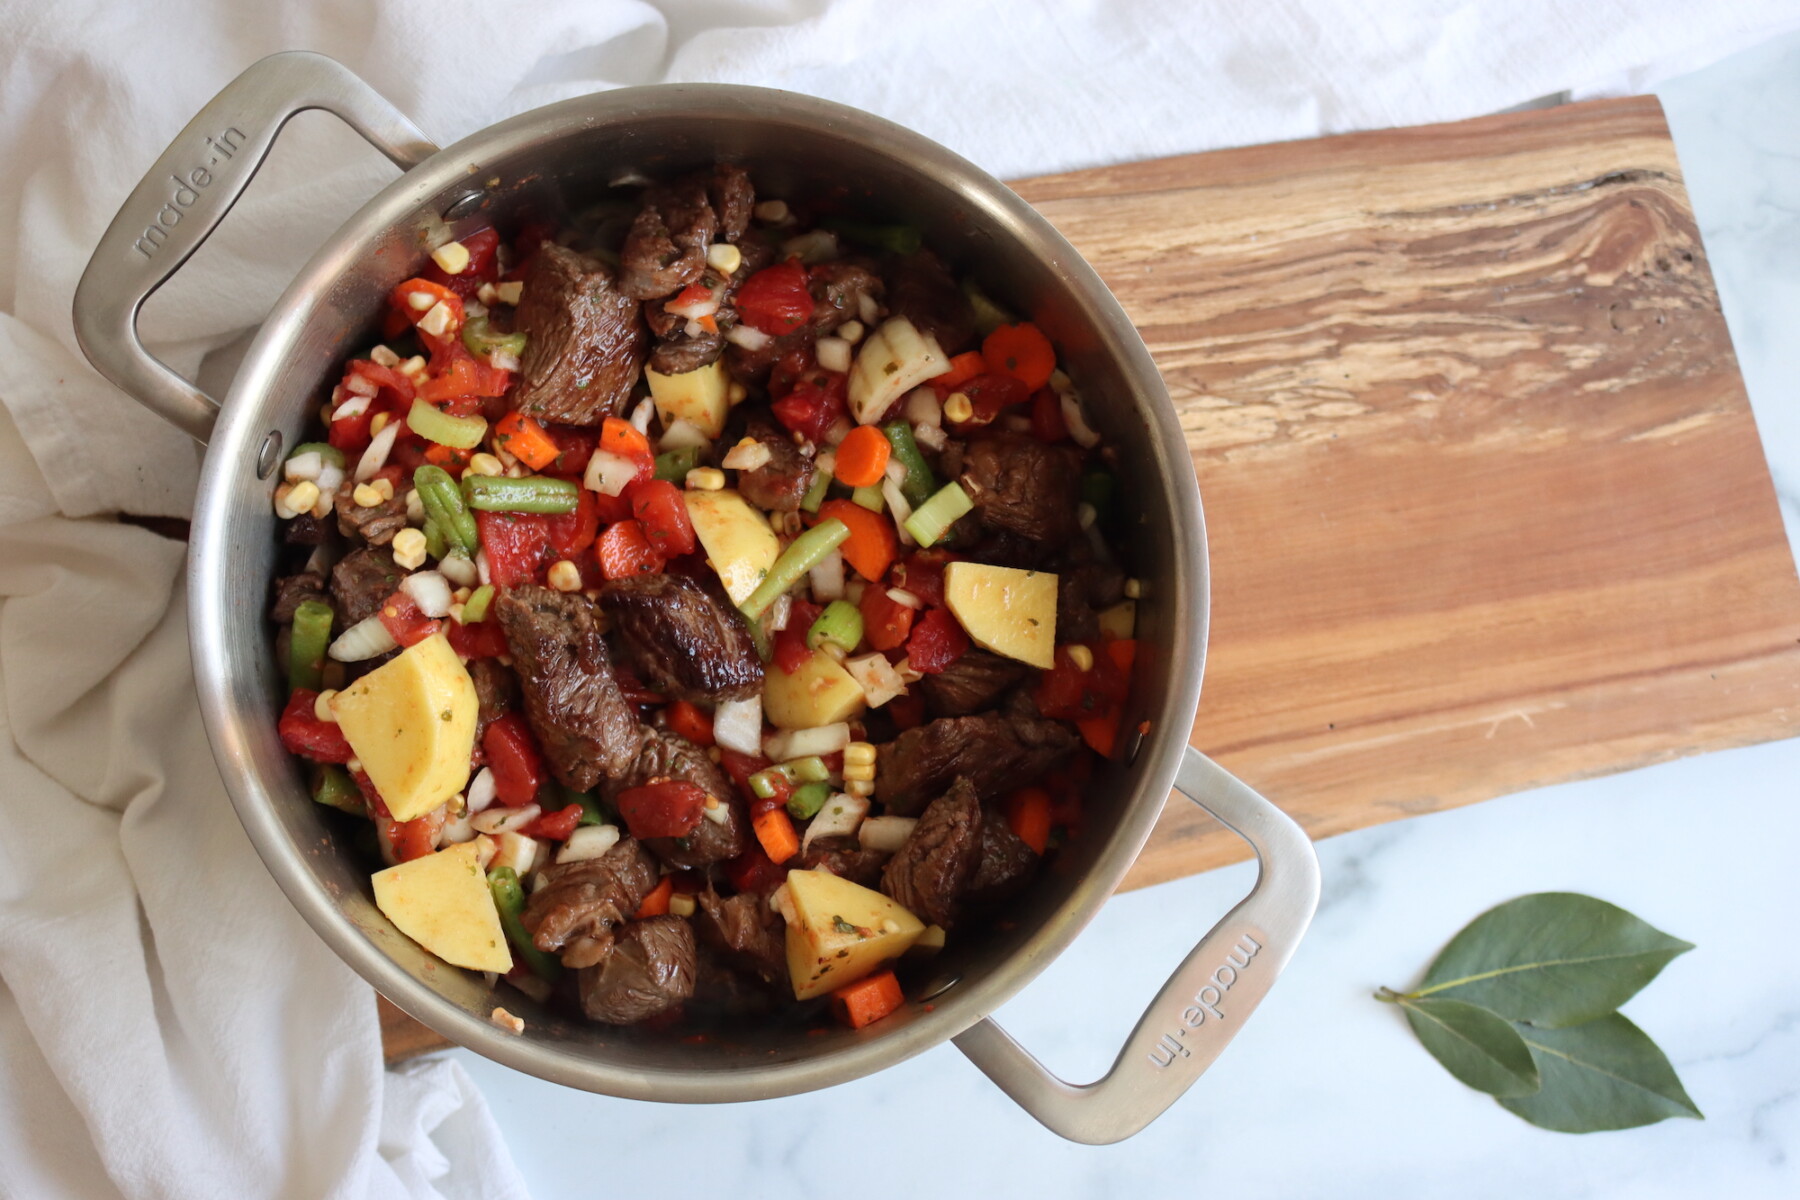
- In the same pot, add the onion, carrots, celery, and garlic and cook briefly until softened. Return the browned beef to the pot. Add the diced tomatoes with their liquid, beef broth, potatoes, corn, green beans, Italian seasoning, parsley, bay leaf, and salt. Stir well and bring to a boil. Reduce heat and simmer for 5 minutes until everything is heated through.
- Use a slotted spoon to distribute the solids evenly between the hot jars, then ladle the broth over the top to 1 inch headspace. Remove air bubbles, wipe rims, and apply lids and bands to fingertip tight. Load jars into the preheated pressure canner and process pints for 75 minutes and quarts for 90 minutes, adjusting pressure for altitude. (See full canning notes below)
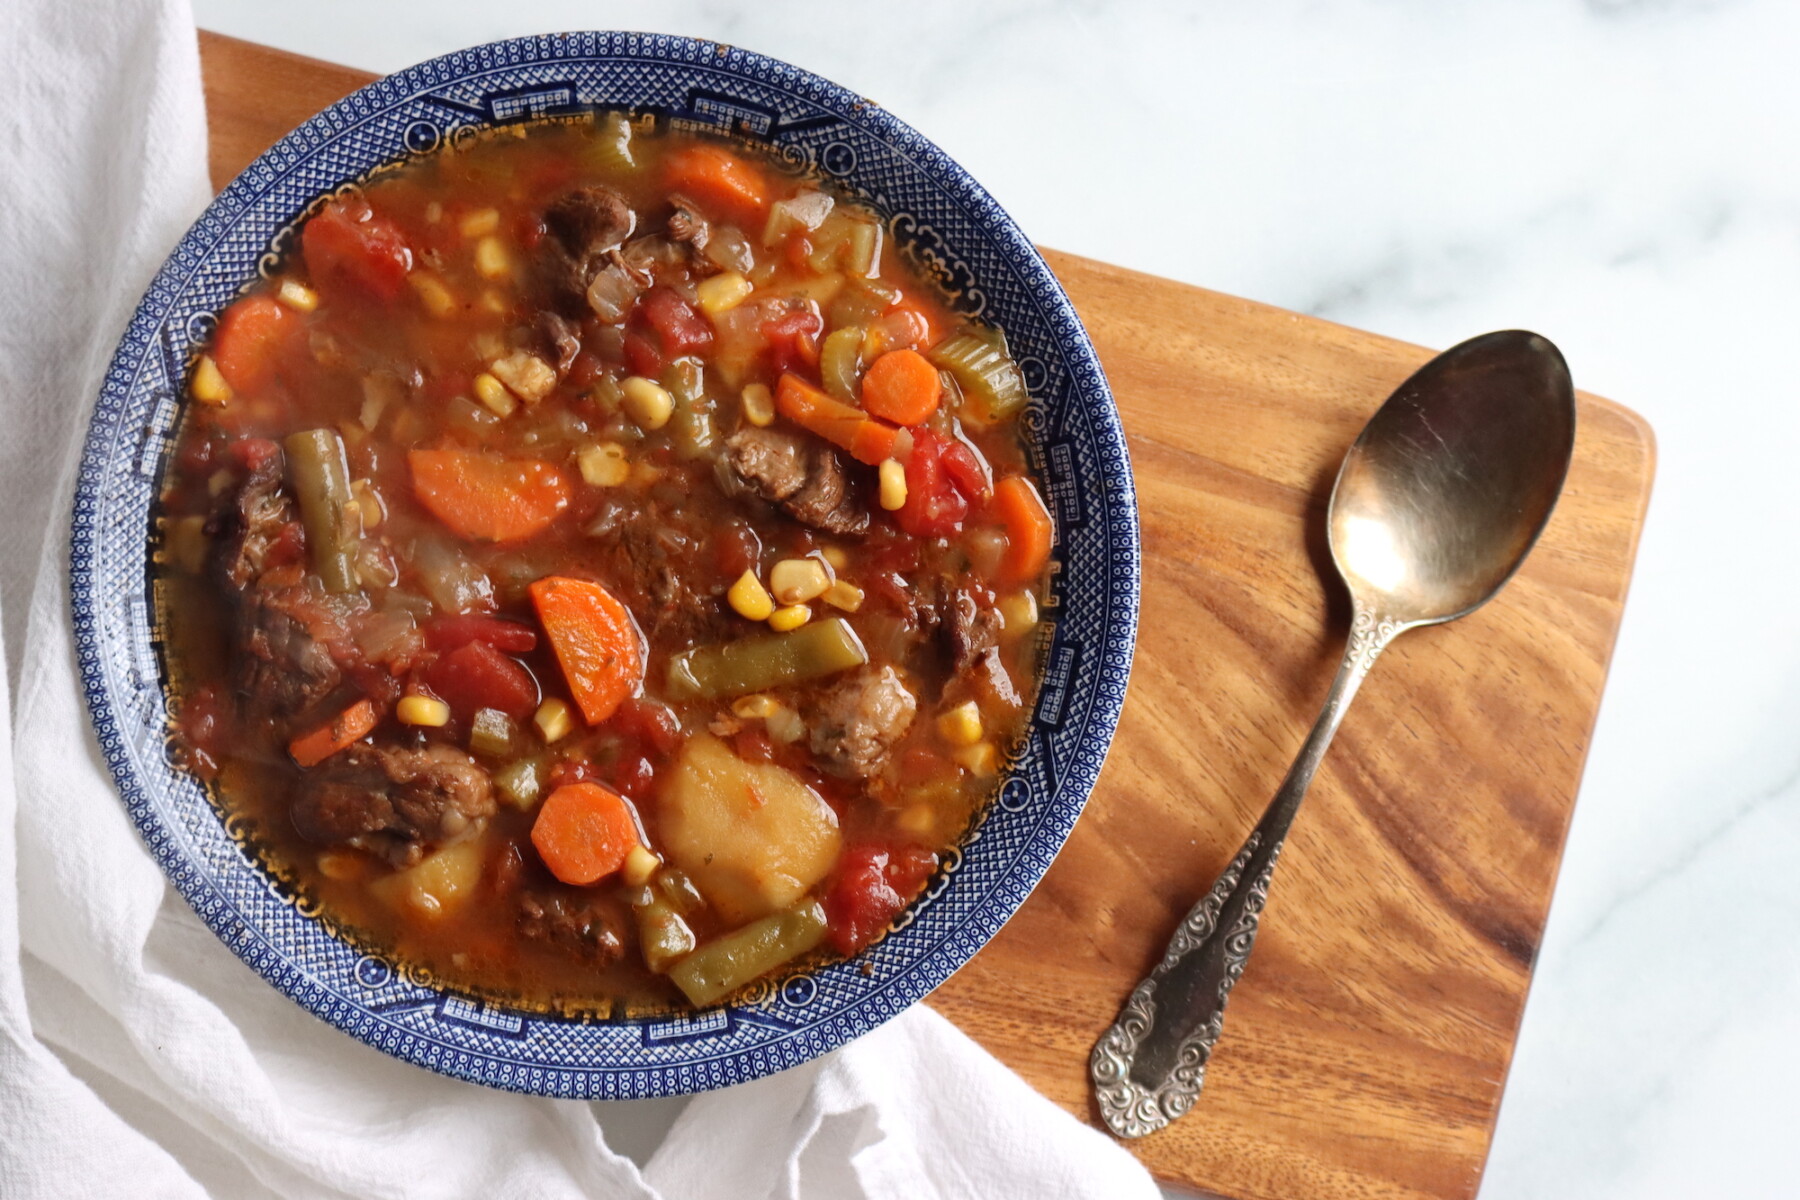
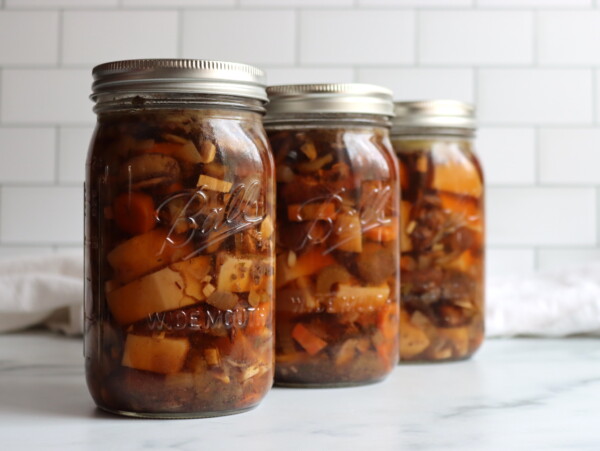
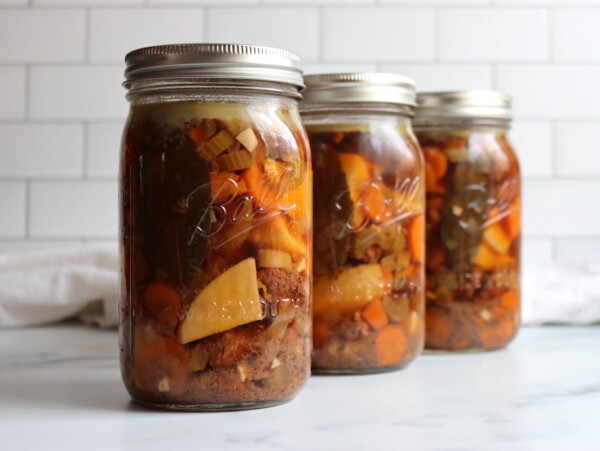
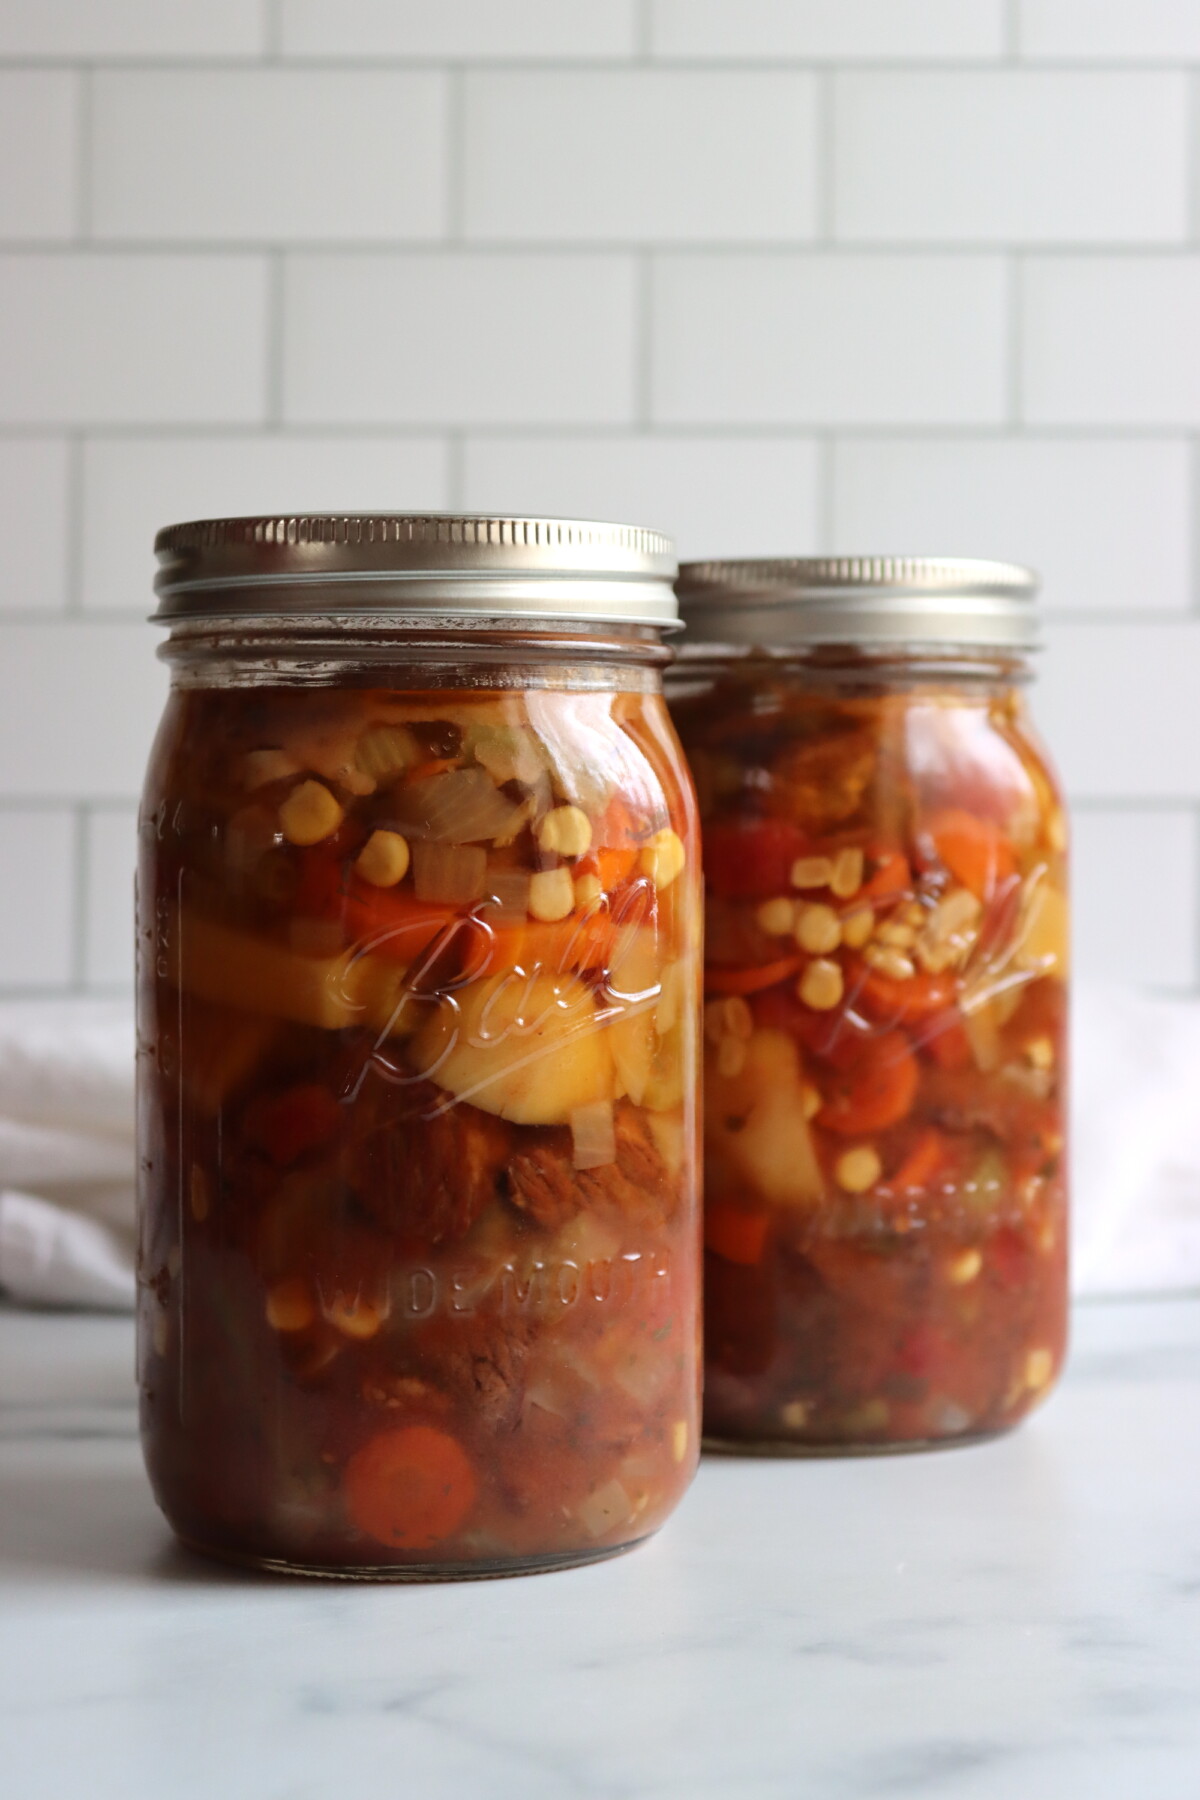
- The finished jars will have a rich, well-seasoned broth with plenty of beef and vegetables in every quart. Heat directly from the jar and serve with crusty bread, or thicken the broth with a flour or cornstarch slurry after opening if you prefer a thicker stew.
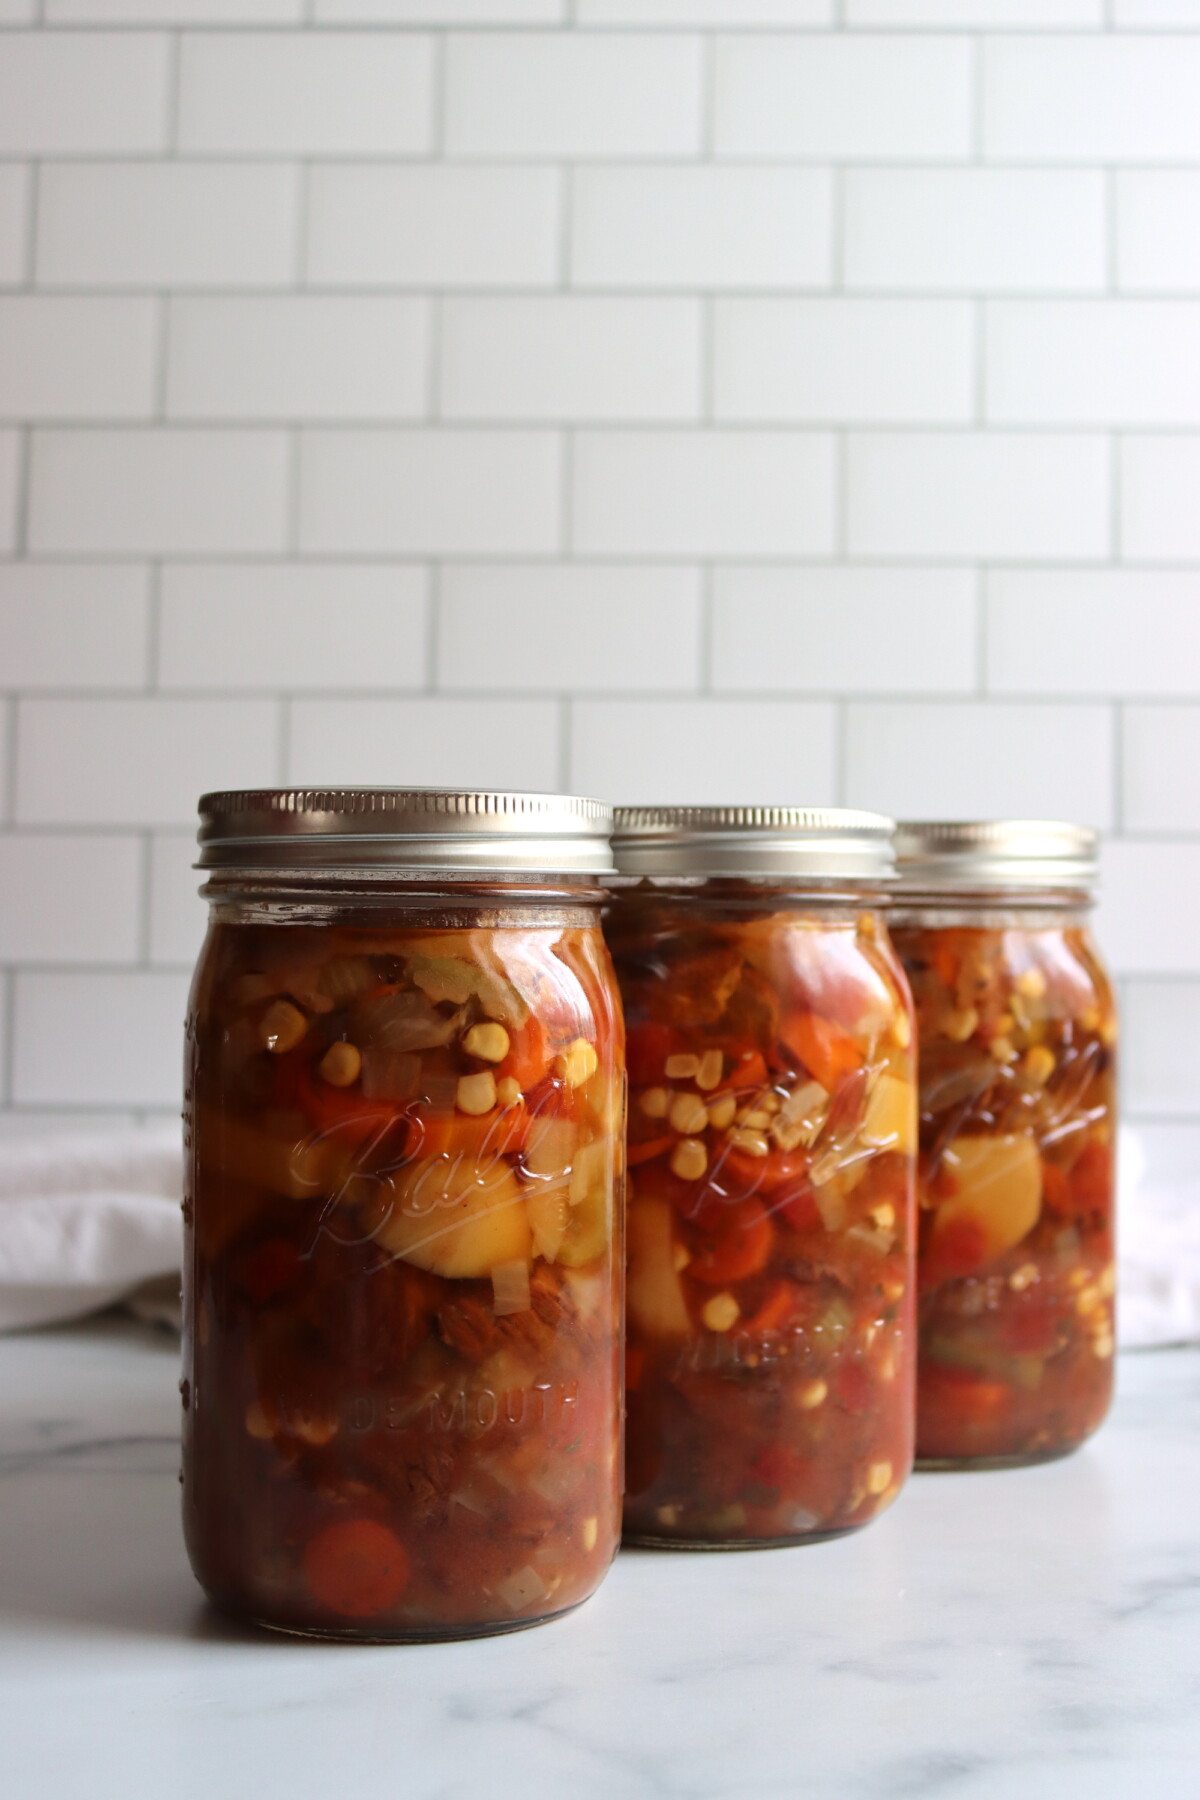
Canning Vegetable Beef Stew
This is a hot pack recipe. The beef is browned and the stew is brought to a boil before going into the jars, which ensures even heat distribution during processing. Do not raw pack this recipe.
As written, this recipe yields 4 hearty quart jars. Use a slotted spoon to pack the solids evenly between jars first, then top with broth to reach 1 inch headspace. If you run short on broth, add a bit of boiling water or extra stock.
If you want a brothier stew, add 4 more cups of beef stock to the pot before canning and distribute the ingredients across 5 quart jars instead of 4.
Process quarts for 90 minutes and pints for 75 minutes at 10 pounds in a weighted gauge canner or 11 pounds in a dial gauge canner, adjusting pressure for altitude (see below).
Altitude Adjustments
With pressure canning, the processing times stay the same at higher altitudes, but the pressures change. Here are the altitude adjustments for pressure canning vegetable beef stew:
For dial gauge pressure canners:
- 0 to 2,000 feet in elevation: 11 lbs pressure
- 2,001 to 4,000 feet in elevation: 12 lbs pressure
- 4,001 to 6,000 feet in elevation: 13 lbs pressure
- 6,001 to 8,000 feet in elevation: 14 lbs pressure
For weighted gauge pressure canners:
- 0 to 1,000 feet in elevation: 10 lbs pressure
- Above 1,000 feet: 15 lbs pressure
Serving Ideas
This stew is fully cooked and ready to heat and serve straight from the jar, which is the whole point of having it on the shelf. It is hearty enough to be a complete meal on its own, especially with a thick slice of crusty bread or a warm biscuit on the side. The broth is well seasoned and rich, so you really don’t need much to round it out.
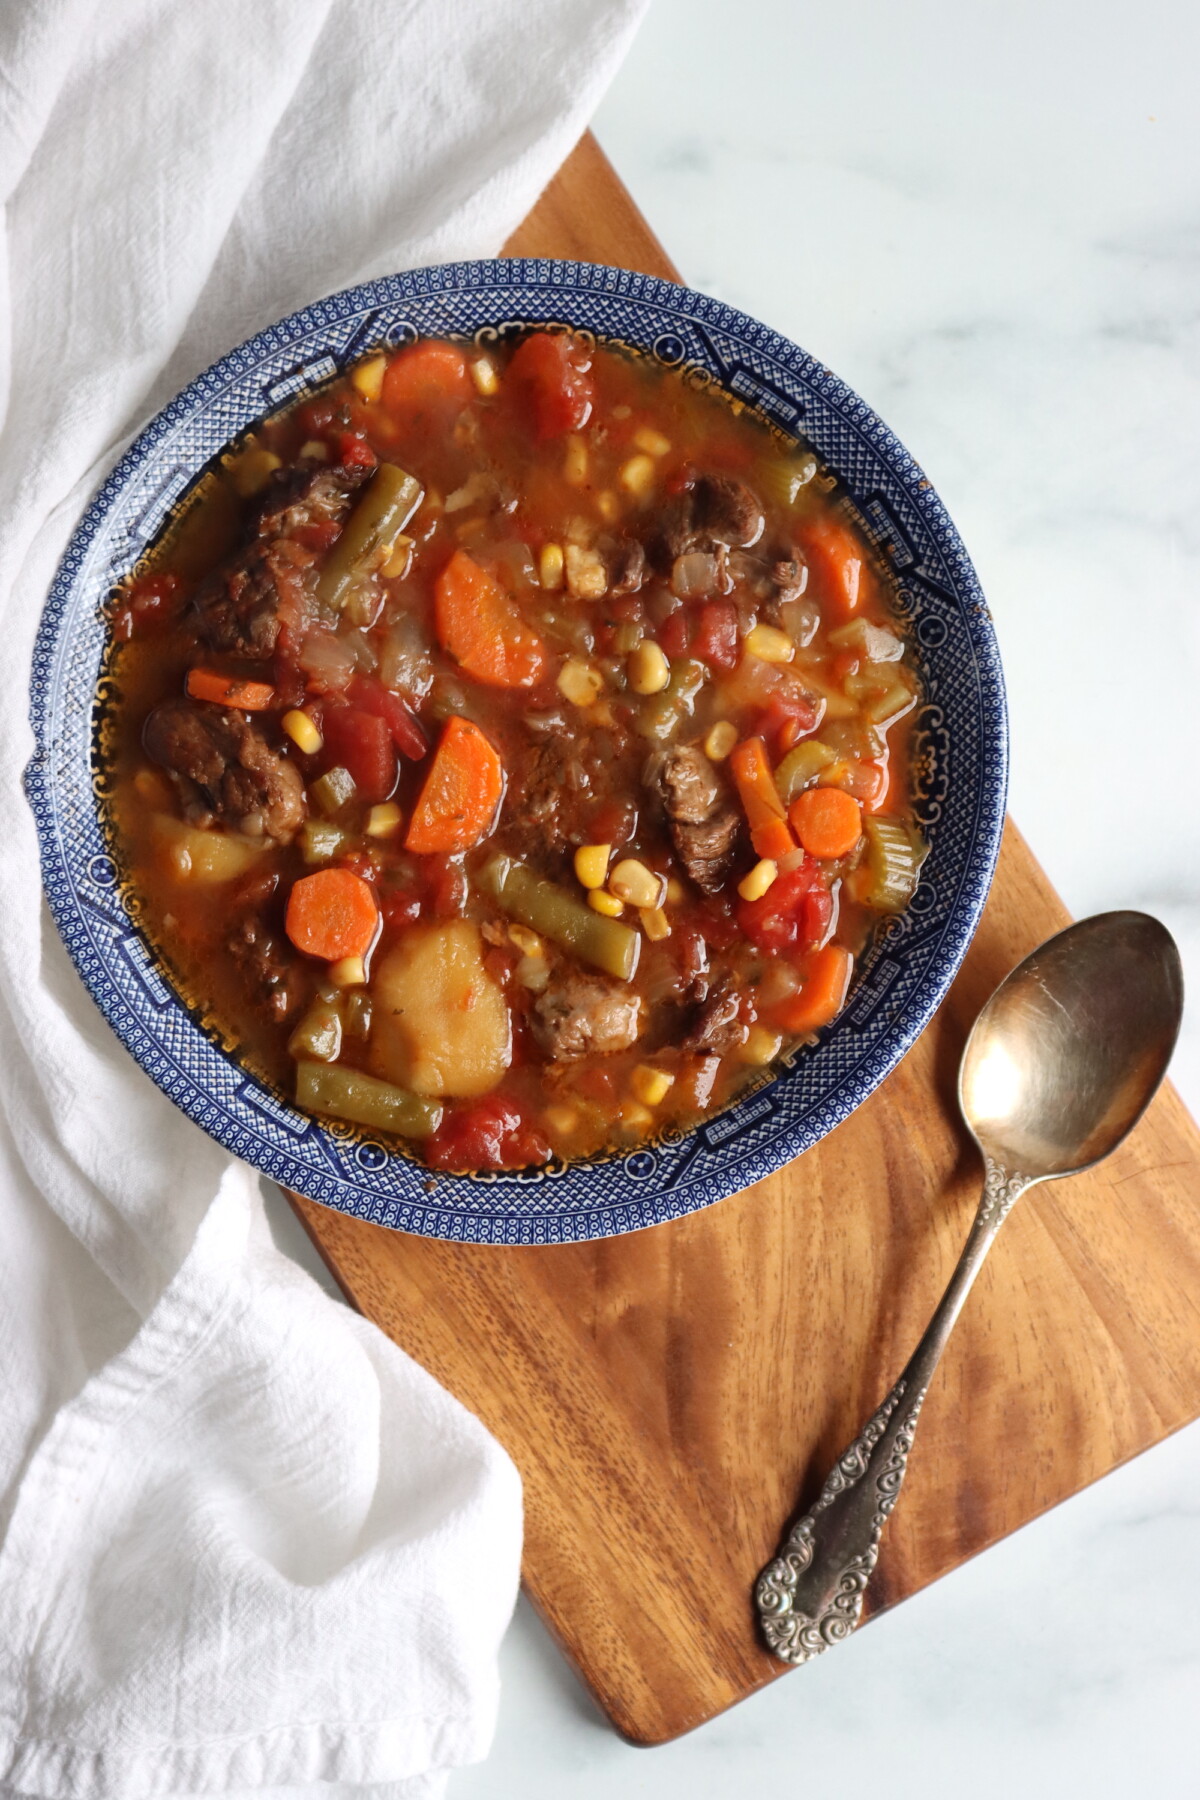
If you prefer a thicker stew, pour the jar into a saucepan and stir in a simple flour or cornstarch slurry over medium heat until the broth reaches your preferred consistency. Thickened, it is wonderful served over mashed potatoes or egg noodles for a more substantial meal. Personally, I like it just how it is, un-thickened.
Leftover stew from an opened jar also makes a great base for a quick pot pie. Just pour it into a baking dish, top with a pie crust or biscuit dough, and bake until golden. It is one of those pantry meals that keeps giving.
Canning Vegetable Beef Stew FAQs
Thickeners like flour, cornstarch, and arrowroot cannot be used before pressure canning because they interfere with heat penetration inside the jar. The tested processing times assume a broth-based liquid, and adding a thickener changes the density enough to make the processing time unreliable for food safety. Thicken the stew after opening the jar when reheating for serving.
If you are using a full-salt commercial beef broth, start with just 1 teaspoon of added salt instead of the full tablespoon called for in this recipe. Full-salt broths often already contain the equivalent of 2 to 3 teaspoons of salt per 5 cups, so the stew can easily become oversalted if you add the full amount on top of that. With homemade unsalted broth, the full 1 tablespoon is just right.
Yes, any stewing cut of beef works well here. Chuck roast is the most commonly used and gives great flavor and tenderness after pressure canning. Round roast is leaner and also works. You can also use venison, bison, or other game meats in place of beef, as the recipe follows the Hearty Soups Protocol which accommodates a range of red meats.
Beef Canning Recipes
If you tried this Canning Vegetable Beef Stew recipe, or any other recipe on Creative Canning, leave a ⭐ star rating and let me know what you think in the 📝 comments below!
And make sure you stay in touch with me by following on social media!
Canning Vegetable Beef Stew
Equipment
Ingredients
- 2.5 lbs beef stew meat, cut into 1 to 1.5 inch pieces
- 2 tbsp olive oil
- 1 cup onion, chopped
- 2 cups carrots, peeled, halved and sliced
- 1 cup celery, sliced
- 3 cloves garlic, minced
- 28 oz canned diced tomatoes, do not drain
- 5 cups beef broth, unsalted — see notes if using salted broth
- 3 cups Potatoes, peeled and cut into 1-inch pieces
- 1 cup corn, fresh from 1 large cob, or frozen
- 1 cup green beans, trimmed and cut into 1-inch pieces
- 1 tsp dried parsley
- 2 tsp Italian seasoning, or equal parts basil, oregano, rosemary, thyme, and marjoram
- 4 to 5 whole bay leaves
- 1 tbsp salt, see notes — reduce significantly if using salted broth
Instructions
- Prepare your pressure canner, jars, lids, and bands according to the manufacturer’s instructions. Keep jars hot until needed. Peel and cube the potatoes, slice the carrots, chop the celery and onion, mince the garlic, and cut the beef into 1 to 1.5 inch pieces. Cut corn from the cob and trim the green beans if using fresh.
- Heat the olive oil in a large heavy-bottomed pot over medium-high heat. Brown the beef in batches, adding more oil as needed. Do not crowd the pan — browning in batches builds much better flavor. Set the browned beef aside.
- In the same pot, add the onion, carrots, celery, and garlic. Return the browned beef to the pot. Add the diced tomatoes with their liquid, beef broth, potatoes, corn, green beans, Italian seasoning, parsley, bay leaf, and salt. Stir well and bring to a boil. Reduce heat and simmer for 5 minutes until everything is heated through.
- Add one bay leaf to each quart jar. Use a slotted spoon to distribute the solids evenly between the hot jars, then ladle the broth over the top to 1 inch headspace. If you run short on broth, add a bit of boiling water or extra stock. Remove air bubbles, wipe rims, and apply lids and bands to fingertip tight.
- Load jars into the preheated pressure canner. Lock the lid, vent for 10 minutes, then bring to pressure. Process pints for 75 minutes and quarts for 90 minutes, adjusting pressure for altitude. Allow the canner to depressurize naturally. Remove jars and cool on a towel-lined counter for 12 to 24 hours. Check seals, label, and store in a cool dark place.
Notes
Altitude Adjustments
For dial gauge pressure canners:- 0 to 2,000 feet in elevation: 11 lbs pressure
- 2,001 to 4,000 feet in elevation: 12 lbs pressure
- 4,001 to 6,000 feet in elevation: 13 lbs pressure
- 6,001 to 8,000 feet in elevation: 14 lbs pressure
- 0 to 1,000 feet in elevation: 10 lbs pressure
- Above 1,000 feet: 15 lbs pressure
Nutrition
Nutrition information is automatically calculated, so should only be used as an approximation.
Meal in a Jar Canning Recipes

Find the perfect recipe
Searching for something else? Enter keywords to find the perfect recipe!