This post may contain affiliate links. Please see our disclosure policy.
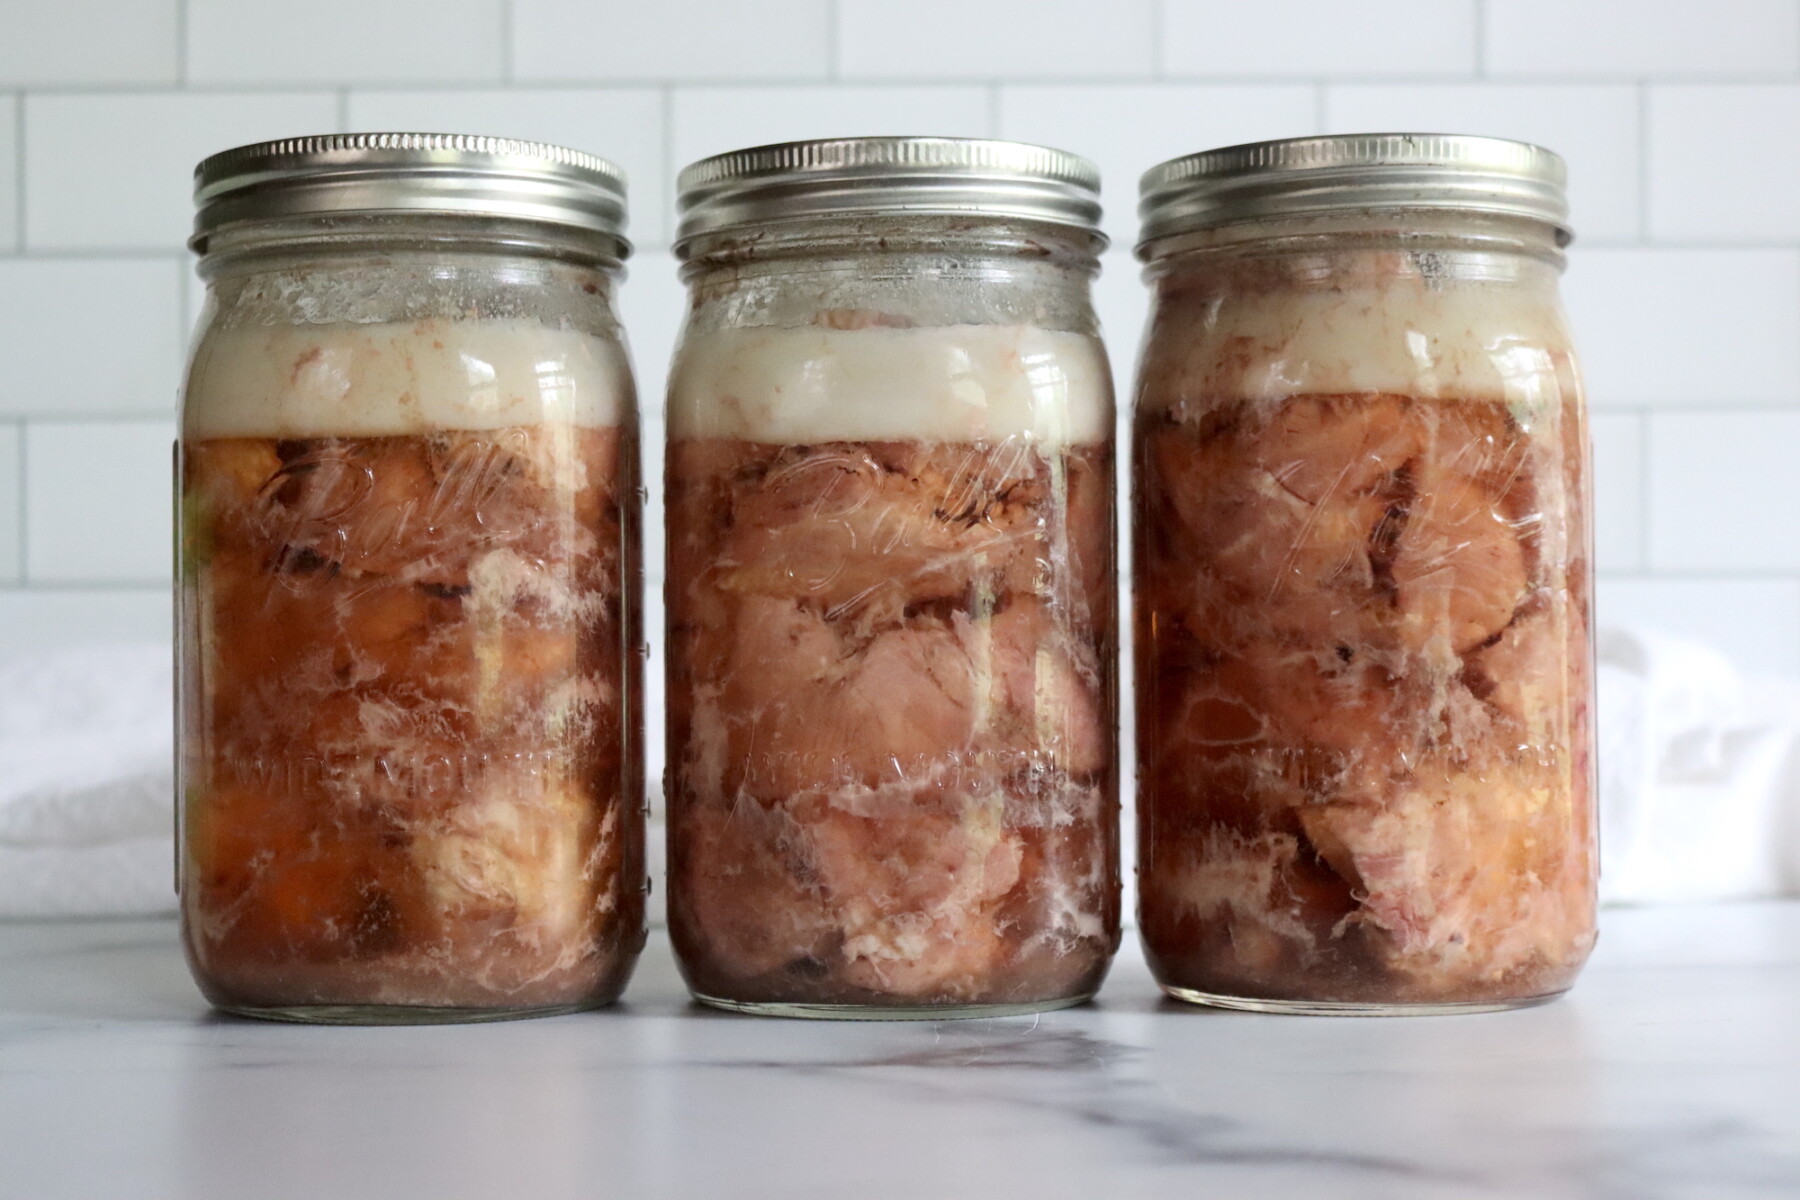
Canning Pork is one of the most practical pressure canning projects you can do, and it’s an easy way to turn turns an inexpensive cut into tender, ready-to-use meat that’s perfect for quick weeknight meals.
This recipe has been reviewed for safety and accuracy by a Master Food Preserver certified through the University of Cornell Cooperative Extension.
This method follows the National Center for Home Food Preservation’s instructions for canning pork and is designed specifically for pressure canning. It’s a classic, no-fuss approach that gives you shelf-stable meat you can turn into everything from tacos to soup in minutes.
There are so many different pork canning recipes, but the simplest and most useful is plain canned pork, especially when made with chunks of pork shoulder that get wonderfully tender in the jar.
Pork can be canned as raw pack with raw meat and no added liquid, or as a hot pack pre-cooked with added broth. Both have the same pressure canning times and pressure, the main difference is how the meat is prepared before it goes into the jar.
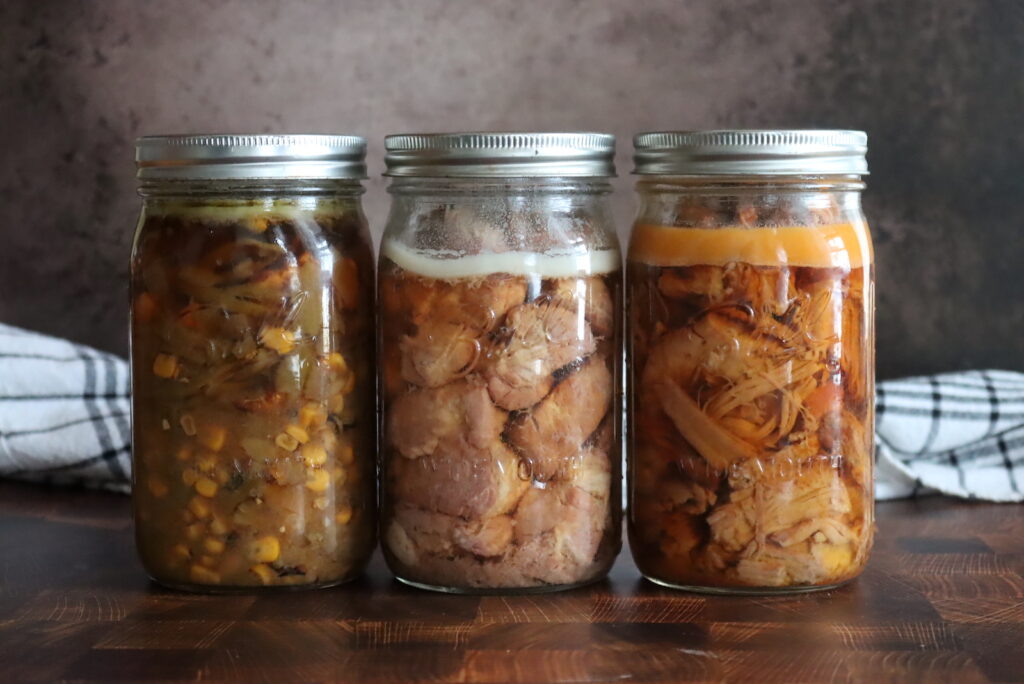
If you’re looking for a recipe for a specific cut of pork, try my recipes for canning sausage, canning pork ribs, canning pork shoulder in spicy broth or canning pulled pork.

Why you’ll love this simple pork canning recipe!

Raw pack is fast and efficient. Once the meat is trimmed and cubed, it goes straight into jars without pre-cooking, which makes it a great batch-cooking day project.
Pork shoulder is especially forgiving. It has enough fat and connective tissue to stay juicy and tender after pressure canning, and it holds up well in chunks for all kinds of meals.
I like canning pork shoulder because it’s the cut I’m most likely to have on hand in larger quantities, and it’s a real pantry workhorse. When I’m short on time, a jar of home-canned pork turns “what’s for dinner?” into a simple assembly job.
It’s also one of those projects that feels like it pays you back all year long. The day you do the canning is work, but the convenience later is the kind you actually notice.
A Quick Look at the Recipe
- Recipe Name: Canning Pork
- Recipe Type: Meat Canning Recipe
- Canning Method: Pressure Canning
- Prep/Cook Time: 20 minutes (just prepping the meat)
- Canning Time: 75 Min (Pints), 90 Minutes (Quarts)
- Yield: Varies, about 1 lb per pint or 2 lbs per quart
- Jar Sizes: Pint or Quart
- Headspace: 1 inch
- Ingredients Overview: Pork, and optional broth and salt.
- Safe Canning Recipe Source: NCHFP Meat Canning Guidelines
- Difficulty: Easy! Just add the meat to the jars and process.
- Similar Recipes: The process is very similar to making other home canned meats and poultry, like canning chicken, canning duck or canning beef short rib.
Best Pork Cuts for Canning
When I’m choosing pork for pressure canning, I’m thinking about how it will eat after 75–90 minutes under pressure. The best cuts are the ones that stay moist, hold their shape, and turn tender without drying out. In general, that means a little connective tissue is your friend, and extreme leanness usually isn’t.
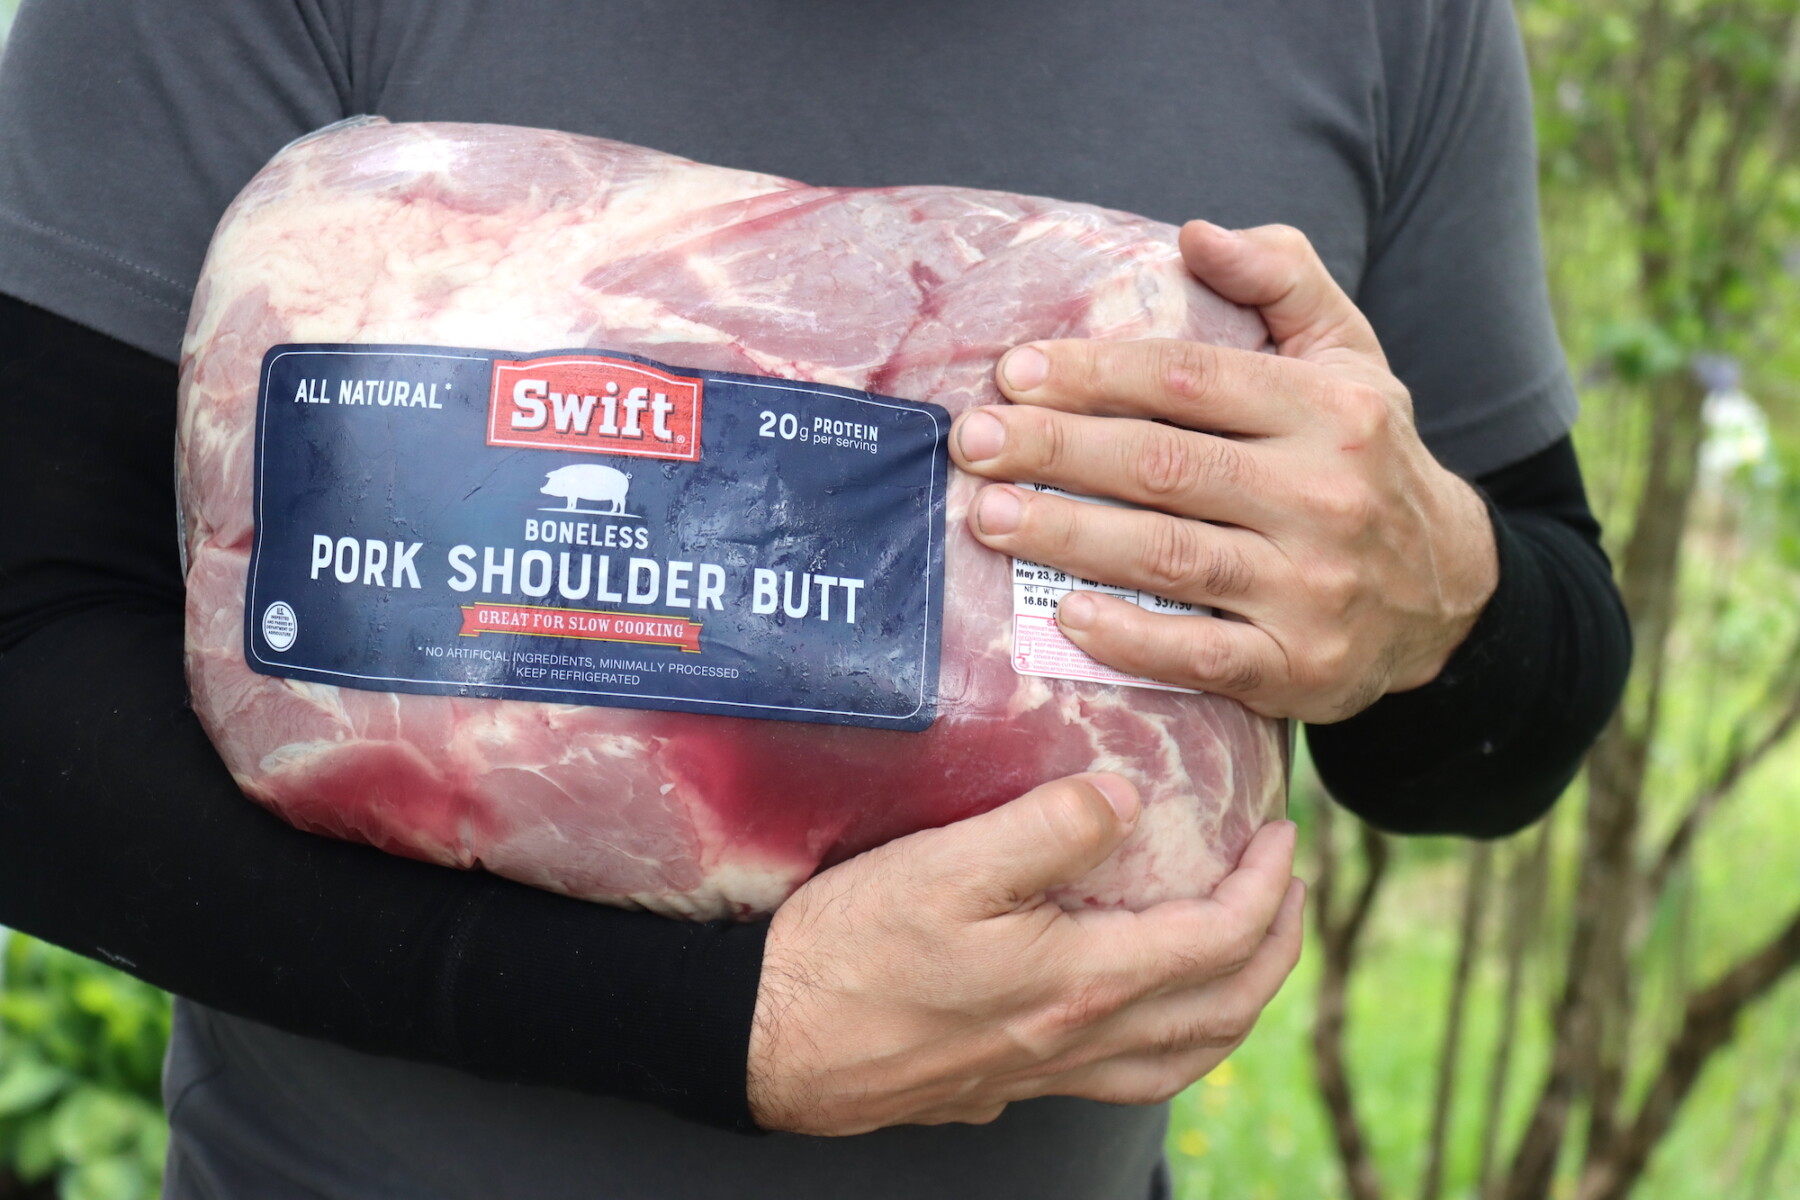
- Pork shoulder (Boston Butt or Picnic shoulder) – This is my top pick for canning pork in chunks. It has enough intramuscular fat and collagen to stay juicy, and it cans up tender without turning to mush. It’s also easy to cube and packs neatly into jars, which makes raw pack especially convenient.
- Pork Belly – A fatty, heavy connective tisuse cut that gets perfectly tender when canned. It’s great for adding meat to ramen, or dishes where you’re ok with a lot of fat in the finished product. The extra fat can cause jar sealing issues, but so long as you make sure your jars are sealed before storage, this is a great choice. (But don’t use cured belly or bacon, only fresh meat.)
- Fresh ham (uncured leg roast) – If you can get fresh, uncured ham/leg, it’s a solid option for canning. By fresh, it just means the raw back leg of a pig, that’s usually made into ham, but in this case, it’s not. It’s just fresh meat, and you can often ask for it as is from a butcher. It’s a bit leaner than shoulder, so it won’t be quite as succulent, but it still holds together well and has a nice, clean pork flavor. I tend to prefer hot pack with this cut if I want a little more liquid coverage and a “brothier” jar.
- Pork loin (including sirloin roast) – Loin will work, but it’s lean, so the tradeoff is texture. It can come out drier and more “firm” compared to shoulder, especially with raw pack. If you’re using loin, trimming is easy (there’s not much fat), but I recommend planning to use it in saucy dishes (tacos with salsa, stir-fries, curries, barbecue sauce) where it can rehydrate a bit.
- Pork tenderloin – This is usually too lean and too expensive to be worth canning, and it’s prone to drying out. It’s not unsafe, it’s just not the best use of the cut, since tenderloin shines when it’s cooked quickly, not pressure processed for a long time.
When canning, avoid anything cured or heavily salted (like corned/ham style cuts, bacon, or smoked, cured products). All types of cured meat are not tested for canning, and cannot be done unless the recipe specifically calls for them. (There are a few bean canning recipes that call for a small amount of bacon or ham, but that’s about it.)
Ground pork and sausage are a different process and behave differently in jars, so I don’t treat them as interchangeable with chunks. I have separate instructions for canning sausage.
Ingredients for Canning Pork
This is a simple, back-to-basics canning method where the quality of your pork (and how well you trim it) matters more than a long ingredient list.
- Pork shoulder: The best all-around cut for pressure canning in chunks, with great texture after processing. Any “low and slow” cooking cut will work wonderfully.
- Canning salt (optional): Adds flavor, but is not required for safety
You can use other high-quality cuts of pork (like leg cuts or pork loin), but lean cuts tend to can up drier, and very fatty cuts can leave excess fat in the jar. Pork shoulder is the sweet spot for flavor and texture.
You can add reasonable amounts of dry seasoning to the jars (like cumin, paprika or chili powder), but don’t add anything that’s going to thicken the contents (like flour, cornstarch, or gravy mixes).
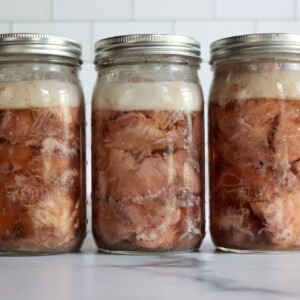
Preparing Pork for Canning
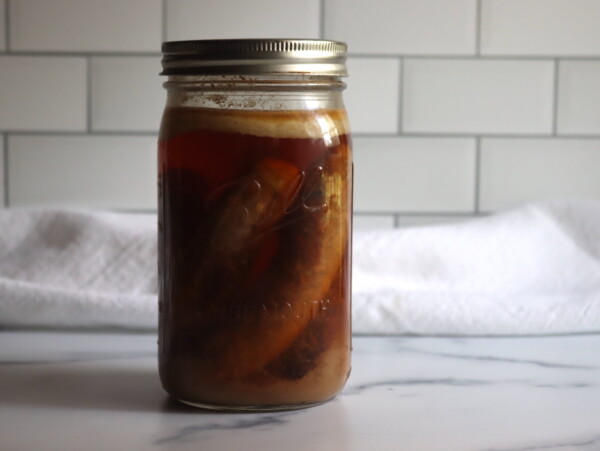
Pork can be pressure canned as either a raw pack pressure canning recipe or a hot pack pressure canning recipe with pre-cooked meat and broth. The pictures here are for raw pork, but it’s also just fine to process pre-cooked pork.
Raw Pack Pork
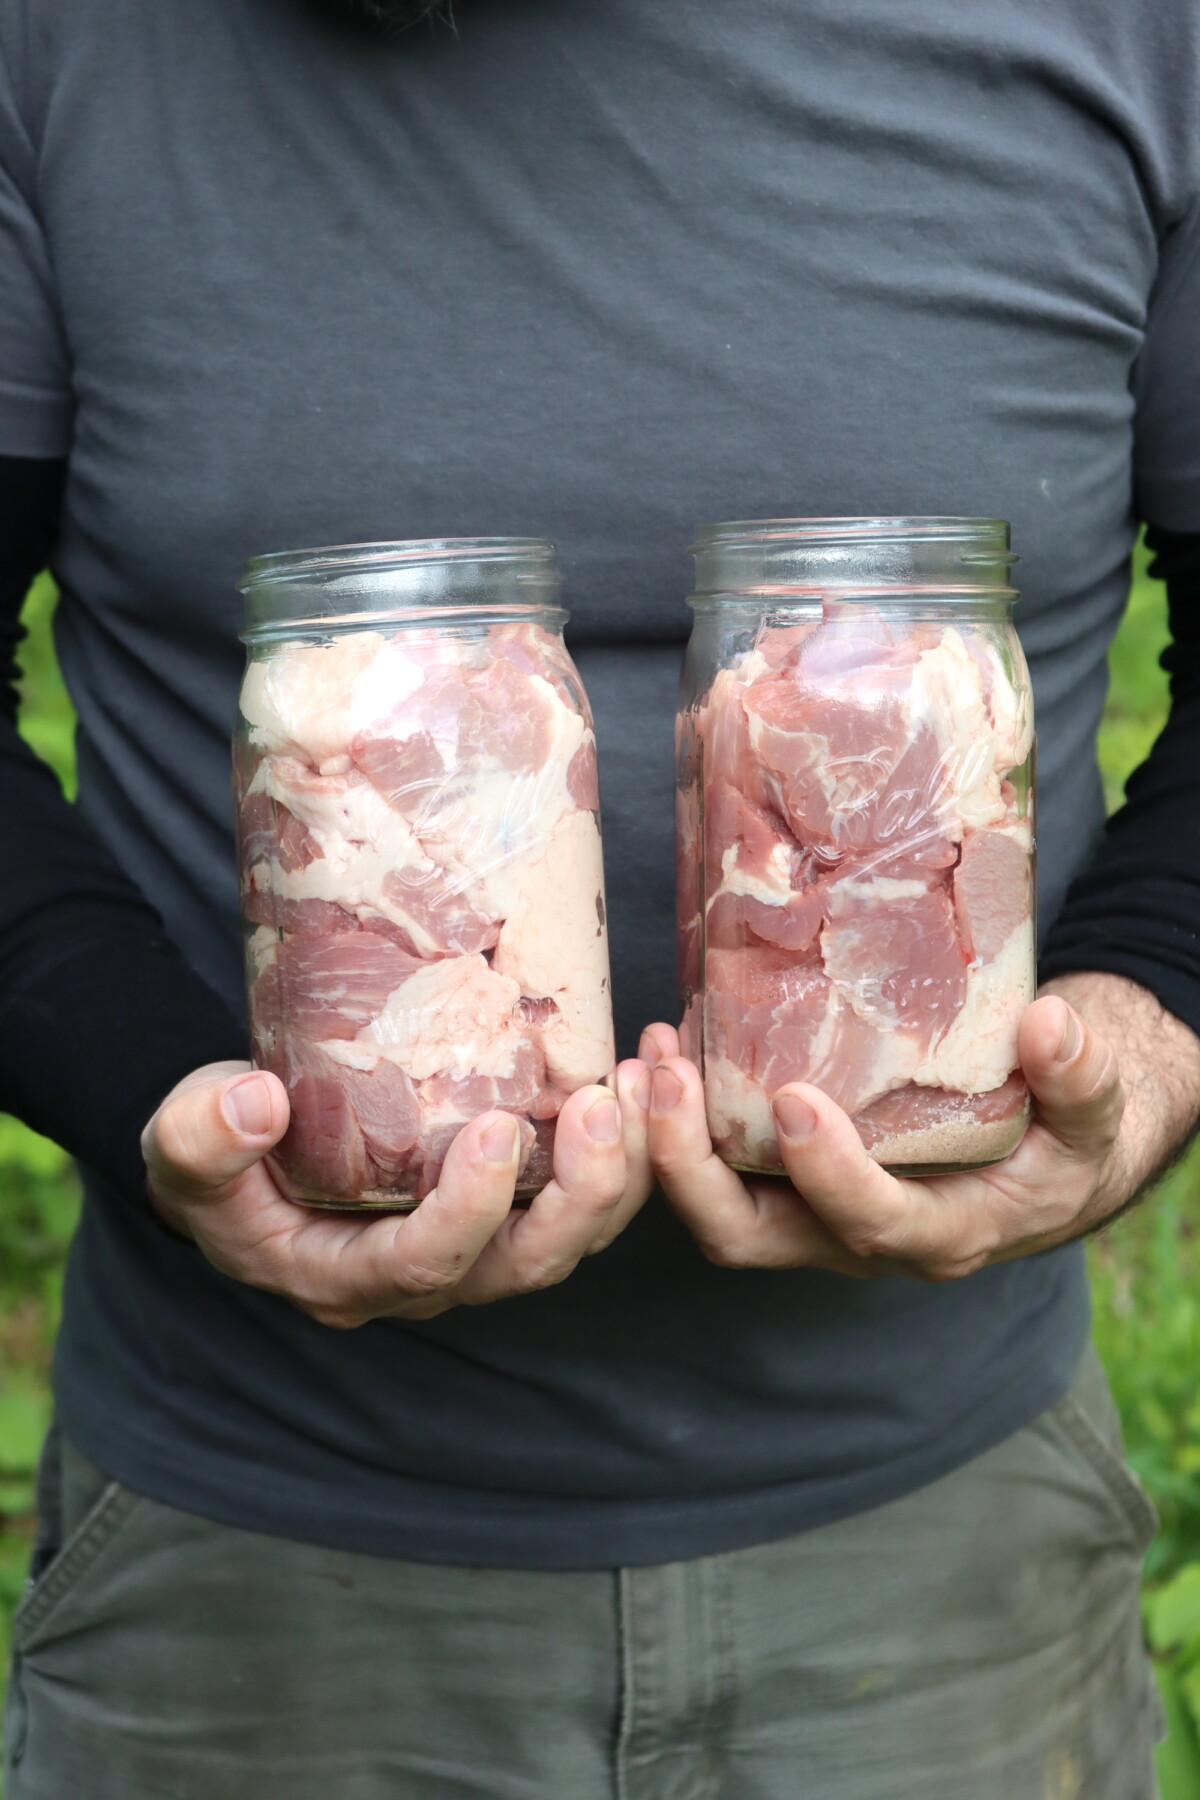
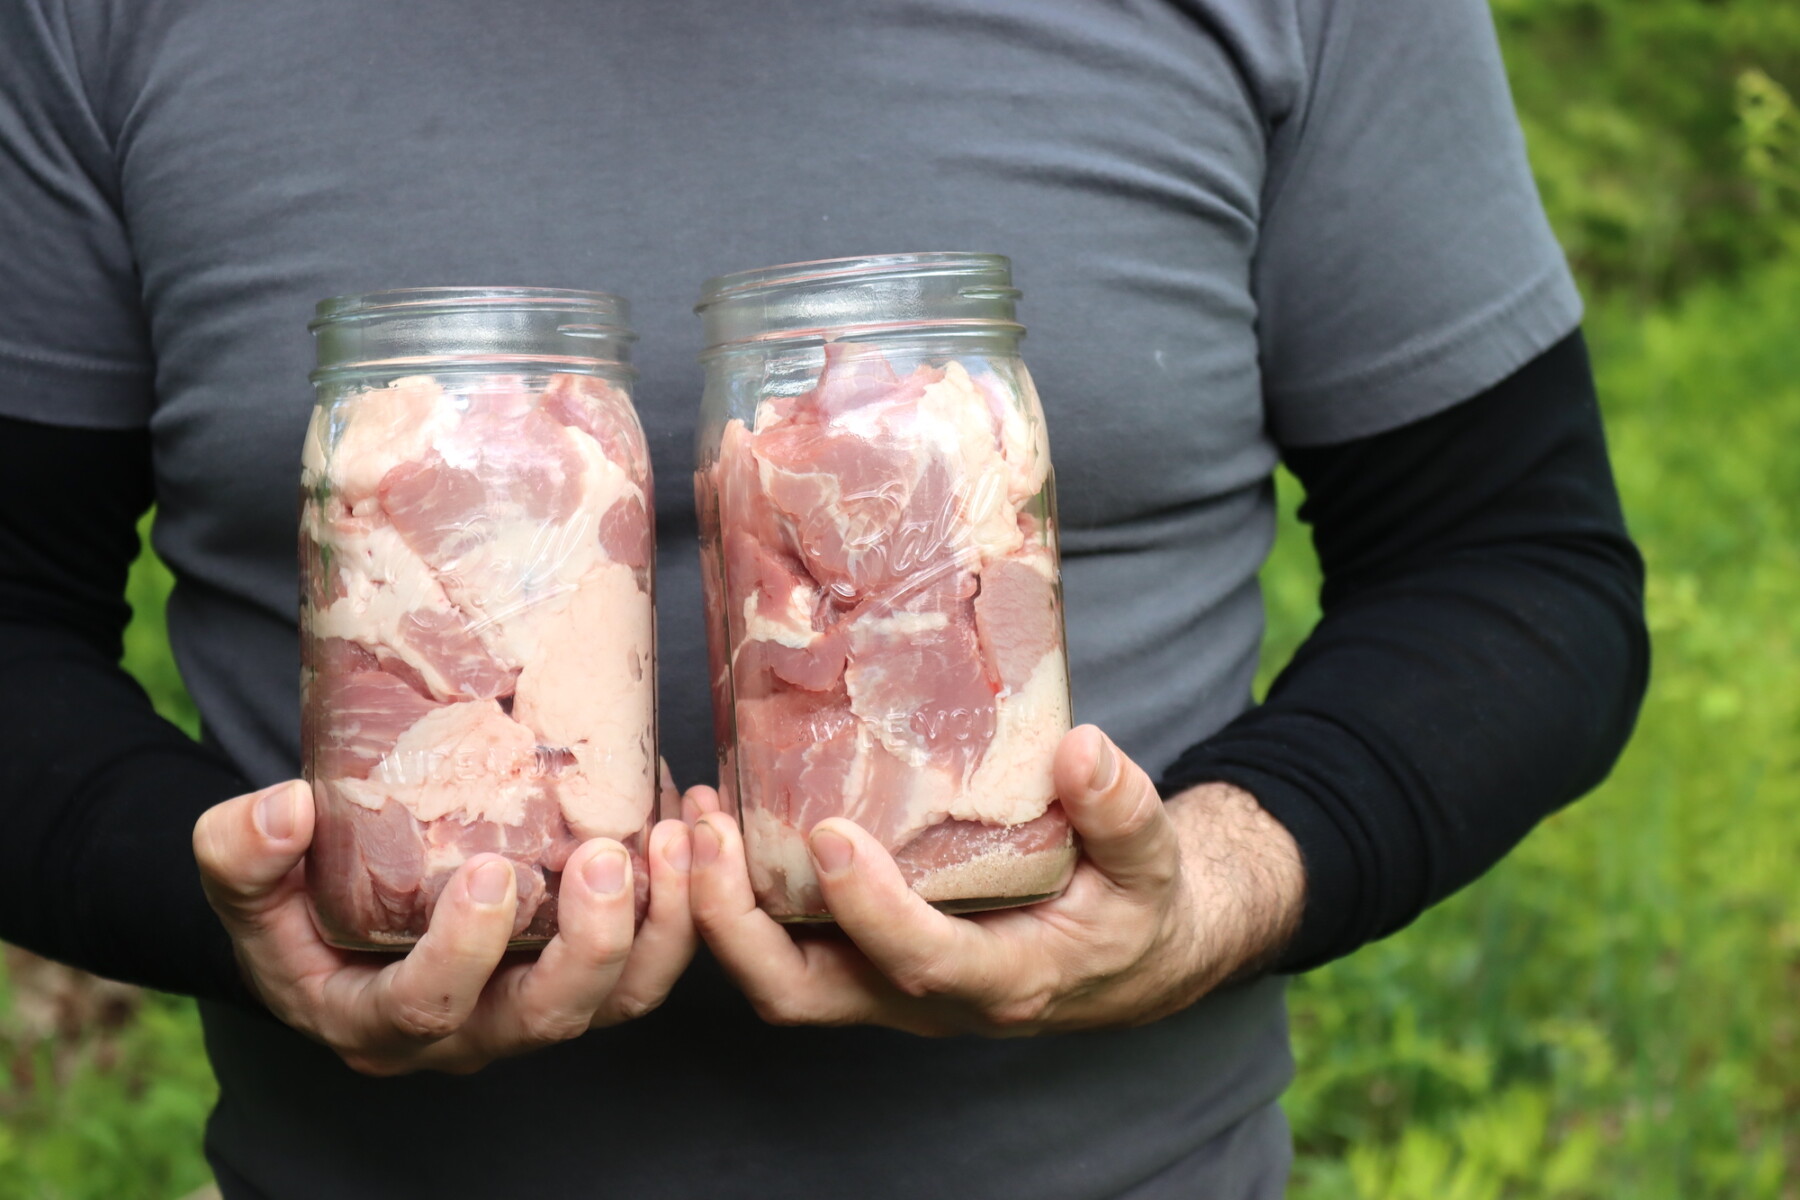
Start with well-chilled pork shoulder (or another good canning cut) so it’s firm and easy to trim cleanly. Trim off excess surface fat and any tough gristle, then cut the meat into strips, cubes, or chunks that will pack neatly into jars.
If you’re using salt, add it to the jar first, usually 1/2 tsp per pint or 1 tsp per quart is about right.
Next, pack the raw pork tightly into hot jars, leaving 1 inch headspace. For raw pack, do not add liquid, as the meat will release its own juices during processing.
Wipe the rims, apply lids, and tighten rings finger-tight so the jars are ready to go straight into the pressure canner.
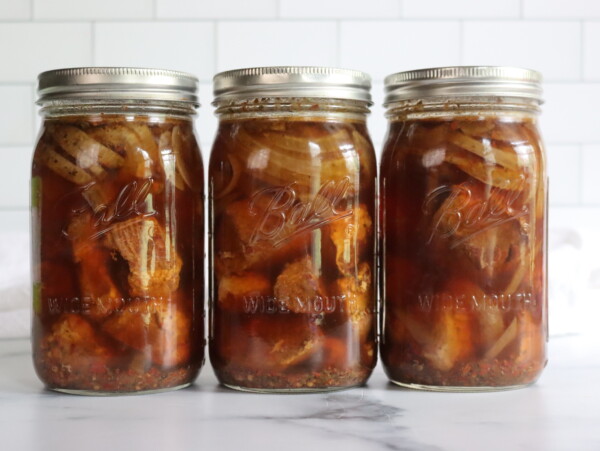
Hot Pack Pork
For hot pack, begin the same way by trimming and cutting the pork into strips, cubes, or chunks. Precook the meat until rare by roasting, stewing, or browning it lightly. Your goal isn’t to fully cook it, you’re just getting it hot, adding a bit of browning and setting the proteins.
(If you have fully cooked leftover meat, that’s fine too, but just be sure it only contains canning safe ingredients. Just meat and dry seasonings, no starches or thickeners.)
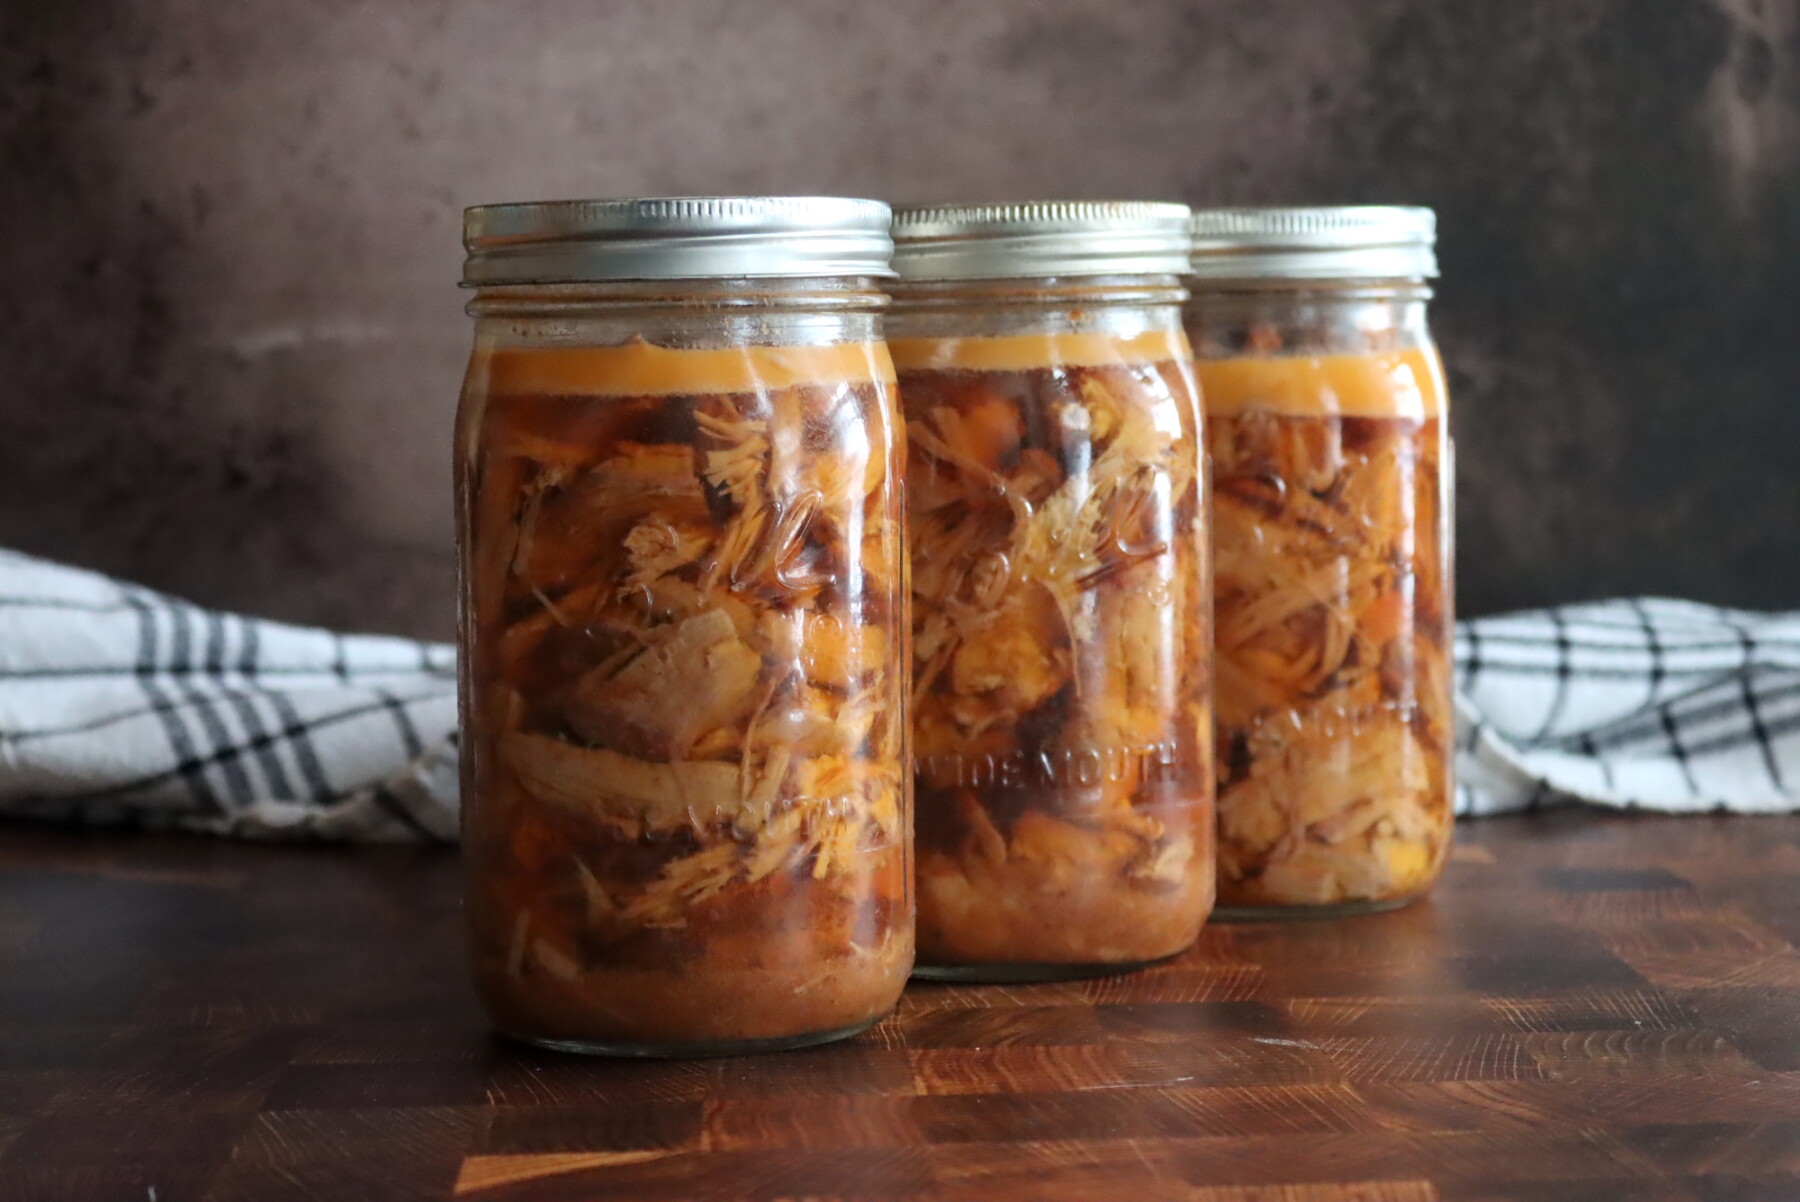
Pack the hot meat into hot jars, leaving 1 inch headspace, then cover with boiling broth, meat drippings, water, or tomato juice. Hot pack usually gives you better liquid coverage in the jar and a slightly cleaner-looking pack.
Finish by wiping rims, applying lids, tightening rings finger-tight, and moving promptly to the pressure canner.
Canning Pork
Once your jars are packed (raw pack or hot pack), it’s time to process them in a pressure canner. Pork is a low-acid food, so pressure canning is the only safe method for making it shelf stable.
Place the filled jars on the canner rack and add the amount of water your canner manufacturer recommends. Lock the lid in place and heat on high until steam vents steadily from the vent pipe. Vent for 10 minutes with a strong, continuous column of steam, then apply the weight or close the petcock to bring the canner up to pressure.
When the canner reaches the correct pressure for your altitude (see below), start timing and keep the pressure steady for the full processing time:
- Pints: 75 minutes
- Quarts: 90 minutes
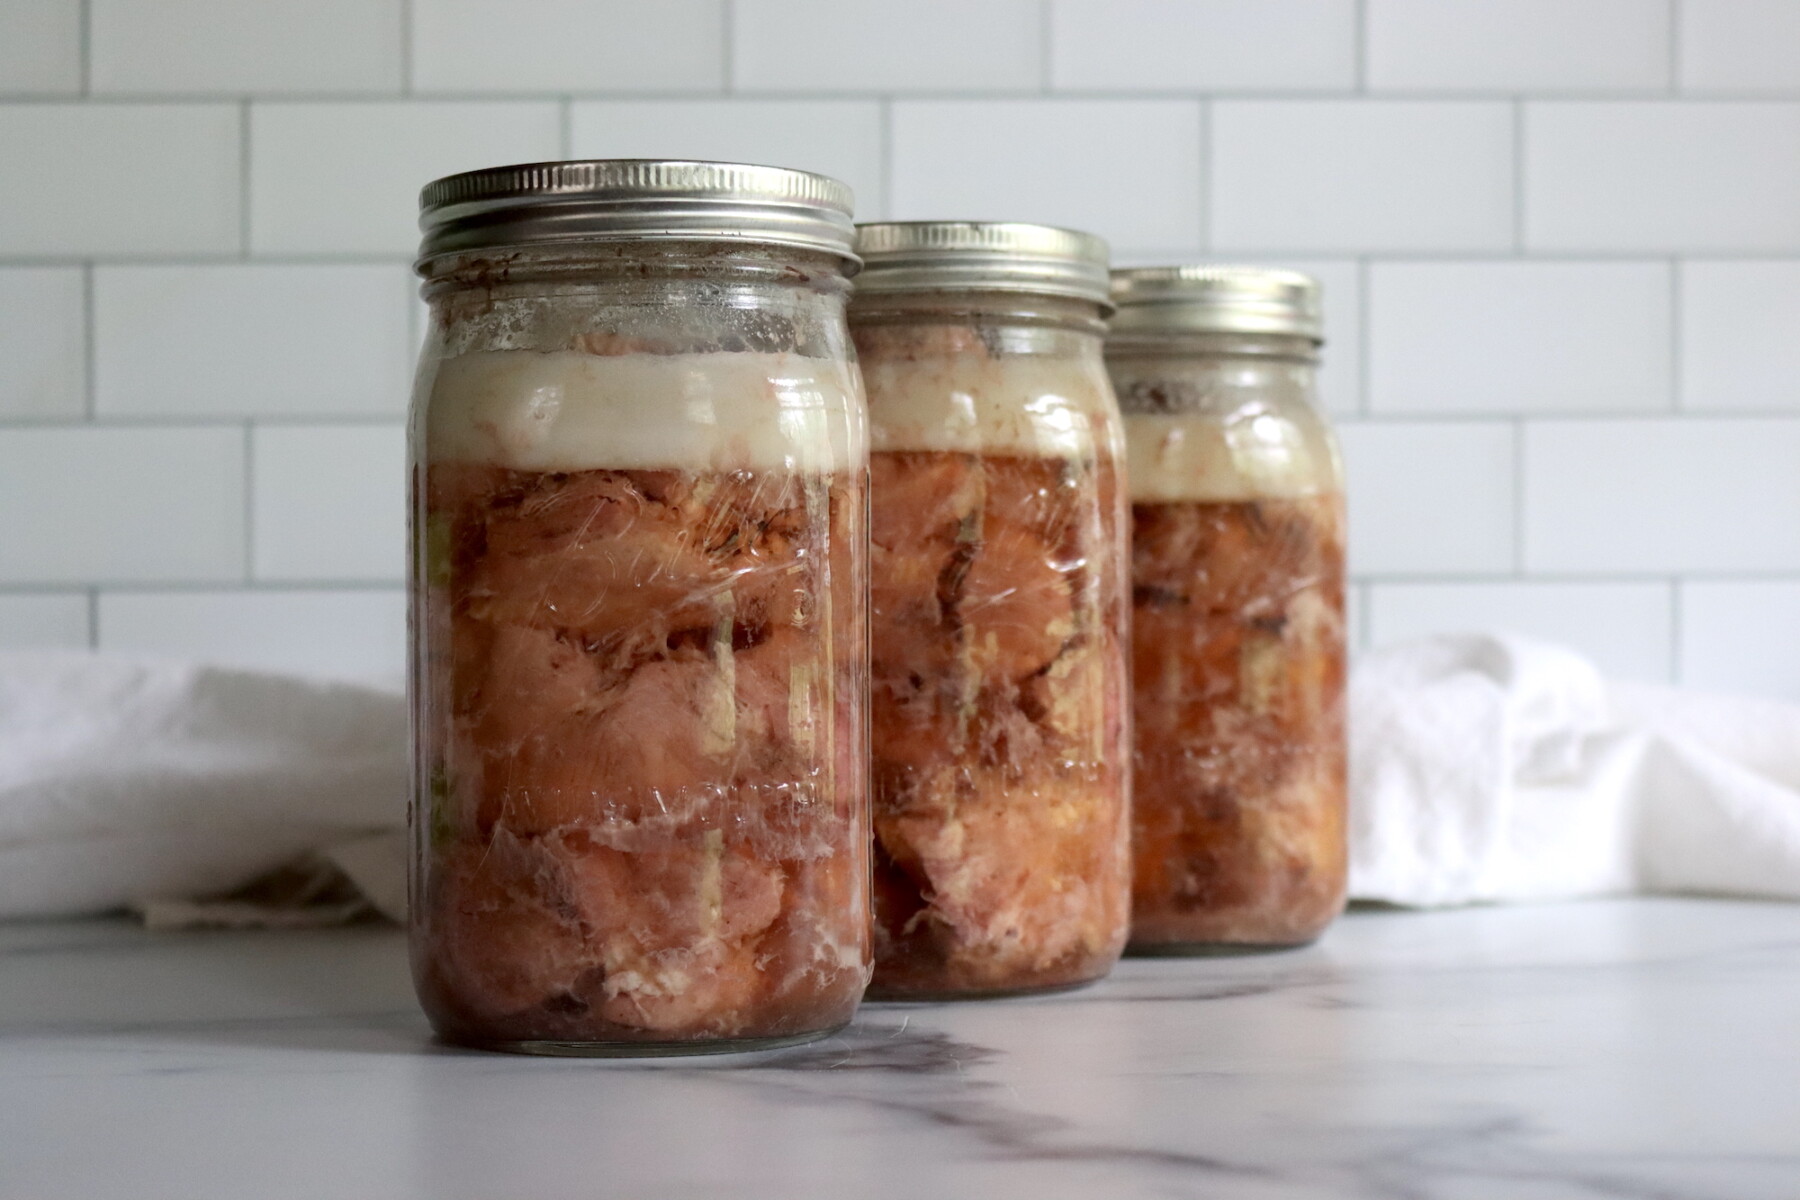
When the time is up, turn off the heat and let the canner depressurize naturally. Don’t force-cool the canner or open the vent early. After the pressure returns to zero (or the lock drops, depending on your canner), wait a couple minutes, then carefully remove the weight/open the vent and unlock the lid away from your face.
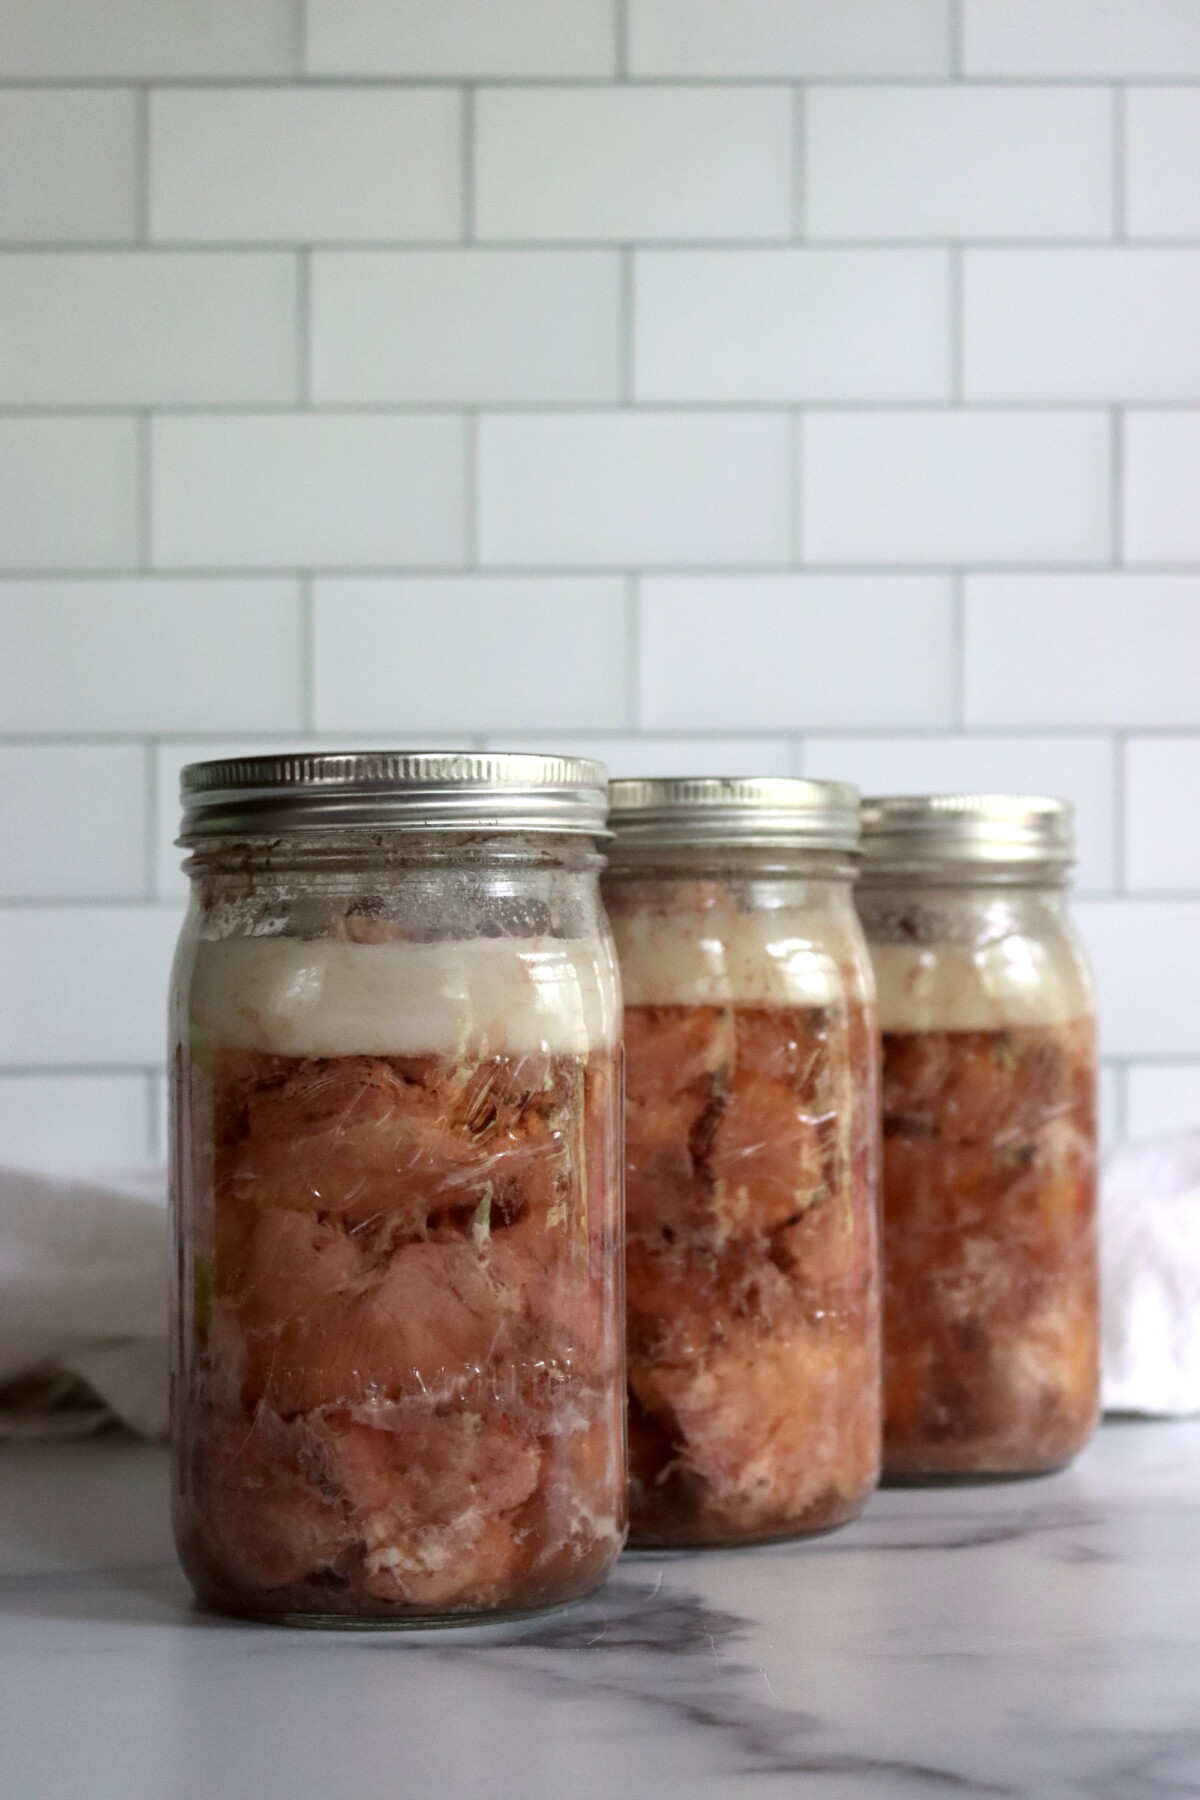
Lift jars straight up and set them on a towel-lined counter to cool undisturbed for 12–24 hours. Check seals, remove rings, label, and store sealed jars in a cool, dark pantry.
Any unsealed jars should go into the refrigerator and be used within a few days.
Pressure Canning Altitude Adjustments
With pressure canning, the processing times stay the same at higher altitudes, but the pressures change. Here are the altitude adjustments for pressure canning:
For dial gauge pressure canners:
- 0 to 2,000 feet in elevation – 11 lbs pressure
- 2,001 to 4,000 feet in elevation – 12 lbs pressure
- 4,001 to 6,000 feet in elevation – 13 lbs pressure
- 6,001 to 8,000 feet in elevation – 14 lbs pressure
For weighted gauge pressure canners:
- 0 to 1,000 feet in elevation – 10 lbs pressure
- Above 1,000 feet – 15 lbs pressure
Serving Ideas
Turn a jar into pulled-pork-style sandwiches by warming the meat and shredding it with a fork, then tossing with barbecue sauce.
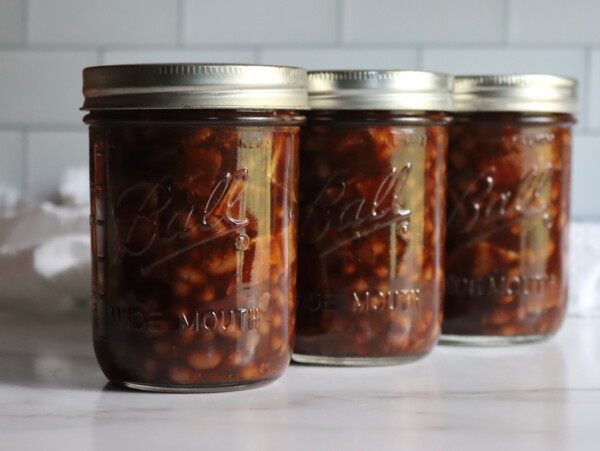
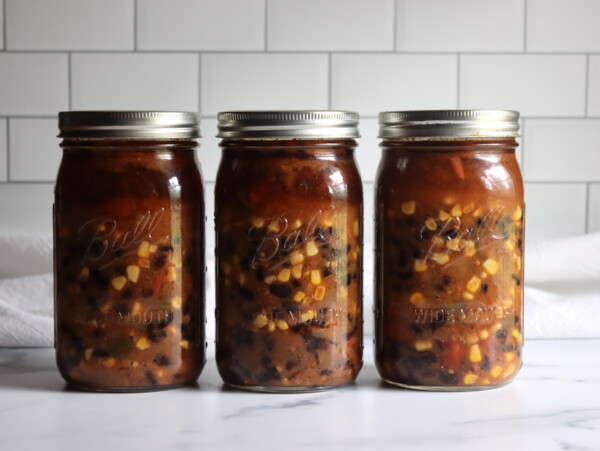
Crisp chunks in a hot skillet until browned, then add onions and peppers for quick fajitas or taco filling.Or, stir into a pot of beans (black beans, white beans, or baked beans) for instant depth and a longer-simmered flavor.
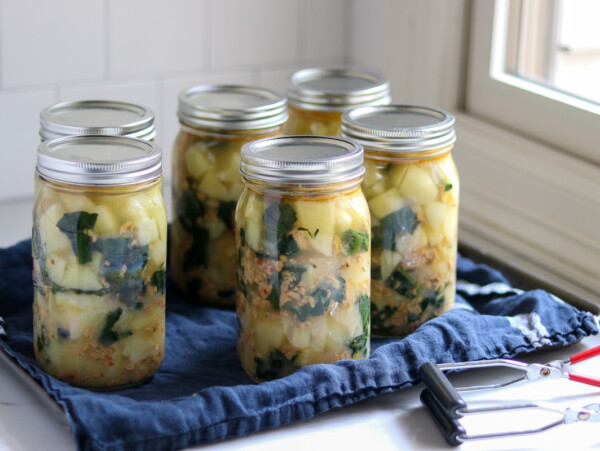
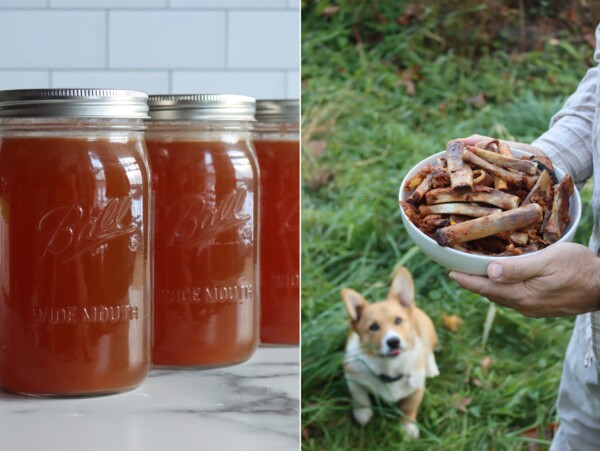
Use the broth and meat together as a shortcut base for soup, and add potatoes and cabbage for a simple pork-and-vegetable soup, or go spicy with green chiles and hominy.
Make a fast fried rice: sauté aromatics, add rice and vegetables, then fold in drained pork at the end so it stays chunky.
Warm and season with ginger, garlic, and soy sauce, then serve over noodles with a splash of the Home Canned Pork Broth and a handful of greens for easy homemade ramen.
Pork Canning FAQs
No. Pork is a low-acid food and must be pressure canned using a tested process for safety.
Raw pack for meat chunks is packed without added liquid. The meat will create its own juices during processing. If hot packing, then yes, you will need broth, water or tomato juice. You’ll usually need about 1 1/2 cups per quart, or 3/4 cup per pint, but the amount varies based on how the meat is packed.
Raw pack is faster and works especially well with pork shoulder. Hot pack is preferred if you want better liquid coverage and a more uniform, broth-style jar.
For best quality, plan to use it within about a year. As long as the jar stays sealed and is stored properly, pressure canned pork is still safe to eat (even years later). However, quality of home canned products starts to decline after about 12-18 months. Use within 18 months for best quality, and Refrigerate after opening.
Pork Canning Recipes
20+ Pork Canning Recipes (Soup, Chili and Meal in a Jar Recipes)
Pork canning recipes are one of my favorite ways to turn a big meat purchase into real, ready-to-use food on…
If you tried this Pork Pressure Canning Recipe, or any other recipe on Creative Canning, leave a ⭐ star rating and let me know what you think in the 📝 comments below!
And make sure you stay in touch with me by following on social media!
Canning Pork
Equipment
Ingredients
- 14 lbs Pork shoulder, boneless, trimmed and cut into 1 to 2-inch chunks (about 2 lbs per quart, or 1 lb per pint)
- Salt, 1/2 tsp per pint, or 1 tsp per quart, optional
- Boiling broth, Hot pack only. Broth, water, or tomato juice: as needed (typically 1 to 2 cups per quart, varies)
Instructions
Raw Pack
- Pack raw pork chunks into hot quart jars, leaving 1 inch headspace. If using salt, add 1 tsp per quart before filling. Do not add liquid. Remove air bubbles as best you can by tapping the jar and adjusting pieces, re-check headspace, then wipe rims and apply lids and rings finger-tight.
Hot Pack
- Lightly precook pork until rare (by roasting, stewing, or browning). Pack hot pork into hot quart jars, leaving 1 inch headspace. If using salt, add 1 tsp per quart before filling. Cover meat with boiling broth, water, or tomato juice, maintaining 1 inch headspace. Remove air bubbles, adjust headspace if needed, wipe rims, and apply lids and rings finger-tight.
Pressure Canning (for Both Methods)
- Place jars on the canner rack and add the amount of water specified by your canner manufacturer. Lock the lid and heat on high until steam vents steadily, then vent for 10 minutes. Apply the weight (or close the petcock) and bring the canner up to the correct pressure for your altitude (see notes).
- Process at pressure for 75 minutes for pints or 90 minutes for quarts.
- When time is up, turn off heat and let the canner depressurize naturally. After pressure returns to zero (or the lock drops), wait a couple minutes, then remove the weight/open the vent. Unlock the lid away from your face, remove jars, and cool undisturbed for 12 to 24 hours. Check seals, label, and store.
Notes
Pressure Canning Altitude Adjustments
With pressure canning, the processing times stay the same at higher altitudes, but the pressures change. Here are the altitude adjustments for pressure canning: For dial gauge pressure canners:- 0 to 2,000 feet in elevation – 11 lbs pressure
- 2,001 to 4,000 feet in elevation – 12 lbs pressure
- 4,001 to 6,000 feet in elevation – 13 lbs pressure
- 6,001 to 8,000 feet in elevation – 14 lbs pressure
- 0 to 1,000 feet in elevation – 10 lbs pressure
- Above 1,000 feet – 15 lbs pressure
Nutrition
Nutrition information is automatically calculated, so should only be used as an approximation.
Meat Canning Recipes
Find the perfect recipe
Searching for something else? Enter keywords to find the perfect recipe!
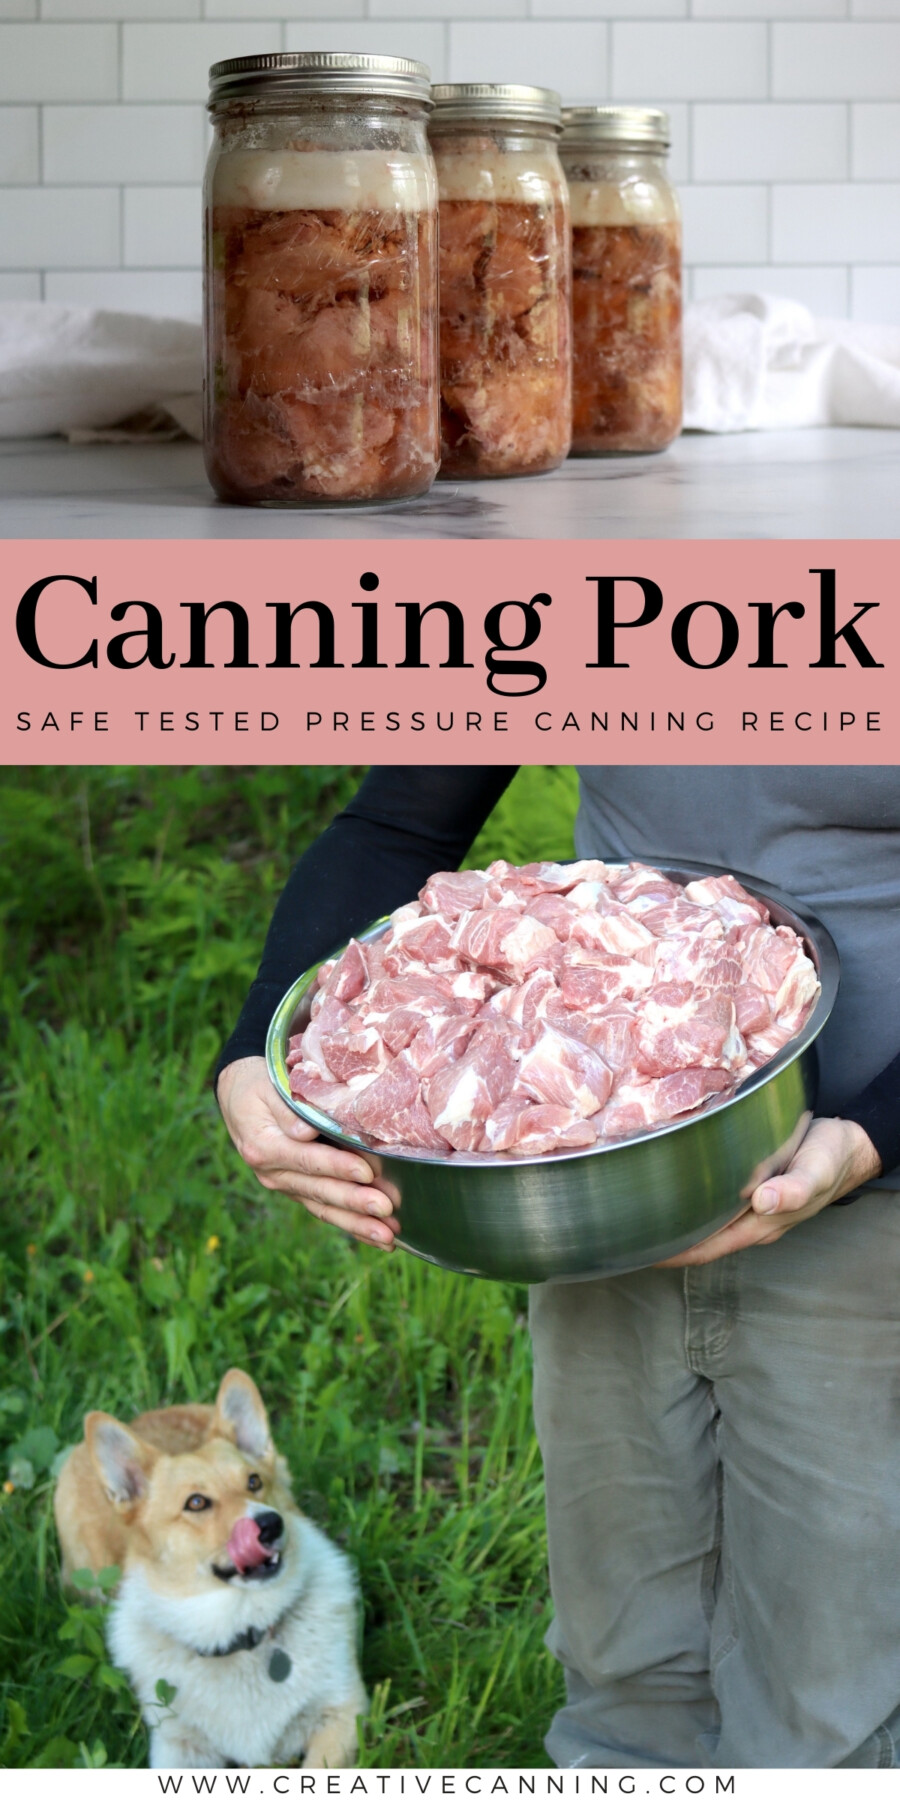
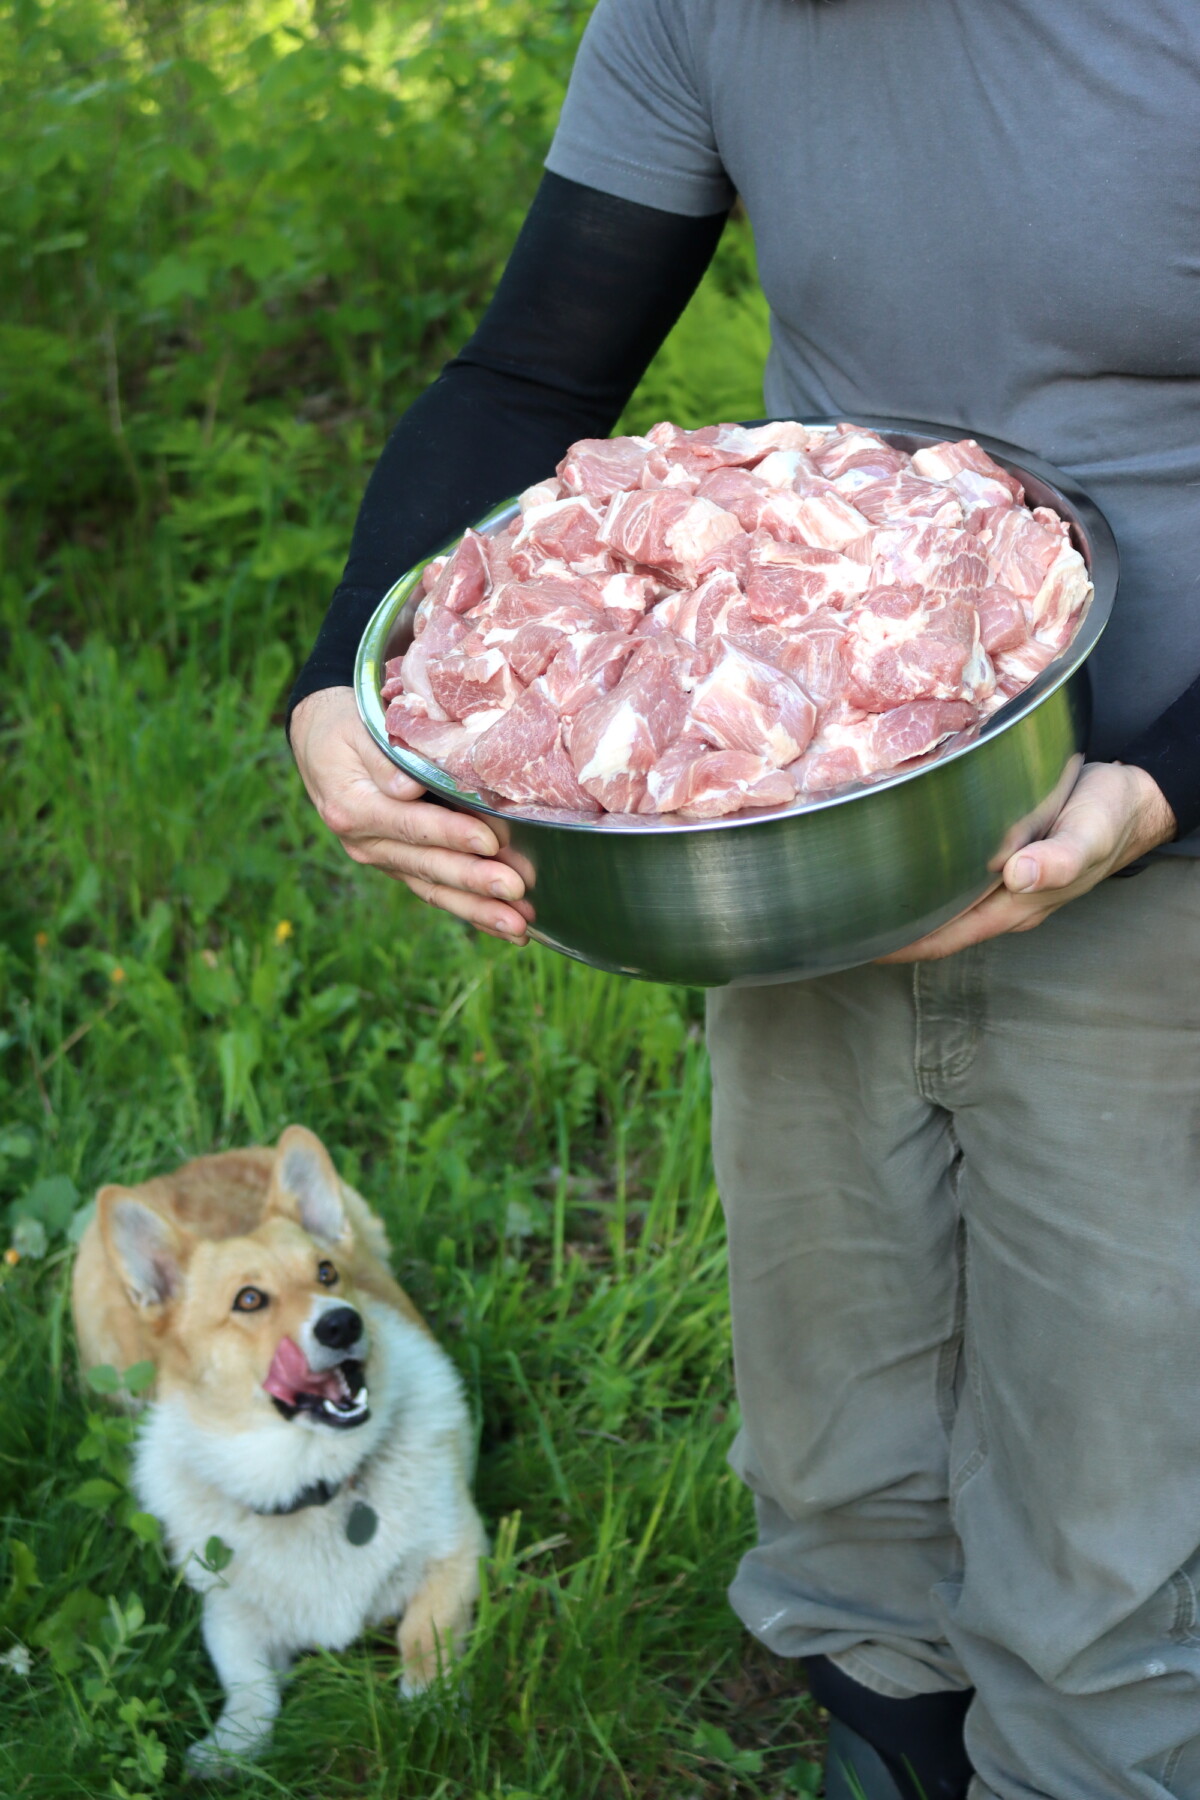
The dog seems to be VERY interested in that bowl of meat. 🙂
He was indeed!