This post may contain affiliate links. Please see our disclosure policy.
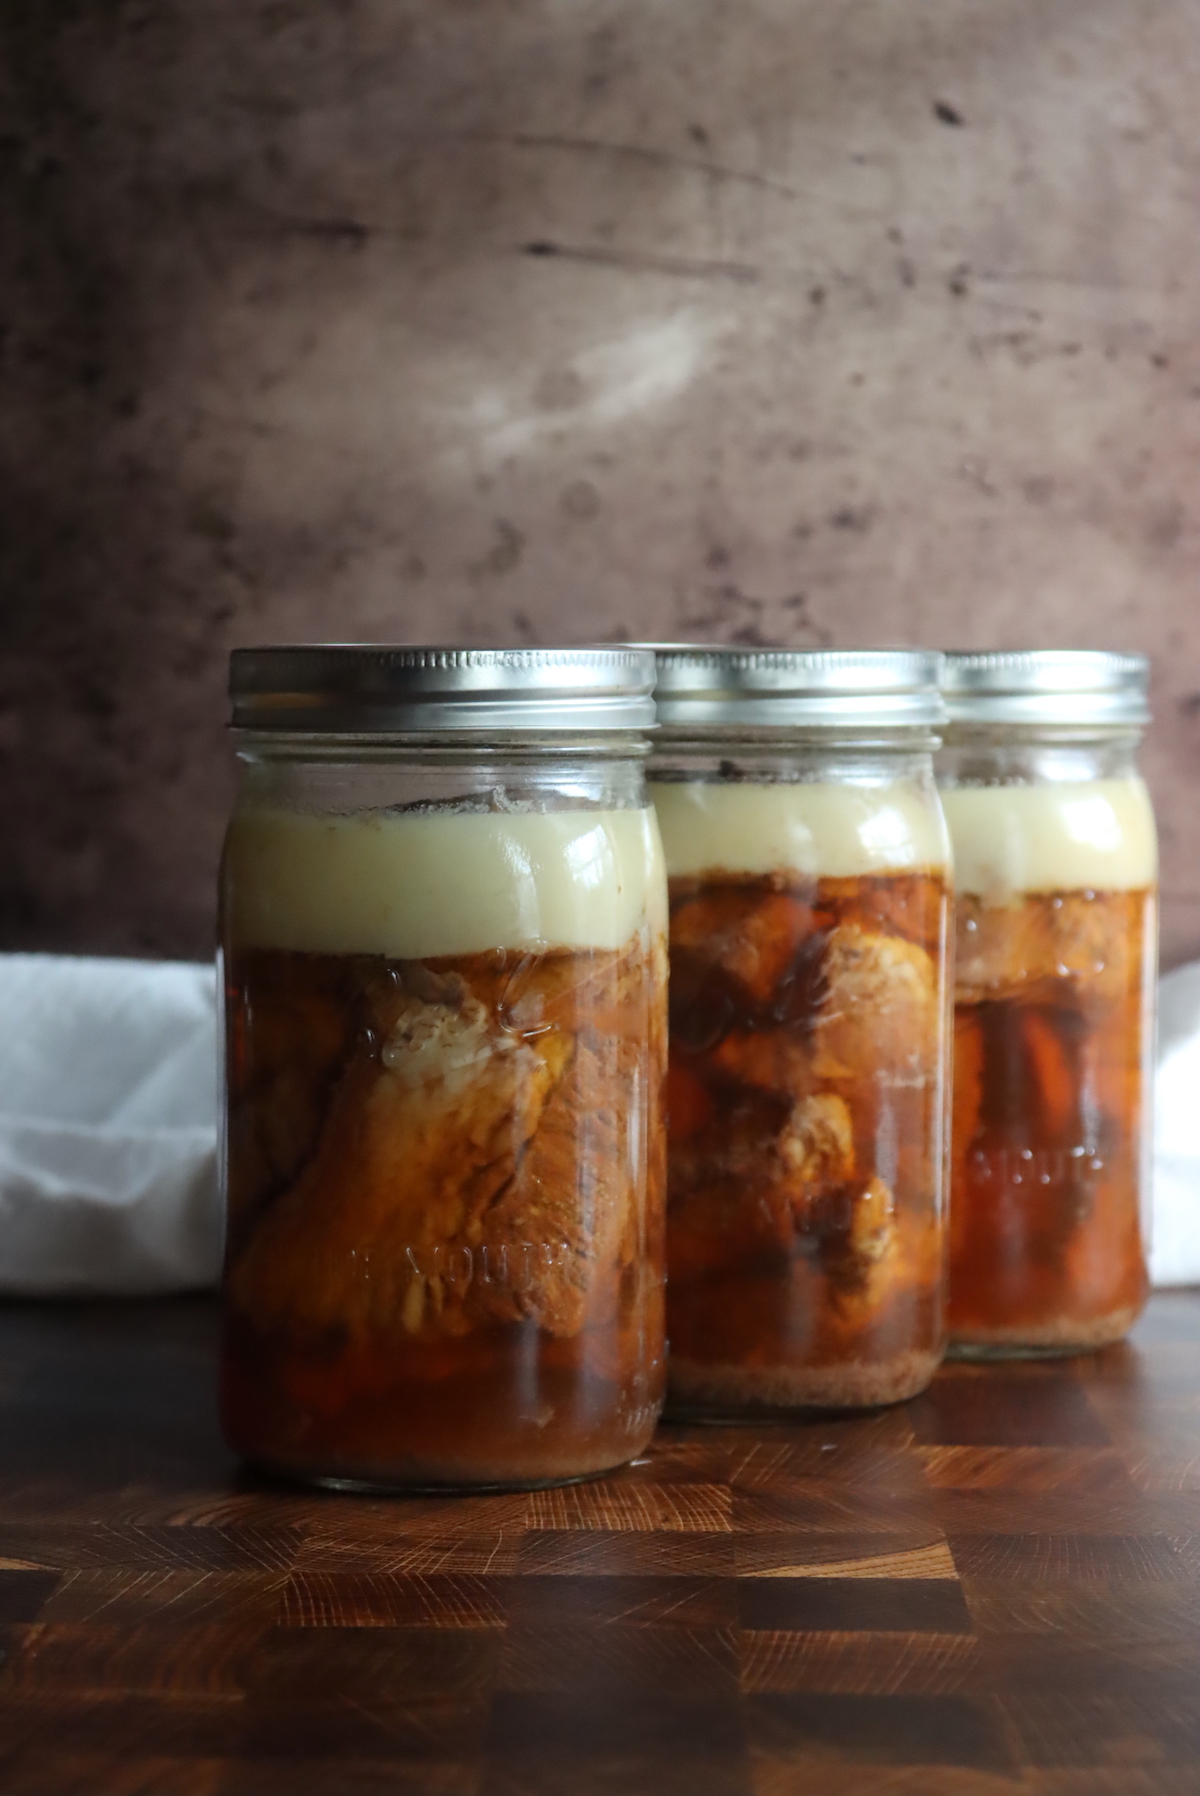
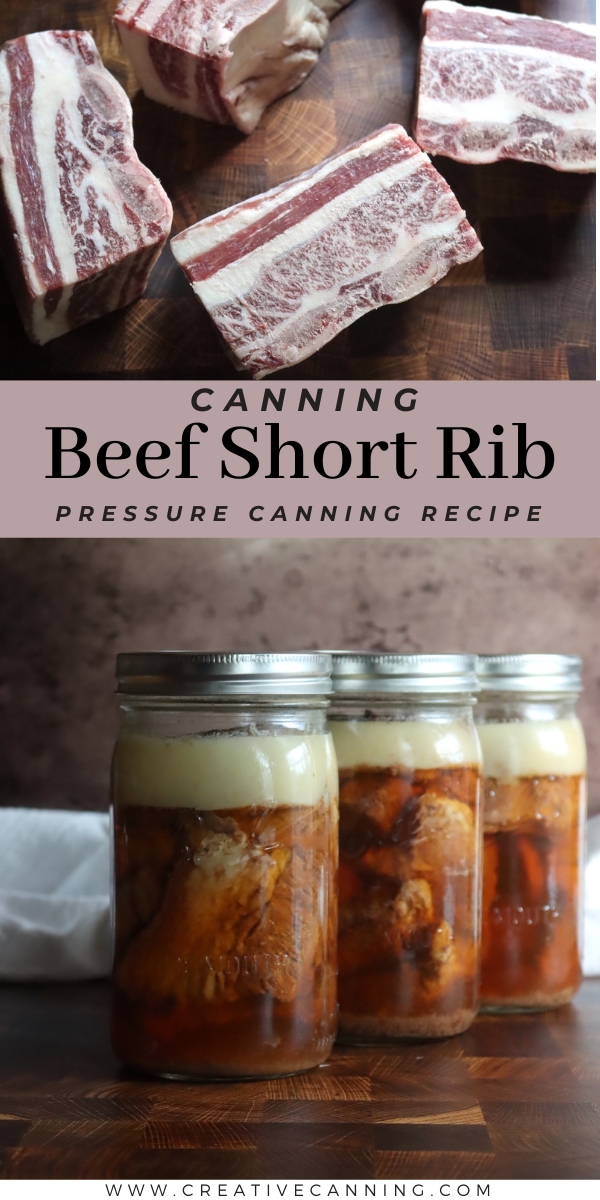
Canning beef short rib turns a flavorful (but tough) cut of meat into a tender, succulent, ready-to-eat jar of meat on your pantry shelf.
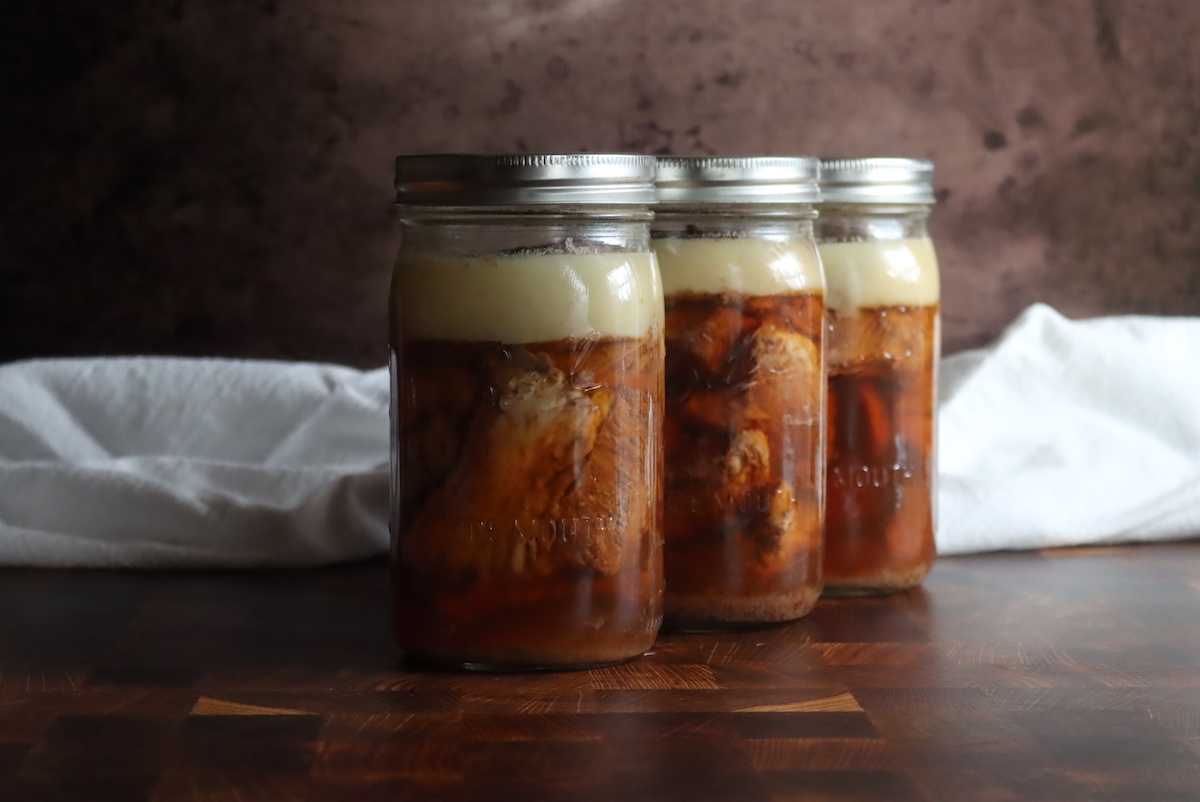
Home-canned beef short rib is one of my all-time favorite canning recipes. Short rib is one of the most flavorful cuts of beef, but the problem is it’s a tough cut, and it can take forever to cook. With pressure canning, the canner does all that work for you, leaving an exceptionally tender cut with minimal effort.
Canning beef short ribs is an excellent way to preserve this delicious cut of meat for a long period of time. After the short ribs have been browned, they are cooked slowly in a flavorful mix of seasonings and liquid.
Once fully cooked, the short ribs are packed into canning jars that are sealed with lids, creating a powerful seal to keep all the moisture and flavor locked in for months.
Not only can you enjoy these mouthwatering morsels for months to come, but you’ll also have the satisfaction of having done it yourself.
With a minimal amount of work and ingredients required, canning beef short ribs is simple to do, and definitely worth your time!
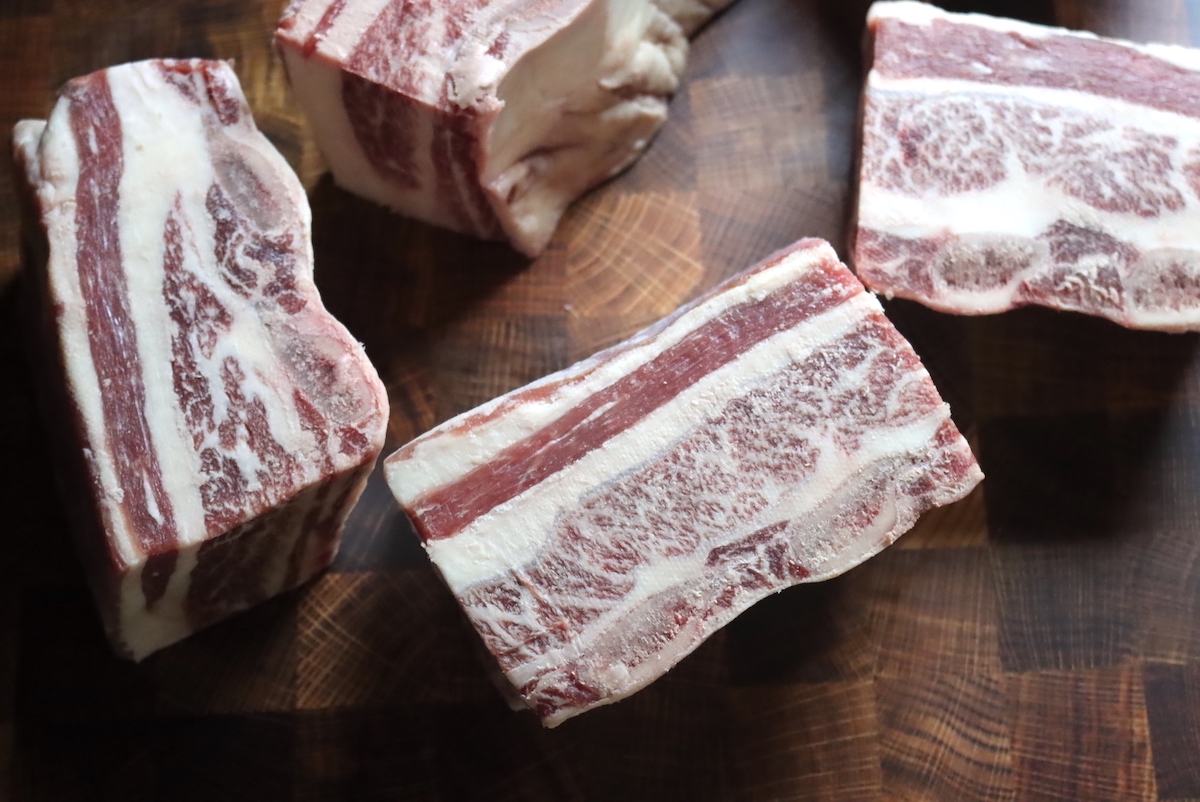
Ingredients for Canning Beef Short Ribs
This recipe is adapted from The Ball Blue Book Guide to Preserving, and they allow you to add up to 1/2 cup of BBQ sauce to each quart (topping with meat broth). Personally, I just use broth, but I’ve given their option as well in this recipe.
The ingredients for canning beef short ribs are quite simple. To make a canner batch of 8 pints or 4 quarts, you’ll need the following:
- Beef short ribs (about 8 lbs)
- Salt (optional, to taste)
- Broth (to fill the remainder of jars – about 4 cups total)
- About 2-3 Tbsp of fat or oil (such as lard, tallow, or olive oil) for browning meat
The quantities listed above may vary slightly depending on the cut of meat – some ribs will have a bit more meat on them than others. The amount of broth will also vary accordingly, since these ingredients are used to finish filling out the jars.
Canning Beef Short Ribs
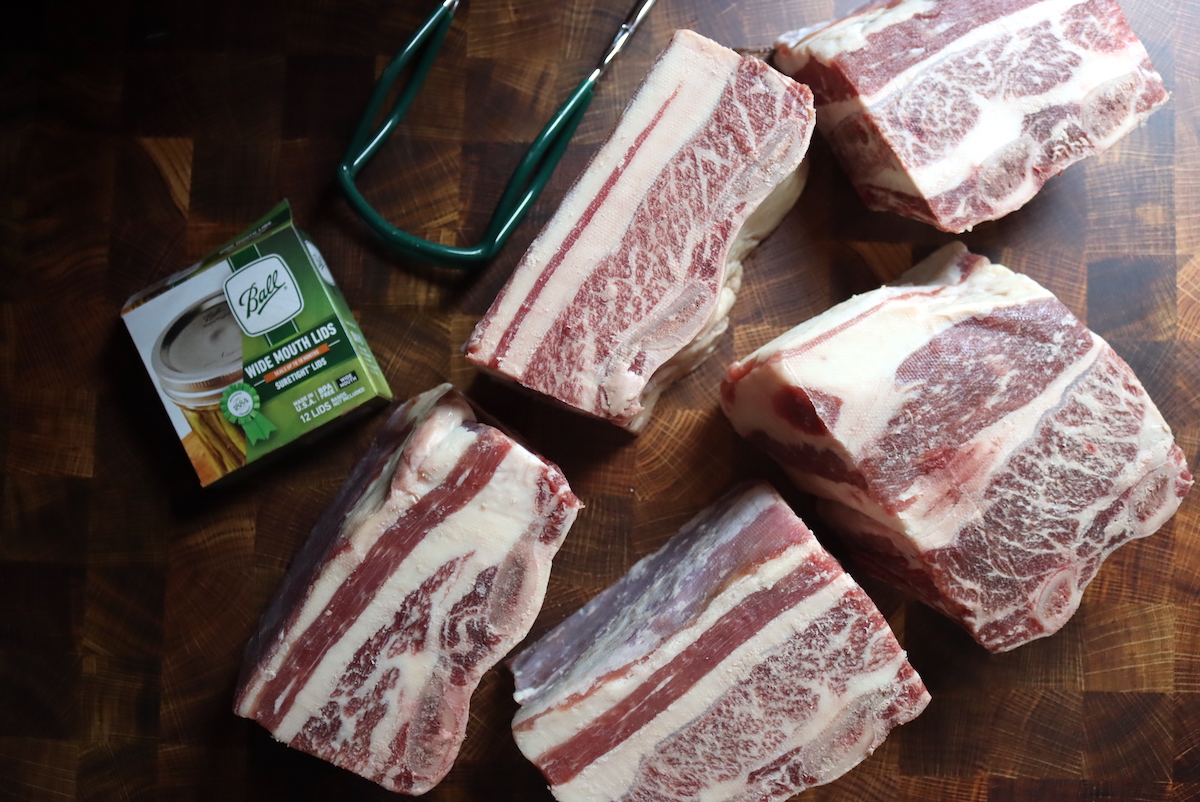
The process of canning beef short ribs starts with trimming the ribs out of the raw meat. This will ensure that the meat cooks thoroughly – avoid canning the bones whenever possible.
Believe it or not, it’s perfectly fine to bone in short ribs, but I don’t recommend it. The bones become brittle during the canning process, and can break into tiny sharp pieces when you’re serving the meat. In the case of short rib, most the bones are small and easy to extract, and it’s well worth the effort.
Chop the raw meat into cubes. Then, brown it in a pan with a bit of fat or oil. Cook the meat until it’s well browned on the outside, but no need to fully cook it (the canner will do that).
There are two variations on this recipe you can choose from – canning with barbecue sauce or with beef broth. It’s a matter of personal preference, so feel free to choose whichever method you’d like. Personally, I don’t can beef short ribs with BBQ sauce because I don’t tend to use them in BBQ recipes. More often, I’m using them a a flavorful meal starter.
If you’re using barbecue sauce, put it in a stockpot on the stove. Bring it to a boil. Reduce the heat to a simmer, about 180 degrees Fahrenheit, but keep both the meat and sauce hot while you’re preparing the jars. If you choose to use broth, heat this instead.
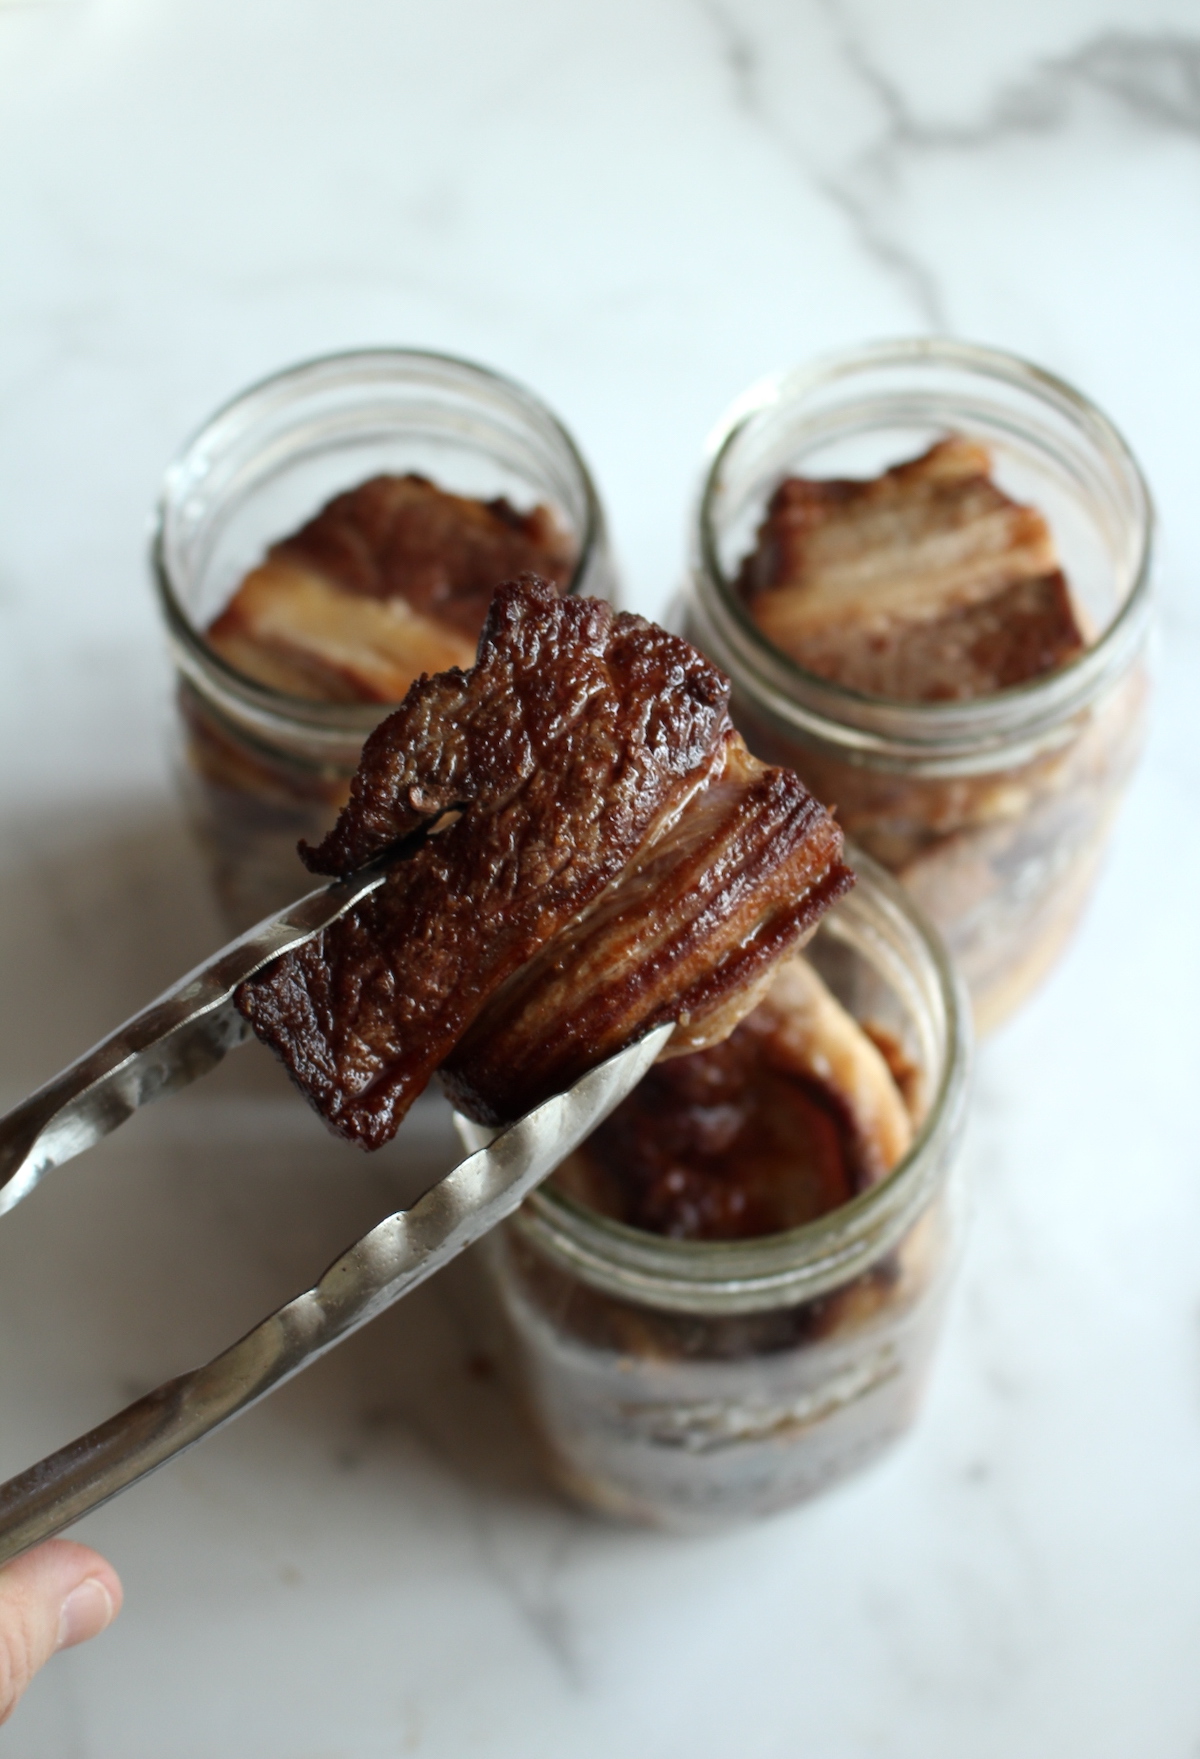
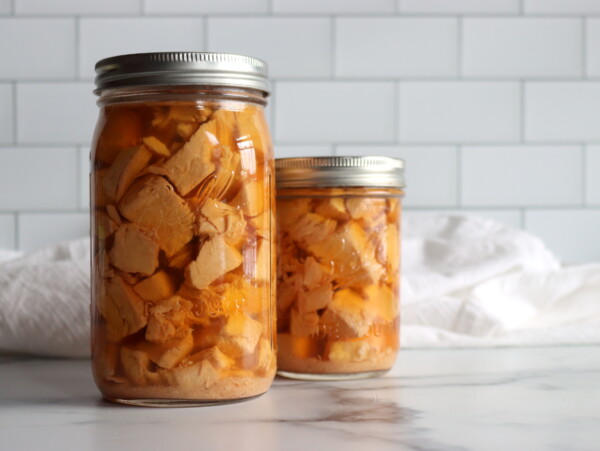
Pack the warm beef meat into hot, sterilized jars. Leave an inch of headspace. Add a half teaspoon of salt to each jar if desired (optional). Use a teaspoon of salt for each quart jar. Ladle the barbecue sauce or broth over the meat, leaving the same inch of headspace.
Remove air bubbles, then add more broth or barbecue sauce (or both) if needed. Wipe the rims of the jars with a paper towel to remove any food particles. Put the lids and bands on the jars, adjusting the rings until they are fingertip tight.
Place the jars on a rack in the pressure canner. Add two inches of simmering water (about 180 degrees Fahrenheit) or more/less, depending on the recommendations from your canner manufacturer.
Put the lid on the canner, then turn it to the locked position. Adjust the heat to medium-high, then vent the steam for 10 minutes. Add the weighted gauge, then bring the pressure to 10 lbs.
Process pint jars for 75 minutes or quart jars for 90 minutes. When the processing time has finished, turn off the heat, then allow the canner to depressurize on its own.
After five minutes, remove the lid. Allow the jars to cool inside the canner for another 10 minutes. Remove the jars from the canner, then let them cool outside of the canner for another 12 hours. Check the seals, label, and store the jars in a cool, dark location.
Short Rib Canning Altitude Adjustments
With pressure canning, the processing times stay the same at higher altitudes, but the pressures change. Here are the altitude adjustments for pressure canning:
For dial gauge pressure canners:
- 0 to 2,000 feet in elevation – 11 lbs pressure
- 2,001 to 4,000 feet in elevation – 12 lbs pressure
- 4,001 to 6,000 feet in elevation – 13 lbs pressure
- 6,001 to 8,000 feet in elevation – 14 lbs pressure
For weighted gauge pressure canners:
- 0 to 1,000 feet in elevation – 10 lbs pressure
- Above 1,000 feet – 15 lbs pressure
Serving Beef Short Ribs
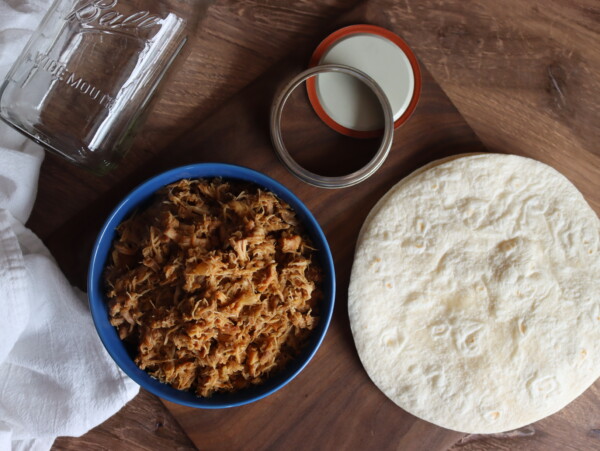
Serving canned beef short ribs is a great way to enjoy a delicious and hearty meal without needing to spend hours in the kitchen! To prepare the dish, start by draining the liquid from the can.
Then, transfer the short ribs into an oven-safe pan with enough oil or butter to ensure that they don’t stick. Bake them in a preheated 350-degree Fahrenheit oven for about 15 minutes, flipping them over halfway through.
Finally, take them out of the oven and serve them alongside your favorite vegetables or sides! Beef short ribs taste great with classics like baked potatoes and corn on the cob.
Enjoy your tasty homemade meal (and the minimal clean-up afterward).
Canning Beef Short Rib
Ingredients
- Beef spare ribs, about 8 lbs
- Salt, optional, to taste
- Broth, to fill the remainder of jars - about 4 to 6 cups total
Instructions
- Trim the ribs from the raw meat. Chop the meat into cubes.
- Brown the meat in a pan with oil or fat. Cook until it's about halfway done.
- If you're using barbecue sauce (see notes), put it in a stockpot on the stove. Bring it to a boil. Reduce the heat to a simmer, about 180 degrees Fahrenheit, but keep both the meat and sauce hot while you're preparing the jars. If you choose to use broth, heat this instead.
- Pack the warm beef meat into hot, sterilized jars. Leave an inch of headspace.
- Add a half teaspoon of salt to each jar if desired (optional). Use a teaspoon of salt for each quart jar.
- Ladle the barbecue sauce or broth over the meat, leaving the same inch of headspace.
- Remove air bubbles, then add more broth or barbecue sauce (or both) if needed.
- Wipe the rims of the jars with a paper towel to remove any food particles.
- Put the lids and bands on the jars, adjusting the rings until they are fingertip tight.
- Place the jars on a rack in the pressure canner. Add two inches of simmering water (about 180 degrees Fahrenheit).
- Put the lid on the canner, then turn it to the locked position. Adjust the heat to medium-high, then vent the steam for 10 minutes.
- Add the weighted gauge, then bring the pressure to 10 lbs.
- Process pint jars for 75 minutes or quart jars for 90 minutes.
- Allow the canner to depressurize on its own. After five minutes, remove the lid.
- Allow the jars to cool inside the canner for another 10 minutes.
- Remove the jars from the canner, then let them cool outside of the canner for another 12 hours.
- Check the seals, label, and store the jars in a cool, dark location.
Notes
Short Rib Canning Altitude Adjustments
With pressure canning, the processing times stay the same at higher altitudes, but the pressures change. Here are the altitude adjustments for pressure canning:For dial gauge pressure canners:
- 0 to 2,000 feet in elevation – 11 lbs pressure
- 2,001 to 4,000 feet in elevation – 12 lbs pressure
- 4,001 to 6,000 feet in elevation – 13 lbs pressure
- 6,001 to 8,000 feet in elevation – 14 lbs pressure
For weighted gauge pressure canners:
- 0 to 1,000 feet in elevation – 10 lbs pressure
- Above 1,000 feet – 15 lbs pressure
Beef Canning Recipes
There’s more than one way to put beef in a jar! These beef canning recipes will keep things interesting:
- Canning Beef Stew
- Canning Ground Beef
- Canning Sloppy Joe Filling
- Canning Chili con Carne
- Canning Beef Pot Pie Filling
Meat Canning Recipes
Beef’s not the only thing you can preserve in a canning jar. Try these other ideas!
I have some canned meats that were given to me & I have no experience with canning. Only recently began researching. But some of the jars are not filled up all the way, like there’s alot of space between the meat and the top of the jar. I’m not sure how to explain it, I have a video. Is it okay to have half of a jar with nothing in it?
Yes, that’s called siphoning, and it’s not uncommon. So long as you followed proper canning times and the jars sealed, they should be fine. There’s more on siphoning here: https://www.healthycanning.com/loss-of-liquid-during-home-canning/
I wonder how it would taste to add some liquid smoke to the jars? And how much?
That’d probably be tasty, but I’d use very little as flavors like that intensify in canning. I’d try doing 1-2 drops in a quart jar and see how it goes.
I wonder how it would taste if I added some liquid smoke to the jars?
Probably pretty darn good! That’s an excellent idea.
Hi I was wondering if you can raw pack beef short ribs if I take the bone out and cut it into chunks. Because my short ribs are pretty fatty and so if I cut some of the fat out and raw pack, will it create its own juices when canning?
Yes, raw packing without liquid is a tested method for canning beef. It will juice off and create its own liquid in the jar, just as you say. The jars will not be completely filled, they’ll finish about 2/3 to 3/4 filled as everything shrinks down, but provided you process everything correctly and the jars seal then you’re good.