This post may contain affiliate links. Please see our disclosure policy.
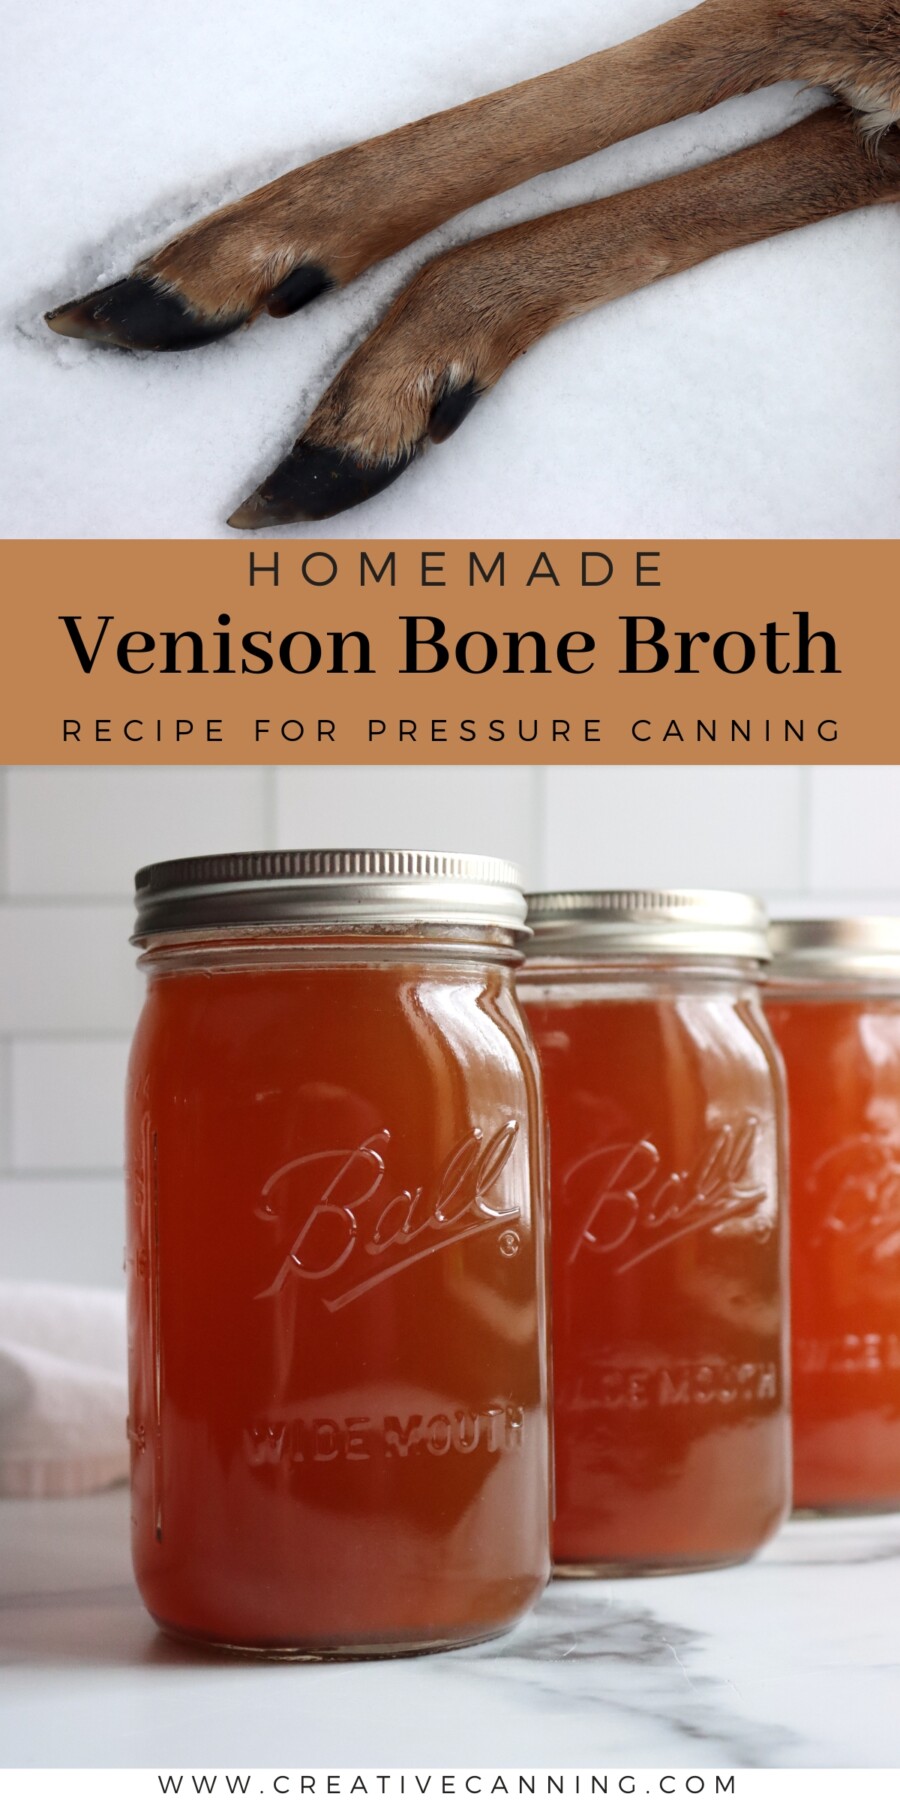
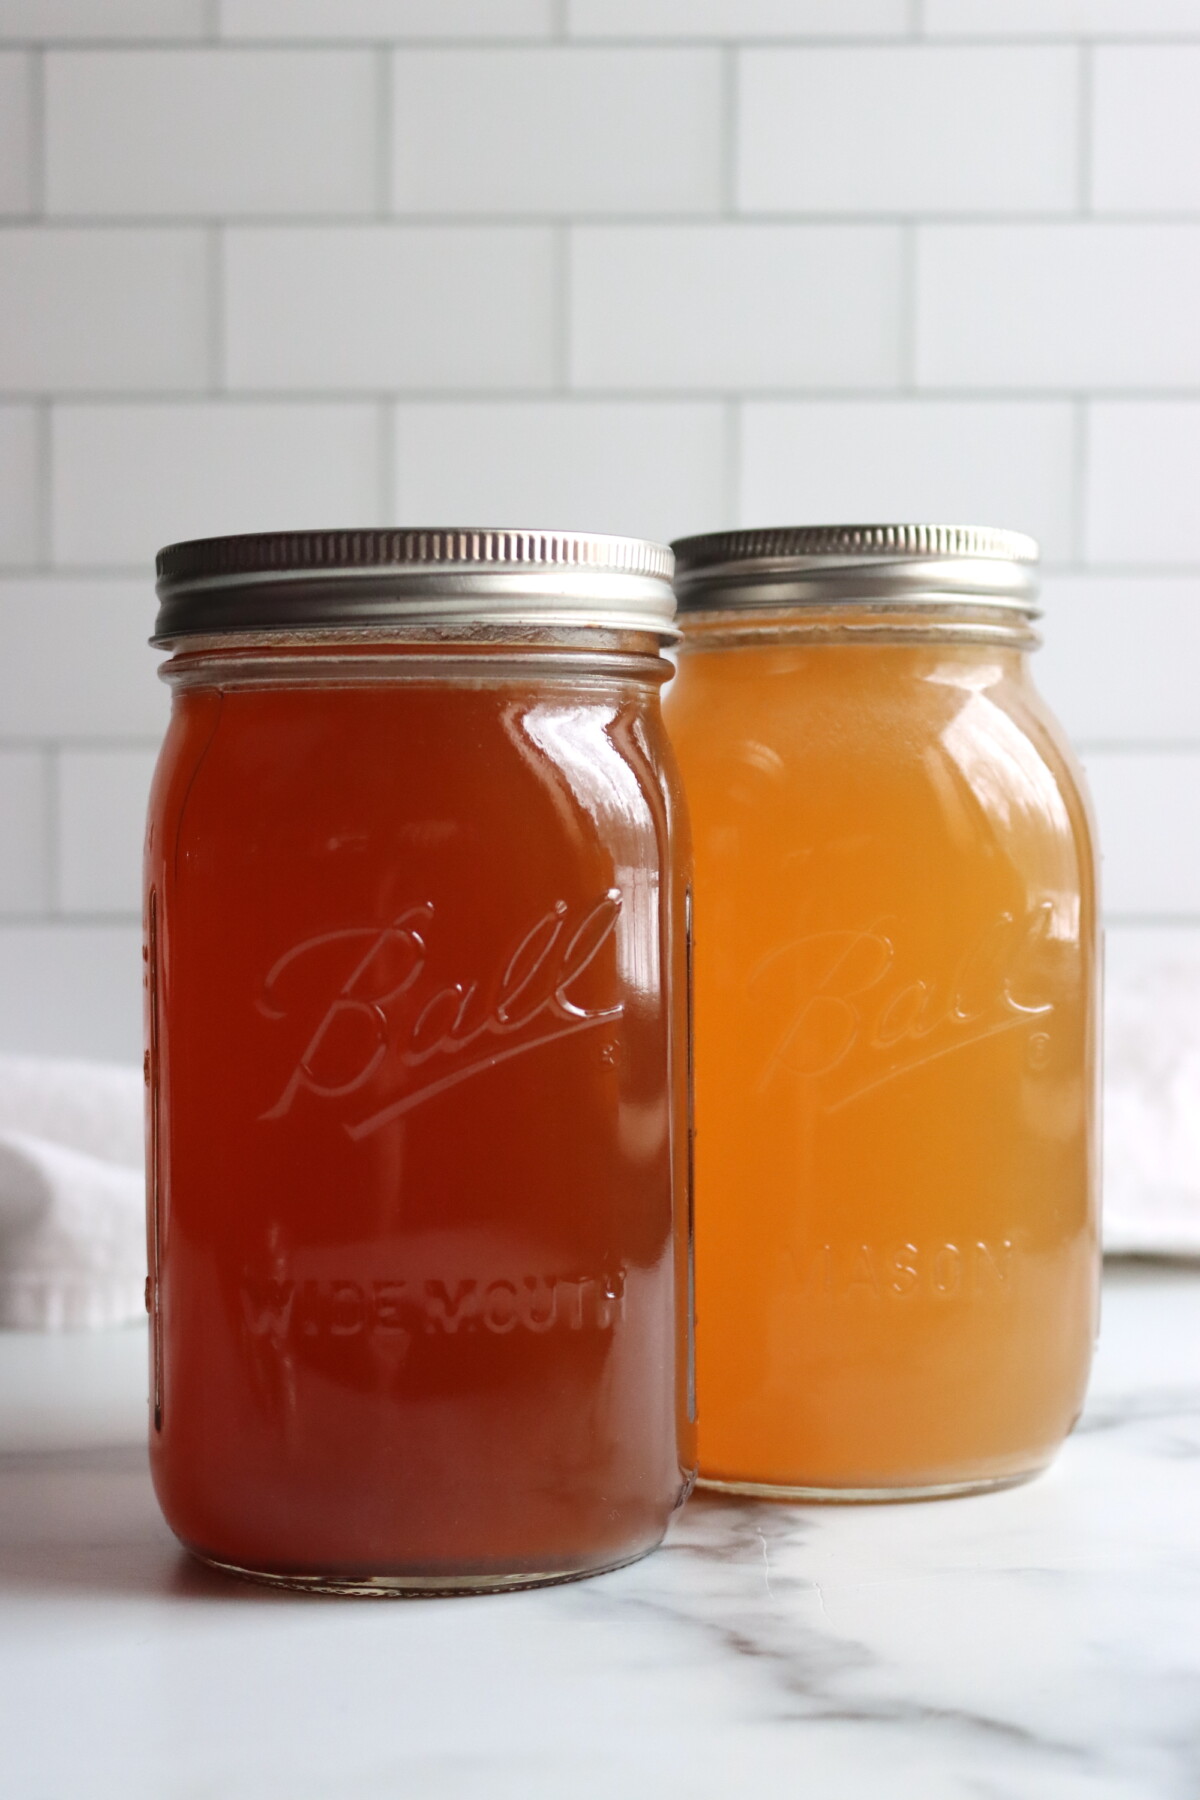
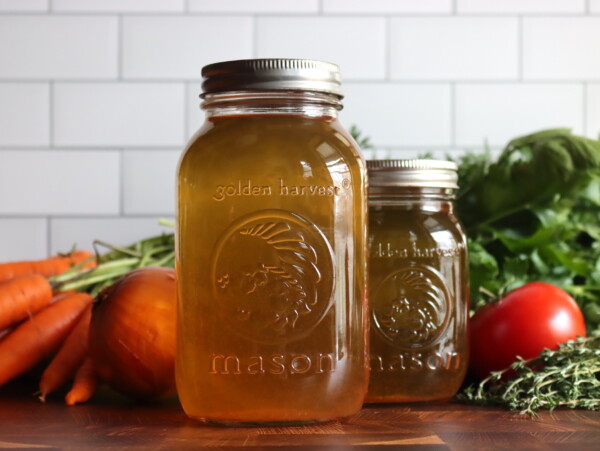
Venison Bone Broth is the kind of pantry staple that makes you feel like you’ve really used the whole deer, turning a pile of roasted bones into deep, rich broth you can pour into soups, stews, gravies, and beans all year long.
This recipe has been reviewed for safety and accuracy by a Master Food Preserver certified through the University of Cornell Cooperative Extension.
This recipe is adapted from Hank Shaw’s recipe for venison stock, and it’s a classic, old-school approach: roast the bones for big flavor, then let time do the work while the pot gently simmers. The ingredient list is simple, but the method is what makes it special, especially the long, low simmer and the final careful straining that leaves you with clear, clean broth instead of something gritty or cloudy.
The finished broth tastes like real venison and real roasting, not just “generic stock,” and it’s incredibly versatile. I use it anywhere I’d normally reach for beef broth, but it really shines in hearty winter cooking where that deeper, wild flavor feels like a feature, not an accident.
Why you’ll love this Venison Bone Broth recipe!

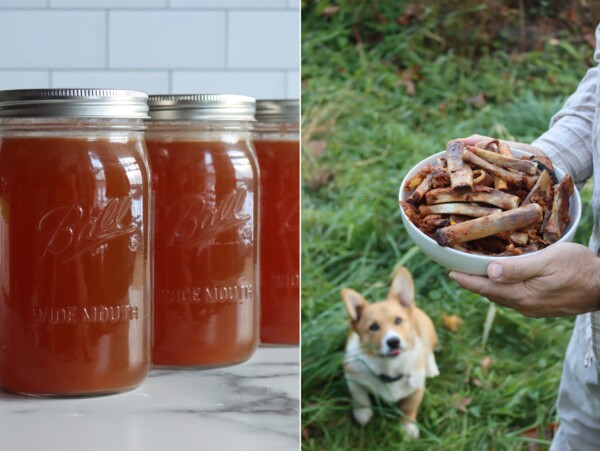
In Vermont, hunting season is part of the seasonal rhythm of November, and it’s important to know hot to use the whole animal so that nothing goes to waste.
Venison Stock (or Bone Broth) is the perfect way to get every last bit out of the deer, respecting your harvest from nose to tail. If made properly, it tastes like a rich beef stock, but with a bit more character.
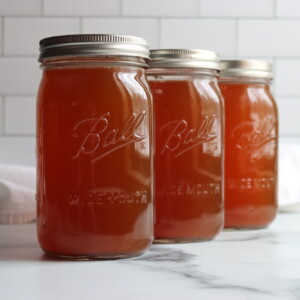
We pressure can it so we can store it right on the pantry shelf, but this also works as a freezer recipe.
A Quick Look at the Recipe
- Recipe Name: Venison Bone Broth (or Venison Stock)
- Recipe Type: Broth or Stock Canning Recipe
- Canning Method: Pressure Canning
- Prep/Cook Time: 4 to 12 hours simmering
- Canning Time: 20 Min for Pints, 25 Minutes for Quarts
- Yield: 4 to 5 quarts
- Jar Sizes: Pint or Quart
- Headspace: 1 inch
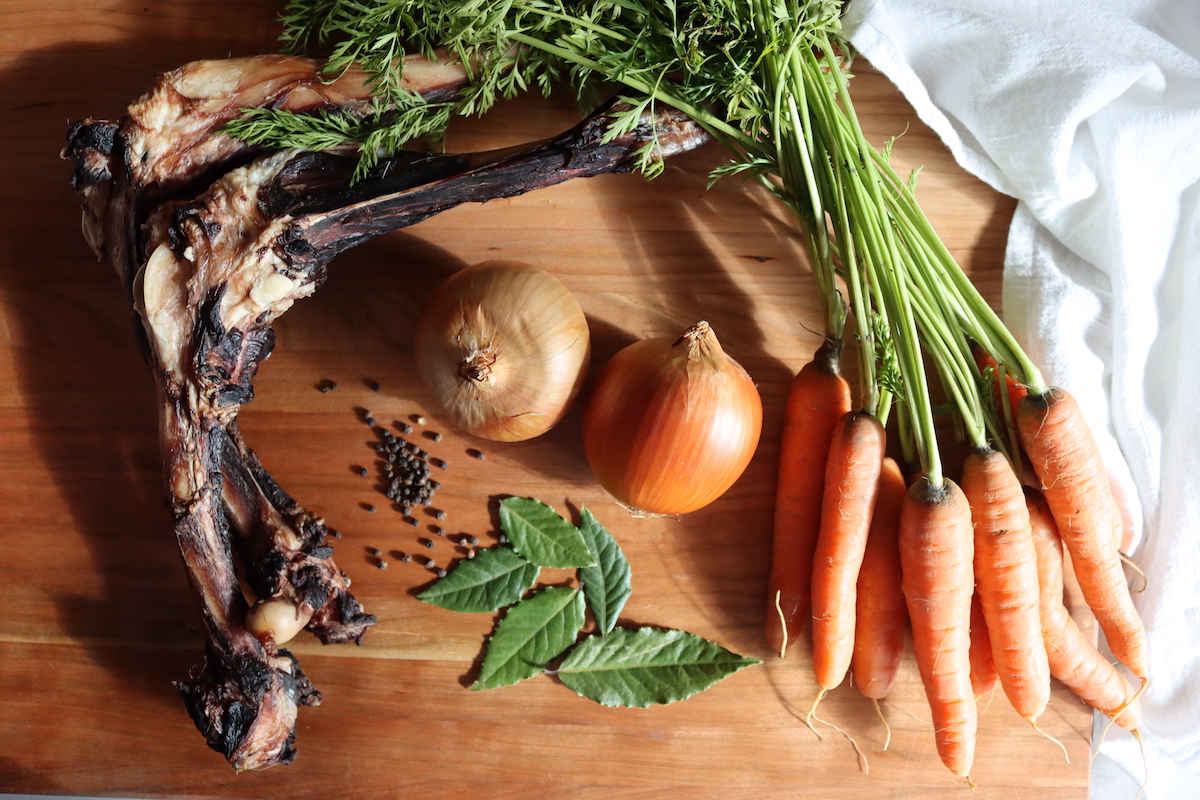
- Ingredients Overview: Deer bones, carrots, onions, celery and spices.
- Safe Canning Recipe Source: NCHFP Stock Canning Guidelines
- Difficulty: Easy! Be sure to roast the bones, and keep the stock at a simmer (not a boil) to ensure it stays clear.
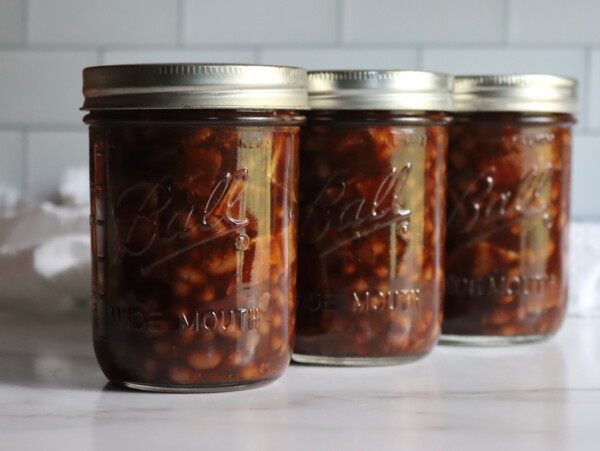
- Similar Recipes: The process is very similar to making other homemade broths and stocks for canning, such as Chicken Broth, Turkey Broth, Beef Broth, Rib Broth and Vegetable Broth.
Ingredients for Venison Stock
Venison bone broth is one of those recipes where the ingredient list looks short, and then the final result makes you wonder how something that basic can taste so rich. The trick is using well-roasted bones, keeping the simmer gentle, and adding the vegetables and herbs late so they taste fresh instead of tired.
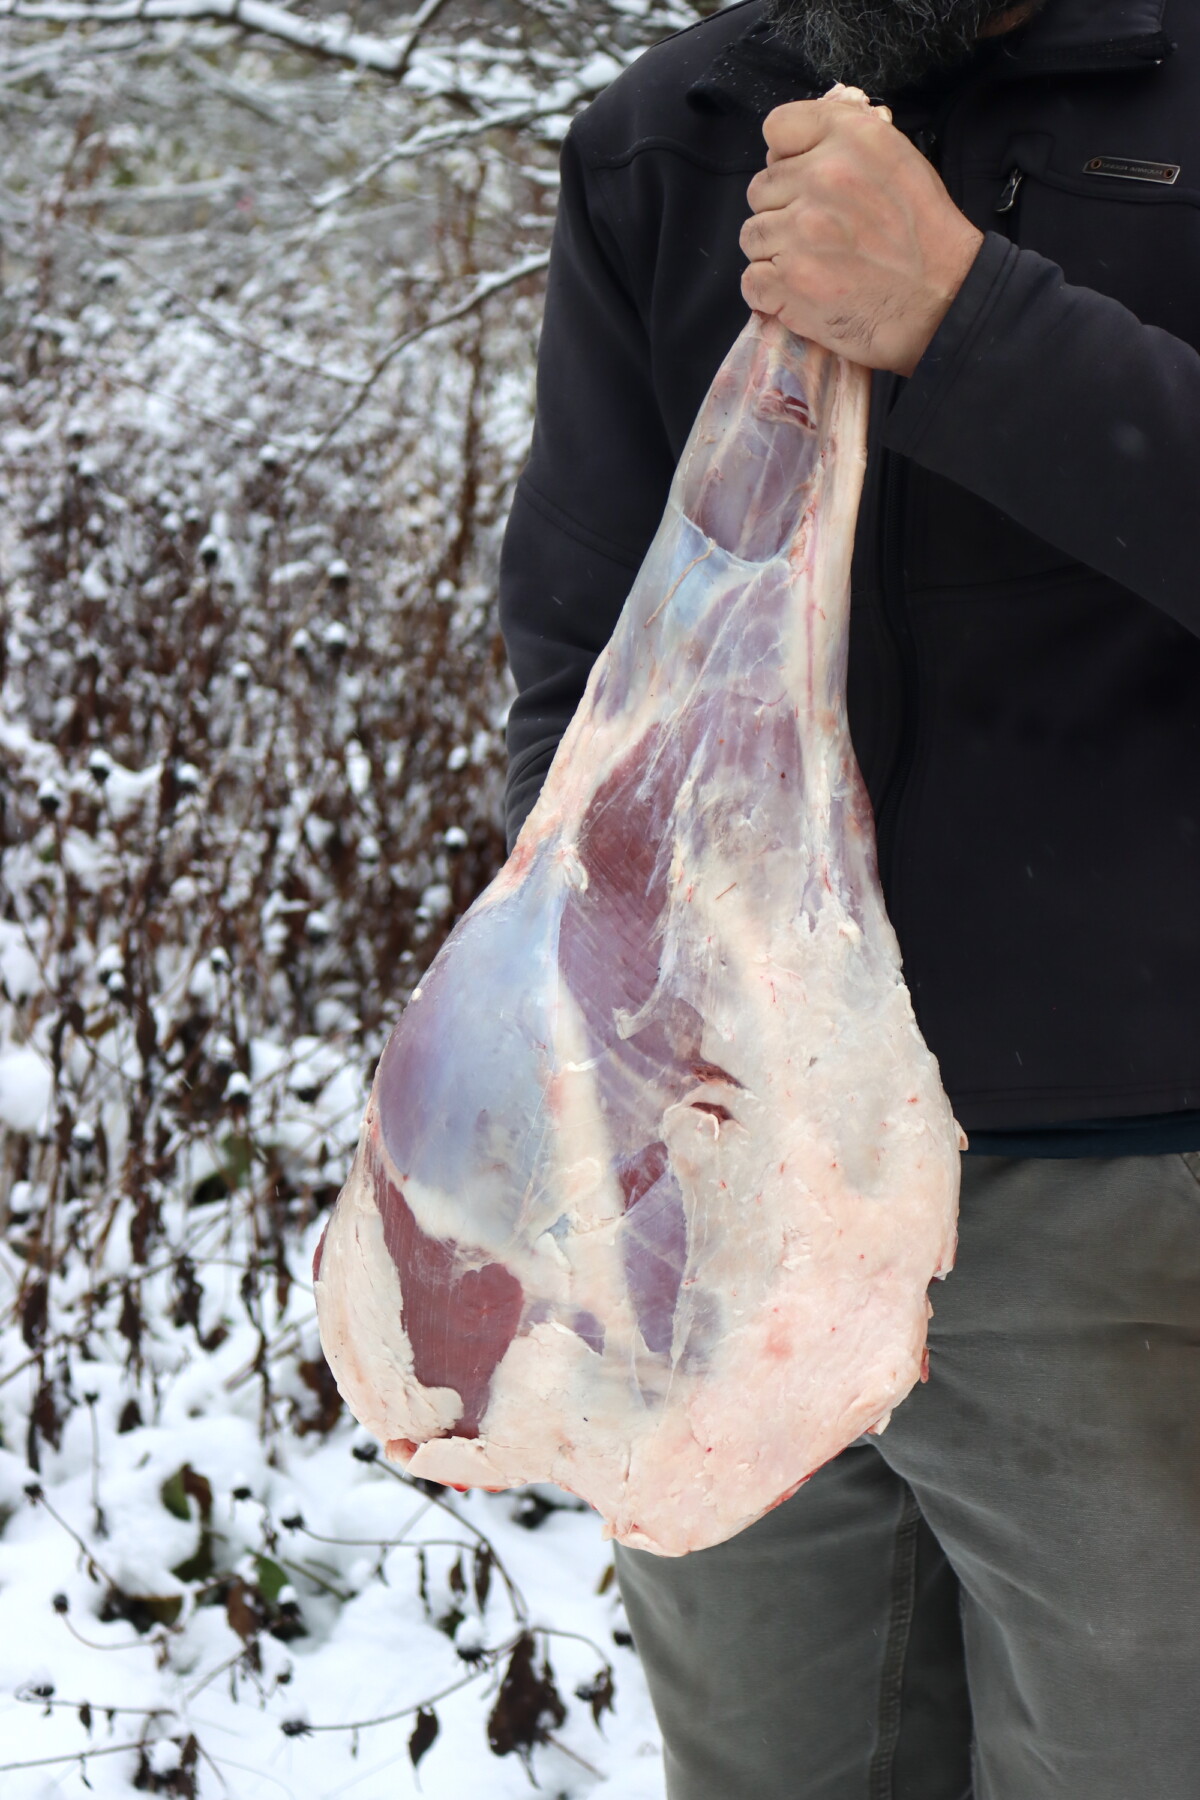
- Venison bones (with some meat on them): Builds deep flavor, gelatin, and body
- Olive oil: Helps the bones brown evenly and develop that roasty stock flavor
- Salt: Seasons the final broth so it tastes full and balanced (optional)
- Juniper berries (optional): Adds a subtle “woodsy” wild-game note that pairs naturally with venison
- Rosemary: Strong, resinous herb that stands up to rich broth
- Black peppercorns: Adds warmth and mild bite
- Thyme: Classic stock herb that deepens savory flavor
- Bay leaves: Adds background complexity, and woodsy, earthy notes
- Onion: Adds sweetness and depth
- Carrots: Add sweetness and color
- Celery: Adds that classic stock base flavor
- Parsley: Brightens and “lifts” the broth at the end
The ingredients in this broth are flexible, and you can honestly use whatever you have on hand. Carrots, onions and cellery are the classic additions to stock that round out the meaty flavor, but you can use any aromatic vegetables. (Leeks work well in this recipe too.)
Similarly, the seasoning is up to your tastes. The juniper is optional, and honestly, it can be hard to find, but it is really lovely in Venison broth in particular. You can simply go with classic beef broth herbs (parsley/thyme) if you prefer, or skip the herbs altogether if you don’t have any on hand.
How to Make Venison Broth
This is a simple, old-school stock-making process, but the difference between “okay” broth and truly great broth comes down to technique, not extra ingredients.
Roasting the Bones
Coat the venison bones with olive oil and salt them well, then roast them in a 400°F oven until deeply browned. If you can stand it, leave some meat on the bones (trim and shanks are ideal), because it makes the finished broth richer and more flavorful.
If you’re working with large leg bones, saw them into big pieces with a hacksaw so you can fit more bones into the pot.
Starting the Stockpot
Transfer the roasted bones into a large stock pot and cover them with water, but don’t add the vegetables or herbs yet.
Bring the pot up to a simmer over medium-high heat, watching closely as it heats so you can skim the froth that rises to the surface.
Skimming and Gentle Simmering
Skim off any foam and froth that forms, then reduce the heat until the broth is barely simmering. You want it to steam and burble a little, a hard boil.
This is the most important part! Hard boiling a stock makes it cloudy, and can impact both flavor and mouthfeel. Keep the heat gentle and low.
Let the bones simmer very gently for at least four hours, and overnight is fine if you want the fullest extraction and deepest flavor.
Adding Vegetables and Herbs
Once the long simmer is done, add the onion, carrots, celery, parsley, and the herbs and spices (rosemary, thyme, bay leaves, peppercorns, and optional juniper).
Keep the pot at a gentle simmer for another two hours so the aromatics infuse the broth without overpowering it or making it taste tired.
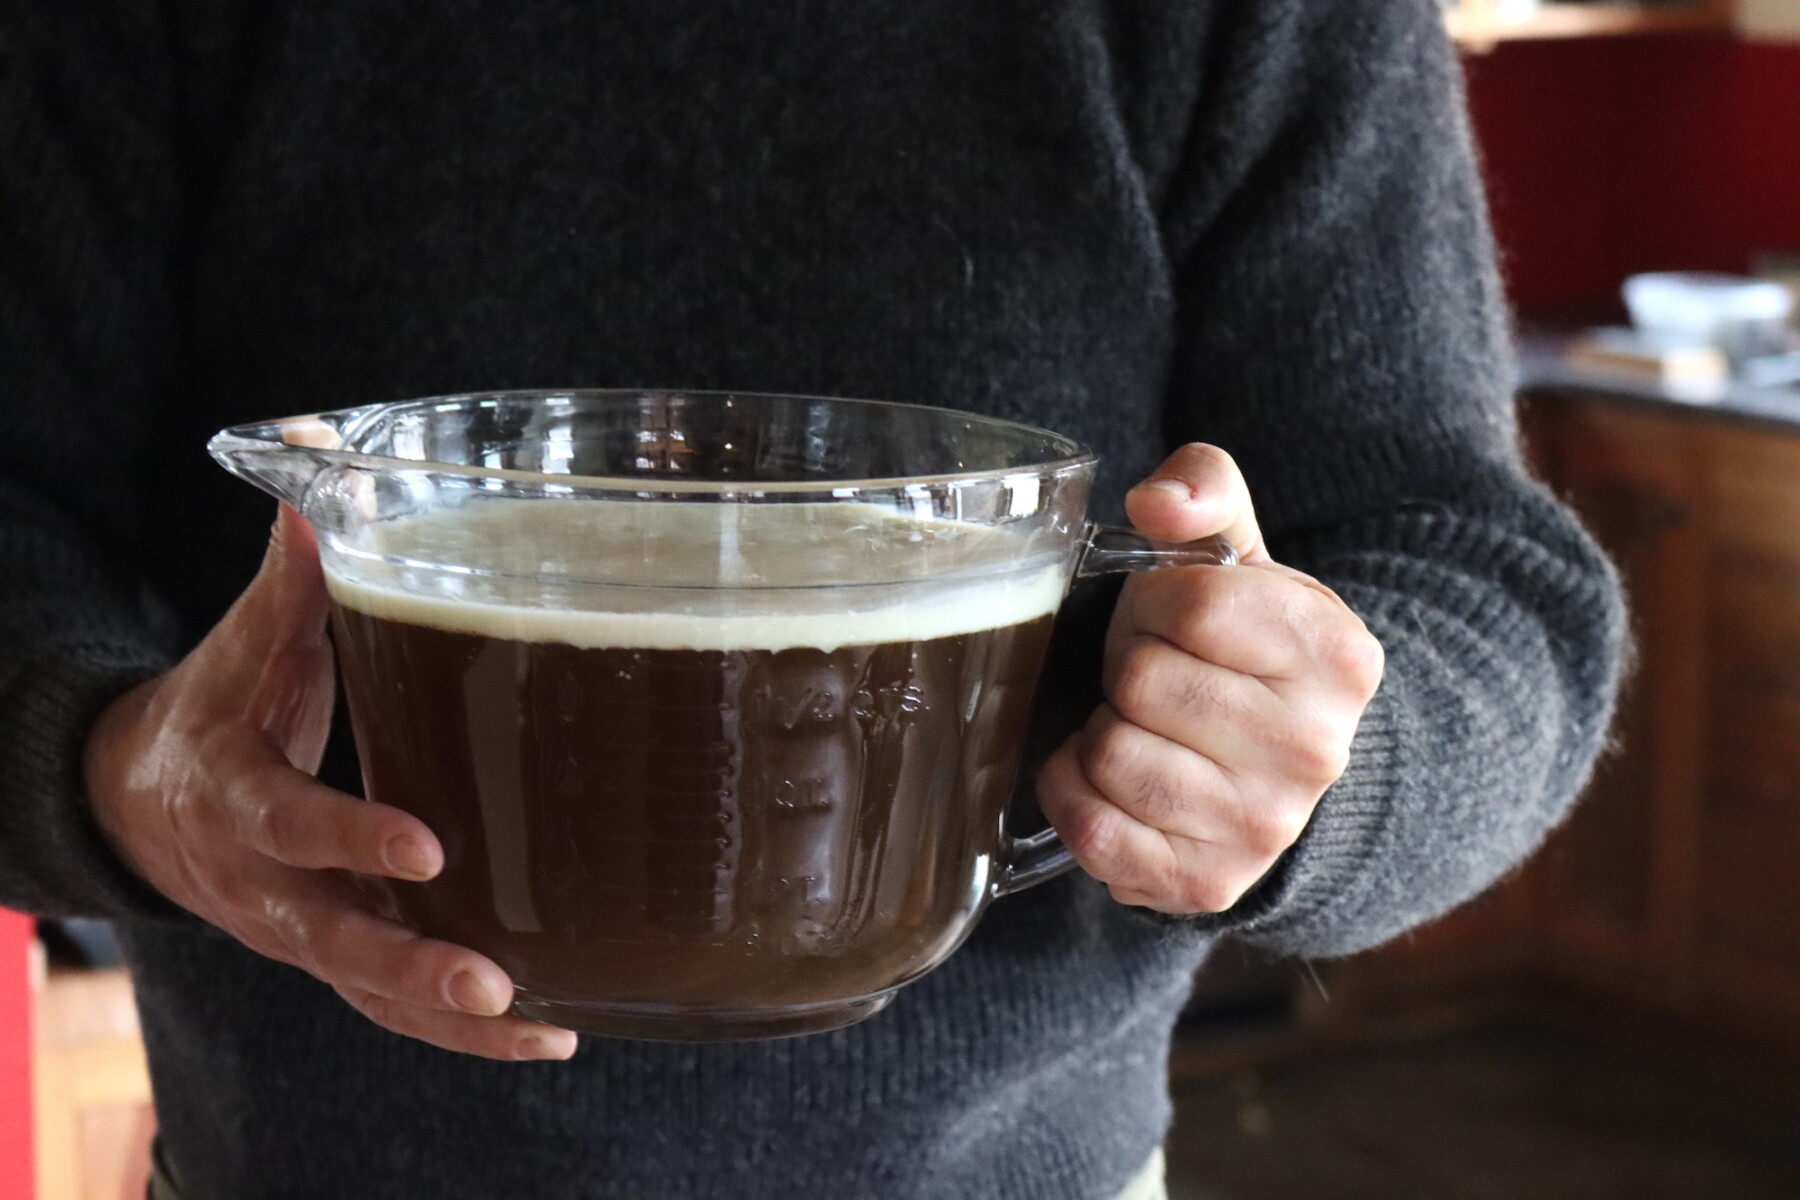
Straining and Clarifying
Use tongs to remove the bones and the large pieces, then set a square of double layered cheesecloth (or a paper towel in a pinch) into a fine-mesh sieve placed over a clean pot.
Ladle the broth through the lined sieve to catch sediment and leave you with clarified, clean-tasting stock. Don’t scrape the bottom of the original pot, as those last dregs are where the grit collects.
De-Fatting Venison Broth
Optionally, you can allow the stock to cool slightly so you can remove the fat. Venison fat solidifies quickly, so if you simply leave it sit even at room temperature for an hour or two, you’ll have a disk of solid fat that you can pull off in one piece.
That’ll give you the cleanest tasting stock, as the fat is where a lot of the “gamey” or “muddy” flavors come from.
Seasoning and Storing
Taste the clarified broth and add salt to taste. Salt is optional, and I tend to add it when I use the stock so I can adjust the salt level to accommodate my recipes.
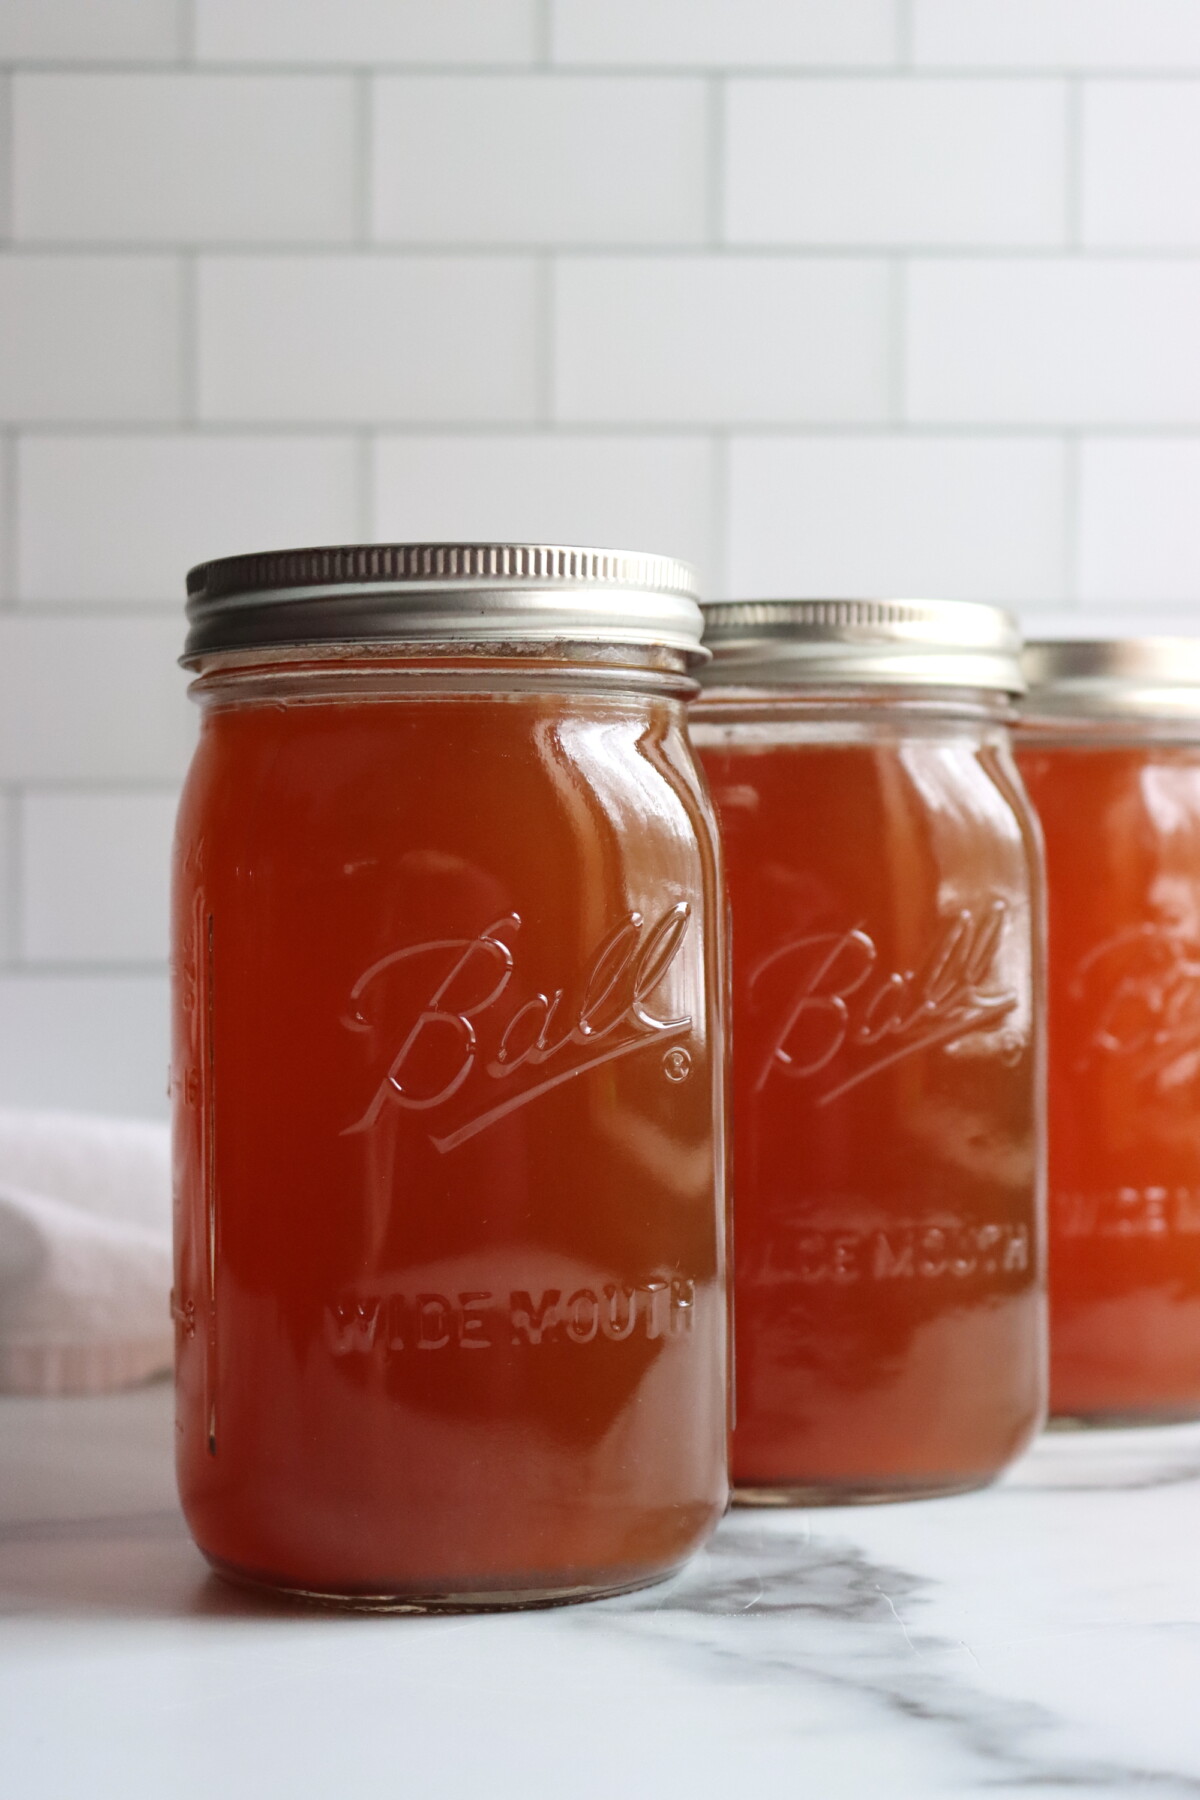
You can pour it into jars and freeze it (leaving about two inches of headspace, and making sure you use freezer safe containers), or you can move on to pressure canning for shelf-stable storage.
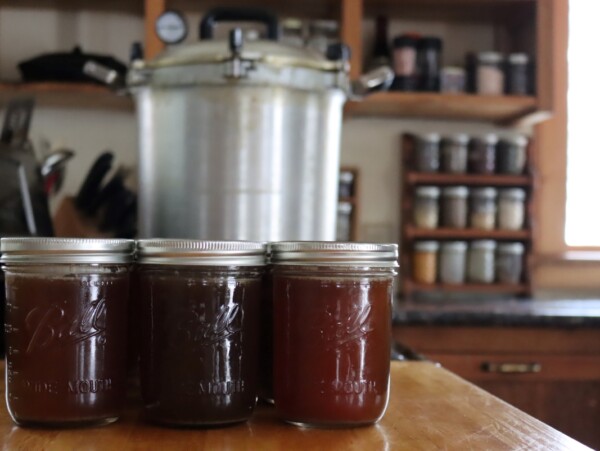
Canning Venison Broth
Broth is a low-acid food, which means you cannot safely can it in a boiling water bath canner. For shelf-stable storage, it must be pressure canned.
If you’re not familiar with pressure canning, read my beginner’s guide to pressure canning before you begin.
Prepare a pressure canner, jars, lids and rings.
For the best quality, I like to cool the strained broth first so the fat rises and solidifies, then scrape it off. This gives you cleaner broth and better sealing.
Reheat the broth to a full boil, then fill hot jars with boiling broth, leaving 1 inch headspace. Remove air bubbles, wipe the rims, and apply lids and rings fingertip-tight.
Process in a pressure canner using the same timetable as beef broth (meat stock): 20 minutes for pints and 25 minutes for quarts.
Make sure you adjust the pressure to your altitude, see below.
Let the canner come back down to zero pressure naturally, and wait until it’s cool before opening, then remove jars and let them cool undisturbed for 12 to 24 hours. Check seals before storing.
If you’d rather freeze the broth instead, it freezes very well. Just make sure to leave about 2 inches of headspace and use freezer safe containers (including straight sided freezer safe mason jars) so they don’t crack as the broth expands.
Altitude Adjustments
With pressure canning, the processing times stay the same at higher altitudes, but the pressures change. Here are the altitude adjustments for pressure canning:
For dial gauge pressure canners:
- 0 to 2,000 feet in elevation – 11 lbs pressure
- 2,001 to 4,000 feet in elevation – 12 lbs pressure
- 4,001 to 6,000 feet in elevation – 13 lbs pressure
- 6,001 to 8,000 feet in elevation – 14 lbs pressure
For weighted gauge pressure canners:
- 0 to 1,000 feet in elevation – 10 lbs pressure
- Above 1,000 feet – 15 lbs pressure

Serving Ideas
Venison broth can be used anywhere you’d use beef broth, and it works well when you’re making venison recipes. You can:
- Use it as the base for venison stew, barley soup, or French onion soup (it makes everything taste deeper).
- Swap it anywhere you’d use beef broth: gravies, pan sauces, pot pie filling, braised greens, beans.
- Cook rice, wild rice, or risotto in venison broth for an instant “special occasion” side dish.
- Reduce it to concentrate flavor for sauces (especially for roasts or backstrap).
Venison Broth FAQs
No. Broth is a low-acid food and needs to be pressure canned for shelf-stable storage. If you don’t have a pressure canner, freezing is the best option.
You’ll get the best flavor by simmering very gently for at least four hours (or overnight), then adding the remaining ingredients and simmering two more hours.
It’s strongly recommended for quality (and better sealing). Chill the broth, skim off the fat, then reheat to boiling before filling jars.
Use joints, knuckles, shanks, and connective-tissue-heavy bones, and keep a long, gentle simmer. Leaving some meat on the bones also improves the broth.
Broth Canning Recipes
If you tried this Venison Bone Broth Recipe, or any other recipe on Creative Canning, leave a ⭐ star rating and let me know what you think in the 📝 comments below!
And make sure you stay in touch with me by following on social media!
Venison Bone Broth
Equipment
Ingredients
- 4 lbs venison bones, with some meat on them
- 4 Tbsp olive oil
- 1 Tbsp juniper berries, optional
- 2 Tbsp rosemary, fresh or dried
- 1 Tbsp black peppercorns
- 1 Tbsp thyme, fresh or dried
- 4 whole bay leaves
- 2 medium onions, quartered
- 2 large carrots, peeled
- 2 whole celery sticks
- 1/2 bunch parsley
- Water, enough to cover bones
- salt, optional, to taste
Instructions
- Coat the bones with olive oil and salt well, then roast in a 400°F oven until brown. If you can stand it, keep some meat on the bones, since trim and shanks make a better broth. Put the bones in a large stockpot. If you’re working with large bones, saw them into big pieces with a hacksaw so you can fit more into the pot, which makes a richer broth. Cover with water and bring to a simmer over medium-high heat.
- Skim the froth that forms on the surface and simmer very gently for at least 4 hours; overnight is fine. You want the broth to steam and burble a little, not roil.
- Add the remaining ingredients and simmer for another 2 hours.
- Using tongs, pull out all the bones and large bits and discard. Set a paper towel in a fine-mesh sieve over another large pot and ladle the broth through to clarify it. Discard the dregs left in the bottom of the pot, which will be loaded with sediment.
- Salt the clarified broth to taste.
- To freeze, pour into jars leaving about 2 inches of headspace and freeze for up to a year.
- To pressure can, reheat to boiling, fill hot jars leaving 1 inch headspace, then process 20 minutes (pints) or 25 minutes (quarts), adjusting pressure for altitude and canner type.
Notes
Altitude Adjustments
With pressure canning, the processing times stay the same at higher altitudes, but the pressures change. Here are the altitude adjustments for pressure canning: For dial gauge pressure canners:- 0 to 2,000 feet in elevation – 11 lbs pressure
- 2,001 to 4,000 feet in elevation – 12 lbs pressure
- 4,001 to 6,000 feet in elevation – 13 lbs pressure
- 6,001 to 8,000 feet in elevation – 14 lbs pressure
- 0 to 1,000 feet in elevation – 10 lbs pressure
- Above 1,000 feet – 15 lbs pressure
Nutrition
Nutrition information is automatically calculated, so should only be used as an approximation.
Meat Canning Recipes
Find the perfect recipe
Searching for something else? Enter keywords to find the perfect recipe!