This post may contain affiliate links. Please see our disclosure policy.
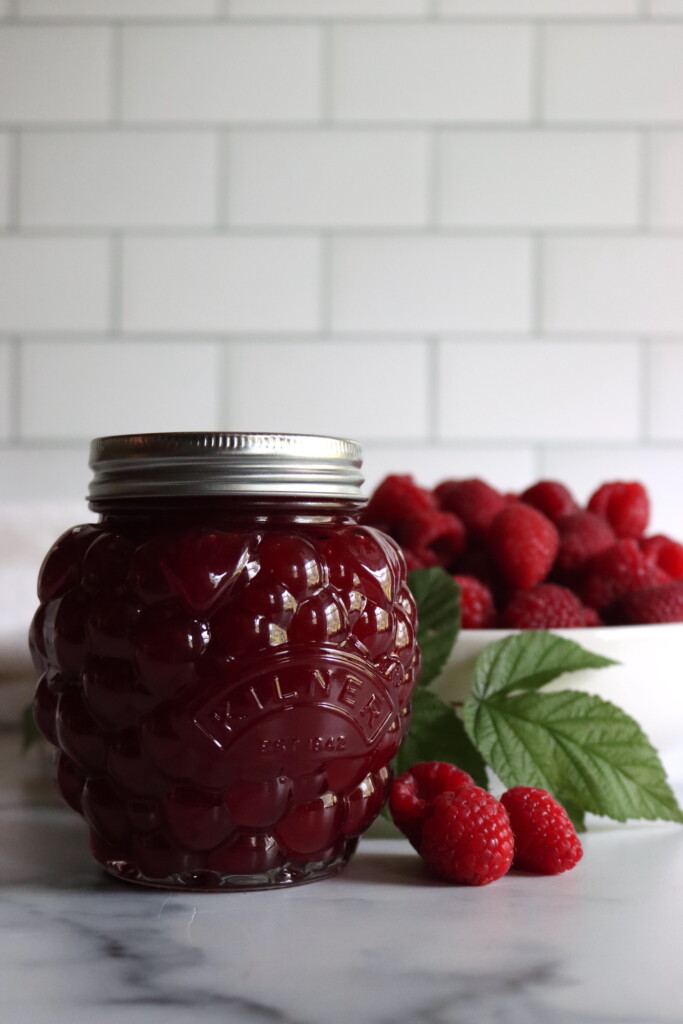
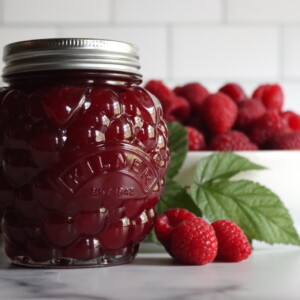
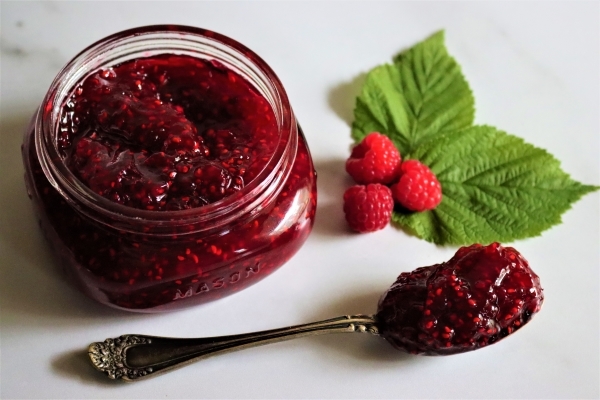
Seedless raspberry jam is smooth, tart, and packed with pure berry flavor—without the crunch of seeds. It’s just the thing for delicate desserts, morning toast, or anyone who loves raspberries but could do without the texture.
While it takes an extra step to strain the fruit, the silky texture is absolutely worth it.
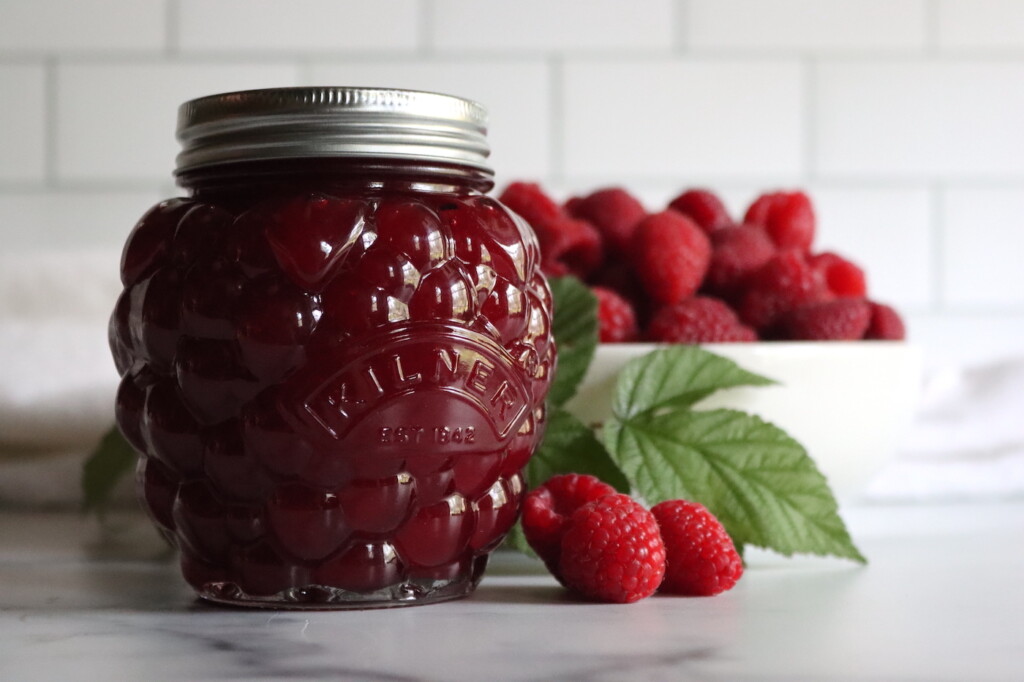
Seedless raspberry jam is one of the smoothest, most luxurious preserves you can make at home. It captures all the bright, tangy flavor of summer raspberries in a silky-smooth texture that spreads like butter. While traditional raspberry jam has its rustic charm, the seeds can be a dealbreaker for some—especially kids, picky eaters, or anyone using it in delicate desserts or glazes.
Removing the seeds does add a bit of extra work, but the result is absolutely worth the effort. This version is perfect for layering into cakes, stirring into yogurt, or slathering on toast without the crunch. And since raspberries are naturally high in both pectin and acid, you don’t need to add any boxed pectin.
With just fruit, sugar, and a bit of heat, you’ll end up with a shelf-stable preserve that tastes like summer in a jar.
A Quick Look at the Recipe
- Recipe Name: Seedless Raspberry Jam
- Recipe Type: Jam (Natural No Added Pectin)
- Canning Method: Waterbath Canning
- Prep/Cook Time: 30 Minutes
- Canning Time: 10 Minutes
- Yield: 4 half pints
- Jar Sizes: Quarter Pint, Half Pint and Pint
- Headspace: 1/4 inch
- Ingredients Overview: Raspberries, Water, and sugar
- Difficulty: Moderate, be sure you review how to test for jelling in pectin free recipes. A food mill or food strainer also helps with this recipe.
Ingredients for Seedless Raspberry Jam
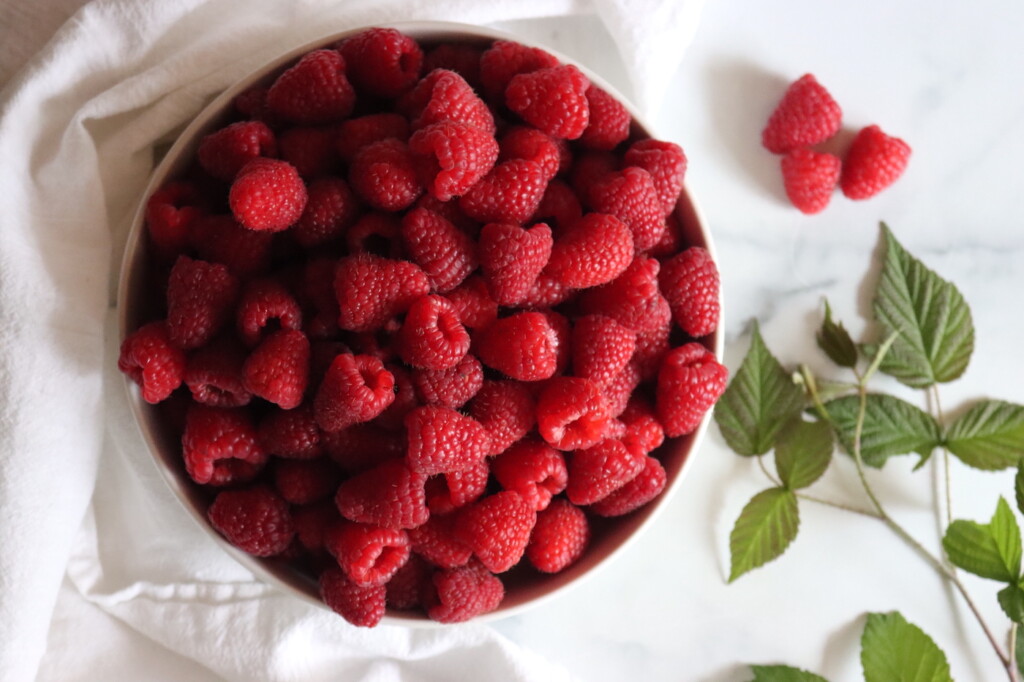
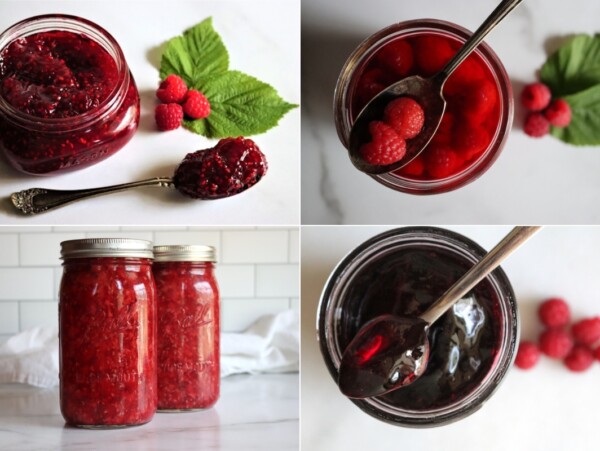
This small batch recipe starts with 8 cups of fresh raspberries, which works out to about 2 pounds as purchased. Once the berries are mashed and cooked with 1 cup water, you’ll end up with roughly 4 cups of seedless pulp (and 1 cup of leftover seeds). The sugar can be adjusted to taste, but 3 cups sugar to 4 cups pulp creates a nicely balanced jam that gels well without added pectin.
You can add lemon juice if you want, but it’s not required for safety, since raspberries are already acidic enough for water bath canning. Adding 1 to 2 tablespoons of fresh lemon juice can help brighten the flavor and improve set in low-sugar versions.
Equipment for Seeding Raspberries
There are a few good options for removing raspberry seeds, depending on what you have available:
- A food mill with a berry screen is the easiest option and removes seeds quickly while preserving pulp.
- A chinois strainer or fine mesh sieve works well too, though it takes a bit more time and arm strength.
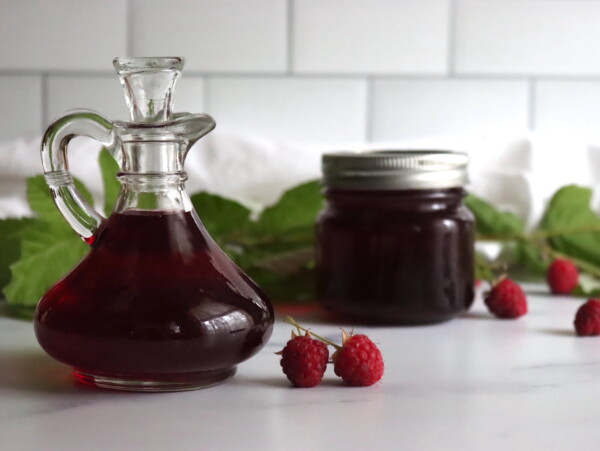
- A jelly bag will remove seeds entirely and give you a clear juice—but that creates more of a raspberry jelly than a jam, since you’ll lose the fruit pulp. Your yield will be significantly lower, and it’ll have a softer set.
Whatever tool you use, the key is to work in small batches and press the softened fruit through firmly, scraping down the pulp as needed.
Seeding Raspberries for Jam
Start with about 8 cups of whole raspberries, which is roughly 2 pounds as purchased. Once mashed, that should yield about 4 cups of crushed berries. The mashed berries are cooked with 1 cup water, and after straining, you’ll have around 3 1/2 to 4 cups of seedless raspberry pulp, depending on how thoroughly you work it through.
While you can try straining raw raspberries, they’re much easier to work with after a quick cook. Heating the berries helps them fall apart, releasing more juice and softening the pulp for straining.
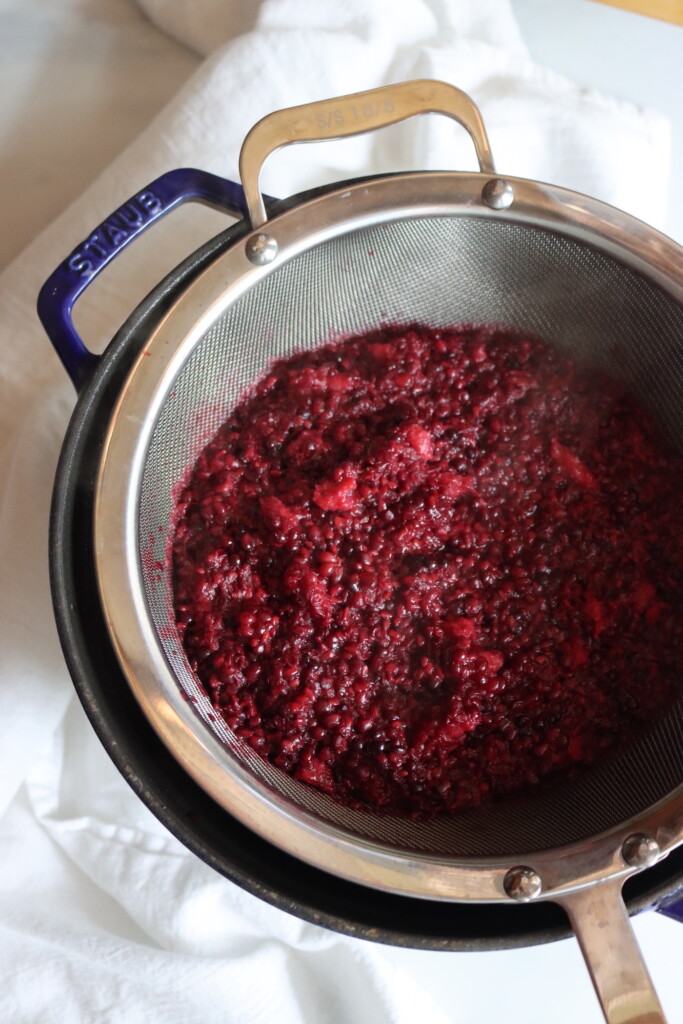
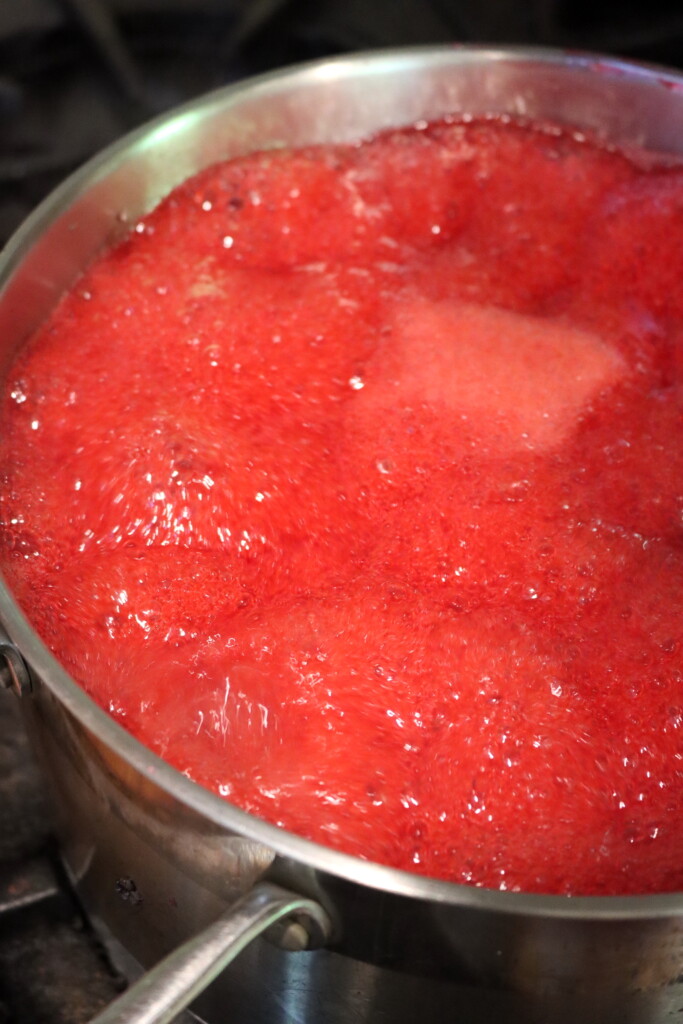
Add the crushed raspberries to a deep saucepan along with 1 cup of water. Bring to a gentle simmer and cook for about 5 minutes, mashing the fruit as it softens.
Once it’s fully broken down, run the mixture through a fine mesh sieve, chinois, or food mill with a berry screen to remove the seeds. Be patient—this step takes some effort, but the silky result is worth it.
Making Seedless Raspberry Jam
Return the strained raspberry pulp to a clean jam pot. You should have about 3½ to 4 cups of pulp, but if you have more or less, adjust the sugar accordingly. Stir in 3 cups of sugar and 2 tablespoons lemon juice, if using. If you ended up with significantly more or less pulp, aim for a 3:2 ratio of fruit pulp to sugar by volume.
Because raspberry jam foams quite a bit while cooking, use a deep, heavy-bottomed pot and avoid filling it more than halfway full.
Bring the mixture to a boil over high heat, stirring regularly to prevent scorching. The total cook time will depend on how juicy your raspberries are, but generally, it’s quite fast.
Cook for about 8 minutes, or until the jam darkens, thickens, and reaches gel stage. It will become glossy and reduce slightly in volume.
Testing for Set
For the plate test, keep a spoon and small plate in the freezer while you cook. When the jam looks close, drop a small spoonful on the cold plate. After 30 seconds, push it back with a spoon—if it wrinkles and holds its shape, it’s ready.
You can also use a thermometer. At sea level, jam sets at 220°F. If you’re above 1,000 feet in elevation, subtract 2°F for every 1,000 feet to determine your target temperature.

Canning Instructions
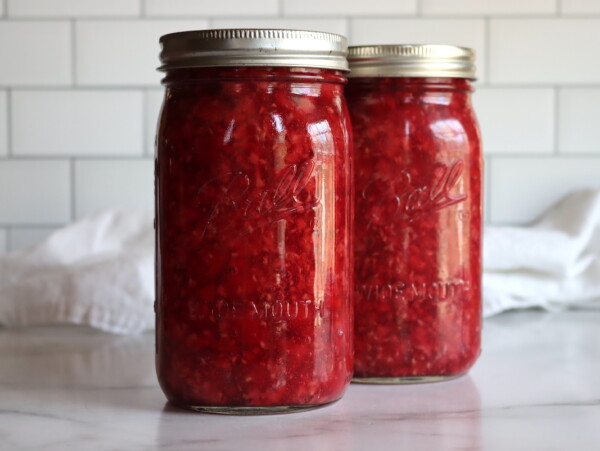
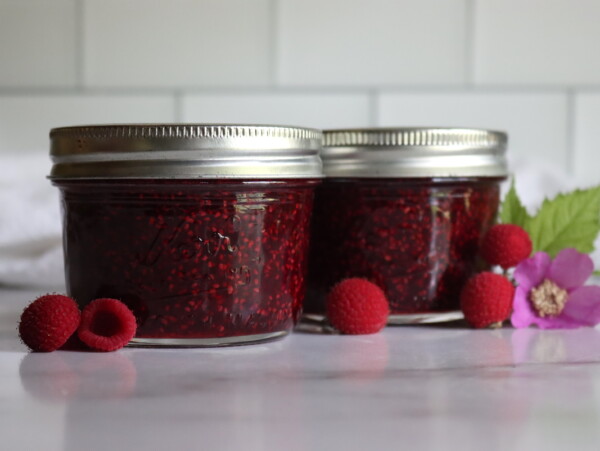
Ladle the hot jam into sterilized half-pint jars, leaving ¼ inch headspace. Wipe the rims with a clean, damp cloth, apply two-piece lids, and screw the bands on until fingertip tight.
Process pint or half pint the jars in a boiling water bath canner:
- 10 minutes at elevations up to 6,000 feet
- 15 minutes above 6,000 feet
Once the processing time is complete, turn off the heat and let the jars rest in the canner for 5 minutes before removing them. Allow the jars to cool undisturbed for 12 to 24 hours, then check seals, label, and store in a cool, dark place. Properly sealed jars will keep for 12 to 18 months.
FAQ
Yes, thaw first and proceed as directed. Cooking helps soften the fruit for easier straining. The jam may have a slightly softer set, as freezing reduces the pectin in fruits.
If you prefer a traditional jam, feel free to leave them in. Your yield will be higher if you leave the seeds in the jam, but it obviously won’t have the smooth texture of a seedless berry jam.
Properly canned, it keeps 12–18 months in the pantry. Once opened, refrigerate and use within 2 to 3 weeks.
You can, but jam cooks more evenly in small batches. For best texture and set, stick to no more than 8 cups pulp per batch.
Raspberry Canning Recipes
If you tried this Seedless Raspberry Jam recipe, or any other recipe on Creative Canning, leave a ⭐ star rating and let me know what you think in the 📝 comments below!
And make sure you stay in touch with me by following on social media!
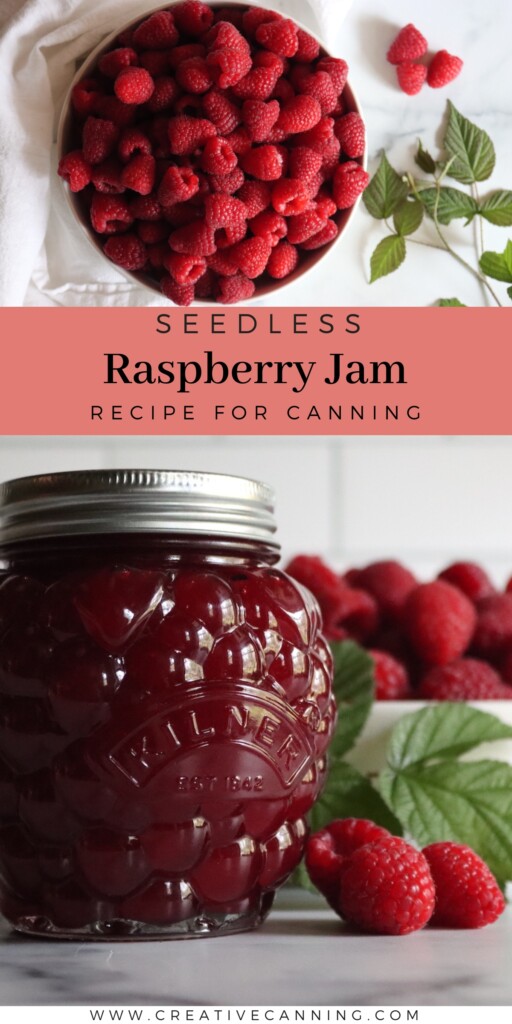
Seedless Raspberry Jam
Ingredients
- 8 cups raspberries, fresh or frozen
- 3 cups sugar
- 2 tbsp lemon juice, optional
Instructions
- Prepare jars and canner: Wash and sterilize 4 to 5 half-pint jars. Place lids in warm water (not boiling) and keep your canner setup hot.
- Cook the berries: Add raspberries and water to a deep jam pot. Simmer gently over medium heat for about 5 minutes, mashing with a potato masher to help them break down.
- Strain the seeds: Remove the pot from heat and pass the fruit through a food mill, chinois, or fine mesh sieve to remove the seeds.
- Add sugar and lemon juice: Return the pulp to a clean jam pot. Stir in sugar and optional lemon juice. Mix well to dissolve.
- Boil to gel stage: Bring the mixture to a boil over high heat. Cook, stirring constantly, for about 8 to 10 minutes until the jam thickens and reaches 220°F (adjust for altitude).
- Jar the jam: Remove from heat and ladle hot jam into prepared jars, leaving 1/4 inch headspace. Wipe rims, apply lids, and tighten bands fingertip tight.
- Process: Water bath caner for 10 minutes, or 15 minutes if above 6,000 feet in elevation.
- Cool and store: Let jars rest 12–24 hours before checking seals. Store sealed jars in a cool, dark place for up to 18 months.
Notes
Gel Stage Testing Methods
- Plate Test: Freeze a spoon and plate. Spoon a bit of hot jam onto the plate, wait 30 seconds, then drag your finger through. If it wrinkles and leaves a trail, it’s ready.
- Thermometer Test: Jam sets at 220°F at sea level. Subtract 2°F for every 1,000 feet of elevation.
- Sheeting Test: Dip a spoon in the jam and turn it sideways. If the jam drips slowly or in a sheet rather than droplets, it’s likely done.
Altitude Adjustments
If canning, both pints and half pints are canned in a waterbath canner for 10 minutes. If you’re above 6,000 feet in elevation, be sure to increase the canning time to 15 minutes. Don’t can in jars larger than pints.Nutrition
Nutrition information is automatically calculated, so should only be used as an approximation.
My local farmers market had a deal on flats of red raspberries this past weekend so I used your recipe to turn them into jam. Turned out great, thank you for sharing!
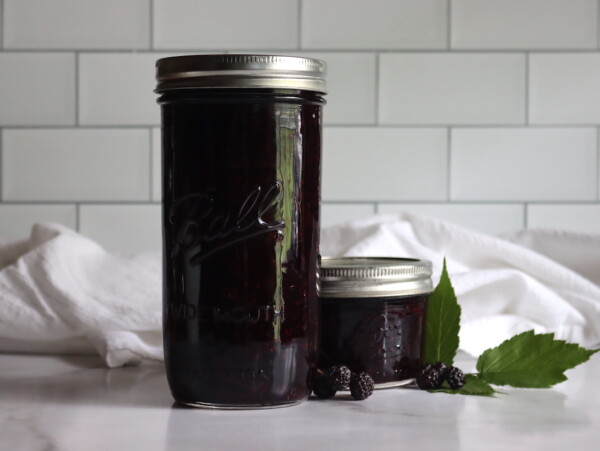
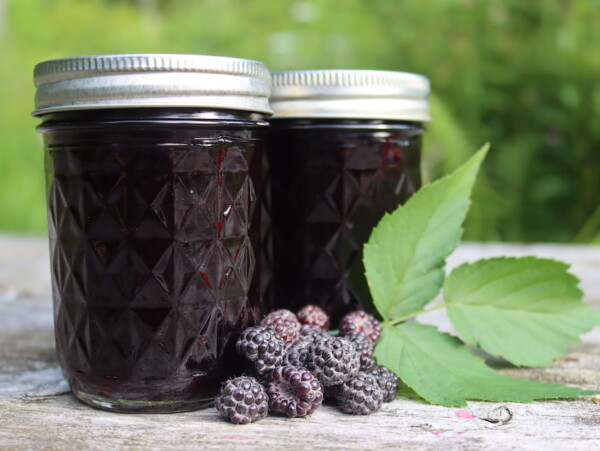
(I used your Seedless Blackberry Jam recipe recently too.)
Lovely! I’m so glad you liked it!
This has been my go to jam all week! It was easier than I expected to get all the seeds out with a fine mesh strainer, and the flavor it top notch!