This post may contain affiliate links. Please see our disclosure policy.
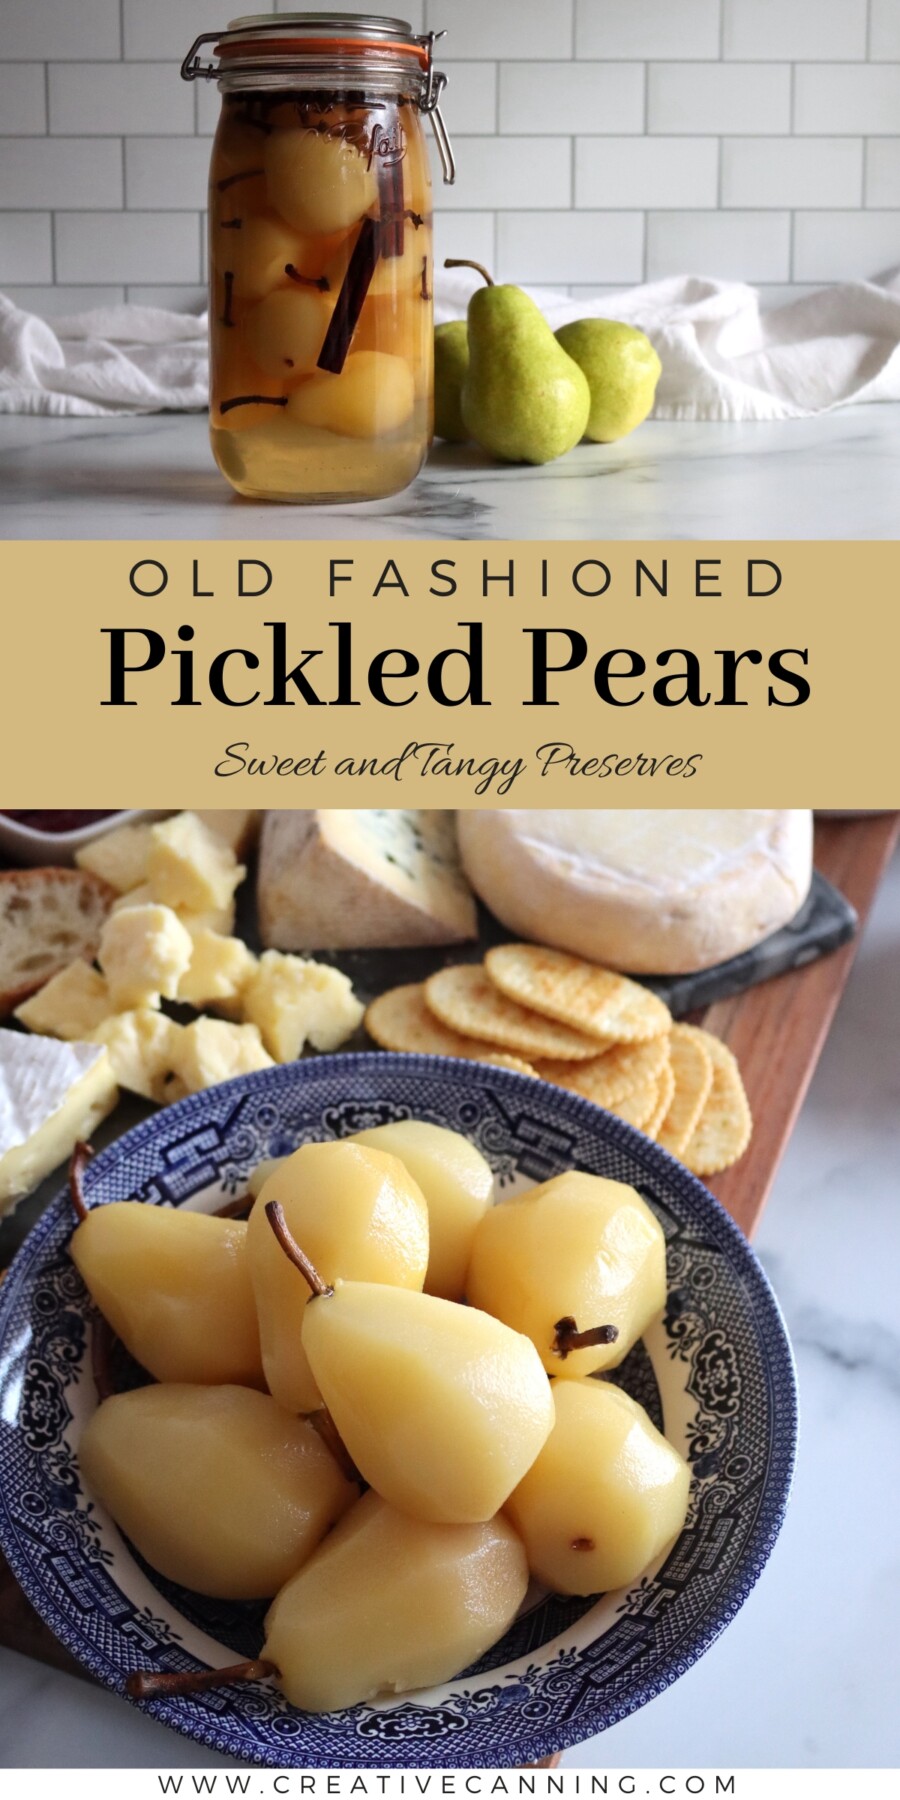
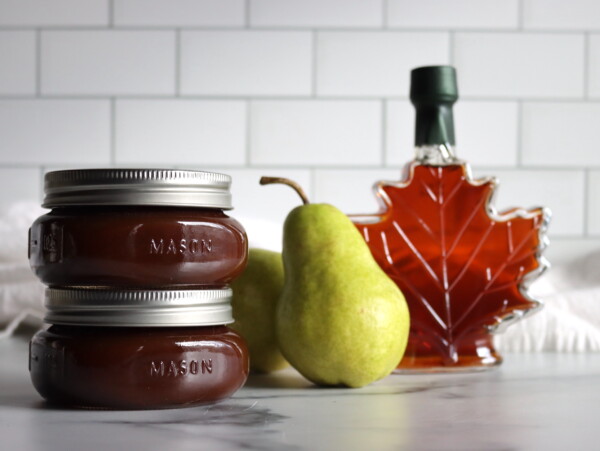
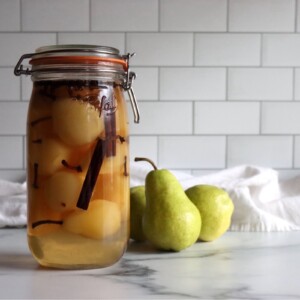
Pickled pears are one of those old-fashioned pantry projects that feel a little fancy, even though they’re wonderfully practical. You end up with tender pears in a clear, spiced syrup that tastes like the holidays, and they’re just as at home on a weeknight next to a pork roast as they are on a fancy cheese board or beside a slice of pound cake.
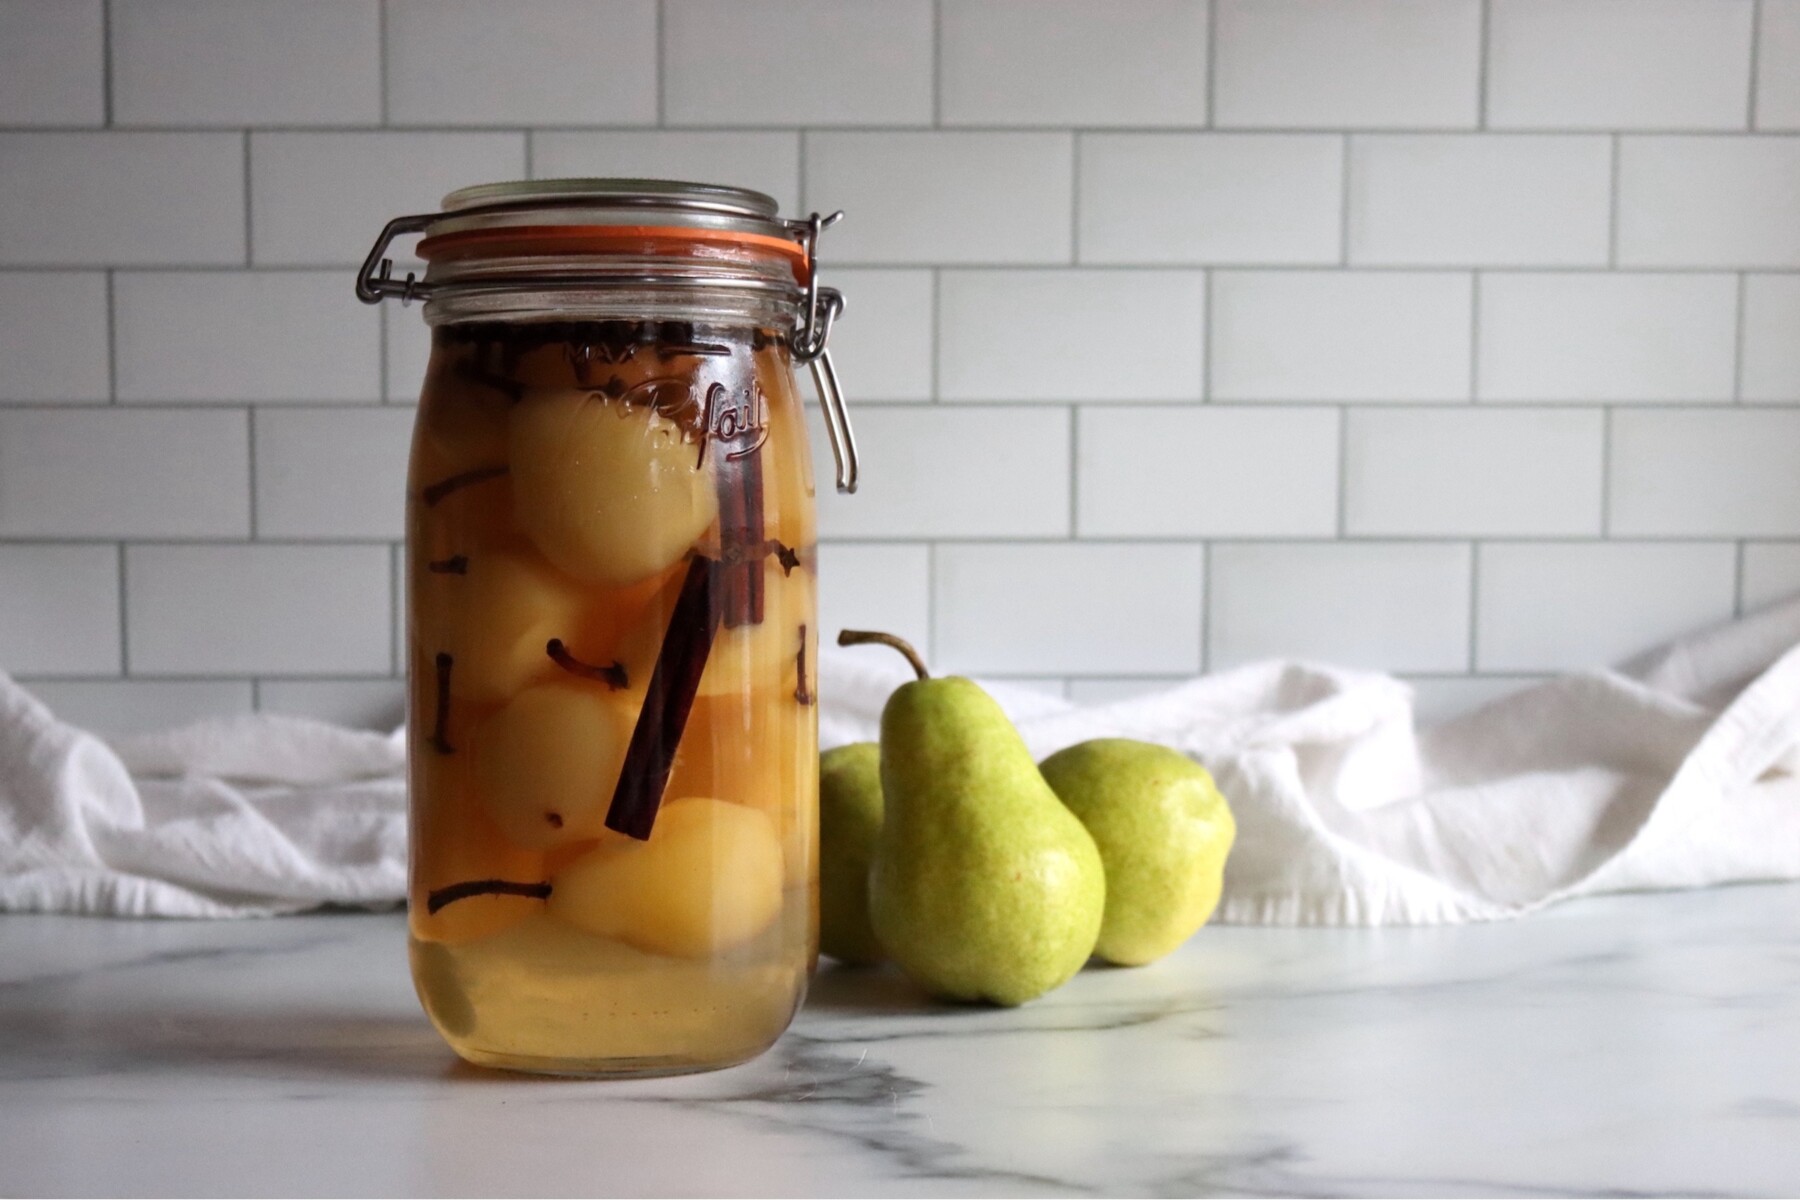
Table of Contents
- Why you’ll love this Old Fashioned Fruit Pickling Recipe!
- A Quick Look at the Recipe
- Ingredients for Pickled Pears
- Yield Notes & Jar Sizes
- How to Make Pickled Pears (Step-by-Step)
- Canning Pickled Pears
- Altitude Adjustments
- Serving Ideas
- Pickled Pear FAQs
- Pear Canning Recipes
- Pickled Pears Recipe
- Fruit Pickling Recipes
This recipe has been reviewed for safety and accuracy by a Master Food Preserver certified through the University of Cornell Cooperative Extension.
Fruit pickling recipes are fast becoming some of my favorite ways to preserve produce in season. They’re surprisingly good, and hold up better to canning than plain fruit in syrup. The vinegar intensifies the fruit flavor, and balances the sugar in the recipe so that everything comes out aromatic, with plenty of sweet tart goodness.
It’s a great way to make mediocre fruit pop, and make great fruit exceptional.
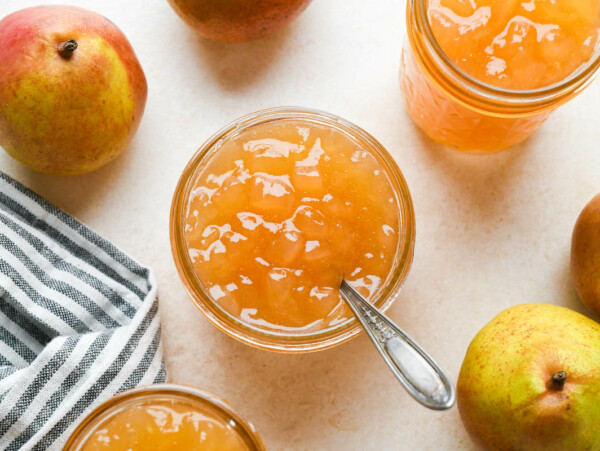
Don’t get me wrong, I love a well made pear jam, and it’s a lovely sweet treat, but these are balanced with sweet and tart, making them a lot more interesting in my pantry.
This is the National Center for Home Food Preservation’s recipe for pickled pears, and they’ve gotten it just right. The result is sweet, tangy, and warmly spiced, without being harsh or tasting “vinegary.”
Why you’ll love this Old Fashioned Fruit Pickling Recipe!

My husband often jokes that I’ve “never met a recipe I didn’t want to change,” but this recipe is perfect just the way it is. The syrup is rich enough to give the pears that glossy, preserve-like finish, and the warm spices infuse slowly so the flavor tastes rounded and deep instead of sharp. It’s also a great way to use up smaller, firm pears when they’re at their best, and it turns them into something you can pull off the shelf months from now when you want a little brightness next to a roast or a wedge of cheese.
They’re quite sweet, but the tang of the vinegar balances everything beautifully, and they’re equally at home beside roast meats or on a dessert spread.
A Quick Look at the Recipe
- Recipe Name: Pickled Pears
- Recipe Type: Fruit Pickling Recipe
- Canning Method: Waterbath Canning or Steam Canning
- Prep/Cook Time: 1 hour
- Canning Time: 20 Minutes
- Yield: 7 Pint Jars
- Jar Sizes: Half Pint or Pint (see notes about quarts)
- Headspace: 1/2 inch
- Ingredients Overview: Pears, Sugar, Vinegar and Spices
- Safe Canning Recipe Source: National Center for Home Food Preservation (NCHFP)
- Difficulty: Moderate. This recipe is process oriented. Make sure you simmer the fruit in the canning syrup before packing into jars. Don’t skip steps!
- Similar Recipes: The process is very similar to making other old fashioned fruit pickles, including Pickled Peaches, Pickled Figs, and Pickled Watermelon Rind. These recipes have the same long, slow cook process to infuse the fruit with tart, aromatic flavor.
Ingredients for Pickled Pears
The ingredients from the NCHFP are pretty simple, and create a sweet pickled pear in a richly spiced syrup. You’ll need:
- Sugar: This is a true preserve-style syrup. The sugar isn’t just for sweetness; it also helps the pears keep a nicer texture and balances the bite of the vinegar.
- White Vinegar (5% acidity): Use standard white vinegar labeled 5% acidity. You can also use other vinegar types, like cider vinegar or white wine vinegar, provided they’re 5% acidity.
- Water: The water dilutes the vinegar so the finished syrup is pleasantly tangy instead of sharp, while keeping the proportions true to the tested recipe.
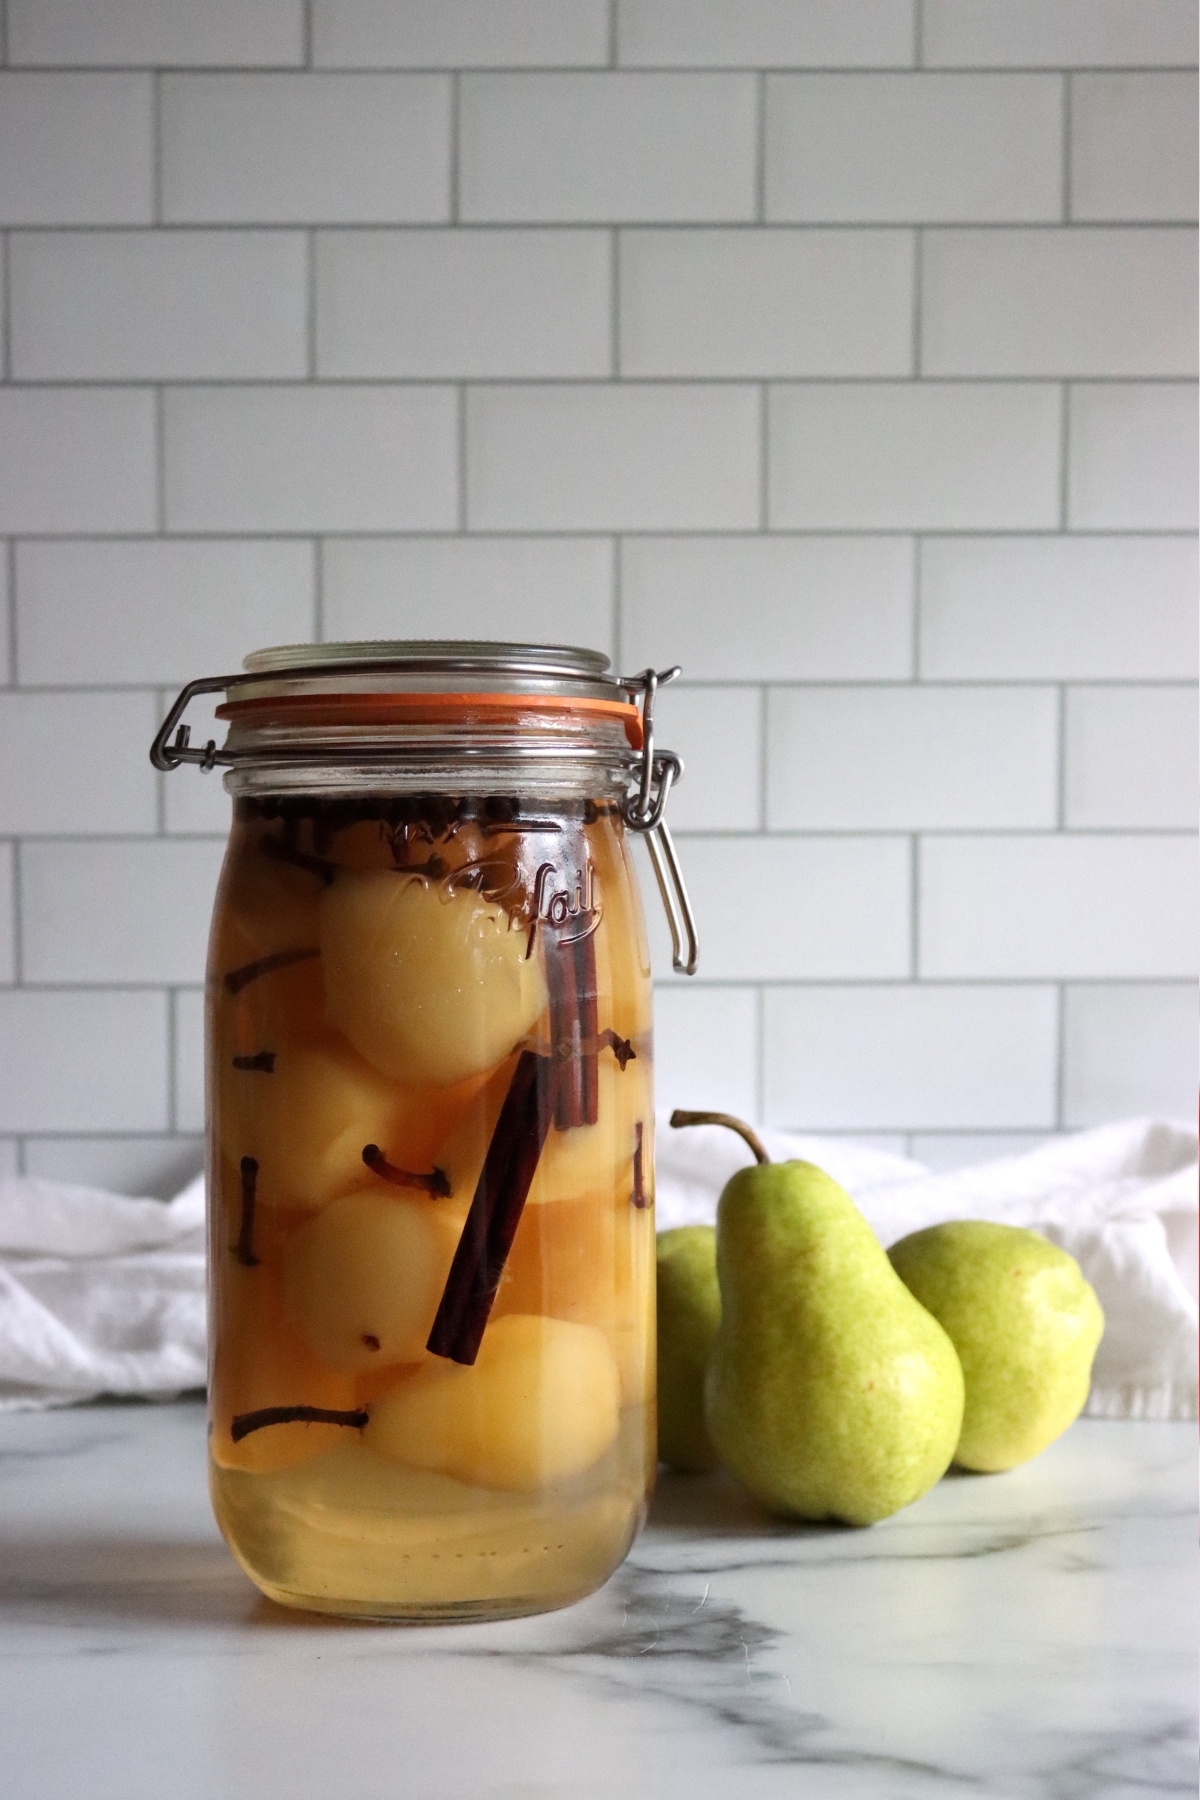
- Cinnamon Sticks: Cinnamon gives pickled pears their classic warm flavor. You’ll simmer some in the syrup and also add a piece to each jar for a pretty, traditional look.
- Whole Cloves and Whole Allspice: These add depth and that “mulling spice” character. Keeping them whole makes it easier to infuse the syrup without leaving gritty spice bits in the jar.
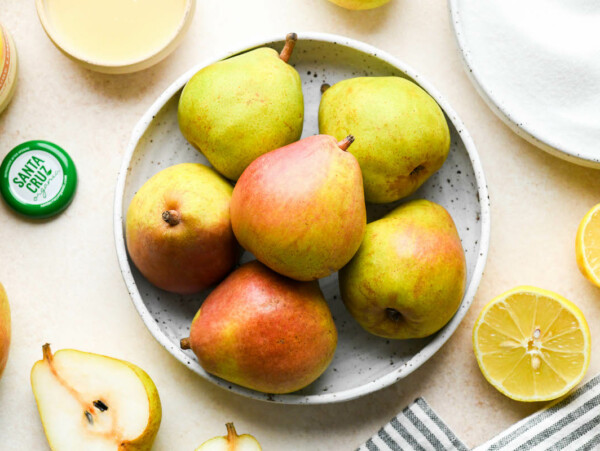
- Pears: Seckel pears are ideal, but any firm pickling pear works. Choose pears that are ripe enough to have good flavor, but still firm enough to hold their shape through simmering and canning.
- Optional: Ascorbic Acid Solution (to prevent browning): If you’re peeling a lot of pears, an ascorbic acid bath keeps them from darkening while you work. A bowl of water with a splash of lemon juice added works too.
The vinegar really balances all the sugar in this recipe, and I’d recommend sticking to the ratios as written. I know it seems like a lot of sugar, and it is a lot of vinegar, but it all comes together just right, I promise.
If you’re looking for a lower sugar pear canning recipes, try making pear sauce or pear butter instead. Those are just fine without added sugar. Similarly, canning pear pie filling can be done without added sugar, so feel free to add as much or as little as you like.
But if you’re making pickled pears, don’t try to reduce the sugar or you’ll regret it. They’re meant to be an accent, not a full course. One well made pickled pear goes a long way, and won’t break the bank in your calorie budget.

Yield Notes & Jar Sizes
This recipe makes 7 pints, but the yield can vary considerably based on the size of your pears. Bigger pears pack less efficiently, and often work best as halves rather than whole pickles.
The NCHFP only tested this recipe in pint jars, but the canning times are the same as for canning pears in syrup. The University of Louisiana Extension is the only authority that mentions canning pickled pears in Quarts. It is likely that canning times for quarts would be the same as for canning pears in syrup in quarts, but that jar size hasn’t been specifically tested for this recipe.
I’ve included times for quarts in the recipe notes, but know that only pints have been explicitly tested in this recipe and use your best judgement.
How to Make Pickled Pears (Step-by-Step)
This is a process heavy recipe, and you won’t get the right results if you just try to throw all the ingredients in the jars. Be sure you read through all the steps before you begin, and don’t try to shortcut the simmer times!
Make the Spiced Syrup
In a large pot, combine the sugar, vinegar, water, and cinnamon sticks. Tie the cloves and allspice in a clean, thin, white cloth (or use a spice bag), then add that bundle to the pot. (Or skip the spice bag and add them right into the pot, including them in the syrup in the finished jars.)
Bring the mixture to a boil. Reduce heat and simmer, covered, for about 30 minutes to infuse the syrup with spice.
Prepare the Pears
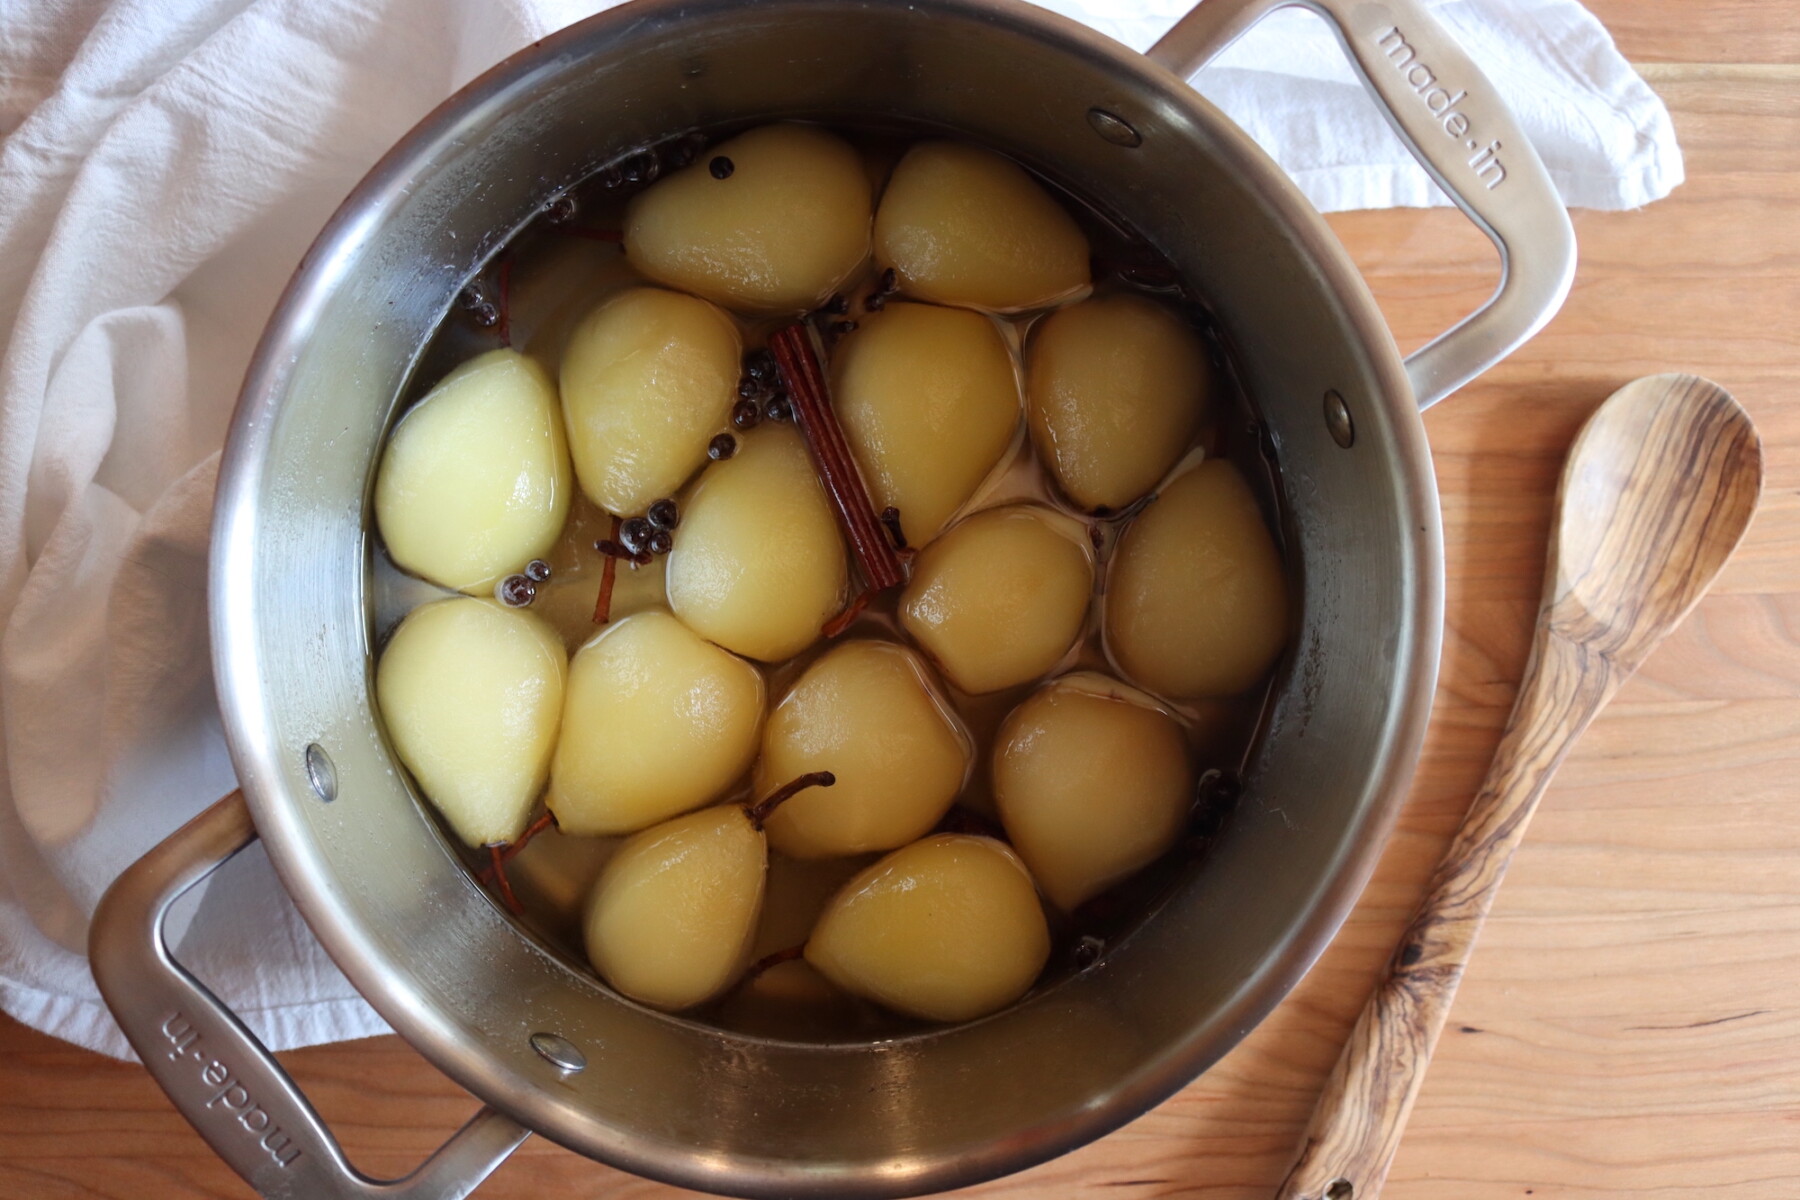
Wash the pears. Peel them and remove all of the blossom end. The stems may be left on if you’d like.
If the pears are large, halve or quarter them. To prevent peeled pears from darkening during prep, place them immediately into a cold solution containing 1/2 teaspoon ascorbic acid per 2 quarts water. Drain pears just before using.
Simmer Pears in the Syrup
Add the drained pears to the hot syrup. Bring the mixture back to a boil, then lower the heat and continue simmering for another 20 to 25 minutes, until the pears are heated through and becoming tender.
Try not to overcook them here. Pears will continue to soften slightly after canning, so tender-but-still-intact is the goal.
Canning Pickled Pears
Prepare a boiling water canner and heat jars (keep them hot until filling).
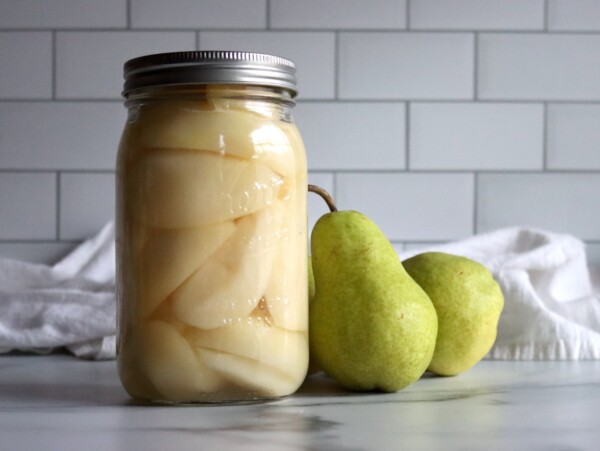
Pack hot pears into hot pint jars. Add one cinnamon stick to each jar (pulled from the simmering syrup).
Cover pears with boiling syrup, leaving 1/2-inch headspace, and make sure pears are covered by syrup. Remove air bubbles and adjust headspace if needed. Wipe rims of jars with a dampened clean paper towel, then apply two-piece metal canning lids to fingertip tight.
Process pint jars in a boiling waterbath canner for 20 minutes, adjusting for altitude (see below).
When the processing time is complete, turn off the heat, remove the canner lid, and let the jars rest for 5 minutes before lifting them out to cool.
Altitude Adjustments
This recipe has only been specifically tested by the NCHFP for canning in pint jars. Other extensions, including the University of Louisiana Extension, endorse canning in quarts, however those times haven’t been specifically laboratory tested.
That said, the canning times for pints are the same as for canning pears in syrup, and it follows that quart times for canning pears would be appropriate for pickled pears. I’ve included those times for reference below, but that jar size was not specifically tested in the development of this recipe (so use your best judgement).
Either way, this recipe is a hot pack recipe, and cannot be made as a raw pack recipe. Make sure you pre-simmer the fruit in syrup for the appropriate amount of time.
Altitude adjustments for hot pack are as follows:
- 0 to 1,000 ft: 20 minutes for pints, 25 minutes for quarts
- 1,001 to 3,000 ft: 25 minutes for pints, 30 minutes for quarts
- 3,001 to 6,000 ft: 30 minutes for pints, 35 minutes for quarts
- Above 6,000 ft: 35 minutes for pints, 40 minutes for quarts
Serving Ideas
For best flavor, wait at least 2 weeks before opening a jar so the syrup has time to fully take on the spice.
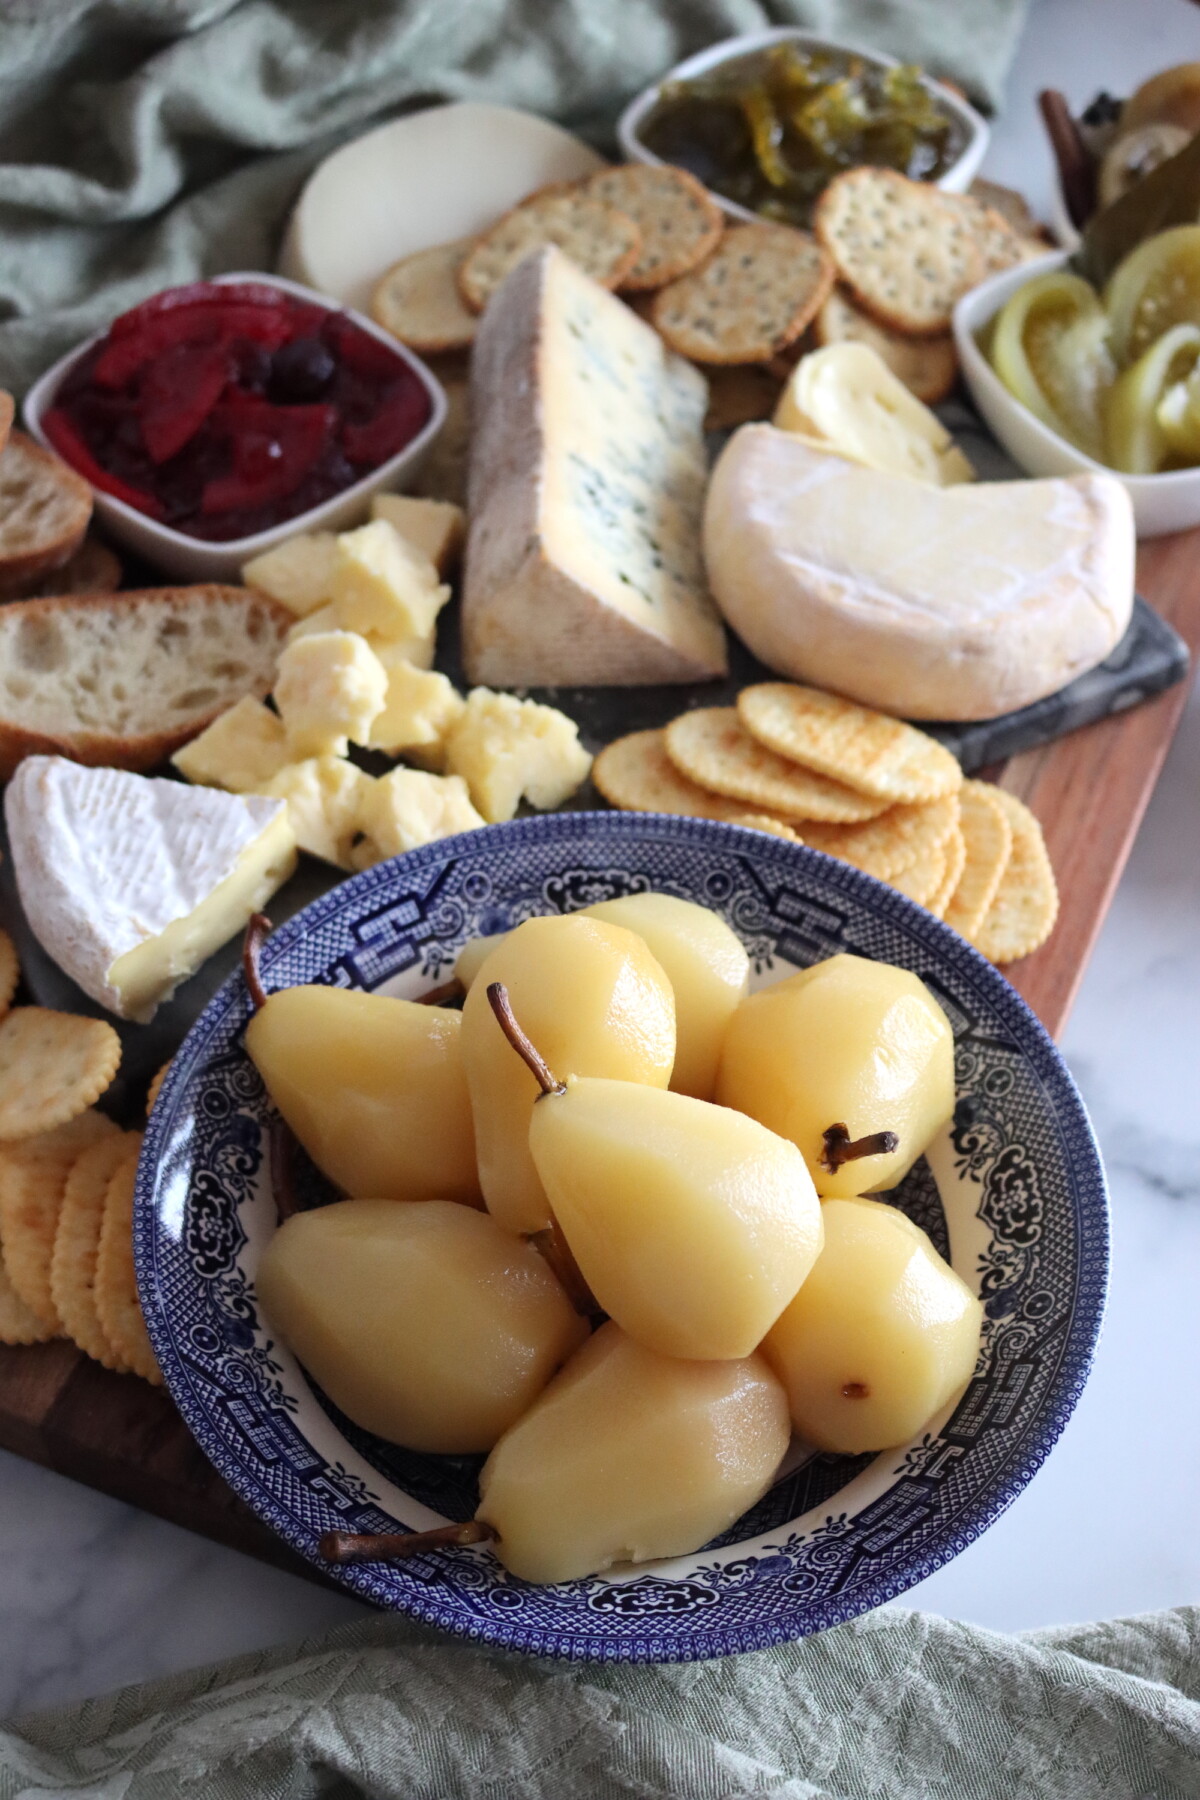
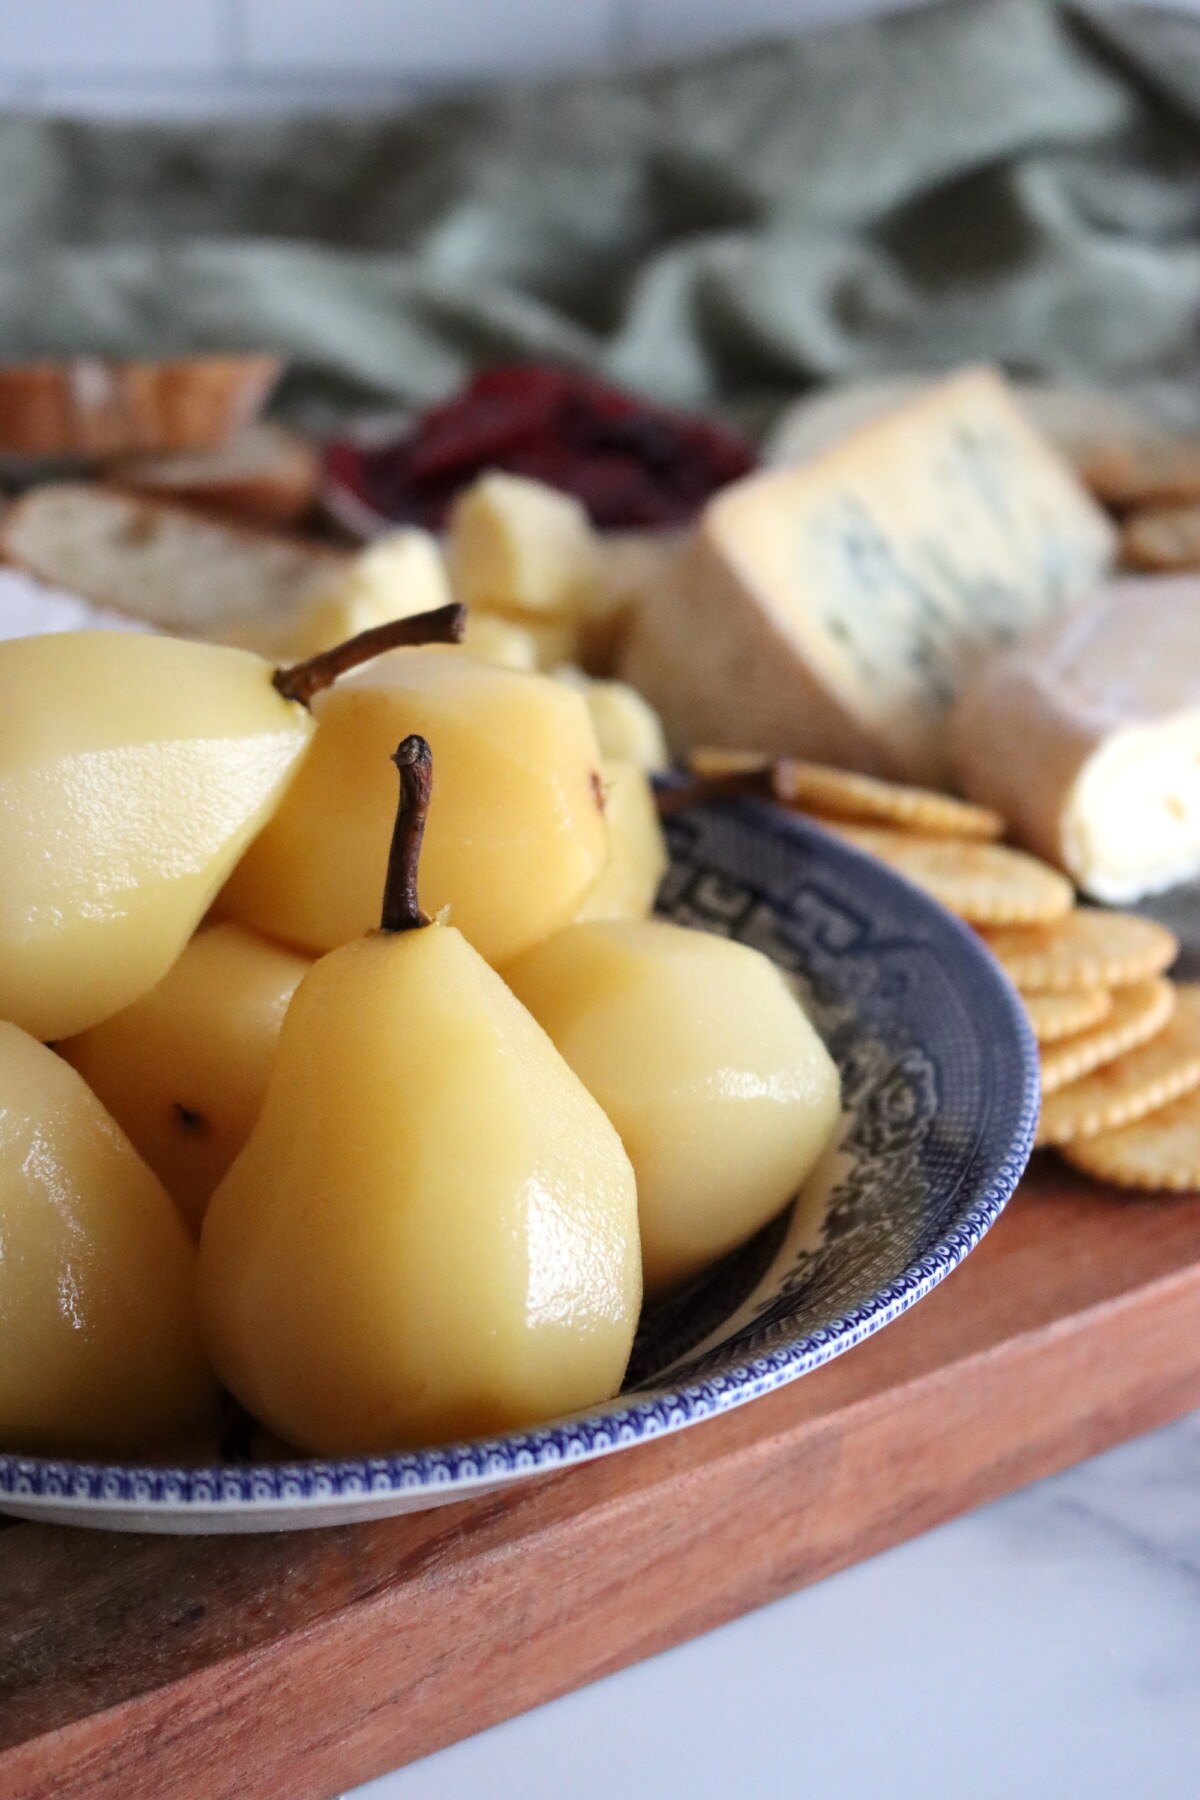
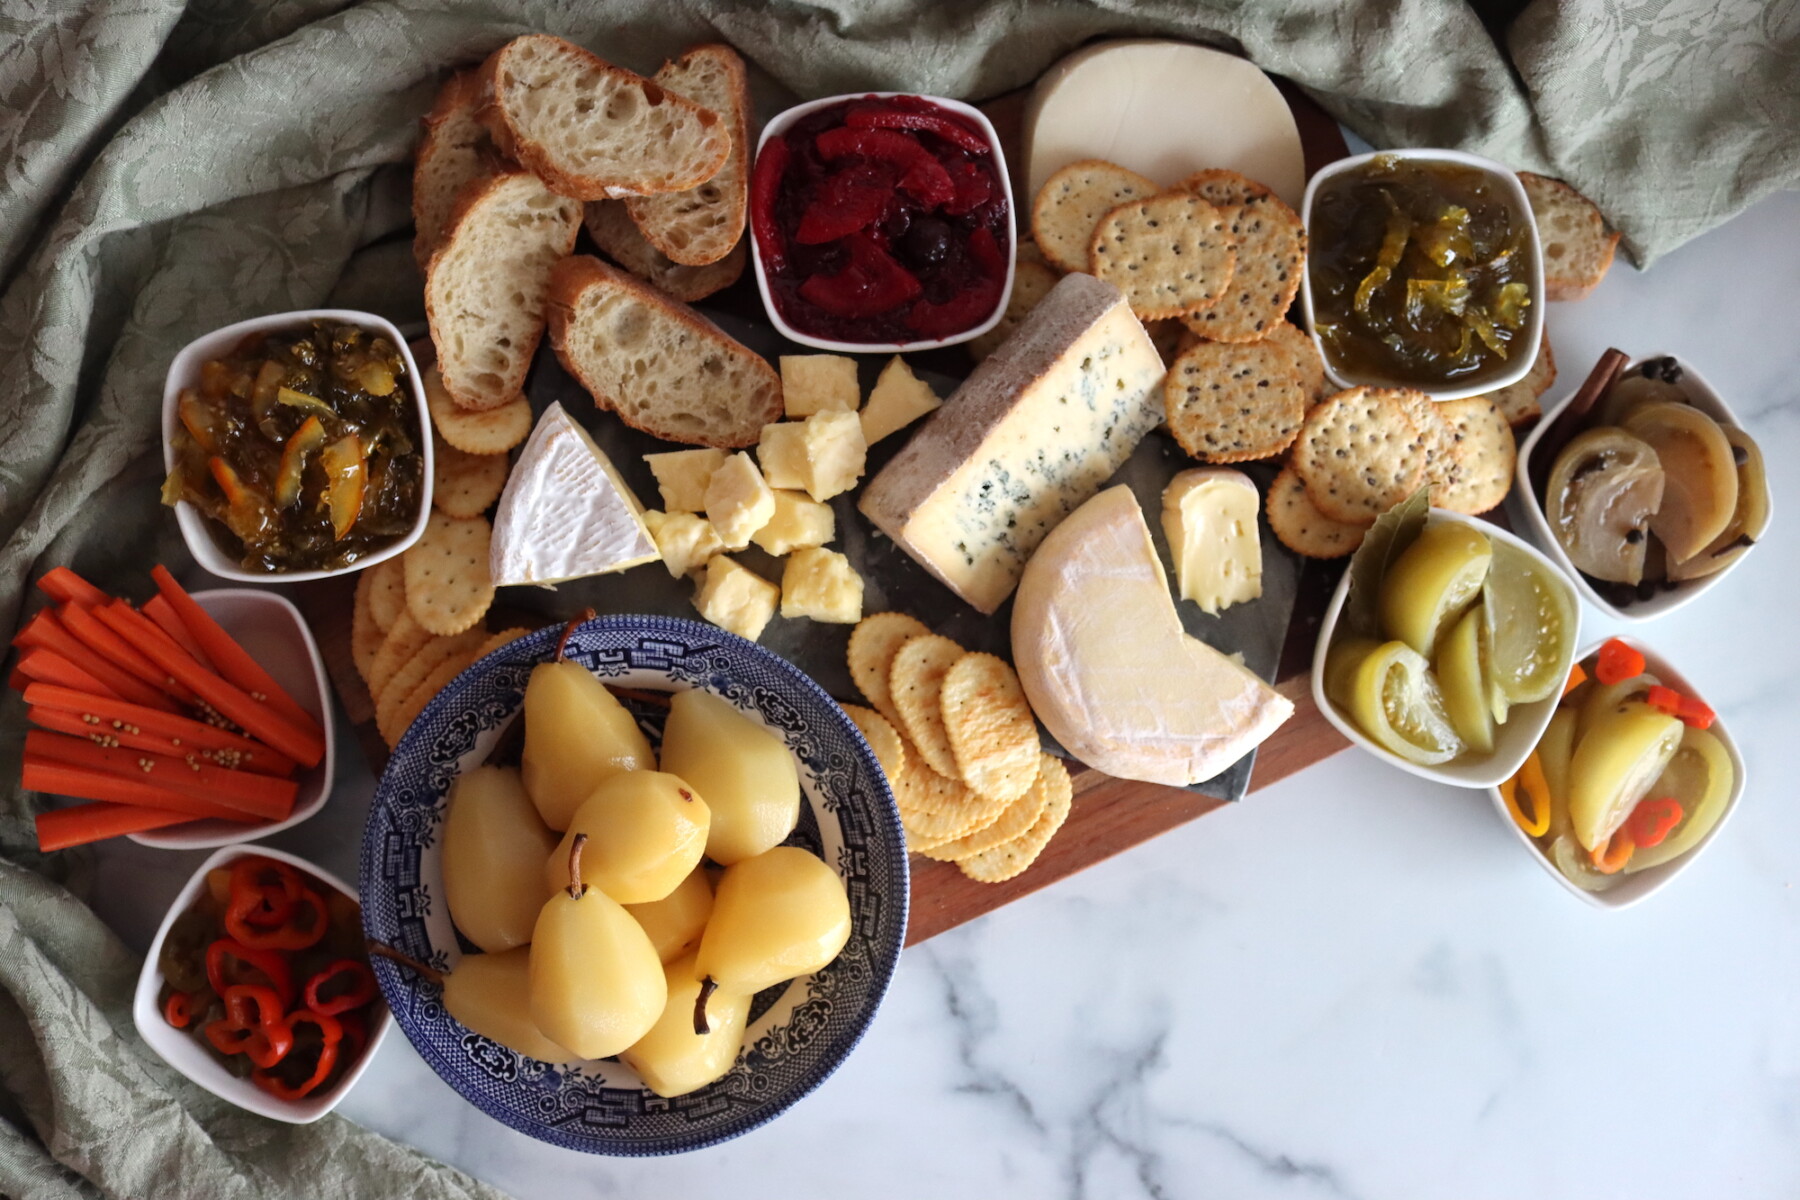
These pears are a natural fit for rich meals. I love them alongside roast pork, ham, or turkey, and they’re especially good with sharper cheeses like cheddar, blue cheese, or goat cheese. Sliced, they also make an easy upgrade for salads and charcuterie boards, and a spoonful of the spiced syrup is fantastic over vanilla ice cream or pound cake.
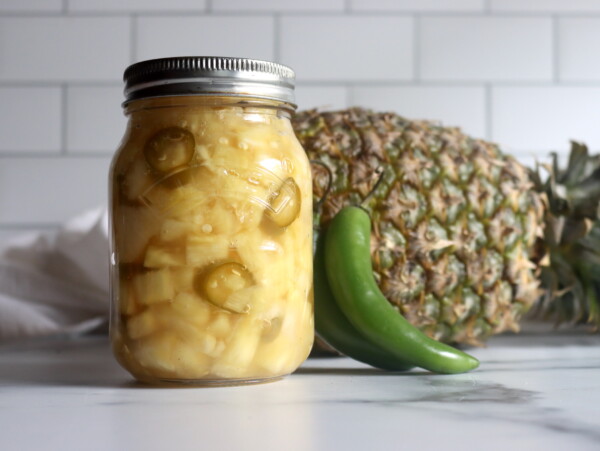
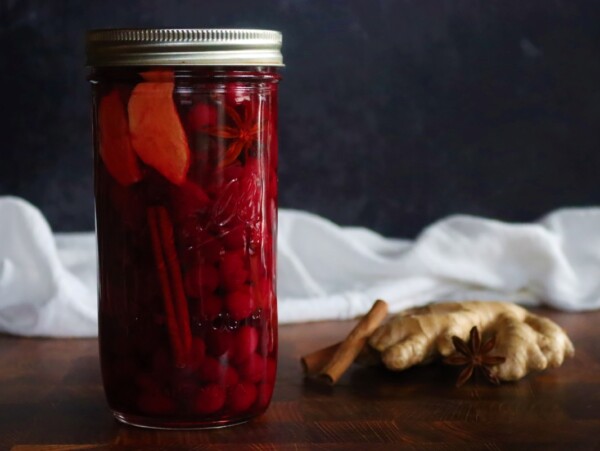
I added them as the centerpiece to my holiday charcuterie platter, alongside Pickled Peppers, Pickled Carrots, Green Tomato Marmalade, Cranberry Orange Marmalade, Italian Green Tomato Preserves and three types of pickled green tomatoes (sweet, dill and spicy).
Pickled Pear FAQs
You can technically open a jar as soon as it’s cooled and sealed, but the flavor improves a lot with a little time. I like to wait at least two weeks so the pears fully absorb the spices and the syrup mellows into that classic “holiday” flavor. They’re even better after about 2 to 3 months in the jar, so make them in September if you want to serve them on your holiday charcuterie board.
This recipe has only been specifically tested by the NCHFP for canning in pint jars. Other extensions, including the University of Louisiana Extension, do mention canning pickled pears in quarts, but those quart times haven’t been specifically laboratory tested for this exact recipe.
That said, the processing times for pints are the same as for canning pears in syrup, and it follows that the quart times for pears in syrup would likely be appropriate here as well. I’ve included quart times for reference, but since that jar size wasn’t specifically tested during development of this recipe, use your best judgement.
Either way, this is a hot pack recipe and cannot be made as a raw pack recipe. Make sure you pre-simmer the pears in the syrup before packing.
In this recipe, the sugar isn’t required for safe preservation, but it is required for quality. You’re making a strong syrup with sugar and vinegar, and that heavy syrup is what helps the pears keep a nicer texture and gives the finished pickles their classic “preserve-like” feel.
If you cut the sugar way back, the pears usually won’t hold their texture as well. The finished pickles will also taste much more sharply sour (because the vinegar won’t be balanced by sweetness), and the fruit is more likely to end up noticeably soft. If you do want a lower-sugar version, go into it expecting a tarter jar and a softer pear.
Pear Canning Recipes
If you tried this Pickled Pear Recipe, or any other recipe on Creative Canning, leave a ⭐ star rating and let me know what you think in the 📝 comments below!
And make sure you stay in touch with me by following on social media!
Pickled Pears
Equipment
Ingredients
- 8 cups sugar
- 4 cups white vinegar, or cider vinegar, 5% acidity
- 2 cups water
- 8 whole cinnamon sticks
- 2 Tbsp whole cloves
- 2 Tbsp whole allspice
- 8 Lbs Pears, Seckel, or other small firm pickling pear
Instructions
- Prepare a boiling water canner and heat pint jars. Keep jars hot until ready to fill.
- In a large pot, combine sugar, vinegar, water, and the cinnamon sticks. Tie cloves and allspice in a clean, thin, white cloth (or use a spice bag) and add to the pot.
- Bring to a boil, then reduce heat, cover, and simmer about 30 minutes.
- While the brine simmers, prepare the pears. Wash pears, peel, and remove all of the blossom end. Leave stems on if desired. Halve or quarter large pears. To prevent browning, hold peeled pears in an ascorbic acid solution while you work. Drain just before cooking.
- Add drained pears to the hot syrup. Bring back to a boil, then reduce heat and simmer 20 to 25 minutes, until pears are heated through and becoming tender.
- Pack hot pears into hot pint jars. Add one cinnamon stick per jar (from the simmer syrup).
- Ladle boiling syrup over pears, leaving 1/2-inch headspace and ensuring pears are covered. Remove air bubbles, adjust headspace if needed, wipe rims, and apply lids fingertip tight.
- Process pint jars in a boiling water canner for 20 minutes for pints, adjusting for altitude (see notes).
- Turn off heat, remove canner lid, and let jars rest 5 minutes. Remove jars and cool 12 to 24 hours. Check seals, label, and store.
Notes
Altitude Adjustments
This recipe is specifically tested by NCHFP for pint jars. Some extensions mention quarts, and the pint processing times match pears in syrup, so quart times are often assumed to be the same as for canning pears in syrup. That said, quarts haven’t been explicitly lab-tested for this exact pickled pear recipe. If you choose to can quarts, use your best judgement and understand that the larger jar size isn’t explicitly tested. Altitude adjustments for hot pack are as follows:- 0 to 1,000 ft: 20 minutes for pints, 25 minutes for quarts
- 1,001 to 3,000 ft: 25 minutes for pints, 30 minutes for quarts
- 3,001 to 6,000 ft: 30 minutes for pints, 35 minutes for quarts
- Above 6,000 ft: 35 minutes for pints, 40 minutes for quarts
Nutrition
Nutrition information is automatically calculated, so should only be used as an approximation.
Fruit Pickling Recipes
Find the perfect recipe
Searching for something else? Enter keywords to find the perfect recipe!