
This post may contain affiliate links. Please see our disclosure policy.
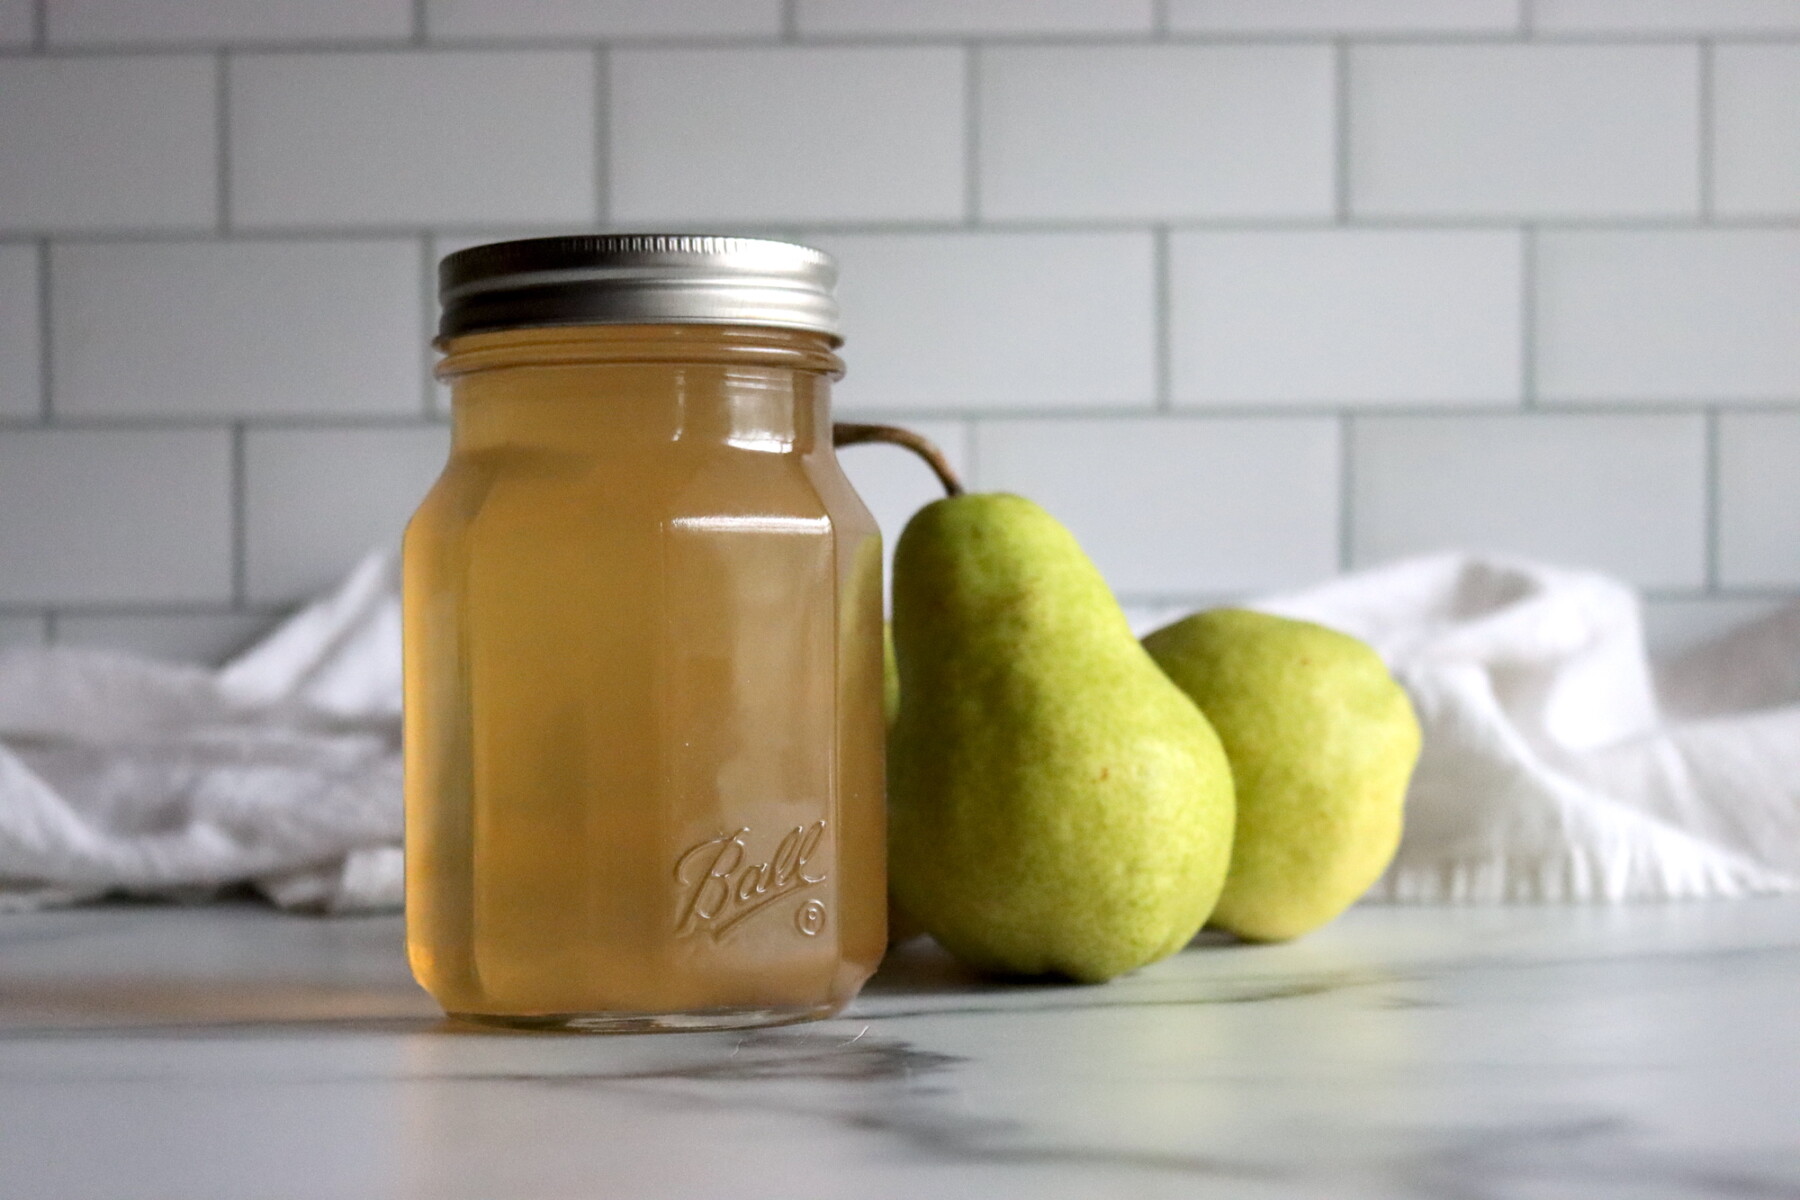
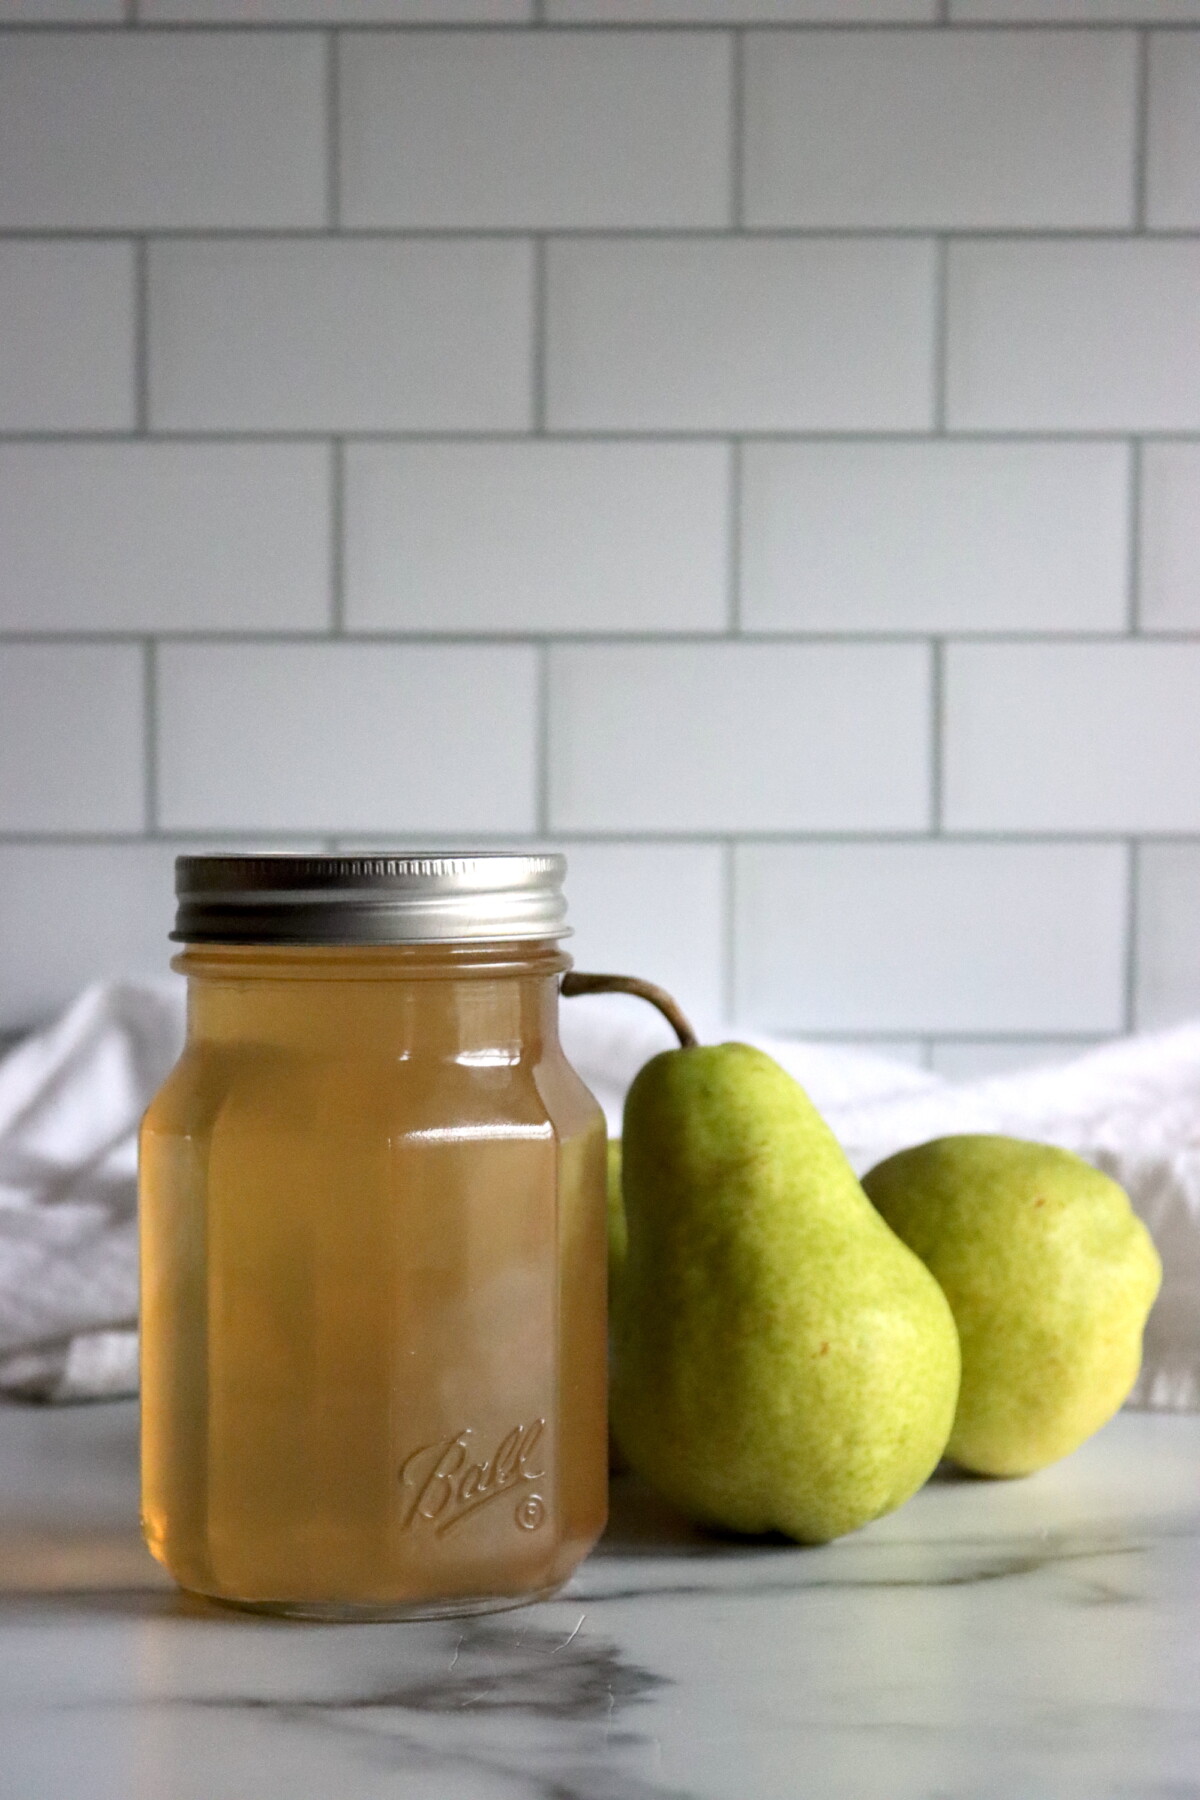
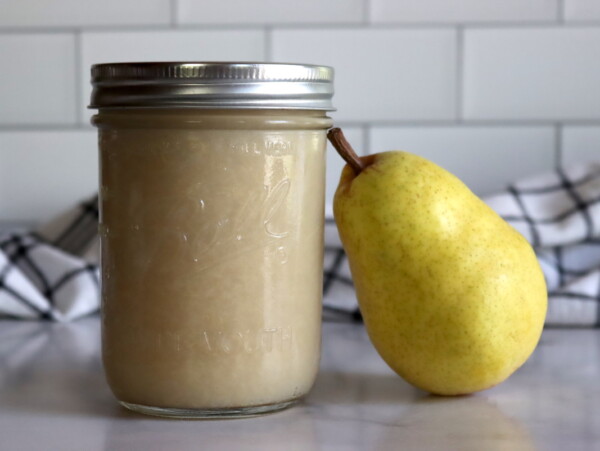
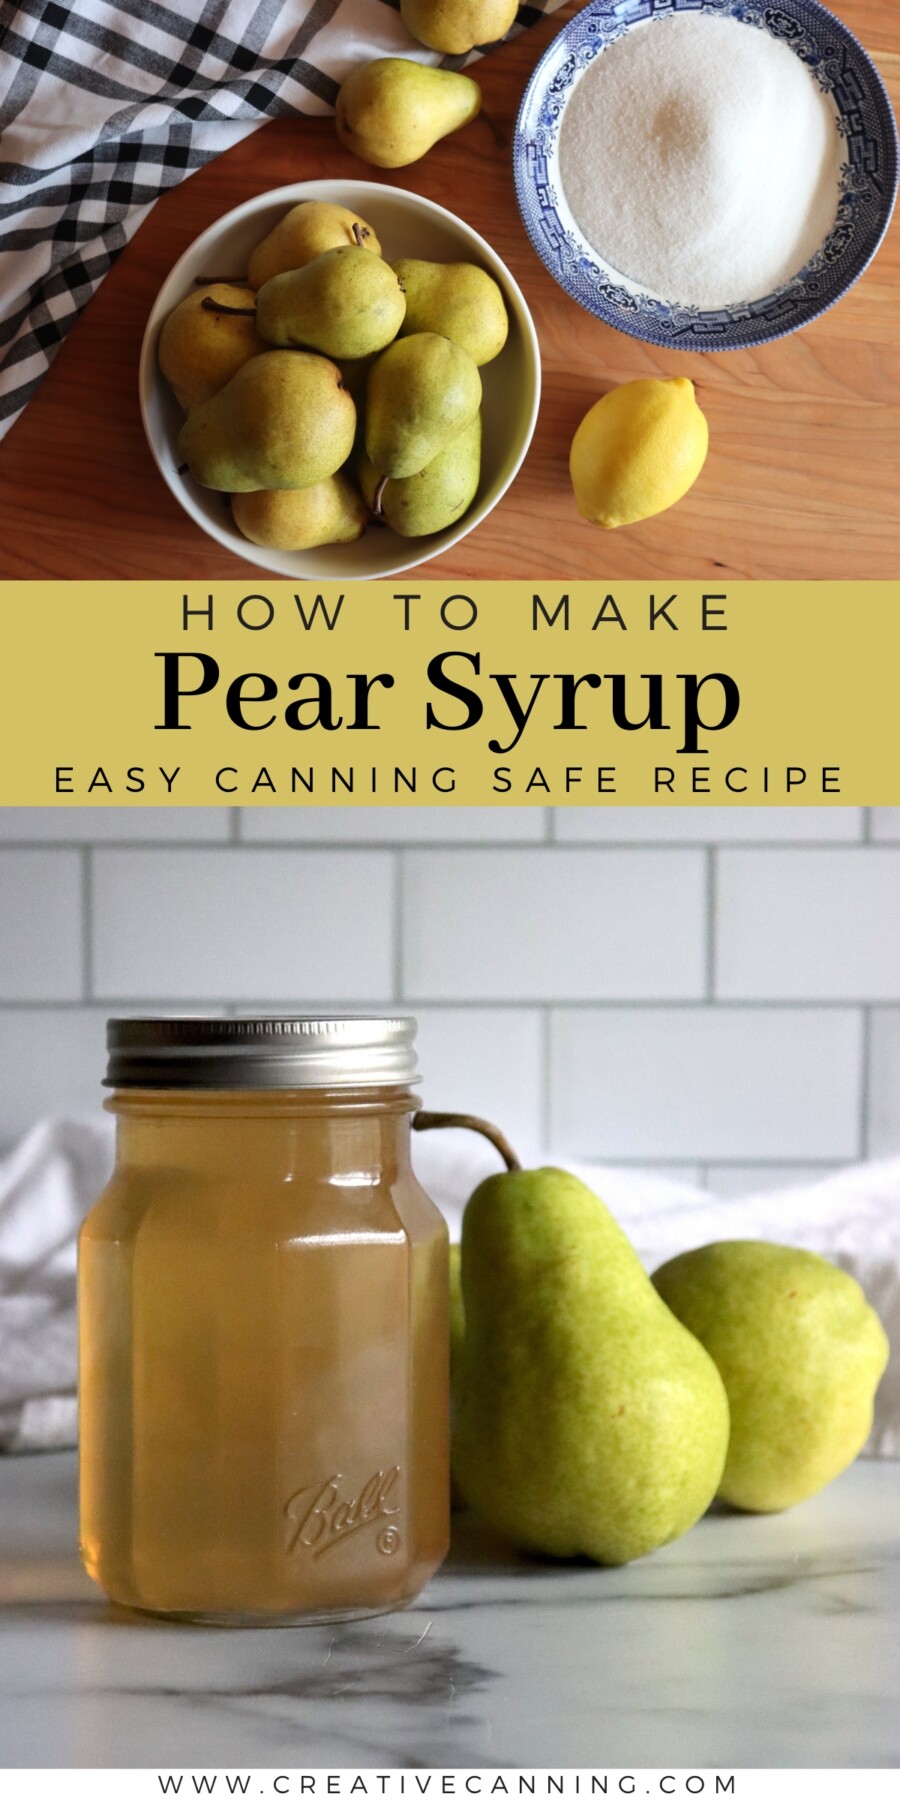
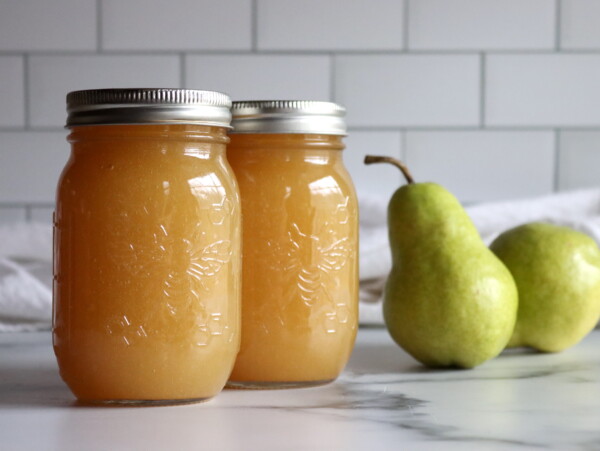
Pear syrup turns ripe pears into a golden, pourable sweetener that holds onto all the soft floral flavor of the fresh fruit. It’s thinner than honey but with more body than a plain simple syrup, perfect for pouring over pancakes, stirring into a cocktail, or sweetening anything that wants a little pear character. It’s a low-effort way to put up pears in a form that’s ready to use straight from the jar.
This recipe has been reviewed for safety and accuracy by a Master Food Preserver certified through the University of Cornell Cooperative Extension.
The method is the same juice extraction you’d use for jelly, just without the pectin. You quarter and simmer the pears, strain off the juice, then combine it with an equal amount of sugar and process. That 1:1 ratio of juice to sugar makes a syrup that’s sweet but not cloying, with enough real pear flavor to taste like fruit rather than sweetened water. If you have pears coming in faster than you can use them, this sits nicely alongside other pear canning recipes like pear jam and pear butter.
Pears are a high-acid fruit, so they’re safe to water bath can on their own, the same way plain canned pears are processed without any added acid. There’s a small amount of optional lemon juice in this recipe, but it’s there to brighten the flavor and keep the syrup from tasting flat, not to make it safe. You can add it or leave it out and the syrup cans the same either way.
Unlike jelly, which depends on pectin and hitting a gel point at exactly the right moment, syrup is forgiving. You’re dissolving sugar into juice and canning it, with no set to chase and no real way to have it fail. If you’re newer to preserving or just want a low-stress project, pear syrup is a good place to start.
Notes from My Kitchen

I reach for pear syrup when the pears are ripening all at once and I can’t keep up with peeling and coring them for halves or butter. Extracting juice and making syrup takes a fraction of the hands-on time, and it tucks all that pear flavor into a jar that’s ready whenever I want it. The straining does most of the work on its own while I do something else.
We go through it mostly at breakfast, poured over pancakes, waffles, and French toast. It’s also good stirred into sparkling water for a quick pear soda, or mixed into cocktails when I want fruit flavor without any chunks of fruit getting in the way.
Quick Look at the Recipe
- Recipe Name: Pear Syrup
- Recipe Type: Fruit Syrup
- Canning Method: Water Bath Canning
- Prep Time: About 20 minutes active, plus juice extraction and straining time
- Cook Time: About 15 minutes
- Canning Time: 10 minutes for pints or half pints
- Yield: About 3 pints or 6 half pints
- Jar Sizes: Pints or half pints
- Headspace: 1/4 inch
- Ingredients Overview: Pears, water, and sugar in a 1:1 juice to sugar ratio
- Safe Canning Recipe Source: NCHFP Berry Syrup procedure, adapted to pears
- Difficulty: Easy. The straining takes time but requires no attention.
- Similar Recipes: Making pear syrup is similar to other fruit syrup canning recipes, like blackberry syrup and raspberry syrup. If you have more pears to put up, try other pear canning recipes like pear jam or pear preserves.
Ingredients
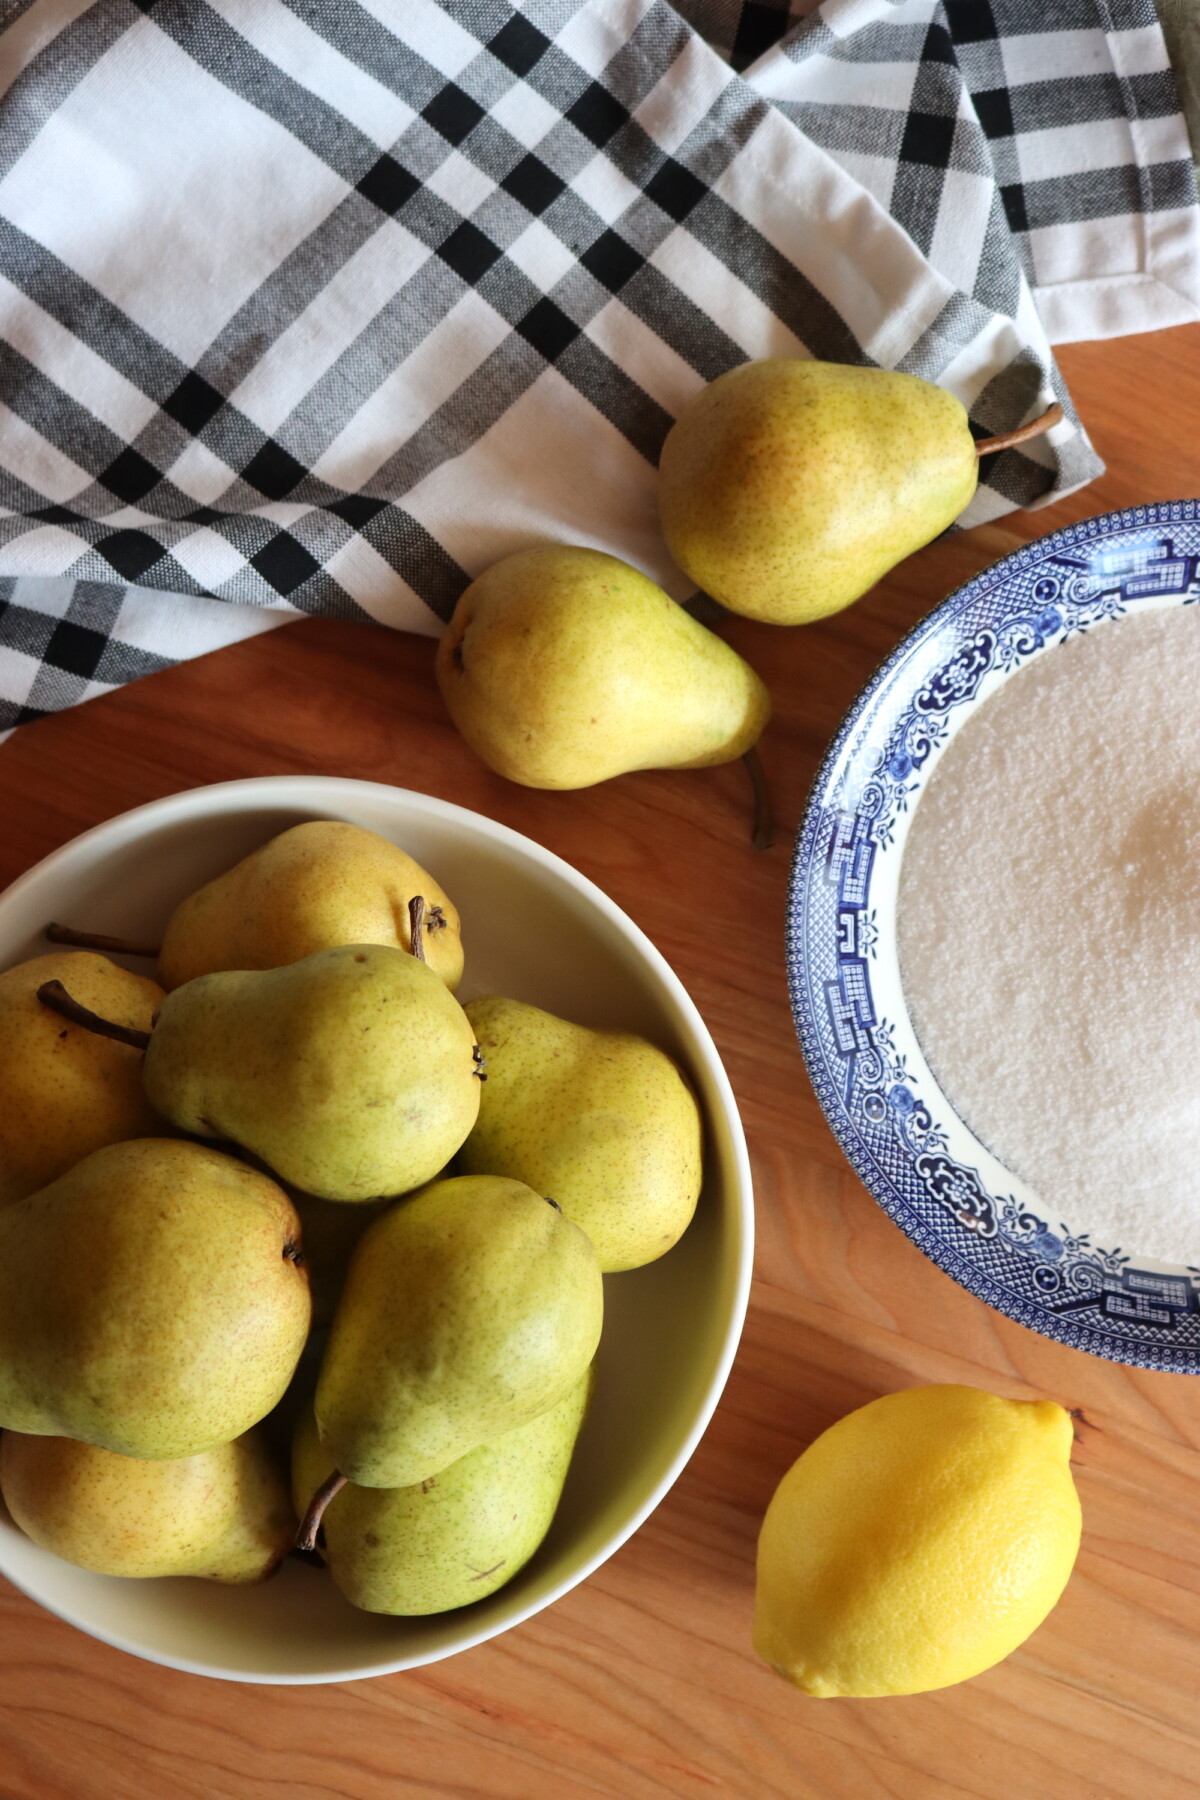
Pear syrup comes together with just a few simple ingredients, and the only one that matters for the final flavor is the pears themselves. You’ll extract the juice first, the same way you would for jelly, then combine it with sugar in equal measure.
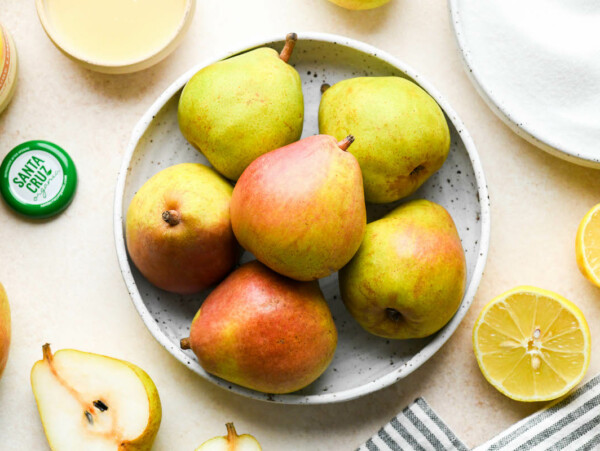
- Pears: Any variety works, including Bartlett, Bosc, and Anjou. Use pears that are fully ripe and fragrant for the most flavor, though slightly soft or bruised fruit is fine here since it’s all getting cooked down and strained. There’s no need to peel or core them, since the peels and cores add flavor during extraction and get strained out anyway.
- Water: A small amount of water gets the extraction started and keeps the pears from scorching before they release their juice. The water becomes part of the final juice, so don’t add more than you need.
- Granulated Sugar: Standard white sugar in a 1:1 ratio with the extracted juice gives the syrup body and pourability. The sugar is for flavor and consistency, not preservation, so you can reduce it for a thinner, more tart syrup without affecting whether it’s safe to can.
- Lemon Juice (optional): A little lemon juice brightens the flavor and keeps mild pear from tasting flat. It’s for taste, not safety, since pears are acidic enough to can on their own, so fresh or bottled both work. Use about 1/4 cup per batch, or 1 tablespoon per cup of juice, or leave it out if you’d rather keep the pure pear flavor.
Step by Step Instructions
There are two parts to this: first you extract the pear juice, then you sweeten it and can it. The extraction and straining take a little time but almost no attention, so it helps to start them well before you plan to fill jars.
Hold off on setting up your canner until the juice is fully strained and you know how much you have to work with. That way you can match the sugar to the juice and only heat the canner when you’re close to filling jars.
Extract the Juice
Wash and quarter your pears, leaving the peels and cores in place. Put them in a large pot with 1 to 2 cups of water, bring to a simmer, and cook, crushing with a potato masher as they soften, until the pears have fallen apart and released their juice. Plan on roughly 8 medium-large pears, about 3½ pounds, to yield 4 cups of juice.
Pears are denser than berries, so they take longer to break down, usually 20 to 30 minutes of simmering. Mash them well as they cook to help everything collapse. You’re not trying to set a gel, so the pectin in the cores and peels doesn’t need to be measured or managed. It just adds flavor along the way.
Strain the Juice
Line a colander with a double layer of dampened cheesecloth, or use a jelly bag, and set it over a large bowl. Pour the cooked pears in and let the juice drip through for at least 2 hours or overnight. Don’t squeeze the bag if you want a clear syrup, though a slightly cloudy syrup tastes just as good.
You should end up with about 4 cups of juice. Clarity matters less for syrup than it does for jelly, so if you want to coax out a little more juice you can press gently on the bag and accept some cloudiness. The leftover pulp can go to the compost, or you can push it through a food mill and turn it into pear sauce.
Make the Syrup
Pour the strained pear juice into a clean stainless steel saucepan and add the sugar, along with the lemon juice if you’re using it. Heat over medium-high, stirring constantly, until the sugar is completely dissolved. Bring to a boil, then reduce the heat and simmer for 5 minutes, skimming off any foam that rises.
The finished syrup will be pourable, closer to maple syrup than to honey. If you’d like it thicker, simmer it a little longer to reduce and concentrate it, watching carefully so it doesn’t scorch. This is also the moment to taste and decide whether you want that bit of lemon for brightness.
Fill Jars
Ladle the hot syrup into prepared jars, leaving 1/4 inch headspace. Wipe the rims clean with a damp cloth, center the lids, and apply the bands fingertip tight.
Pints and half pints both work well, so choose based on how you plan to use the syrup. A canning funnel keeps the rims clean as you fill, which makes for more reliable seals.
Canning Pear Syrup
Without canning, pear syrup will keep in the refrigerator for several weeks or in the freezer for up to 6 months. For shelf-stable storage that lasts through the year, process the filled jars in a boiling water bath.
Prepare your water bath canner while the syrup comes together. Lower the filled jars into the canner, making sure they’re covered by at least 1 inch of water, and process for 10 minutes for either pints or half pints, adjusting for altitude as noted below.
After processing, turn off the heat and let the jars stand in the canner for 5 minutes before removing them. Set the jars on a towel-lined counter and let them cool undisturbed for 12 to 24 hours, then check the seals before storing. Properly sealed jars keep at room temperature for 12 to 18 months, and any that didn’t seal can go straight into the fridge for immediate use.
Altitude Adjustments
For water bath canning, processing times increase at higher elevations. These times are for pints and half pints:
- 0 to 1,000 feet: 10 minutes
- 1,001 to 6,000 feet: 15 minutes
- Above 6,000 feet: 20 minutes
Serving Ideas
Pear syrup is a natural at the breakfast table, drizzled over pancakes, waffles, French toast, or a bowl of oatmeal. It’s also lovely spooned over yogurt, ice cream, or a slice of pound cake. The soft pear flavor pairs well with vanilla and warm spices like cinnamon and ginger.
For drinks, stir it into sparkling water for a quick pear soda, or use it to sweeten cocktails where you want fruit flavor without any pulp. It’s particularly good in bourbon drinks or mixed into sparkling wine.
It earns a place in savory cooking too. Brush it onto roasting pork or chicken as a glaze, or pour a little over a cheese plate next to a sharp cheddar or a blue cheese, where the sweetness plays against the salt.
Yield Notes
This recipe starts with about 3½ pounds of pears, roughly 8 medium-large fruit, which yields around 4 cups of strained juice. Combined 1:1 with 4 cups of sugar, that makes about 6 cups of finished syrup, enough to fill 3 pint jars or 6 half pint jars.
Yield varies a little with the ripeness and juiciness of your pears. If you end up with somewhat less than 4 cups of juice, just reduce the sugar to match so you keep the 1:1 ratio. The recipe scales up cleanly for bigger batches, and the processing time stays the same no matter how many jars you’re filling.
Pear Syrup FAQs
Pear syrup is pourable like maple syrup or honey, while jelly is firm enough to hold its shape. Syrup is just juice and sugar with no pectin, so there’s no gel point to hit and nothing that has to set. That makes it more forgiving to put up than jelly.
No. Pears are a high-acid fruit and safe to water bath can on their own, the same way plain canned pears are processed without added acid. The lemon juice in this recipe is optional and there for brightness, since pear flavor can taste a little flat without it. Fresh or bottled both work, since it isn’t doing anything for safety.
Yes. You can drop to about 3 cups of sugar per 4 cups of juice for a thinner, less sweet syrup. Below that you’ll get something closer to lightly sweetened juice. The sugar is for flavor and body, not preservation, so reducing it doesn’t change whether the syrup is safe to can.
Properly canned and sealed jars keep at room temperature for 12 to 18 months. Once opened, refrigerate and use within a few weeks. Without canning, the syrup keeps in the refrigerator for several weeks or in the freezer for up to 6 months.
Pears come in by the bushel in early fall, and there are plenty of other ways to put them up once you’ve made your syrup.
Pear Canning Recipes
If you tried this Pear Syrup recipe, or any other recipe on Creative Canning, leave a ⭐ star rating and let me know what you think in the 📝 comments below!
And make sure you stay in touch with me by following on social media!
Pear Syrup
Equipment
- Large Stainless Steel Saucepan
- Jelly bag or cheesecloth
Ingredients
For the Pear Juice:
- 3½ pounds pears
- 1 to 2 cups water
For the Syrup:
- 4 cups pear juice, from above
- 4 cups granulated sugar
- 1/4 cup lemon juice, optional, for brightness (fresh or bottled)
Instructions
- Prepare a water bath canner, jars, and lids before beginning.
- Wash and quarter the pears, leaving the peels and cores in place. Place them in a large pot with the water, bring to a simmer, and cook, crushing with a potato masher, until the pears have fallen apart and released their juice.
- Strain through a dampened jelly bag or a cheesecloth-lined colander set over a bowl. Let it drip for at least 2 hours or overnight. Don’t squeeze the bag if you want a clear syrup.
- Pour the strained juice into a clean saucepan and add the sugar, along with the lemon juice if using. Heat over medium-high, stirring until the sugar dissolves completely. Bring to a boil, then reduce the heat and simmer 5 minutes, skimming off any foam.
- Ladle the hot syrup into prepared jars, leaving 1/4 inch headspace. Wipe the rims, center the lids, and apply the bands fingertip tight.
- Process in a boiling water bath for 10 minutes for pints or half pints, adjusting for altitude (see notes).
- Turn off the heat and let the jars rest 5 minutes, then remove and cool undisturbed for 12 to 24 hours. Check the seals.
Notes
Nutrition
Nutrition information is automatically calculated, so should only be used as an approximation.
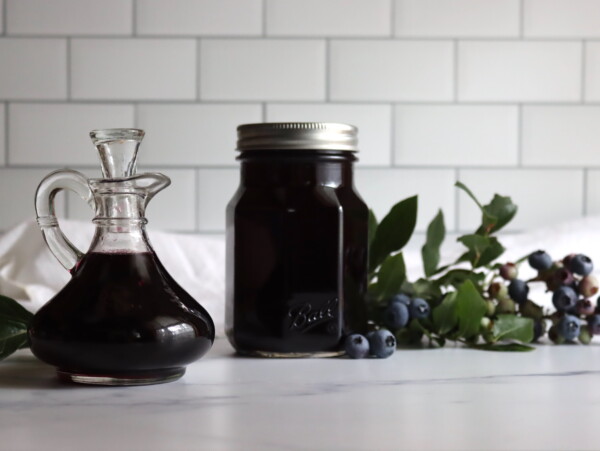
The same juice-and-sugar method works for almost any fruit, so it’s worth keeping a few other syrups in the rotation alongside this one.
Fruit Syrup Canning Recipes
Find the perfect recipe
Searching for something else? Enter keywords to find the perfect recipe!

Hi, can I use Asian Pears for this recipe?
Asian pears are less acidic than regular pears, and require added lemon juice for canning. They need 1 Tbsp per pint when canned whole, and those same amounts would apply to strained syrup as well. This recipe makes 3 pints of syrup using 4 Tbsp (1/4 cup) of lemon juice, so it is acidic enough for making with asian pears, just make sure you use the lemon juice as it’s not optional with asian pears. If you change the proportions or use less sugar, make sure you end up with at least 1 Tbsp of lemon juice per pint. Best of luck with it!