
This post may contain affiliate links. Please see our disclosure policy.
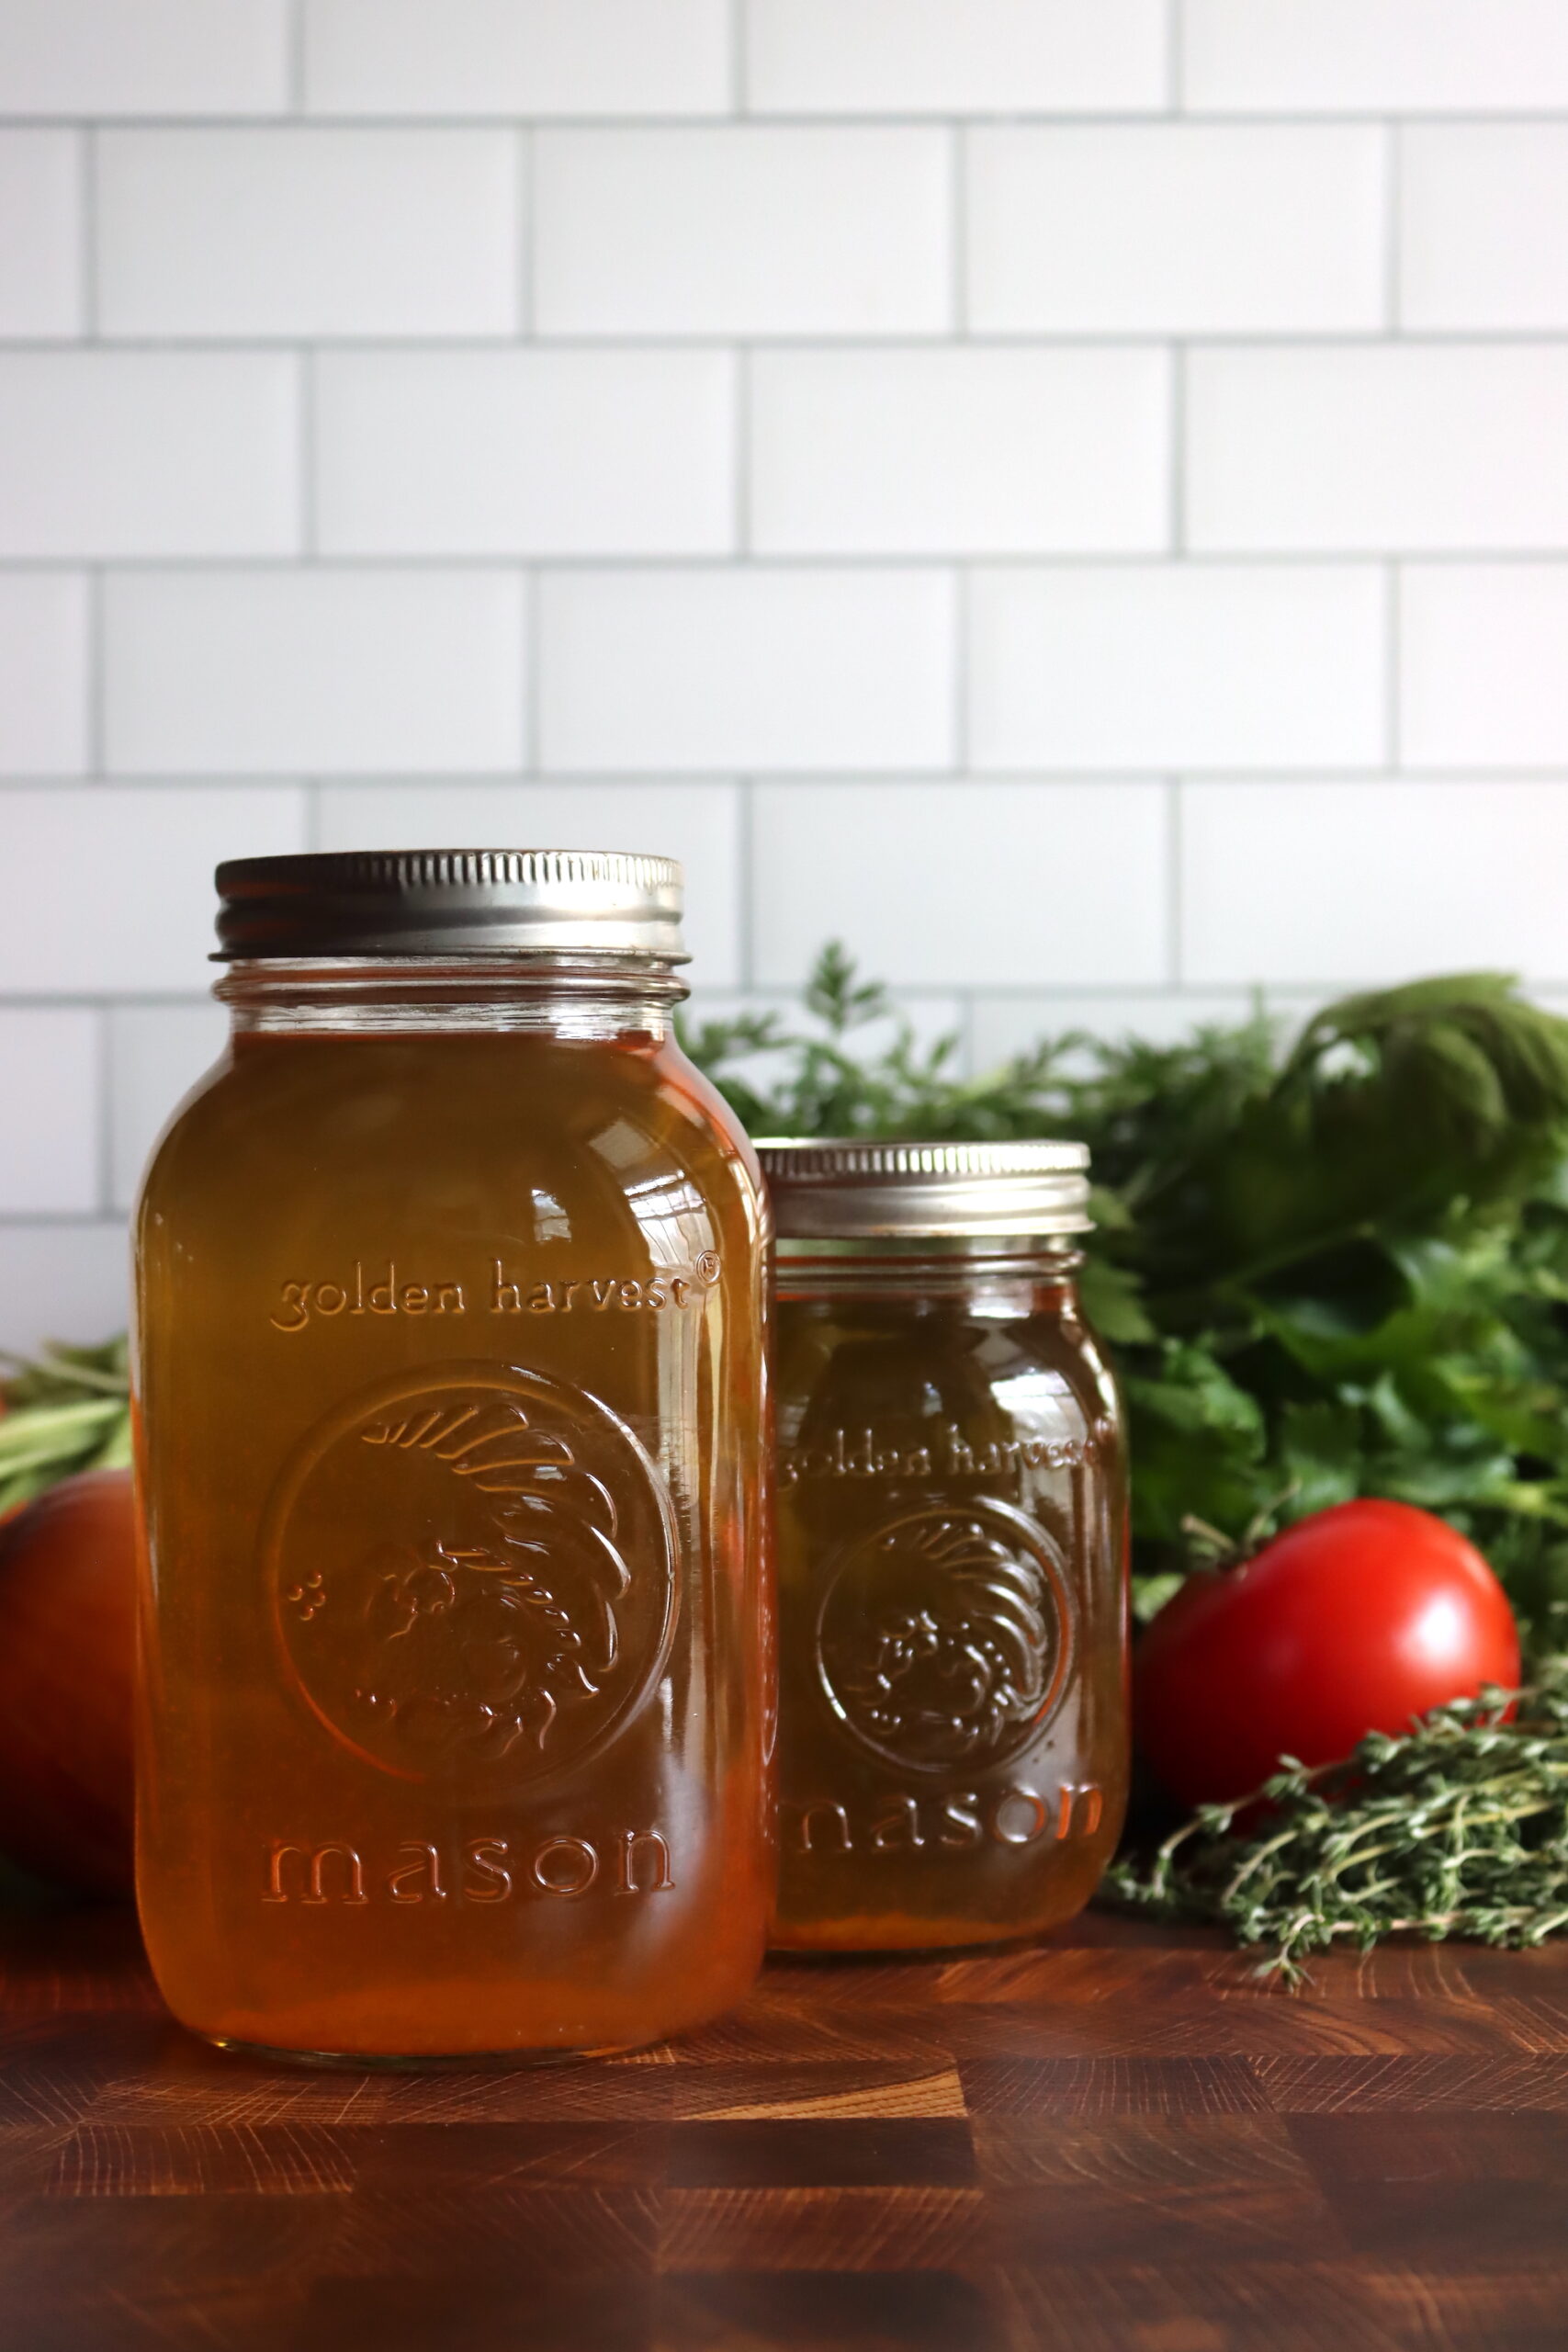
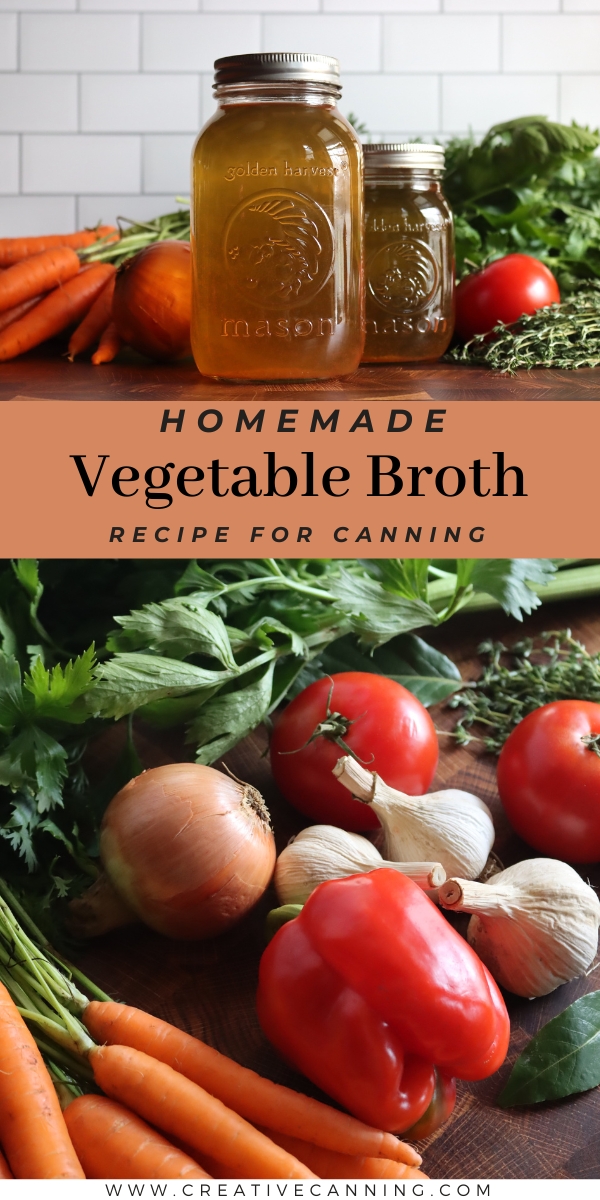
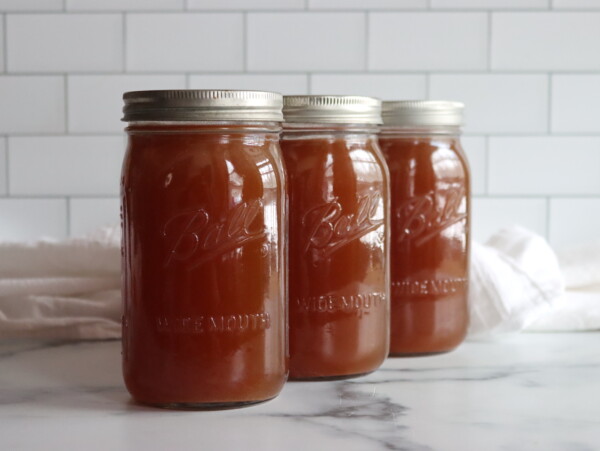
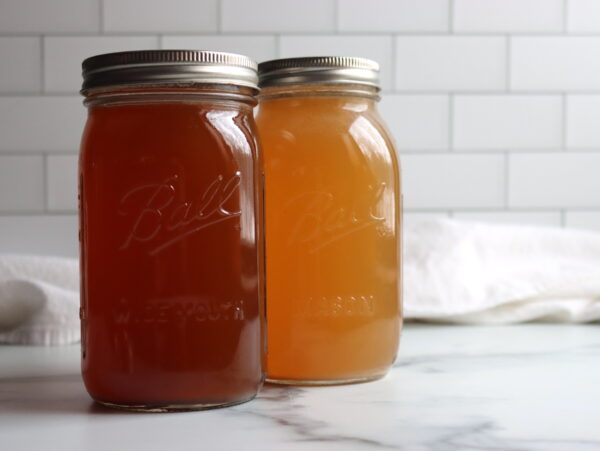
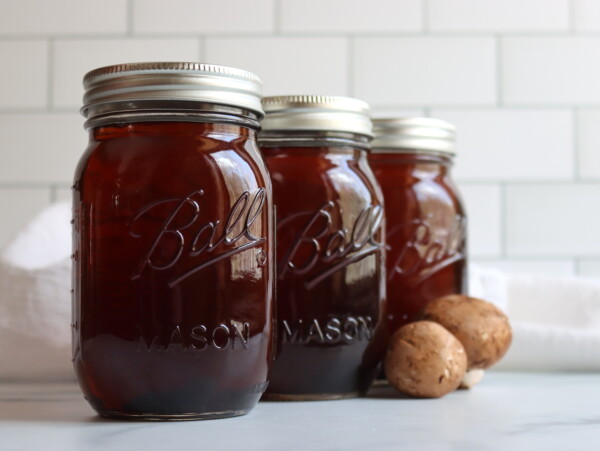
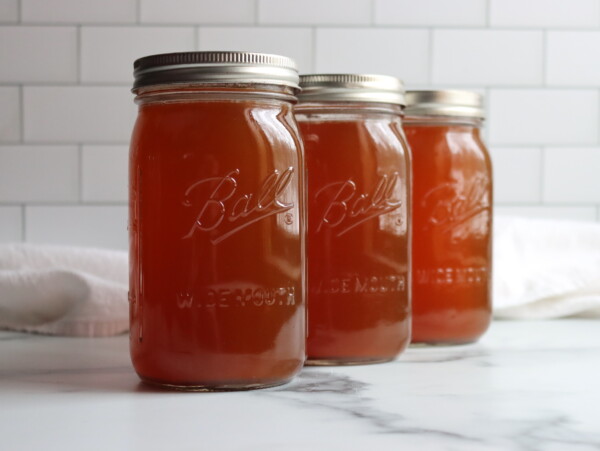
Canning vegetable broth keeps a meatless soup base on the pantry shelf, made from vegetables you’d otherwise compost. It’s a hot pack pressure canning recipe, 30 minutes for pints and 35 for quarts.
The broth itself isn’t a formula you have to follow. Simmer the vegetables you have, strain it until it’s clear as water, and the canning is the same either way.
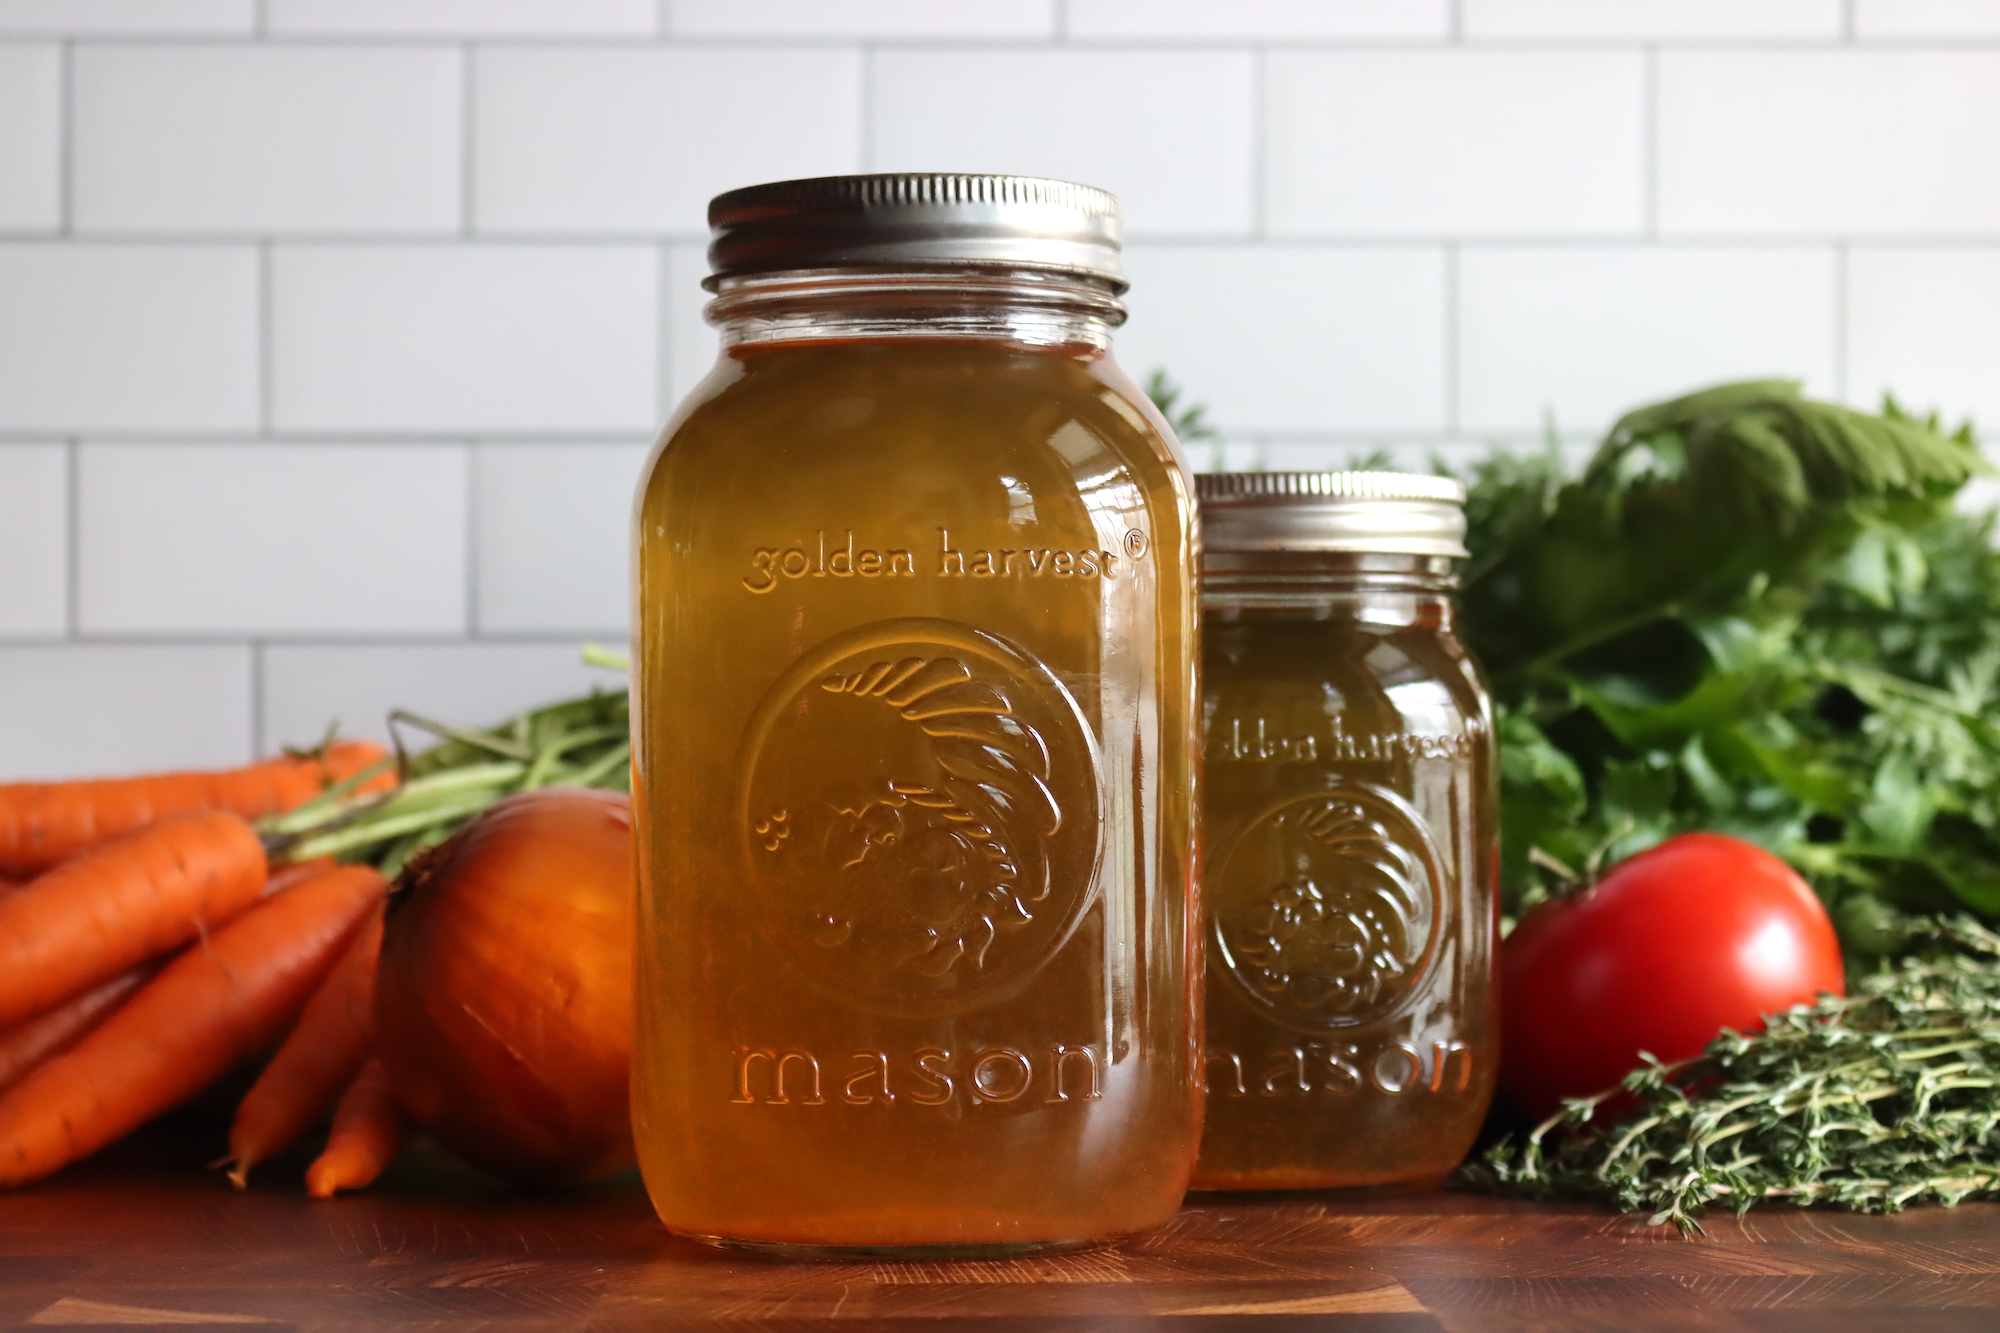
Table of Contents
- Notes from My Kitchen
- Quick Look at the Recipe
- Ingredients for Vegetable Broth
- Broth, Not Soup
- Making Vegetable Broth
- Canning Vegetable Broth
- Altitude Adjustments
- Serving Ideas for Vegetable Broth
- Tips for the Best Vegetable Broth
- Storage and Shelf Life
- Yield Notes
- Canning Vegetable Broth FAQs
- Stock and Broth Canning Recipes
- Canning Vegetable Broth Recipe
- Vegetarian Soup Canning Recipes
This recipe has been reviewed for safety and accuracy by a Master Food Preserver certified through the University of Cornell Cooperative Extension.
A jar of vegetable broth does everything a meat broth does, and it adds richness, depth of flavor, and complexity to just about anything. Rice, risotto, gravy, beans, a pan sauce, or a simple vegetarian soup.
Freezing works too, but broth takes up freezer space you’d rather give to something else, and it has to thaw before it’s any use. A jar off the shelf is ready the second you open it.
Unlike most pressure canning recipes, this one isn’t exact. What matters for safety is that the jar holds strained liquid and nothing else, because the 30 and 35 minute times are for liquid only.
The recipe below is adapted from the Ball Blue Book Guide to Preserving, and is a tested pressure canning recipe using mixed vegetables (or vegetable scraps and peels).
Notes from My Kitchen

This one gets made at the end of the garden season, when there’s a pile of carrots too small to bother storing and more celery than anyone wants to eat raw. It’s the batch that clears the counter.
I keep a bag in the freezer for onion ends, carrot tops, celery leaves and the tough outer bits of leeks. It fills up faster than you’d think, and it goes straight into the pot with the fresh vegetables.
The one thing I’ve learned the hard way is to strain it twice. The first pass always looks clear enough, and then there’s a layer of grit in the bottom of the jar six months later.
Quick Look at the Recipe
- Recipe Name: Canning Vegetable Broth
- Recipe Type: Stock and Broth Canning Recipe
- Canning Method: Pressure Canning
- Prep Time: About 25 minutes of chopping
- Cook Time: 2 hours, mostly unattended
- Canning Time: 30 minutes for pints, 35 minutes for quarts
- Pressure: 10 lbs weighted gauge, 11 lbs dial gauge, at sea level
- Yield: About 7 quarts, a full canner load
- Jar Sizes: Pints or quarts
- Headspace: 1 inch
- Ingredients Overview: Carrots, onions, celery, peppers, tomatoes, garlic, herbs, and water
- Safe Canning Recipe Source: Adapted from the Ball Blue Book, processed on the Ball vegetable stock schedule
- Difficulty: Easy, and the canning part takes under half an hour
- Similar Recipes: Another meatless one is mushroom broth. With bones, there’s chicken broth, beef broth, turkey broth, venison bone broth, and rib broth.
Ingredients for Vegetable Broth
This batch makes a full canner load. Full amounts are in the recipe card at the bottom of the page.
Treat the list as a starting point. Any vegetables you like can go in, in any proportion, as long as you leave the starchy ones out and strain it properly at the end.
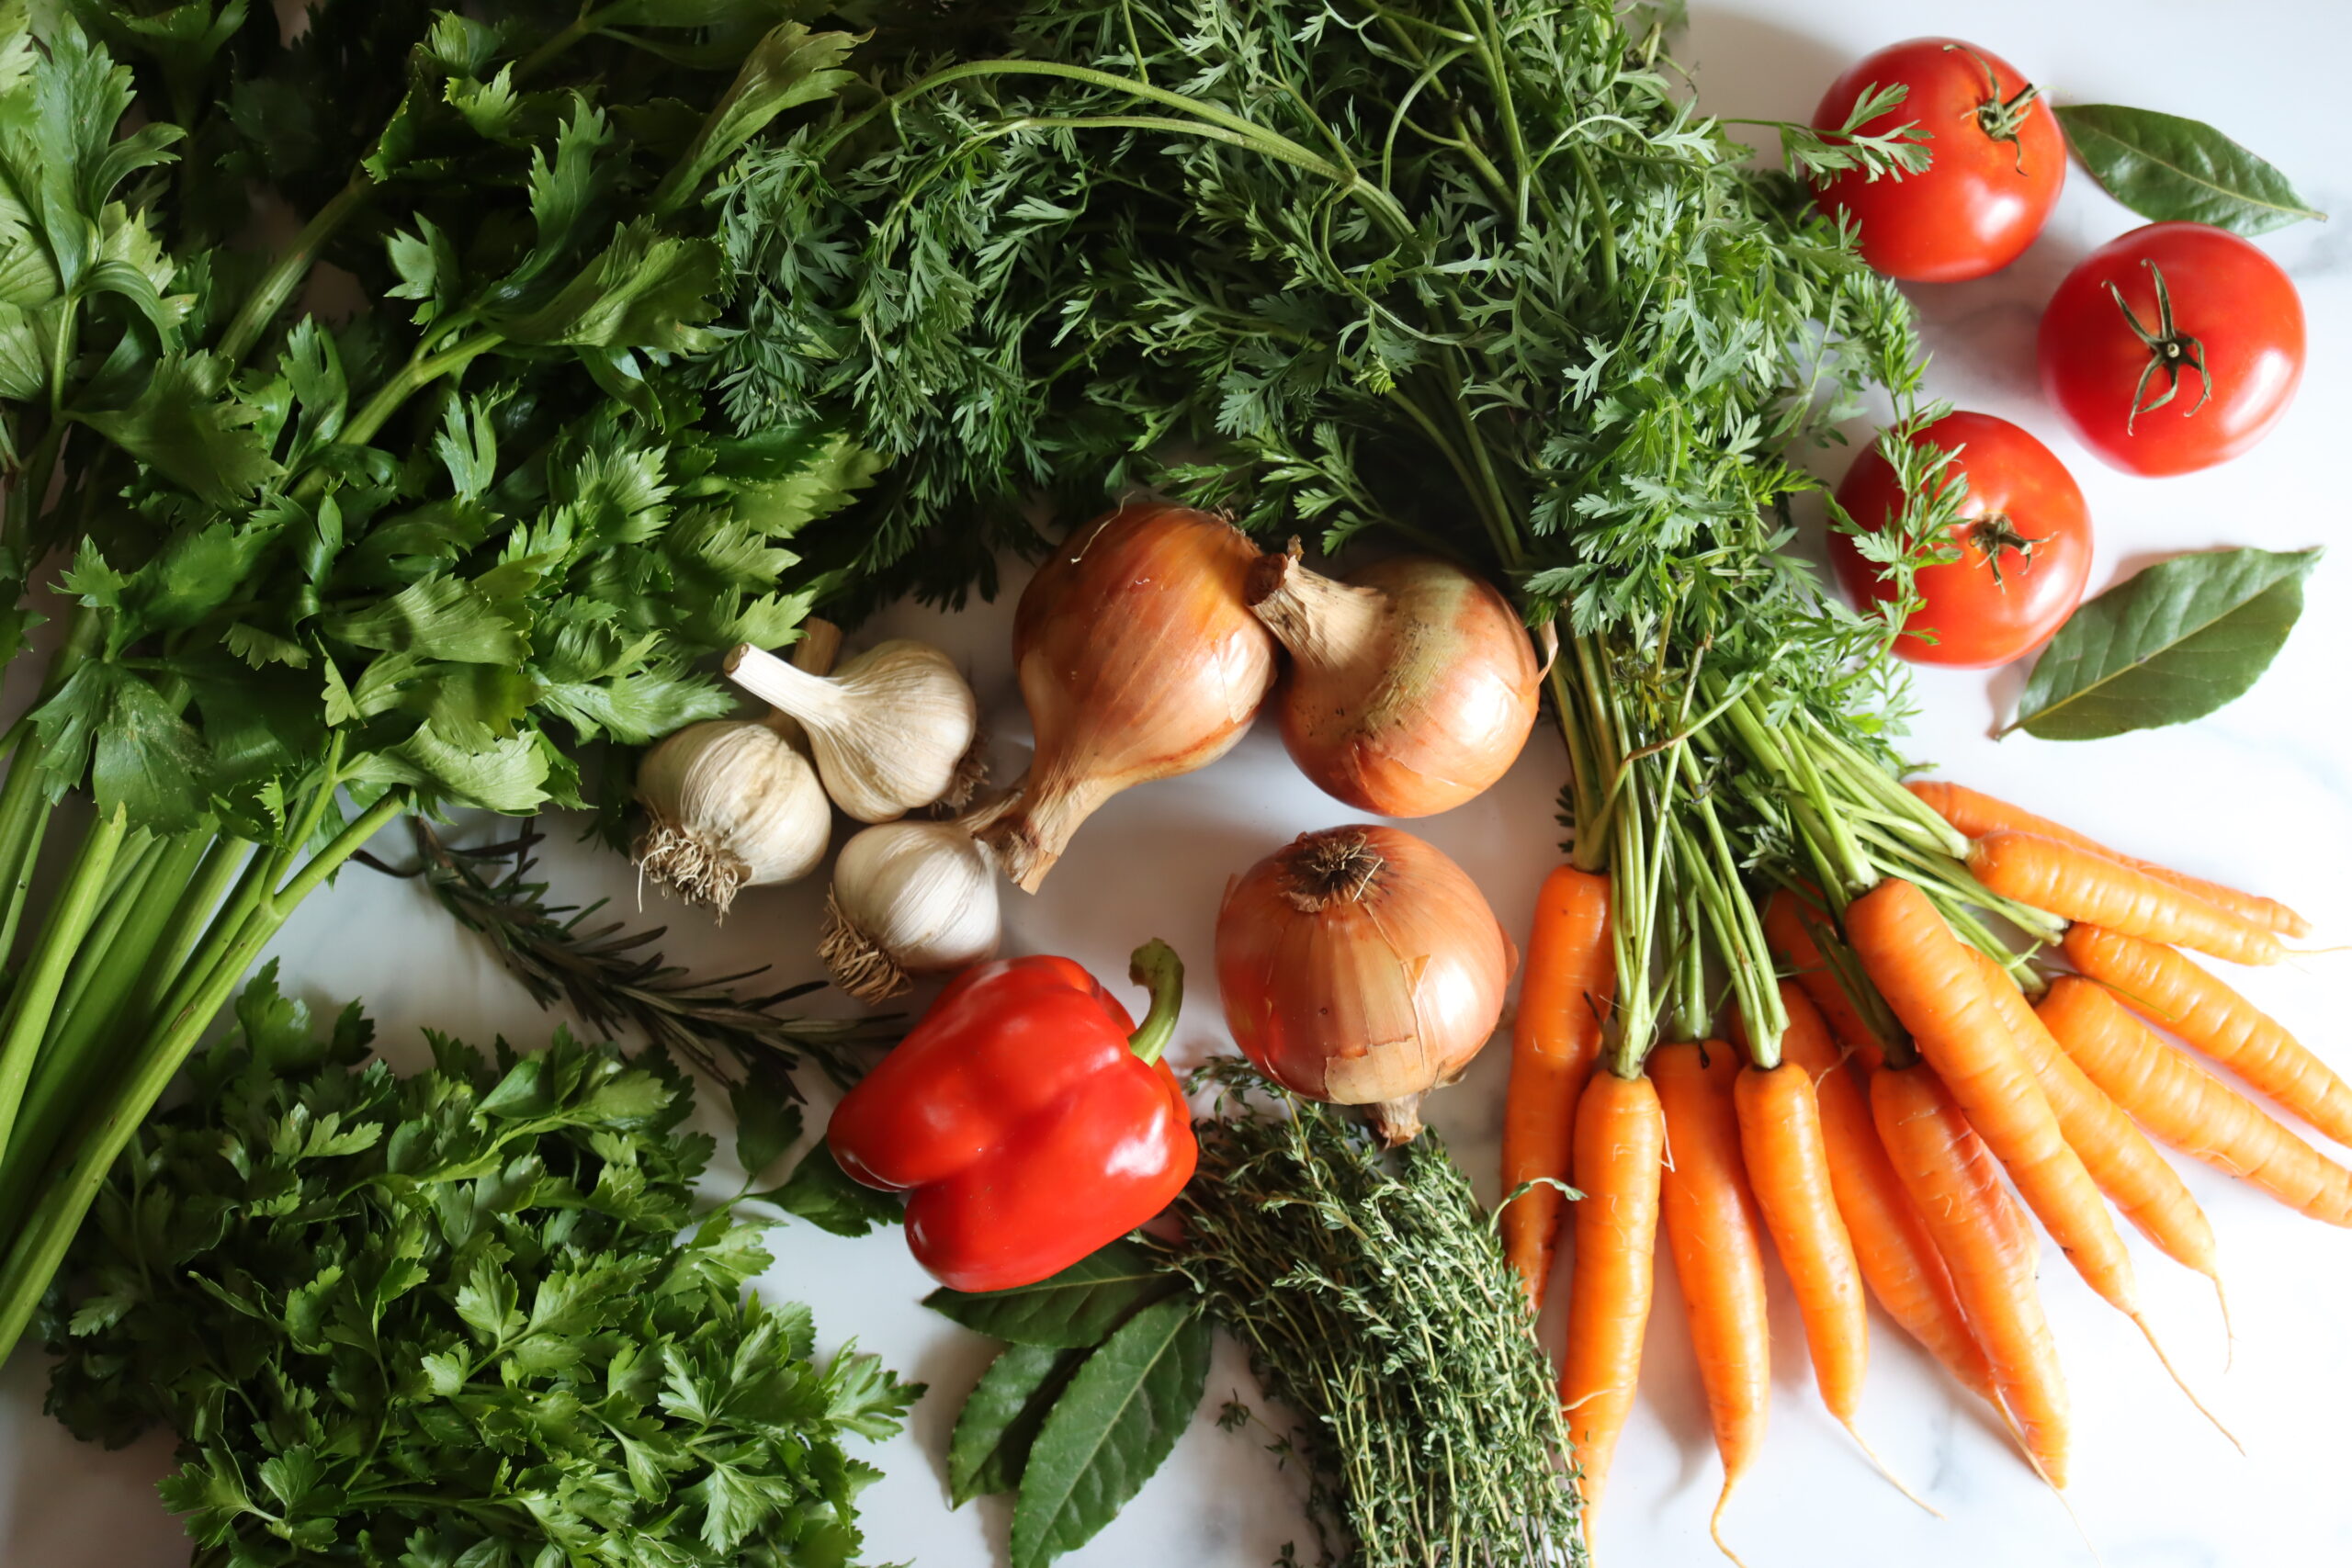
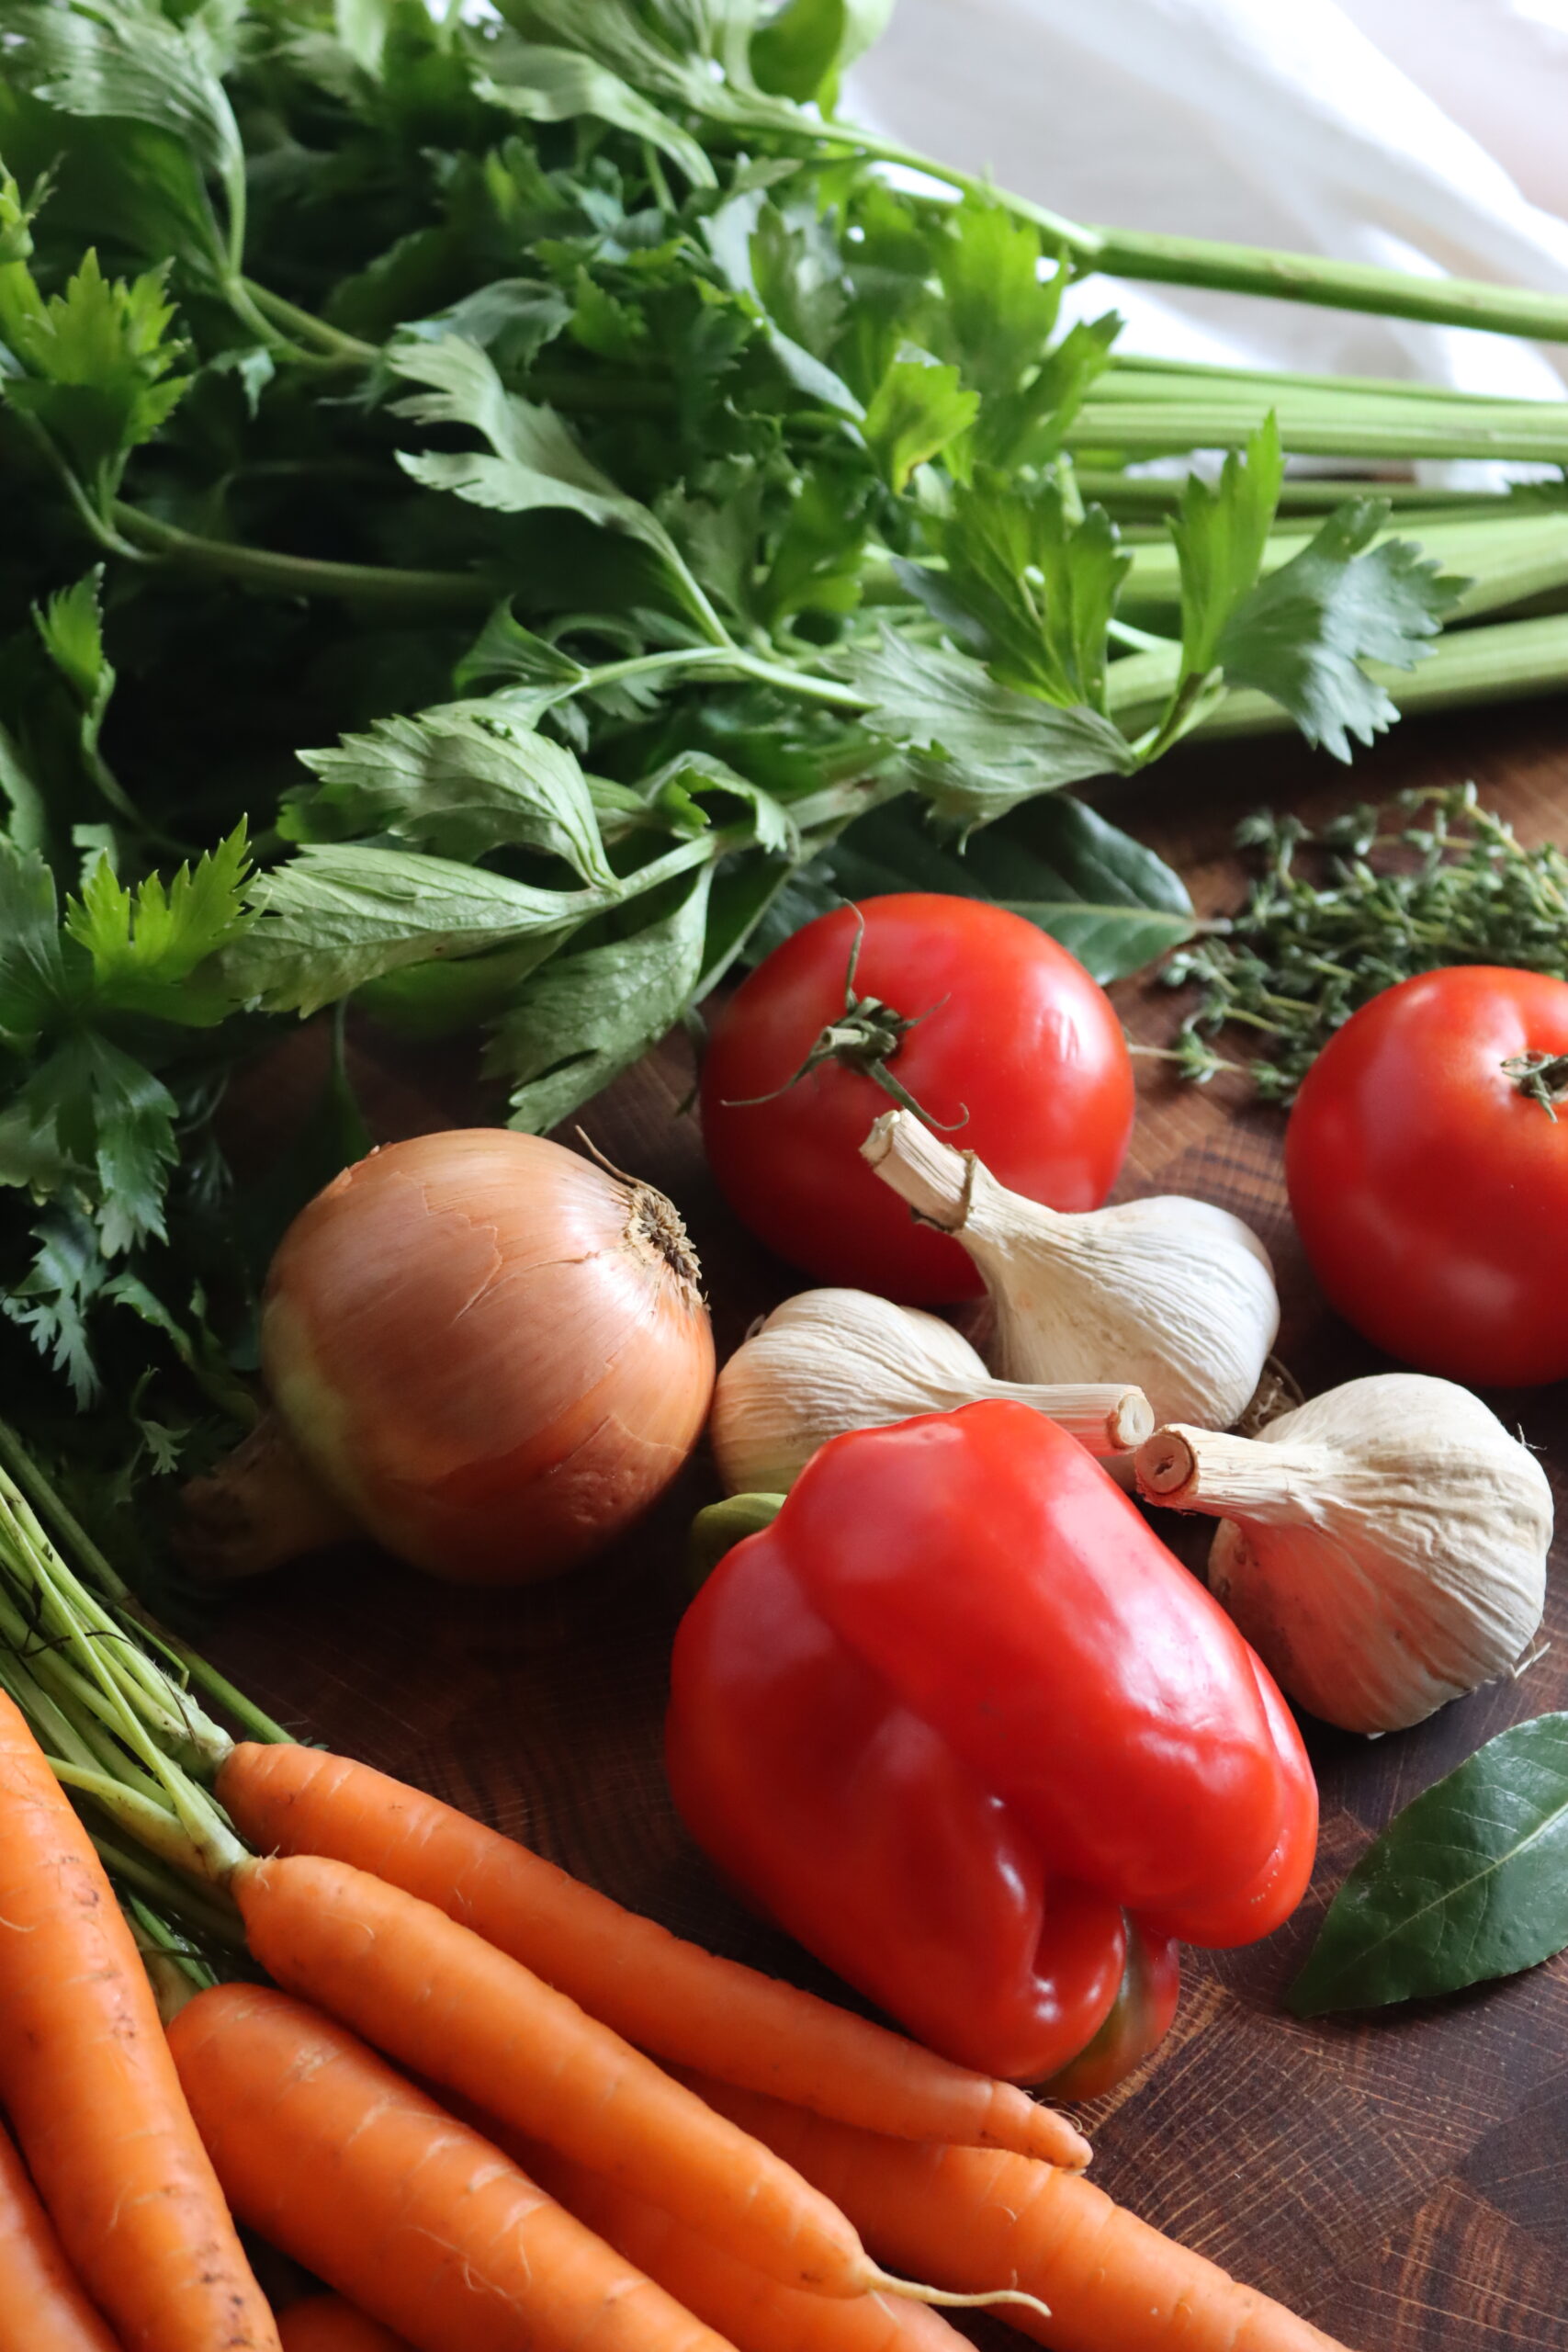
- Carrots: The sweetness in the finished broth comes mostly from these. No need to peel them, since they get strained out. Carrot tops and peels saved in the freezer work here too.
- Onions: Quartered, skins and all. The skins are where the color comes from, so leave them on unless you want a pale broth.
- Celery: Stalks and leaves both. The leaves carry more flavor than the ribs do, so don’t throw them out.
- Red Bell Peppers: Chopped, seeds and all. They add a little sweetness and body. Any color works, though red gives the best flavor.
- Tomatoes: Chopped and seeded. They round out the broth and give it depth, and they’re what keeps it from tasting flat.
- Garlic and Herbs: Crushed garlic, bay leaves, thyme, rosemary, parsley, and whole peppercorns. Dried herbs are fine, and fresh sprigs work if you have them.
- Water: Enough to cover everything generously. Two gallons is what fills a canner load once it’s strained.
- Salt: Optional, and I leave it out so the broth is neutral when I cook with it later. Canning salt keeps it clear if you do add it.
Leave out potatoes and any other starchy vegetable. Starch clouds the broth, and more to the point, it thickens the liquid enough to change how heat moves through the jar. That puts the processing times off.
Hardly anyone puts potatoes in broth anyway, so it rarely comes up. It’s still worth mentioning.
Broth, Not Soup
The 30 and 35 minute times on this page are for strained liquid and nothing else. Solids change how heat moves through the jar, and a jar with vegetables, noodles, or rice in it is a different product with a much longer process.
That includes puréed vegetables. Blending the vegetables back in seems like a way to save the nutrients, and it’s a question I get often, but the result is too thick to can on these times. It has to be as thin as water going into the jar.
If you want the vegetables in the jar, that’s soup. My classic vegetable soup is the tested version, and there are plenty more in my vegetarian soup canning recipes.
Strain it, can it plain, and add whatever you want the day you open the jar.
Making Vegetable Broth
There’s not much to it. Wash the vegetables, chop them roughly, and simmer them in water until the pot smells like soup.
Two things decide how the finished broth turns out, and both of them happen before the jars come out. Keep it below a boil, and strain it until there’s nothing left in it.
Simmer, Don’t Boil
Put everything in a big stockpot, cover it with water, and bring it up to a boil. Then drop the heat and hold it at a bare simmer for two hours.
Don’t peel anything. The skins, tops, and trimmings are where a lot of the flavor and color live, and every bit of it gets strained out at the end anyway. A quick scrub under cold water is all the vegetables need.
A hard boil breaks the vegetables apart and pushes the fine stuff into the liquid, which gives you a cloudy broth that never really settles. A gentle simmer pulls the same flavor out and leaves the pieces intact.
Strain It Completely
Set a colander or a fine mesh strainer lined with a few layers of cheesecloth over a second stockpot, and ladle the broth through it. Give it a few minutes to drain on its own.
Don’t press or mash the vegetables. They’re soft enough by now that pressing pushes pulp straight through the cloth, and that’s both a cloudy broth and solids you don’t want in the jar. Discard the solids once they’ve drained.
This is the step that matters for safety rather than looks. The processing times are for a liquid as thin as water, so anything still floating in the broth belongs in the compost instead of the canner.
Canning Vegetable Broth
Vegetable broth is low acid, which means a pressure canner and nothing else. A water bath canner can’t get hot enough for it, no matter how long you leave it in there. An electric multicooker isn’t a canner either, and I get into why in can you can in an Instant Pot. My guide to pressure canning for beginners walks through the whole setup if this is your first time.
Set the rack in the canner and add 2 to 3 inches of water, then bring it up to a gentle simmer while you get the jars ready. Check your canner manual, since a few models call for more.
Keep the jars hot in the canner while you work, and bring the strained broth back to a boil on the stove. This is a hot pack, so both the jars and the broth go in hot. Turn the heat off under the broth once it’s boiling.
Ladle the hot broth into hot jars with a canning funnel, leaving 1 inch of headspace. Run a bubble tool around the inside and top the broth back up if the level dropped. Wipe the rims and cap with two-part canning lids at fingertip tight.
Load the jars with a jar lifter, lock the lid, and let the canner vent a steady stream of steam for a full 10 minutes before the weight goes on. After that, steam shouldn’t be escaping anywhere else.
Process pints for 30 minutes or quarts for 35 minutes. That’s at 10 pounds pressure on a weighted gauge canner, or 11 pounds on a dial gauge. Adjust the pressure for your altitude using the chart below.
Those times are longer than the ones for canning chicken broth or canning beef broth, and that’s on purpose. Ball processes vegetable stock for 30 and 35 minutes rather than the 20 and 25 that meat stock takes, largely because starchy vegetable broth can take longer to process in a jar. It’s a density issue.
When the time is up, turn off the heat and let the canner come down to zero pressure on its own. Never rush it with cold water. Wait another 5 minutes, take the lid off, then leave the jars sitting in the canner 10 minutes before you lift them out.
Cool them on a towel for 12 to 24 hours, check the seals, then label and store.
Altitude Adjustments
Pressure canning works differently from water bath canning here. The canning time is always 30 minutes for pints and 35 minutes for quarts, at any altitude. Only the pressure changes as you go up.
For dial gauge pressure canners:
- 0 to 2,000 feet: 11 lbs pressure
- 2,001 to 4,000 feet: 12 lbs pressure
- 4,001 to 6,000 feet: 13 lbs pressure
- 6,001 to 8,000 feet: 14 lbs pressure
For weighted gauge pressure canners:
- 0 to 1,000 feet: 10 lbs pressure
- Above 1,000 feet: 15 lbs pressure
Serving Ideas for Vegetable Broth
Cook rice, farro, barley, or lentils in it instead of water, and the difference is hard to miss. It’s the base of any soup you’d start from scratch, and it thins a gravy or a pan sauce without watering down the flavor.
Taste it before you salt whatever you’re making, since a seasoned broth can carry a dish without too much salt. If you’d rather have the whole meal in the jar, look at canning carrot soup, butternut squash soup base, or Thai coconut squash soup. All three start from a jar of broth just like this one.
Tips for the Best Vegetable Broth
Save trimmings in the freezer and the broth costs you almost nothing. Onion ends, carrot tops, celery leaves, leek greens and mushroom stems all go in the same bag, and it fills up faster than you’d think.
Don’t hard boil the broth, gently simmer instead. A hard boil breaks the vegetables down into the liquid and gives you cloudy broth that won’t settle out.
Leave the onion skins on. They’re where the color comes from, and a broth made from peeled onions comes out pale and washed-out-looking.
Go easy on the brassicas. Cabbage, broccoli and cauliflower turn sulfurous over a long simmer and they’ll take the whole pot with them. Leave them out.
Strain it twice if you want it clear. One pass through cheesecloth catches most of it, and a second pass catches the fine grit that settles out in the jar later.
Don’t salt it heavily before canning. Broth gets used in things that get salted again later, and a jar of neutral broth is more useful than a seasoned one.
Storage and Shelf Life
A properly canned and sealed jar won’t spoil as long as the seal holds, the same as any canned good. Quality is the limit rather than safety, and vegetable broth is best used within about 18 months.
Store the jars somewhere cool and dark with the bands off, so a failed seal shows itself. Anything that didn’t seal goes in the refrigerator and gets used within a week or two. Refrigerate after opening and use it within about four days.
If you’d rather not can it at all, broth freezes well, and I’ve written up how I do it in how to freeze bone broth. The method is the same for a meatless broth. Freezing is also the answer for any batch that came out with solids in it.
Yield Notes
Two gallons of water and the vegetables below give about 7 quarts of finished broth, which is a full canner load. In pints that’s 14 jars, more than most canners hold at once, so plan on two runs if you’re canning pints.
The carrots and celery are measured after chopping. That’s roughly 1 1/4 pounds of whole carrots, six or seven celery ribs, and three or four onions. Keep the pot covered while it simmers or the yield drops as the water cooks off.
It scales down with nothing more than a smaller pot. Check your canner manual for its minimum load, since most want at least a couple of jars in there.
Canning Vegetable Broth FAQs
These are the questions readers ask most in the comments on canning vegetable broth.
No. The 30 and 35 minute times are for strained liquid only, and solids change how heat moves through the jar. That includes puréed vegetables, which is a question I get a lot. Blending them back in makes the broth too thick for these times, so it has to go into the jar as thin as water. If you want the vegetables in there, can a tested soup recipe instead.
No. Broth is low acid, so it needs a pressure canner. A water bath simply doesn’t get hot enough, and no amount of extra time makes up for it. If you don’t have a pressure canner, freeze the broth instead.
Ball gives vegetable stock 30 minutes for pints and 35 for quarts, while meat stock runs 20 and 25. It’s a fair question, and the most likely reason is that people put a much wider range of things in a vegetable broth than they’d ever put in a meat stock. The longer time covers that. I use the longer schedule here because it’s the tested one for a meatless broth.
Pints and quarts, and anything smaller processed for the pint time. A quart is the largest jar tested for pressure canning anything, so there are no times for bigger jars no matter what the recipe is. If you have 1 1/2 pint jars, use the quart time for those.
Yes, with two exceptions. Leave out starchy vegetables like potatoes, since the starch thickens the liquid and puts the processing times off. Also leave out cabbage, broccoli and cauliflower, which turn sulfurous over a long simmer.
Stock and Broth Canning Recipes
With bones or without, the method barely changes.
If you tried this Canning Vegetable Broth recipe, or any other recipe on Creative Canning, leave a ⭐ star rating and let me know what you think in the 📝 comments below!
And make sure you stay in touch with me by following on social media!
Canning Vegetable Broth
Equipment
- Canning Jars, Lids and Bands
Ingredients
- 3 cups carrots, sliced
- 2 lbs onions, quartered, skins on
- 3 cups chopped celery, stalks and leaves
- 2 large red bell peppers, chopped, seeds and all
- 2 large tomatoes, chopped and seeded
- 3 cloves garlic, crushed
- 3 whole bay leaves
- 1 tsp dried thyme, or 2 to 3 fresh sprigs
- 1 tsp dried rosemary, or 1 to 2 fresh sprigs
- 1 tsp dried parsley, or a small fresh bunch
- 10 whole peppercorns
- 2 gallons water
Instructions
Making the Broth
- Wash and rinse all the vegetables and herbs and check them for debris. Don’t peel anything, since it all gets strained out, but do chop it roughly.
- Combine everything in a large stockpot and cover it with the water.
- Bring it to a boil, then reduce the heat and hold it at a bare simmer for 2 hours. Never let it boil hard or the broth will be cloudy.
- Line a colander or fine mesh strainer with a few layers of cheesecloth and set it over a second stockpot. Ladle the broth through and let it drain on its own for a few minutes. Don’t press or mash the solids. Discard them once drained.
- Strain a second time for a clear broth. The broth must go into the jars strained, as thin as water, with no solids.
Canning the Broth
- Prepare a pressure canner for a hot pack: rack in the bottom, 2 to 3 inches of water, brought to a gentle simmer. Check your canner manual, since some models call for more. Heat the jars.
- Reheat the strained broth to a boil, then turn off the heat.
- Ladle the hot broth into hot jars, leaving 1 inch headspace. Remove air bubbles, adjust the headspace, wipe the rims and cap with two-part canning lids at fingertip tight.
- Load the jars, lock the canner lid, and vent a steady stream of steam for 10 minutes before adding the weight.
- Process pints for 30 minutes or quarts for 35 minutes, at 10 pounds pressure on a weighted gauge canner or 11 pounds on a dial gauge, adjusting the pressure for altitude (see notes).
- Turn off the heat and let the canner return to zero pressure on its own. Wait 5 minutes, remove the lid, then let the jars stand in the canner 10 minutes before lifting them out.
- Cool the jars undisturbed for 12 to 24 hours, then check the seals, label and store.
Notes
- 0 to 2,000 feet: 11 lbs
- 2,001 to 4,000 feet: 12 lbs
- 4,001 to 6,000 feet: 13 lbs
- 6,001 to 8,000 feet: 14 lbs
- 0 to 1,000 feet: 10 lbs
- Above 1,000 feet: 15 lbs
Nutrition
Nutrition information is automatically calculated, so should only be used as an approximation.
Vegetarian Soup Canning Recipes
A jar of this broth is the start of most of them.
Find the perfect recipe
Searching for something else? Enter keywords to find the perfect recipe!

Thank you for this!
Is pumpkin a starchy vegetable or could I include it in my veggie stock?
In the past, I would have said not to use it because its starch, but the UC extension food preservers specifically came out with a pumpkin broth for canning. I tried it last year and it was absolutely delicious (I’m going to post the recipe soon). Anyhow, go ahead and include pumpkin and winter squash, it does work out nicely.
Amazing recipe thank you. How long would I process 1.5 quart jars of your recipe? Many thanks,
Ronna
Are you sure you have 1.5 quart jars (not 1.5 pint jars)? I’ve never actually seen 1.5 quart jars, though I believe they do exist in limited quantities. There are, however, a lot of 1 1/2 pint jars available, and I have plenty of those.
I ask because the largest jar that’s tested for pressure canning ANYTHING is a quart, so there are not established times for larger jars than that, regardless of the recipe. However, if it’s one of the 1 1/2 pint jars, then that’s fine, and you’d use quart canning times for those.
Hope this helps!
Thank you Ashley. Apologies. I misspoke. It is 1 1/2 pints and I will pressure can for the quart time as you suggest. I do have any number of 1 1/2 quart jars. Maybe they are more common here in Canada. I traditionally use them for dry storage. Many thanks again and “Great Recipe”.
Oh that is interesting! I did a bit of searching, and I did find brands of 1 1/2 quart canning jars available (le Parfait, Bormioli Rocco and Weck). Those brands are really difficult to get in the US, unless you special order them at around $20 per jar. Y’all have access to a lot of interesting jars up there in Canada that we can’t get here, I’ve seen Canadian canning bloggers with quite the variety of lovely jam jars, it makes sense there’d be unique larger sizes too. I should have probably thought of that!
I think I will purée all those veggies in my Vitamix and add them to my veg broth. It’s a waste of good nutrients. Thanks for a great recipe. Jan
If you puree the veggies, be aware that the result won’t be safe for canning with these short times. The mixture has to be thin as water, with no solids in it (even pureed) to be canned for the times used for veggie broth.
Hi, can you comment on the time? I’ve heard that the Ball Blue Book says 35 minutes for vegetable stock (but 25 min for chicken and beef stocks) which doesn’t make sense to me but I can’t find an authoritative source other than this (and now you).
Well that is interesting…I pulled my canning times from the All American Pressure Canner Manual, which has “soup stock” listed just once and says 20 and 25 minutes. It is interesting that Ball Canning is opting for a longer time for vegetable stock, which doesn’t make sense when you think about it. There’s no specific recipe for stock in any case, you just toss in your ingredients, strain well and can. You can, in fact, make beef stock using the exact same ingredients you use for veggie stock…plus a beef bone or two.
If I had to guess at a reason, I’d say it’s because sometimes when people are making vegetable stock, they add things that you really wouldn’t ever put in a meat stock. For example, I’ve seen people that put potato peelings in vegetable stock (though it’s a horrible idea, they don’t taste great, but they’re trying to use up every scrap somehow). When you put in those types of starchy veggies it can make the stock a bit thicker and starchier, so I imagine Ball Canning is just tossing on extra time there out of an abundance of caution.
In general, I try to follow the most conservative advice on canning times, so given that, I’ll go in and change the canning times in this recipe to be in line with what the Ball Blue Book has published.