This post may contain affiliate links. Please see our disclosure policy.
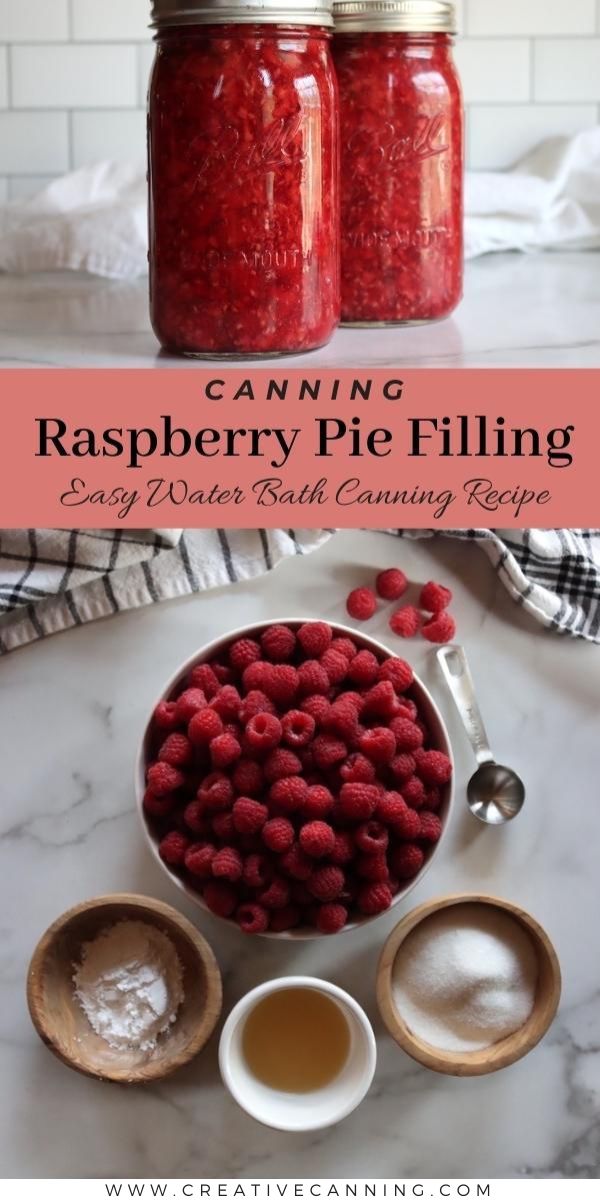
Canning raspberry pie filling means you can bake a raspberry pie at a moment’s notice. The filling is ready to go, just waiting on your pantry shelf, no matter the season.
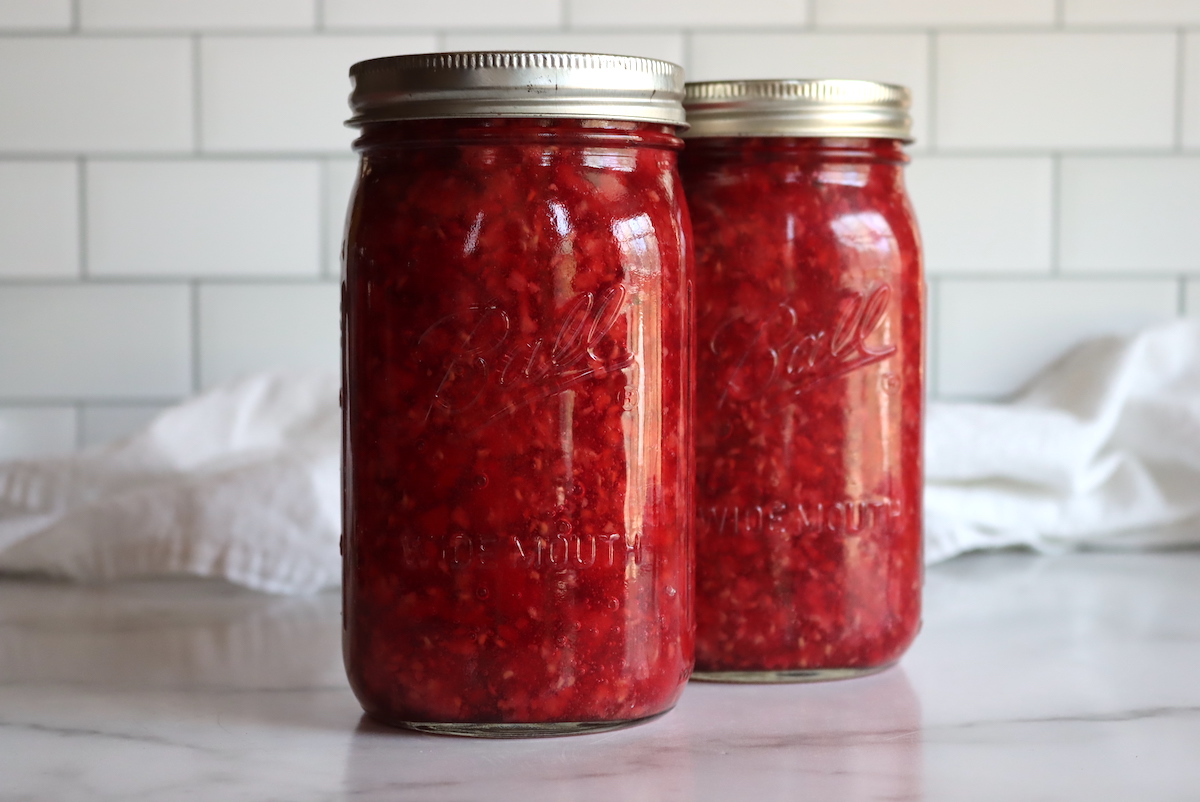
Raspberry pie filling is an essential staple on many a pantry shelf come wintertime. Not only can it be baked into pies, but it’s just dreamy spooned over soft cakes or breakfast items like crepes and pancakes.
Home-canned pie filling isn’t the only way to preserve a glut of raspberries, however. You can use this sweetly tart fruit to make everything from raspberry wine to raspberry mead.
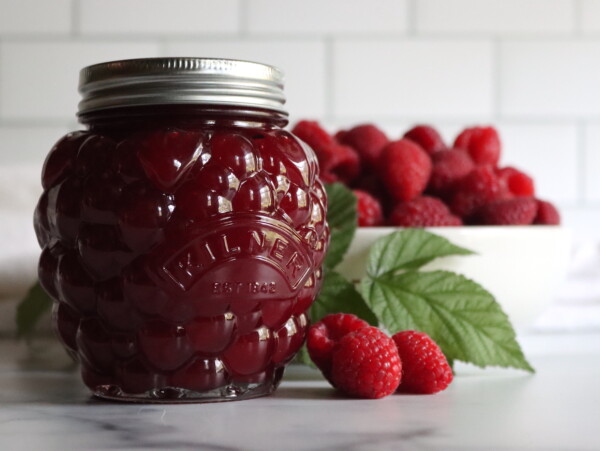
You can savor your raspberries year-round in raspberry jam, whether simply spread on toast or baked into thumbprint cookies or Danish raspberry slices.
If you’re charitable, you can gift away your precious berries in jars of preserved delights or perhaps as a pie-to-be in the form of home-canned raspberry pie filling.
Ingredients for Canning Raspberry Pie Filling
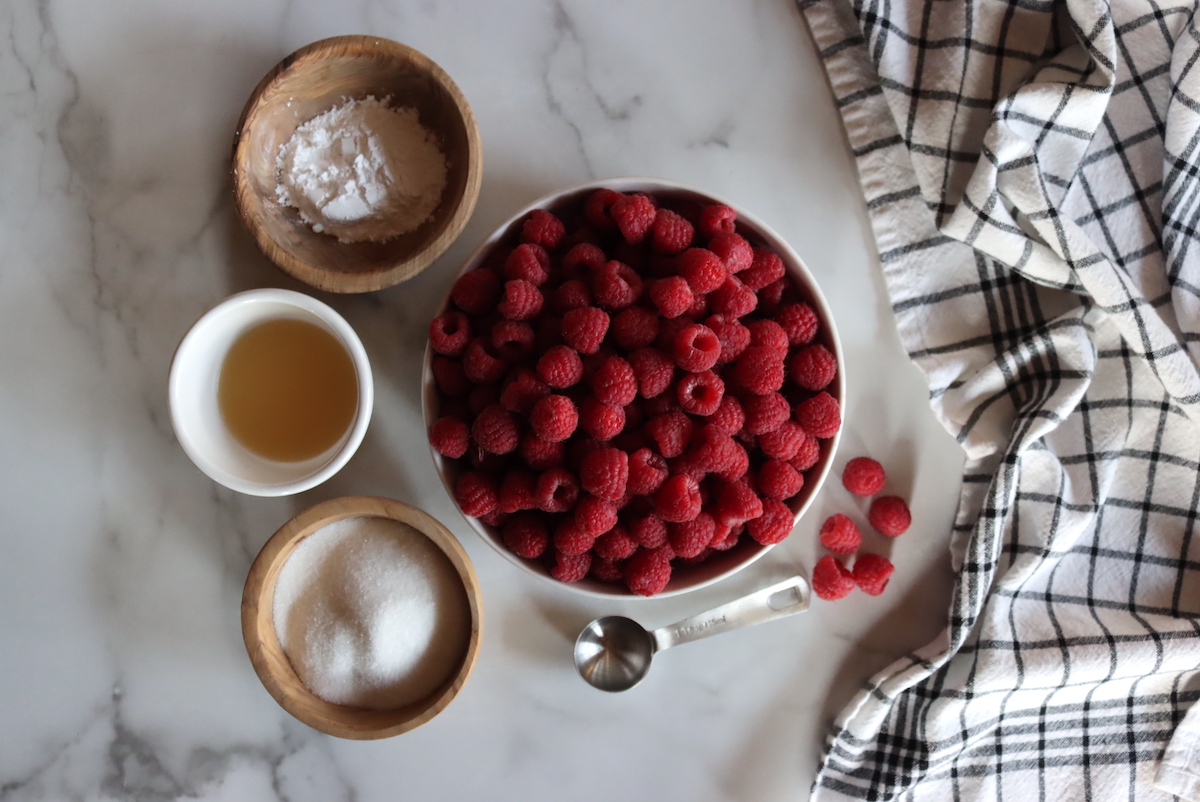
Fresh or frozen raspberries can be used in this recipe. If using frozen, opt for unsweetened raspberries. If unsweetened varieties are unavailable, rinse the frozen fruit with water before thawing.
For each quart jar of raspberry pie filling, you will need the following ingredients:
- 3 ½ cups fresh raspberries (or frozen berries)
- ¾ cups plus 2 tablespoons granulated sugar
- ¼ cup plus 1 tablespoon Clear Jel
- 1 cup cold water
- 3 1/2 tsp bottled lemon juice
If you’re wondering why these numbers seem odd it’s because they have been altered based on a full 7-quart canning batch. This recipe can be multiplied to make quantities between 1 and seven quarts. You may, however, want to begin with a one-quart batch to experiment with the ratio of sugar or spices and juice or water mixture to ensure the taste is suitable enough for a full batch.
Do note, that the amount of lemon juice cannot be altered in this recipe as it ensures the safety of your canned pie filling, although you may slightly decrease the amount of Clear Jel used for a less dense pie filling.
To yield a full 7-quart canner batch, the ingredients, and measurements are as follows:
- 6 quarts fresh raspberries (or frozen berries)
- 6 cups granulated sugar
- 2 ¼ cups Clear Jel
- 7 cups cold water
- ½ cup bottled lemon juice
Recipe Note: You may see different lemon juice amounts listed for berry pie fillings in older or copied canning handouts. A long-standing typo in the University of Washington’s publication listed 3 tablespoons per quart and ½ cup for 7 quarts, which isn’t accurate. The correct tested ratio (confirmed by the NCHFP) is 3½ teaspoons of bottled lemon juice per quart of filling, which works out to be ½ cup for a 7 quart batch. Those corrected amounts are used here, giving you the same amount of lemon juice per quart whether you’re doing a 1 quart or 7 quart batch.
Altering the Canning Recipe for Raspberry Pie Filling
As attested by the Washington State University Extension service, the sugar and spices in this recipe can be adjusted to suit individual tastes, but the amount of lemon juice cannot as it ensures the safety and storage of the pie filling.
As a result, you cannot decrease the lemon juice stated, although you can increase it for a more tart pie filling. Clear Jel, in addition, can be decreased for a looser set pie filling. It should be noted that it cannot be increased beyond the measurements given in the recipe.
For a looser set pie filling, decrease the Clear Jel to 3 to 4 tablespoons per jar.
You cannot substitute other thickeners like cornstarch or tapioca starch in place of Clear Jel – these other starches will break down leading to a runny consistency and affect canning safety when heating. Clear Jel is the only food starch recommended by the USDA for home-canned fruit pie fillings.
It should also be noted, fresh lemon juice is not recommended for home canning. The acidity of fresh lemon juice can vary, but bottled lemon juice is guaranteed to be at the correct level needed for canning safety.
This same tested recipe can be used for any of the following pie fillings: Blackberry, Blueberry, Currant, Gooseberry, Huckleberry, Loganberry, Raspberry, and Strawberry. That means you can make a mixture of any of those fruits in a pie filling without impacting canning safety. Feel free to make a tasty home-canned mixed berry pie filling.
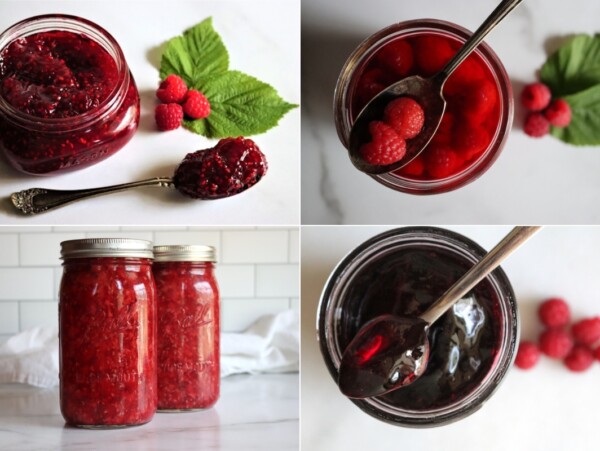
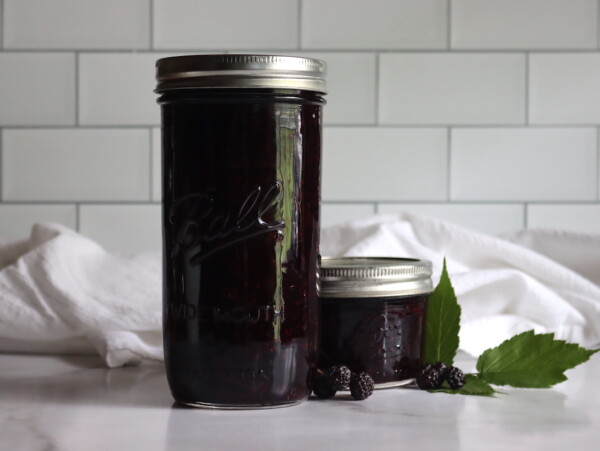
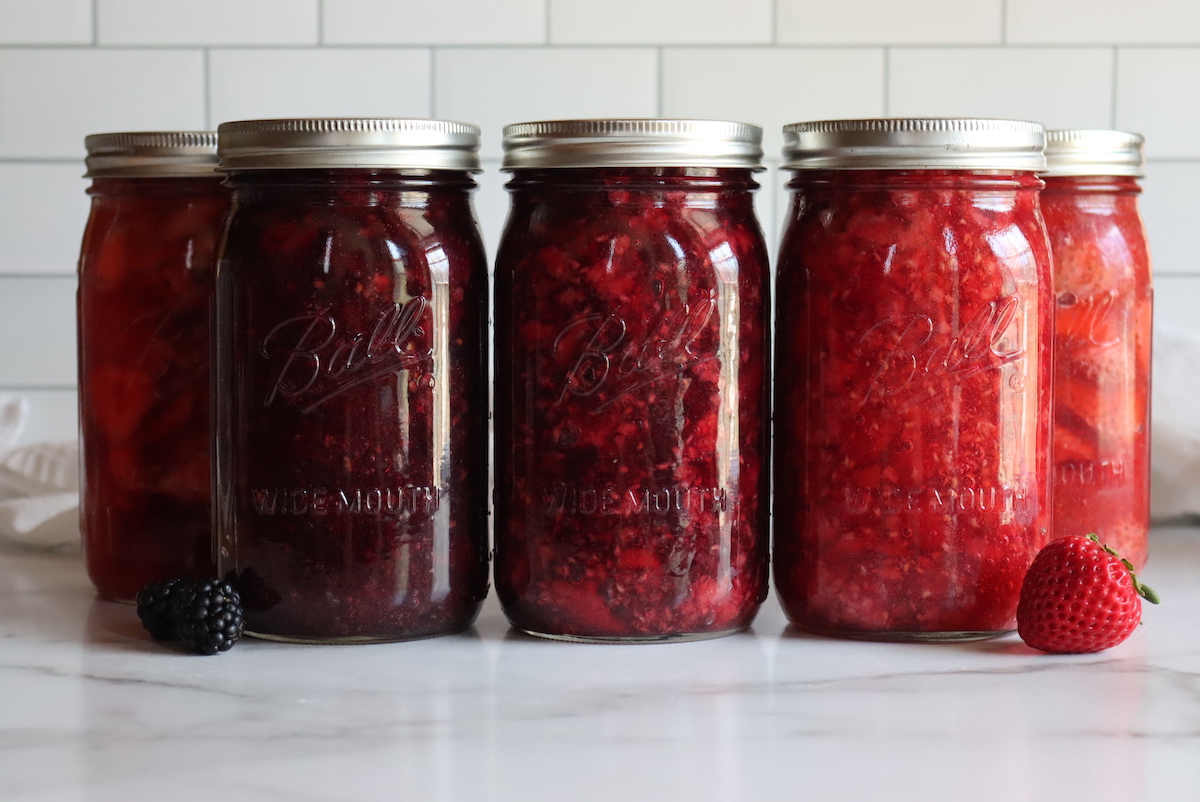 Home canned berry pie fillings, including blackberry, strawberry, raspberry and mixed berry.
How to Can Raspberry Pie Filling
If you’re new to water bath canning, you may wish to read this beginner’s guide to water bath canning before proceeding to familiarize yourself with the process.
Before you begin the pie filling, prepare jars, lids, and a water bath canner.
If using fresh raspberries, wash and discard any damaged fruit. For frozen raspberries, place in a colander to thaw with a bowl placed underneath to collect the liquid as the berries thaw. This can be substituted in place of a portion of the water later used in the recipe.
Once your berries are washed or thawed, you can begin the blanching process.
Fill a pot with a few quarts of water and bring to a boil. Blanch the berries in the boiling water for one minute and subsequently drain or remove with a slotted spoon. Place the blanched raspberries in a covered pot or dish to keep warm and set aside.
Next, combine sugar and Clear Jel in a large pot. Add in cold water (or cold water and juice) and stir to completely dissolve the Clear Jel. Do not begin heating the mixture until the Clear Jel has dissolved entirely or a clumpy nightmare will result.
Once the Clear Jel has fully dissolved, set to medium-high heat and continually whisk the mixture as it thickens. When bubbling, add in the lemon juice and boil for one minute more.
Remove from heat and fold in the blanched raspberries. Ladle into prepared canning jars leaving 1 inch headspace. Be sure to de-bubble the mixture as it will be thick and these air bubbles can lead to increased headspace, which may result in seal failure.
Clean the rims of any lingering residue and apply 2-part canning lids, screwing until finger-tight. Immediately process in a water bath canner for 30 minutes, increasing time as needed for your corresponding altitude (adjustments given below).
Once the processing time is complete, turn off your water bath canner and allow the jars to sit for 10 minutes. This reduces the chance of siphoning as they cool. After 10 minutes, remove with a jar lifter and place atop a towel to cool.
Why place the jars atop a towel? Placing hot jars on a cool countertop can cause thermal shock, leading jars to shatter. This towel acts as a buffer for extreme temperature changes.
Check seals after 12 to 24 hours. Store any unsealed jars in the refrigerator for immediate use.
Altitude Adjustments for Canning Raspberry Pie Filling
Altitude adjustments are as follows:
- 0 to 1,000 Feet in Elevation: 30 minutes
- 1,001 to 3,000 Feet in Elevation: 35 minutes
- 3,001 to 6,000 Feet in Elevation: 40 minutes
- Above 6,000 Feet in Elevation: 45 minutes
Juice or Water for Canning Liquid?
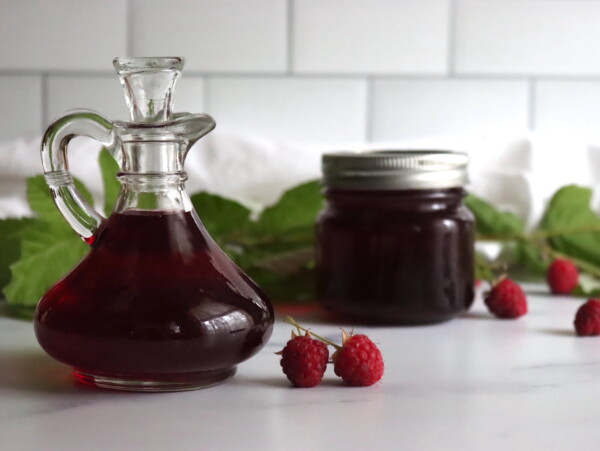
You may wish to substitute some of the cold water used in this recipe with juice for even more raspberry flavor in your pie filling. If using frozen raspberries, you can simply collect the juice as it thaws, measure the resulting liquid, and add water to meet the required amount.
You can also extract the juice from fresh raspberries as outlined in this raspberry jelly recipe. In brief, you’ll need to mash some raspberries and a couple tablespoons of water in a saucepan and boil for a few minutes. Next, strain the mixture through cheesecloth or a jelly bag. You’ll want to do this in advance of making your pie filling, as this process can take some time.
You can also extract juice from fresh raspberries with the aid of a countertop juicer. No matter the method, be sure to chill your juice before adding it to the pie filling.
Apple or another berry juice can be substituted, although it will alter the taste of your pie filling, so be sure to do a small test batch first when using this method.
For best results, substitute ¼ to ½ of the water required in this recipe with juice.
Using Raspberry Pie Filling
Raspberry pie filling can, of course, be used in pies, cobblers, and tarts, but its uses don’t stop here. This pie filling can be spooned over everything from waffles and cheesecake to crepes and ice cream.
Looking for more baked ideas? Spoon raspberry pie filling into cupcake batter and stir for delightful raspberry swirl cupcakes. Combine with oats and bake for crunchy raspberry crumb bars or add to a streusel or coffee cake.
Raspberry pie filling also pairs decadently well with chocolate or lemon when layered in cakes or trifles.
Additionally, raspberry pie filling can be combined with an assortment of other fruits or fruit fillings in pies to yield cozy desserts. Try mixed berry tarts with blackberries or blueberries, peach and raspberry cobblers, or a rhubarb-raspberry crumble.
Raspberry Canning Recipes
Looking for more Raspberry Canning Recipes?
Canning Raspberry Pie Filling
Ingredients
For A Single Quart:
- 3 1/2 cups Raspberries, about 2 lbs
- 3/4 cup + 2 Tbsp. Sugar
- 1/4 cup + 1 Tbsp. Clear Jel
- 1 cup water, or juice
- 3 1/2 tsp bottled lemon juice, see notes
For a 7 Quart Canner Batch:
- 6 Quart Raspberries, about 14 to 15 lbs
- 6 cups Sugar
- 2 1/4 cups Clear Jel
- 7 cups Water, or juice
- 1/2 cup Bottled Lemon Juice
Instructions
- Begin by sterilizing jars and lids. Prepare a water bath canner.
- Wash raspberries. If using frozen, thaw in a colander with a bowl placed beneath to collect the juice. This can be substituted for water later in the recipe.
- Fill a pot with a few quarts of water to blanch the berries. Bring to a boil and cook berries for one minute. Drain or remove with a slotted spoon, placing in a covered dish or pot to keep warm.
- Combine sugar and Clear Jel in a large pot. Add the cold water (or cold water and juice mixture) and whisk until the Clear Jel dissolves entirely.
- Once the Clear Jel has completely dissolved, set heat to medium-high. Stir or whisk the mixture as it heats and thickens in consistency.
- Once bubbling, add the lemon juice. Boil for one minute.
- Remove from heat and fold in the blanched raspberries. Ladle into prepared canning jars leaving 1 inch headspace. As the mixture will be thick, be sure to de-bubble to prevent excess headspace. Clean rims of any residue and apply 2-part canning lids until fingertight.
- Immediately process in a water bath canner for 30 minutes, increasing time as needed for altitude.
- Once processing time is complete, turn off the water bath canner and allow the jars to sit for an additional 10 minutes. This will reduce the chance of siphoning. Remove with a jar lifter and place on a towel-covered countertop to cool.
- Check seals after 12 to 24 hours. Unsealed jars should be refrigerated and promptly consumed. Properly sealed and stored jars will maintain peak quality for 12 months. Refrigerate after opening.
Notes
- 0 to 1,000 Feet in Elevation: 30 minutes
- 1,001 to 3,000 Feet in Elevation: 35 minutes
- 3,001 to 6,000 Feet in Elevation: 40 minutes
- Above 6,000 Feet in Elevation: 45 minutes
Lemon Juice Amounts
You may see different lemon juice amounts listed for berry pie fillings in older or copied canning handouts. A long-standing typo in the University of Washington’s publication listed 3 tablespoons per quart and ½ cup for 7 quarts, which isn’t accurate. The correct tested ratio (confirmed by the NCHFP) is 3½ teaspoons of bottled lemon juice per quart of filling, which works out to be ½ cup for a 7 quart batch. Those corrected amounts are used here, giving you the same amount of lemon juice per quart whether you’re doing a 1 quart or 7 quart batch.Nutrition
Nutrition information is automatically calculated, so should only be used as an approximation.
Home Canned Pie Fillings
Interested in more varieties of pie fillings for home-canning? Try these!
- Canning Apple Pie Filling
- Canning Blackberry Pie Filling
- Canning Peach Pie Filling
- Canning Cherry Pie Filling
Fruit Canning Recipes
Raspberries won’t be the only fruit you’ll wish you preserved for year-round use! Discover more fruit canning recipes to keep your pantry shelves fully stocked through all four seasons!
I use Dutch Jell for canning can this be used at the same ratio as the Clear Jell
Dutch Jell is a type of pectin (like Sure Jell), which is a different thing. Clear Jel is a type of corn starch that’s specifically tested for canning. Dutch Jell and Clear Jel cannot be used interchangeably.
3 tablespoons times 7 quarts would be 21 tablespoons of lemon juice which is about one and 1/3 cups…not 1/2 cup. On the other hand, 3 1/2 teaspoons times 7 quarts equals just about half a cup.
You’re absolutely right—the math doesn’t add up in those old handouts, and that’s exactly where the confusion started. The University of Washington’s version lists 3 tablespoons for 1 quart and ½ cup for 7 quarts, which clearly aren’t proportional. The National Center for Home Food Preservation confirmed the correct tested amount is 3½ teaspoons bottled lemon juice per quart, which does work out to about ½ cup for 7 quarts. I’ve updated all my berry pie filling recipes to reflect that accurate (and tested) ratio. Thanks for catching the inconsistency—this mix-up has been copied all over the internet for years!
Can I can the raspberry pie filling in pint jars instead of quart jars?
Yes! Of course you can. Canning times are the same for both pints and quarts.
First time making pie filling although I can many other foods. This recipe is clear, concise and thorough. The resulting filling? Exquisite! Mixed berries – raspberries and blackberries. We will eat well this winter. Thank you!
Lovely, so glad you enjoyed it!
If I’m canning 1/2 pint and pint jars would canning time still be 30 min. How much head space for those size jars?
The headspace and canning times are still the same even with smaller jars. Hope this helps!
This raspberry pie filling was very simple to make and turned out tasting great! That being said, when I made my pie with it, the filling didn’t thicken back up. Did I miss something? Do I need to add something else when I go to bake the pie?
I wonder if maybe you had the wrong type of clear jel? The thing about the canning safe clearjel is that it gets thin when hot, and thickens up when it cools. The idea is that when it’s canning, it’s thin and the heat can penetrate the jars. When you bake it, it’ll thin out in the pie crust as it heats, but one the pie cools it should be thick again. Canning safe clear jel is designed to do that many times without fail. So my best guess is you either ended up with the wrong type of clearjel, or maybe the pie just needed to cool a bit before you cut it?
I would like to can a raspberry peach pie filling. Could I just use your recipe for peach and raspberry and combine?
In that case, you’d use the recipe that has more lemon juice, which is peach pie filling, and just substitute half the fruit for raspberries.