This post may contain affiliate links. Please see our disclosure policy.
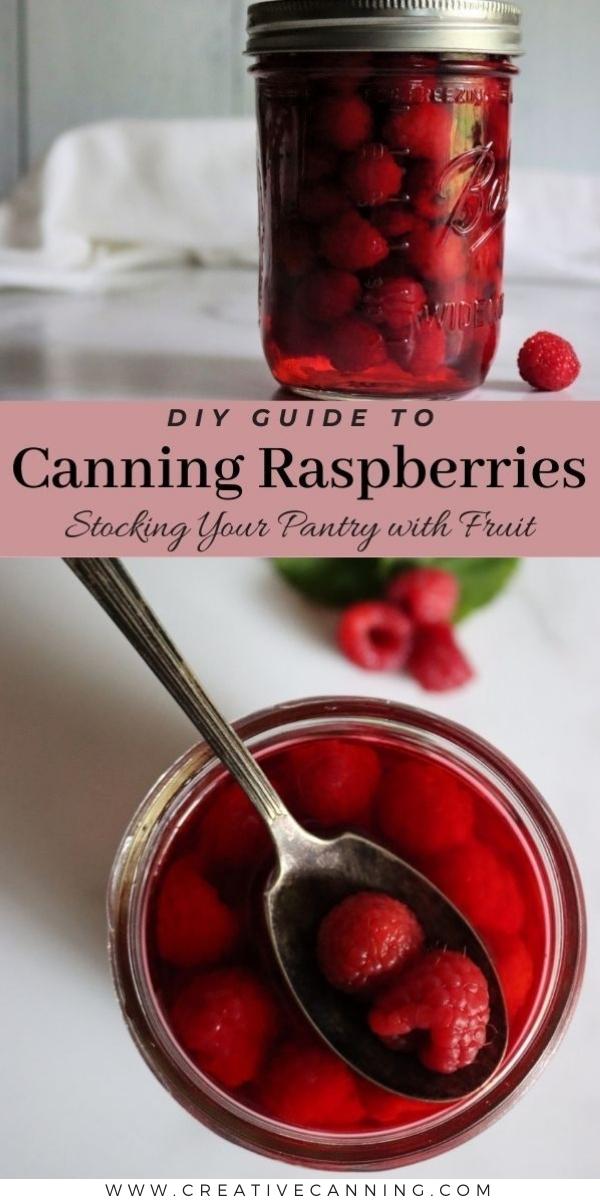
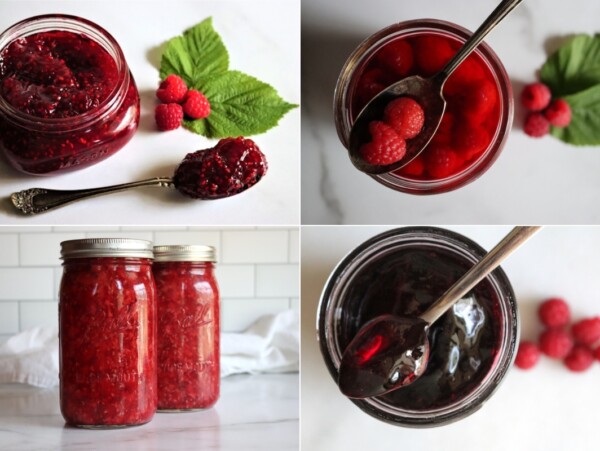
Canning raspberries is a simple way to preserve raspberries right on the pantry shelf. They’re perfect for muffins and cobbler, and they make an excellent topping on yogurt or ice cream.
Of course, you can also just eat them out of the jar with a spoon…
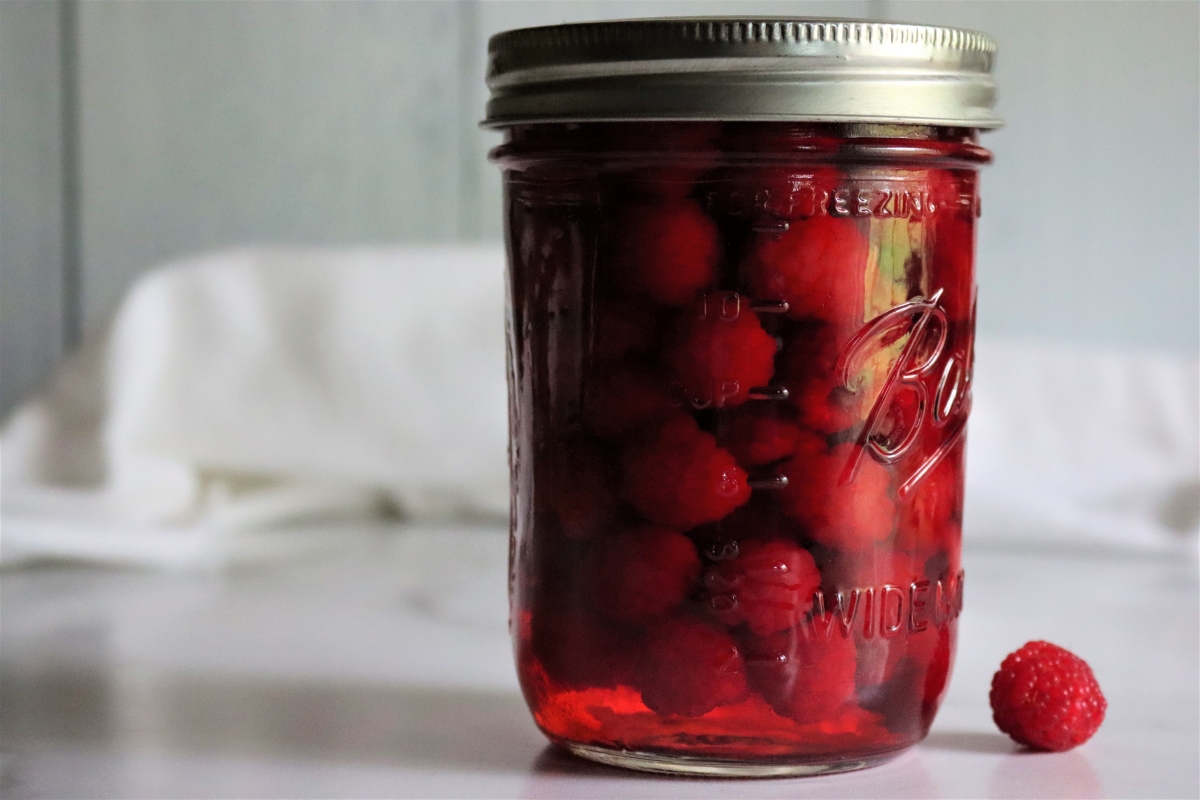
Canning raspberries is one of those preservation methods that doesn’t get a lot of attention, perhaps because many people prefer to freeze or dehydrate raspberries.
Dehydrating raspberries is a good option, and they’re great for snacking right off the pantry shelf, or added to granola or cereal. They’re not the best for baking though, and they’re too dry to top ice cream and yogurt in my opinion.
Freezing tends to bring out their tart size in my opinion, and somehow they seem to lose their sweetness. I don’t like to use frozen raspberries in muffins largely because it results in a sour patch right in the middle of an otherwise tasty muffin. It’s just too much.
(That’s even when the fresh berries tasted sweet out of hand, how does that happen? I have no idea.)
Canned raspberries though, are absolutely perfect for muffins. They’re canned in light syrup so they don’t lose their sweetness, and they make excellent ice cream or yogurt topping.
Really, they can be used anywhere you’d use fresh raspberries.
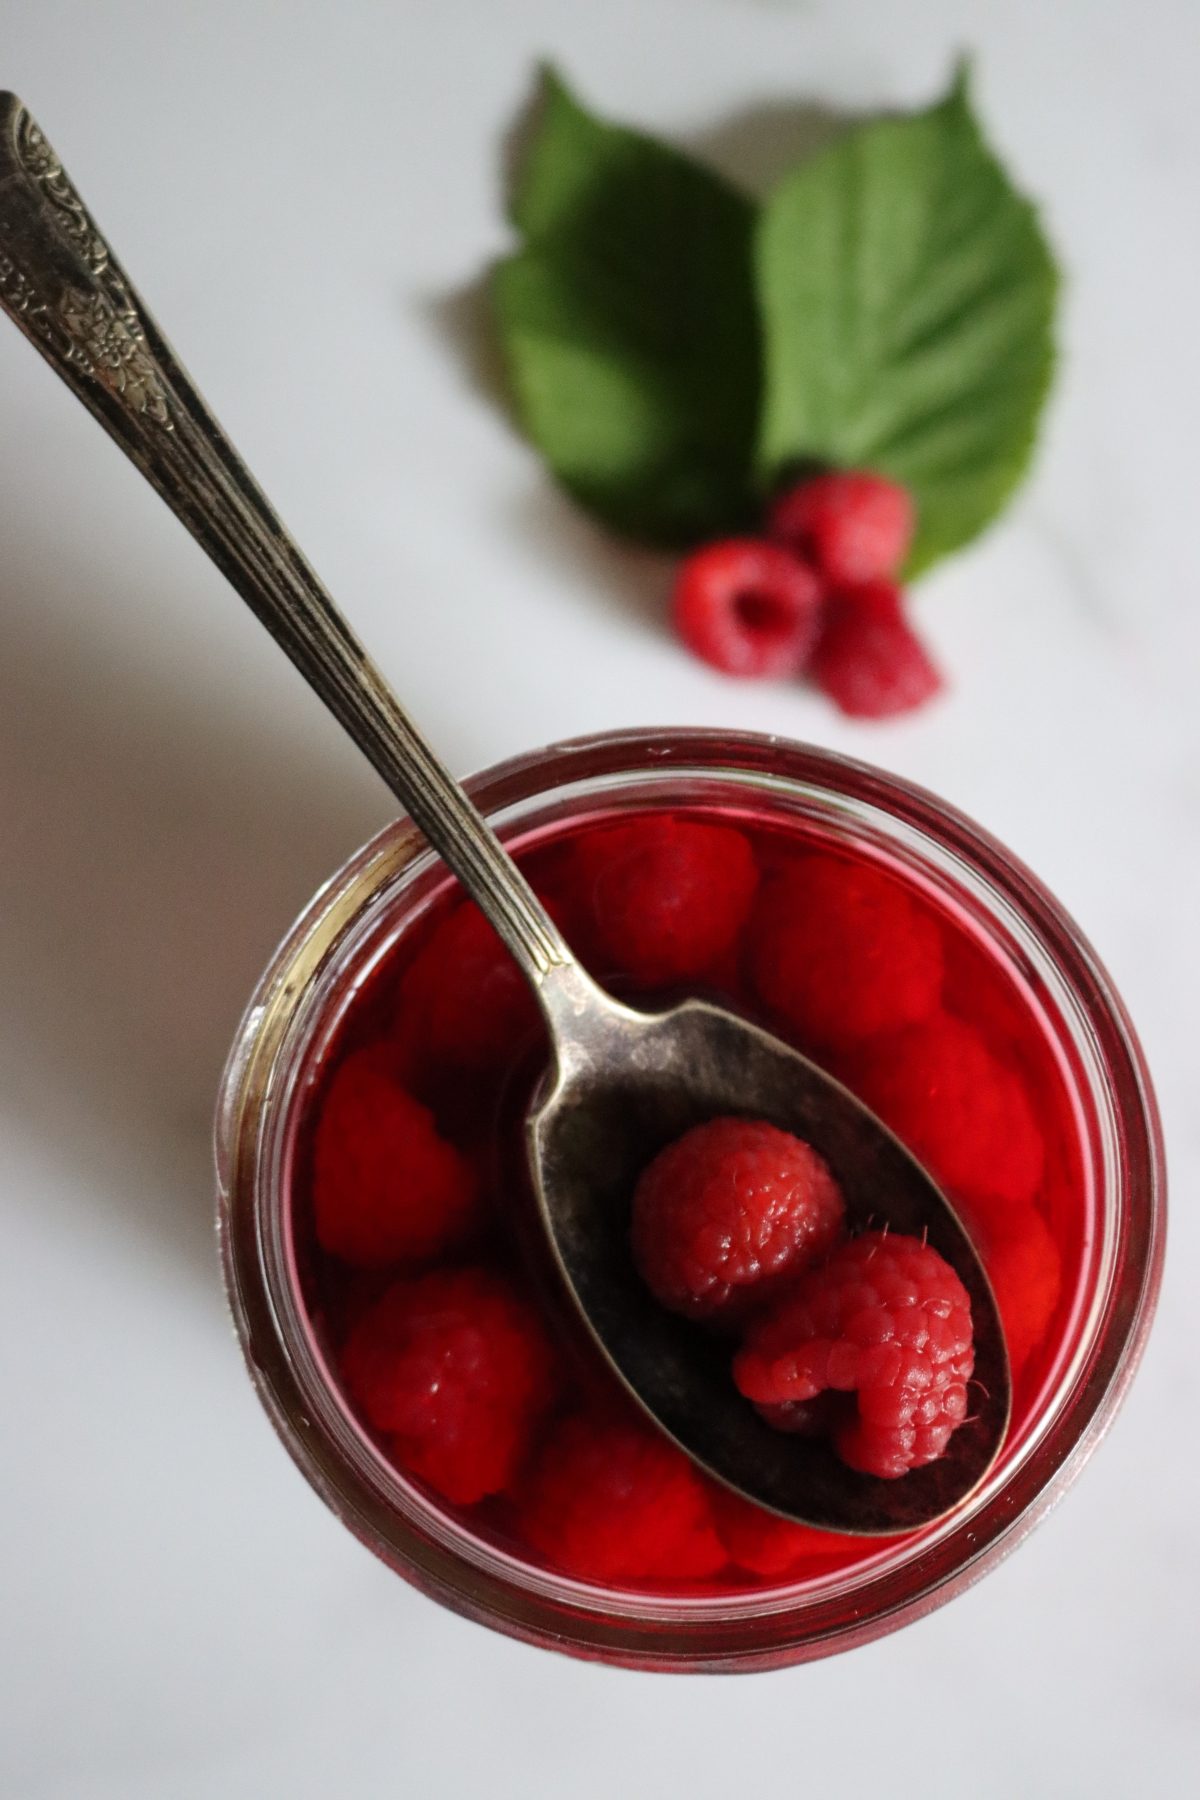
I know what you’re thinking, don’t raspberries fall apart in the canner?
They do…unless you treat them just right. There’s a trick to it.
First, I harvest the raspberries right into the canning jar, selecting only the absolutely perfect “firm ripe” but not overripe berries that hold together well right off the canes.
Harvesting them directly into the jars minimizes handling, so they don’t get bruised. It also ensures that they’re canned when impeccably fresh, since they go right into the canning jar and then they’re being processed in the canner in my kitchen within the hour.
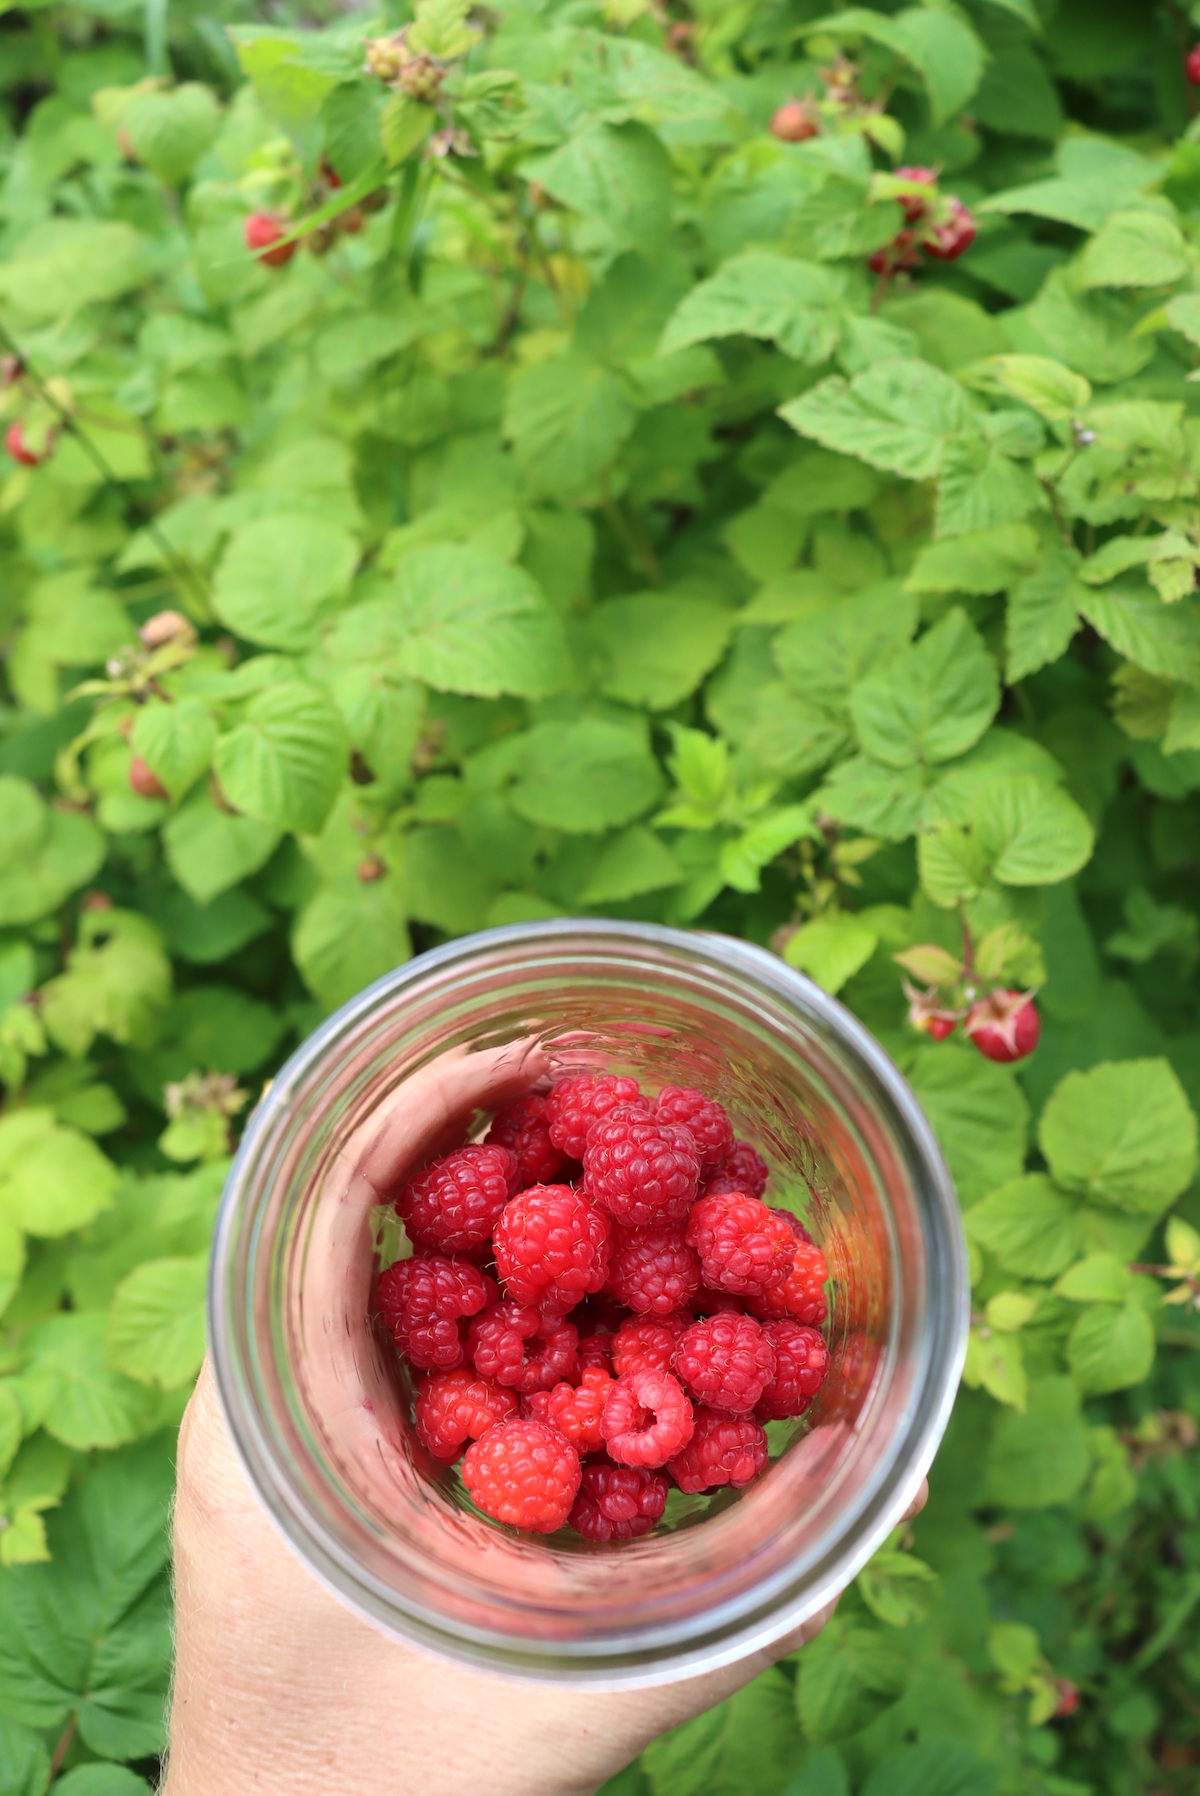
My raspberry patch happens to be about 40 feet from my front door, so it’s easy enough to carry out a flat of jars and pack them neatly on a summer’s day.
In years when my patch hasn’t been quite as productive, I’ve actually taken my flat of mason jars to our local pick your own patch. I ask first of course, but they charge by the pint, so they can hardly object to me picking into pint jars.
It saves them those little green cardboard pint berry boxes, minimizes waste, and ensures I get the highest quality raspberries to can.
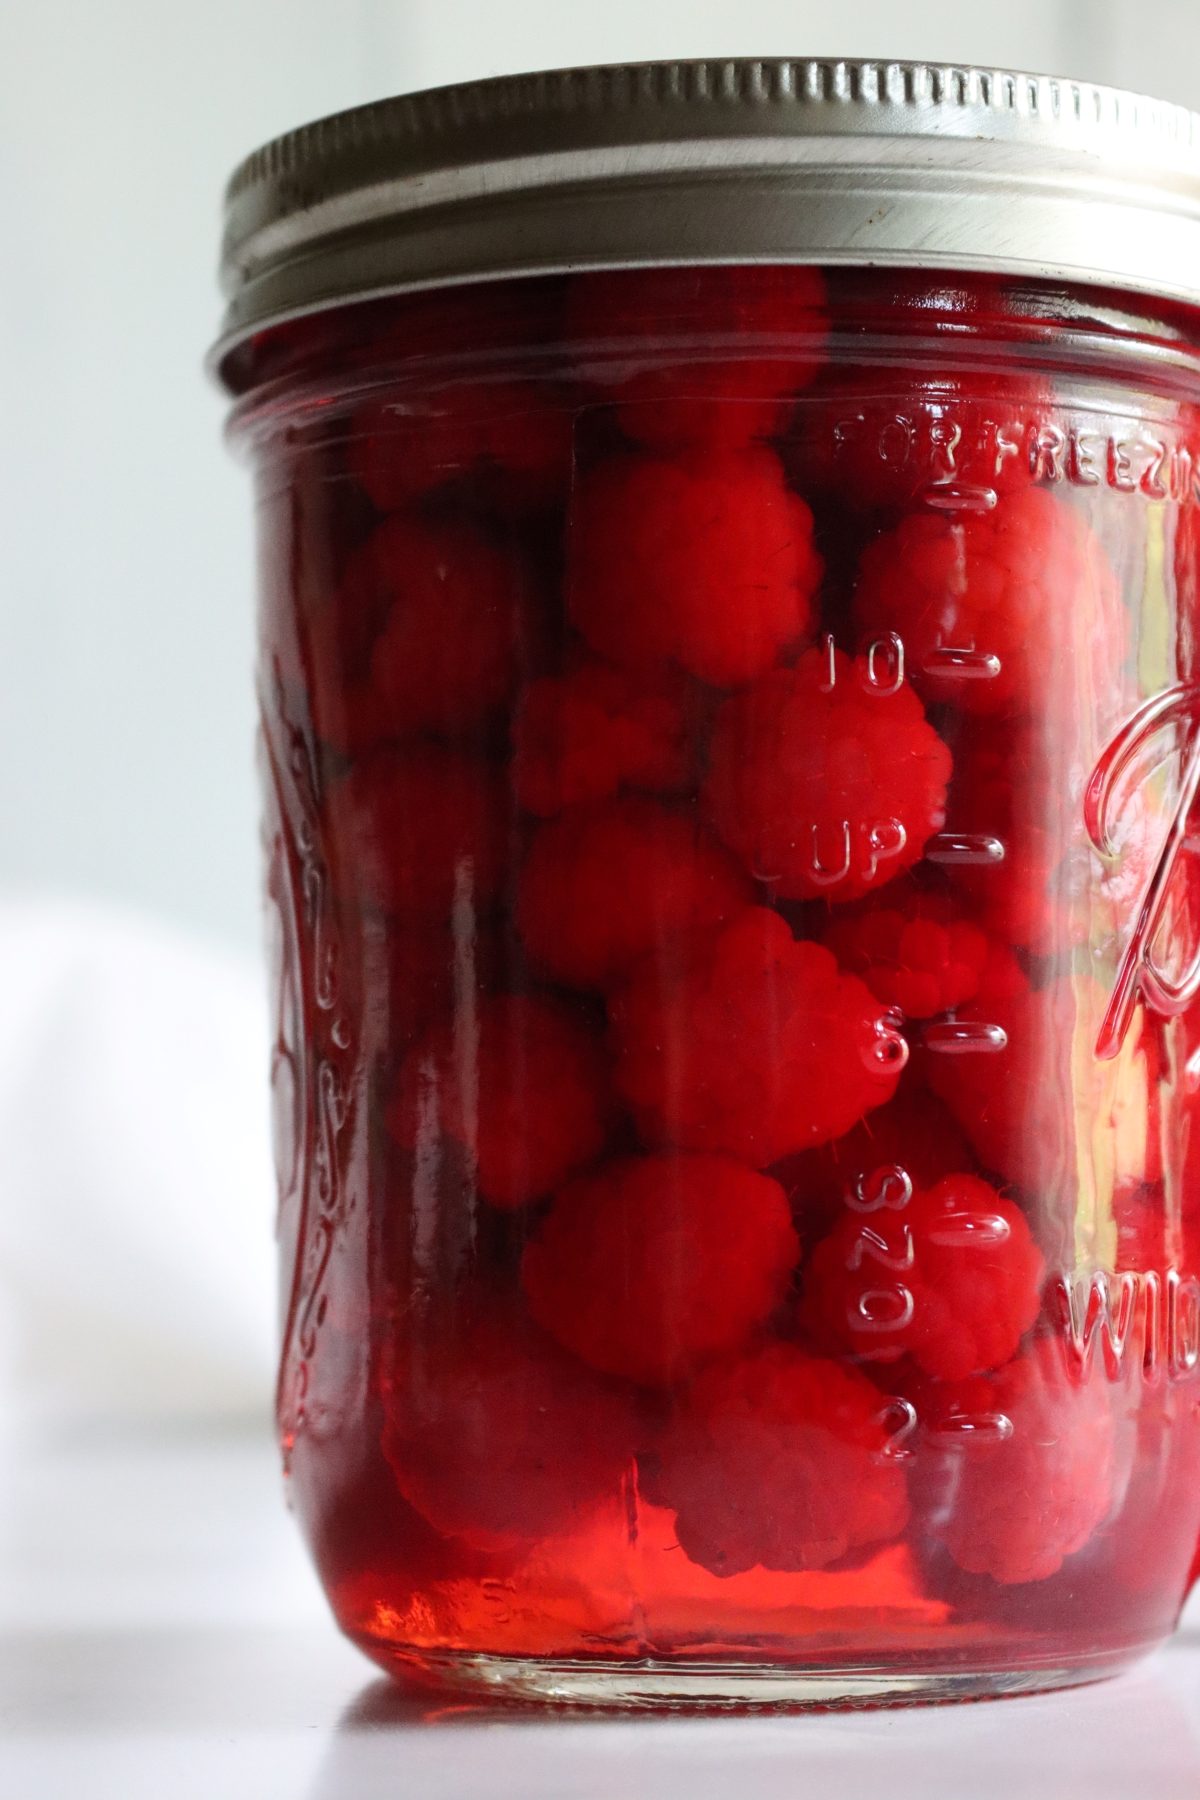
With this treatment, they come out surprisingly intact after canning and they’re absolutely divine right out of the jar.
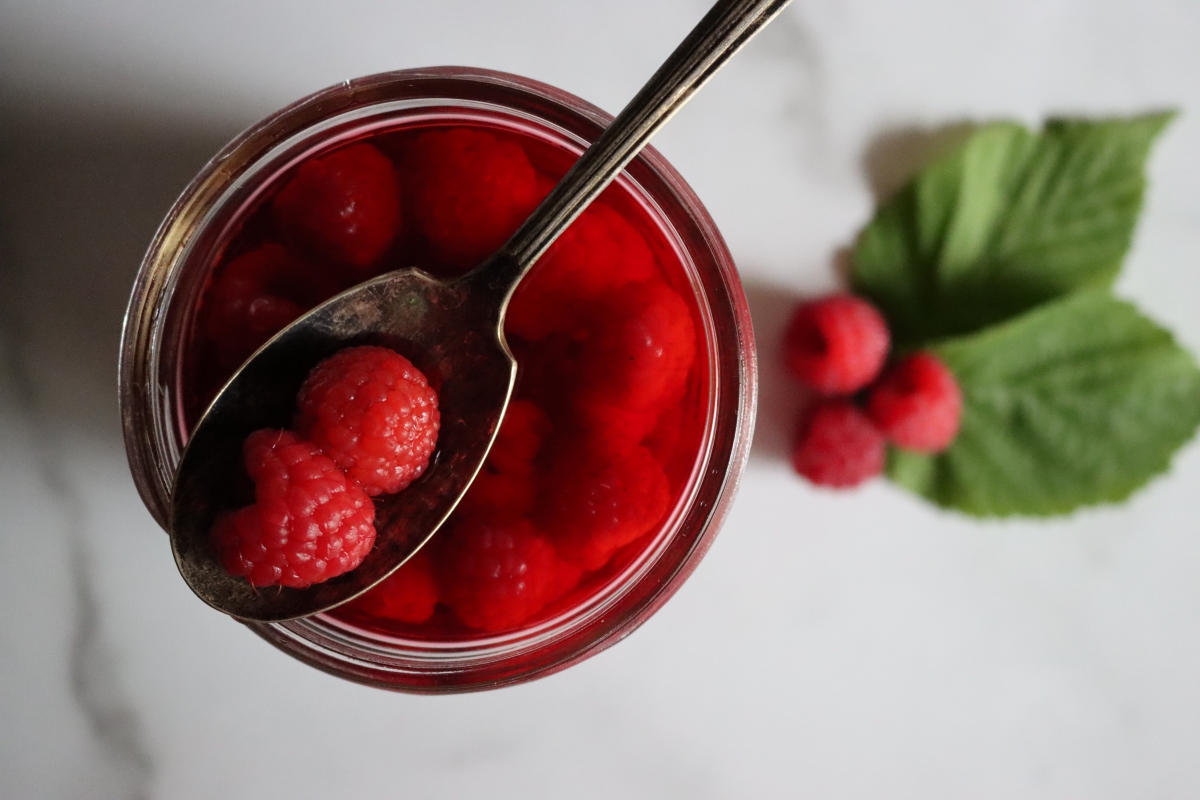
The variety is going to matter as well, and some types are just too crumbly for canning. Latham is a firm variety that was bred for commercial production, and a lot of the more commercial varieties are bred to hold up to picking and transport.
Of course, if you pick up those varieties at the grocery store they’re already a week or more old, so they won’t hold together in the canner (even though they are the right variety).
Even if your raspberries fall apart, they’re still absolutely delicious canned, don’t let that deter you. For soft raspberries, there’s always homemade jam, or even better, raspberry wine.
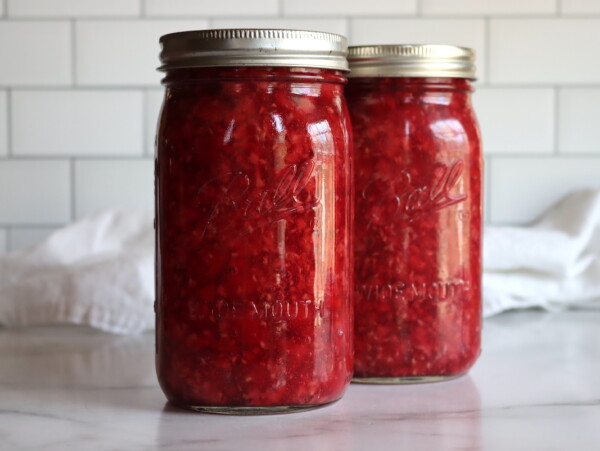
(If they do hold together though, they look lovely in the jar, and I get compliments on these beauties when I give them out as gifts.)
How to Can Raspberries
The process for canning raspberries isn’t actually all that different from canning blackberries or canning blueberries. In fact, per the USDA the canning instructions are identical in terms or time and headspace.
With my blueberries, I tend to hot pack them because they shink so much during canning if you raw pack them. I hate wasting space in jars, and they work out best when hot-packed.
With my blackberries, I tend to pack them in a blackberry brandy syrup, which is extra tasty, and you could do the same thing with raspberries (just use my canning blackberries recipe, substituting raspberries and use a raspberry cordial or liqueur instead of brandy).
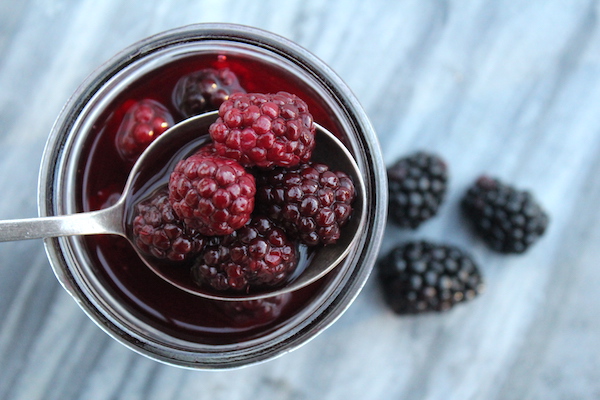
Raspberries, however, have a delicate texture and flavor, so I raw pack them in plain light syrup and I think that gives the best results. (As I mentioned, be sure to harvest very firm fruit right into the canning jar to minimize handling.)
You can use half-pints, pints, or quarts for canning raspberries, but I personally don’t recommend quarts. The longer process time is harder on the fruit. Stick with smaller jars, as it has a shorter process time and they’ll hold up better.
(I also follow that rule when canning dill pickles, and it keeps the pickles from getting soggy when you use smaller jars.)
I’ll give you instructions for all the variations though, so you can make up your own mind on the jar size and hot v. raw pack.
(If you’re not familiar with water bath canning, I’d strongly recommend you read my beginner’s guide to water bath canning before getting started.)
Raw Pack Canning Raspberries ~ Pack berries directly into jars, leaving 1/2 inch headspace. Cover with boiling syrup, water, or fruit juice. Process in a water bath canner per the table below.
Hot Pack Canning Raspberries ~ Simmer berries in water or syrup for about 30 seconds to heat through and drive off some air from their tissues. Strain with a slotted spoon and pack into canning jars leaving 1/2 inch headspace. Cover with boiling liquid (their blanching liquid, whatever you chose). Process in a water bath canner per the table below.
Note that a hot pack is only recommended for blueberries and gooseberries, as they hold up better. More delicate fruits like raspberries work out much better as a raw pack.
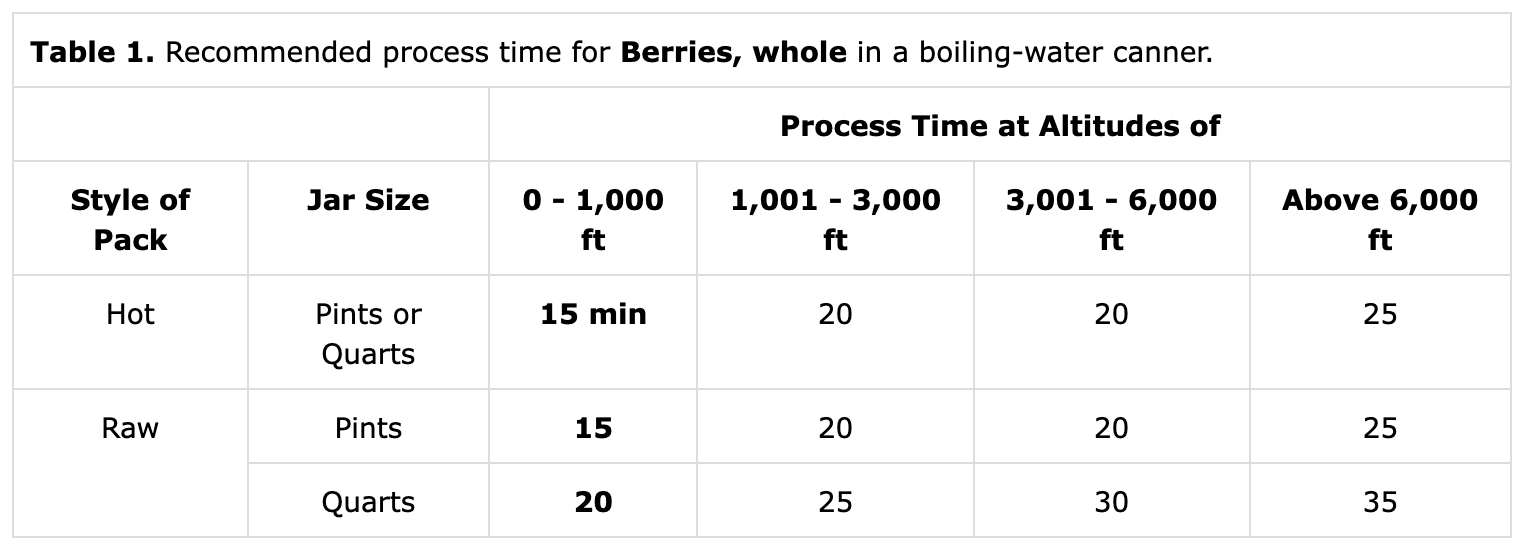
Note that when you raw pack raspberries for canning the canning time in quarts is longer. For pints, it’s the same process time as hot pack.
For that reason, I recommend raw pack in pints or half-pints. (Half pints have the same process time as pints.) That minimizes their total cook time for better results.
You can also pressure can raspberries, though I don’t recommend it. Some people just plain prefer to pressure can. (Know that you can water bath can in a pressure canner, if that’s all you have…just don’t put the lid on and fill it up with water like a normal canning pot.)
Still, if you’re dead set on pressure canning raspberries, here are the process times and pressures.
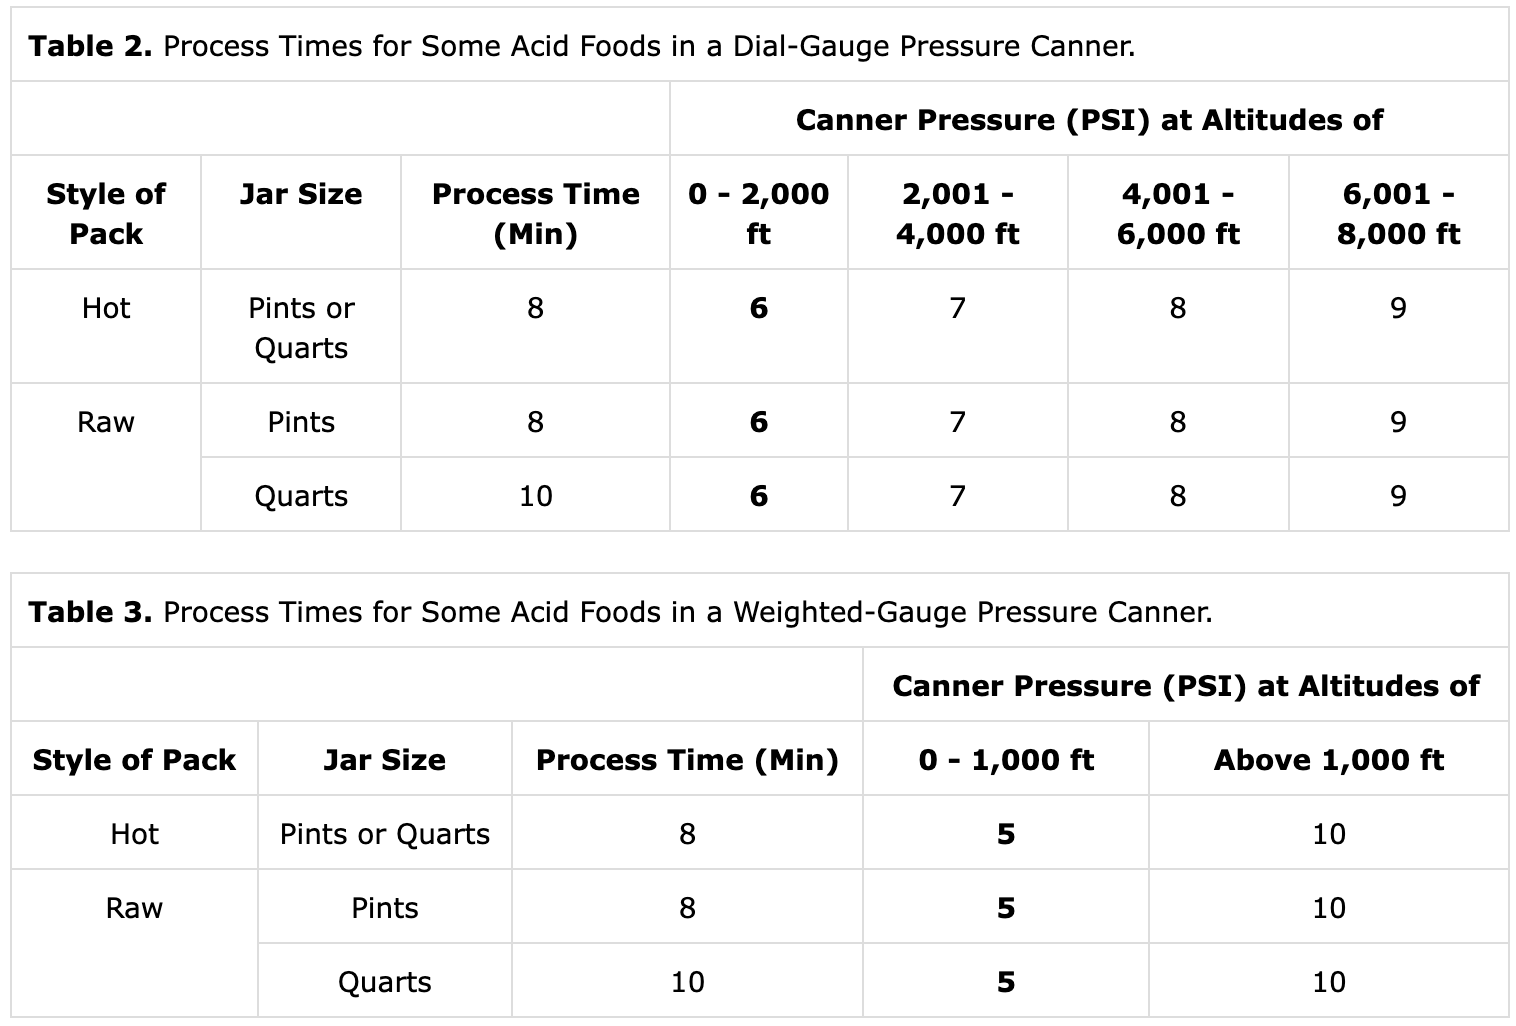
After processing, be sure to let the pressure canner cool completely before opening.
(For water bath canning, turn off the heat after the processing time is complete and allow the jars to sit in there for an extra 5 minutes to cool slightly before removing. That helps prevent siphoning or liquid loss from thermal shock when they’re removed too quickly from the canning water. You can read about that, and the resulting mess, in my post on canning apple pie filling.)
Syrup for Canning Raspberries
The berries themselves may be canned in plain water, fruit juice, or sugar syrup.
I don’t recommend plain water, as it washes out their flavor.
Apple or cherry juice works well, and is a good natural sweetening option, but the berries will take on the taste of the juice.
I use extra light syrup for canning raspberries, as it mirrors their natural sweetness. That way, the berries don’t lose sweetness to the canning liquid, but they also don’t get sweeter from a sugar-heavy syrup either.
For the extra light syrup, you’ll need 6 1/2 cups water and 3/4 cup sugar for a 9-pint canner load. For other syrup strengths, you can see this table of canning syrups which takes you through light all the way up to extra heavy.
Raspberry Canning Recipes
Looking for more raspberry canning recipes?
- Old Fashioned Raspberry Jelly (no pectin added)
- Classic Raspberry Jam (no pectin added)
- Mixed Berry Jam ~ Coming Soon
- Mixed Berry Jelly ~ Coming Soon
Canning Raspberries
Equipment
Ingredients
- 9 to 10 pints fresh raspberries, firm ripe
- 6 1/2 cups water
- 3/4 cup sugar
Instructions
- Prepare a water bath canner and bring it up to hot but not yet simmering for raw pack canning (140 degrees F or 60 degrees C). Clean and prepare canning jars, lids, and rings.
- Mix water and sugar and bring to a boil to create extra light syrup (or bring your preferred canning liquid to a boil).
- Pack canning jars with fresh raspberries, gently so that you don’t bruise the fruit, leaving 1/2 inch headspace.
- Pour boiling syrup over the fruit in the jars, remove any air bubbles, and adjust headspace to maintain 1/2 inch.
- Seal jars with 2 part canning lids and load into the prepared water bath canner.
- Bring the canner up to a hard boil. Start the timer once the canner is boiling, and process jars for 15 minutes (pints) or 20 minutes (quarts). See notes for altitude adjustments.
- When the canning time is complete, turn off the heat and allow the jars to sit in the canner for an additional 5 minutes before removing with a jar lifter and allowing them to cool completely on a towel on the counter.
- Check seals after 24 hours, and store any unsealed jars in the refrigerator for immediate use. Properly canned and sealed jars can be stored in the pantry and should maintain quality for 12-18 months.
Notes
Nutrition
Nutrition information is automatically calculated, so should only be used as an approximation.
Summer Canning Recipes
Putting up more than just raspberries this season?
- Canning Peaches
- Canning Corn
- Canning Tomatoes (Whole or Halves)
- Canning Peas
Here’s where you can find all my favorite canning recipes, regardless of the season.
Can I use store bought raspberries for the raw pack method?
Can I use honey instead of sugar??
Yes, you can use store-bought raspberries and you can use honey as a sweetener. Store bought will be a bit softer and may fall apart more than if you’d hand picked them into the jar, but they’ll still be delicious, especially with the honey!
Do you rinse the raspberries before canning? It won’t promote bacteria?
No, I don’t rinse them. Rinsing them does nothing to the bacteria, it’s canning that eliminates the bacteria. If they’re dirty, then you can’t use this method, but raspberries are usually clean on the bush unless you’re in a really dry dusty area.