This post may contain affiliate links. Please see our disclosure policy.
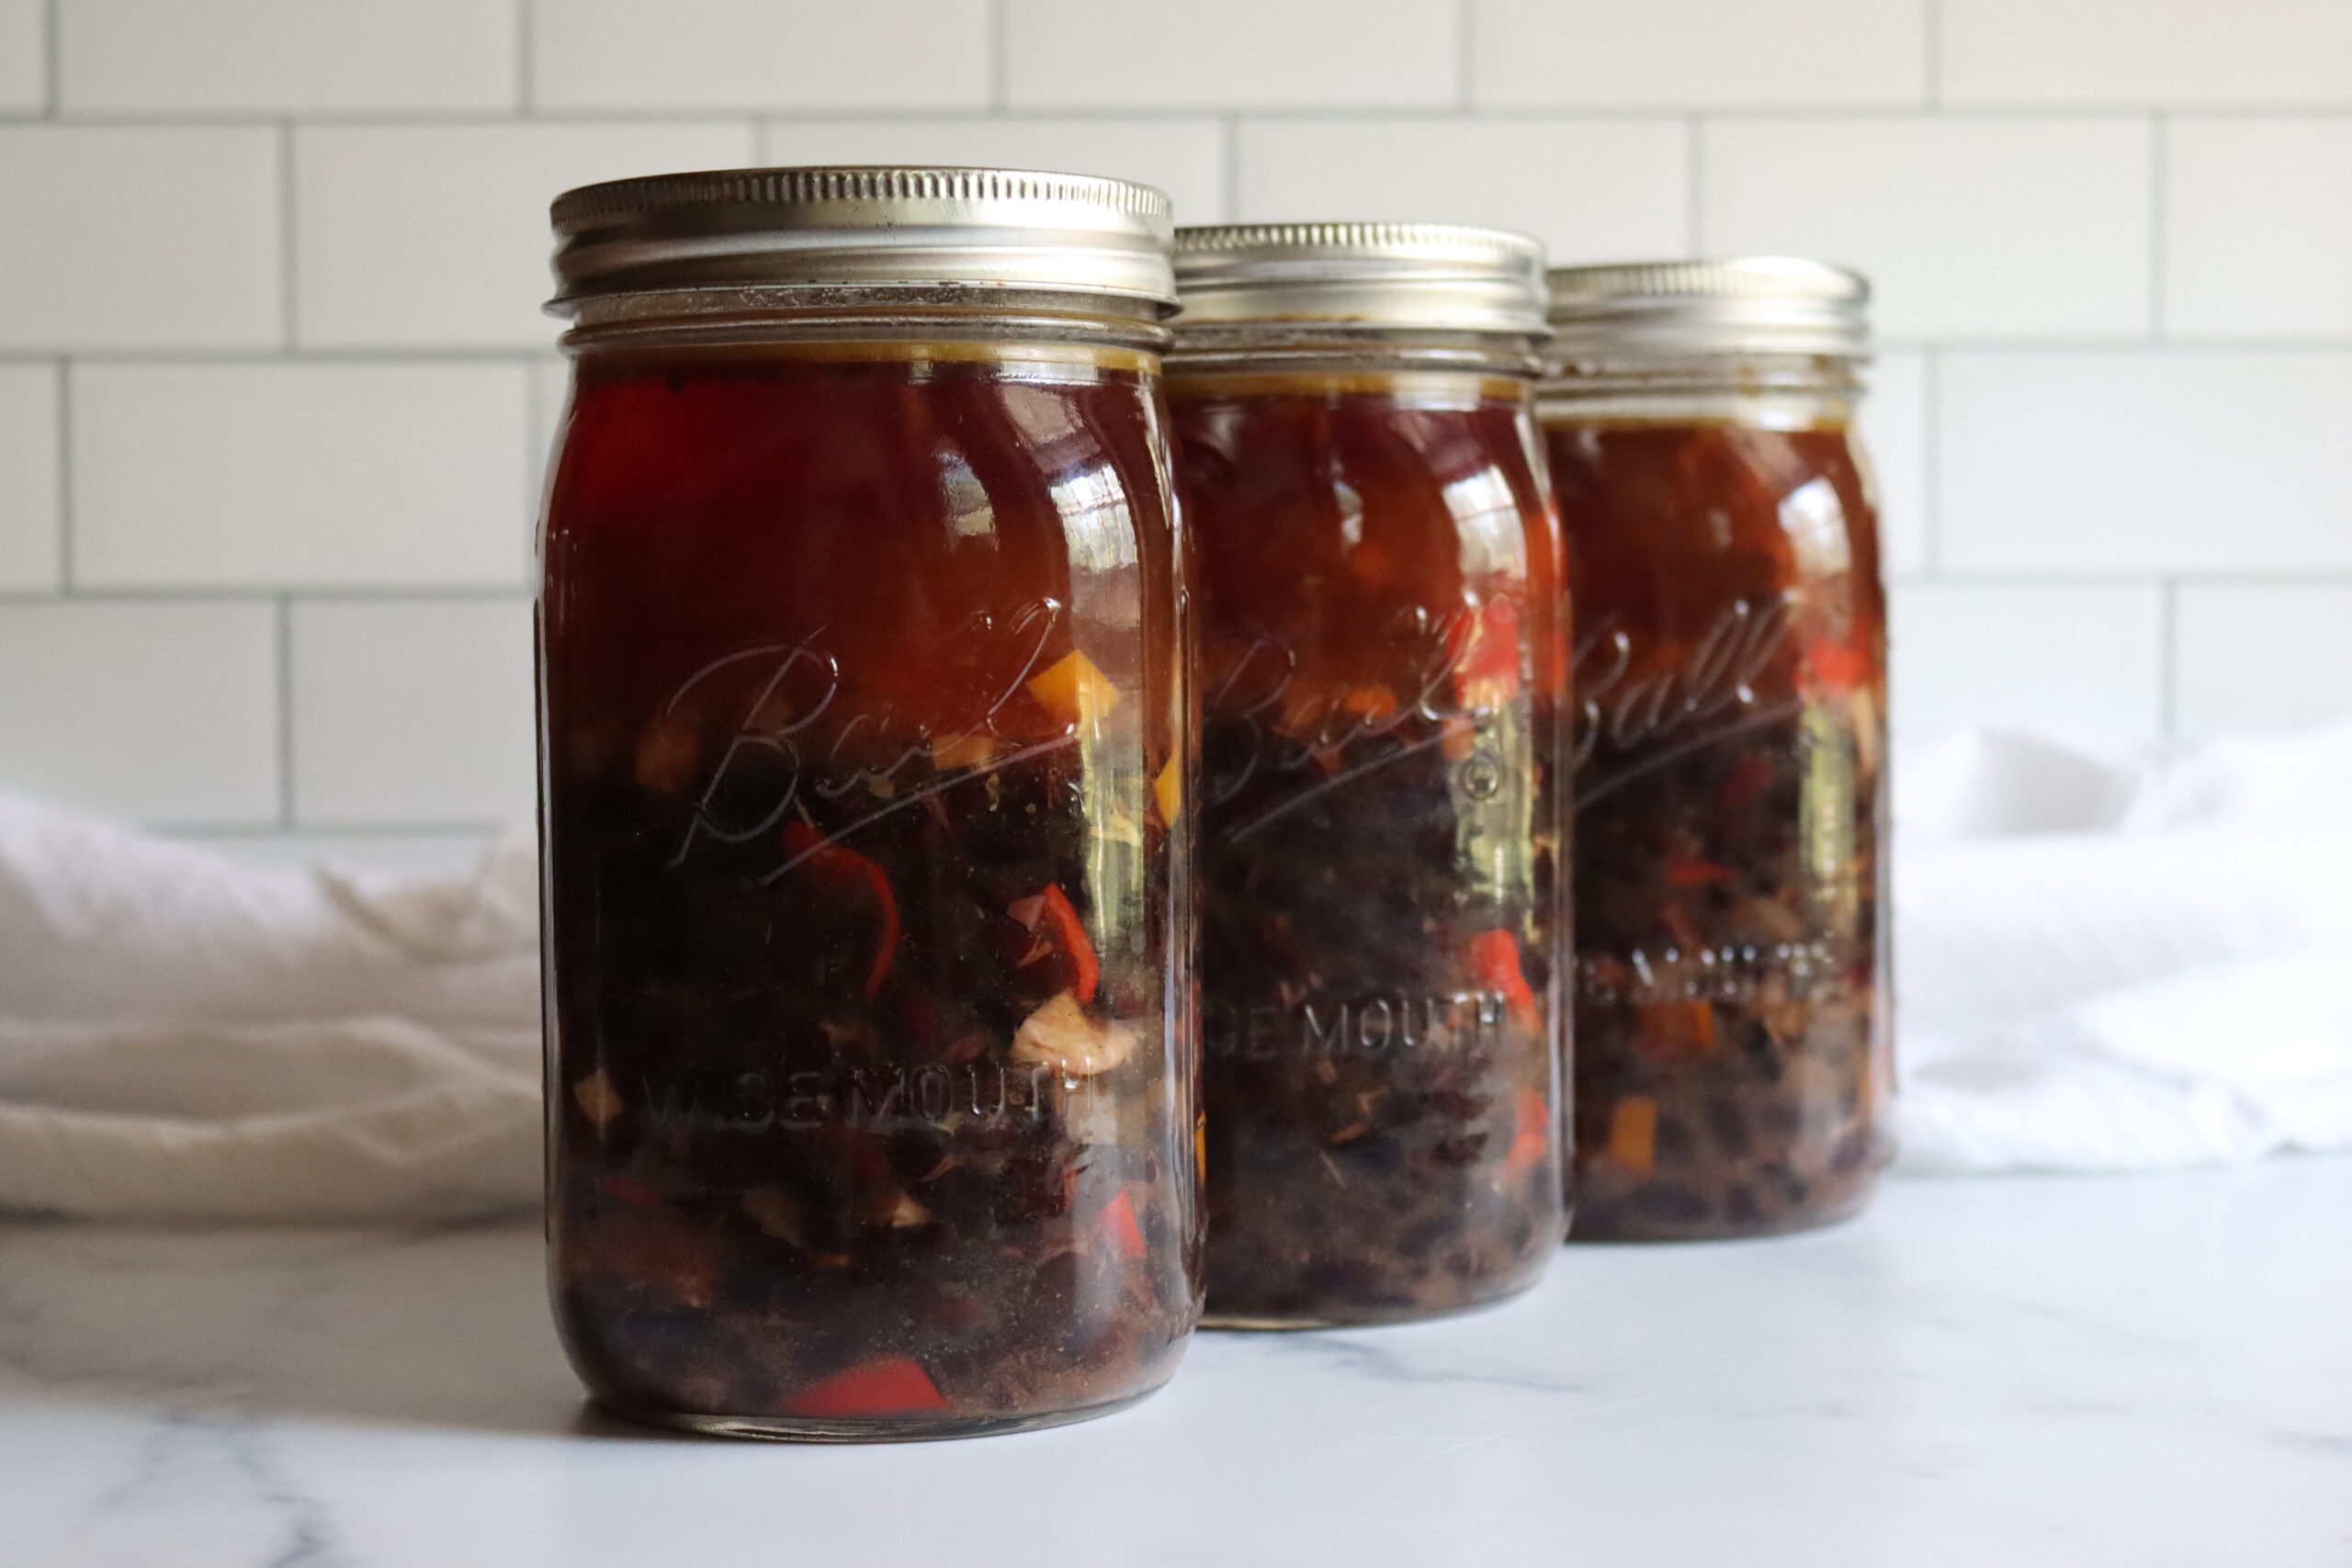
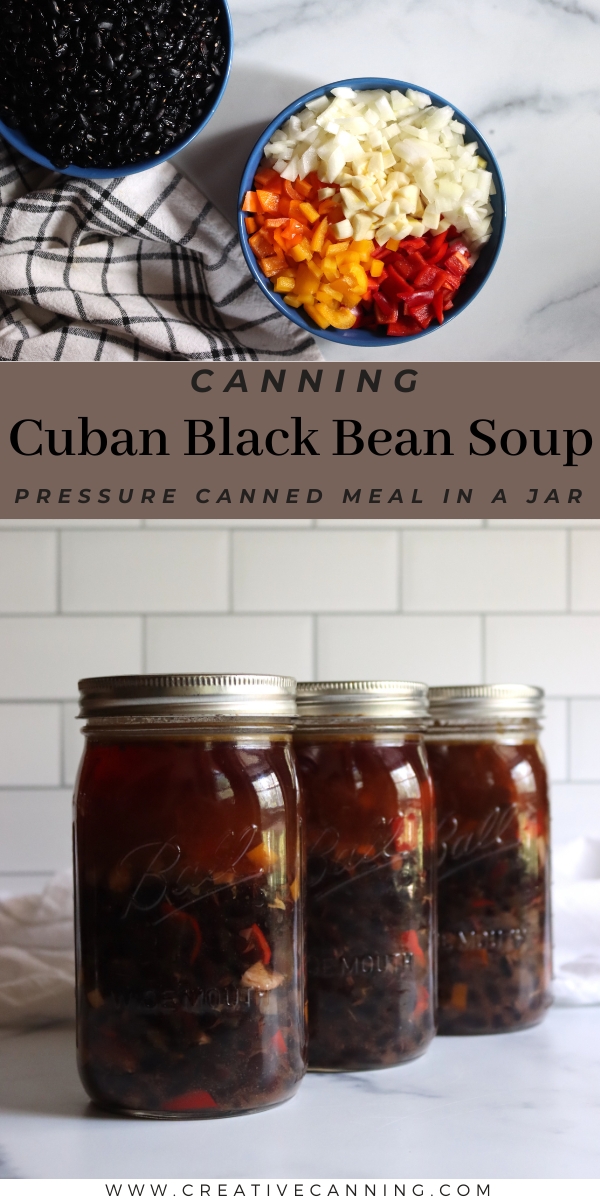
Cuban Black Bean Soup is a delicious traditional soup, and it’s even better if you can plan ahead and save time on busy weeknights with this pressure-canning recipe! Make the soup ahead and store it right on your pantry shelf for a quick heat-and-eat meal.
I’ve been looking for a canning recipe for black bean soup for quite a while now, but kept coming up empty. I was ready to give up and craft my own when I came across this recipe from the University of California. Far from a plain black bean soup, this Cuban Black Bean soup recipe is incredibly flavorful and the perfect quick, healthy meal in a jar.
It’s great as a heat-and-eat meal, but I especially love it topped with a bit of sour cream, a few slices of avocado, and maybe a sprinkle of fresh cilantro.
Their original recipe includes ham to give you the smokey flavor that’s traditional Cuban style bean soups, but you can skip it and use vegetable broth in place of meat broth to convert this to a vegetarian soup canning recipe.
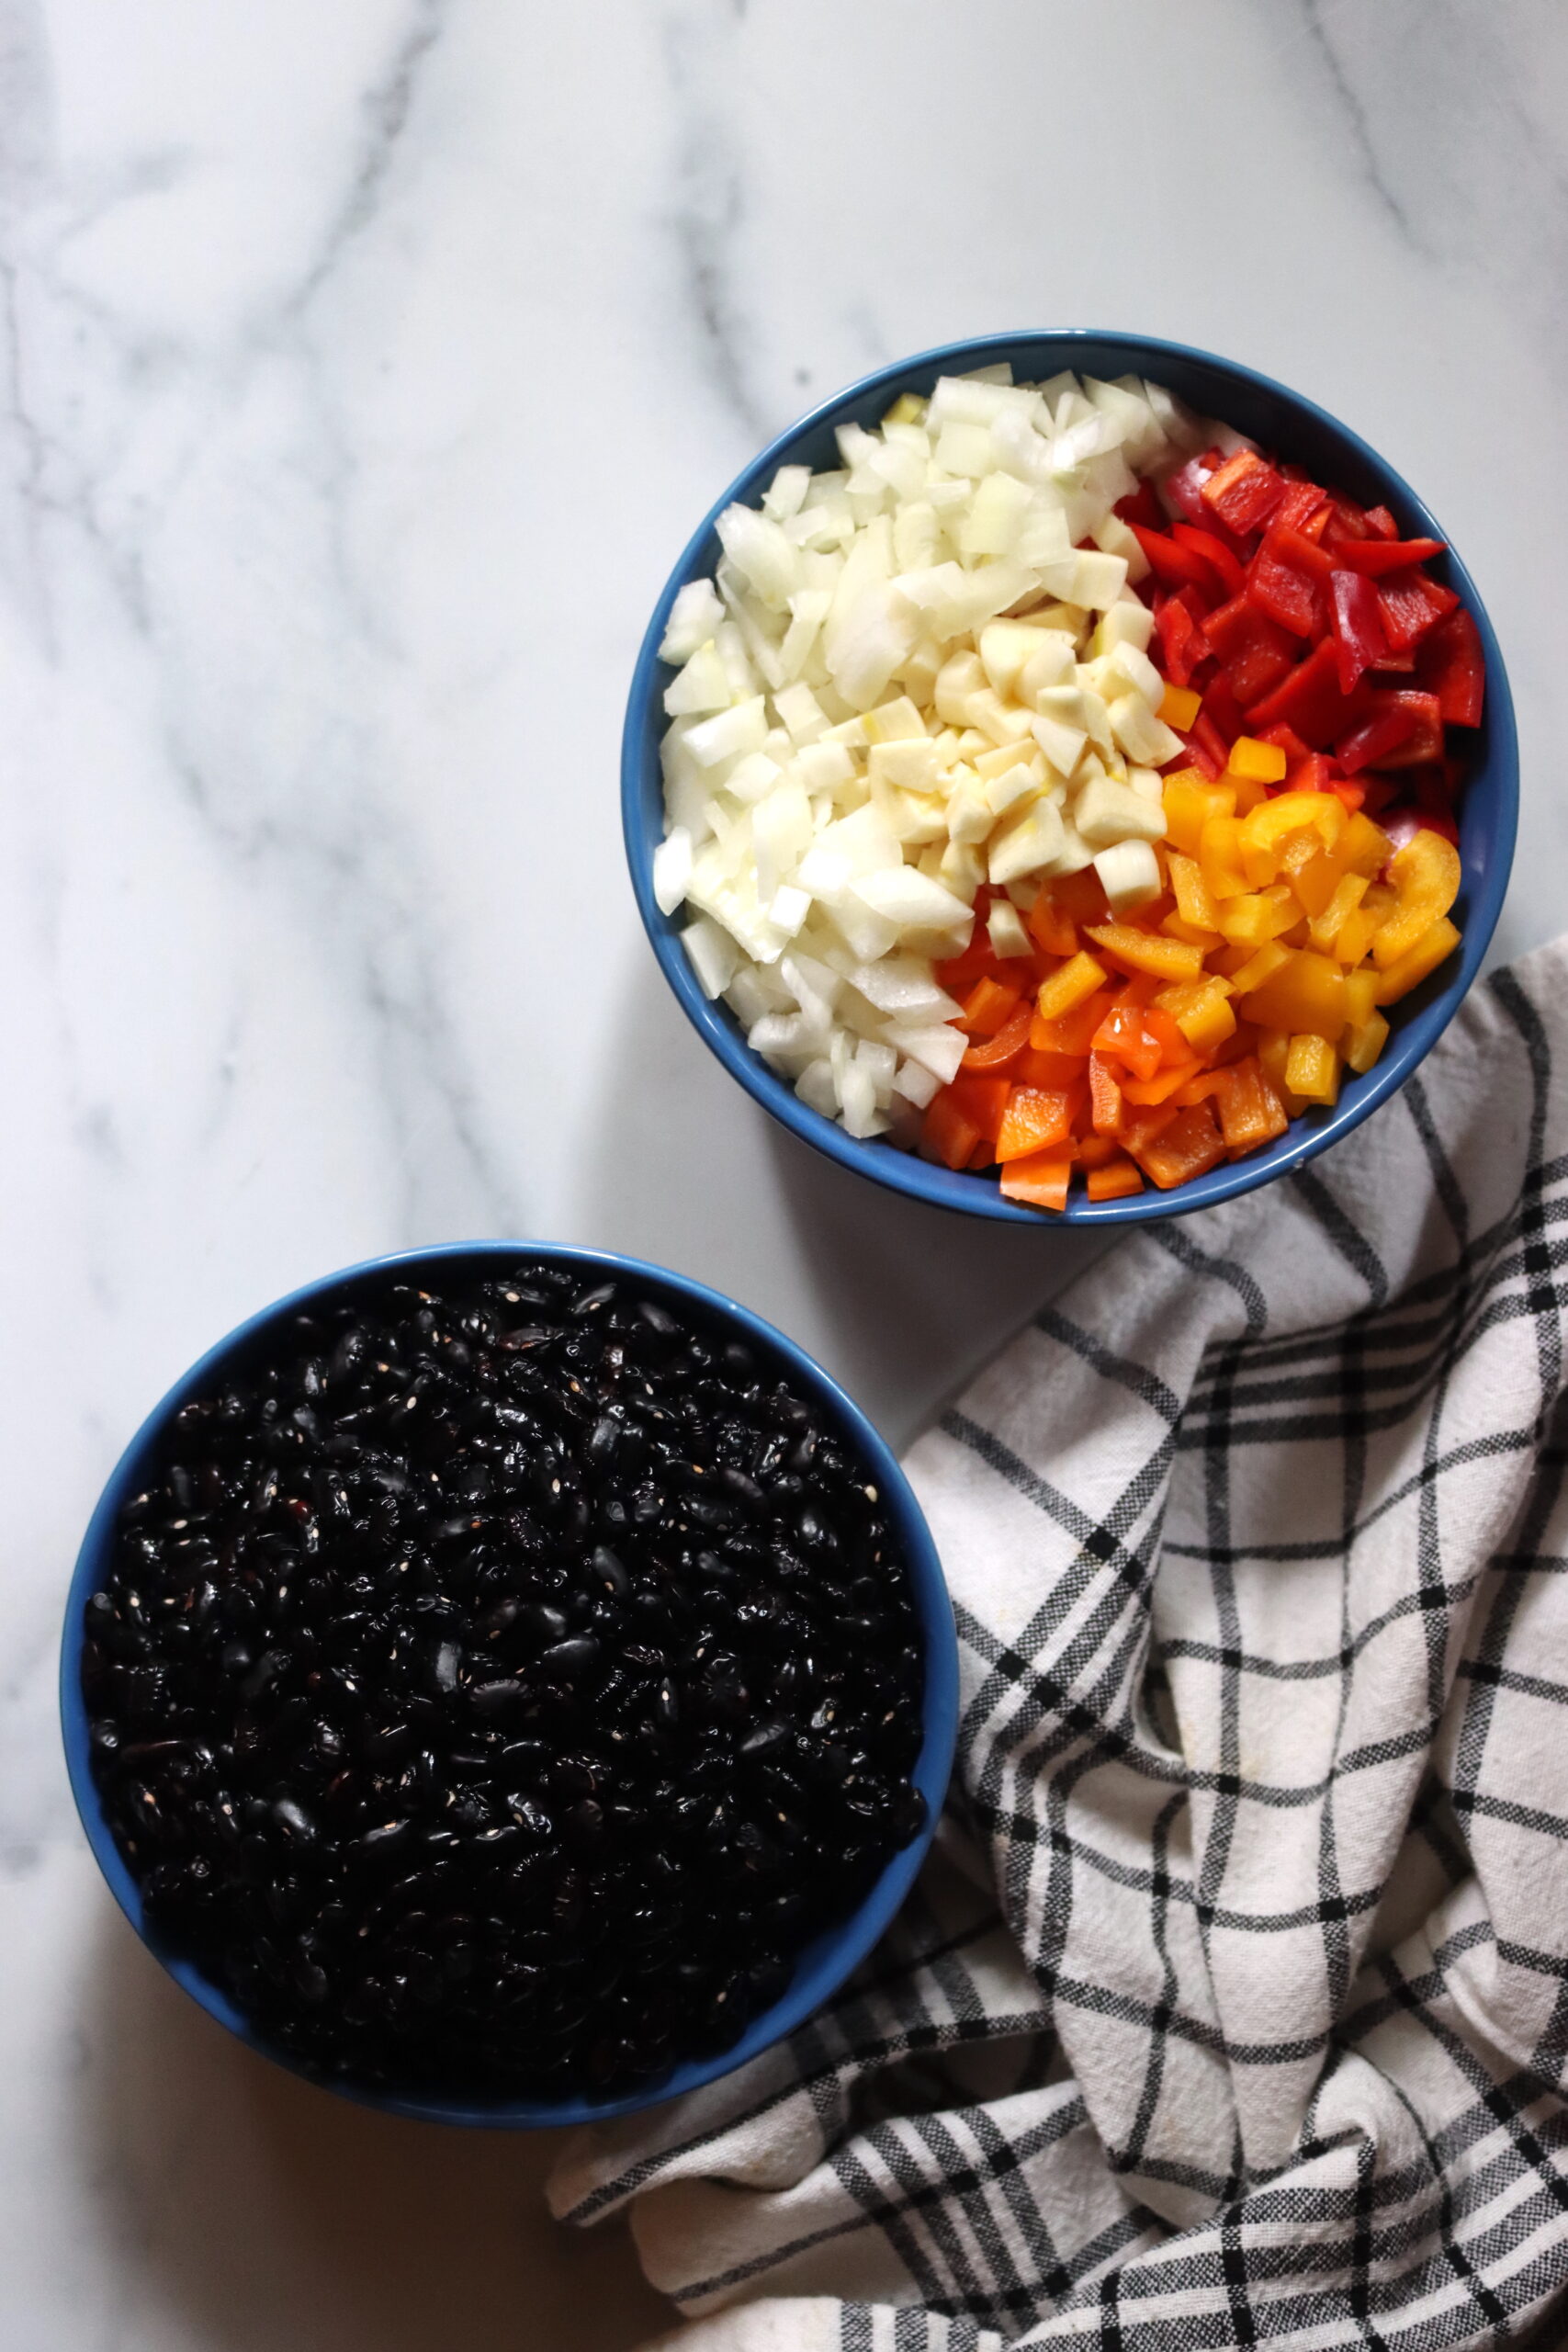
Ingredients for Canning Black Bean Soup
This recipe was developed by the UCCE Master Food Preserver program run by the University of California. To make a batch of 7 quarts of soup, you will need:
- 2 pounds dried black beans (about 5 cups)
- 2 cups onions, chopped (250 g)
- 1 cup peppers, sweet or hot, chopped (100 g)
- 6 Tbsp garlic, chopped
- 2 Tbsp Oil
- 1 ½ Tbsp Salt
- 1 ½ Tbsp ground Cumin
- 1 Tbsp dried oregano
- ¼ cup red wine vinegar or cider vinegar
- ½ pound ham, cubed into ½ inch pieces (optional)
- 16 cups meat or vegetable broth
- Water
Be aware that this recipe follows the USDA’s Your Choice soup guidelines, which allow you to fill the jar halfway with solids and the rest of the way with liquids. That works out really well with black bean soup as the beans expand a bit during canning, and then a bit of the liquid evaporates when you reheat it. Don’t worry, it’s not a brothy soup, it comes out hearty when you serve it even though the jars start only half filled with beans.
Preparing Cuban Black Bean Soup for Canning
Wash and sort dry beans. Cover with 12 cups (3 quarts) water and bring to a boil. Boil for 2 minutes, then turn off the heat. Allow to stand for 1 hour. (Alternately, soak 8 to 12 hours.)
Drain the beans and rinse. Set aside.
Add 2 tbsp oil to the bottom of a stock pot and use it to saute the onions, peppers, and garlic for about 5 to 7 minutes, until the onions are translucent and the mixture is fragrant.
Add the remaining ingredients and bring the mixture to a boil. Boil for 5 minutes.
While the soup is boiling, bring about 4 cups of water to a boil in a kettle. You may (or may not) need this for topping off the jars.
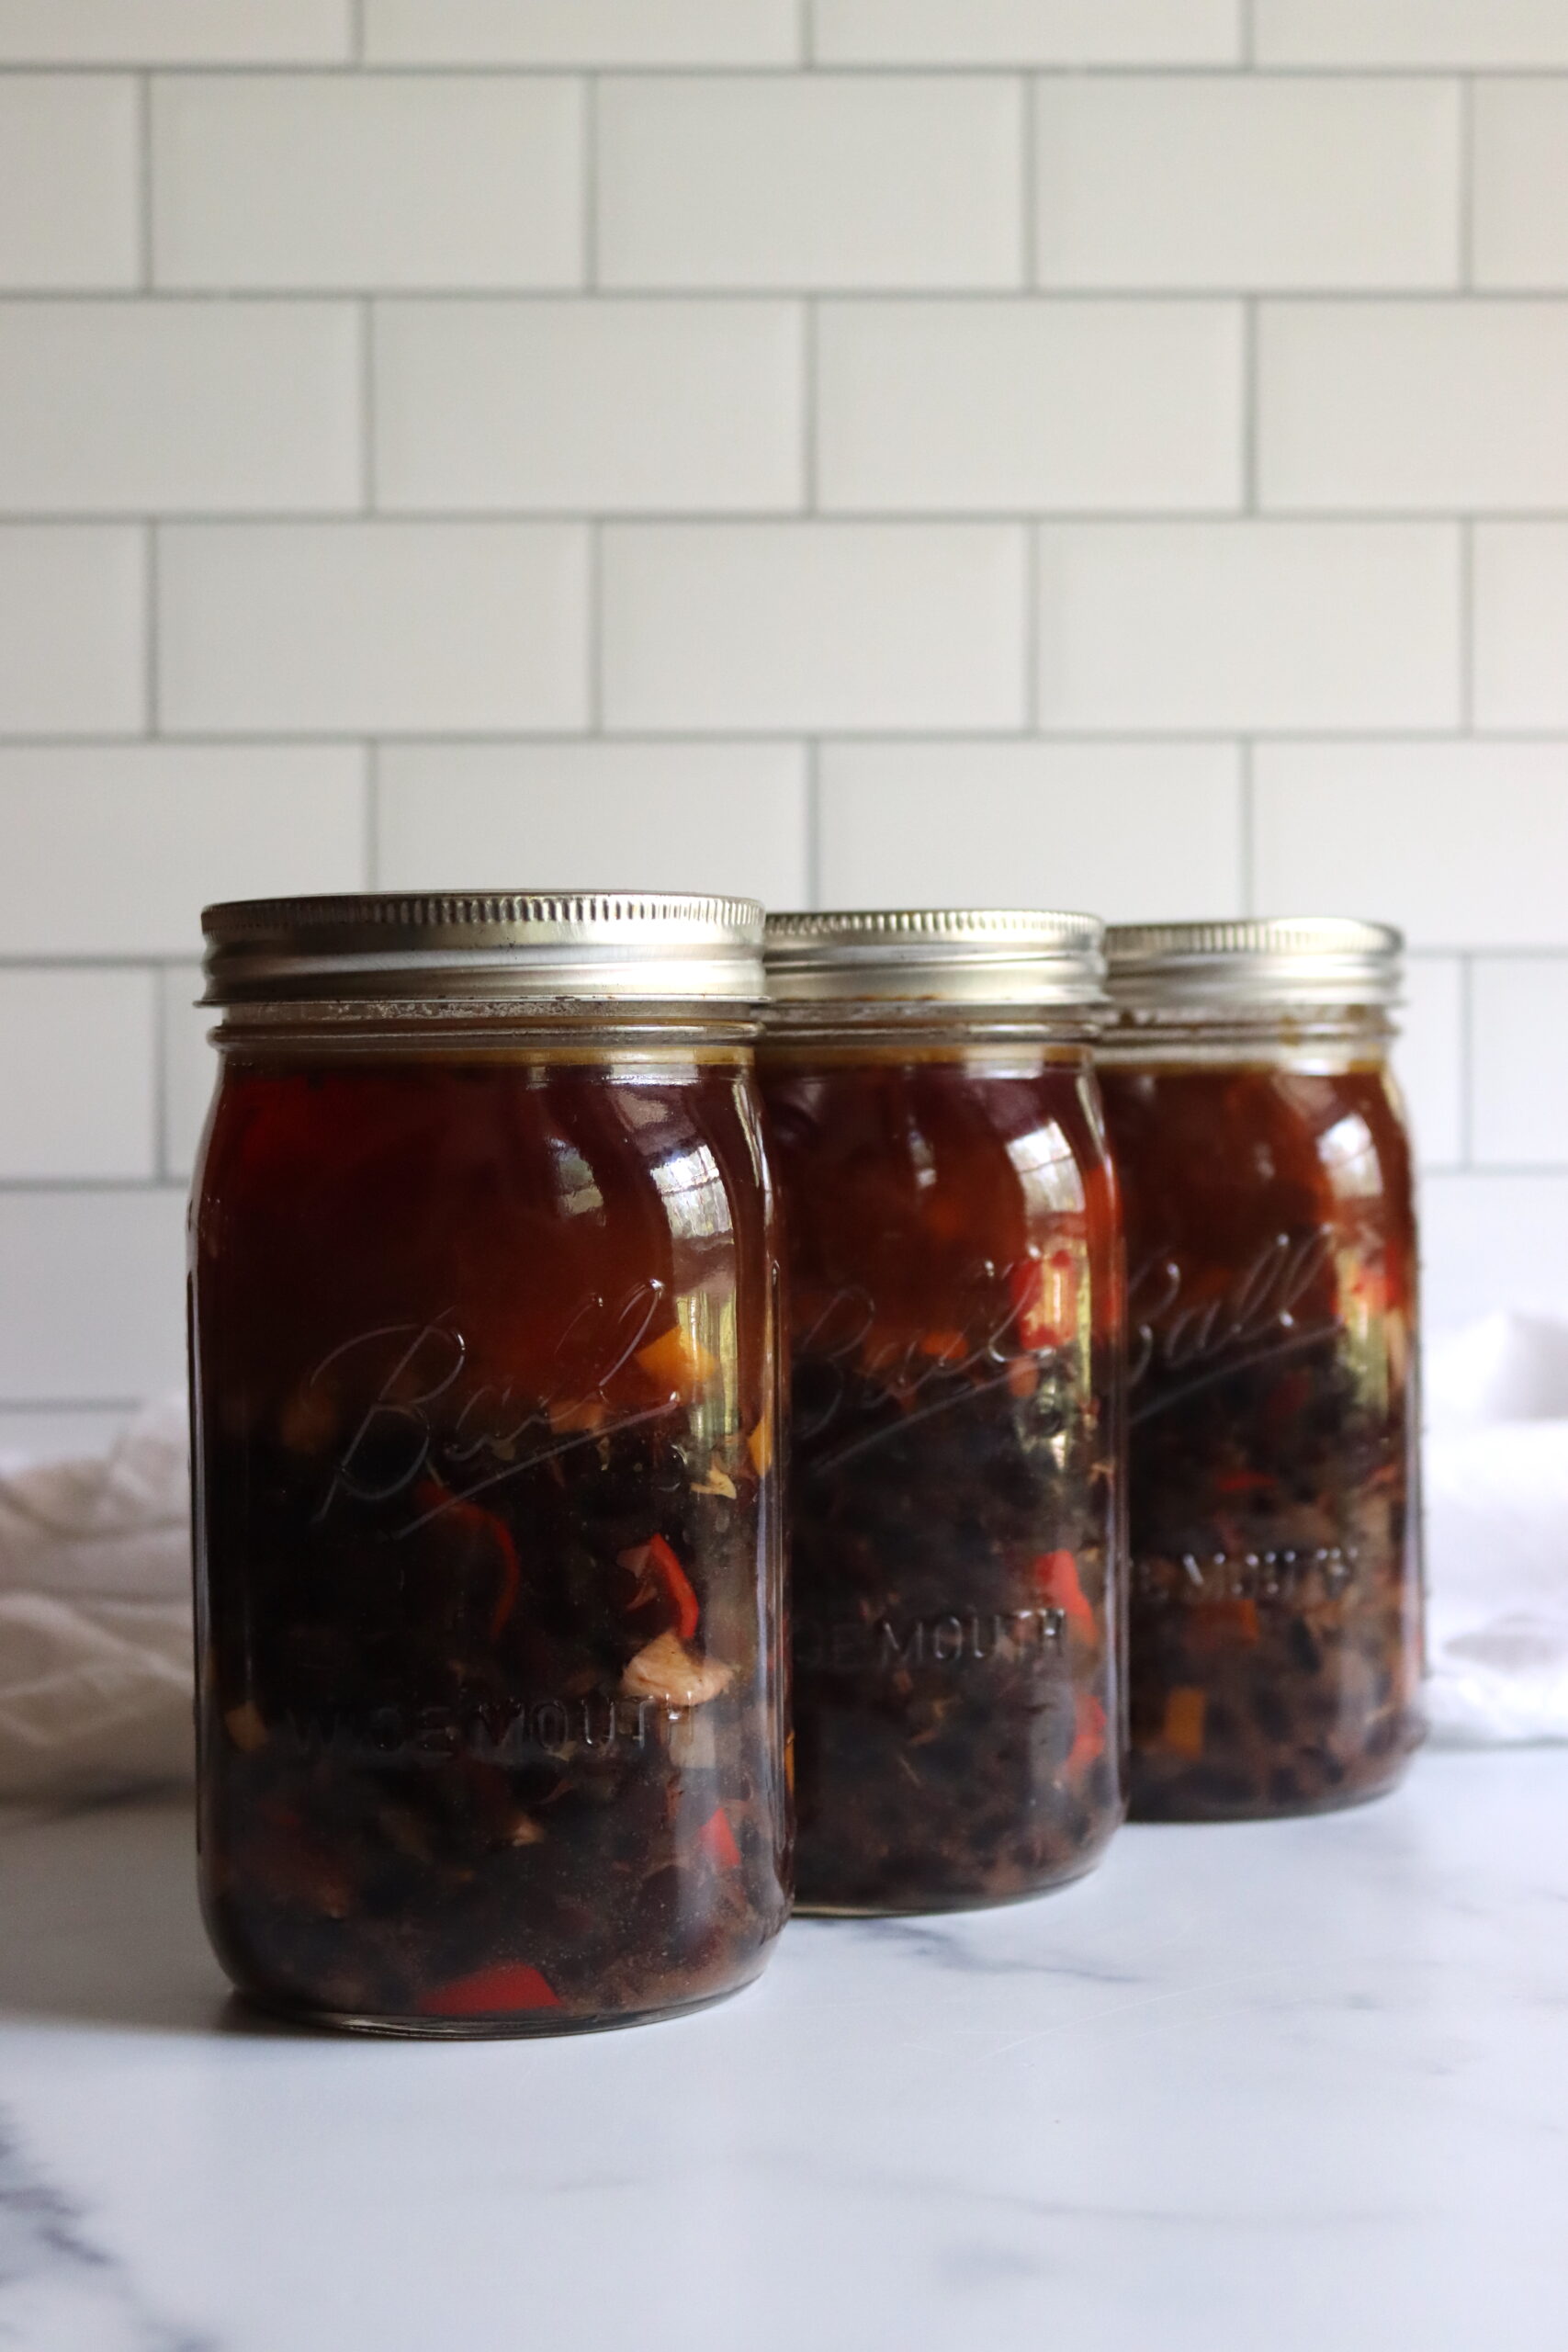
Canning Instructions for Black Bean Soup
Use a slotted spoon to ladle the solids into 7-quart jars, evenly distributing the contents. The solids should fill each jar about halfway. This is important! The jars will not be filled with solids. Do not overpack the jars; they should only be about half filled with solids before canning. The beans will expand in the canner.
Distribute the broth evenly across the jars, leaving 1 inch of headspace. You may need to top off the jars with water from your side kettle to bring them to exactly 1-inch headspace.
Cap with 2-part canning lids to finger tight.
Load the jars into a preheated pressure canner and add the lid, but don’t add the canning weight yet. Turn the heat to high and allow steam to vent for 10 minutes.
Add the canning weight and bring the canner up to pressure (see notes).
Once at pressure, process the jars for 75 minutes for quarts (or 60 minutes for pints).
When the canning time is complete, turn off the heat and allow the canner to cool completely before opening and removing the jars. Check seals and store any unsealed jars in the refrigerator. Properly canned and sealed jars may be stored in the pantry and will maintain peak quality for 12 to 18 months.
Altitude Adjustments
With pressure canning, the processing times stay the same at higher altitudes, but the pressures change. Here are the altitude adjustments for pressure canning:
For dial gauge pressure canners:
- 0 to 2,000 feet in elevation – 11 lbs pressure
- 2,001 to 4,000 feet in elevation – 12 lbs pressure
- 4,001 to 6,000 feet in elevation – 13 lbs pressure
- 6,001 to 8,000 feet in elevation – 14 lbs pressure
For weighted gauge pressure canners:
- 0 to 1,000 feet in elevation – 10 lbs pressure
- Above 1,000 feet – 15 lbs pressure
Serving Home Canned Black Bean Soup
To serve, pour the contents of the jar into a saucepan and simmer for 10 minutes. For a creamy soup, you can puree about half the contents with a stick blender, if desired.
Enjoy as is, or top with avocado, sour cream, cilantro, tortilla chips, cornbread, or whatever you like!
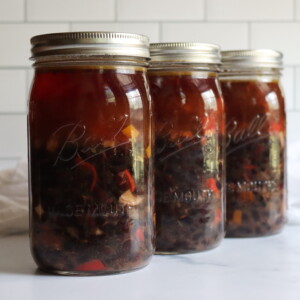
Cuban Black Bean Soup (Canning Recipe)
Equipment
Ingredients
- 2 pounds dried black beans, about 5 cups
- 2 cups onions, chopped (250 g)
- 1 cup peppers, sweet or hot, chopped (100 g)
- 6 Tbsp garlic, chopped
- 2 Tbsp Oil
- 1 ½ Tbsp Salt
- 1 ½ Tbsp ground Cumin
- 1 Tbsp dried oregano
- ¼ cup red wine vinegar, or cider vinegar
- ½ lbs ham, cubed into ½ inch pieces (optional)
- 16 cups meat or vegetable broth
- Water
Instructions
- Wash and sort dry beans. Cover with 12 cups (3 quarts) water and bring to a boil. Boil for 2 minutes, then turn off the heat. Allow to stand for 1 hour. (Alternately, soak 8 to 12 hours.)
- Drain the beans and rinse. Set aside.
- Add 2 tbsp oil to the bottom of a stock pot and use it to saute the onions, peppers, and garlic for about 5 to 7 minutes, until the onions are translucent and the mixture is fragrant.
- Add the remaining ingredients and bring the mixture to a boil. Boil for 5 minutes.
- While the soup is boiling, bring about 4 cups of water to a boil in a kettle. You may (or may not) need this for topping off the jars.
- Use a slotted spoon to ladle the solids into 7-quart jars, evenly distributing the contents. The solids should fill each jar about halfway. This is important! The jars will not be filled with solids. Do not overpack the jars; they should only be about half filled with solids before canning. The beans will expand in the canner.
- Distribute the broth evenly across the jars, leaving 1 inch of headspace. You may need to top off the jars with water from your side kettle to bring them to exactly 1-inch headspace.
- Cap with 2-part canning lids to finger tight.
- Load the jars into a preheated pressure canner and add the lid, but don’t add the canning weight yet. Turn the heat to high and allow steam to vent for 10 minutes.
- Add the canning weight and bring the canner up to pressure (see notes).
- Once at pressure, process the jars for 75 minutes for quarts (or 60 minutes for pints).
- When the canning time is complete, turn off the heat and allow the canner to cool completely before opening and removing the jars. Check seals and store any unsealed jars in the refrigerator. Properly canned and sealed jars may be stored in the pantry and will maintain peak quality for 12 to 18 months.
- To serve, pour the contents of the jar into a saucepan and simmer for 10 minutes. For a creamy soup, you can puree about half the contents with a stick blender, if desired.
- Enjoy as is, or top with avocado, sour cream, cilantro, tortilla chips, cornbread, or whatever you like!
Notes
Pressure Canning Altitude Adjustments
With pressure canning, the processing times stay the same at higher altitudes, but the pressures change. Here are the altitude adjustments for pressure canning Cuban Black Bean Soup:For dial gauge pressure canners:
- 0 to 2,000 feet in elevation – 11 lbs pressure
- 2,001 to 4,000 feet in elevation – 12 lbs pressure
- 4,001 to 6,000 feet in elevation – 13 lbs pressure
- 6,001 to 8,000 feet in elevation – 14 lbs pressure
For weighted gauge pressure canners:
- 0 to 1,000 feet in elevation – 10 lbs pressure
- Above 1,000 feet – 15 lbs pressure
Nutrition
Nutrition information is automatically calculated, so should only be used as an approximation.
Bean Canning Recipes
Looking for more ways to put up beans in a jar?
- Canning Boston Baked Beans
- Canning White Bean and Greens Soup
- Butternut Squash and White Bean Soup
- Cajun Red Beans and Sausage
Soup Canning Recipes
There are so many different soup canning recipes out there, try these for your pantry:

My daughter canned this recipe and her son (our grandson) LOVED it!
Wonderful!
Can you sub, beef for ham, like brisket or chuck?
Yes, you can substitute any meat here, provided you don’t fill the jars more than halfway with solids. This recipe is following the guidelines for brothy soups, which has quite a bit of leeway in terms of substitutions. There’s a full explanation here: https://creativecanning.com/choice-soup-canning-recipe/
Hi Ashley, I’m curious about why you don’t need to boil the beans for longer in this recipe. It seems odd considering you need to boil beans for 30 minutes when canning them; is it because the ratio of liquid to solids is different here? Thanks!
Yup, it’s because there’s so much liquid in the jar. This recipe follows the NCHFP’s guidance for brothy soups, and you don’t do the 30 minute pre-cook because you’re only filling the jars halfway. They do expand during canning, so you’ll end up with jars that are 2/3rds or so full, which works out perfectly when serving.