This post may contain affiliate links. Please see our disclosure policy.
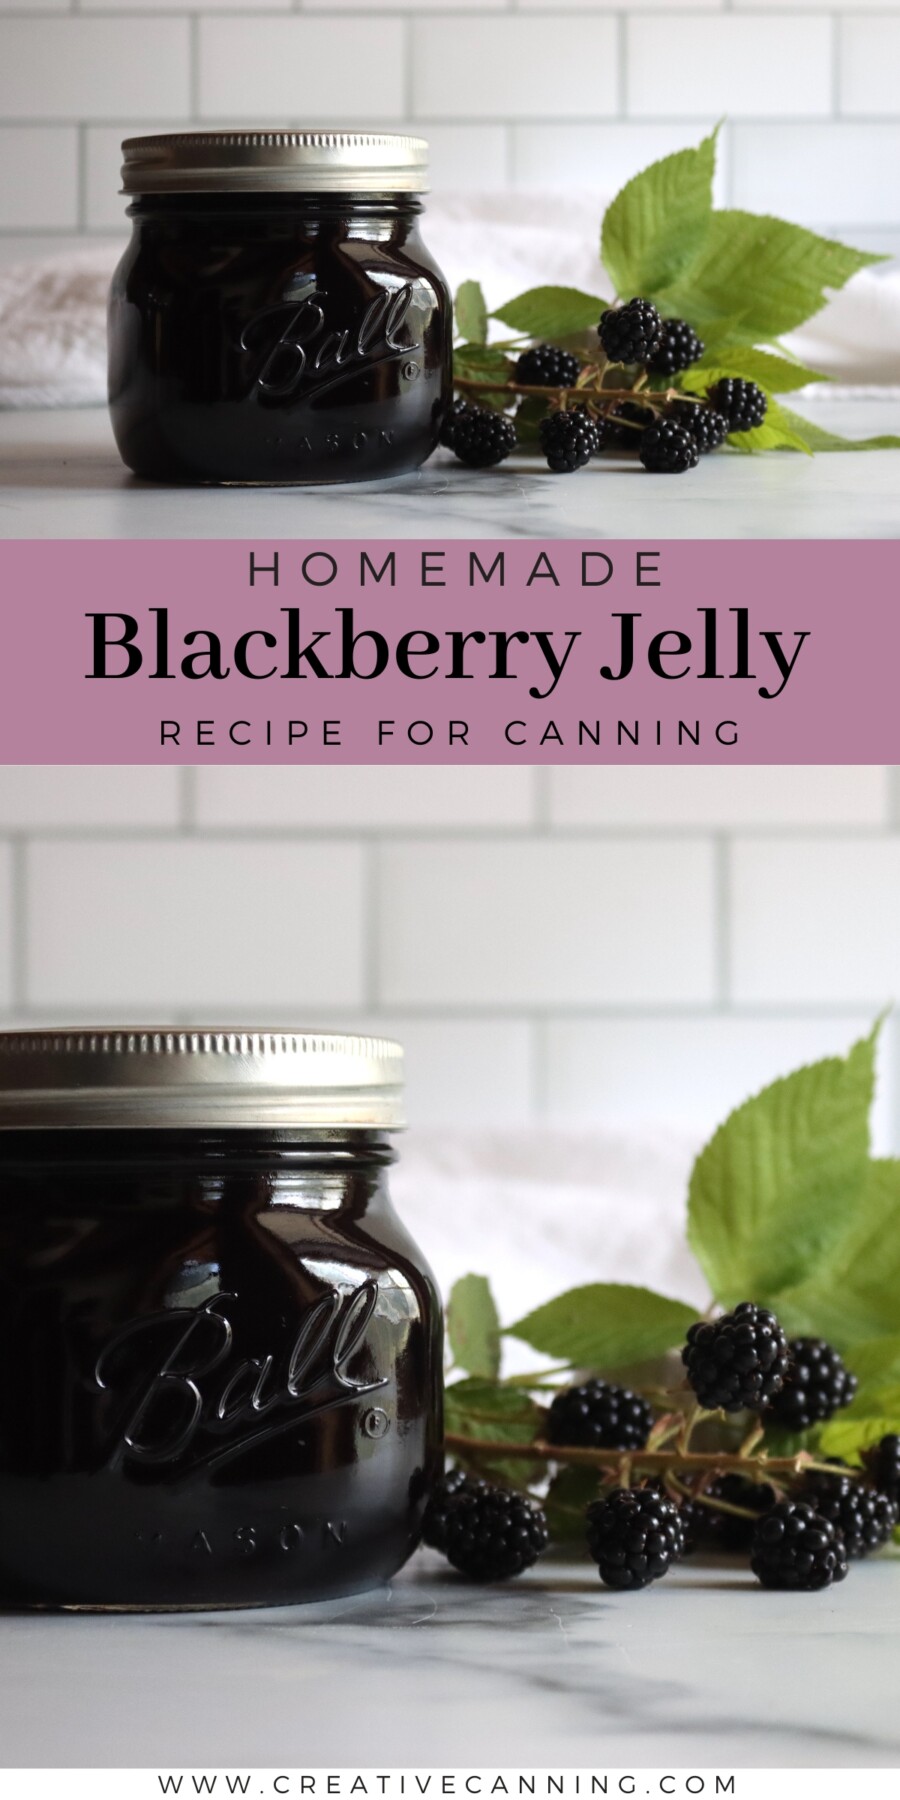
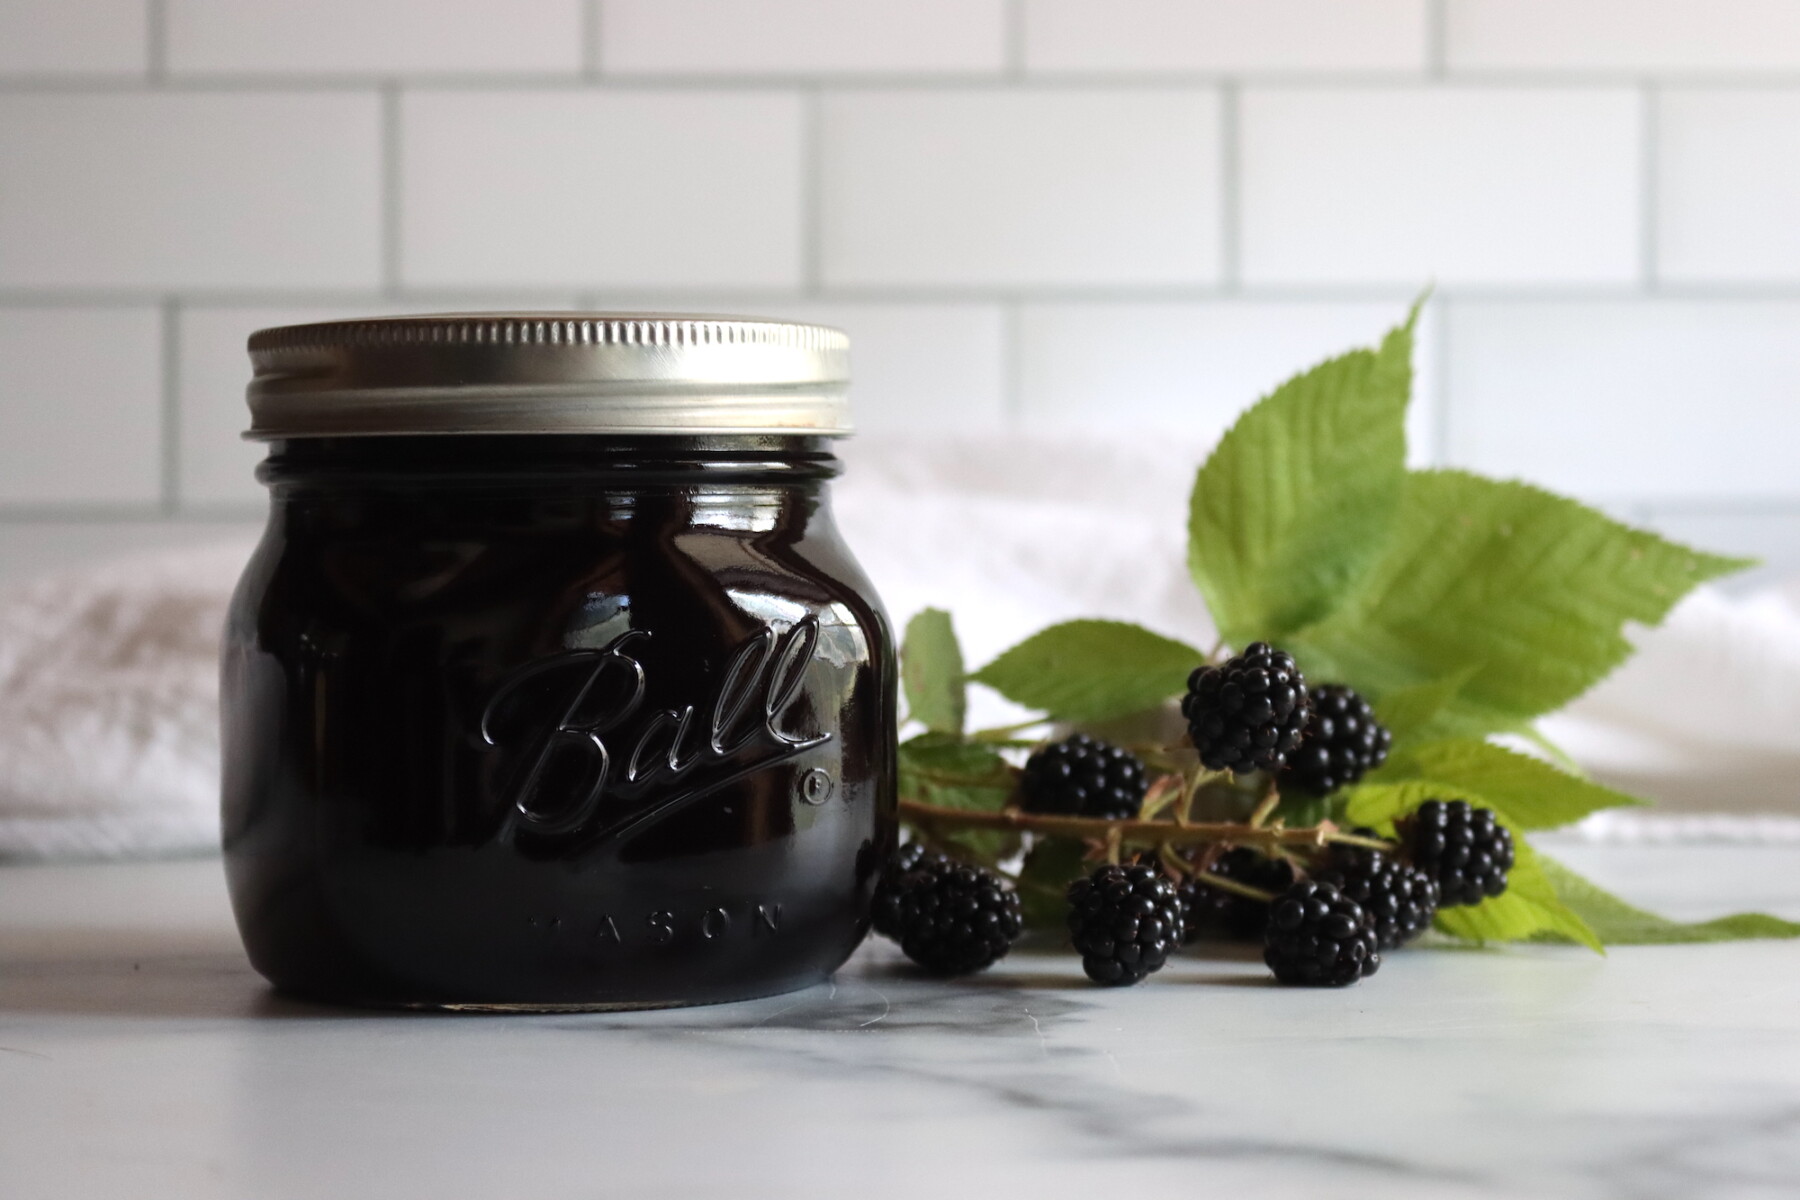
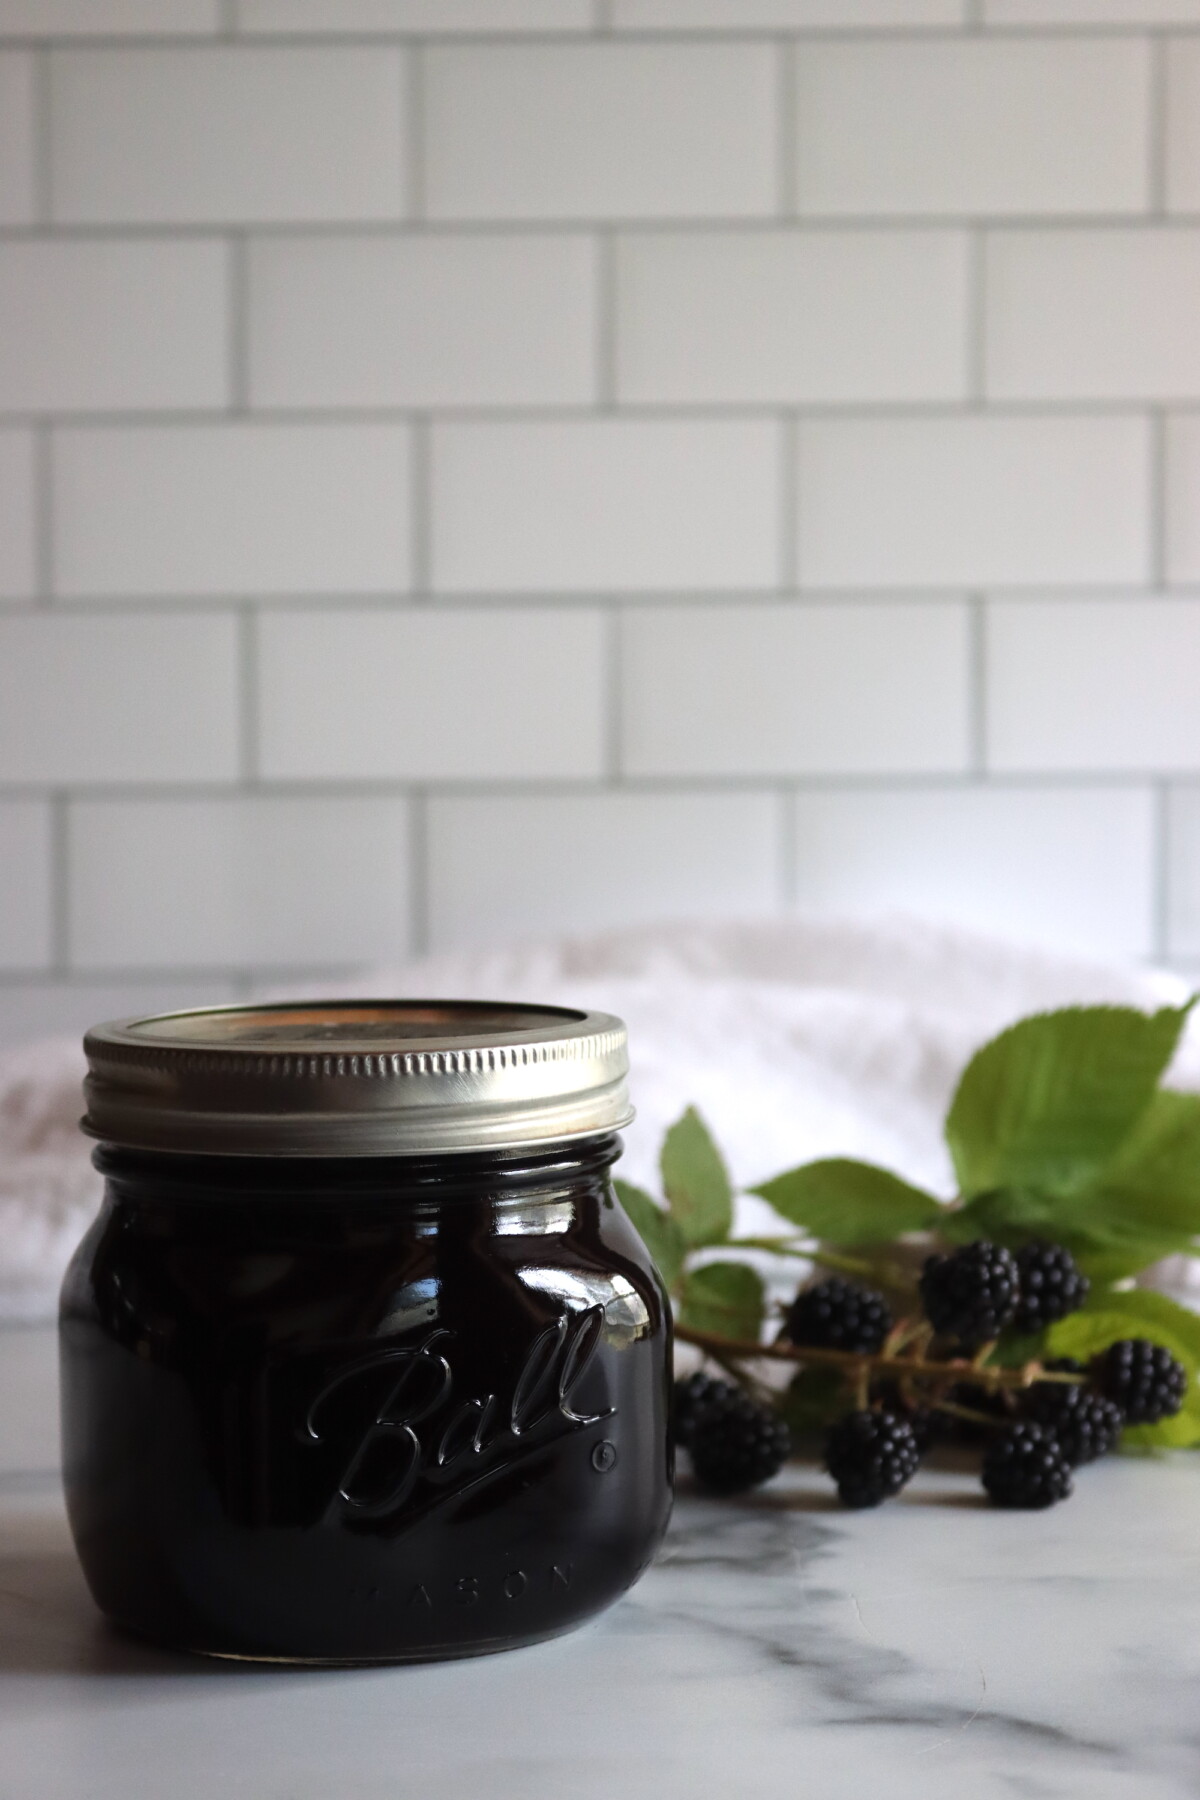
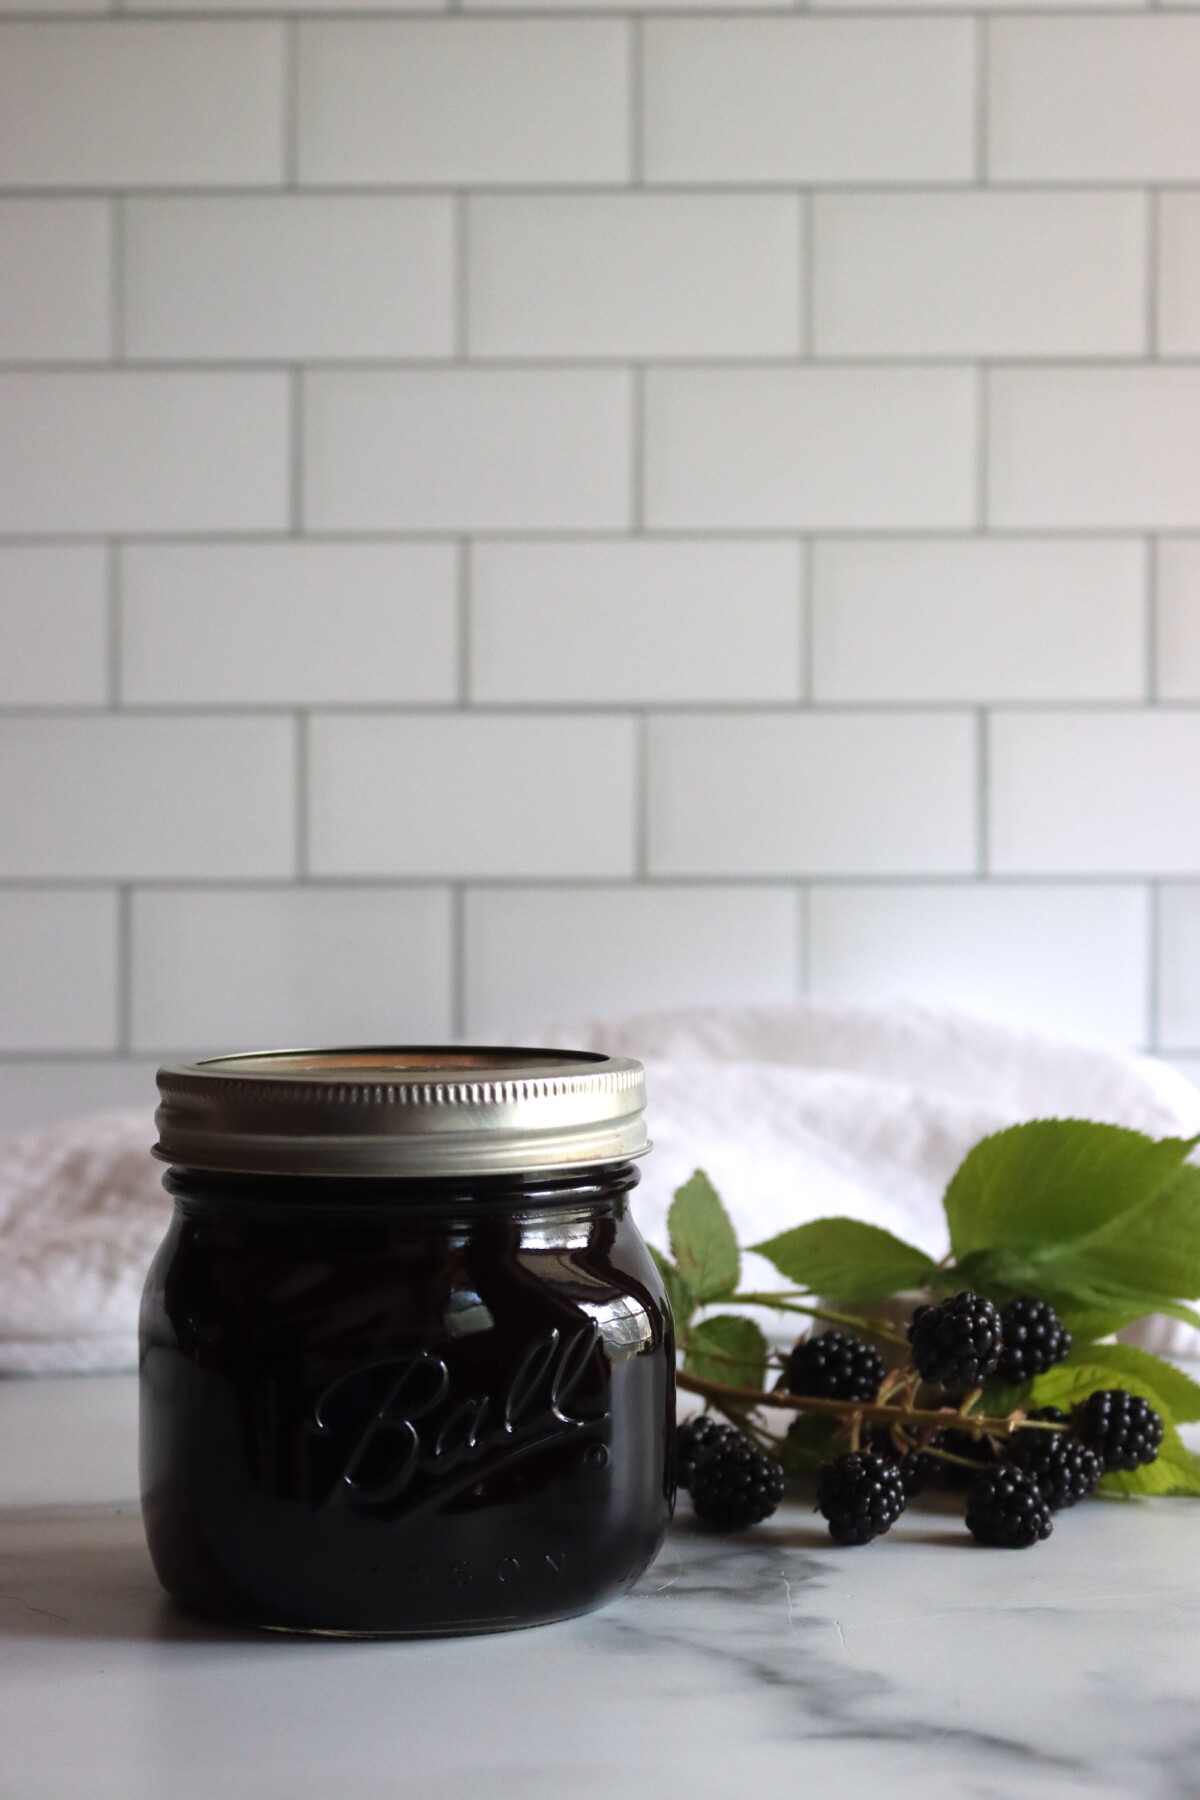
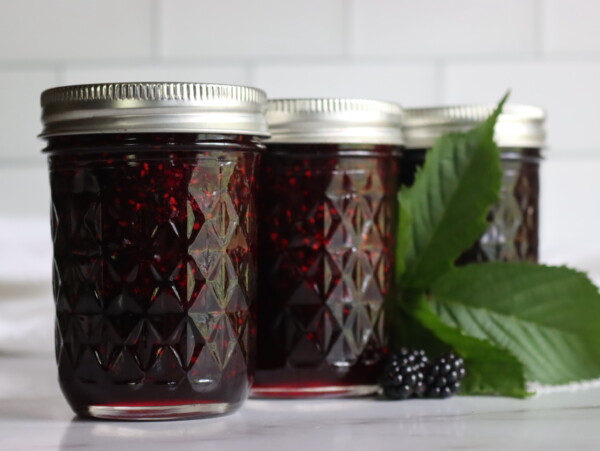
Blackberry jelly captures all the sweet-tart flavor of fresh blackberries in a silky, seedless spread that glides onto toast without any crunch. Made the old fashioned way with just fruit, sugar, and a little patience at the stove, this no-pectin jelly sets up beautifully with the natural pectin that blackberries already contain.
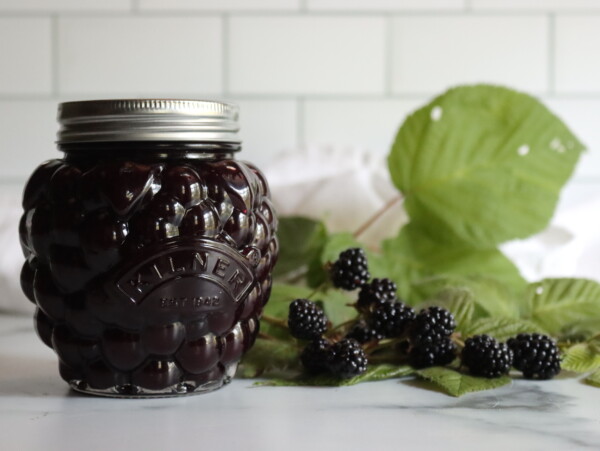
If you have access to wild blackberries or a bumper crop from the garden, jelly is one of the most rewarding ways to preserve them. The deep color and intense flavor make it worth the extra step of straining out the seeds.
This recipe has been reviewed for safety and accuracy by a Master Food Preserver certified through the University of Cornell Cooperative Extension.
This is adapted from National Center for Home Food Preservation, which is the gold standard for safe home canning recipes. The method is simple: cook crushed blackberries with a little water, strain the juice through a jelly bag, then boil it with sugar until it reaches the gel point.
Blackberries are naturally high in pectin, especially when you include some slightly underripe berries in the mix. That natural pectin means you don’t need to add commercial pectin to get a firm set. The result is a jelly with a softer, more traditional texture and a more intense fruit flavor than pectin-added versions.
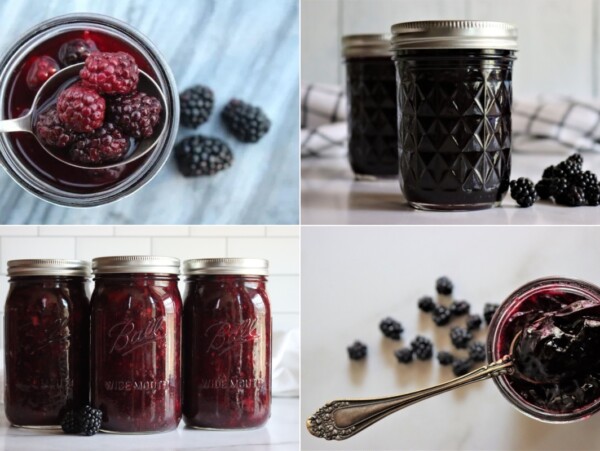
If you prefer to keep the fruit pulp and don’t mind some texture, blackberry jam without pectin uses the same basic technique but skips the straining step. For a seedless jam that still has body, try seedless blackberry jam, though it takes more work to press the pulp through a fine mesh strainer.

Notes from My Kitchen

Blackberry jam is my husband’s favorite preserve, hands down, and he’s happy to eat it seeds and all. My kids, though, want nothing to do with those seeds. They prefer silky smooth jellies that spread easily on toast without any crunch, like my strawberry jelly and raspberry jelly. Making seedless blackberry jam is one option, but pressing the pulp through a fine mesh screen to remove the seeds while keeping the fruit is a lot of work.
This old fashioned blackberry jelly is a much simpler approach. You strain the juice through a jelly bag (or cheesecloth), add sugar, and cook it down until it sets. No pectin, no fuss, just fruit and sugar and a little patience at the stove. It comes out crystal clear with that unmistakable blackberry flavor the kids love.
Sometimes the simplest recipes are the ones that stick around.
Quick Look at the Recipe
- Recipe Name: Blackberry Jelly (Without Pectin)
- Recipe Type: Jelly
- Canning Method: Water Bath Canning
- Prep Time: About 1 hour (including straining)
- Cook Time: About 15 minutes
- Canning Time: 10 minutes for half pints or pints
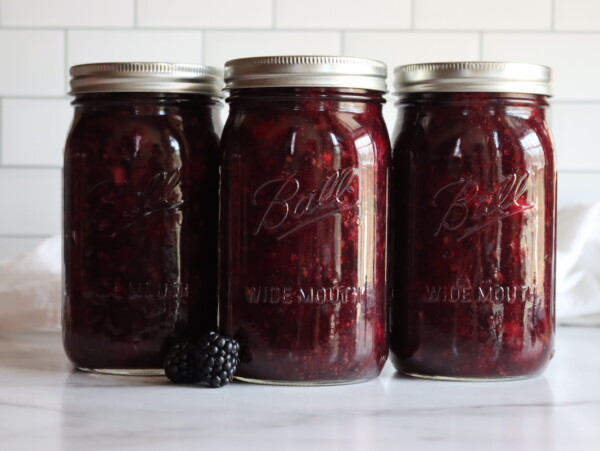
- Yield: About 4 to 5 half pints
- Jar Sizes: Half pints or pints
- Headspace: 1/4 inch
- Ingredients Overview: Blackberries, water, sugar
- Safe Canning Recipe Source: National Center for Home Food Preservation
- Difficulty: Moderate. Be sure you’re familiar with how to test for set in jelly without added pectin.
- Similar Recipes: Making blackberry jelly without pectin is similar to other old fashioned jellies like black raspberry jelly, red currant jelly, cranberry jelly or quince jelly, all of which rely on natural fruit pectin to set. If you love blackberry preserves, explore more blackberry canning recipes including blackberry jam and blackberry pie filling.
Ingredients
Old fashioned blackberry jelly comes together with just three ingredients, and the technique does most of the work for you.
- Blackberries: You’ll need about 2 1/2 quarts of fresh blackberries to yield 4 cups of juice. For the firmest set, use a mix of about one quarter slightly underripe berries and three quarters fully ripe berries. The underripe berries are higher in natural pectin, which helps the jelly gel without added pectin. Wild blackberries, cultivated varieties, and frozen berries do still work, but they have a softer set. (Freezing degrades natural pectin in fruits.)
- Water: A small amount of water (about 3/4 cup) prevents the berries from scorching as they start to cook and helps release their juices.
- Sugar: Standard granulated sugar in a 3:4 ratio with the juice (3 cups sugar for every 4 cups juice). The sugar is essential for both flavor and gel formation. Do not reduce the sugar in this recipe, as it will affect the set. If you want a lower sugar blackberry spread, use a recipe specifically developed for Pomona’s pectin or another low-sugar pectin.
Some canners add a tablespoon or two of lemon juice for a brighter, more tart flavor, but it’s not required for safety or set in this recipe. Feel free to use fresh lemon juice for better flavor.
Step by Step Instructions
The ingredients list is short for this recipe, so it’s all about the process. Don’t skip steps, and make sure you cook the jelly all the way to set point.
Prepare the Blackberries
Sort through the blackberries and remove any stems, leaves, or damaged fruit. Rinse gently in cool water and drain. Place the berries in a large, heavy-bottomed pot and crush them lightly with a potato masher or the back of a spoon to help release their juices.
Extract the Juice
Add the water to the crushed berries, cover the pot, and bring to a boil over high heat. Stir occasionally to prevent scorching. Once boiling, reduce the heat and simmer for about 5 minutes until the fruit is completely soft and has released all its juices.
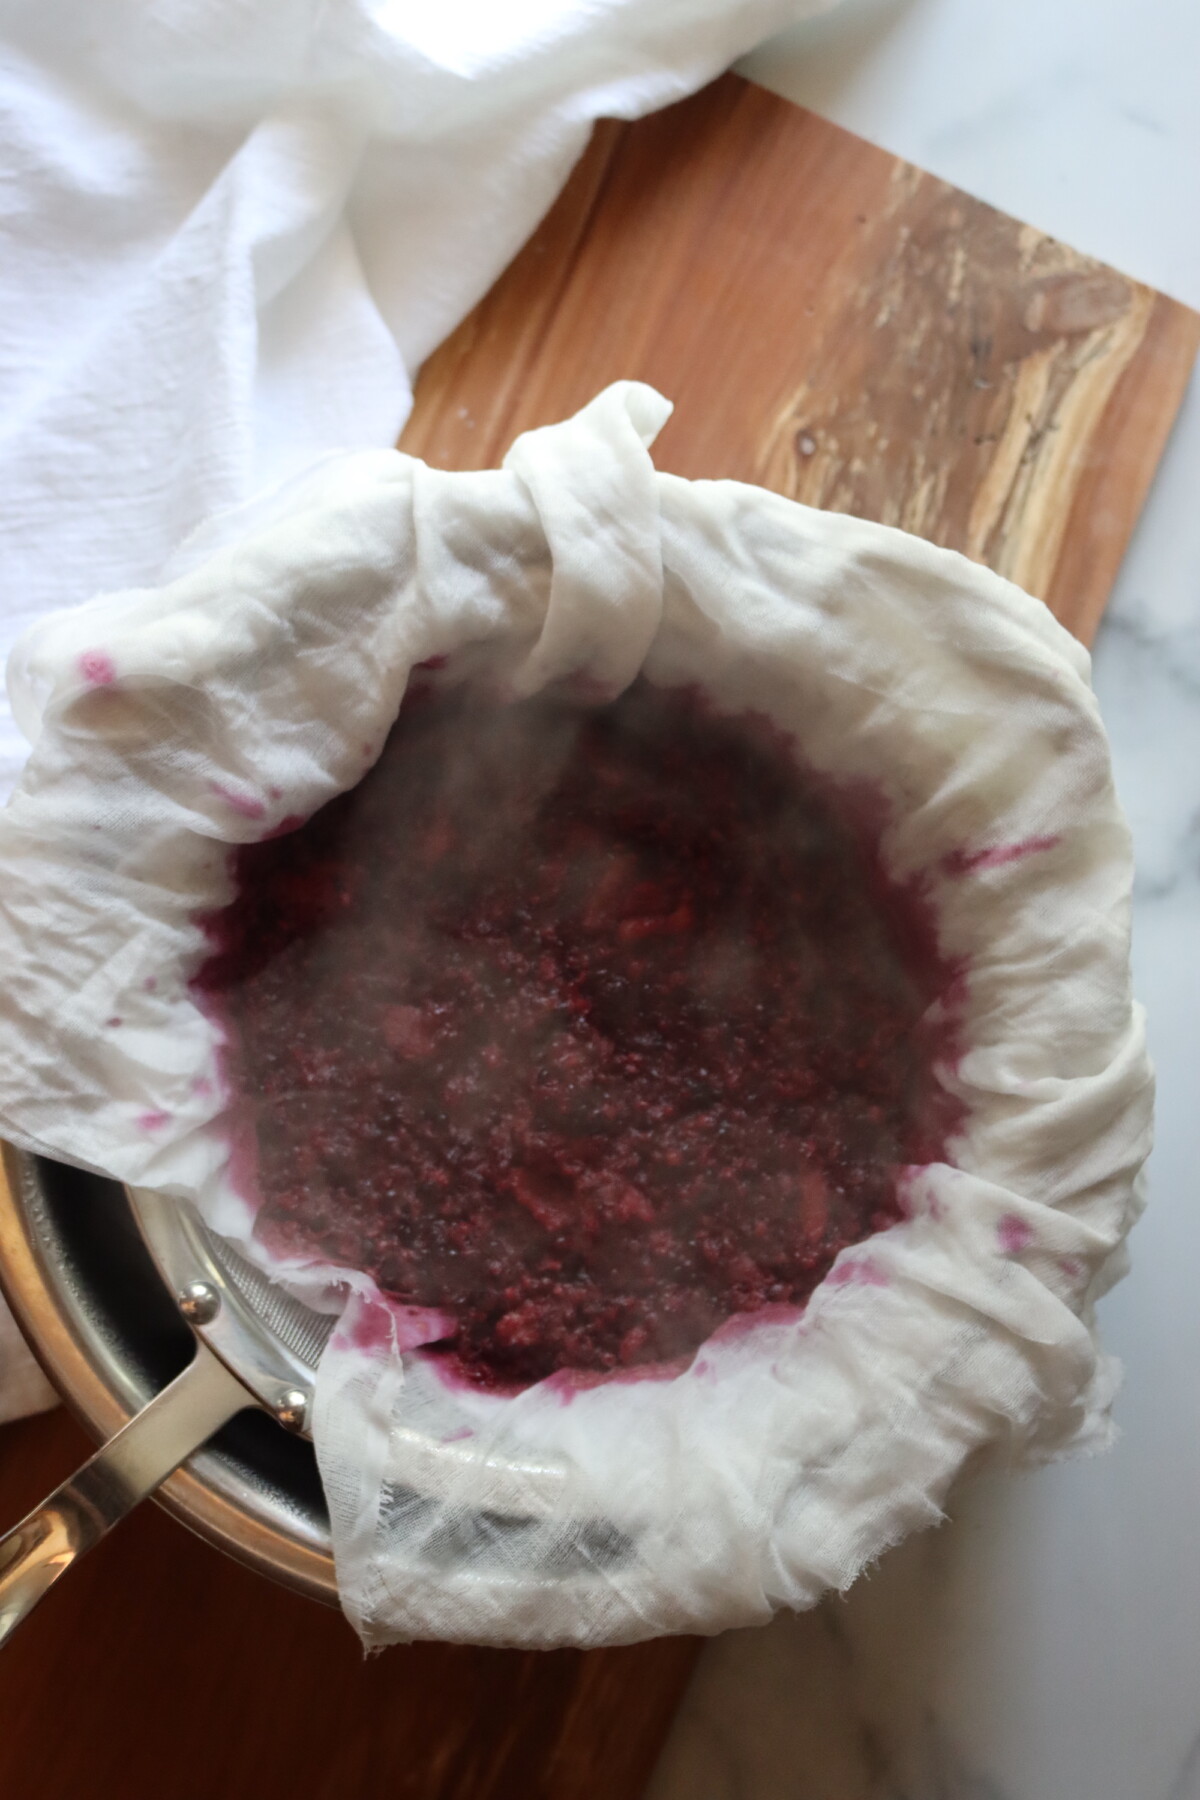
Pour the hot berry mixture into a damp jelly bag or a strainer lined with several layers of damp cheesecloth, suspended over a large bowl. Let the juice drip through for at least an hour, or until it stops dripping. For the clearest jelly, resist the urge to squeeze the bag (though many experienced canners, myself included, do squeeze without issue).
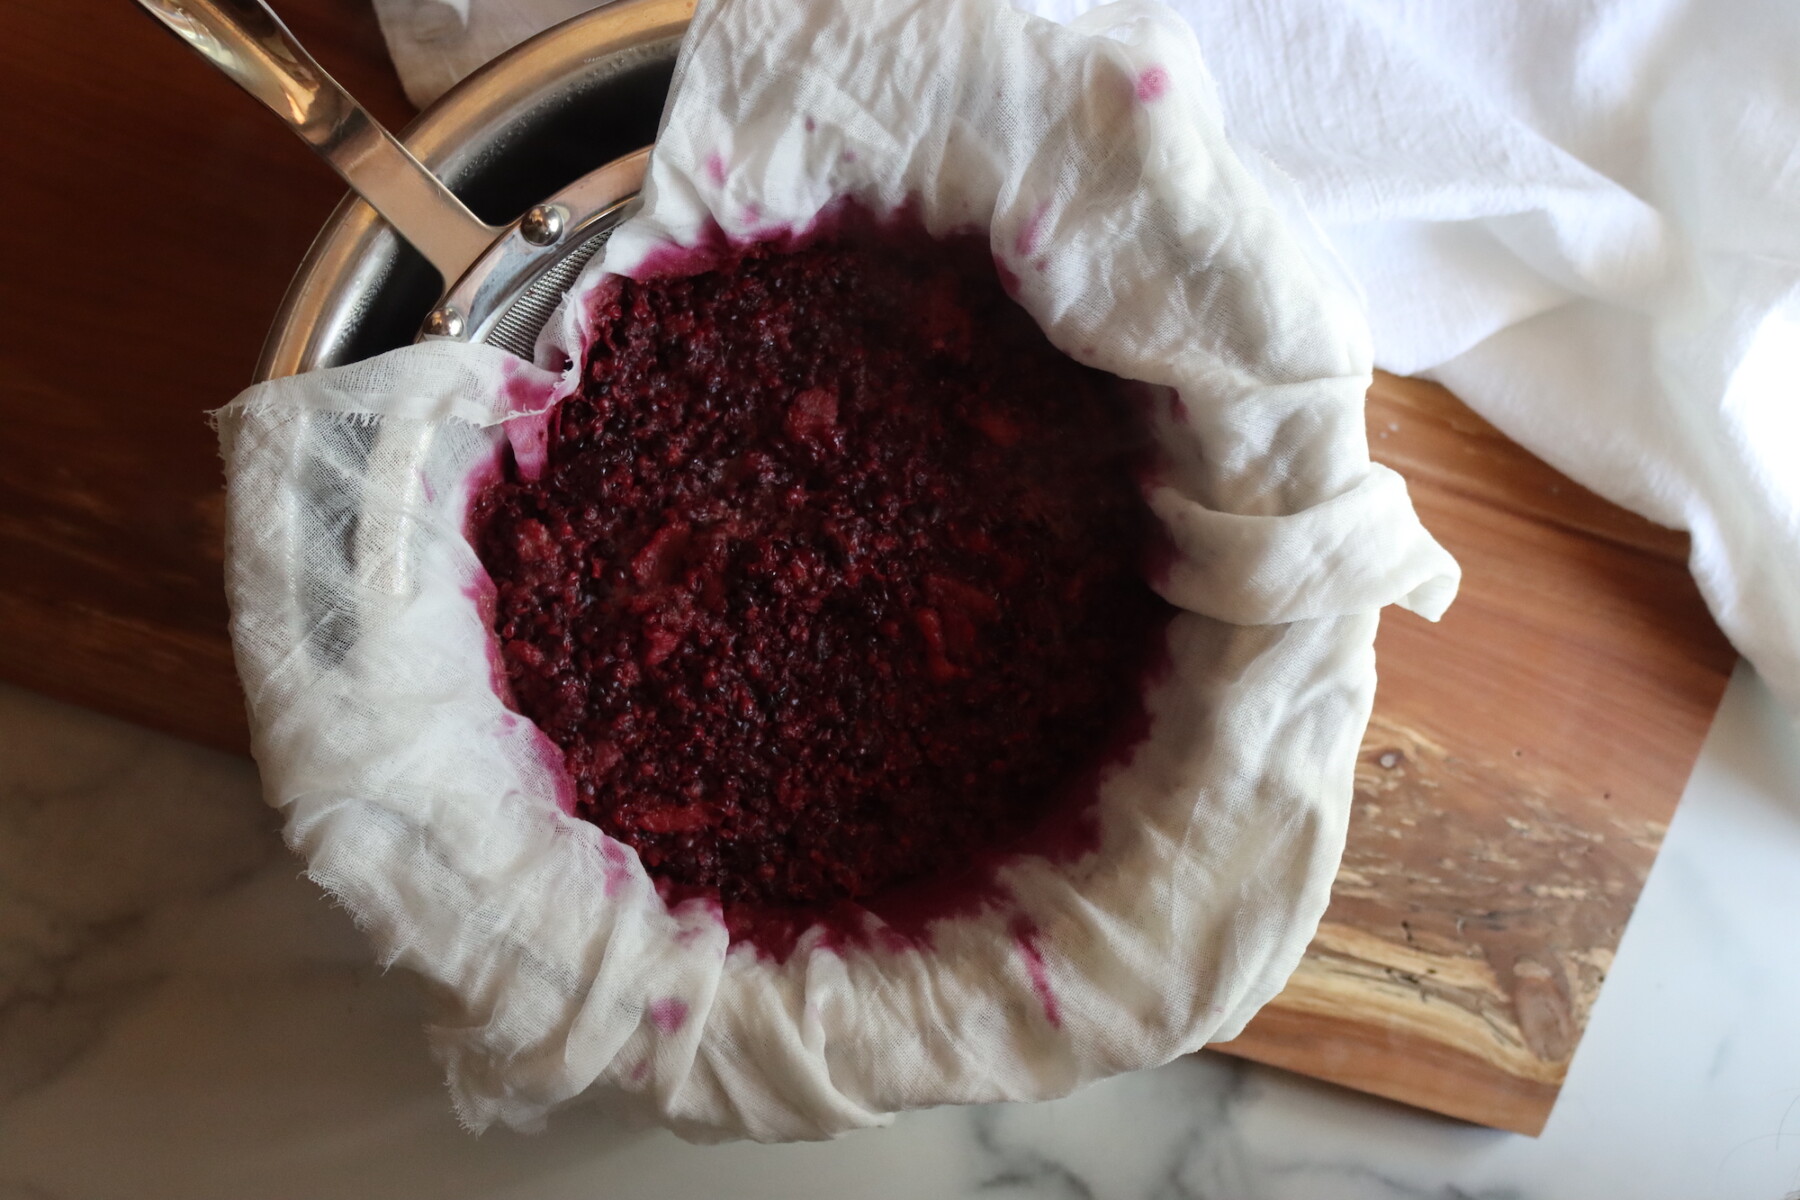
Measure and Cook the Jelly
Measure the strained juice. You should have about 4 cups. For every cup of juice, add 3/4 cup of sugar (so 4 cups juice = 3 cups sugar). Pour the juice and sugar into a large, deep pot (the mixture will foam up considerably as it cooks) and stir well to dissolve the sugar.
Bring the mixture to a boil over high heat, stirring frequently to prevent scorching. Continue boiling until the jelly reaches 220°F on an instant-read thermometer (at sea level), or until it sheets from a metal spoon. This typically takes 8 to 15 minutes of hard boiling, depending on the pectin content of your berries and how much juice you’re working with.
Fill the Jars
Remove the pot from heat and quickly skim off any foam with a large metal spoon. Ladle the hot jelly into prepared jars, leaving 1/4 inch headspace. Wipe the rims clean with a damp cloth, apply the lids and bands, and tighten to fingertip tight.
Setting Notes
Jelly reaches its gel point at 220°F at sea level. If you’re at a higher elevation, the gel point drops by about 1°F for every 500 feet above sea level (so at 1,000 feet, aim for 218°F).
The time it takes to reach gel stage varies depending on the pectin content of your berries, the width of your pot, and how hard you’re boiling. Start checking early and often once the mixture has been boiling for about 8 minutes.
The cold plate test is the most reliable way to check for set. Place a small plate in the freezer before you start cooking. When you think the jelly is ready, drop a small spoonful onto the cold plate and let it sit for 30 seconds. Push it with your finger: if it wrinkles and holds its shape, it’s done. If it runs, keep cooking and test again in another minute or two. For more help, see troubleshooting jelly that didn’t set.
Canning Blackberry Jelly
Without canning, blackberry jelly will keep in the refrigerator for 2 to 3 weeks or in the freezer for up to 6 months. For shelf-stable storage, process the filled jars in a boiling water bath.
Prepare your water bath canner before you start making the jelly (while the juice is straining is a good time). The canner should be at a gentle simmer when you’re ready to process. Lower the filled jars into the canner, making sure they’re covered by at least 1 inch of water, and process for 10 minutes for either half pints or pints, adjusting for altitude as noted below.
After processing, turn off the heat and let the jars stand in the canner for 5 minutes before removing them. Place the jars on a towel-lined counter and let them cool undisturbed for 12 to 24 hours. Check seals before storing, and refrigerate any jars that didn’t seal for immediate use. Properly sealed jars keep at room temperature for 12 to 18 months.
Altitude Adjustments
For water bath canning, processing times increase at higher elevations:
- 0 to 6,000 feet: 10 minutes
- Above 6,000 feet: 15 minutes
Yield Notes
This recipe starts with about 2 1/2 quarts of fresh blackberries, which should yield approximately 4 cups of strained juice. Combined with 3 cups of sugar and cooked to gel stage, expect to fill 4 to 5 half-pint jars, depending on how long you cook the jelly and how much foam you skim off.
Wild blackberries tend to have more pectin than cultivated varieties, so they may set faster and yield slightly more jelly. If your yield is lower than expected, your berries may have been very ripe (lower pectin) and required longer cooking to reach the gel point.
Serving Ideas
Blackberry jelly is a classic on hot buttered toast, biscuits, or English muffins. Its smooth texture makes it ideal for swirling into yogurt or oatmeal, or for spreading on peanut butter sandwiches without the textural surprise of seeds.
In the kitchen, blackberry jelly can stand in anywhere you’d use jam. Use it as a glaze for roasted pork or chicken, warm it slightly and brush it over a fresh fruit tart, or stir it into vinaigrettes for a fruity salad dressing. It also makes a lovely filling for thumbprint cookies or layered between cake layers with fresh whipped cream.
For gift giving, blackberry jelly’s jewel-like clarity makes it especially beautiful in a jar. Pair it with a basket of homemade scones or biscuits for a thoughtful homemade gift.
Blackberry Jelly FAQs
Yes, frozen blackberries work well for jelly. No need to thaw them completely before cooking. Just add them to the pot with the water and proceed as usual. Frozen berries may release slightly more liquid, but they also have a slightly softer set than fresh fruit.
The most common causes of soft jelly are undercooking (not reaching the gel point) or using overripe berries that are low in natural pectin. Make sure to cook the jelly to 220°F at sea level and use the cold plate test to confirm the set before canning. Including some slightly underripe berries in your mix helps boost the pectin content naturally.
It’s generally not recommended to double jelly recipes, as larger batches take longer to reach the gel point and may not set properly. The extended cooking time can also affect the flavor and color. For best results, make one batch at a time.
Cloudy jelly usually results from squeezing the jelly bag during straining, which forces pulp particles through the cloth. For crystal clear jelly, let the juice drip through without pressing. Using a finer mesh jelly bag or multiple layers of cheesecloth also helps. That said, cloudy jelly tastes just as good, it just doesn’t have that sparkling clarity.
Blackberry Canning Recipes
If you tried this Blackberry Jelly recipe, or any other recipe on Creative Canning, leave a ⭐ star rating and let me know what you think in the 📝 comments below!
And make sure you stay in touch with me by following on social media!
Blackberry Jelly (Without Pectin)
Equipment
- Half pint canning jars
- Canning lids and bands
- Jelly Strainer with Bag or cheesecloth
Ingredients
For the Juice
- 9 cups fresh blackberries
- 3/4 cup water
For the Jelly
- 4 cups blackberry juice, strained
- 3 cups sugar
Instructions
- Sort through the blackberries and remove any stems, leaves, or damaged fruit. Rinse gently in cool water and drain. Place the berries in a large pot and crush lightly with a potato masher.
- Add the water to the crushed berries, cover, and bring to a boil over high heat. Reduce heat and simmer for 5 minutes until the fruit is completely soft. Pour the hot mixture into a damp jelly bag or cheesecloth-lined strainer over a bowl. Let drip for at least 1 hour until it stops dripping.
- Measure 4 cups of strained juice into a large, deep pot. Add 3 cups of sugar (use 3/4 cup sugar per cup of juice if your yield differs). Bring to a boil over high heat, stirring frequently. Boil until the mixture reaches 220°F or sheets from a metal spoon, about 8 to 15 minutes.
- Remove from heat and skim off foam. Ladle hot jelly into prepared jars, leaving 1/4 inch headspace. Wipe rims, apply lids and bands to fingertip tight.
- Lower filled jars into a prepared water bath canner. Process for 10 minutes for half pints or pints, adjusting for altitude.
- Turn off heat and let jars stand in canner for 5 minutes. Remove to a towel-lined counter and cool undisturbed for 12 to 24 hours. Check seals before storing.
Notes
Storage
Properly canned and sealed jars keep at room temperature for 12 to 18 months. Without canning, store in the refrigerator for 2 to 3 weeks or freeze for up to 6 months. Refrigerate after opening.Altitude Adjustments
- 0 to 6,000 feet: 10 minutes
- Above 6,000 feet: 15 minutes
Nutrition
Nutrition information is automatically calculated, so should only be used as an approximation.
Jelly Recipes
Find the perfect recipe
Searching for something else? Enter keywords to find the perfect recipe!