This post may contain affiliate links. Please see our disclosure policy.
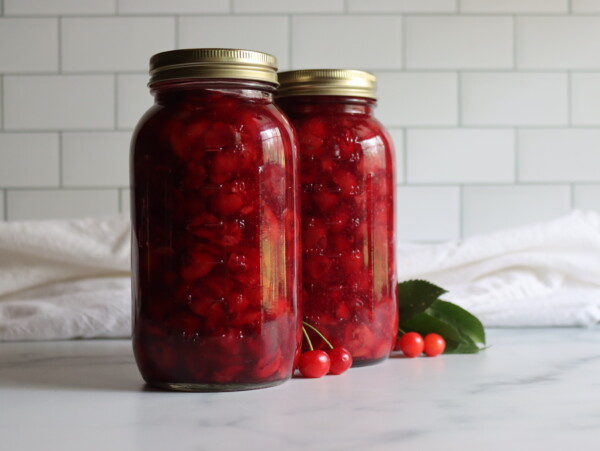
Classic cherry jam is a real treat, and you can make it with any type of cherries. Black cherries have a rich flavor and deep color, while sour cherries sweeten right up and keep their bright red color. You can even use rainier cherries with this easy cherry jam recipe.
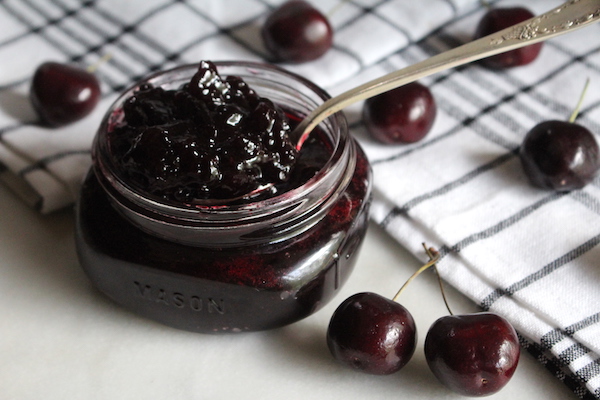
There’s nothing like the flavor of homemade cherry jam, and it’s easy to make at home. It’s almost impossible to find black cherry jam in stores, but the cherries are readily available in season in the summer months.
Whether you’re harvesting fresh cherries from backyard trees, or buying sweet cherries from the store, you’ll have homemade cherry jam in no time!
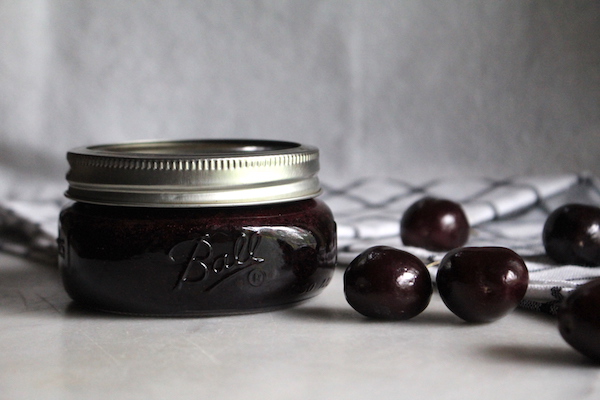
Ingredients for Black Cherry Jam
Making homemade black cherry jam uses only three ingredients. To make a batch of 3 half-pint jam jars (8 oz each), you’ll need the following:
- 2 lbs. black cherries, unpitted (see below)
- 2 cups granulated sugar (1 pound)
- 1/4 cup lemon juice
If you are buying whole cherries, you should get 2 pounds of black cherries, equivalent to 1 ¾ pounds of cherries without the pits. If you already have pitted and halved cherries, use 5 cups for this recipe.
Black cherry skins have a significant amount of pectin, so we do not need to add pectin to this recipe. They also have a good acidity level, making them great for jam-making!
The lemon juice also adds pectin, and you can’t really taste the lemon, but it helps balance out the strong cherry flavor with a little bit of tartness. Since lemon juice is optional, feel free to use either fresh or bottled lemon juice.
Once you have black cherries, sugar, and some lemon juice, you can start making jam!
How to Make Cherry Jam
Rinse the whole cherries with clean water and remove the stems.
If you love cherries and black cherry jam as I do and do not have a cherry pitter tool, you may want to purchase one. They can be very affordable and save a lot of time and effort removing the pits from your cherries, especially if you plan on making a lot of jam or can cherries annually. (As a bonus, the tool also works to pit olives.)
I use a simple cherry pitting tool, and it’s so easy to use that I hand it to my little ones and let them pit the cherries for me. My pre-schoolers actually compete to see who can pit the most cherries.
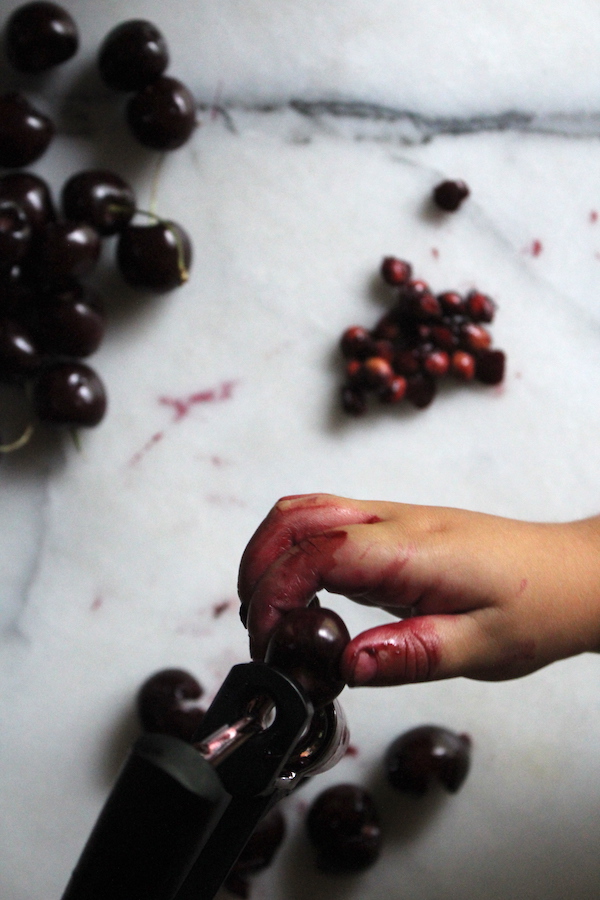
If you do not have a cherry pitter, use a paring knife to cut the cherries in half and use the knife to extract the cherry pit. The cherry pits will be discarded.
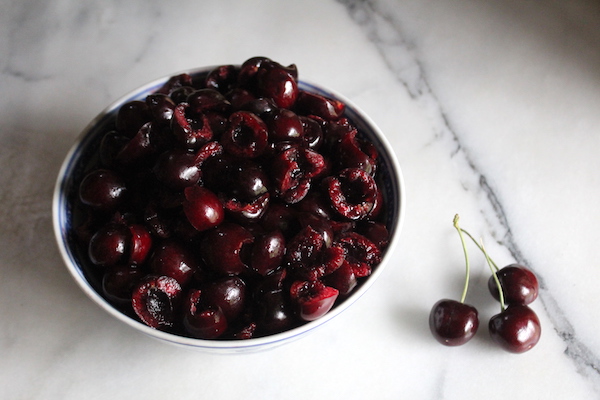
Once you have the pitted cherries in a bowl, it can help to chop them a bit before making the jam. You can leave your cherries pretty chunky if that’s what you prefer in your jam, or cut them into smaller pieces to your liking.
You should have approximately 5 cups of cherries after the pits are removed, and they are halved or chopped.
Place the cherries and any juice you have captured into a medium saucepan, and add 2 cups of sugar.
Pour 1/4 cup of lemon juice on top of the sugar and cherries, and stir to blend.
Start cooking the mixture over medium heat, stirring often. The cherry and lemon juice will dissolve the sugar, and soon you will have a thin syrup with cherries in it.
Increase the burner temperature to high, continuing to stir often to prevent scorching.
Cook the cherry mixture on high for about 15-20 minutes until it reaches the gel stage, which will be at 220 degrees Fahrenheit, measured using a candy thermometer.
Ladle or pour the jam into prepared jars or containers, leaving ¼” of headspace at the top of each jar.
Wipe the rim of the container with a clean cloth.
Jam is easy to store refrigerated or frozen. The jam will stay fresh in your refrigerator for several weeks or up to 6 months in your freezer. If you plan to freeze your jam, be sure to use freezer-safe containers and lids. Let the jam cool for several hours before you put the containers in the refrigerator or freezer. They should be cool enough to handle without a hot pad.
Canning your jam will allow you to store it for more extended periods of time, 18 months or more, if safely canned and stored in your pantry or a cool, dry place.
If you plan on canning your cam, canning instructions are below.
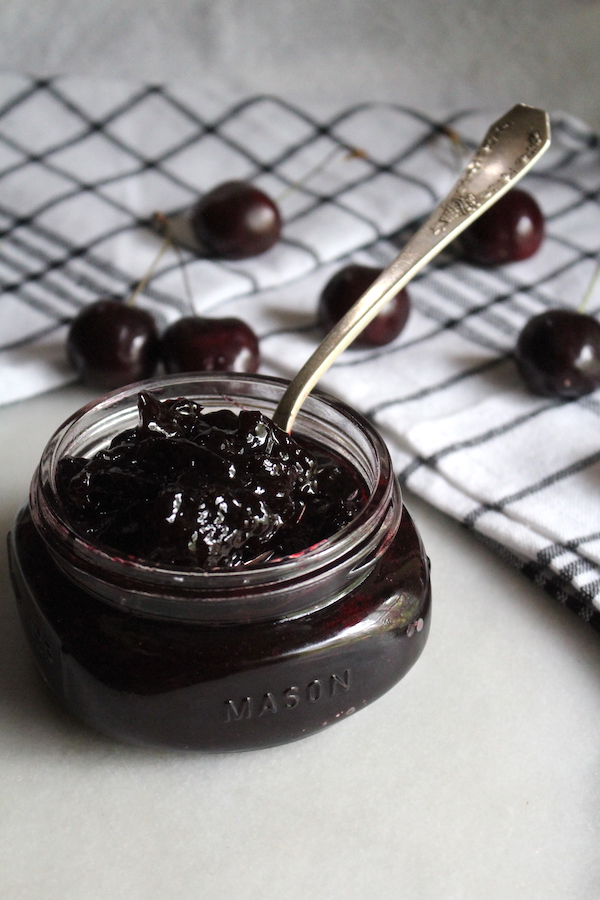
Black Cherry Jam Variations
Cherries blend very well with other fruits, and you can create wonderful blends of jam by adding one or two fruits to your black cherry jam.
I love black cherries and raspberries, so naturally, I like to combine them into jam! I divide the 5 cups of fruit into about half of each, so about 2 ½ cups of cherries and 2 ½ cups of raspberries, although any combination that makes up 5 cups will work. Keep the 1/4 cup of lemon juice, ensuring that you will still have enough pectin to make jam without adding extra.
Blood oranges also combine well with black cherries, as well as peaches, apricots, plums, quince, or rhubarb.
Another tasty option for this black cherry jam is to add some vanilla bean or pure vanilla extract. Try using one vanilla bean (with seeds removed) or three teaspoons of quality vanilla extract to make a wonderful cherry vanilla flavor.
Canning Black Cherry Jam
Prepare a water bath canner and jars before you start cooking the jam. If you’re unfamiliar with water bath canning, please read my beginner’s guide to water bath canning before you get started.
Once the jam has reached the set point, carefully ladle the jam into the hot jars, leaving ¼” headspace at the top of the jar. Do not overfill. A canning funnel with a headspace measurement on it makes this step more manageable and less messy.
Wipe the rims of the filled jars with a clean cloth and apply 2 part canning lids.
If you have a jar that is only partially filled, do not attempt to can that jar. Instead, place it in the refrigerator for immediate use.
If you have only a small amount more than three jars, I will often pour the remainder into a shallow bowl or saucer, let it set up on the counter, and eat it later the same day as a treat for all your hard work!
Load the filled jars into your preheated canner and bring the canner to a full rolling boil. Once boiling, start the timer and process the jars for 10 minutes (or 15 minutes if above 6,000 feet in elevation).
After the processing time is complete, use a jar lifter to remove the jars from the canner and set them to cool on a towel on the counter. Check seals after 24 hours and store any unsealed jars in the refrigerator for immediate use.
Store your canned jam in your pantry or other cool, dry place. It will maintain peak quality on the shelf for about 18 months but will still be good to eat after that as long as the jar remains sealed. Refrigerate after opening.
Ways to Use Black Cherry Jam
Black cherry jam makes an excellent side sauce for wild game, such as pheasant, goose, duck, or venison. The sweet yet slightly tart flavor of the jam enhances the wild game flavor.
I also like to use black cherry jam as a glaze on grilled pork chops for an exceptional flavor boost.
Of course, black cherry jam is perfect on toast, croissants, English muffins, or biscuits.
Top your favorite fruit muffin (blueberry, raspberry, apple-cinnamon) with black cherry jam for an excellent flavor combination.
If you make homemade blueberry or raspberry muffins, try adding some black cherry jam to your muffin mix to get the flavor blended in with the muffin, and it also contributes added moisture. It’s the perfect secret ingredient.
Cherry Jam
Equipment
Ingredients
- 2 lbs black cherries, or 5 cups pitted and halved
- 2 cups granulated sugar
- 1/4 cup lemon juice
Instructions
- Wash the cherries, and remove the stems and pits.
- Cut the cherries in half or into smaller pieces if preferred.
- Place the cherries and any captured juice into a medium saucepan.
- Add 2 cups of sugar and 1/4 cup of lemon juice, and stir to mix.
- Over medium heat, stir the cherry mixture until the sugar is dissolved and liquified.
- Increase the heat to high and bring the mixture to a rolling boil, stirring often.
- Boil the black cherry jam for about 15-20 minutes until the temperature reaches the gel stage at 220° F.
- Ladle or pour the jam into prepared jars or containers, leaving 1/4 inch headspace (if canning) or 1'' headspace if freezing.
- Preserve the jam by using a hot water bath canning method, or after the jam has cooled, keep the jam refrigerated or frozen until ready to eat.
- If canning, process in a water bath canner for 10 minutes (15 minutes if above 6,000 feet in elevation). After 24 hours, check seals and store any unsealed jars in the refrigerator for immediate use.
- Properly canned and sealed jars of cherry jam will maintain quality on the pantry shelf for 12-18 months. Refrigerate after opening.
Nutrition
Nutrition information is automatically calculated, so should only be used as an approximation.
Old Fashioned Jam Recipes
Love making jams the old-fashioned way, with no added pectin? Just sugar, fruit, and a little bit of love in each jar…
Summer Fruit Canning Recipes
Putting up more fruit this summer? I have plenty of fruit canning recipes…
We live at about 300 ft. elevation.
Followed the ingredients,times and temperatures and cooked it a heavy bottomed pot.
Trying to get the temp above 210 on the thermometer was not possible and the jam mixture started to burn!
Jam tastes good but overdone.
I think it’s time to dump the thermometer!!
Yes, that’s definitely a bad thermometer! As soon as it reached a boil, it should have been registering at least 212. There’s no way it could burn at 210. Best of luck with your next batch (and thermometer)!
I’m gathering canning recipes in preparation for my Azure Standard cherries coming next week. I saw this recipe and the sour cherry recipe. The cherries I’ve ordered are mostly bing cherries with a smaller order of rainier. Since bing cherries are of the sweet variety I figured this recipe would be a better fit that the sour cherry recipe correct? I’m assuming the sour cherries would naturally have more acid and I’d rather add a little extra acid than not have enough for canning safety.
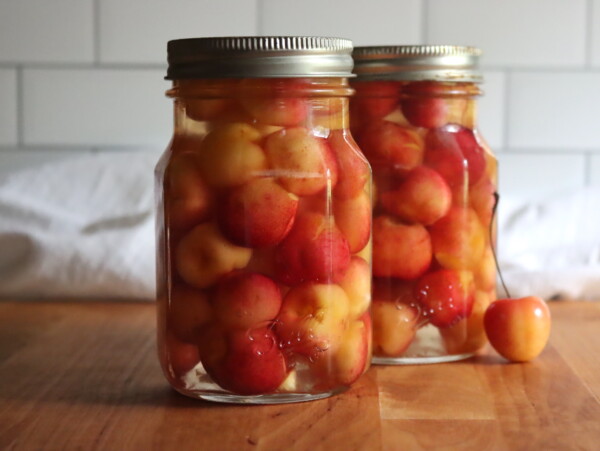
This recipe works really well with bing cherries. All types of cherries are acidic enough for safe canning without lemon juice, that’s just in there to help with set and flavor. The main difference between sour and bing/sweet cherries is they’re much more “meaty” than the sour ones. Sour cherries are really watery, with much lower pectin. They take a lot longer to cook and yield less than bing, though both have amazing flavor. I’ve also made it with rainier, and that works too. When you cook the rainier, they taste more like apricot and kinda lose their “cherry” flavor. Still good, and really unique, but try a small batch with the rainier to see how you take to it.
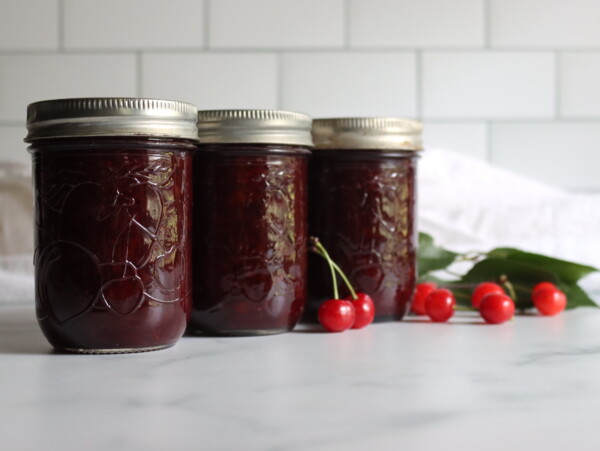
Very easy recipe to follow. I planned for 10-8 oz jars and had two bonus jars: a full pint and a partial pint. My husband and I worked together as a team. He prepped and cooked the cherries into jam . I prepped the jars, filled and processed them in a hot water bath. I took pictures too!
Nice! The yield can be a bit variable, depending on how juicy your cherries are. Glad you ended up with extra!