This post may contain affiliate links. Please see our disclosure policy.
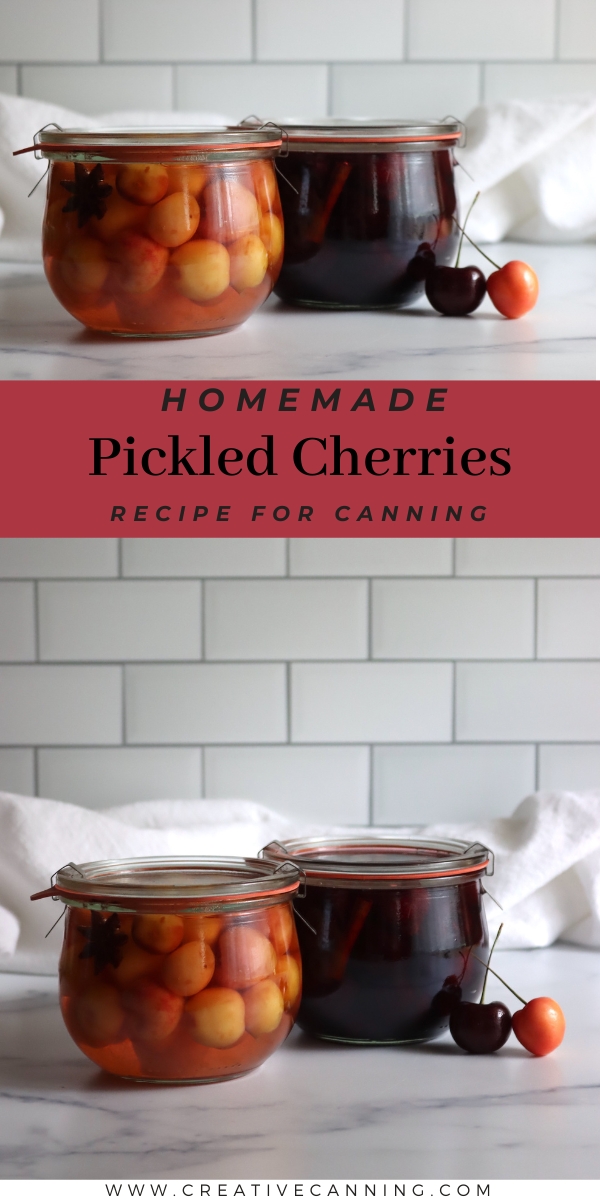
Pickled Cherries are a tasty treat right out of the jar, but they’re also delicious in cocktails, served with roast meat, or on top of ice cream for dessert!
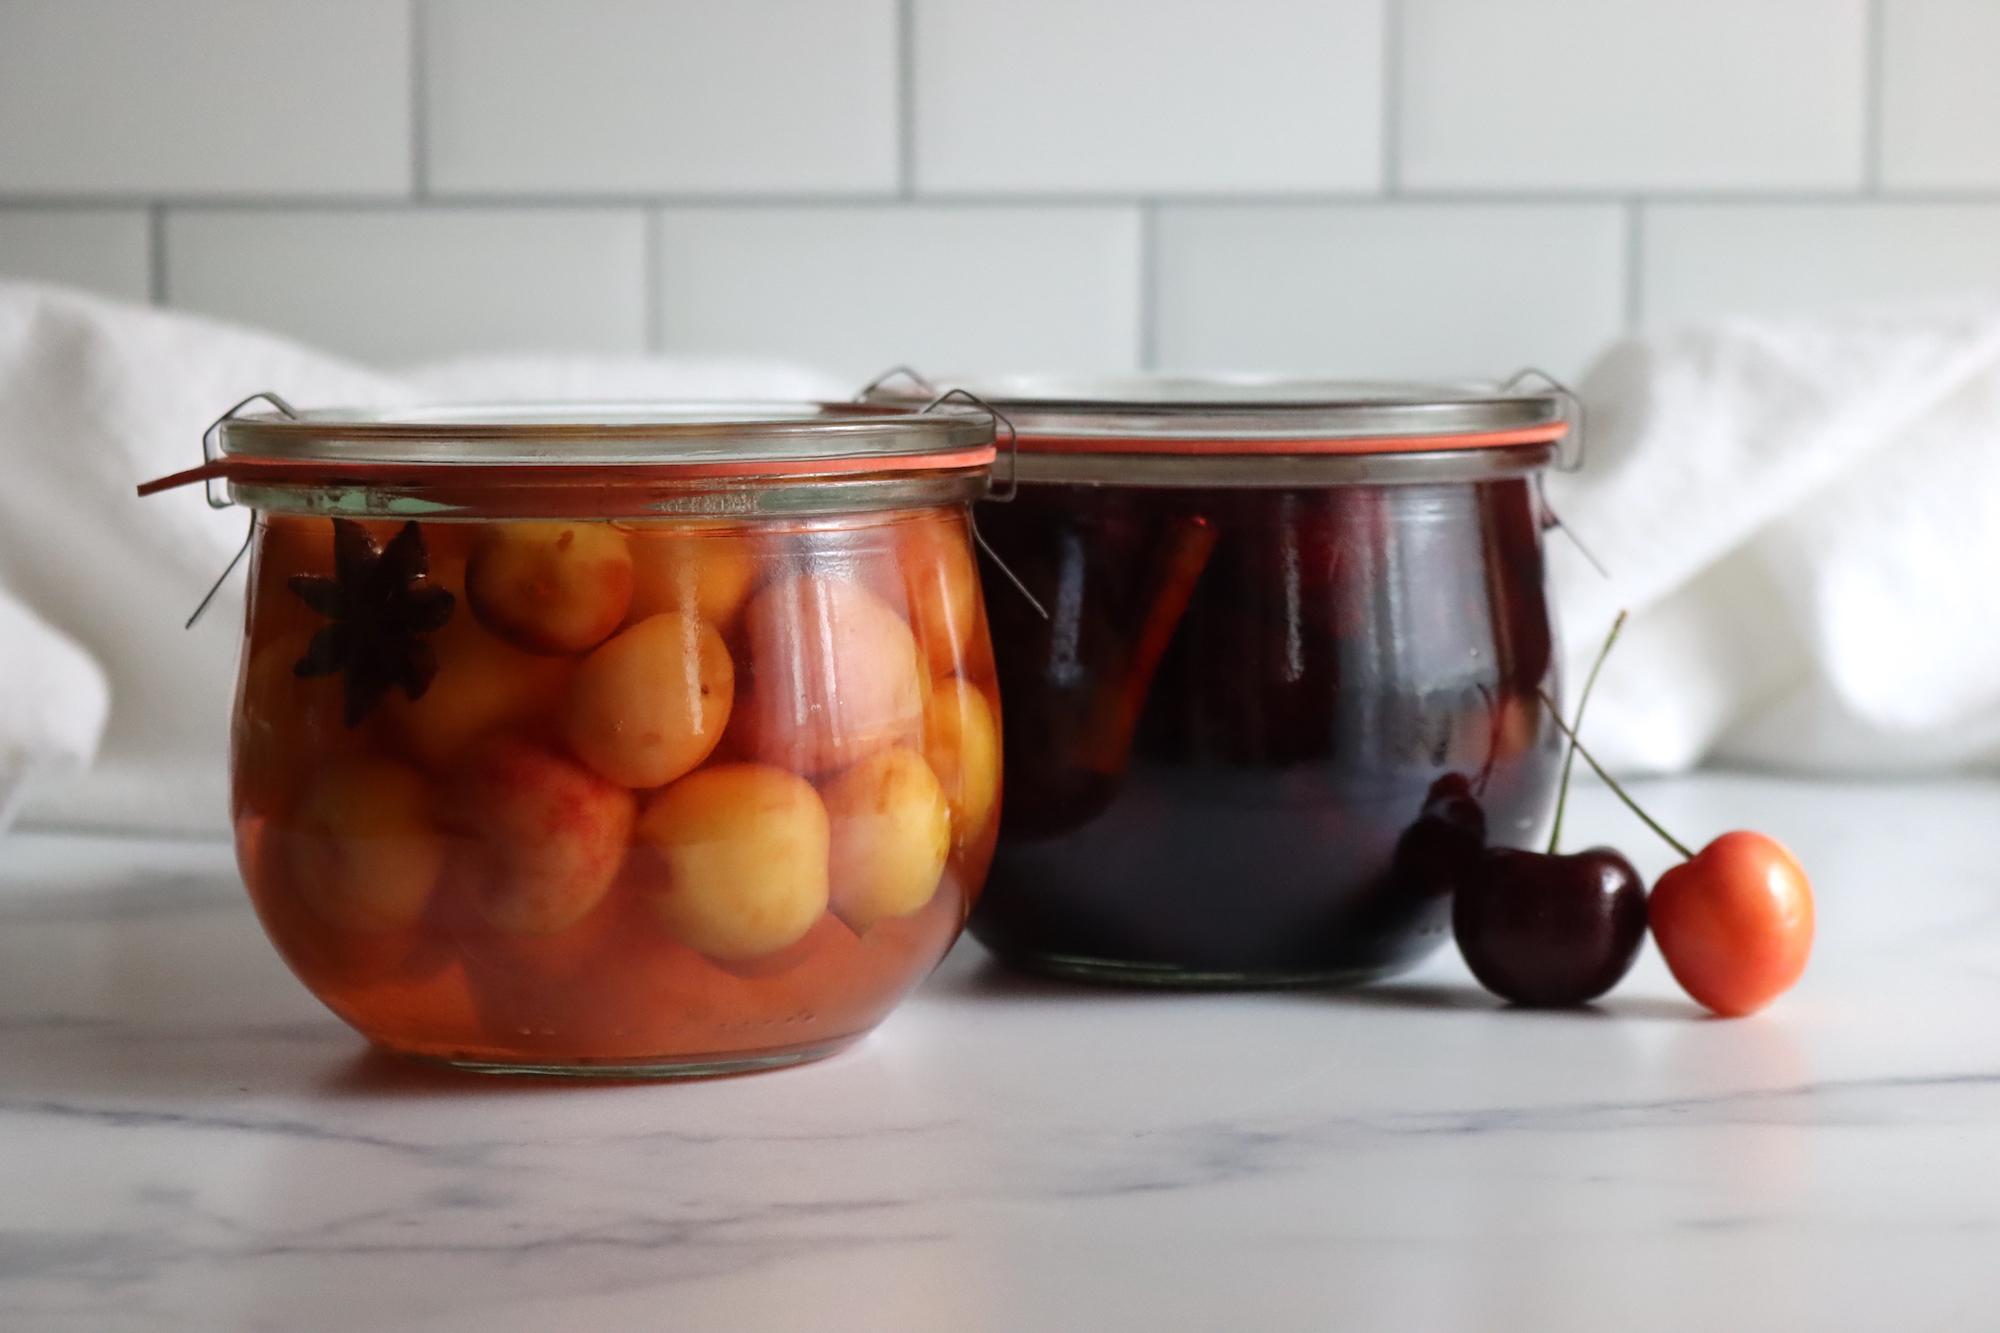
Have you ever tasted pickled cherries? If not, you’re in for a treat!
Canning pickled cherries is an easy way to preserve this juicy fruit and transform it into a tart and tangy snack that’s perfect for any time of the year.
Pickling is an age-old technique that has been used by countless cultures around the world for centuries. It’s a process of preserving food by soaking it in a mixture of vinegar, sugar, and spices.
The best part about this recipe? You don’t need any fancy equipment to make it. Pickled cherries can be processed safely in a water bath canner (or simply made as refrigerator pickles), so it’s easier than you might think to get started.
Ingredients for Pickled Cherries
The ingredients for canning pickled cherries are quite simple. To make a canner batch of seven pints, you’ll need the following:
- 2 ½ cups (625 ml) white vinegar (at least 5% acidity)
- 2 ¾ lbs (1.25 kg) fresh sweet cherries, washed, pitted, and stemmed
- 7 (3-inch/7.5-cm) cinnamon sticks
- 1 split vanilla bean
- 2 cups (500 ml) sugar
- 2 Tbsp (30 ml) pickling salt
- 7 whole cloves
- 7 star anise
The spices in this recipe are optional, and you can use whatever dry spices you’d like (or skip them altogether). That said, these warm spices do work really well with cherries and I think you’ll love them just as it is!
Making Pickled Cherries
The first step in canning pickled cherries is to prepare the cherries. Begin by washing, pitting, and stemming the cherries. You can use a cherry pitter or a large paper clip to pit cherries while leaving them whole. Once you’ve cleaned all the cherries, set them aside.
Next, you need to prepare the pickling solution. Stir together vinegar, sugar, and pickling salt in a stainless steel saucepan. Scrape the seeds from the vanilla bean and add the seeds and bean to the vinegar mixture. Bring it to a boil, stirring until the salt and sugar dissolve.
Now, it’s time to pack the cherries into the jars. Put the cinnamon stick, star anise, and clove in a hot jar. Pack the cherries tightly into the jar, leaving ½ inch (1 cm) headspace. It will take about 12 cherries to fill a jar.
Remove the vanilla bean from the pan, throw it out, and ladle the hot pickling liquid over the cherries, leaving half an inch of headspace.
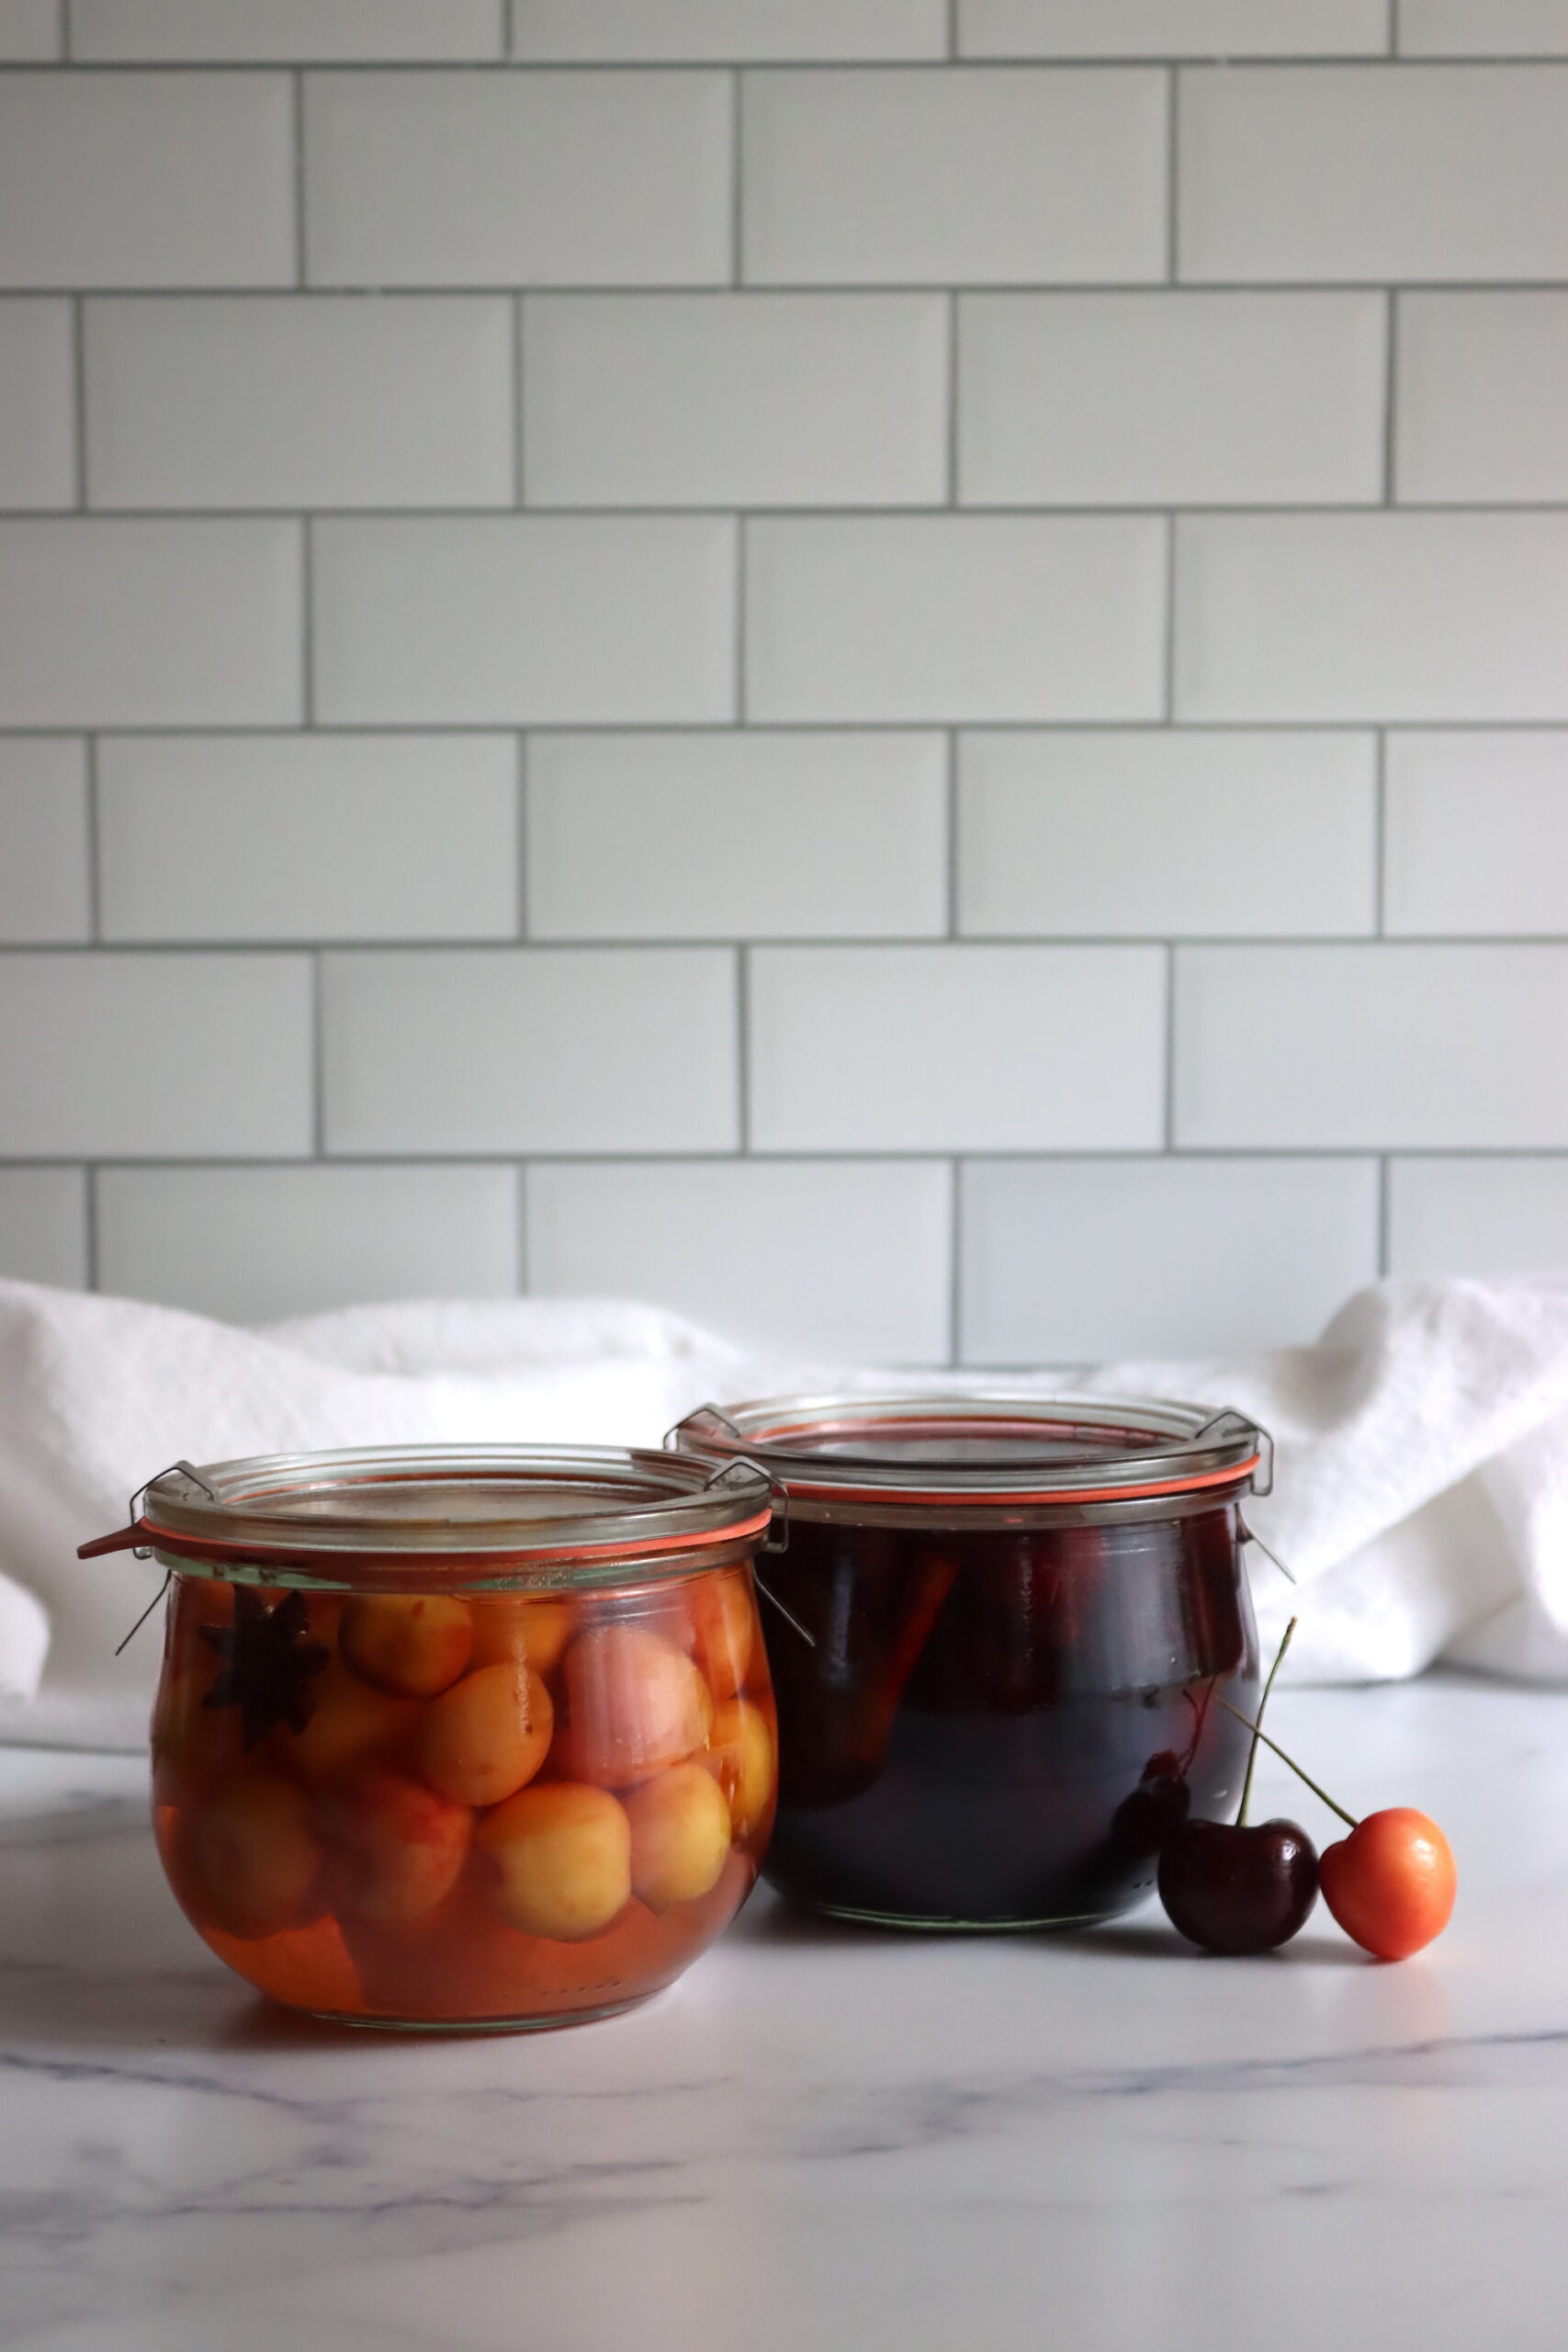
Canning Pickled Cherries
Canning is optional, and you can make these as refrigerator pickles if you so choose. If you are canning, be sure to leave 1 inch of headspace and seal the jars to finger tight (or clip on canning lids, depending on the type of jar you’re working with).
Before sealing the jars, you need to make sure that there are no air bubbles. You can remove air bubbles by inserting a plastic spatula or a chopstick into the jar and gently pressing on the cherries. Wipe the jar rim, center the lid on the jar, and apply the bands, tightening them to fingertip tight.
Once all the jars are filled and sealed, it’s time to process them. Place the jars into the boiling water canner.
Process the jars for 10 minutes, adjusting for altitude. Then turn off the heat, remove the lid, and let the jars stand for five minutes. After that, you can remove the jars and let them cool at room temperature for 24 hours.
Altitude Adjustments
Water boils at a lower temperature at higher altitudes, so jars need to be processed a bit longer as you go up in elevation. Here are the altitude adjustments for canning pickled cherries:
- For 0 to 1,000 Feet in Elevation – Process pint jars for 10 minutes, and quart jars for 15 minutes.
- For 1,001 to 6,000 Feet in Elevation – Process pint jars for 15 minutes, and quart jars for 20 minutes.
- Above 6,001 Feet in Elevation – Process pint jars for 20 minutes, and quart jars for 25 minutes.
Serving Pickled Cherries
There’s nothing quite like the taste of homemade pickled cherries. Not only are they delicious, but they also make for a unique and versatile addition to your recipe repertoire.
The best option for serving pickled cherries? Eating them straight out of the jar! They make for an excellent snack or addition to a charcuterie board. If you want to make them a bit fancier, you can opt to skewer them on toothpicks or small skewers with some cheese or meat.
Some ideas include serving them on top of a baked brie or as a topping for crostini with whipped goat cheese and honey.
You can even use pickled cherries as part of an entree. They pair especially well with pork and duck. Serve them alongside some roasted pork tenderloin or duck breast for a flavorful addition to your meal.
You might also try tossing them into a spinach and goat cheese salad with some pecans or use them in a quinoa salad with cucumber and feta cheese for a refreshing summer lunch.
They’re also delicious on ice cream. Simply spoon some of the cherries and their juice over your favorite flavor of ice cream for a sweet and tangy treat.
You can also give your cocktails a burst of flavor by adding pickled cherries and their juice. They make for a great garnish for a sour or Manhattan-style cocktail or can even be muddled into a refreshing gin and tonic.
Pickled Cherries
Ingredients
- 2 ½ cups 625 ml white vinegar (at least 5% acidity)
- 2 ¾ lbs 1.25 kg fresh sweet cherries, washed, pitted, and stemmed
- 7 3-inch/7.5-cm cinnamon sticks
- 1 split vanilla bean
- 2 cups 500 ml sugar
- 2 Tbsp 30 ml pickling salt
- 7 whole cloves
- 7 star anise
Instructions
- Prepare the cherries by washing, pitting, and stemming them. You can use a cherry pitter or a large paper clip to pit cherries while leaving them whole. Once you've cleaned all the cherries, set them aside.
- Next, you need to prepare the pickling solution. Stir together vinegar, sugar, and pickling salt in a stainless steel saucepan. Scrape the seeds from the vanilla bean and add the seeds and bean to the vinegar mixture. Bring it to a boil, stirring until the salt and sugar dissolve.
- Now, it's time to pack the cherries into the jars. Put the cinnamon stick, star anise, and clove in a hot jar.
- Pack the cherries tightly into the jar, leaving ½ inch (1 cm) headspace. It will take about 12 cherries to fill a jar.
- Remove the vanilla bean from the pan, throw it out, and ladle the hot pickling liquid over the cherries, leaving half an inch of headspace.
- Make sure that there are no air bubbles.
- Wipe the jar rims, center the lids on the jars, and apply the bands, tightening them to fingertip tight.
- Place the jars into the boiling water canner.
- Process the jars for 10 minutes, adjusting for altitude.
- Turn off the heat, remove the lid, and let the jars stand for five minutes.
- Remove the jars and let them cool at room temperature for 24 hours.
Notes
Altitude Adjustments
Water boils at a lower temperature at higher altitudes, so jars need to be processed a bit longer as you go up in elevation. Here are the altitude adjustments for canning pickled cherries:- For 0 to 1,000 Feet in Elevation - Process pint jars for 10 minutes, and quart jars for 15 minutes.
- For 1,001 to 6,000 Feet in Elevation - Process pint jars for 15 minutes, and quart jars for 20 minutes.
- Above 6,001 Feet in Elevation - Process pint jars for 20 minutes, and quart jars for 25 minutes.
Fruit Pickling Recipes
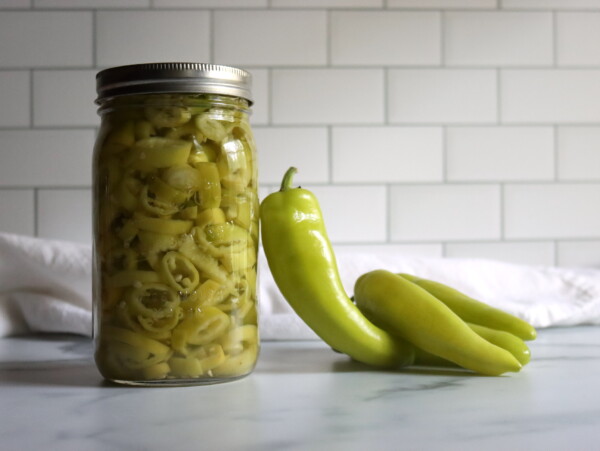
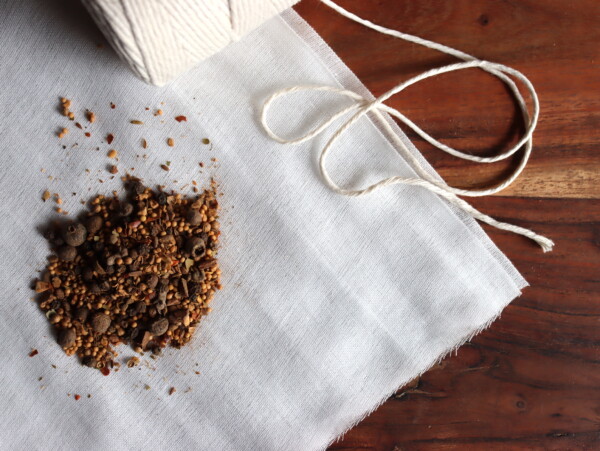
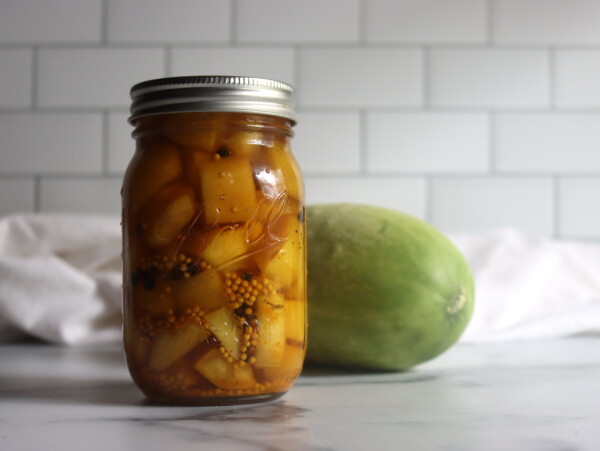
Fruit pickles are delicious! Don’t stop with pickled cherries…
