This post may contain affiliate links. Please see our disclosure policy.
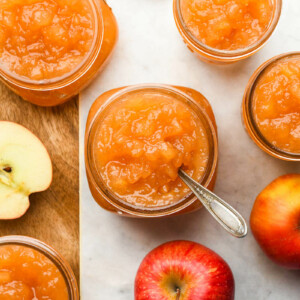
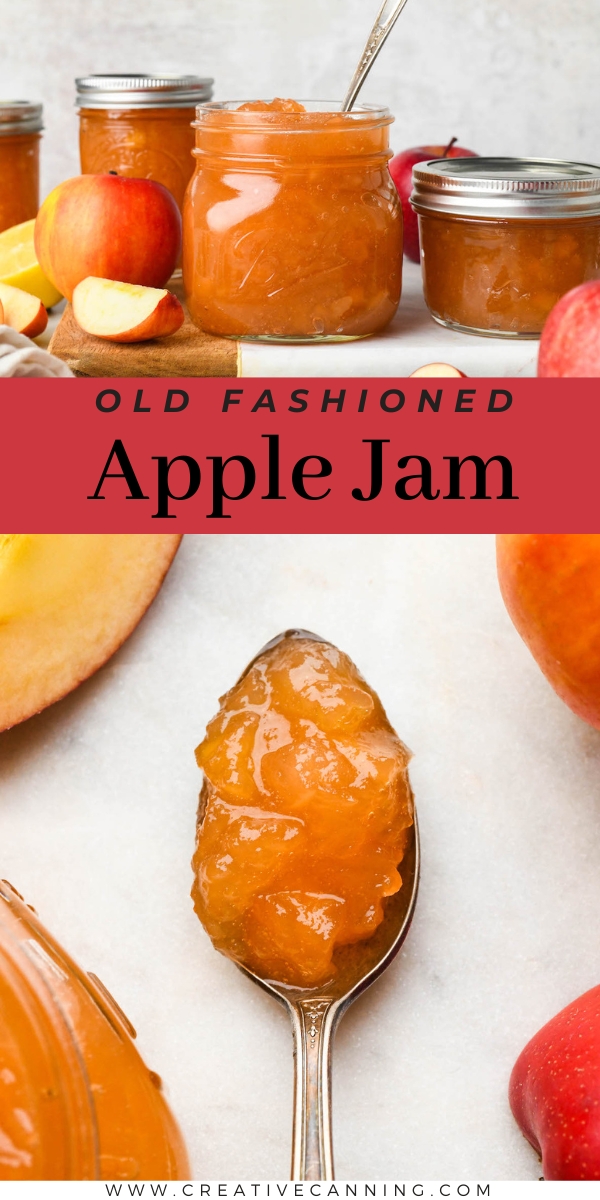
Delightfully old-fashioned, apple jam is a sweet, pleasantly tart preserve made with only three ingredients. Learn how to make and preserve this simple jam so that your family can enjoy the taste of autumn all year long!
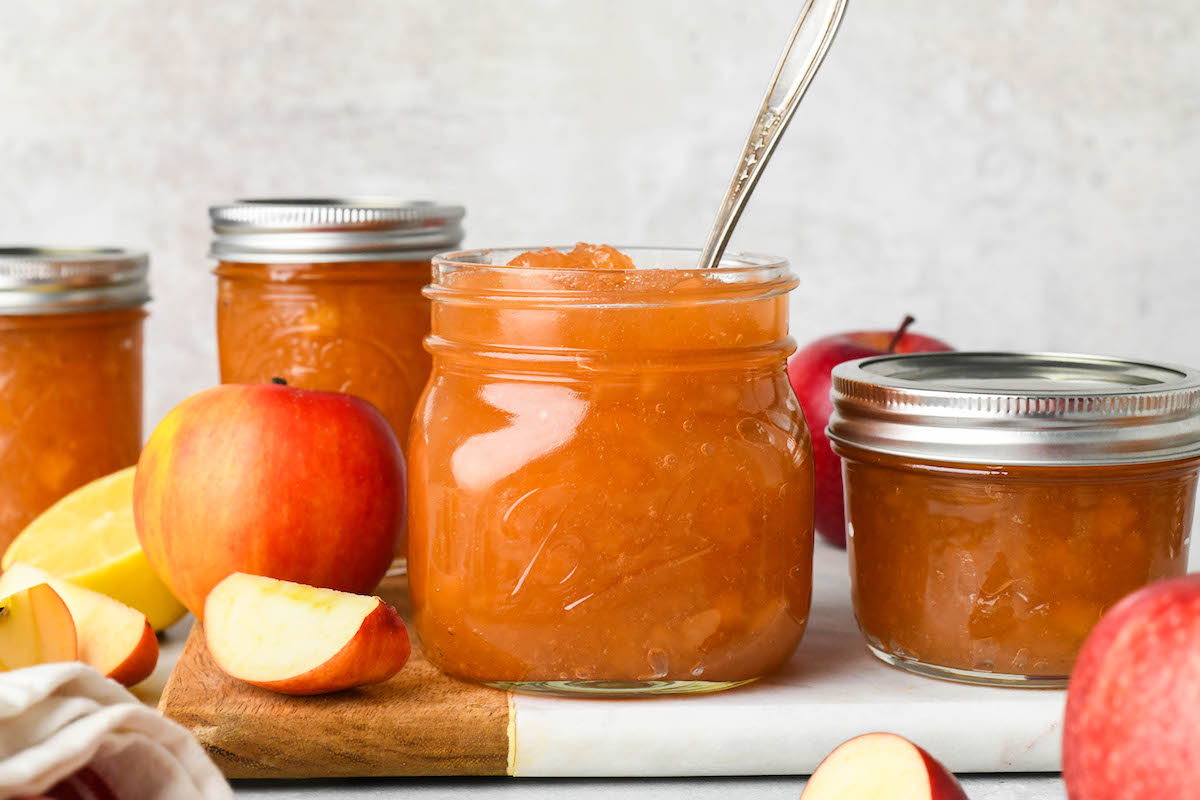
I’ve always thought it somewhat unfair that apple jellies, butters, and sauces are so well-known and beloved while apple jam, the slightly out-of-fashion cousin of the family, is less appreciated. After all, it’s one of my favorite apple canning recipes!
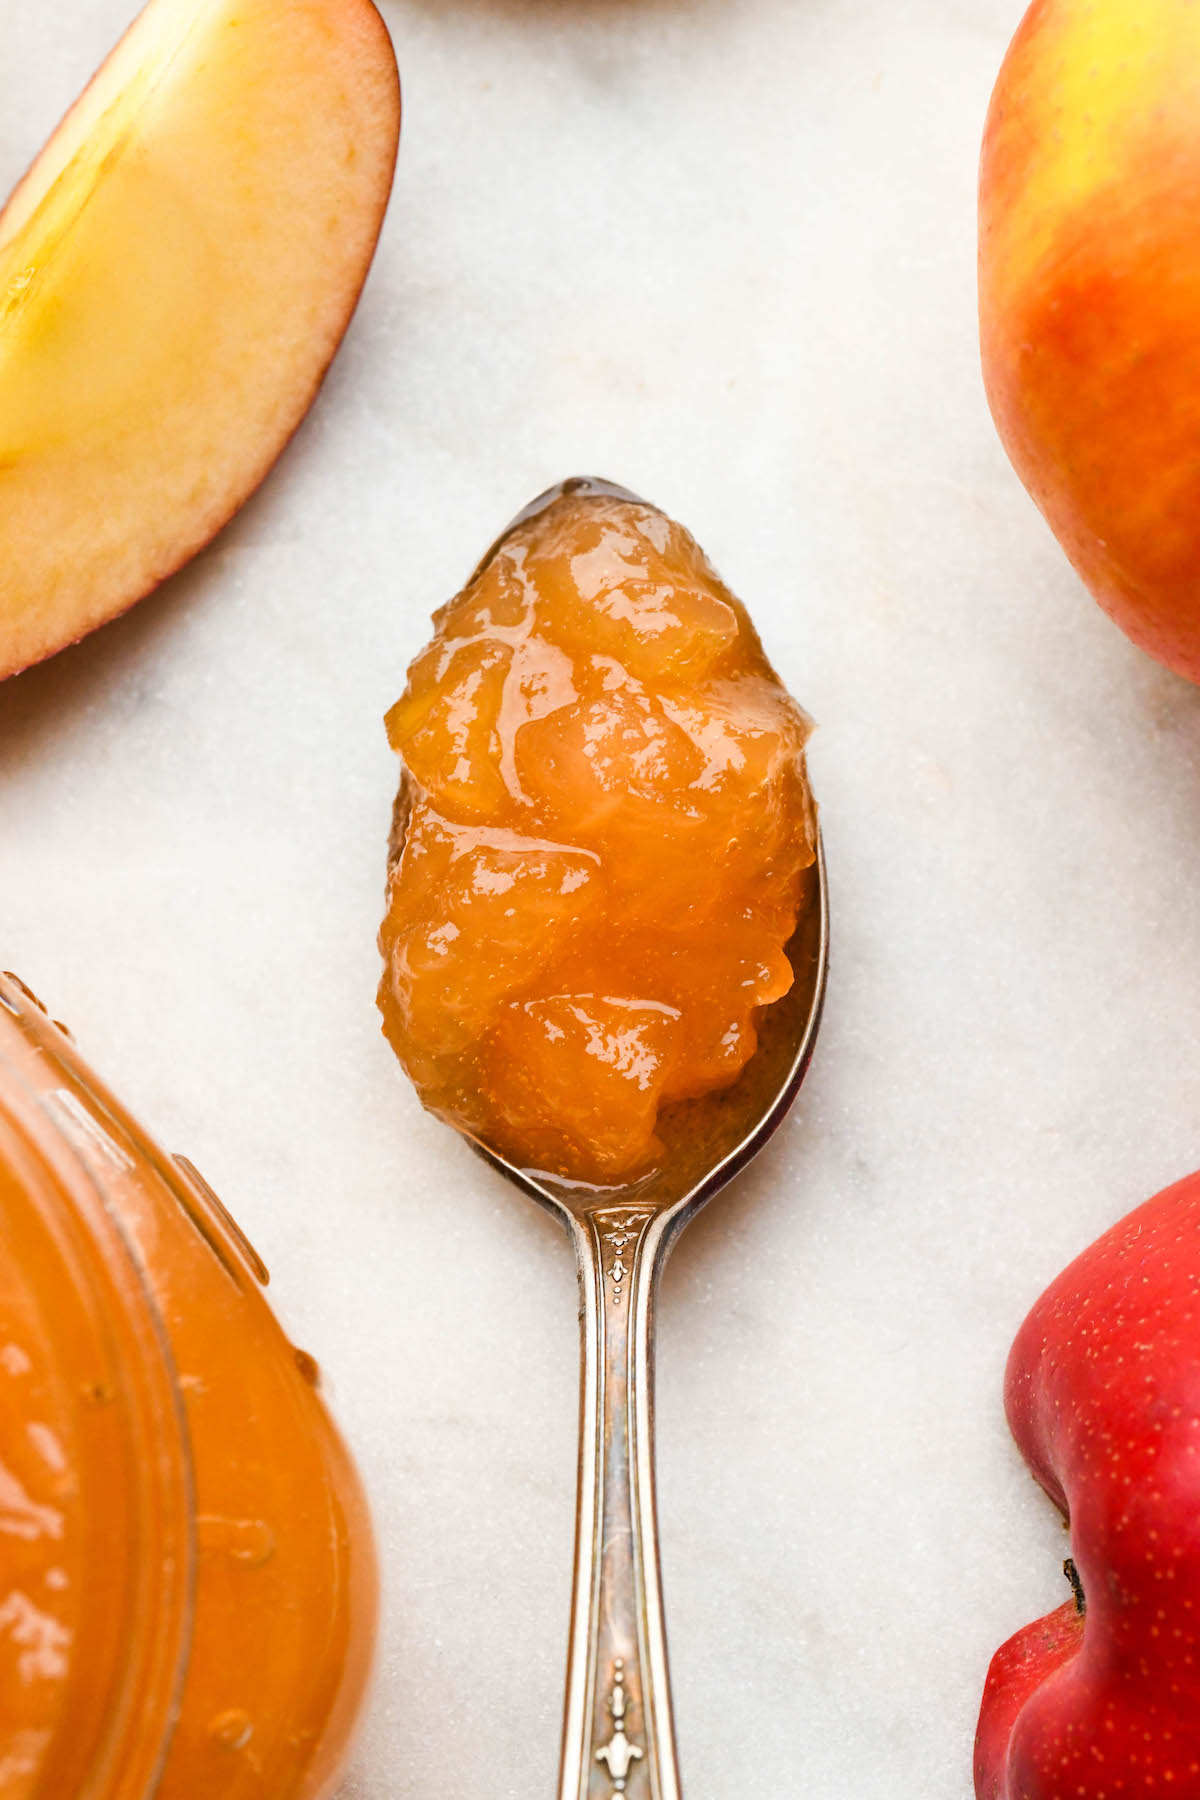
Apple jam has the smoothness associated with many of these preserves, but it also has texture, thanks to the way the apples are prepared prior to cooking. In short, when I eat apple jam I don’t feel like I’m merely eating something apple flavored—I feel like I’m eating the real thing.
If you’re already a fan of (or merely curious about) apple jam, you might find it difficult to find this somewhat old-fashioned condiment at your local grocery store. As you’re about to discover, making and preserving apple jam at home is easier than you might think and requires very little in terms of ingredients and kitchen equipment.
Whether your apple jam plans are strictly for personal use or for gifting to lucky friends and family, you’ll find all the information you need for prepping, cooking, and preserving this classic jam in this comprehensive post.
Ingredients for Apple Jam
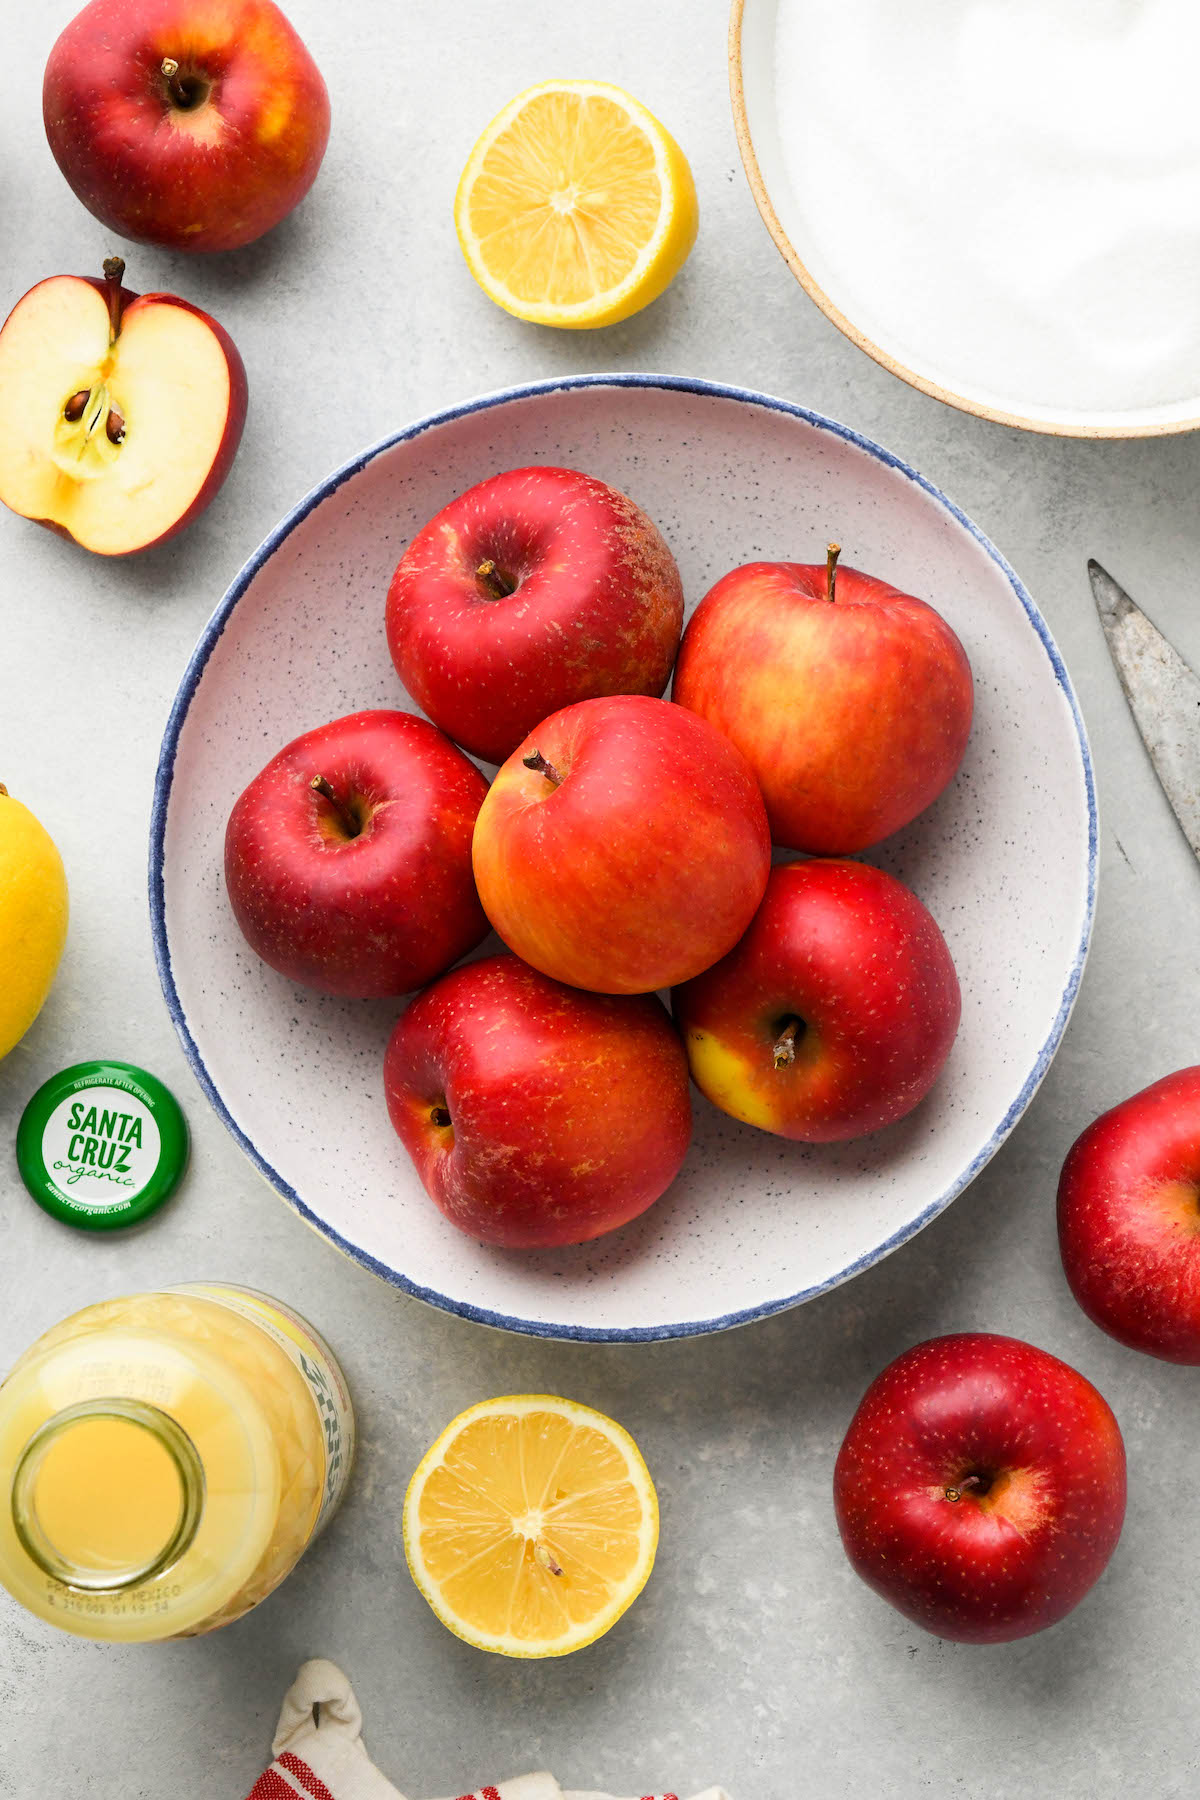
Apple jam calls for only three readily available ingredients (and thanks to the naturally high pectin content of apples, there’s no store-bought pectin required for this recipe). To make apple jam for canning, you’ll need the following ingredients:
- Apples*
- Granulated sugar
- Bottled lemon juice (I recommend Santa Cruz organic lemon juice)
When it comes to choosing the right apples for the job, I typically choose firm-fleshed varieties suitable for pie-making that are both tart and sweet. Think Empire, Granny Smith, or Honeycrisp apples (or a mixture of any kind of pie apple). The apples pictured in the photos are a Honeycrisp-esque variety called Cosmic Crisp—a sweet and crispy apple variety that has the advantage of being slow to brown.
The only apples I would outright avoid for this recipe are soft apples such as Golden Delicious and Jongagolds. They’ll fall apart during the cooking process, and you’ll end up with something much closer to applesauce than apple jam (which, if this happens when you this recipe, is not an entirely terrible result).
How to Make Apple Jam
When you’re making apple jam, the end goal is a thick preserve base that’s studded with diced apples. To achieve this effect, the diced apple is soaked in a mixture of lemon juice and granulated sugar overnight. This simple maceration technique draws liquid from the apple pieces which yields firmer fruit, which in turn means the apples won’t break apart and melt into the jam during the cooking process.
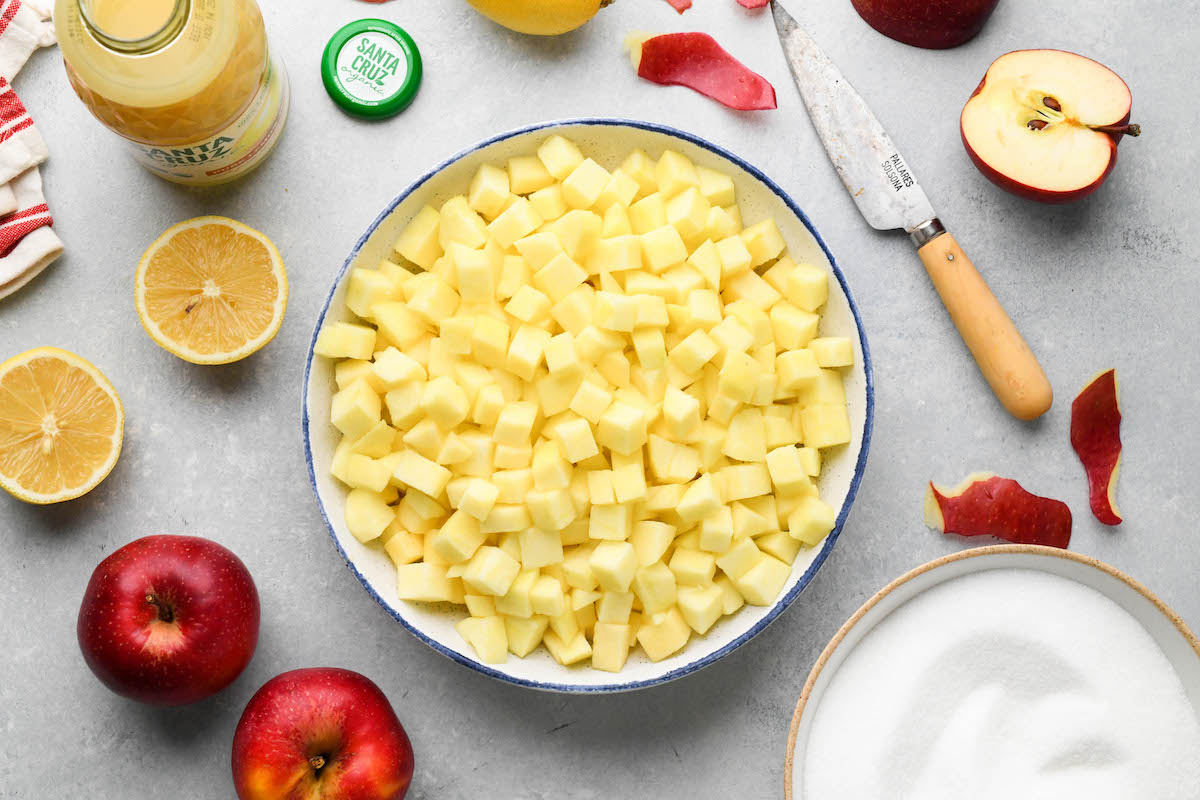
To begin this recipe, you’ll need to peel, core, and cut the apples into a 1/4 to 1/2-inch dice; they aren’t going to cook down extensively, so don’t go much smaller in terms of the size of the dice.
This recipe starts with 6 pounds apples as purchased, which make about 4 pounds prepared diced apples (or roughly 16 cups). You need 1 cup sugar for every pound of prepared apples (or 1 cup sugar to 4 cups apples). One cup sugar is about 1/2 pound, so if you’re working all in weights, it’s 2 pounds sugar and 4 pounds prepared apples.
Once the apples have been cooked down, there should be enough jam to fill 4 to 5 half-pint jars.
Transfer the diced apples to a large bowl and sprinkle them with 4 cups of granulated sugar and 1/2 cup of lemon juice. Gently stir or toss to coat the fruit evenly with the sugar and lemon juice.
Cover the bowl and store it in the refrigerator overnight. If you’re pressed for time, aim for at least four hours in the fridge.
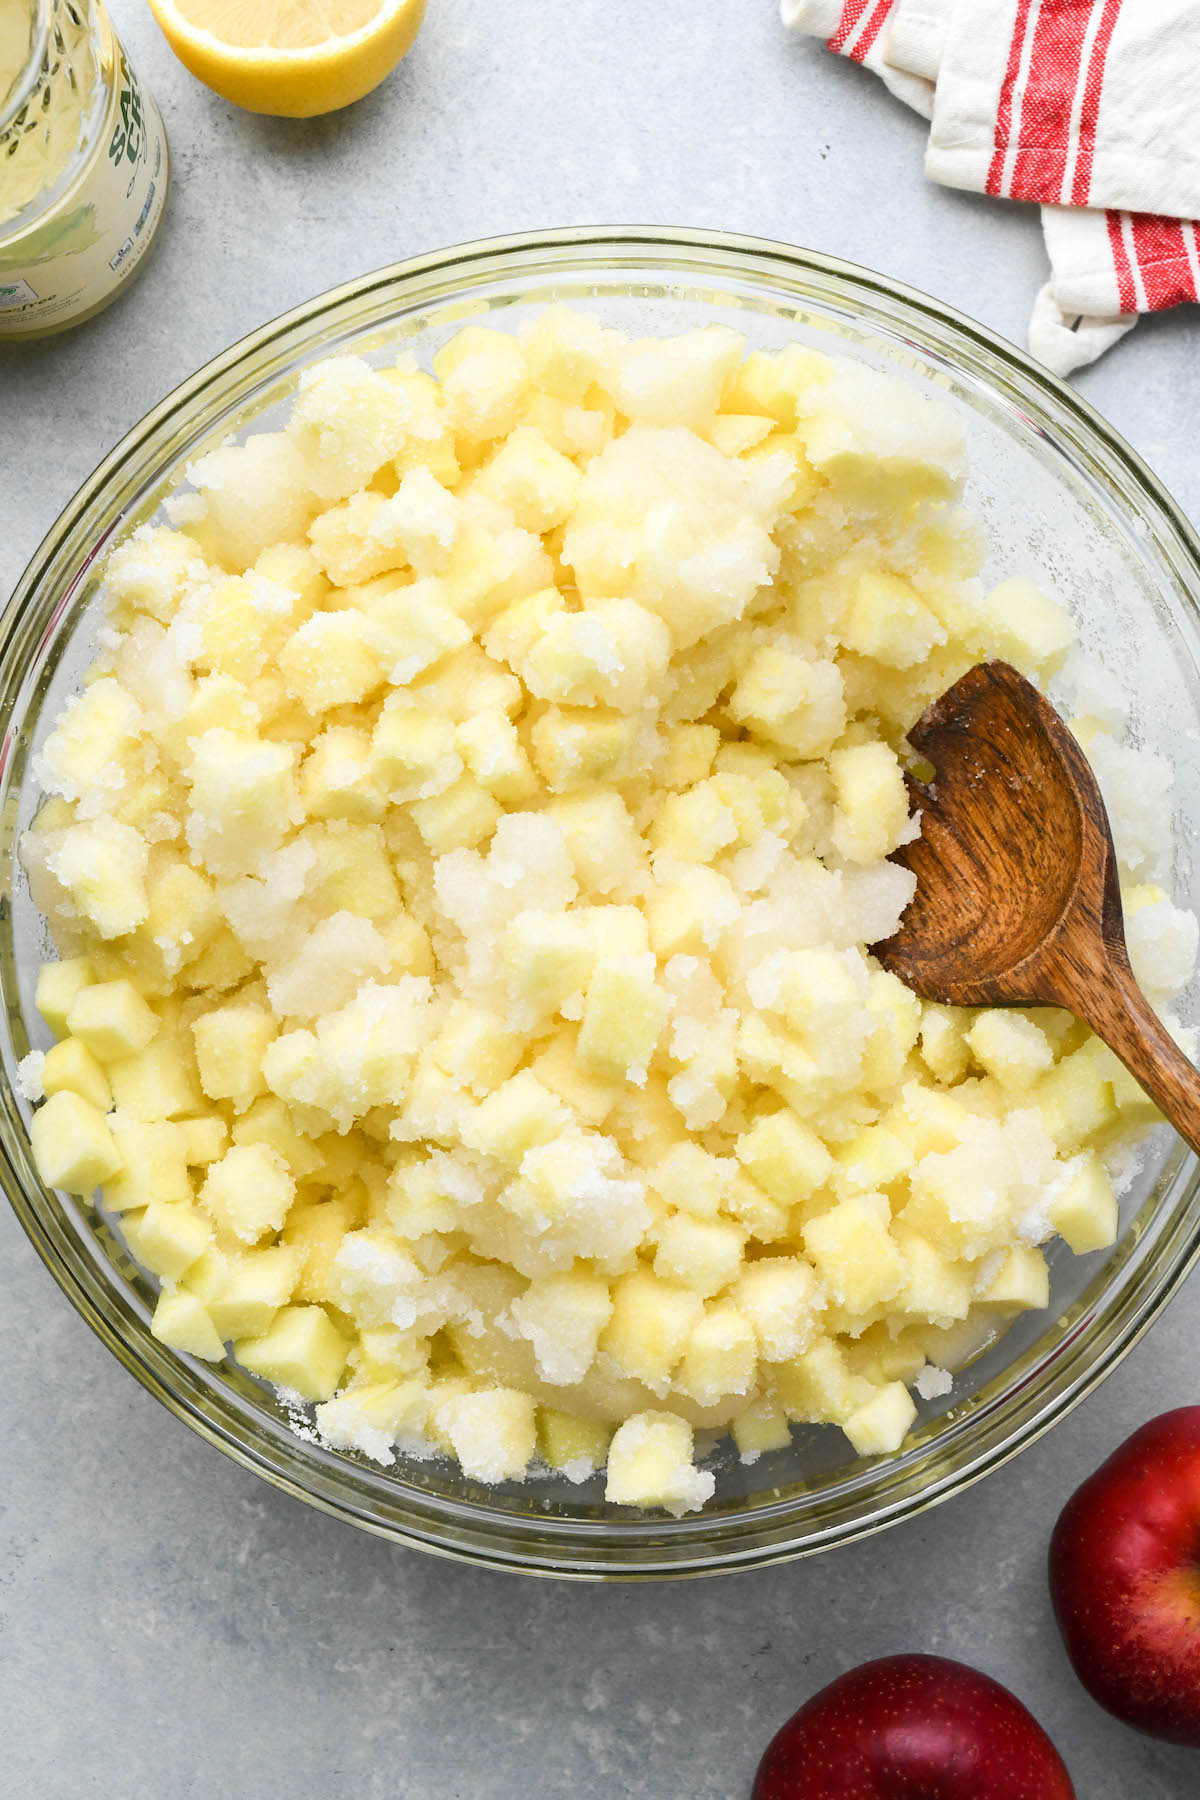
When the apples have macerated, strain the fruit through a large fine mesh sieve over a jam pot or saucepan.
Set the diced apple pieces aside, but keep them close for this next step.
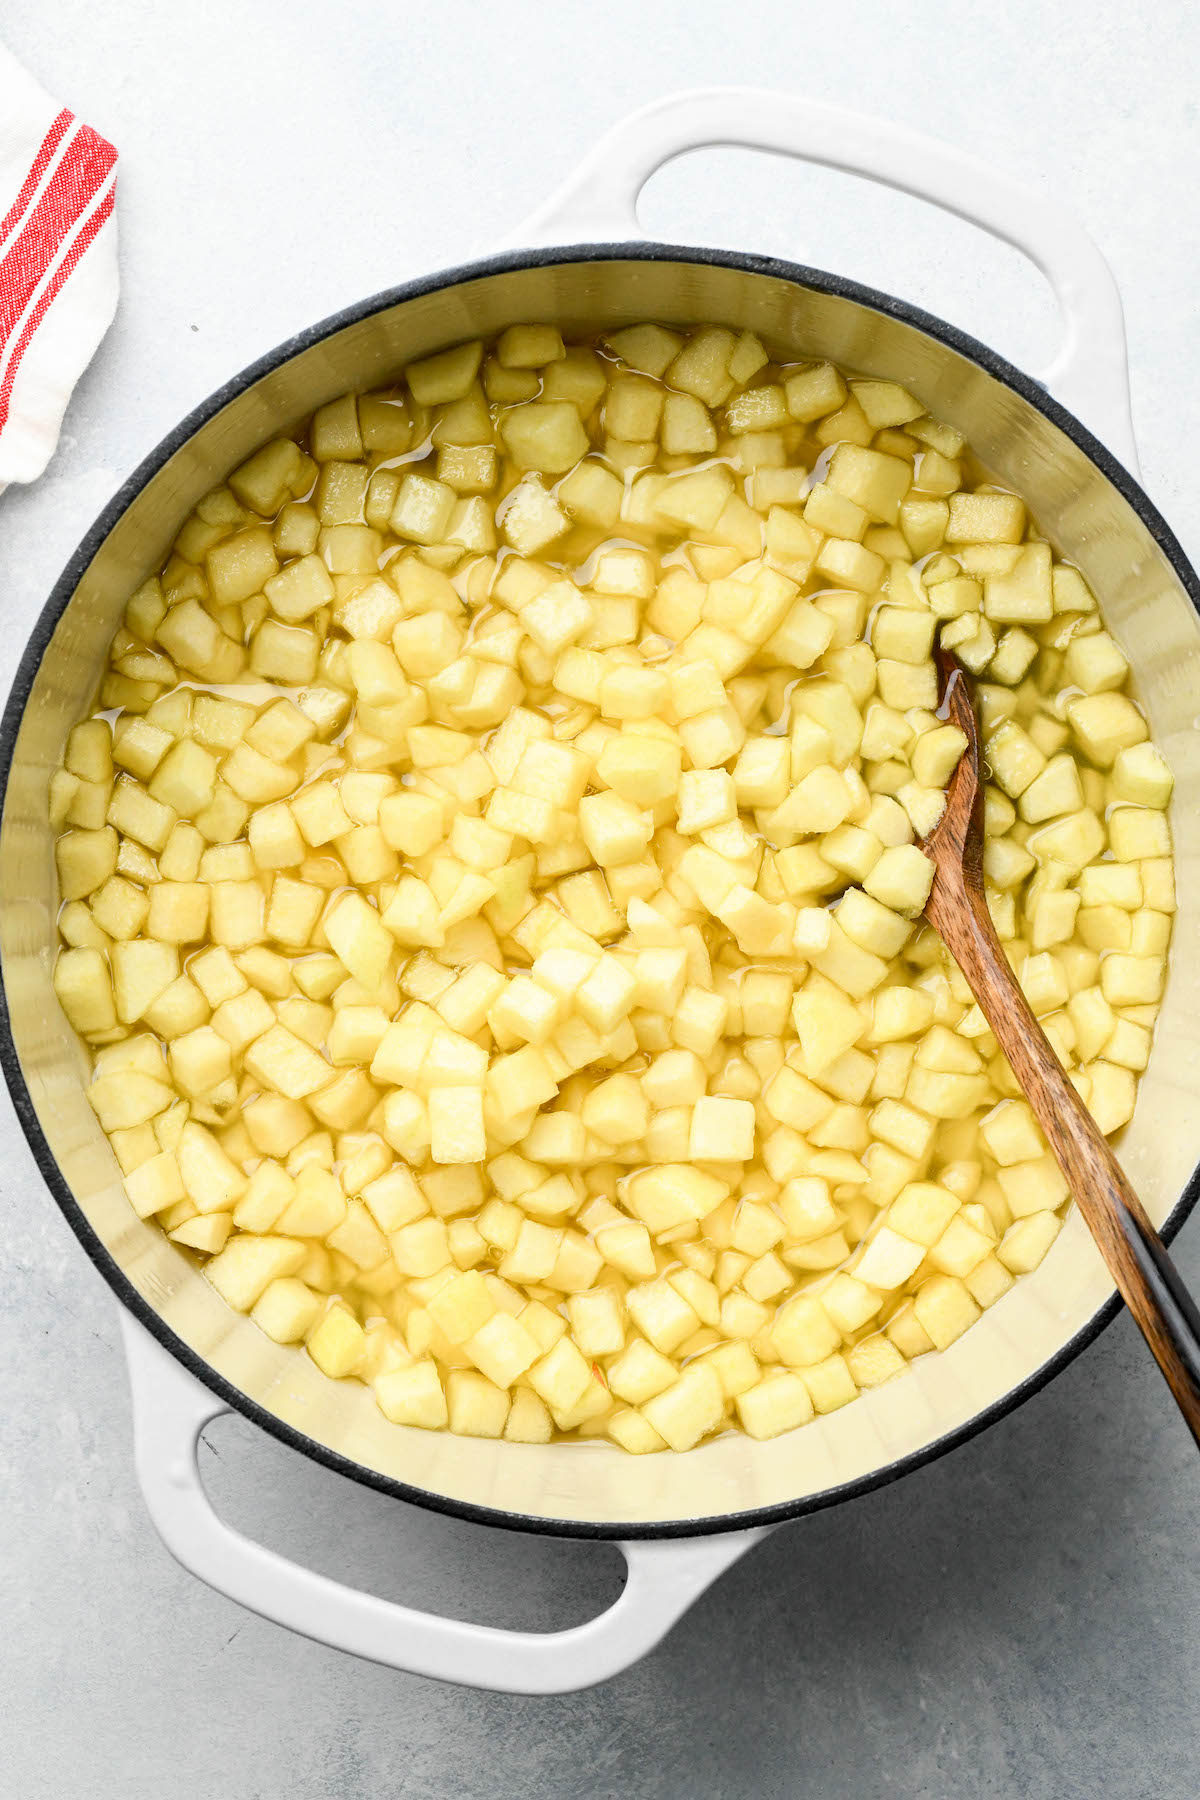
In the saucepan, bring the reserved juices to a hard boil and then carefully add the reserved diced apple pieces, being careful not to splash yourself with hot syrup in the process.
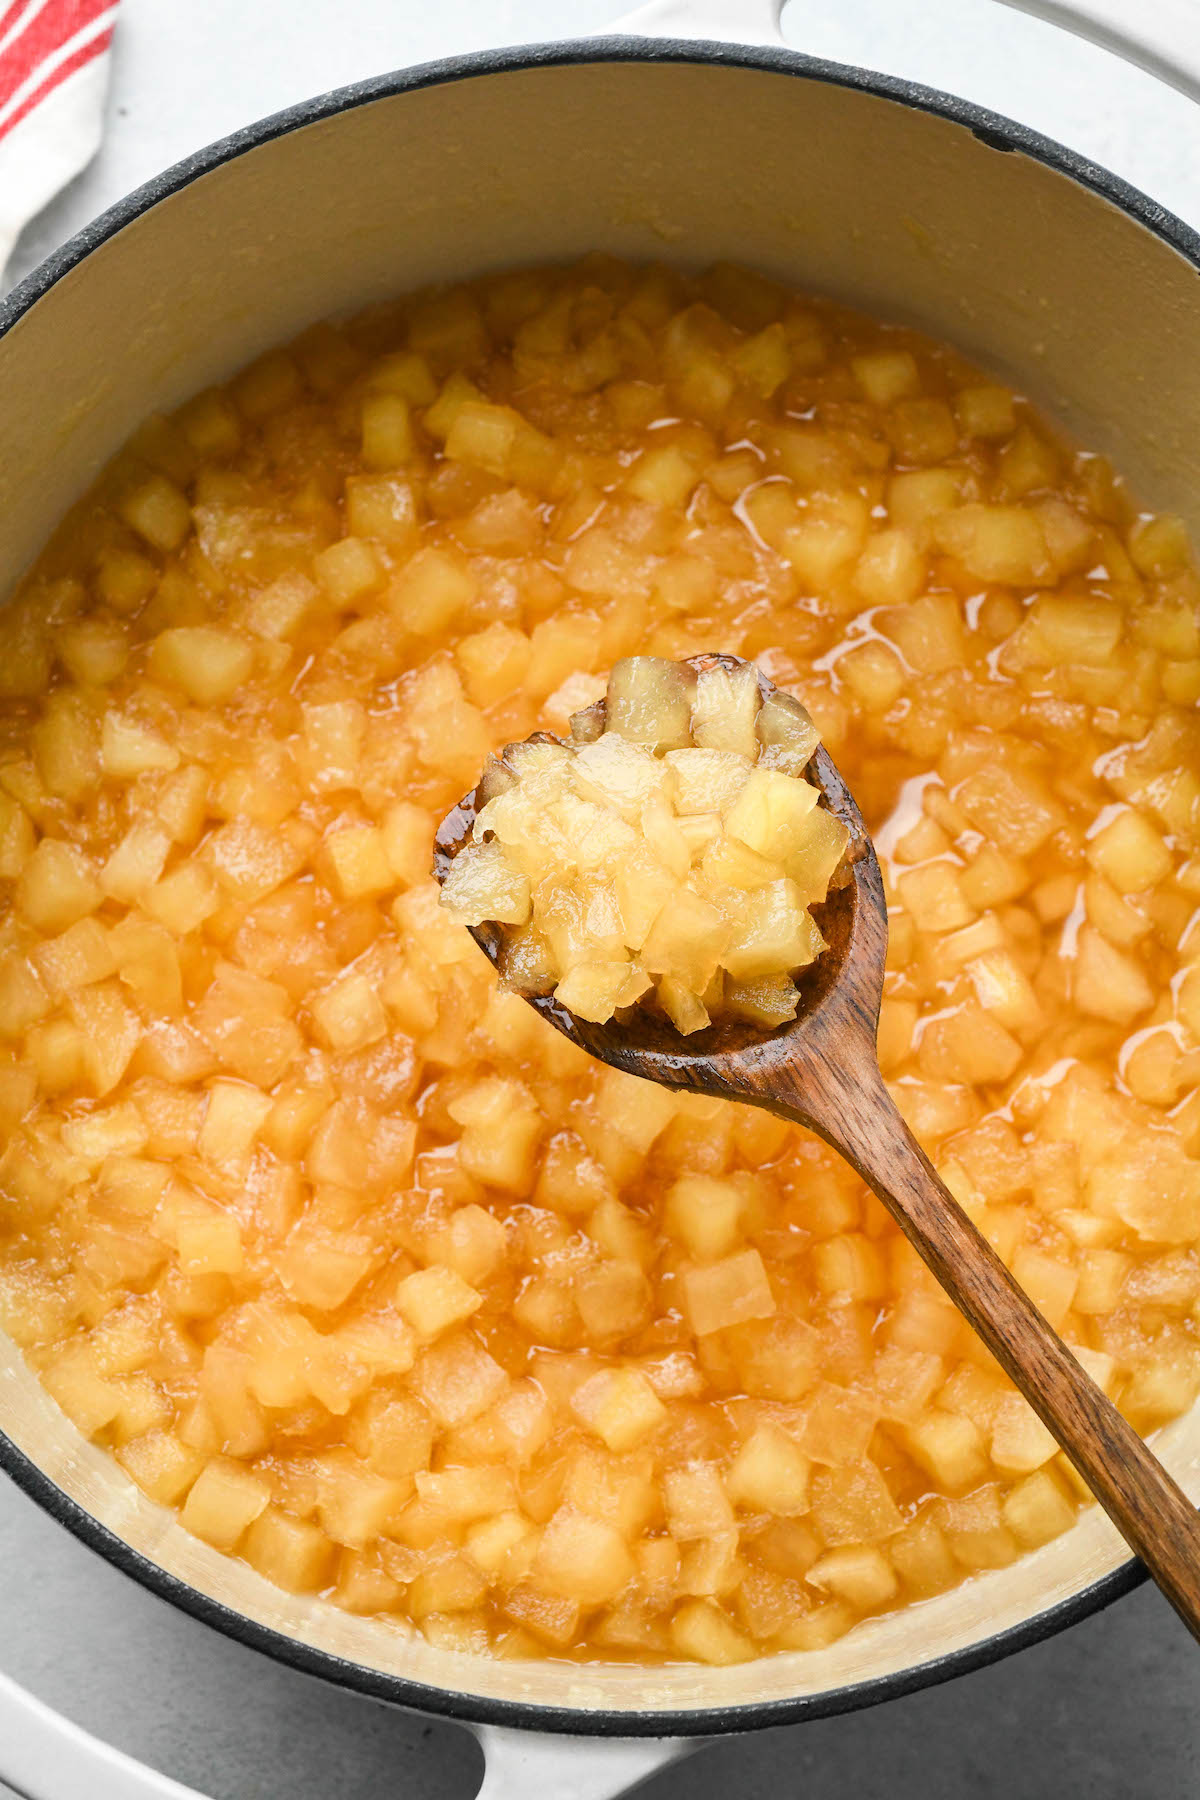
Cook the apples over medium-high heat, giving them a good stir every so often to prevent scorching.
At around the 20-minute mark, you can begin testing the jam to see whether or not it will gel (it can take up to 30 minutes for this to happen, so don’t be discouraged if you need to test multiple times).
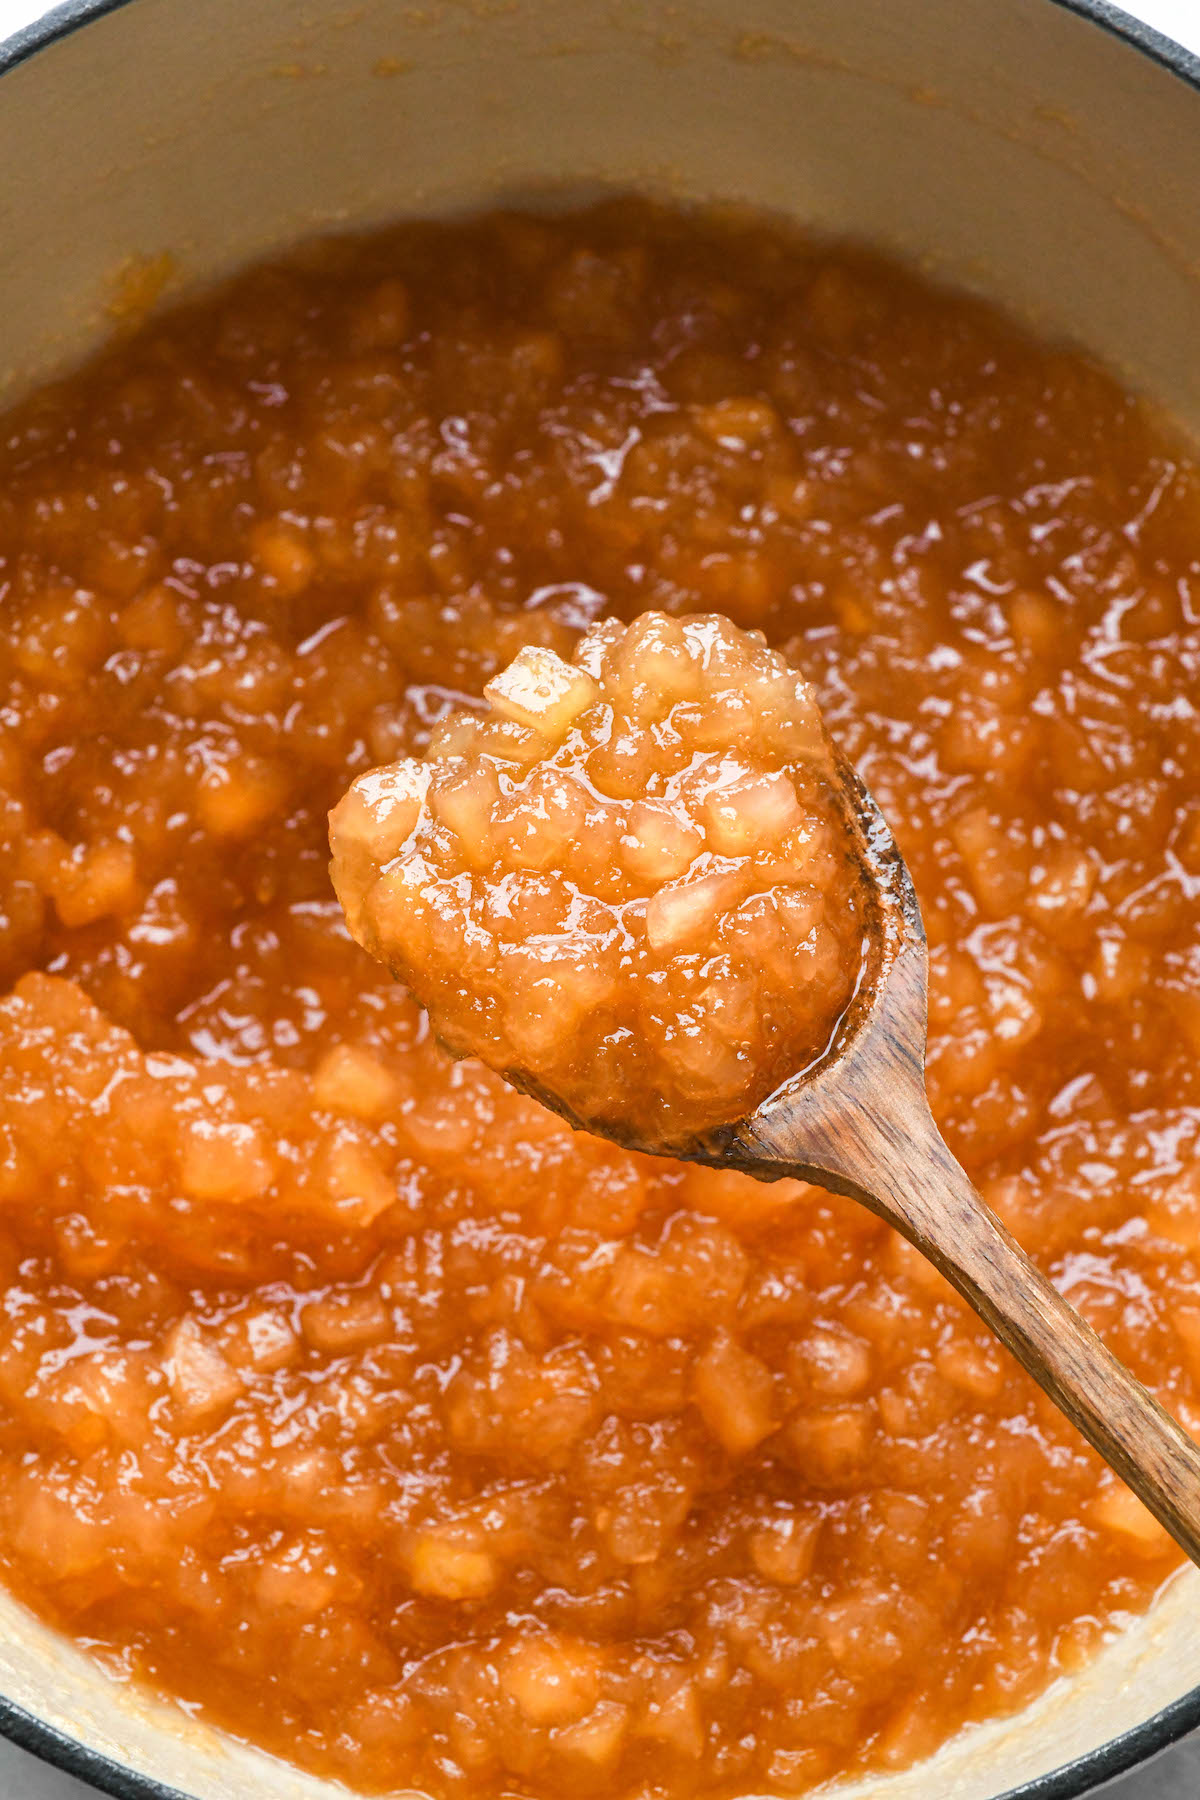
To test for gelling, take a plate that’s been in the freezer for at least an hour and drizzle some of the hot jam onto the cold surface. When the apple jam has cooled down, you’ll be able to determine the viscosity of the jam at that moment.
Whether you prefer a thicker jam or one that’s on the thinner side, once the jam reaches the desired texture remove the saucepan from the heat and get your station set up for water bath canning.
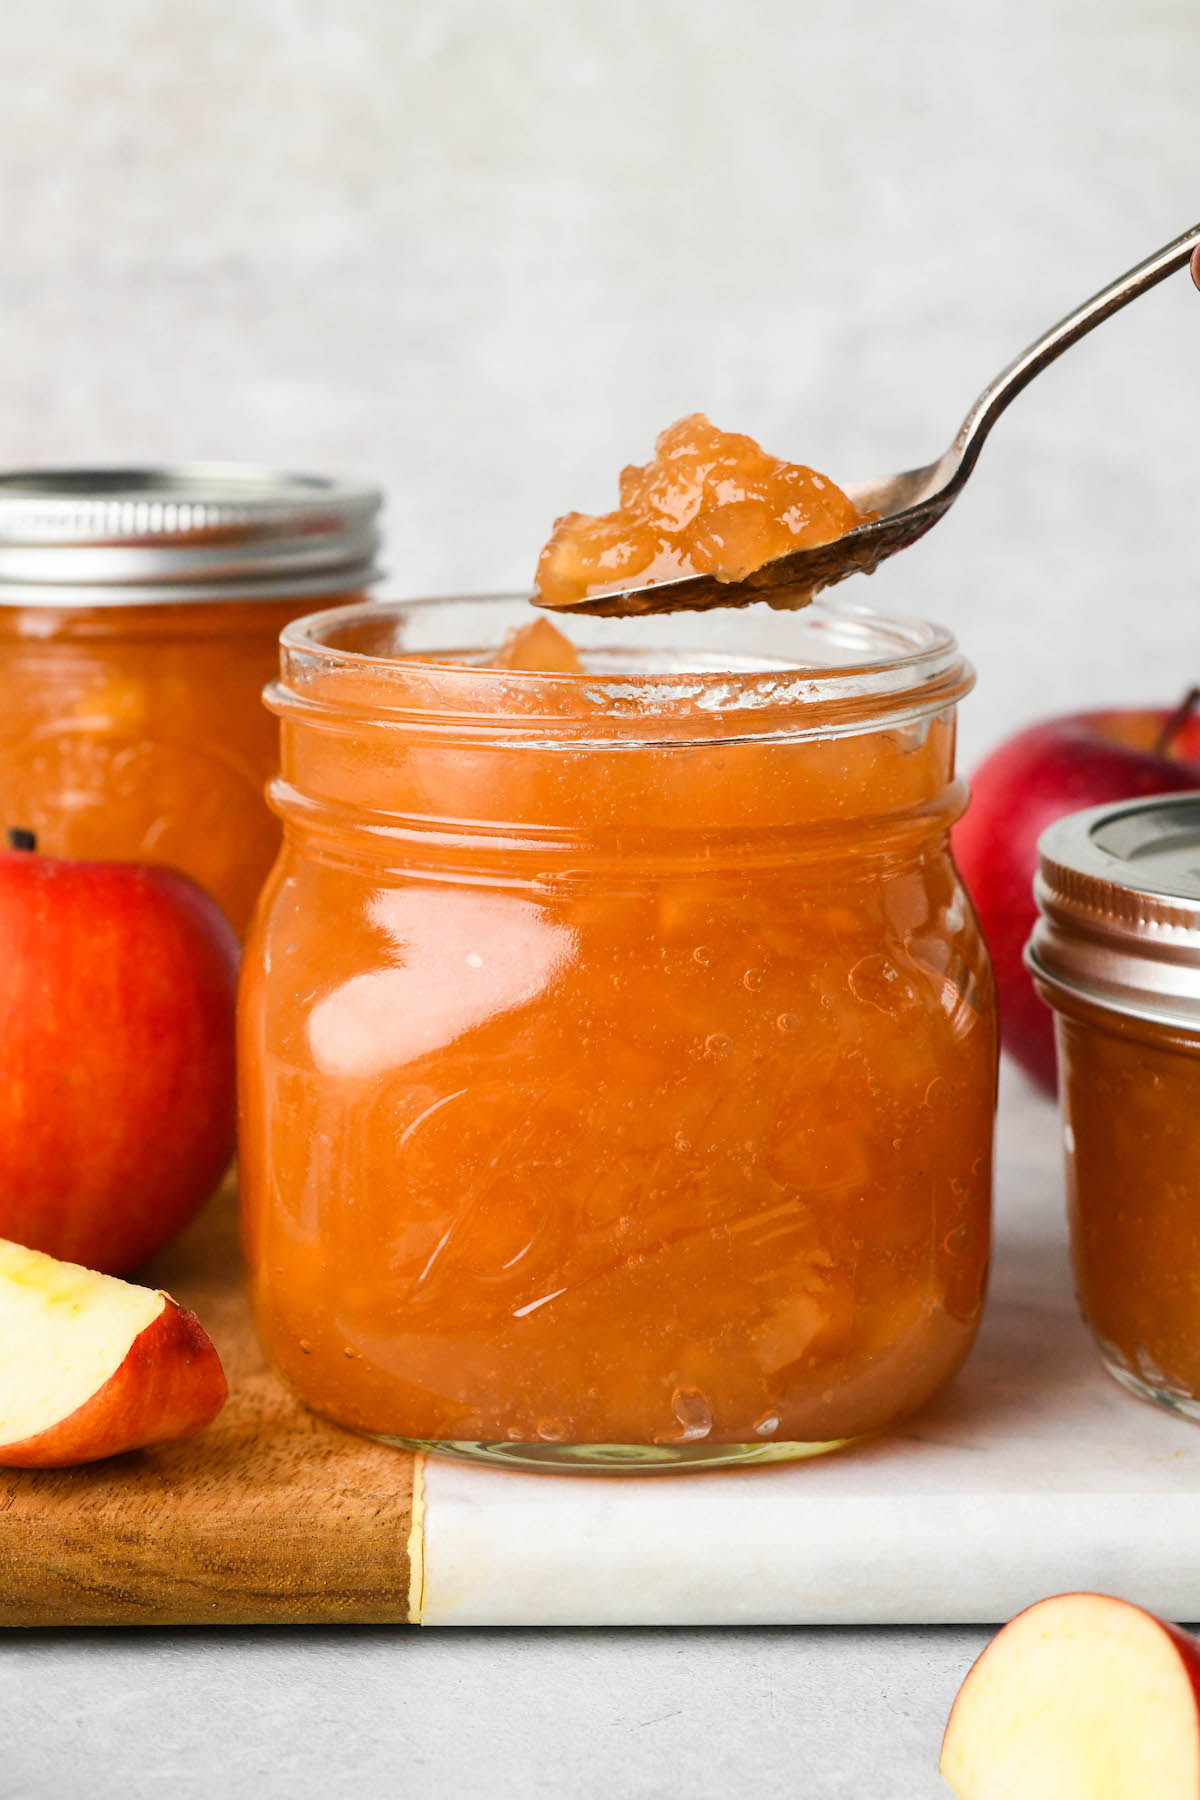
Apple Jam Variations
If you have particularly gorgeous and delicious apples to use in this recipe, I would recommend letting them be the star of the show, no additional ingredients required! If, on the other hand, you want to dress up your apple jam and give it some added pep, I’d suggest the following complementary add-ins:
- Split vanilla bean (add at the end of cooking)
- 3 to 4 cardamom pods (added at the beginning of cooking)
- Cinnamon stick (added at the beginning of cooking)
- Crystalized ginger (added at the beginning of cooking)
- Splash of rum or brandy (added during cooking)
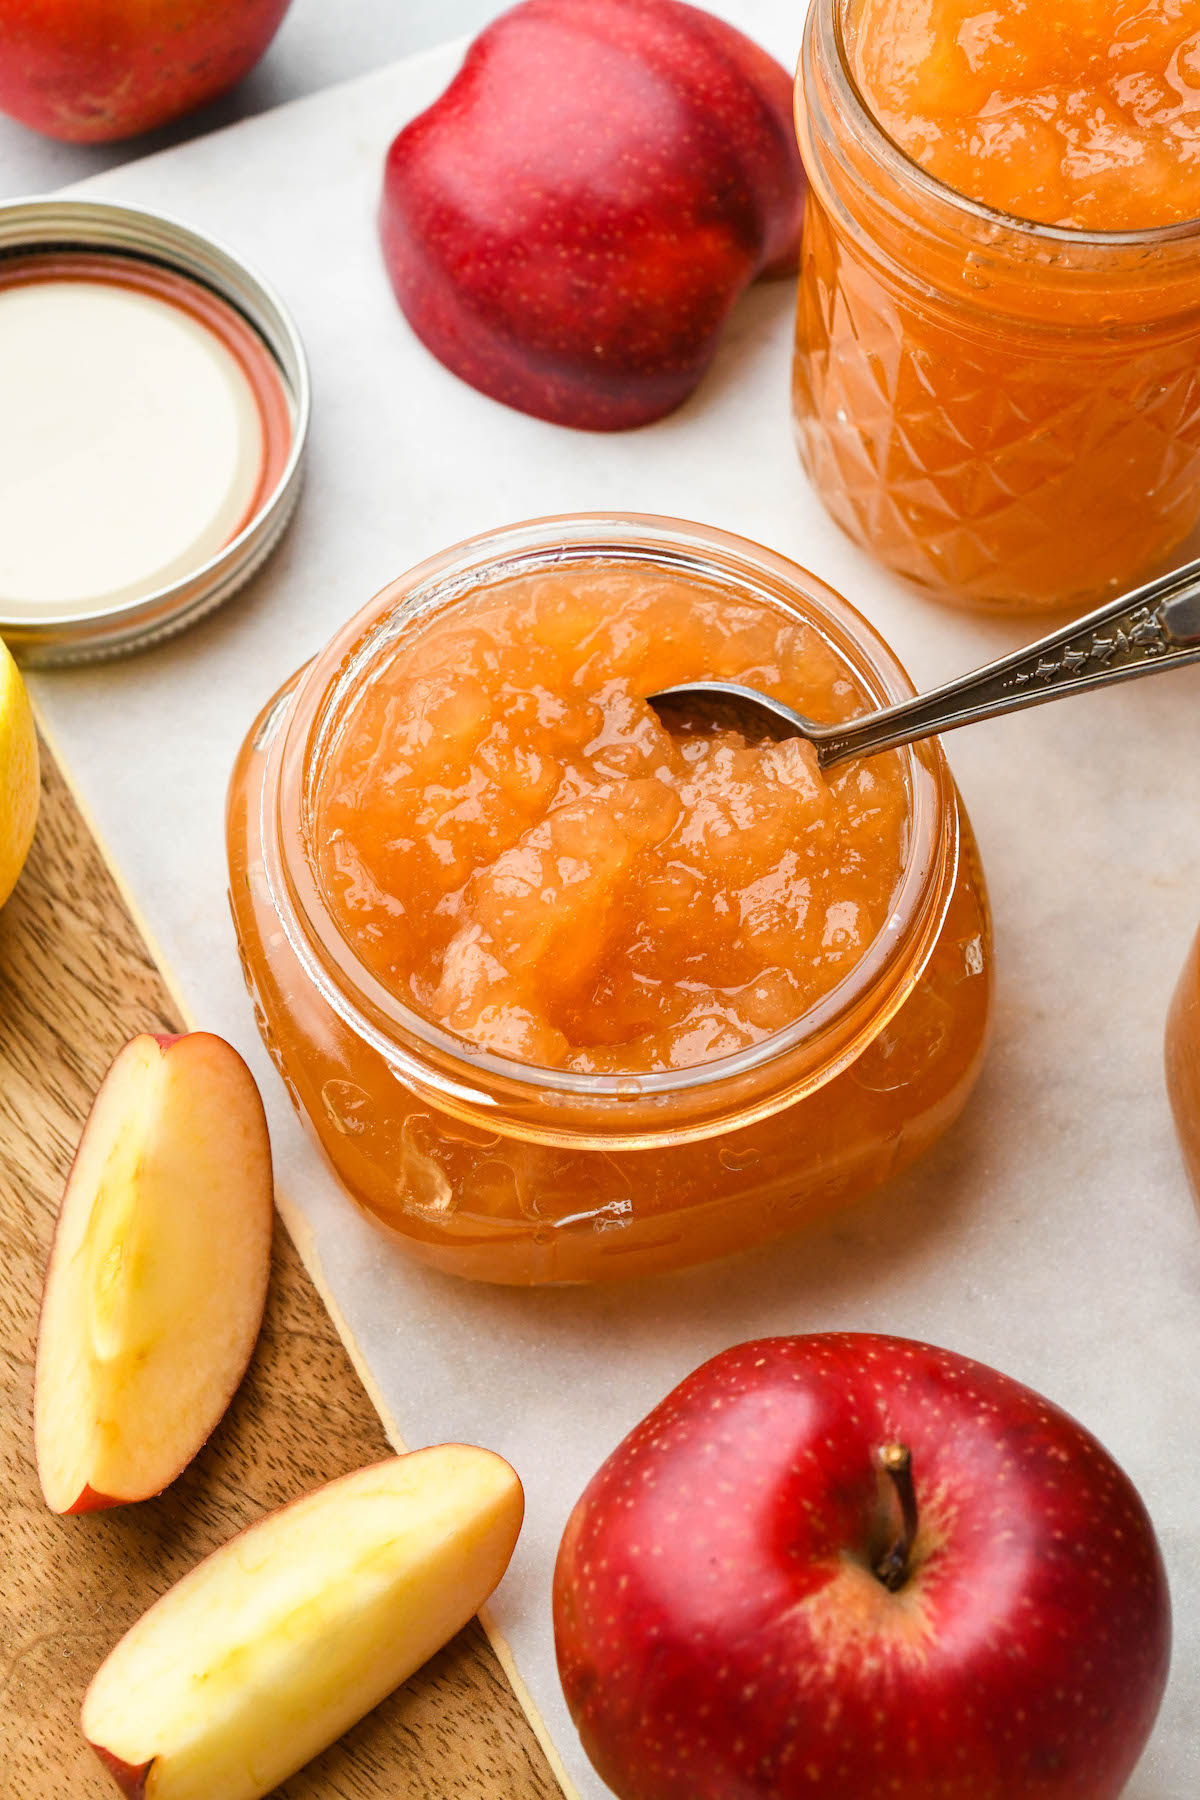
Canning Apple Jam
Fill prepared half-pint jars with hot apple jam, leaving 1/4-inch headspace. Using a Canning funnel with headspace measurements is really helpful here.
The jam will be thick, so use a spatula or chopstick to de-bubble the jars, refilling whenever necessary to meet headspace requirements.
Wipe the jars and rims with a clean kitchen towel and apply two-piece canning lids, adjusting the ring piece until fingertip tight.
Process the jars in a hot water bath canner for 10 minutes. When the timer goes off, turn off the heat and let the jars sit in the canner for 5 more minutes before removing them from the canner. This extra time allows the jam to cool down slightly, which in turn can prevent siphoning (and a subsequent giant mess).
Place the jars on a clean surface lined with a clean dish towel, making sure there’s at least one inch of space between each jar. Let the jars come to room temperature over the next 12 to 24 hours before checking the seal of each jar.
Unsealed jars should be moved to the refrigeratory, where they’ll keep for another week or two, and sealed jars can be stored in a cool, dry location for up to 18 months.
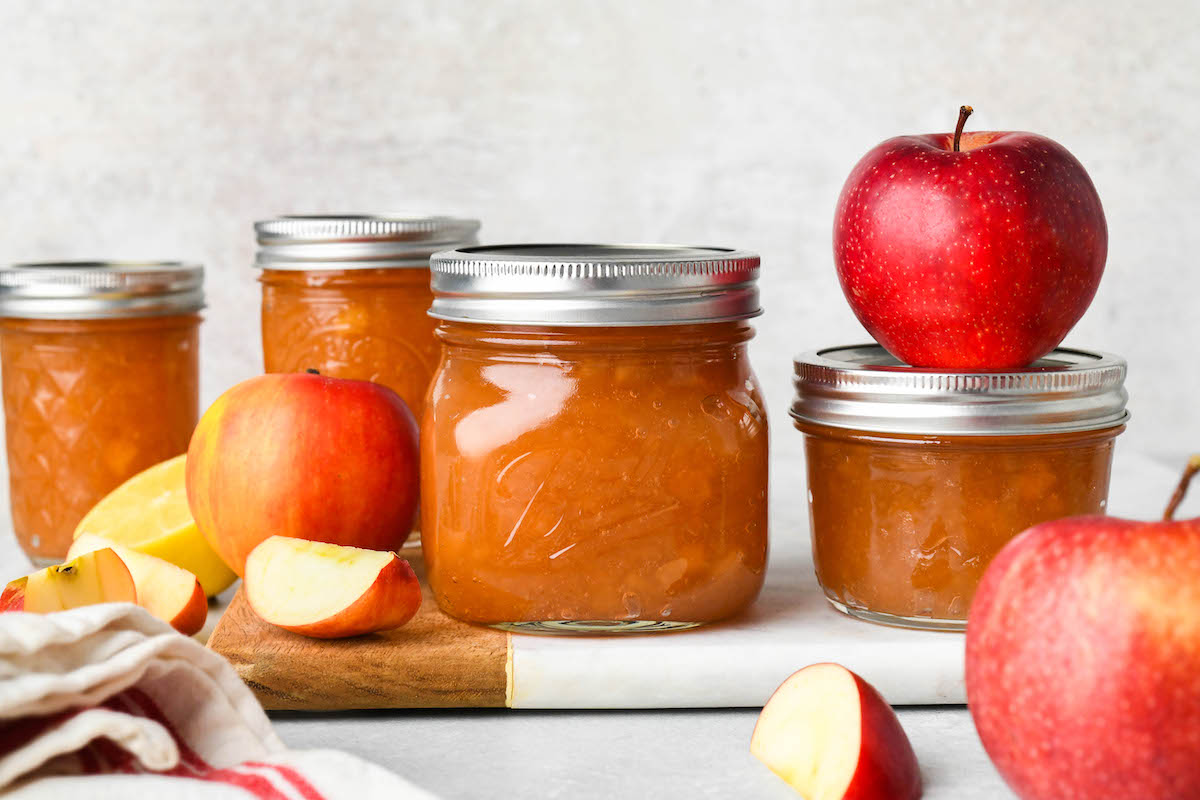
Ways to Use Apple Jam
Although apples are traditionally thought of as an ingredient in desserts, apple jam is a surprisingly versatile condiment with a wide variety of both sweet and savory uses, which means it can be:
- layered into baked goods
- spread onto sandwiches (with nut butter or cheese)
- swirled into oatmeal
- stuffed into French toast
- a topping for pancakes and waffles
- on a cheese and charcuterie board (try it with aged cheddar or gouda!)
- a topping for baked brie
- a filling for apple fritters or doughnuts
- served beside pork or wild boar
- spooned into jam tarts
- rolled into sticky buns
- or shaken into a jam cocktail!
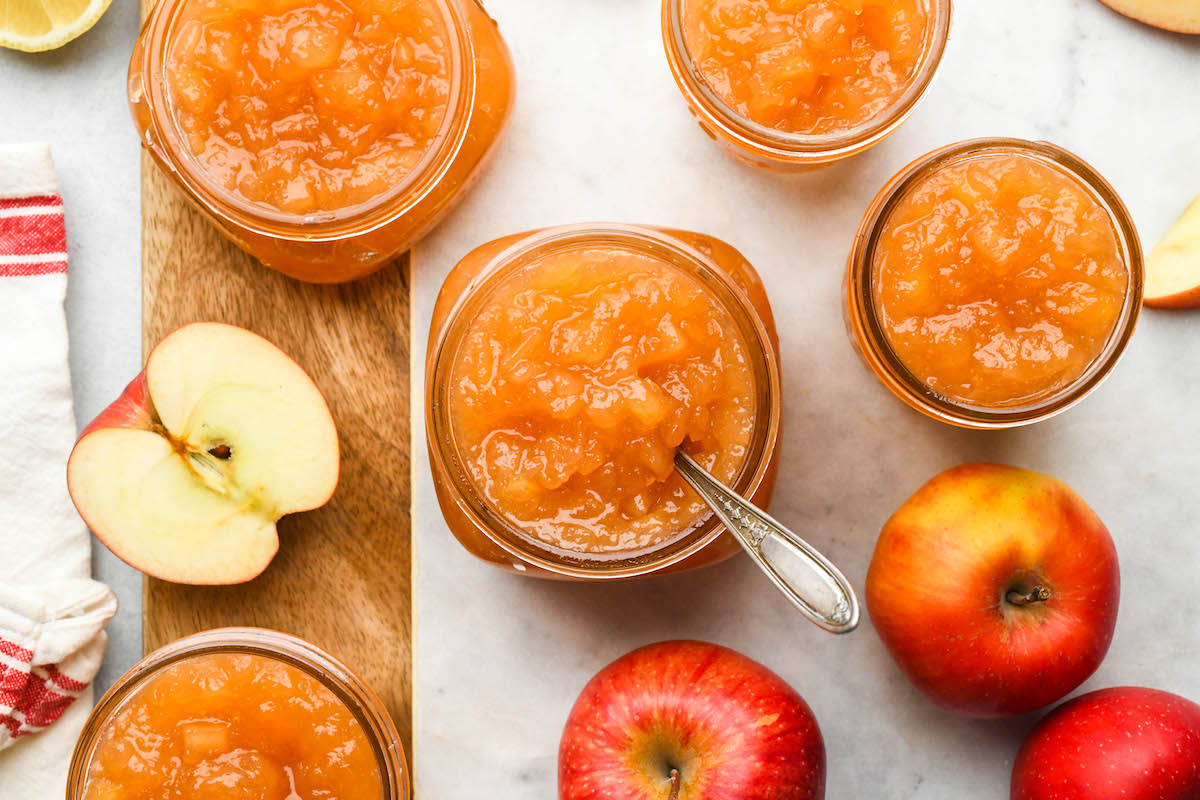
Apple Canning Recipes
Ways to Preserve Apples
Enjoy the beautiful flavor of autumn fruit all year long with these unique ideas for preserving apples:
Apple Jam
Ingredients
- 6 lbs apples, makes about 16 cups apple pieces peeled, cored & cut into 1/4 to 1/2-inch dice (4 lbs prepared, from about 6 lbs whole apples as purchased)
- 4 cup sugar
- 1/2 cup lemon juice, fresh or bottled
Instructions
- Add diced apples to a large bowl. Sprinkle with sugar and lemon juice, gently stir to combine. Cover bowl and place it in the fridge for at least 4 hours or overnight for best results.
- Drain the macerated fruit in a large fine mesh sieve over a jam pot or saucepan.
- Bring the leftover liquid from the fruit to a boil in the saucepan.
- Add the diced apples to the boiling liquid. Reduce heat to medium-high and cook for 20 to 30 minutes or until the desired texture is achieved. Stir occasionally to prevent scorching.
- Pack prepared jars with hot jam, leaving 1/4-inch headspace. Debubble the jam with a spatula or chopstick and adjust headspace as needed. Apply two-piece canning lids until fingertip tight.
- Load jars into a hot bath canner and process for 10 minutes. When the timer goes off, turn off the heat and let the jars sit in the hot water for another 5 minutes.
- Remove jars from water canner and transfer to a clean surface lined with a kitchen towel, leaving 1 inch of space between each jar. Let the jars come to room temperature.
- Test the seal on each jar, storing any improperly sealed jars in the fridge for 1 to 2 weeks. Sealed jars of apple jam can be stored in a cool, dry location away from direct light for up to 18 months.
Nutrition
Nutrition information is automatically calculated, so should only be used as an approximation.
Apple Canning Recipes
Looking for more apple canning recipes?
Old Fashioned Jam Recipes
Like to make jam the old-fashioned way, without added boxed pectin?
Oh my God! So amazing this jam, how come i have never had apple jam in my life. Thank you for the recipe, you are quickly becoming my go to site when i need a jam, pickle recipe.
I’m so happy you enjoyed it!
This came out really well. I was not quite 1 cup short of the sugar but it still turned out well. I added 3 little dashes of brown sugar, but otherwise stuck to the recipe. It made roughly 3.5 pints, or about (7) 8oz jars worth of jam. I’m glad I read the reviews where someone mentioned bringing out a potato masher because I wound up having to do the same, haha.
I’m so pleased with how this turned out. I used Gala apples and I thought they would break down more than they did. I had to get out the potato masher.
I got 7 pint jars from this recipe. They are all a beautiful golden, so satisfying to get this result.
Thank you so much for your fullproof recipes.
Next 🙂
It’s been an amazing apple year where I live.
I may make two more batches of this, one honeycrisp and the other macintosh.
Lovely!
Thank you so much for this recipe! I can’t wait to try it. When I was reading your description, though, you said that I should end up with 1 pound of prepared apples, while the recipe card says 4 pounds. Would you please clarify? Thank you!
Sorry, that was a type-o. I’ve fixed it. Here’s what it should say:
This recipe starts with 6 pounds apples as purchased, which make about 4 pounds prepared diced apples (or roughly 16 cups). You need 1 cup sugar for every pound of prepared apples (or 1 cup sugar to 4 cups apples). One cup sugar is about 1/2 pound, so if you’re working all in weights, it’s 2 pounds sugar and 4 pounds prepared apples. This yields 4 to 5 half pint jars.
It seems like a lot of sugar. If the sugar is reduced to say 1/2 or 3/4 the amount will this extend the cooking time? Thank you.
It does extend the cook time, yes. The sugar is what firms up the fruit, and without it, you’ll end up with applesauce. You can definitely use 3/4 the amount without issue. Half sugar may also work with very firm apples that hold their shape when cooked.
Definitely another keeper – so glad I found you!! I used Ginger Gold apples and a couple of your suggested add-ins – cinnamon stick during cooking and a splash (or maybe two or three!) Of dark rum. Out of this world, thanks so much.
Lovely!
I made this but it turned out like more like jelled chunky applesauce than apple jam. It was also much more yellow than orange like your photos. I cooked it closer to 20 minutes than 30…do you think that was the issue? The article talks about waiting until you reach a gel stage but the printed instructions just say to cook until you achieve the texture you desire. I already water bath canned them. Can/should I open them up and try to cook them down more to reach more of a jam consistency or is it too late?
This looks wonderful, but please clarify before I make it: The post says to sprinkle ONE cup of sugar over the chopped apples before refrigerating while the recipe below calls for FOUR cups of sugar.
Thank you so much for catching that! It’s one cup of sugar to 1 pound of apples, so it should be 4 cups of sugar there. It’s also 2 tablespoons lemon juice to each pound of apples, so it’s 1/2 cup lemon juice total for 4 lbs apples.