This post may contain affiliate links. Please see our disclosure policy.
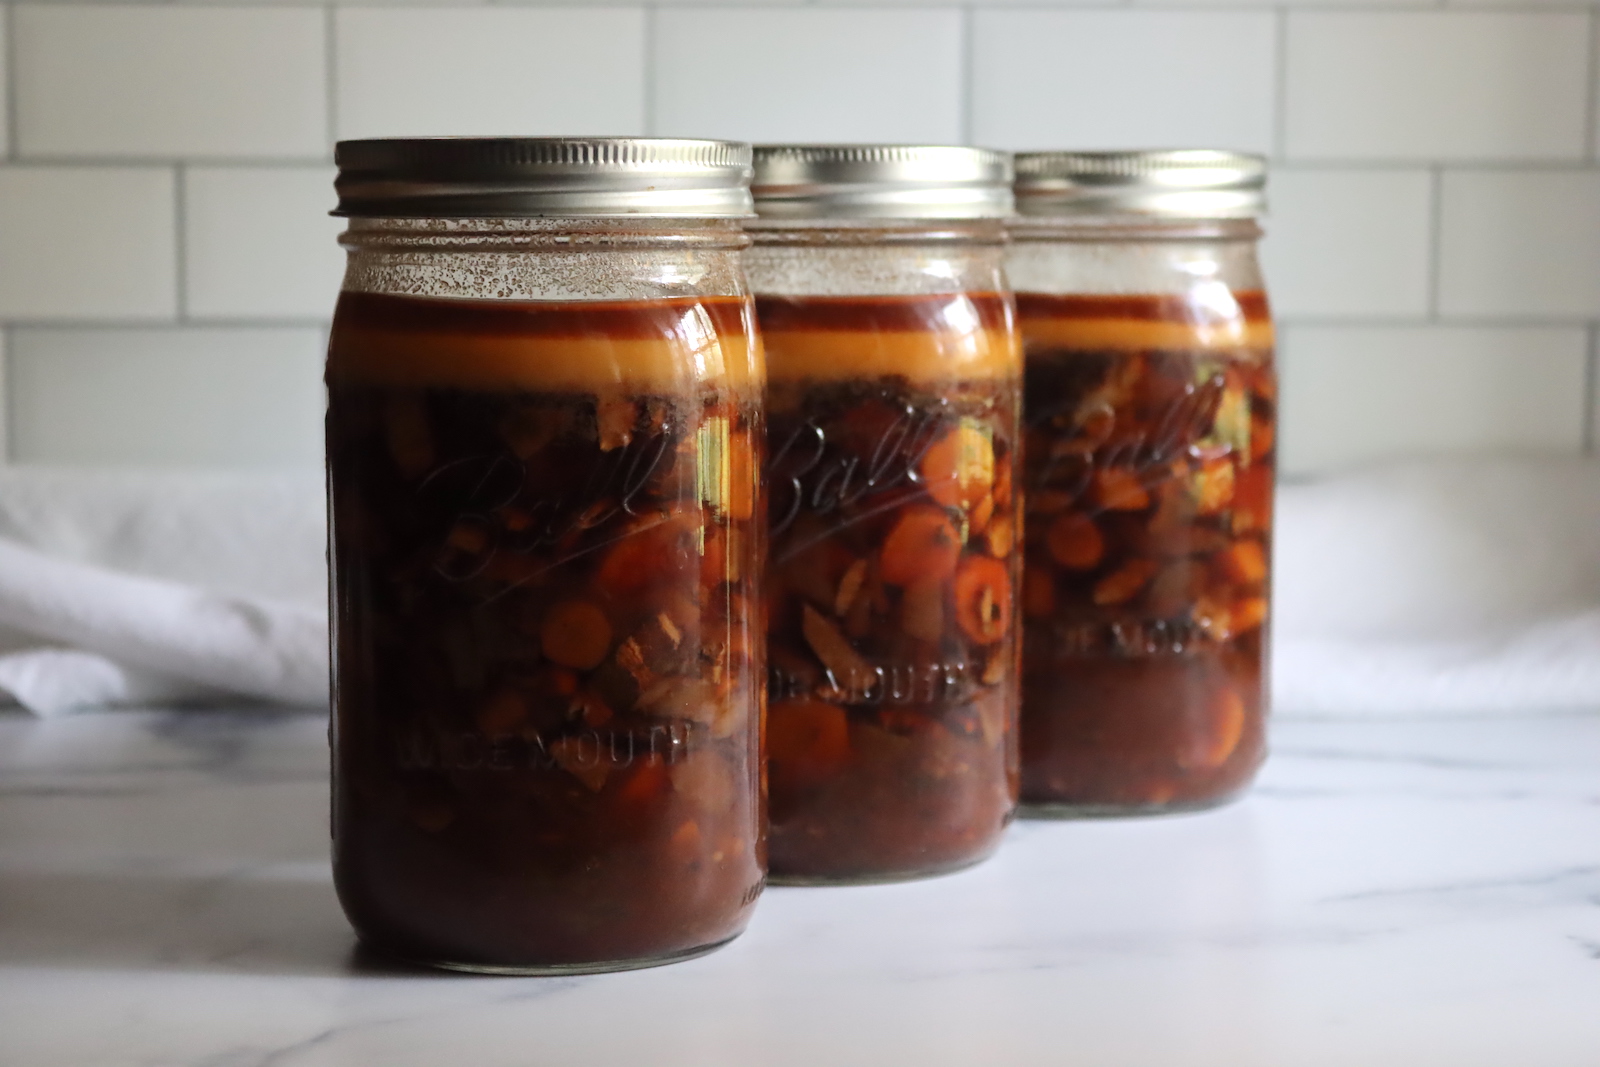
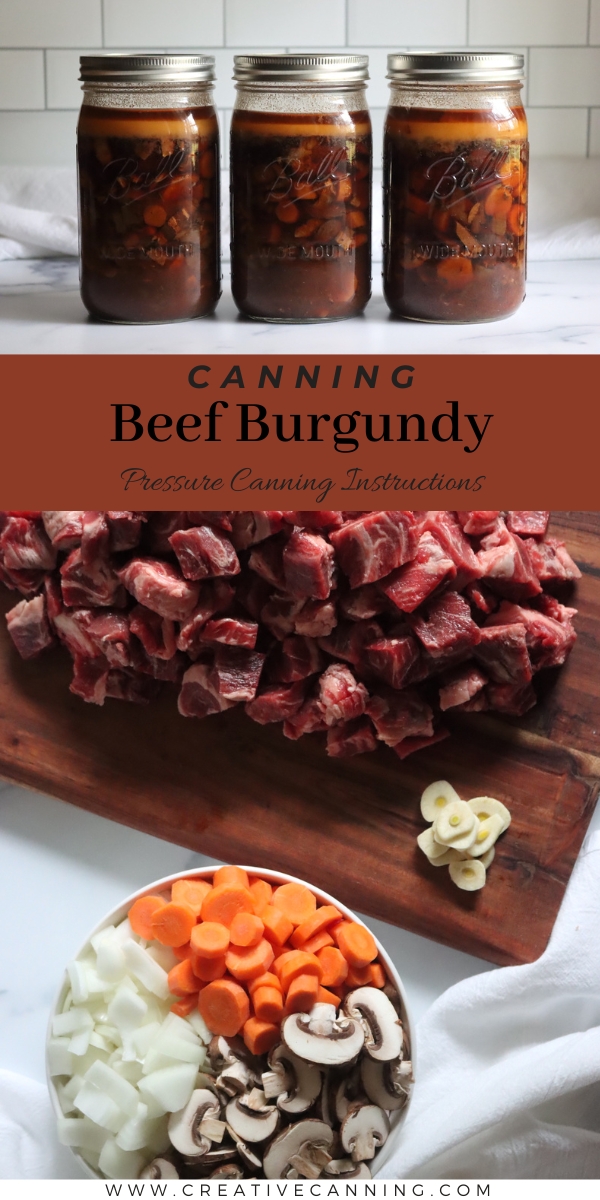
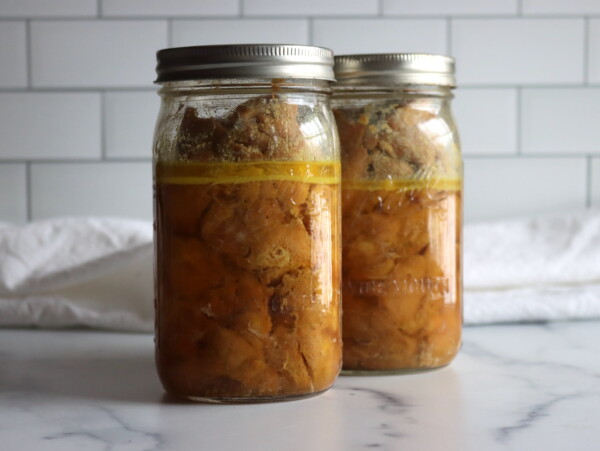
Canning Beef Burgundy takes a French comfort food classic and puts it right on your homemade pantry shelf for a heat-and-eat meal anytime. Savory, tender beef is cooked in a rich wine sauce with onions, mushrooms, and carrots.
Since the pressure canner’s doing most of the work, this meal comes together quickly, and it’ll be in the canner before you know it.
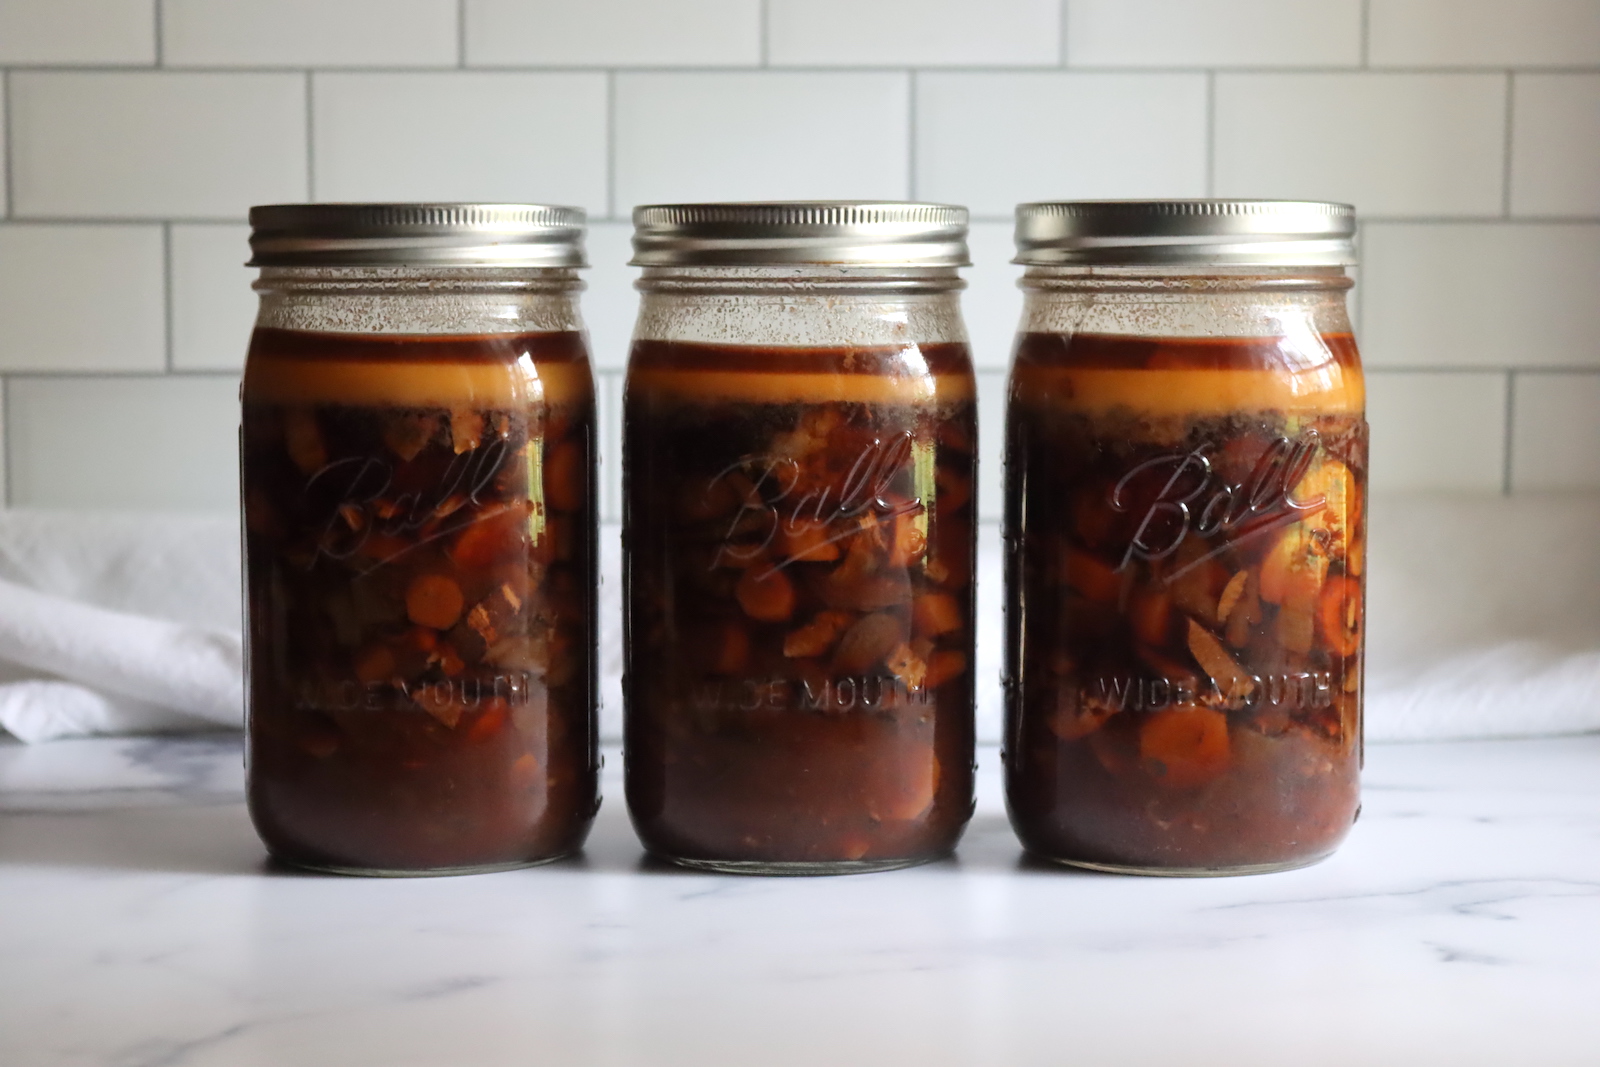
Beef Burgundy, a classic French dish consisting of tender pieces of beef slow-simmered in a hearty red wine sauce, is the epitome of comfort food. With its rich flavors and melt-in-your-mouth texture, this meal is perfect for any occasion.
However, as our lives become more hectic, it can be difficult to find time to prepare and enjoy such a sumptuous meal. Enter – the many benefits of pressure canning!
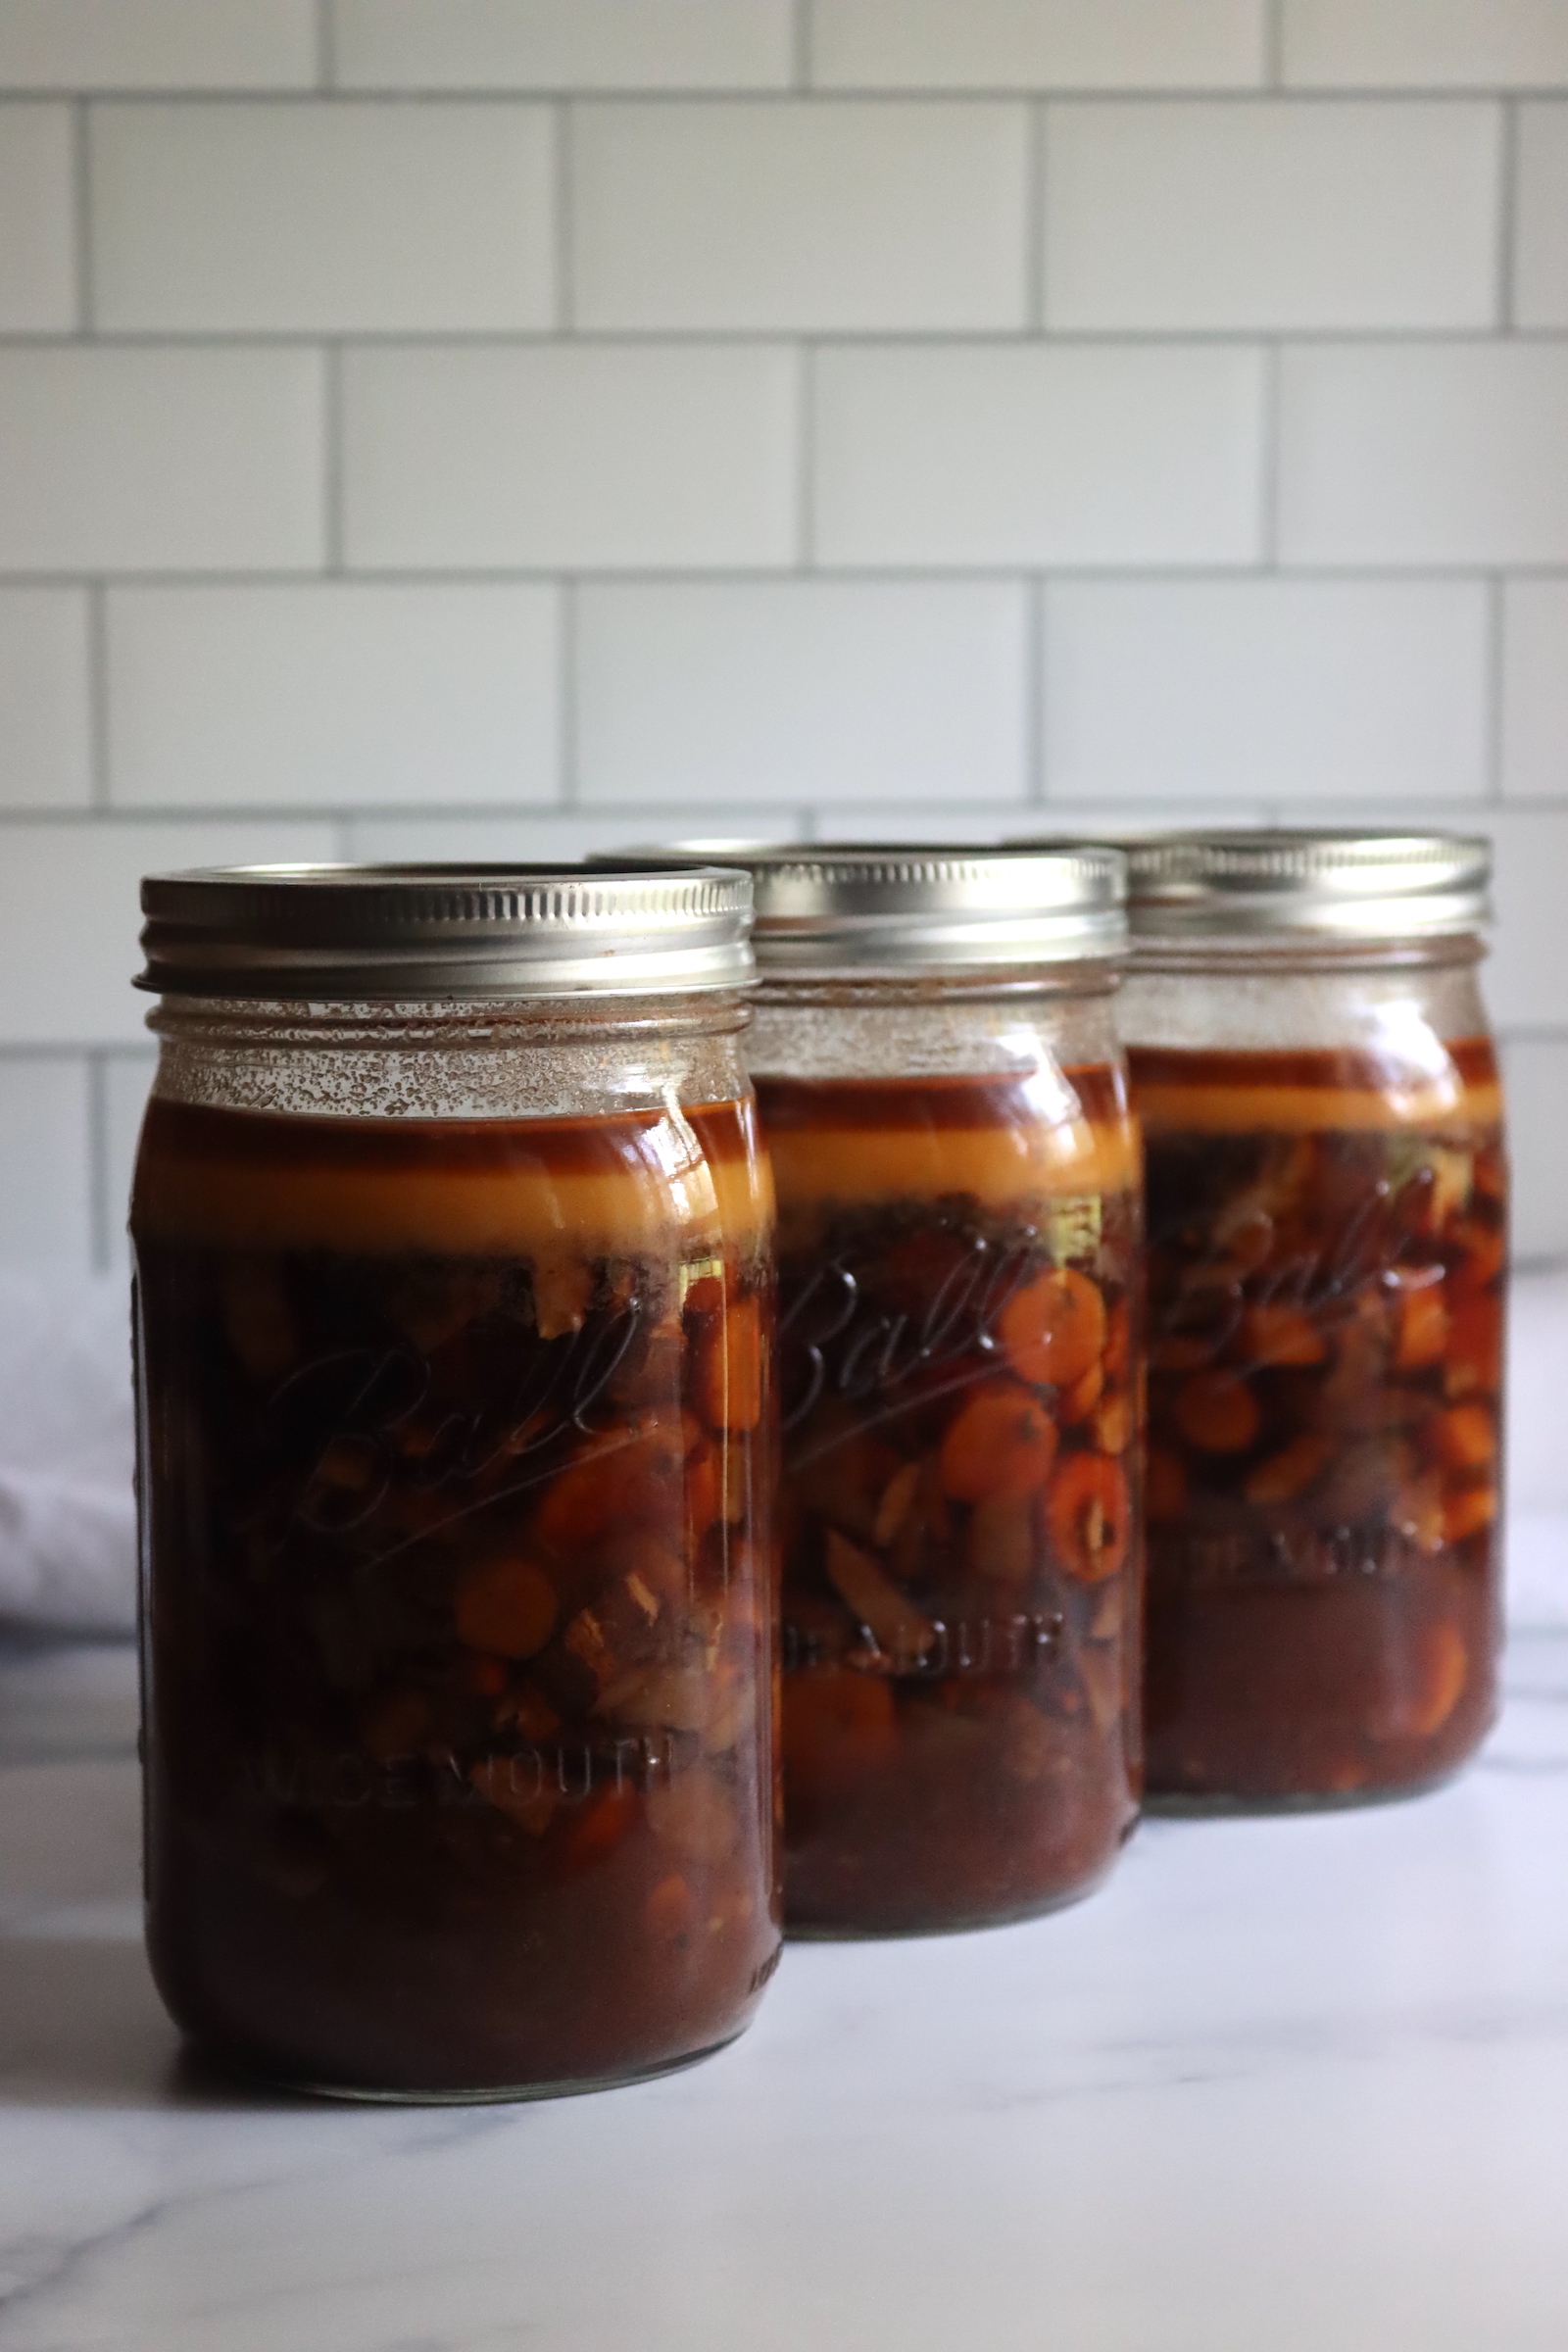
By canning your very own Beef Burgundy, you can conveniently prepare this scrumptious dish ahead of time and have it ready to heat and eat whenever you desire.
Pressure canning will result in deliciously tender beef, and the flavors really come together in a jar. Cook it once, and you can enjoy it seven times over in quart jars!
Ingredients for Beef Burgundy
This pressure canning recipe is adapted from Pressure Canning for Beginners and Beyond by Angi Schneider. I’ve added spices to make the recipe a bit more like Julia Child’s traditional recipe.
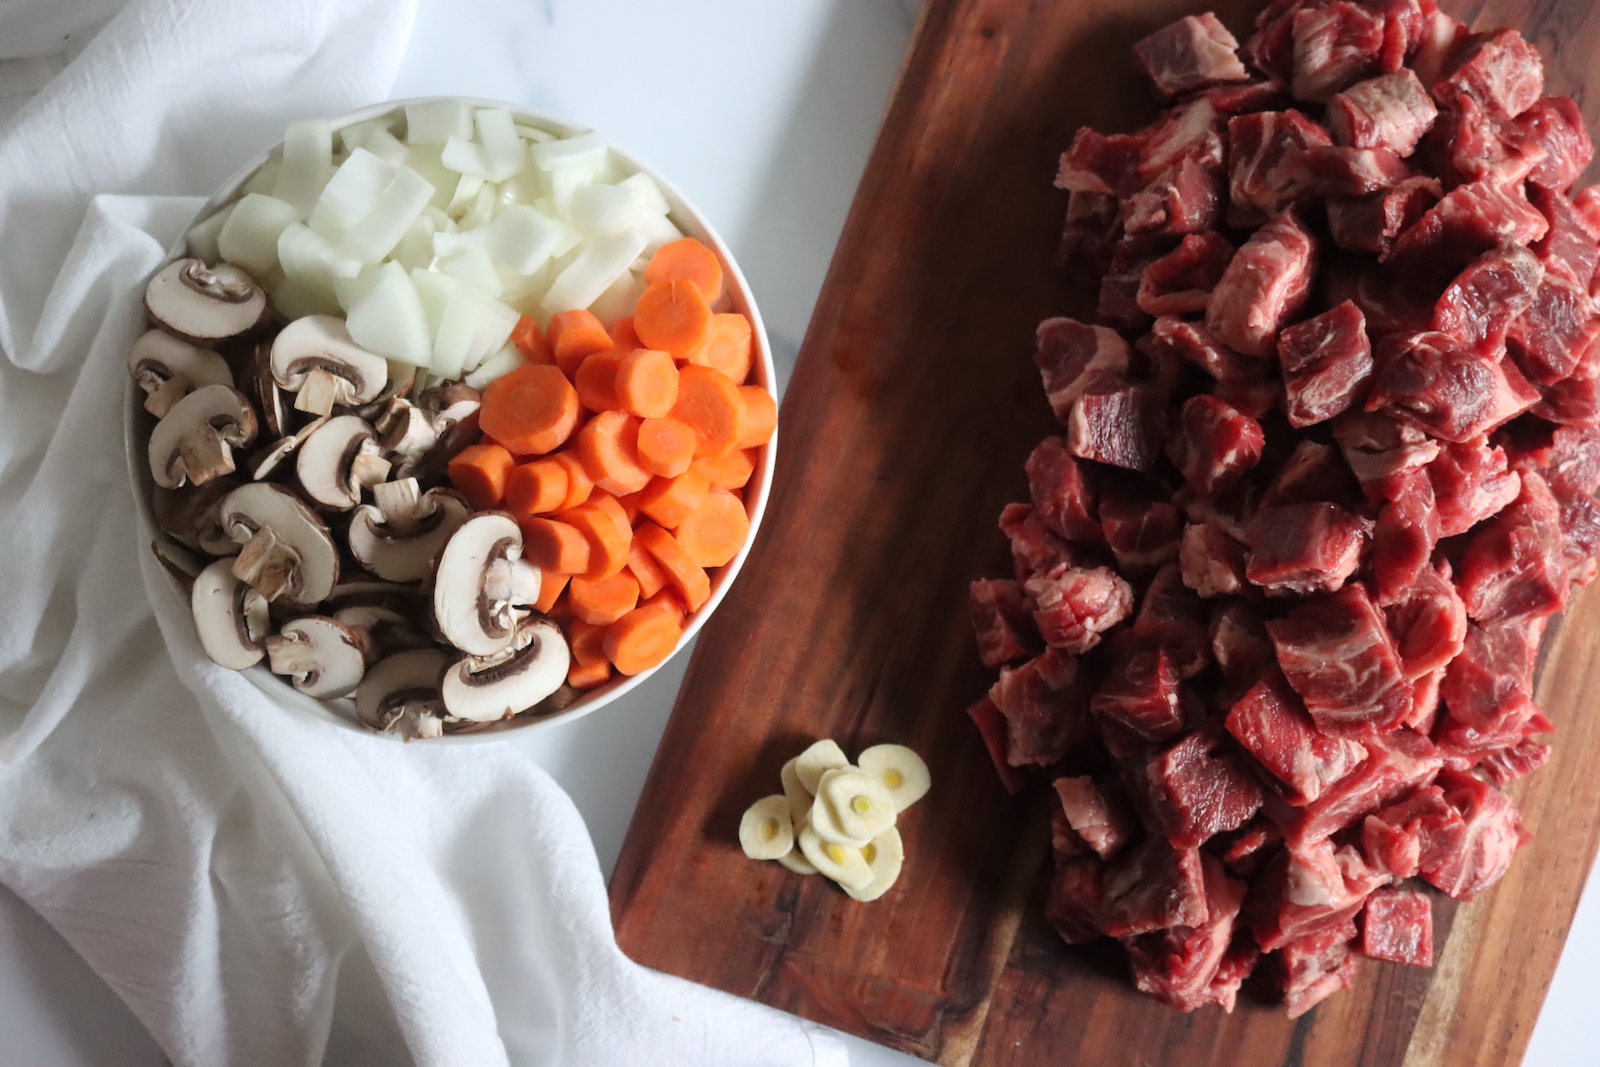
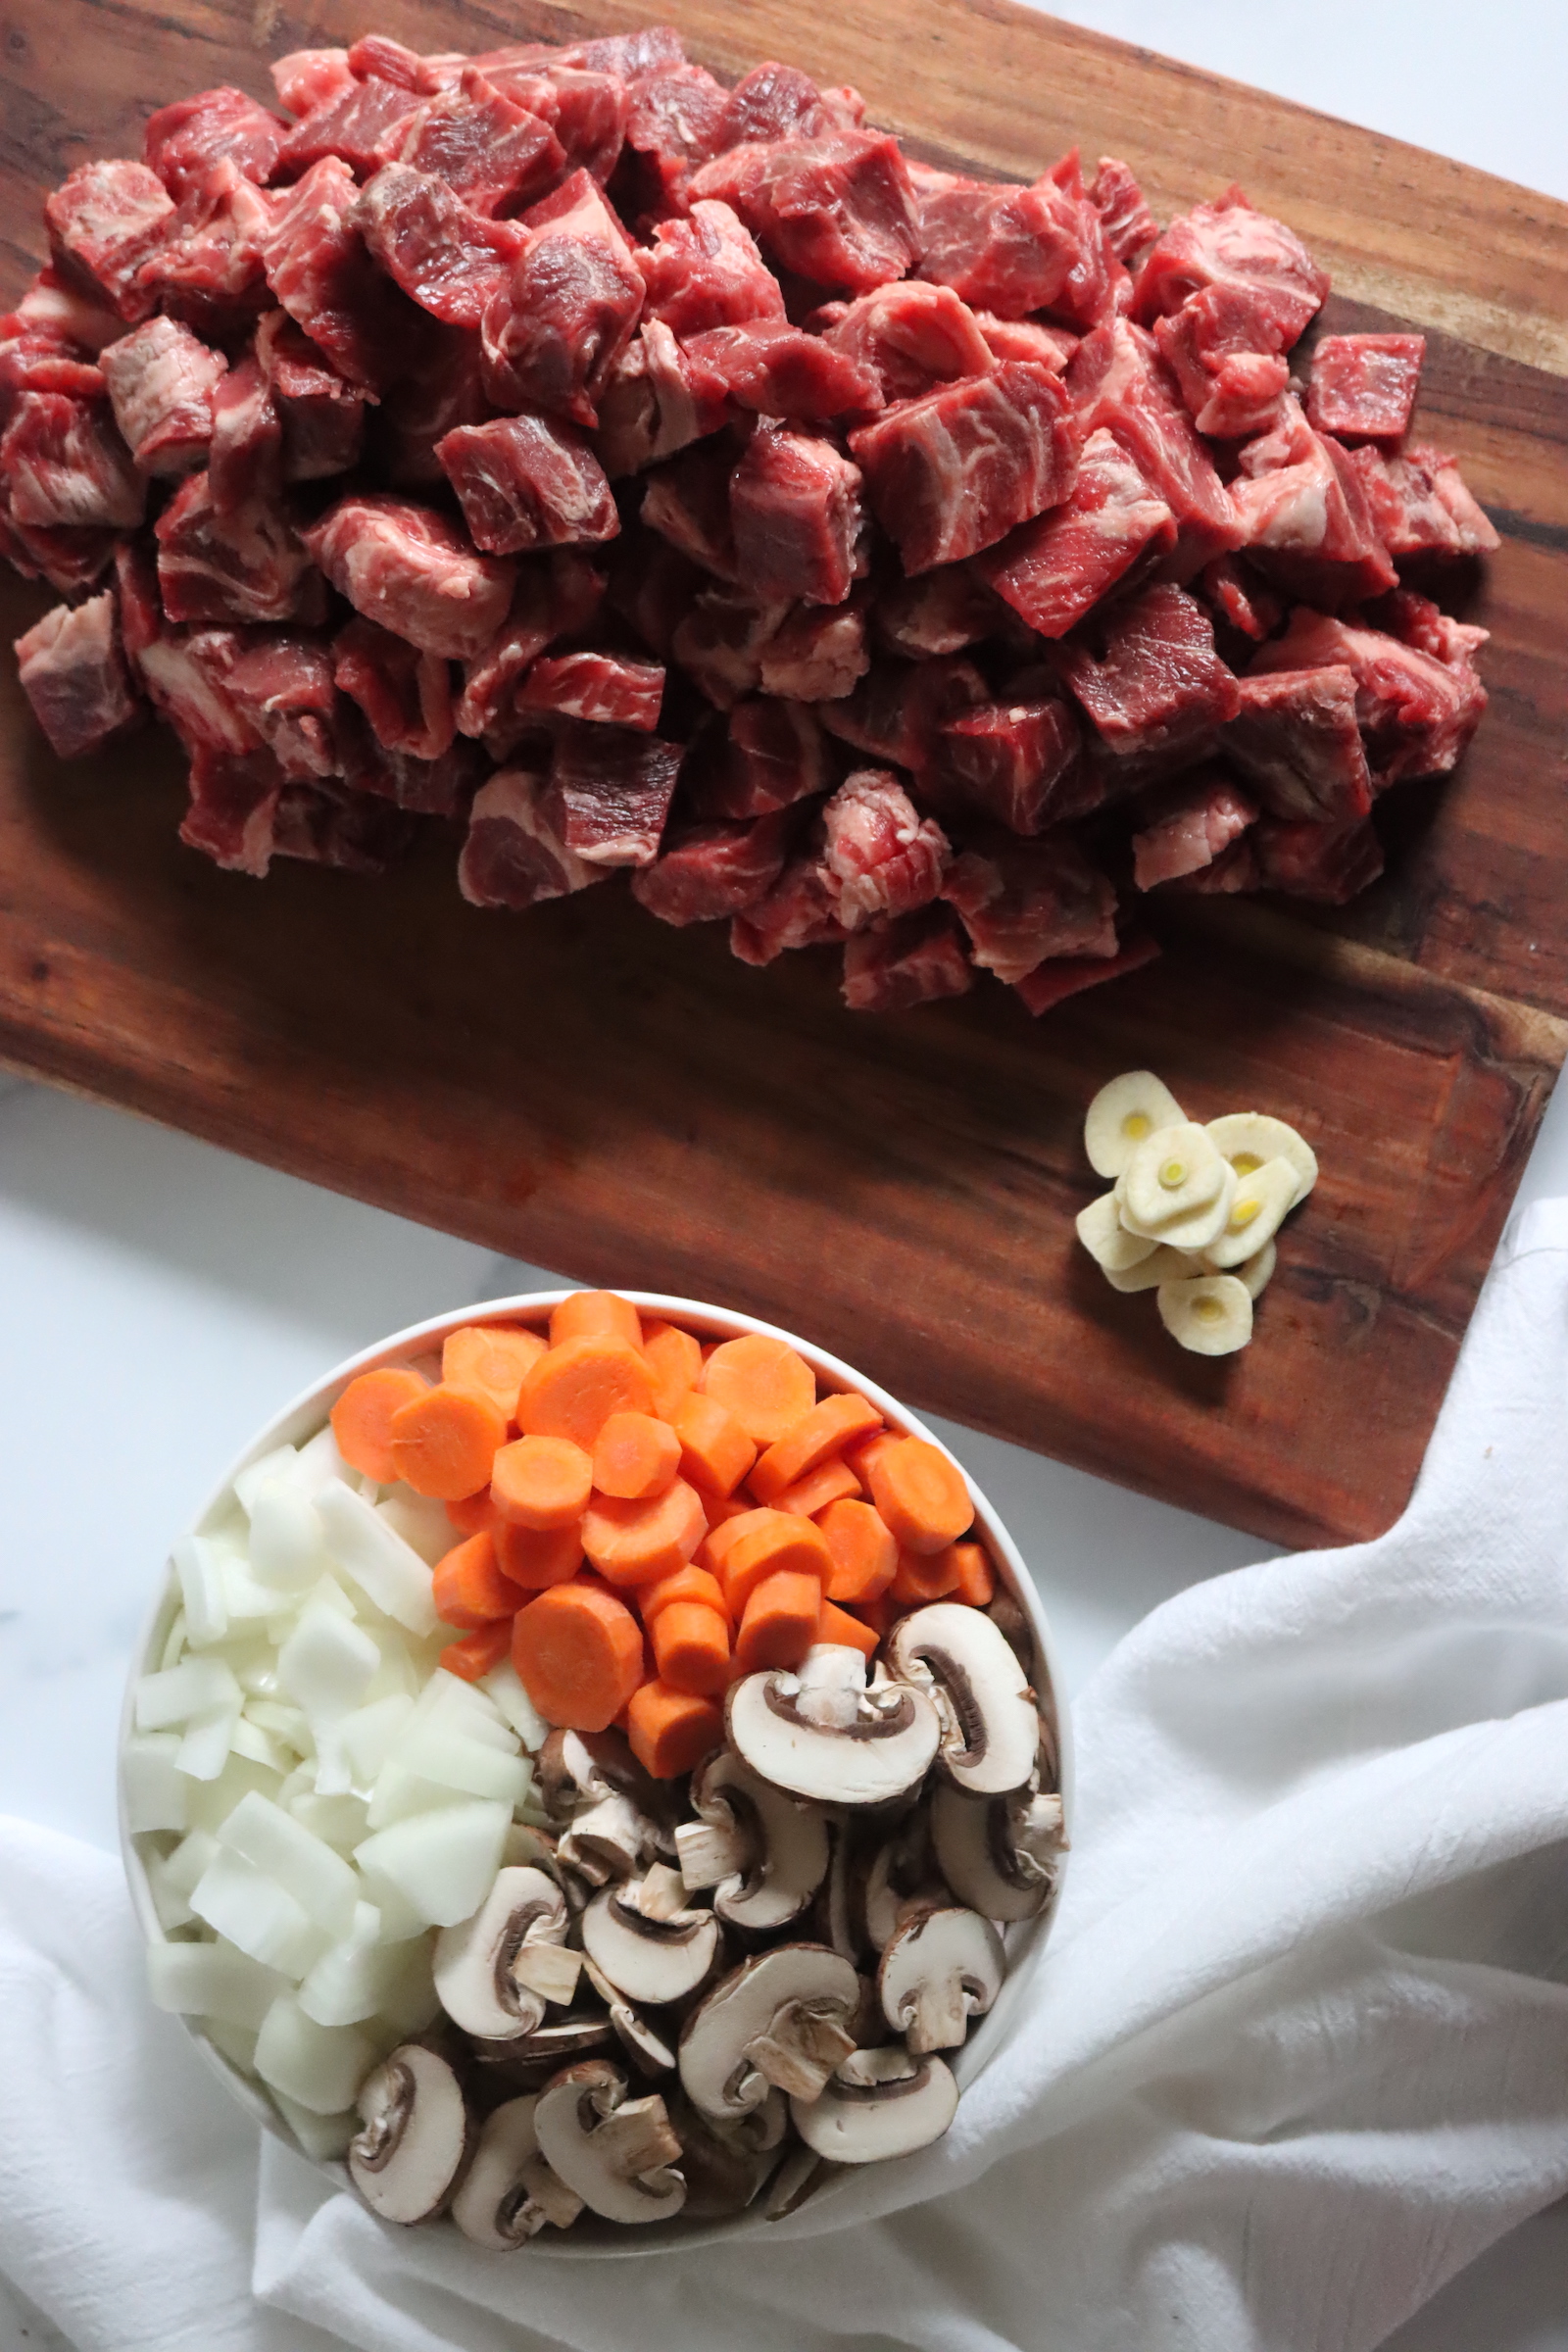
The ingredients for canning beef burgundy are quite simple. To make a canner batch of 7 quart jars, you’ll need the following:
- ¼ lb (113 g) chopped bacon
- 4 lbs (1.8 kg) cubed round or chuck roast (cubed into 1″ or 2.5 cm pieces)
- 6 cups (768 g) peeled and sliced carrots
- 4 cups (640 g) chopped onions
- 2 lbs (907 grams) sliced mushrooms
- 14 cloves minced garlic
- 2 Tbsp Parsley
- 1 Tbsp thyme
- 1 quart (960 ml) beef broth (or water)
- 2 cups (480 ml) dry red wine
- 6 oz can tomato paste (optional)
- 1/4 cup Worcestershire sauce
- 1 Tbsp salt (or more to taste)
For four cups of chopped onions, you’ll need about 1 ½ pounds (or 680 grams) of unprepared onions. Similarly, for the six cups of carrots, you’ll need about 2 ¼ lbs (1 kg) of unprepared carrots.
The recipe states 2 lbs sliced mushrooms, which is about 7 cups.
Any type of carrots and onions can be used, and you can substitute parsips for the carrots if you’d like. You can also use leeks or shallots in place of the onions. That said, onions and carrots are traditional.
For the mushrooms, Crimini or white button mushrooms work best, but you can use any type of cultivated mushroom. Wild mushrooms (like morels) aren’t tested for canning, so stick with cultivated varieties.
You may use any kind of red wine you’d like for this recipe, as long as it’s a dry red. Burgundy, as the name suggests, is the traditional choice.
When you serve this recipe, you can choose to add 1 tsp cornstarch to thicken (optional), but don’t thicken the soup before canning.
Is Bacon Safe in this Recipe?
At this point in time, the USDA and National Center for Food Preservation in the US have only tested a limited number of recipes that include bacon and they haven’t developed instructions for canning bacon (or other cured meats) due to lack of funding.
Out of an abundance of caution, they recommend not canning bacon in recipes besides the few specifically tested recipes (Boston Baked Beans, for example, is one of the tested recipes).
That said, the US is not the whole world, and small amounts of bacon are commonly added to soups and meal-in-a-jar recipes in other countries for flavoring (though cured meats such as ham and bacon are not canned alone outside of commercial facilities).
This particular recipe uses 1/4 pound of bacon chopped finely, across 7 quart jars. That’s less than a tablespoon per jar, and considerably less than is used in the much denser recipe for canning baked beans. Personally, I feel comfortable canning this recipe as is for my family, as does Angi, the author of the canning book this recipe comes from.
That said, when canning at home, you’re responsible for using your own best judgment, and you’ll have to do that here.
The main purpose of the bacon is to render out flavorful fat to fry the remaining veggies, and you could choose to just fry the bacon in a pan, remove it with a slotted spoon, and use the flavorful fat to fry the remaining ingredients. The main objection to bacon in canning is a density issue, in that cured meats may (or may not) have different thermal properties than fresh meats. The fat is not the issue, it is the tiny bacon bits themselves.
The other option is to simply use lard or olive oil to fry the veggies and then add a tiny dash of salt, a pinch of sugar, and maybe a splash of liquid smoke (or smoked paprika). That’d give you a similar flavor, and you could skip the bacon.
The choice is yours, use bacon or not, either way, it’s delicious!
Canning Beef Burgundy
Begin by preparing the canning jars, lids, and pressure canner. For this recipe, you will need seven 1 quart (1 liter) jars. Fill the canner with several inches (about 8 cm) of water, depending on your manufacturer’s recommendations, and place the canner on the stove.
Place it on low heat with the jars inside to stay warm. Because this is a hot pack recipe, the jars need to be warm, and the water needs to be hot (180 degrees F or 82 degrees C) when you begin.
Fry the bacon in a large stockpot, cooking it over medium-high heat or for about 10 minutes (it will be crispy). Remove the bacon with a spatula or slotted spoon, but keep the bacon grease in the pan.
Use the bacon grease to sear the cubes of beef. Stir often to make sure the edges are adequately browned, but don’t stick to the bottom of the pan. You might need to work in batches – if that’s the case, keep the finished and seared meat warm by putting it in a container with a lid off to the side of the stove.
Once everything’s browned, add all the meat back into the pan.
Next, add the carrots, onions, mushrooms, and garlic. Add the bacon next, along with the broth, seasonings, Worcestershire, and tomato paste, as well as the wine. Bring everything to a boil, then turn the heat to a low simmer for five minutes.
Remove the stockpot from the heat, then ladle the mixture among the jars, dividing evenly. Put the solids in the jars first, and then add liquids. Leave an inch (2.5 cm) of headspace.
Using a bubble removal tool, remove the bubbles. Double-check the headspace if you’re short on liquid, you can top the jars off with boiling water.
Wipe the rims clean with a damp cloth, then put the bands and lids on the jars. Tighten each one until it is fingertip-tight. Load them into the pressure canner.
Process the jars, based on the pressure canner manufacturer’s instructors, at 10 lbs of pressure for 90 minutes. Adjust for altitude if necessary, see below.
Once the processing time has finished, you can let the canner depressurize naturally. Then, remove the jars and allow them to cool on the counter for 12 hours.
Check the seals, label the jars, and store them for up to one year.
Altitude Adjustments for Canning Beef Burgundy
With pressure canning, the processing times stay the same at higher altitudes, but the pressures change. Here are the altitude adjustments for pressure canning:
For dial gauge pressure canners:
- 0 to 2,000 feet in elevation – 11 lbs pressure
- 2,001 to 4,000 feet in elevation – 12 lbs pressure
- 4,001 to 6,000 feet in elevation – 13 lbs pressure
- 6,001 to 8,000 feet in elevation – 14 lbs pressure
For weighted gauge pressure canners:
- 0 to 1,000 feet in elevation – 10 lbs pressure
- Above 1,000 feet – 15 lbs pressure
Serving Beef Burgundy
When you’re ready to serve your beef burgundy, pour the liquid from the jar into a medium stockpot. Heat over medium heat for 10 minutes, or until hot and bubbling. Thicken with a cornstarch slurry, if desired.
Then, pour the meat and vegetables into the stockpot with the sauce. Simmer for five to seven minutes, or until everything is heated. Stir often.
Pair with a side of mashed potatoes, egg noodles, or crusty bread for a delicious and satisfying meal. Note that this dish is intended to be heat-and-eat, so no additional ingredients are needed at serving time.
Canning Beef Burgundy (Julia Child's Recipe)
Equipment
Ingredients
- ¼ lb bacon, chopped, *See notes
- 4 lbs chuck roast, cubed into 1" or 2.5 cm pieces
- 6 cups carrots, peeled and sliced
- 4 cups onions, chopped
- 2 lbs mushrooms, sliced
- 14 cloves garlic, minced
- 2 Tbsp parsley
- 1 Tbsp thyme
- 1 Quart beef broth, or water
- 2 cups dry red wine
- 6 oz tomato paste, 1 small can, optional
- 1/4 cup Worcestershire sauce
- 1 Tbsp salt, or more to taste
Instructions
- Begin by preparing the canning jars, lids, and pressure canner. Fill the canner with several inches (8 cm) of water, depending on your manufacturer's recommendations, and place the canner on the stove. Place it on low heat with the jars inside to stay warm.
- Fry the bacon in a large stockpot, cooking pot over medium-high heat or for about 10 minutes (it will be crispy). remove the bacon with a spatula or slotted spoon. Keep the bacon grease in the pan.
- Use the bacon grease to sear the cubes of beef. Stir often to make sure the edges are adequately browned but don't stick to the bottom of the pan.
- If you were working in batches, add all the beef back into the pan once it's all browned.
- Add the carrots, onions, mushrooms, and garlic.
- Add the bacon next, along with the remaining ingredients, including spices, broth, wine and tomato paste (if using).
- Bring everything to a boil, then turn the heat to a low simmer for five minutes.
- Remove the stockpot from the heat, then ladle the mixture among the jars, dividing evenly. Put the solids in the jars first, then add the liquids. Leave an inch (2.5 cm) of headspace.
- Using a bubble removal tool, remove the bubbles. Double-check the headspace if you're short on liquid, you can top the jars off with boiling water.
- Wipe the rims clean with a damp cloth, then put the bands and lids on the jars. Tighten each one until it is fingertip-tight. Load them into the pressure canner.
- Process the jars, based on the pressure canner manufacturer's instructors, at 10 lbs of pressure for 90 minutes. Adjust for altitude if necessary.
- Once the processing time has finished, you can let the canner depressurize naturally. Then, remove the jars and allow them to cool on the counter for 12 hours. Check the seals, label the jars, and store for up to one year.
Notes
Altitude Adjustments for Canning Beef Burgundy
With pressure canning, the processing times stay the same at higher altitudes, but the pressures change. Here are the altitude adjustments for pressure canning:For dial gauge pressure canners:
- 0 to 2,000 feet in elevation – 11 lbs pressure
- 2,001 to 4,000 feet in elevation – 12 lbs pressure
- 4,001 to 6,000 feet in elevation – 13 lbs pressure
- 6,001 to 8,000 feet in elevation – 14 lbs pressure
For weighted gauge pressure canners:
- 0 to 1,000 feet in elevation – 10 lbs pressure
- Above 1,000 feet – 15 lbs pressure
Is Canning Bacon Safe in this Recipe?
At this point in time, the USDA and National Center for Food Preservation in the US have only tested a limited number of recipes that include bacon and they haven't developed instructions for canning bacon (or other cured meats) due to lack of funding. Out of an abundance of caution, they recommend not canning bacon in recipes besides the few specifically tested recipes (Boston Baked Beans, for example, is one of the tested recipes). That said, the US is not the whole world, and small amounts of bacon are commonly added to soups and meal-in-a-jar recipes in other countries for flavoring (though cured meats such as ham and bacon are not canned alone outside of commercial facilities). This particular recipe uses 1/4 pound of bacon chopped finely, distributed across 7 quart jars. That's less than a tablespoon per jar, and considerably less than is used in the much denser recipe for canning baked beans. Personally, I feel comfortable canning this recipe as is for my family, as does Angi, the author of the canning book this recipe comes from. That said, when canning at home, you're responsible for using your own best judgment, and you'll have to do that here. The main purpose of the bacon is to render out flavorful fat to fry the remaining veggies, and you could choose to just fry the bacon in a pan, remove it with a slotted spoon, and use the flavorful fat to fry the remaining ingredients. The main objection to bacon in canning is a density issue, in that cured meats may (or may not) have different thermal properties than fresh meats. The fat is not the issue, it is the tiny bacon bits themselves. The other option is to simply use lard or olive oil to fry the veggies and then add a tiny dash of salt, a pinch of sugar, and maybe a splash of liquid smoke (or smoked paprika). That'd give you a similar flavor, and you could skip the bacon. The choice is yours, use bacon or not, either way, it's delicious!Nutrition
Nutrition information is automatically calculated, so should only be used as an approximation.
Beef Canning Recipes
There’s more than one way to put beef in a jar! These beef canning recipes will keep things interesting:
- Canning Beef Stew
- Canning Ground Beef
- Canning Sloppy Joe Filling
- Canning Chili con Carne
- Canning Beef Pot Pie Filling
Meal in a Jar Canning Recipes
Need a few more meal-in-a-jar canning recipes?
Meat Canning Recipes
Working with other types of meat? Check out these other meat canning recipes!
- 20+ Chicken Canning Recipes
- Canning Leftover Turkey
- Canning Chicken Chili Verde
- Canning White Bean Chicken Chili
- Canning Chicken Soup
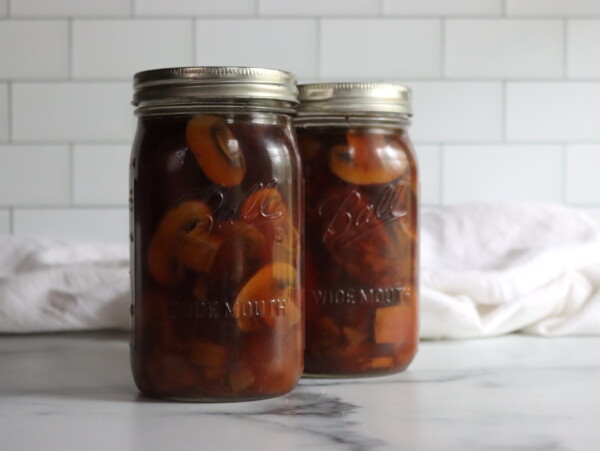
Doubled the recipe, got 10 quarts out of it. Currently in the canner, smelled amazing before I put it in the jars. Cannot wait to bust one of these open and give it a try. Used the bacon fat, but skipped the actual bacon itself.
Wonderful!
This recipe will make 7 quarts. I just purchased an electric pressure canner and it will only hold 5, quart jars. How do I make 7 quarts when there is a huge processing time? Do I reheat the meal to do the other 2 quarts when the first jars are finished? I’m making beef burgundy.
In this particular case, if I were you, I’d make a half batch and divide the ingredients among the jars. They’ll all be a bit short, but make up the difference with a bit of extra broth.
Canning Beef Burgundy is next on my meat canning list. Soundly yummy.