This post may contain affiliate links. Please see our disclosure policy.
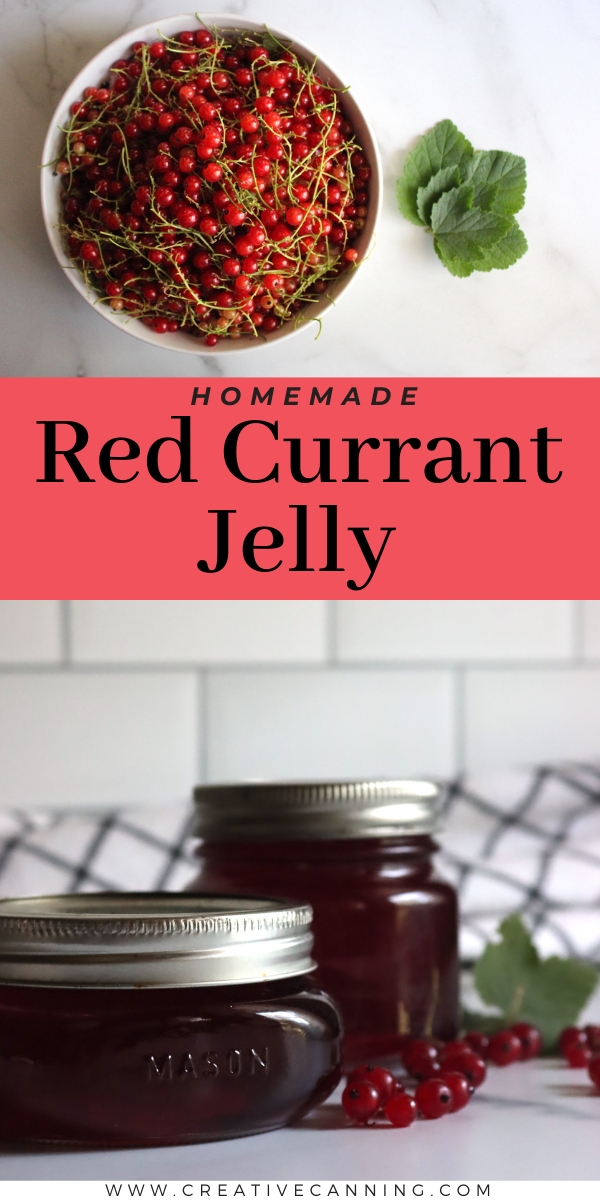
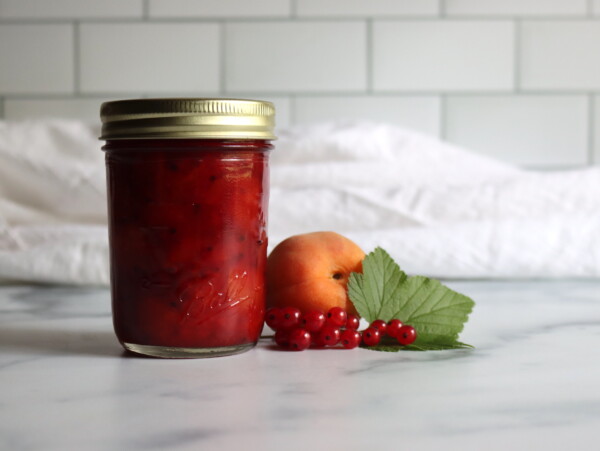
Red currant jelly is an old fashioned jelly that comes together with just two ingredients, fruit and sugar!
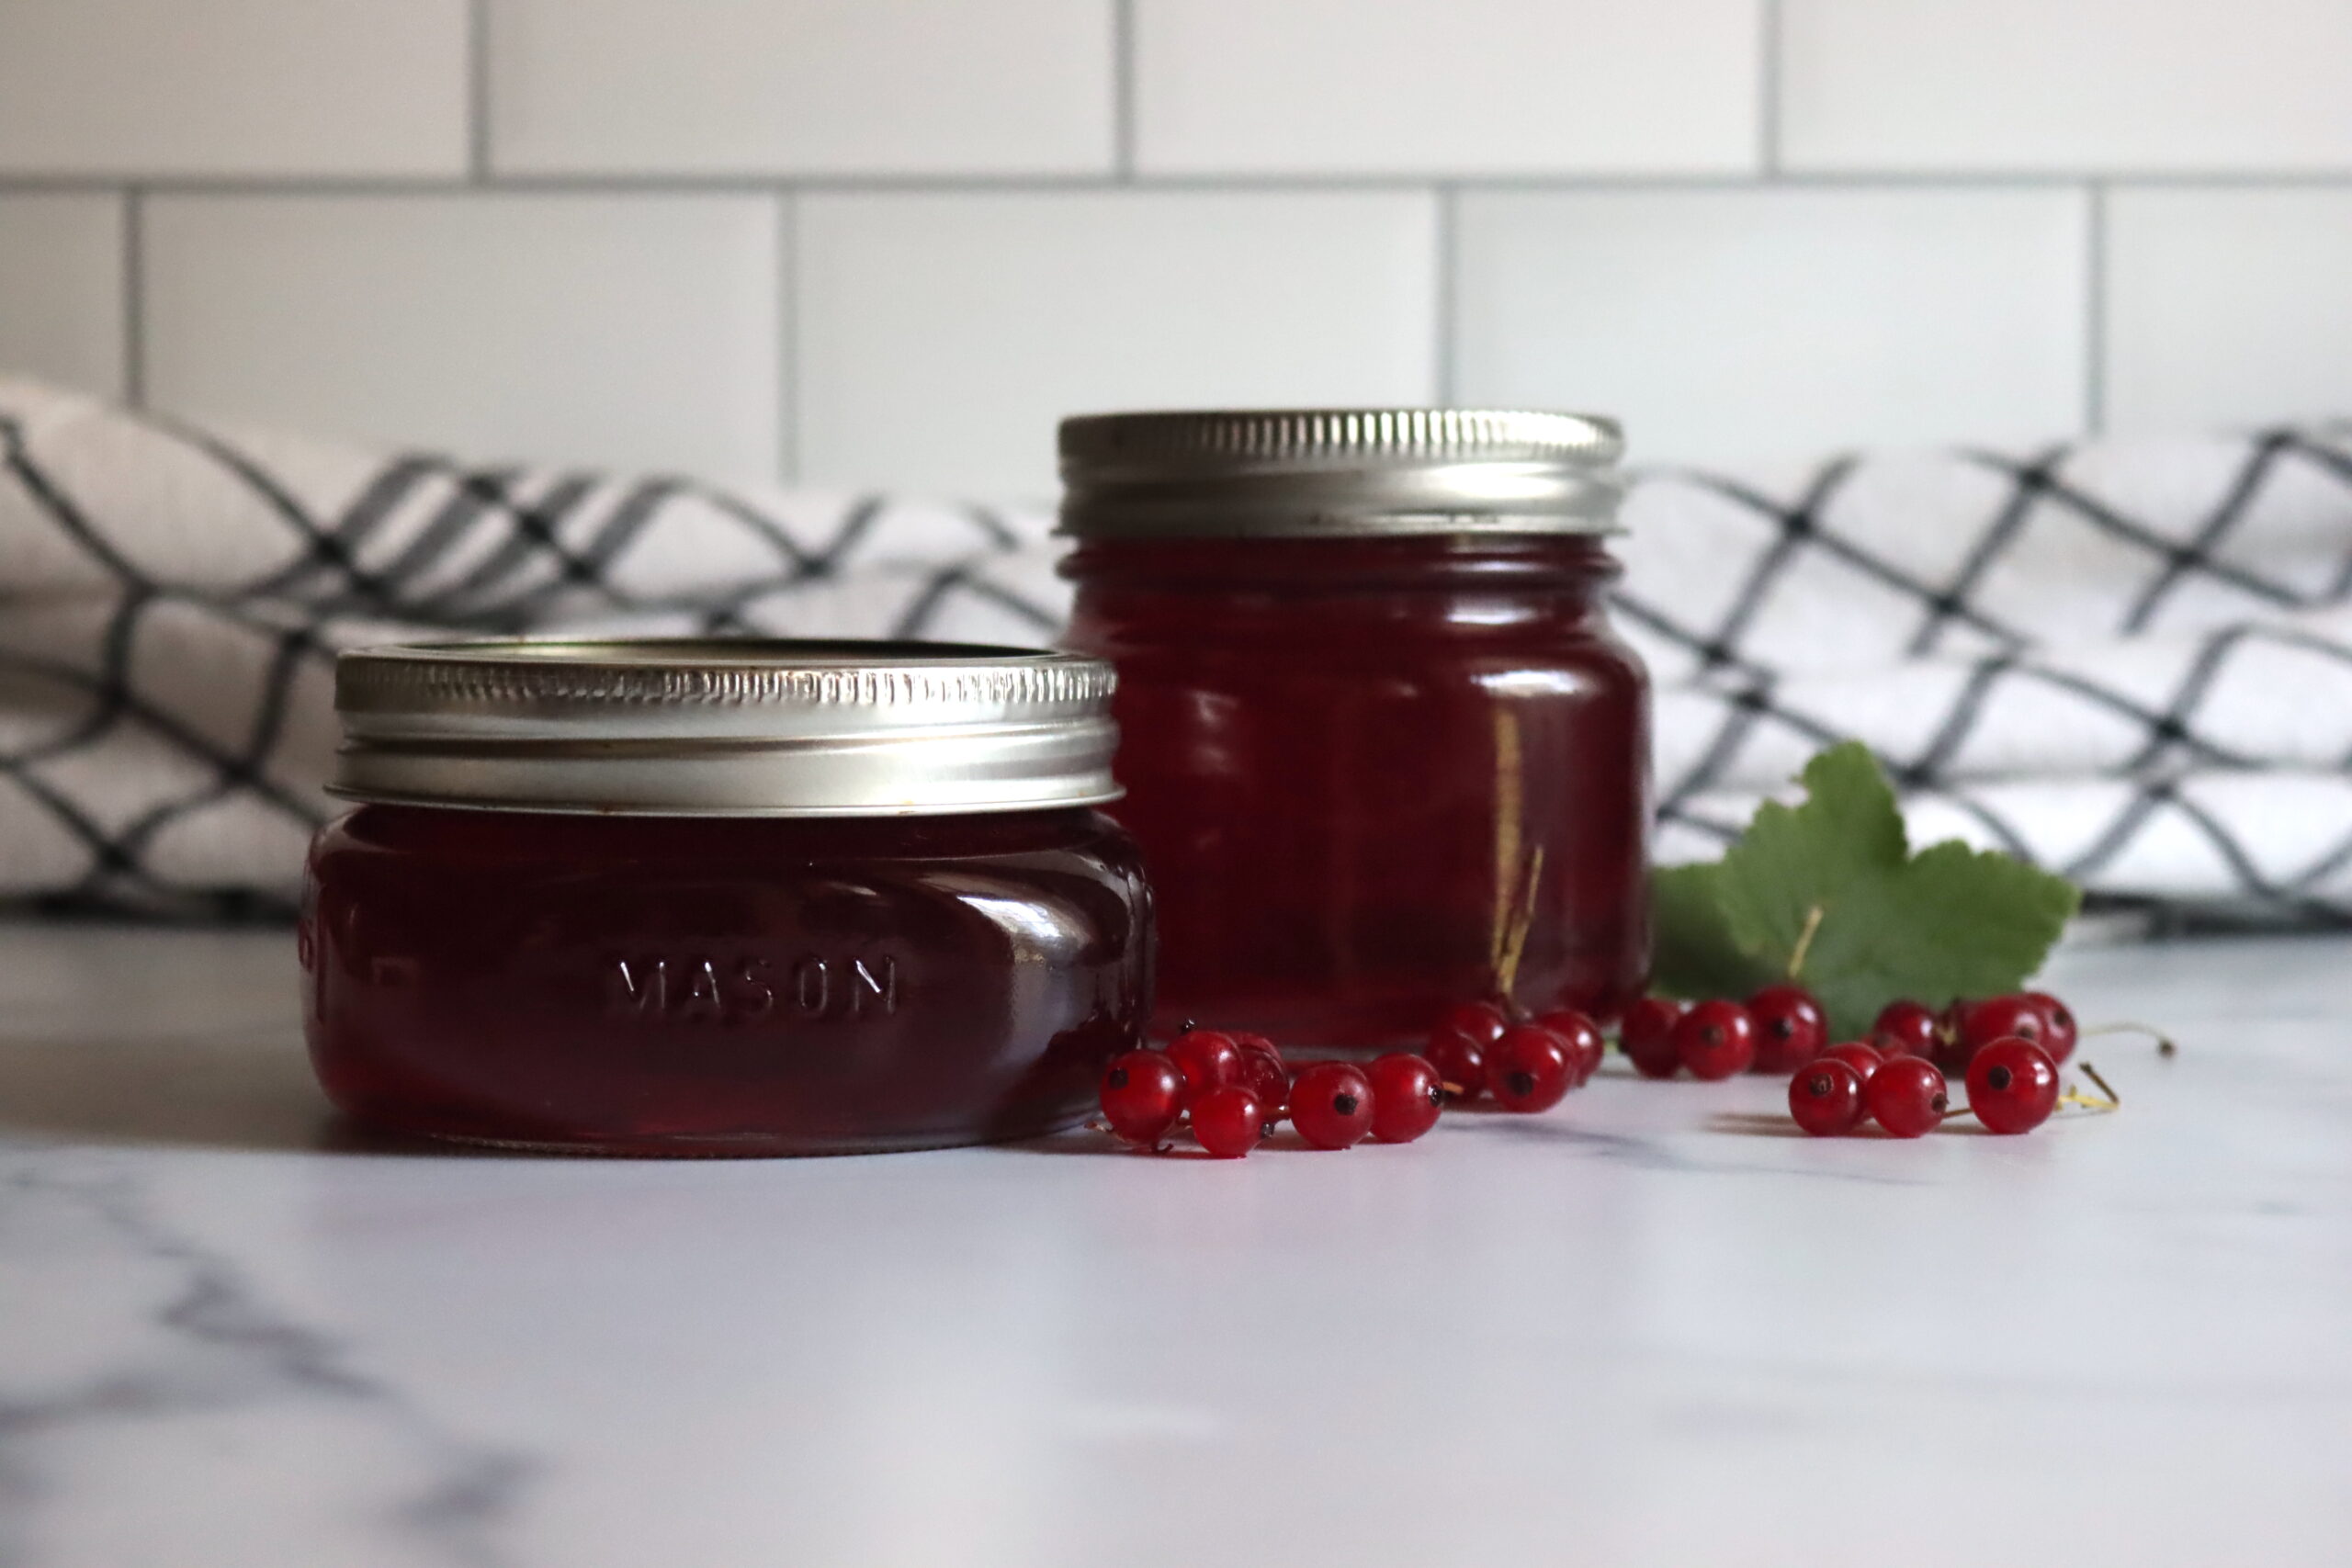
Red currants are naturally tart, acidic and high in pectin, which makes them perfect for homemade jelly. In times past, red currants were grown to help set other types of early summer jelly and jam, namely cherry and strawberry.
Other spring and early summer fruits often lack pectin and need a little help to set, but red currants have pectin to spare!
You can combine strawberry or cherry juice with red currant juice, replacing up to half of the jucie with other fruti juice and still get the mixture to set. That said, I love the wonderful simplicity of homemade red currant jelly.
I think it’s perfect just the way it is!
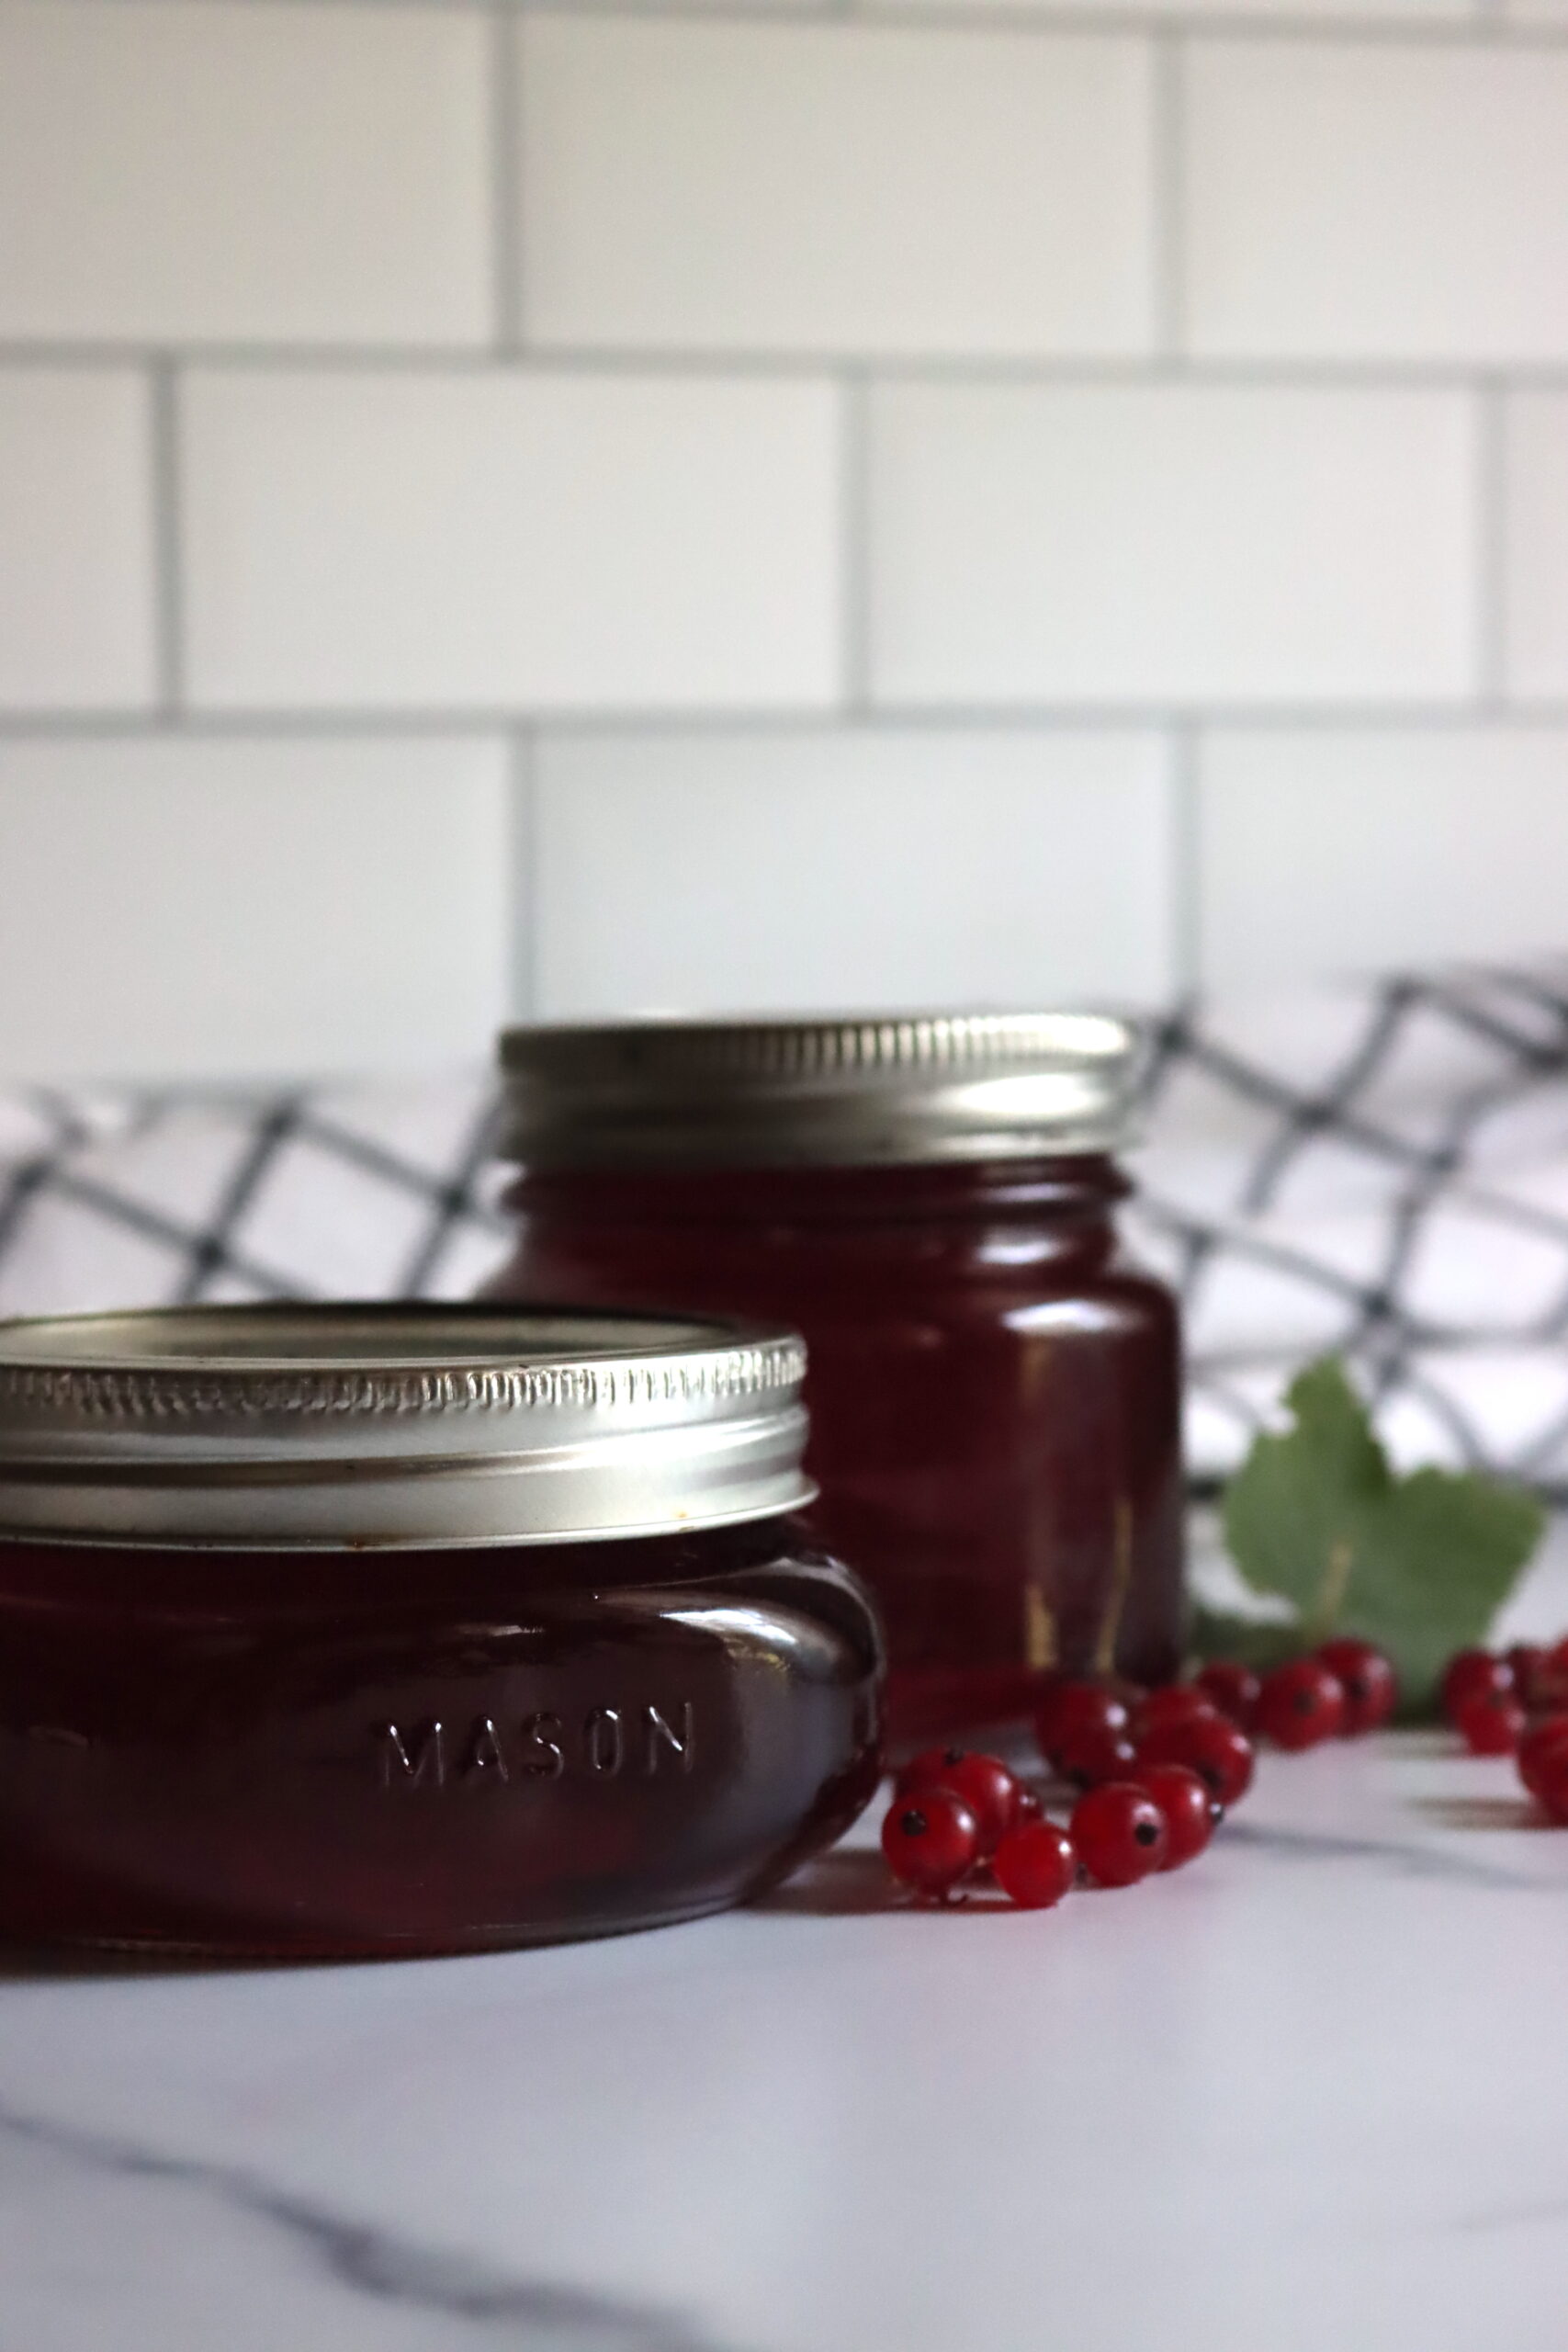
Ingredients for Red Currant Jelly
To make a batch of 5 or 6 half-pint jelly jars (8 oz each), you only need the following:
- 4½ lbs. fresh currants
- 3 cups water
- 4 to 5 cups granulated sugar
- Juice of 1 lemon, optional
Currants have a high pectin content, making them great for making jelly. They can also be added to other jelly recipes where a little extra pectin would be helpful. They have a tart flavor, so they work well with other sweet fruits.
The lemon juice will be added to your preference to help balance out the tart flavor if desired.
You will use the same amount of sugar that you yield in juice from the currants.
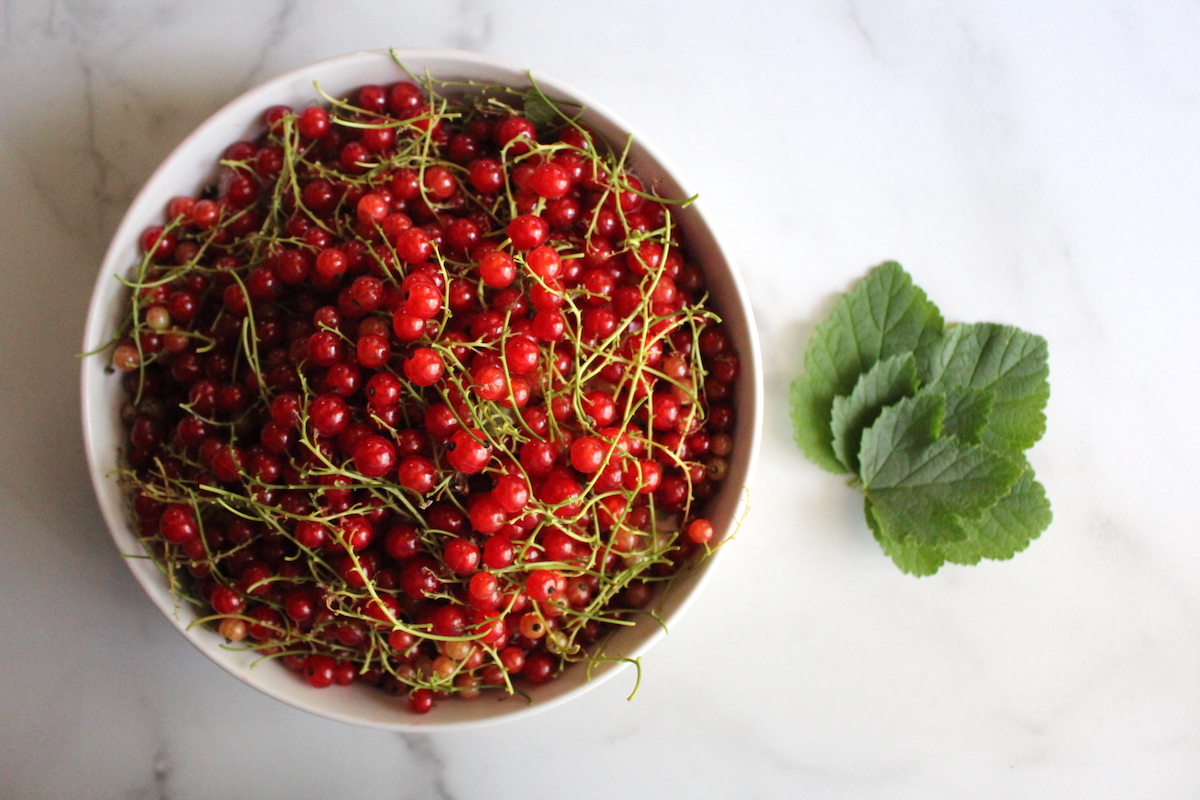
How to Make Red Currant Jelly
Pick through your harvest of currants, removing any stems or leaves you may have accidentally collected. Rinse the whole currants with cool, clean water, and then allow the water to drain.
Place the rinsed currants in a large pan or jam pot, and add 3 cups of water.
Bring the currants and water to a boil over medium-high heat, then reduce heat to low and simmer for 10 to 15 minutes.
Mash the currants as they cook with a large spoon.
Place a jelly bag or a fine-mesh sieve over a deep bowl that will leave room for the juice to strain through. If you do not have a jelly bag or fine-mesh sieve, line a strainer with several layers of cheesecloth.
Pour the currant mixture into the bag or sieve and allow the currant juice to drip through the bag or sieve into the bowl. Let the juice drain for several hours or overnight.
After all the currant juice has drained, discard the solids and measure the juice.
Rinse the large pan or jam pot and pour the measured juice into it. Measure out the same amount of sugar that you have of juice. Add the sugar to the juice and stir to dissolve.
Taste the juice mixture and add lemon juice if needed or desired.
Prepare your jars and your hot water canner, and place 3 or 4 small plates in the freezer.
Place the pot with the juice on the stove over medium-high heat and bring the mixture to a boil, stirring occasionally.
Once the mixture is boiling, do not continue to stir. Skim off any foam if necessary.
Continue to boil the mixture until the jelly has reached the gel stage.
For the cold plate test, once the jelly has boiled for about 20 minutes, take a plate out of the freezer, drop about a tablespoon of jelly onto the plate, and return the plate to the freezer for one minute.
Remove the plate with jelly from the freezer, and with your fingertip, gently push or “nudge” the dollop of jelly to see if it has started to set. It will appear to have a skin on the top that “wrinkles” when you nudge it if it is ready. You want to achieve a fairly firm set.
If your finger slides right through the jelly, continue to cook the mixture and do another test after several more minutes. Continue until you end up with a sample that starts to look like jelly.
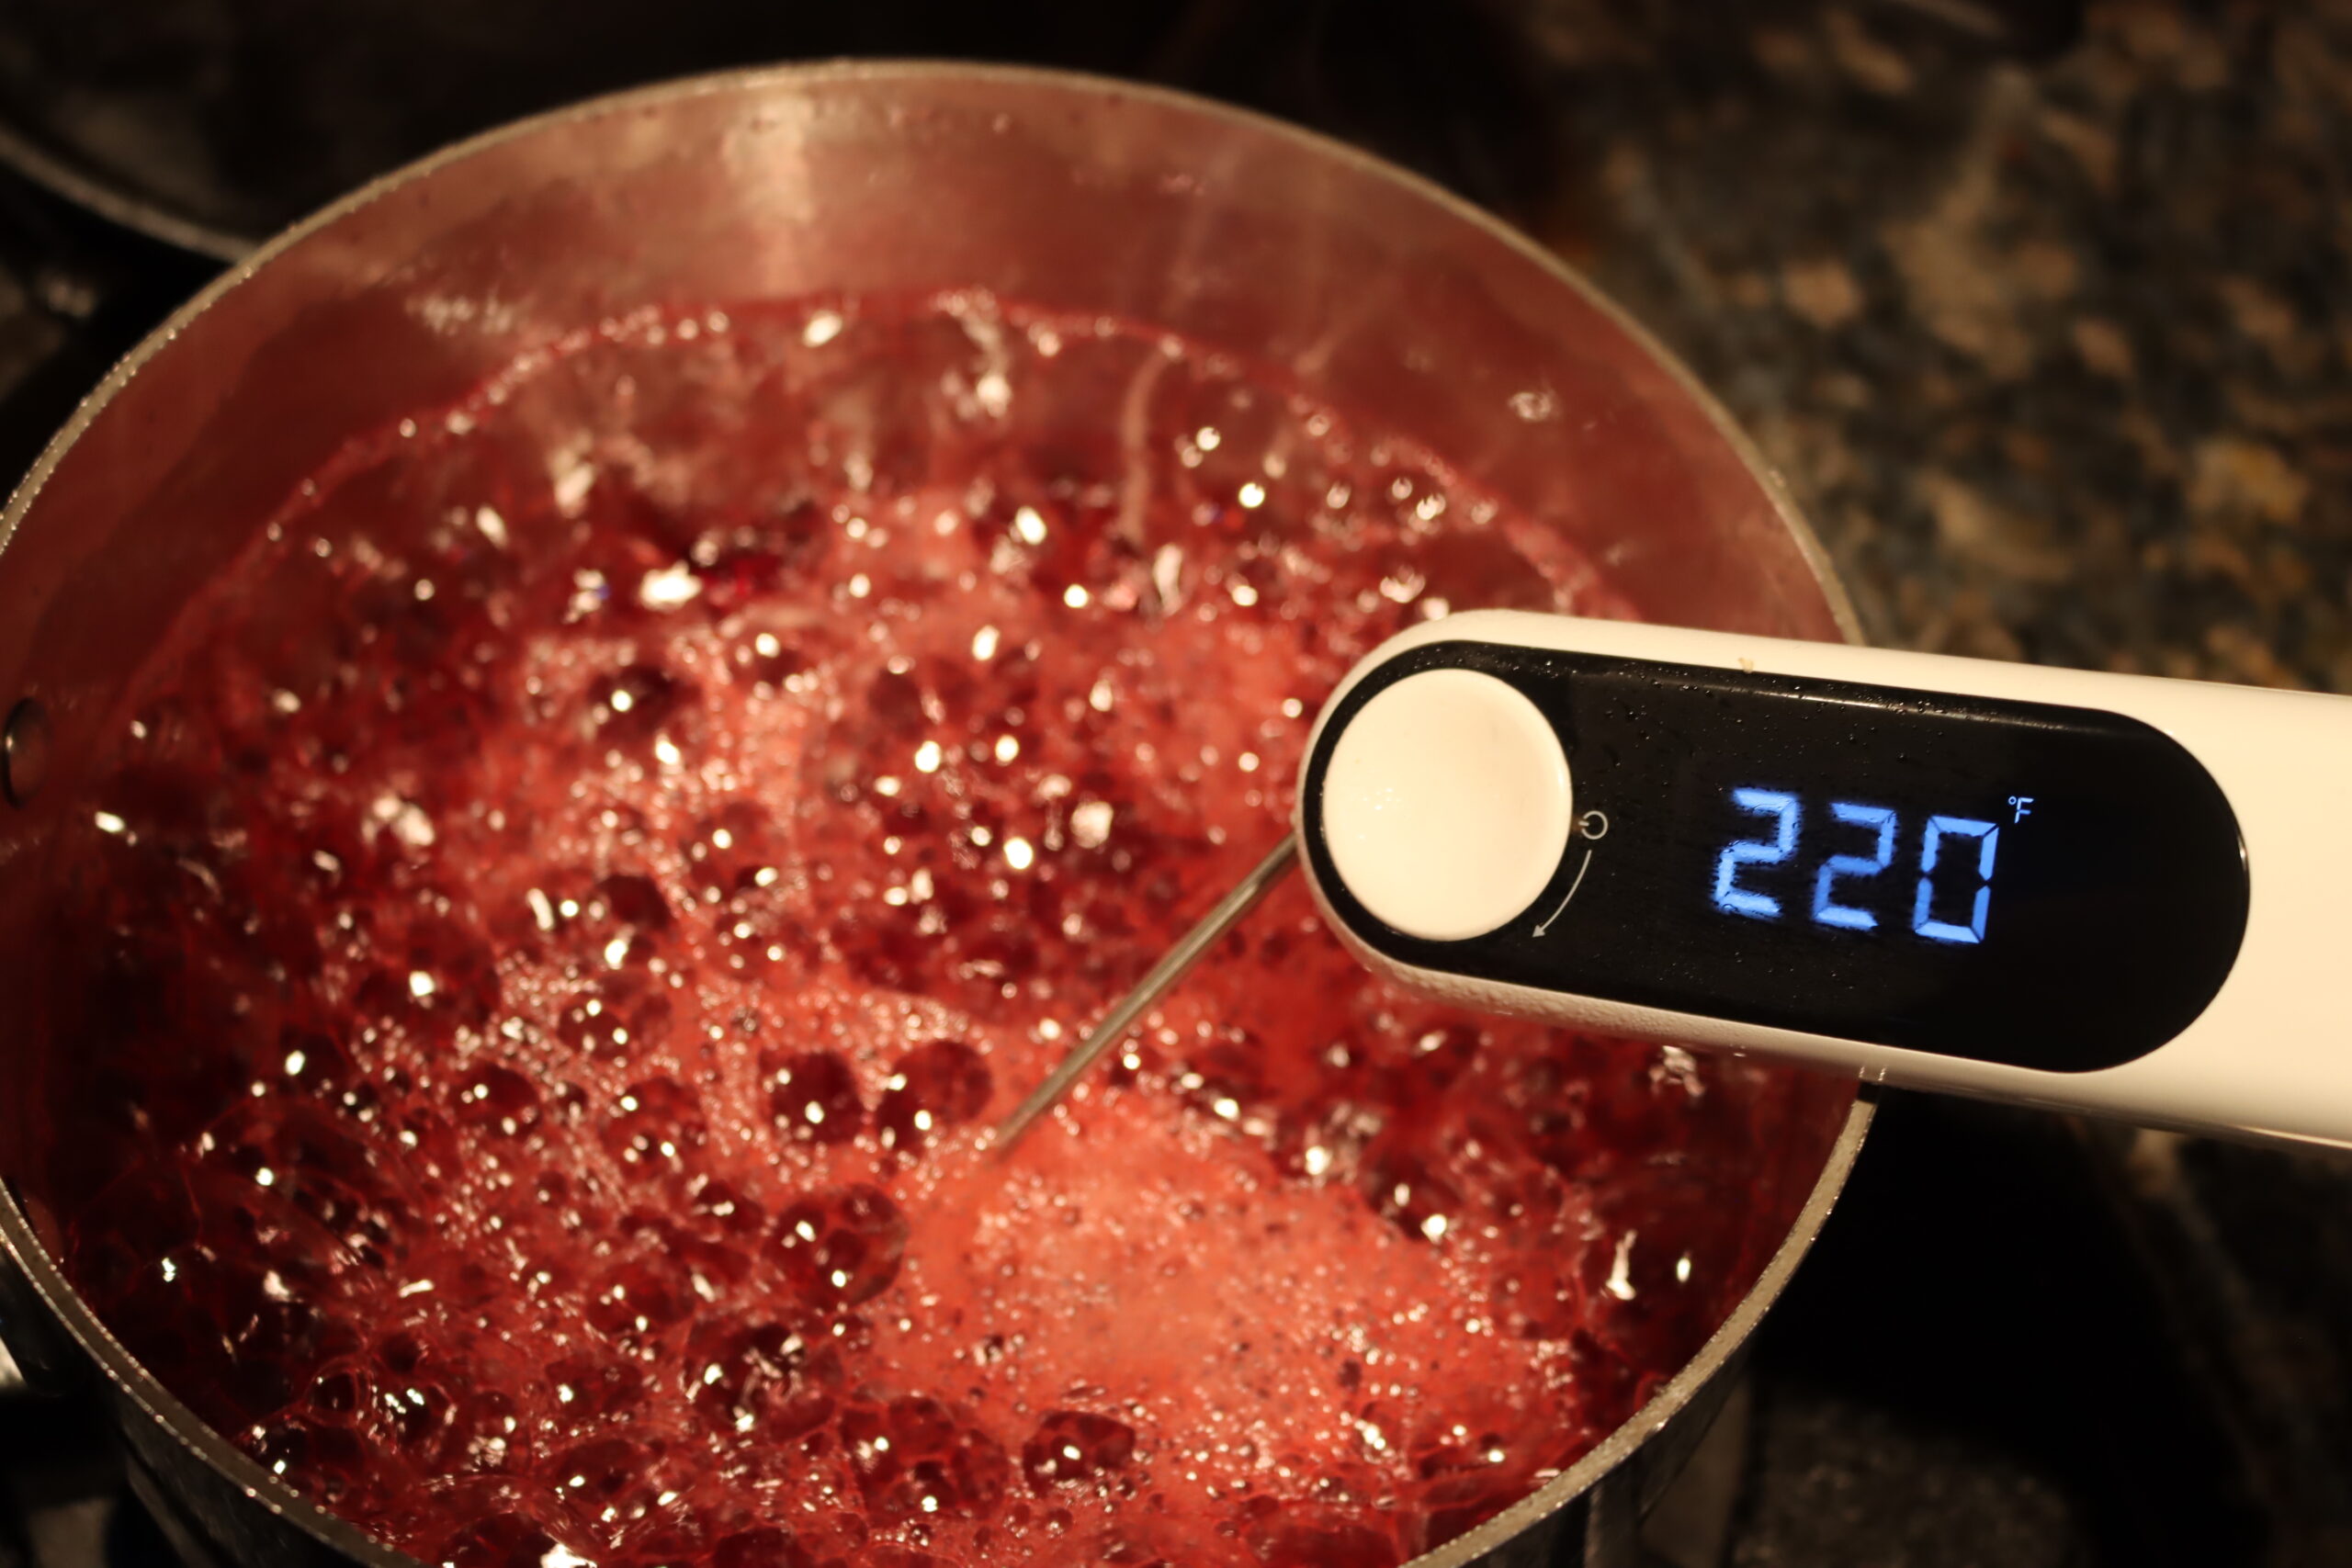
If you have an instant read thermometer, you’re target temperature is 220 F.
Remove the jelly from heat and skim off any foam if necessary. Pour or ladle the hot jelly into your prepared hot jars, leaving ¼” headspace at the top of the jars.
Jelly is easy to store refrigerated or frozen. The jelly will stay fresh in your refrigerator for several weeks or up to 6 months in your freezer. If you plan to freeze your jelly, use freezer-safe containers and lids. Let the jelly cool for several hours before you put the containers in the refrigerator or freezer. They should be cool enough to handle without a hot pad.
Canning Red Currant Jelly
While you can make this as a refrigerator or freezer jelly, canning is always my preference. It’s quick, easy and allows you to store homemade jellies right on your pantry shelf.
Prepare a water bath canner and jars before you start cooking the jelly.
Once the jelly has reached the gel stage, carefully ladle or pour the jelly into the hot jars using a canning funnel with a headspace measurement. Leave ¼” headspace at the top of each jar.
Wipe the rims of the filled jars with a clean cloth and apply 2-part canning lids. Tighten the canning bands only until finger-tight.
Using a jar lifter, gently place the jelly jars into your preheated canner and bring the water to a full rolling boil. Once boiling, start the timer and process the jars for 10 minutes (or 15 minutes if above 6,000 feet in elevation).
After the processing time is complete, turn off the heat and allow the jars to set in the canner for 5 minutes. This prevents thermal shock, which can cause siphoning.
After 5 minutes, use a jar lifter to remove the jars from the canner and set them to cool on a towel on the counter. Check seals after 12-24 hours and store unsealed jars in the refrigerator for immediate use.
Store your canned jelly in your pantry or other cool, dry place. It will maintain peak quality on the shelf for about 18 months but will still be good to eat after that as long as the jar remains sealed. Refrigerate after opening.
Red Currant Jelly Variations
Currants provide a tart flavor that combines well with all sweet fruits to make flavorful jelly. Try making current and apple jelly, currant and cherry jelly, or currant and plum jelly.
You can also add spices or flavorings to your currant jelly, such as vanilla or almond extract, or warm spices, such as cinnamon, cloves, or allspice.
Ways to Use Red Currant Jelly
Currant jelly is excellent served with roasted or grilled meats. It can also be used as a glaze or marinade for chicken breasts.
Toast and English muffins are tasty with a dollop of currant jelly.
Because of the high pectin content in red currants, it can also be used to boost the pectin levels of other jellies you are making.
Currant Canning Recipes
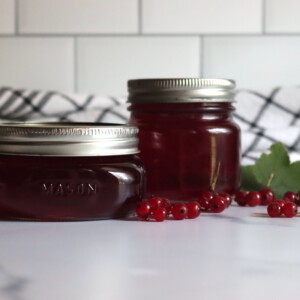
Red Currant Jelly
Ingredients
- 4½ lbs red currants
- 3 cups water
- 4 to 5 cups granulated sugar
- Juice of 1 lemon, optional
Instructions
- Remove all stems and leaves, wash the currents, and drain.
- Place the currants in a large (6-8 quart) jam pot or saucepan. Add 3 cups of water.
- Over medium-high heat, bring the mixture to a boil, stirring occasionally. Reduce the heat to low and simmer, mashing the currants as they become soft with a large spoon, for about 15 minutes.
- Place a large fine-mesh sieve or jelly bag over a large bowl, or use a strainer with several layers of cheesecloth.
- Ladle or pour the currant mixture into the strainer or sieve and allow the juices to drain through for several hours or overnight.
- Discard the solids and measure the currant juice. Pour the juice back into the rinsed saucepan used to cook the currents.
- Measure the same amount of sugar as you had in currant juice, add to the juice, and stir to dissolve.
- Taste the currant juice with sugar and add lemon juice if desired.
- Place the pan over high heat and bring the mixture to a boil, stirring occasionally.
- Once the mixture is boiling, stop stirring and allow it to boil until it reaches a firm gel stage using the cold plate test.
- Place a dollop of jelly on a plate that has been in the freezer, and return the plate to the freezer for 1 minute. Remove the plate again and push your finger against the edge of the jelly dollop. If it appears to have a skin on it that “wrinkles” when you push it, it has reached the gel stage. If your finger runs through the jelly, continue boiling for a few more minutes and try another cold plate test until you’ve reached a firm gel stage.
- Remove the currant jelly from heat and skim off any foam if necessary.
- Ladle or pour the jelly into prepared jars or containers, leaving ¼” headspace at the top.
- If canning, process the jars for 10 minutes (or 15 minutes if above 6,000 feet in elevation). The jelly will keep on the pantry shelf for at least 12-18 months. Refrigerate after opening.
- If not canning, keep the jelly refrigerated or frozen until ready to eat. It'll keep in the refrigerator for a few weeks, or up to 6 months in the freezer.
Notes
Nutrition
Nutrition information is automatically calculated, so should only be used as an approximation.
Old Fashioned Jelly Recipes
Love making jelly the old-fashioned way, with no added pectin? Just sugar, fruit, and a little bit of love in each jar…
Can you also make the juice in a steam juicer first?
Yes, a steam juicer works wonderfully for getting the juice out of currants, especially if you have a big crop. Enjoy!
This is so yummy! I keep scraping the jam off the pot while my jam is in the canner. I can’t wait to have this on a homemade English muffin! Thank you for the recipe.
Lovely, so glad you enjoyed it!