This post may contain affiliate links. Please see our disclosure policy.
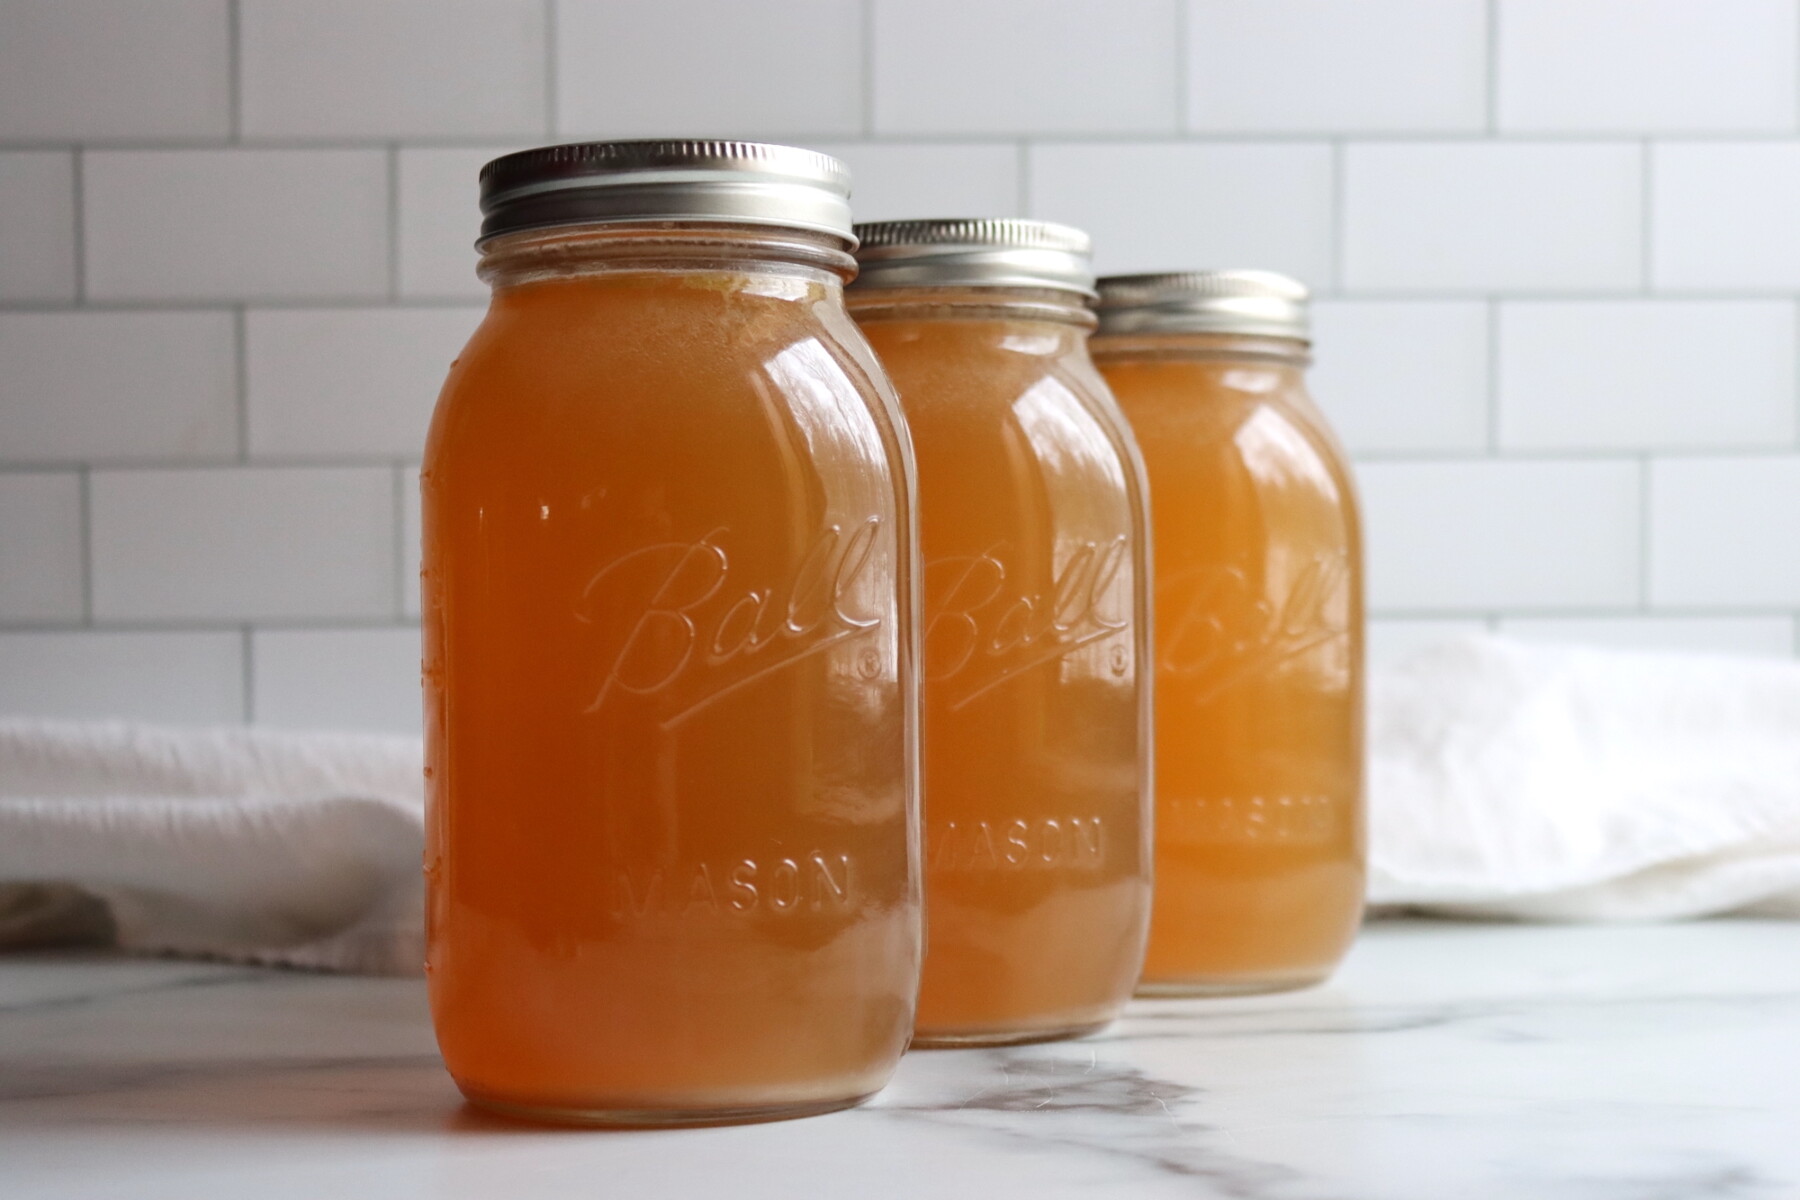
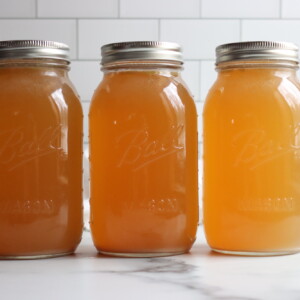
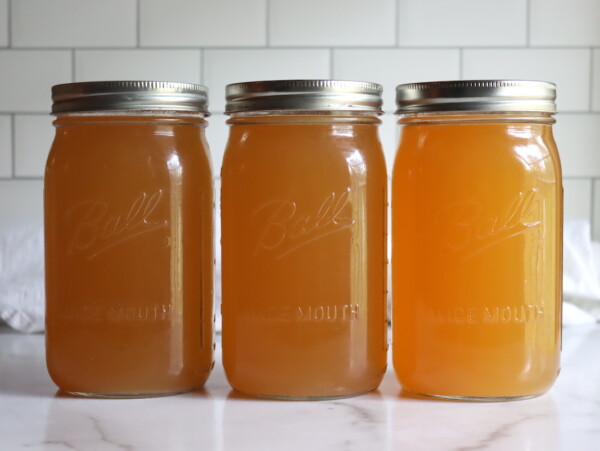
Canning turkey broth is the easiest way to turn a holiday carcass into something you’ll actually use all winter. With one stockpot simmer and a quick pressure canner run, you end up with rich, homemade broth on the shelf that makes weeknight soups, gravies, and rice taste like they cooked all day.
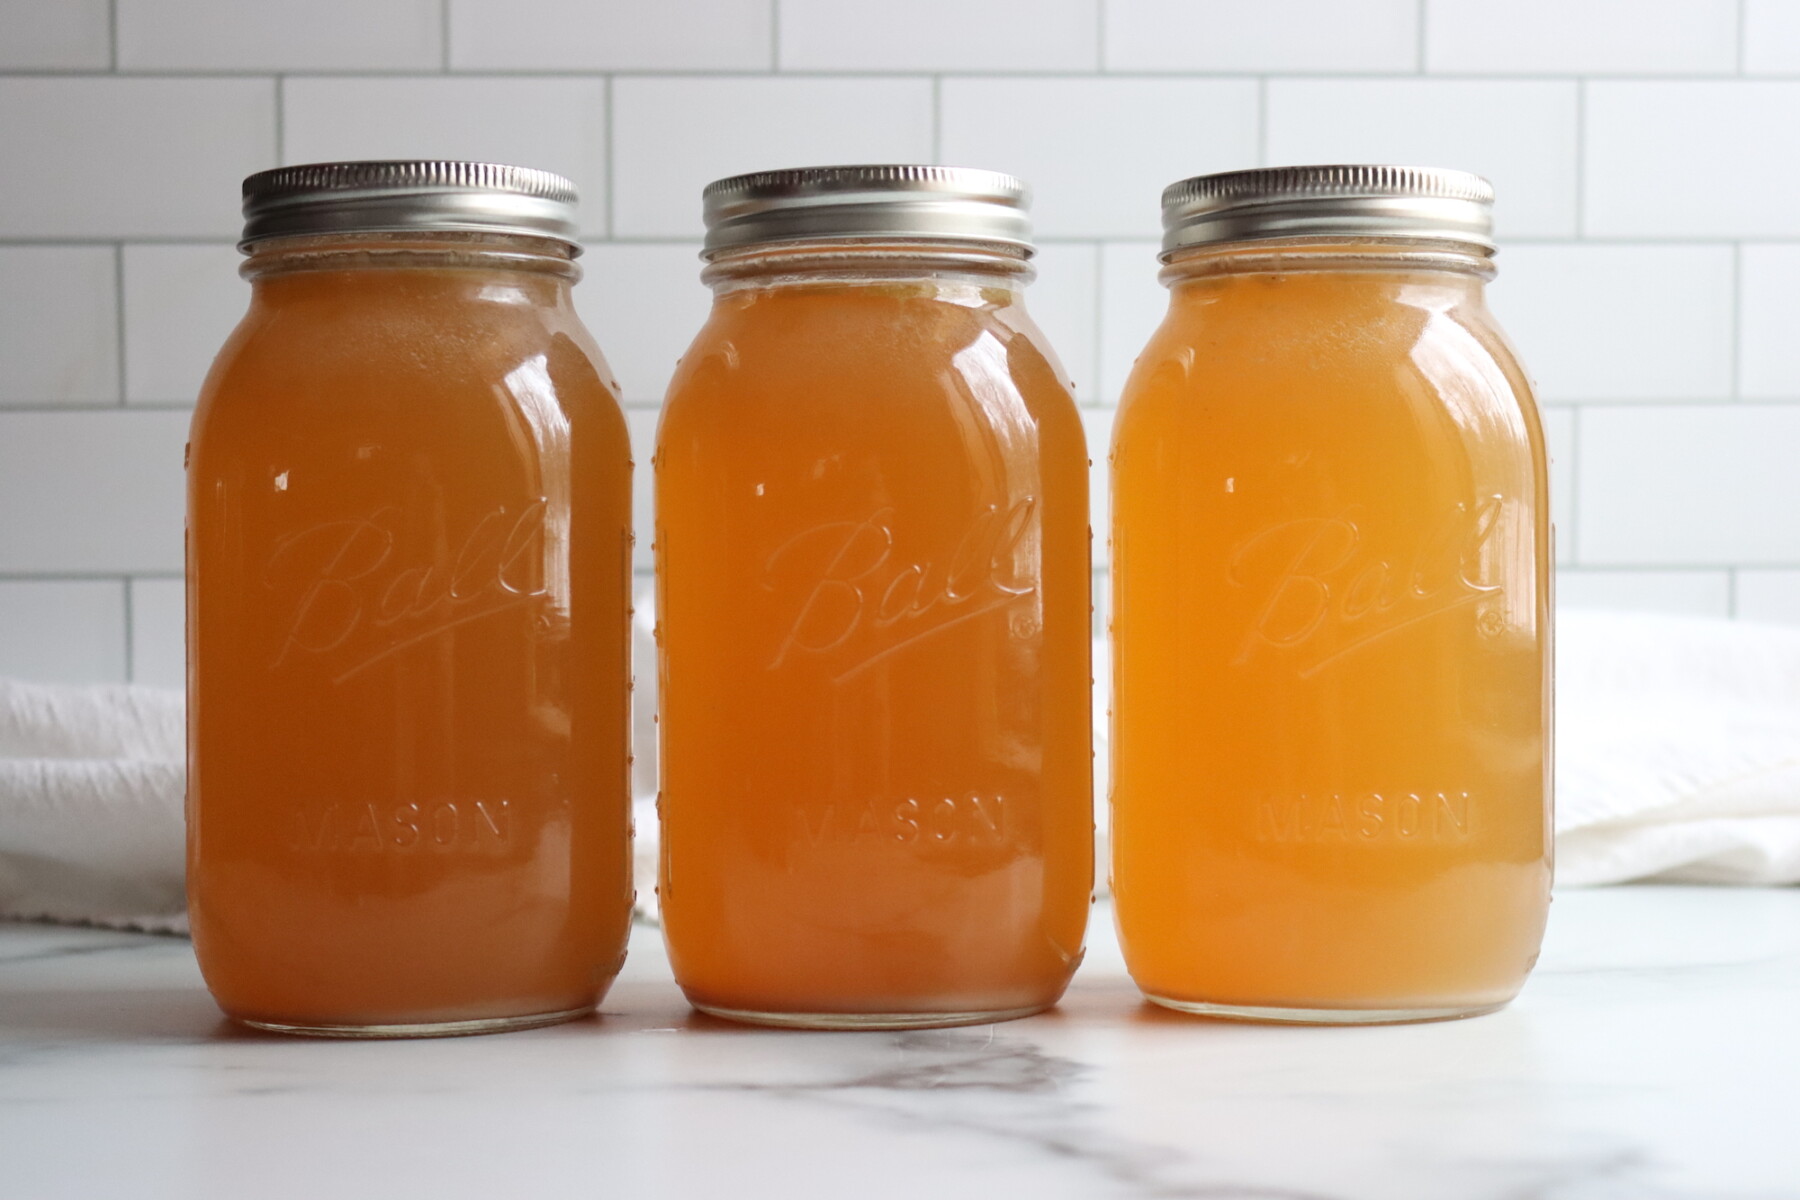
Table of Contents
- Why you’ll love this pressure canning recipe!
- A Quick Look at the Recipe
- Ingredients for Turkey Broth
- Important Safety Note
- How to Make Turkey Broth
- Pressure Canning Turkey Broth
- Altitude Adjustments
- Storing and Using Canned Turkey Broth
- Turkey Broth for Canning FAQs
- Broth and Stock Canning Recipes
- Canning Turkey Broth Recipe
- Turkey Canning Recipes
Canning turkey broth (or turkey stock) is one of my favorite “day after the holiday” pantry projects. You do the simmering once, you clear out the fridge (and the turkey carcass), and you end up with jars of rich, homemade stock that make weeknight soups, gravies, and risotto taste like you cooked all day.
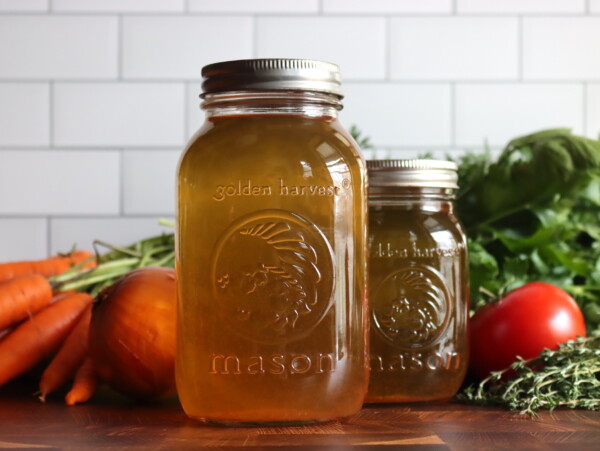
This version starts with a quick roast, which gives the finished stock a deeper color and a toasty, roasted flavor. After that, it’s a long, gentle simmer with simple aromatics, then a careful strain and defat before canning.
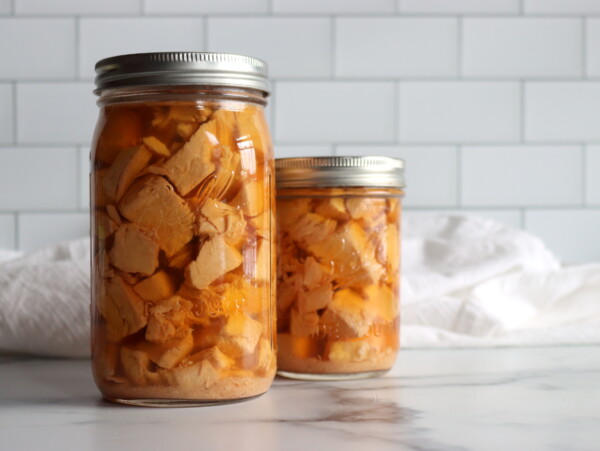
This broth is great on its own as a pantry staple, but it’s also perfect for using when canning turkey meat or in other turkey canning recipes.
Why you’ll love this pressure canning recipe!

This is one of those pantry staples that feels like a gift to your future self. After a holiday meal, the carcass is already sitting there, and with just a little extra effort you turn it into something you’ll actually use all winter. I love that it clears out the fridge of odds and ends, makes the whole house smell amazing, and leaves me with jars of real, deeply flavorful stock that’s ready whenever dinner needs help.
What really sells me on this one is the roasted-bone step. It adds that rich, toasty depth you just can’t get from boxed broth, and once it’s pressure canned the payoff is instant: soup in minutes, better gravy on a busy night, and a pot of rice that tastes like you actually tried. Every time I crack a jar in February, I’m reminded that the best canning projects are the ones that make ordinary days easier.
A Quick Look at the Recipe
- Recipe Name: Turkey Broth (or Turkey Stock)
- Recipe Type: Broth or Stock Canning Recipe
- Canning Method: Pressure Canning
- Prep/Cook Time: 4 to 12 hours simmering
- Canning Time: 20 Min for Pints, 25 Minutes for Quarts
- Yield: 4 to 5 quarts
- Jar Sizes: Pint or Quart
- Headspace: 1 inch
- Ingredients Overview: Turkey carcass/bones, carrots, onions, celery and spices.
- Safe Canning Recipe Source: NCHFP Stock Canning Guidelines
- Difficulty: Easy! Be sure to roast the bones, and keep the stock at a simmer (not a boil) to ensure it stays clear.
- Similar Recipes: The process is very similar to making other homemade broths and stocks for canning, such as Chicken Broth, Beef Broth, Rib Broth and Vegetable Broth.
Ingredients for Turkey Broth
This is a flexible “use what you have” kind of stock, but here’s what consistently gives me the best flavor:
- Leftover turkey bones and carcass (legs, wings, and any skin)
- Carrots and celery for sweetness and backbone
- Onion (or just skins and ends) for savory depth and color
- Garlic for warmth (not sharpness, since it’s simmered)
- Bay, thyme, parsley, peppercorns for a classic stock flavor
- Salt: Optional – I usually skip it in the stock and salt when I use it later. Salt is optional and does not affect canning safety.
The actual amounts of each thing doesn’t matter in terms of canning safety. I usually use a few carrots and onions, plus a few garlic cloves and a handful of fresh herbs (or dried herbs).
Salt is completely optional, and not needed for preservation. Salt preferences in broth are really variable, and it’s hard to give an exact amount. Some sources recommend as little as 1/4 tsp per quart, while others go all the way up to 1 1/2 tsp per quart. That’s a huge variation!
To my taste, 1/4 tsp per quart (added directly into the jar when you fill them) is about right. Still, I tend to skip the salt and add it when I use the broth so I have the most flexibility.
Important Safety Note
Stock is a low-acid food, so it must be pressure canned for shelf storage. The National Center for Home Food Preservation (NCHFP) instructions for chicken or turkey stock call for reheating to boiling, filling jars with 1-inch headspace, and pressure canning 20 minutes for pints or 25 minutes for quarts, with pressure adjusted for canner type and altitude. This cannot be preserved as a waterbath canning recipe. If you don’t have a pressure canner, I’d suggest freezing the broth for long term storage.
How to Make Turkey Broth
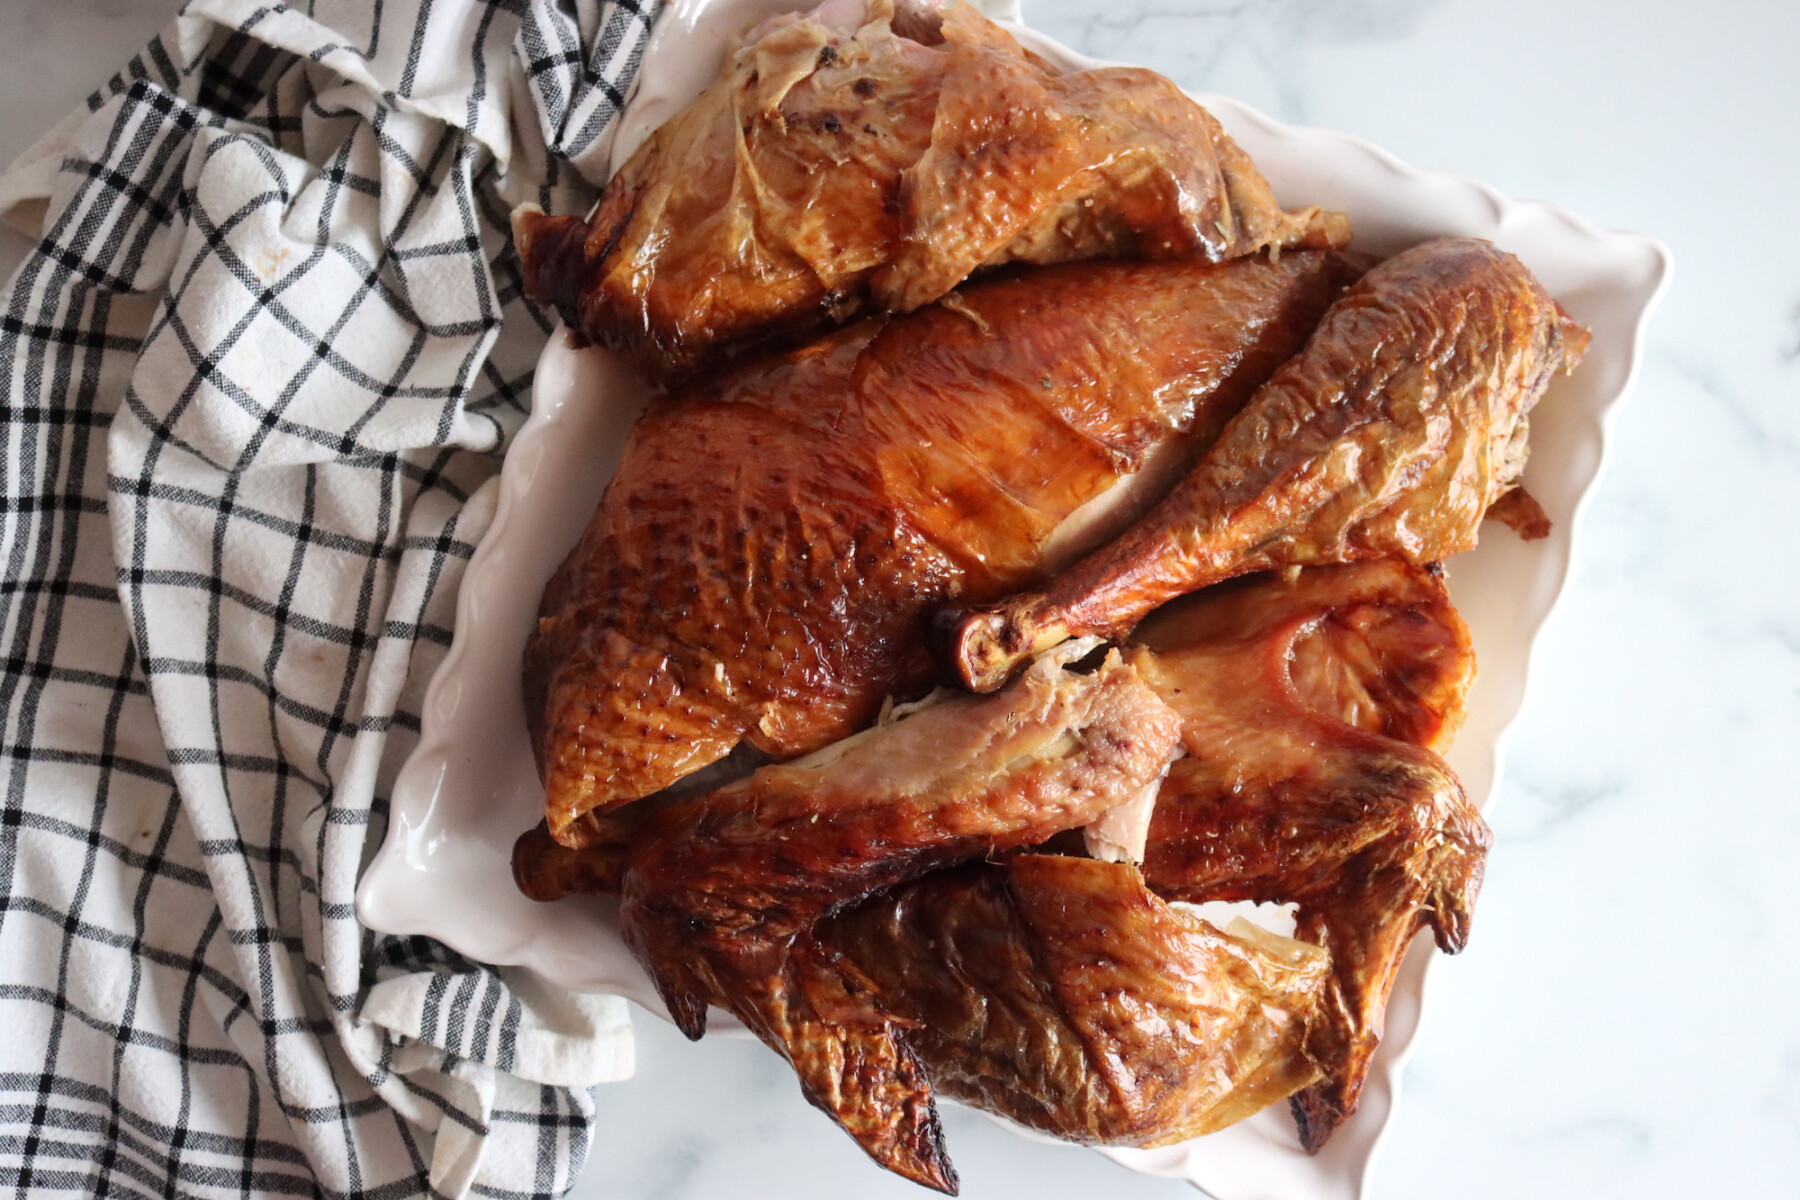
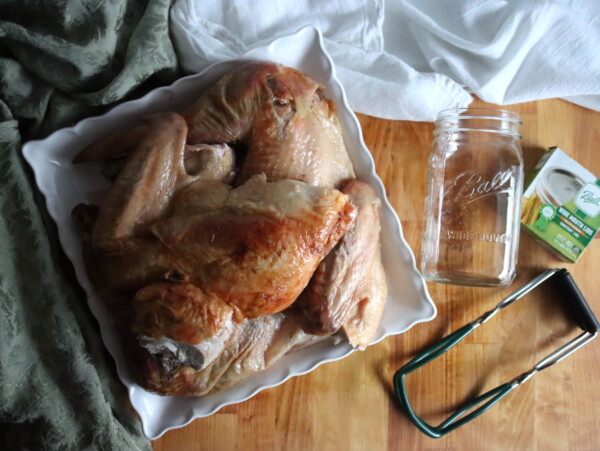
Making stock is pretty simple. You start by roasting the bones, which is optional, but highly recommended. This recipe assumes you have a leftover turkey carcass (or bones taken out of cooked meat).
If your meat/bones are raw, then roasting is not optional. The meat/bones must be pre-cooked to set the proteins before it goes into the stock pot. Raw meat into stock makes a cloudy unappealing broth.
Make sure all the meat and bones are fully cooked before you begin.
Preheat the oven to 400 F. Spread the turkey carcass and bones in a roasting pan and roast 30 to 45 minutes, until browned.
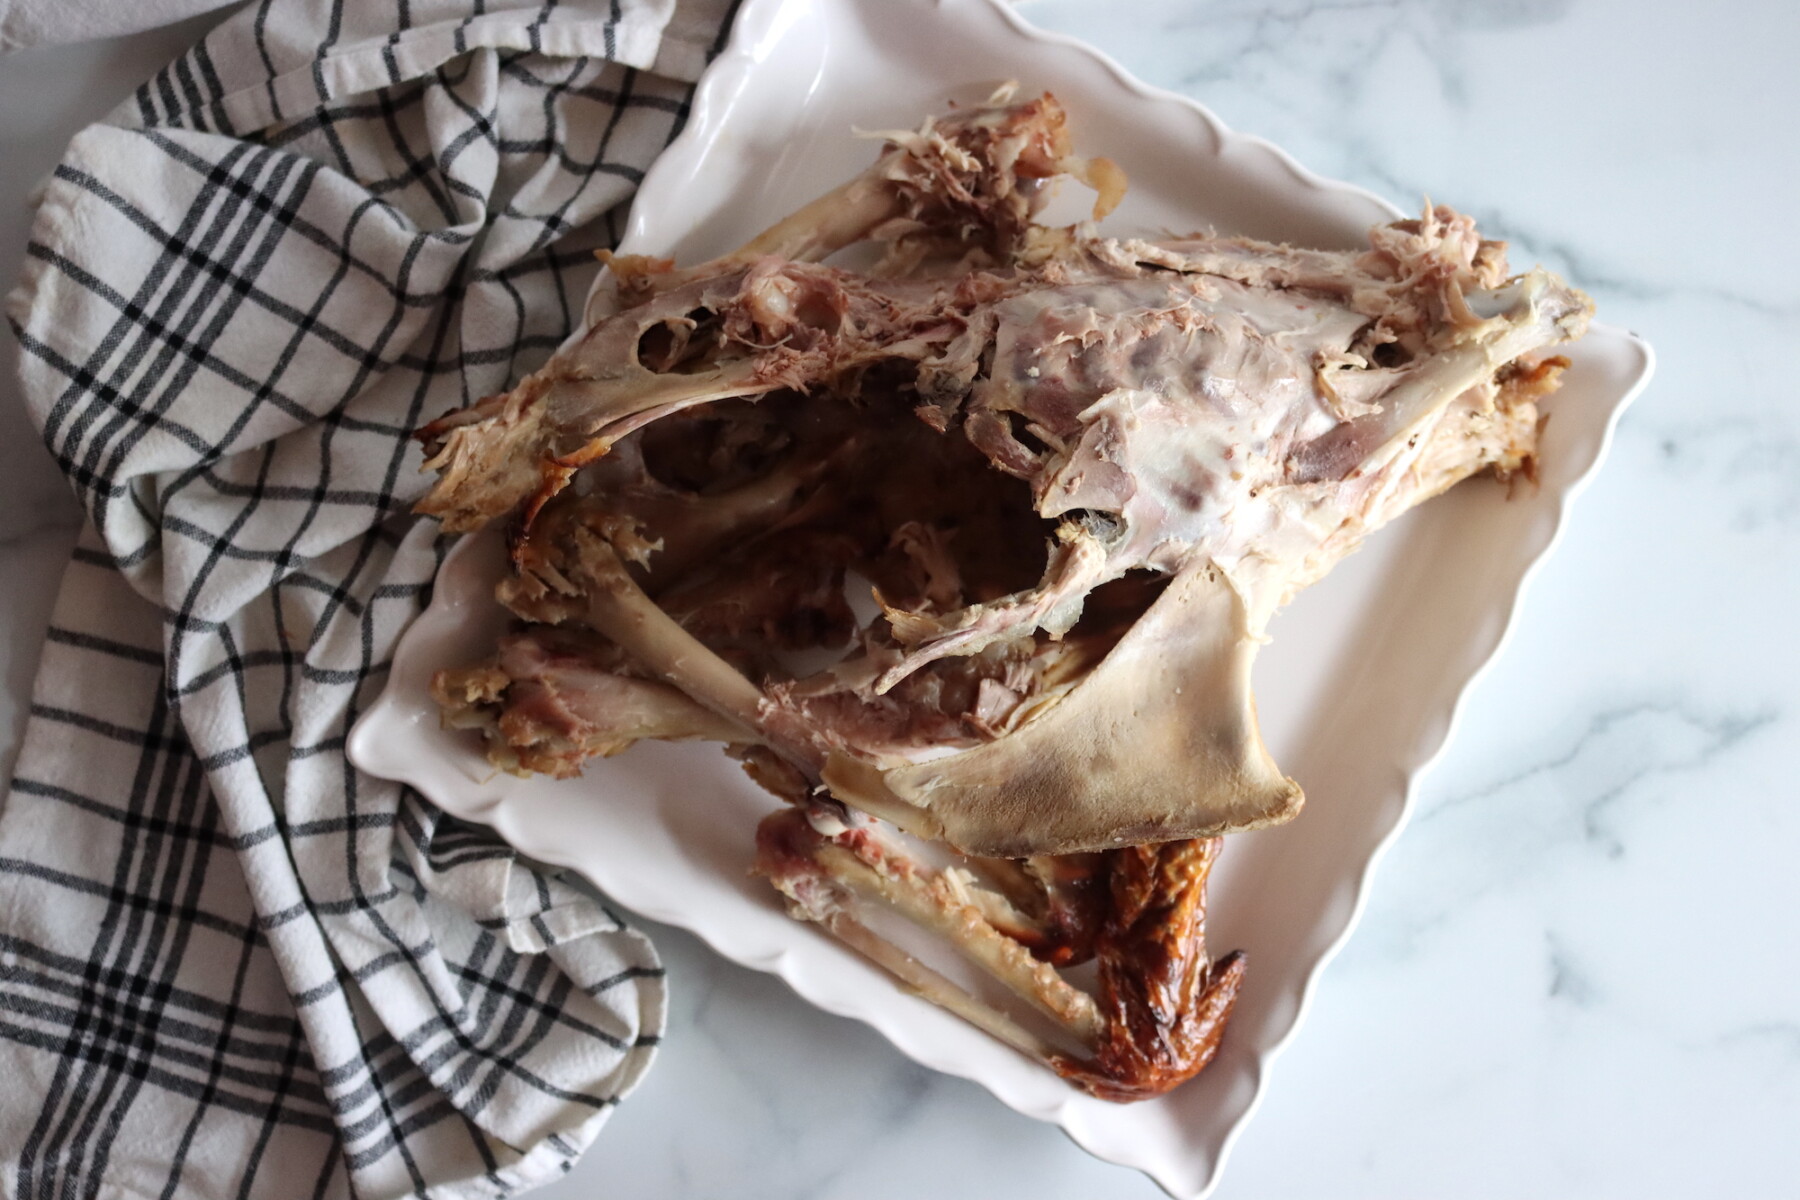
Transfer the roasted bones to a large stockpot. Add the carrots, celery, onion, garlic, bay leaves, thyme, parsley, and peppercorns. Add enough water to cover everything.
Bring the pot just up to a simmer, then turn it down to keep it low and gentle. Simmer 4 to 8 hours, adding more water as needed to keep the bones covered.
Strain the broth through a fine mesh strainer (or a strainer lined with cheesecloth if you want it extra clear). Cool the broth, then skim off the fat.
For canning, you’ll reheat the broth to boiling before it goes into jars, which aligns with NCHFP guidance for turkey stock.
Pressure Canning Turkey Broth
To can stock safely, you want a broth that’s well strained and reasonably defatted. Fat can interfere with sealing and can shorten shelf quality, so take the time to skim well. NCHFP specifically instructs cooling broth and discarding excess fat before reheating and canning.
I’ve found that turkey stock can be hand skimmed pretty effectively without cooling it, if you’re careful. It’s less fatty than beef stock or venison stock, so if you’re handy with a ladle you might be able to skip the cooling step.
Once your broth is strained and you’ve skimmed off as much fat as you reasonably can, return it to the pot and bring it back up to a simmer. While it heats, wash your canning jars, lids, and rings, then keep the jars hot until you’re ready to fill.
Prepare a pressure canner for hot pack as well. It varies by manufacturer, but for most of them, that means adding a couple of inches to the bottom of the canner and bringing it up to a simmer.
Ladle the boiling turkey stock into hot jars, leaving 1-inch headspace at the top. Wipe the rims with a clean damp cloth so there’s no grease or residue. Apply the lids and screw the rings on fingertip tight.
Load the filled jars into a pressure canner with the amount of simmering water recommended by your canner’s manufacturer. Lock the lid in place, then vent the canner by letting a steady stream of steam escape for 10 minutes before you bring it up to pressure.
Process the jars for 20 minutes for pints or 25 minutes for quarts, adjusting the pressure as needed for your canner type and elevation (see below). When the processing time is complete, turn off the heat and let the canner return to zero pressure naturally, then wait a few more minutes before removing the lid, tilting it away from your face.
Carefully lift the jars out and set them on a towel, leaving space between jars so they can cool evenly. Let them sit undisturbed for 12 to 24 hours, then remove the rings, check that each lid is sealed, and label the jars with the contents and date. Store sealed jars in a cool, dark place, and refrigerate any unsealed jars to use within a few days.
Altitude Adjustments
Canning time remains the same regardless of altitude. However, the processing pressure increases as altitude increases.
For dial gauge pressure canners:
- 0 to 2,000 feet in elevation – 11 lbs pressure
- 2,001 to 4,000 feet in elevation – 12 lbs pressure
- 4,001 to 6,000 feet in elevation – 13 lbs pressure
- 6,001 to 8,000 feet in elevation – 14 lbs pressure
For weighted gauge pressure canners:
- 0 to 1,000 feet in elevation – 10 lbs pressure
- Above 1,000 feet – 15 lbs pressure
Storing and Using Canned Turkey Broth
Label and date jars, then store them in a cool, dark, dry place. For best quality, NCHFP recommends room temperature storage around 50 to 70 F, and using home-canned foods within about one year for peak quality.
That said, the “one year” recommendation is about quality, not safety. The jars will not spoil once canned, provided they were processed appropriately and the jars remain sealed. If you find an unsealed jar on the pantry shelf, make sure you dispose of it immediately.
Once you break the seal, refrigerate after opening, and use within about a week.
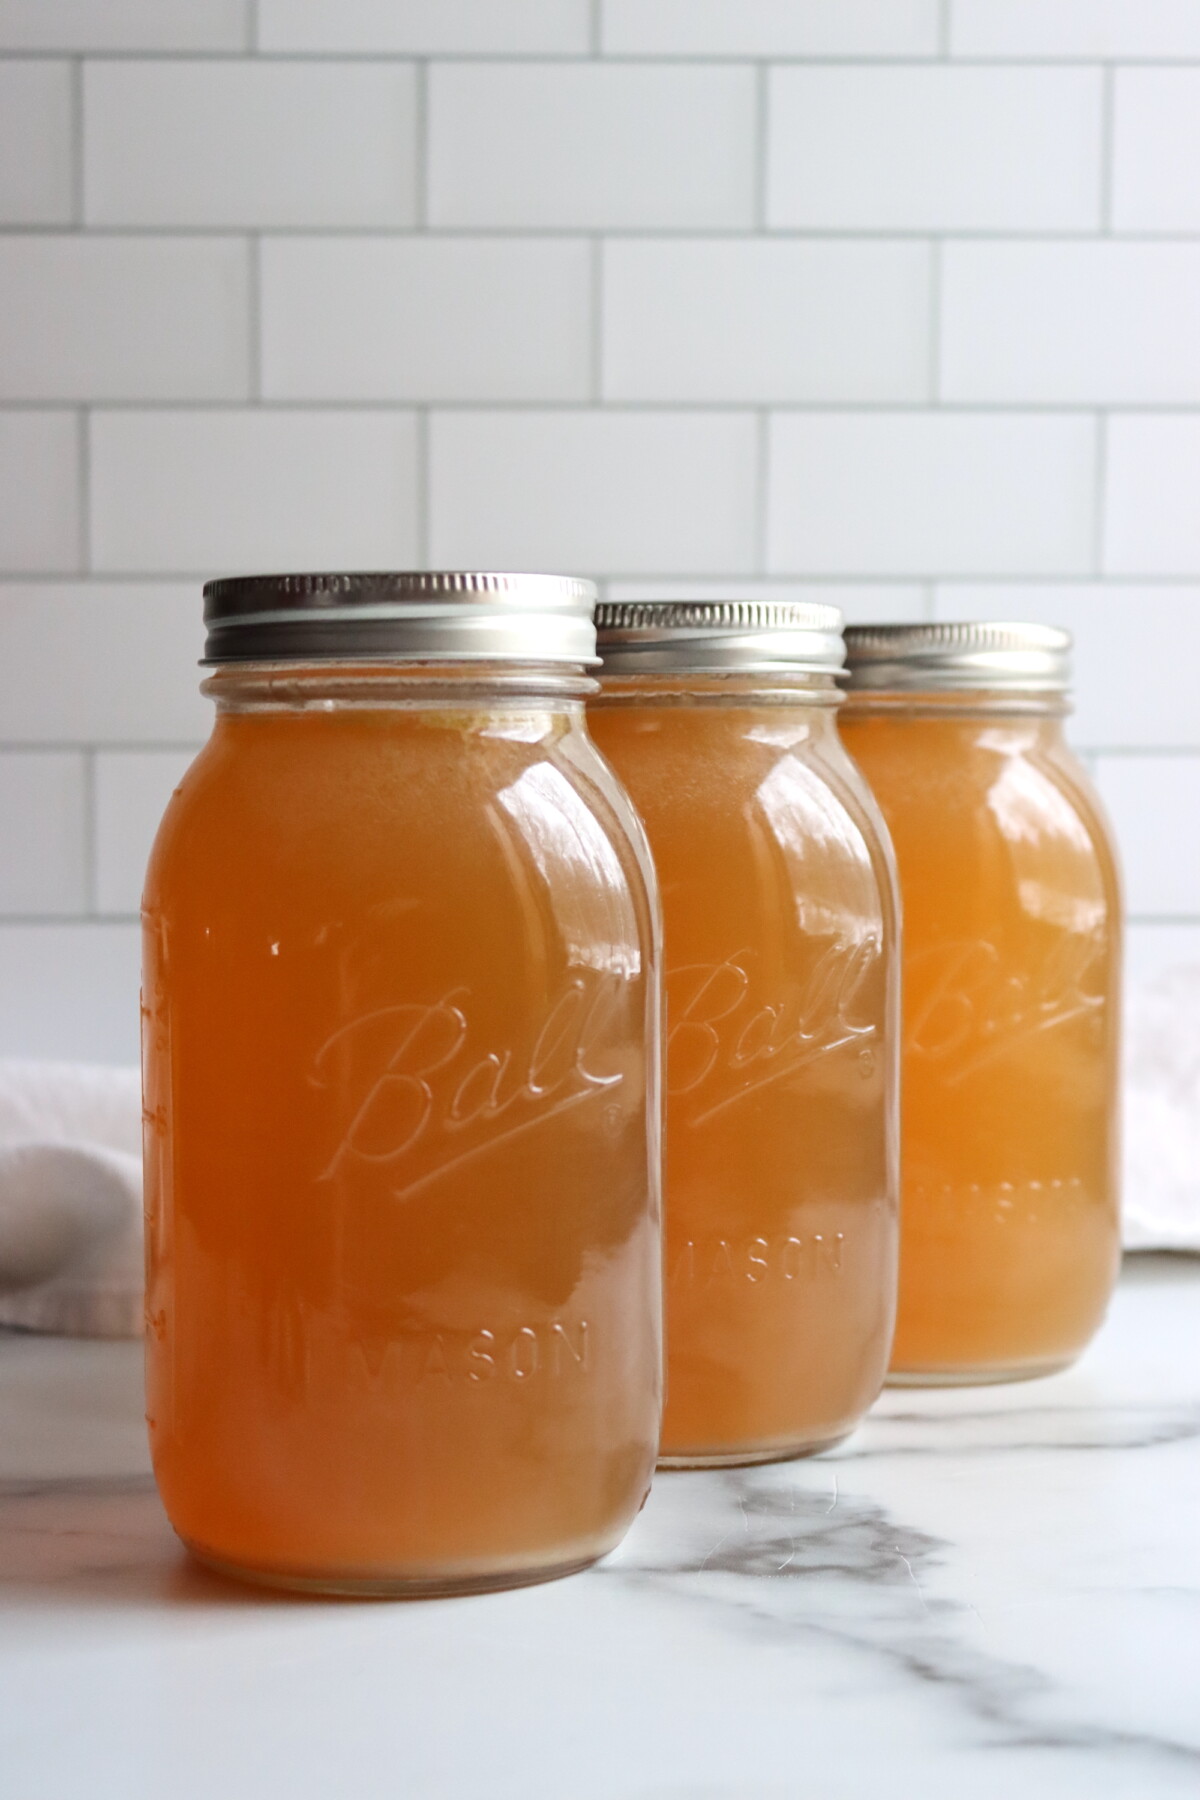
Once you have it on the shelf, turkey stock is one of those quiet pantry workhorses: soups, gravy, stuffing, rice, beans, braises, pot pie filling, and anywhere you’d normally reach for boxed broth.
Turkey Broth for Canning FAQs
No. Turkey stock and broth are low-acid foods, so they must be pressure canned for shelf-stable storage. Water bath canning isn’t safe for plain stock or broth.
Stock and broth are closely related, and people use the words interchangeably, but there are a few classic differences:
Stock is usually made by simmering bones (plus a bit of meat/cartilage) for a long time (often 4–8+ hours) to pull out collagen. That’s why stock is richer and often gels when chilled. It’s typically unseasoned or lightly seasoned, making it a neutral base for sauces and cooking.
Broth is usually made by simmering meat and/or vegetables for a shorter time (often 1–2 hours). It tends to be thinner, usually seasoned, and is great for sipping or a lighter soup base.
For canning purposes, the good news is that both turkey stock and turkey broth can be canned using this same pressure-canning recipe and processing times, as long as it’s a strained liquid (not thickened) and you follow safe pressure canning directions.
No, but it’s worth it. Roasting adds a deeper, more savory “toasty” flavor and darker color. If you’re short on time, you can skip roasting and go straight to simmering—the canning steps stay the same.
You do need to start with cooked meat/bones in this recipe. If you’re not using a stripped carcass from a roasted turkey, but instead have raw bones, then they do need to be completely pre-cooked before they go into the broth.
Removing fat improves both seal quality and shelf life. Too much fat can work its way onto the rim during filling or processing and interfere with a strong seal. It can also go rancid over time and shorten the quality of the finished jars.
If you do have fat in your sealed jars, that’s fine, and they are still safe to use so long as they were processed appropriately and sealed correctly. Keep in mind they might not maintain quality as long, but they’re still considered a safe product if sealed.
Broth and Stock Canning Recipes
If you tried this Turkey Broth Canning Recipe, or any other recipe on Creative Canning, leave a ⭐ star rating and let me know what you think in the 📝 comments below!
And make sure you stay in touch with me by following on social media!
Canning Turkey Broth
Equipment
Ingredients
- 8 quarts water, enough to cover all ingredients
- 1 large Leftover turkey bones and carcass, legs, wings, and any skin
- 2 large carrots, washed, unpeeled
- 2 large celery stalks, or celery tops
- 1 large onion, or onion skins and ends
- 1 bulb garlic, sliced in half
- 2 whole bay leaves
- 4 sprigs fresh thyme, or 1 tsp dried
- 4 sprigs fresh parsley, or 1 tsp dried
- 10 whole black peppercorns
Instructions
- Preheat the oven to 400 F. Roast turkey bones and carcass in a roasting pan for 30–45 minutes, until browned.
- Transfer the roasted bones to a large stockpot. Add onion, garlic, celery, carrots, bay leaves, thyme, parsley, and peppercorns.
- Add 6–8 quarts of water (or enough to cover the bones and vegetables). Bring just to a simmer over low heat.
- Simmer gently for 4–8 hours, adding a bit more water as needed to keep the bones covered.
- Strain the broth and let it cool enough to handle safely. Skim off as much fat as you can.
- Reheat the broth to a full boil.
- Ladle boiling broth into hot jars, leaving 1-inch headspace. Remove bubbles, adjust headspace if needed, wipe rims, and apply lids and rings fingertip-tight.
- Place jars in a pressure canner with the amount of water recommended by the canner manufacturer. Lock the lid, vent steam for 10 minutes, then bring the canner up to pressure.
- Process pints for 20 minutes, quarts for 25 minutes (adjust pressure as needed for your canner type and elevation, see notes).
- Turn off heat and allow the canner to depressurize naturally. Once at zero pressure, wait 10 minutes, then remove the lid carefully.
- Remove jars and cool undisturbed for 12–24 hours. Check seals, label, and store sealed jars in a cool, dark place. Refrigerate any unsealed jars and use within a few days.
Notes
Altitude Adjustments
Canning time remains the same regardless of altitude. However, the processing pressure increases as altitude increases. For dial gauge pressure canners:- 0 to 2,000 feet in elevation – 11 lbs pressure
- 2,001 to 4,000 feet in elevation – 12 lbs pressure
- 4,001 to 6,000 feet in elevation – 13 lbs pressure
- 6,001 to 8,000 feet in elevation – 14 lbs pressure
- Above 1,000 feet – 15 lbs pressure
- 0 to 1,000 feet in elevation – 10 lbs pressure
Nutrition
Nutrition information is automatically calculated, so should only be used as an approximation.
Turkey Canning Recipes
Find the perfect recipe
Searching for something else? Enter keywords to find the perfect recipe!
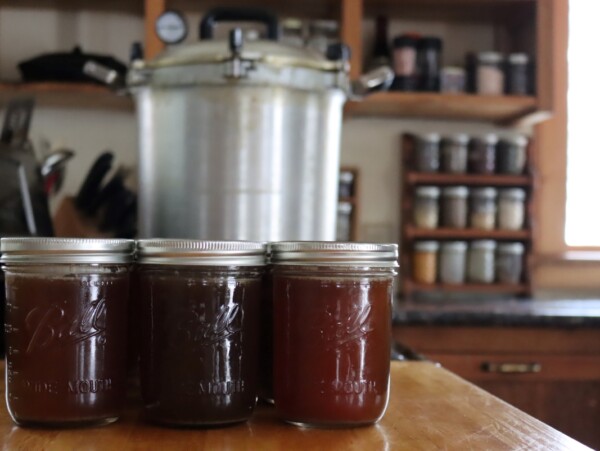
I found several boxes of 3/4 pint standard mouth canning jars and use those for my broth. When taking into account the headspace, each jar holds slightly more than 1 cup, and this works out well for me as it seems most of my recipes require 1 cup of broth.
Since processing times aren’t given for 3/4 pint jars, I just use the 1 pint jar processing times..
Sound’s perfect! You can definitely use smaller jars with the same processing time as pint jars, that’ works well.
When this canner load of broth is complete, I’ll have “converted” all the turkey carcasses into broth and I’ll have three dozen 3/4 pint jars on the pantry shelf.
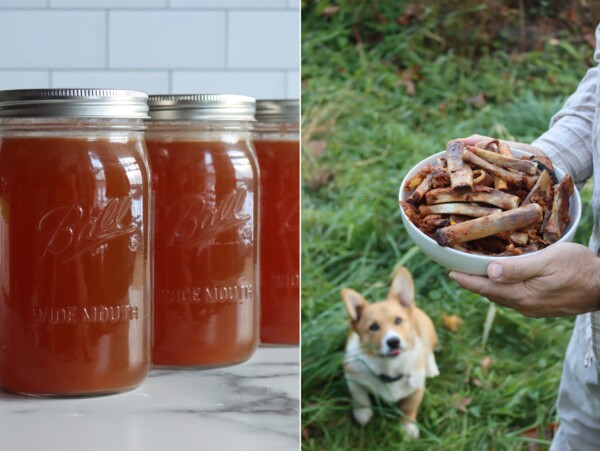
Our two dogs are fascinated by what I’m doing. 🙂
Ha! My dog is always fascinated by my canning kitchen, but he’s extra excited on broth and stock day since he gets the meat scraps that fall off the bones after its strained =)
Such a wonderful way to get one more use out of your thanksgiving turkey! This recipe is so satisfying to make, transforming bones into something that’ll be the base for future meals all winter long.