This post may contain affiliate links. Please see our disclosure policy.
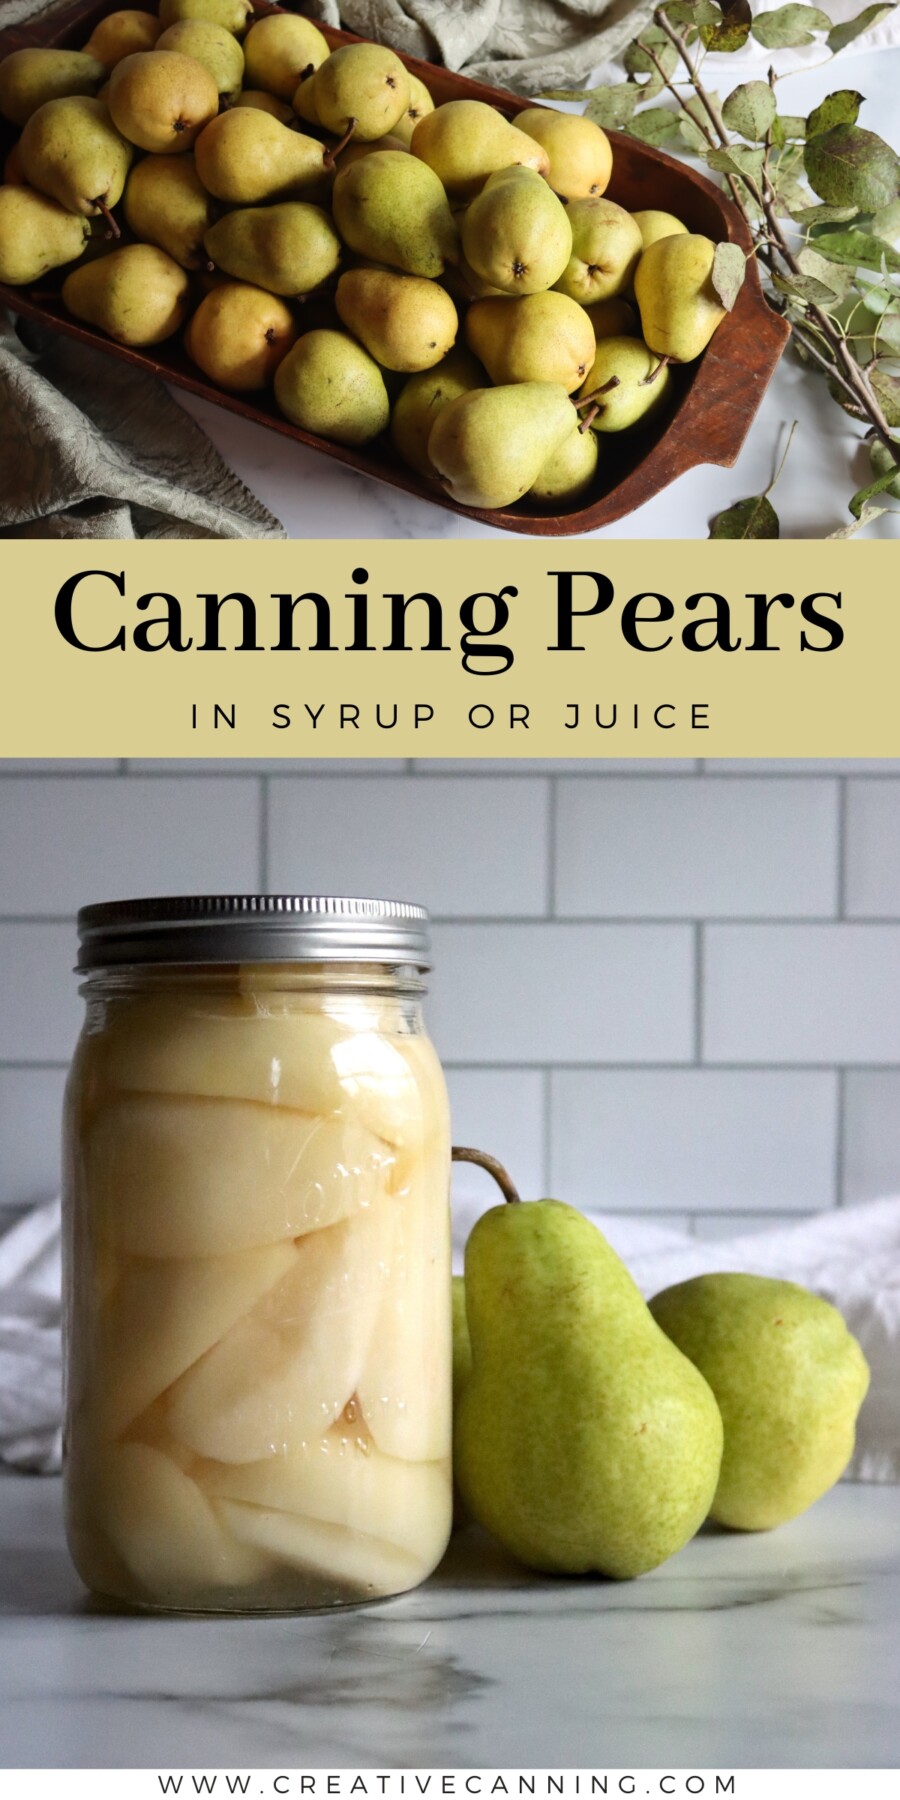
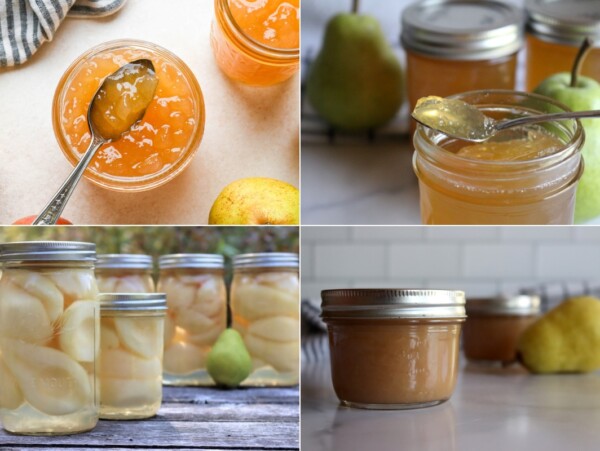
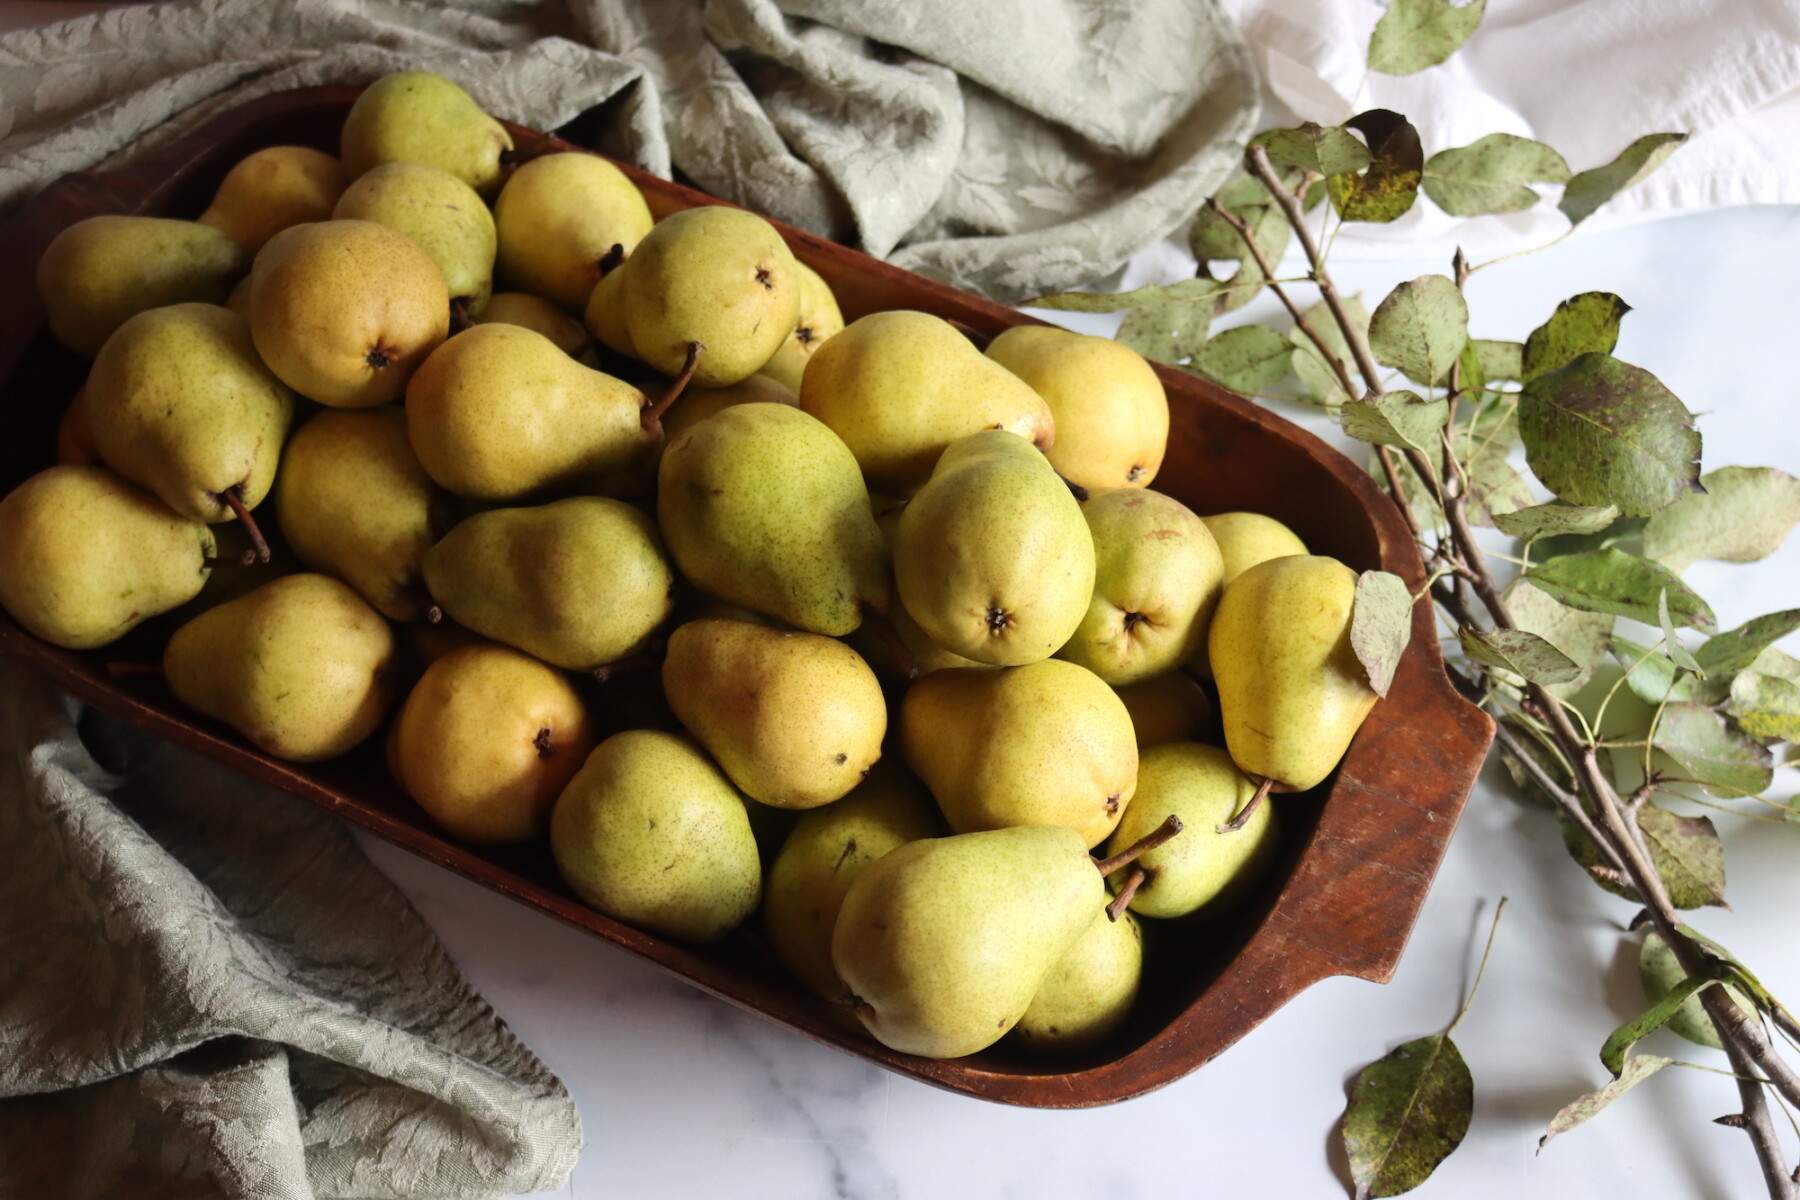
Canning pears at home is one of the easiest and most rewarding ways to preserve the fall harvest. When packed in a simple sugar syrup, pears hold their shape and flavor beautifully, unlike many other fruits that soften or fall apart.
Whether you’re using fruit from a backyard tree or a bulk market haul, this tested recipe ensures safe, shelf-stable jars that are just as good on oatmeal as they are in desserts.
When the orchard pears come in heavy, canning them in syrup is one of my favorite ways to preserve the bounty. Unlike other fruits that break down during canning, pears tend to hold their structure, turning tender without becoming mushy. That makes them perfect for everything from snacking to baking.
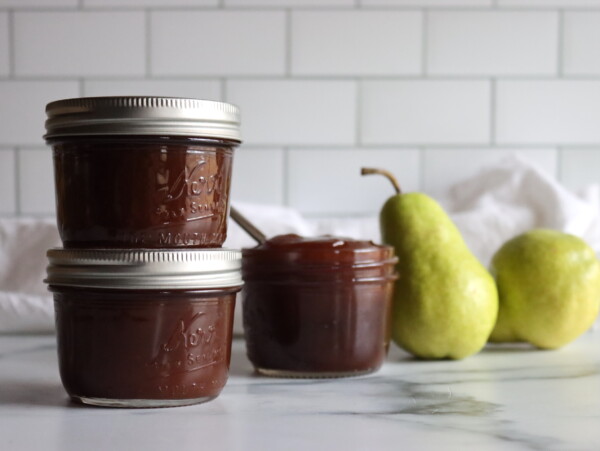
The firm texture of pears holds up to extended cooking, and that’s one reason they’re actually tricky to make into pear sauce or pear butter. You have to whip out a food mill or immersion blender, they just won’t fall apart on their own. That makes them perfect for canning in syrup, or if you’re feeling adventurous, try canning pear pie filling for a pre-thickened preserve. It’s one of my favorite pear canning recipes.
Pears also work well in pear jam, but again, you’ll need to dice them finely as the chunks just don’t fall apart as the jam cooks. Pear preserves solve this problem, and keep everything chunk in a sweet syrup.
All of those specific recipes take advantage of the fact that pears really hold up well to canning, and there’s no simpler way than waterbath canning pears in syrup to stock your pantry shelf.
This water bath canning method uses a hot pack process, where the pears are gently simmered in syrup before going into jars.
You can choose your syrup strength—from extra light to heavy—or even skip the sugar altogether and use fruit juice instead. The process is flexible, safe, and a lovely way to bottle up the flavor of fall.

A Quick Look at the Recipe
- Recipe Name: Canning Pears
- Recipe Type: Fruit in Syrup or Juice
- Canning Method: Waterbath Canning
- Prep/Cook Time: 30 Minutes
- Canning Time: 20 Minutes for Pints, 25 Minutes for Quarts
- Yield: 7 quarts (see notes for pint instructions)
- Jar Sizes: Half Pint, Pint or Quart
- Headspace: 1/2 inch
- Ingredients Overview: Pears and Sugar
- Safe Canning Recipe Source: National Center for Food Preservation
- Difficulty: Easy! Once you make the syrup for canning, everything just goes into the jars for processing.
- Similar Recipes: The process is very similar to making other fruits canned in syrup, including canning pineapple, canning grapes, canning apricots, canning oranges, or canning cherries.
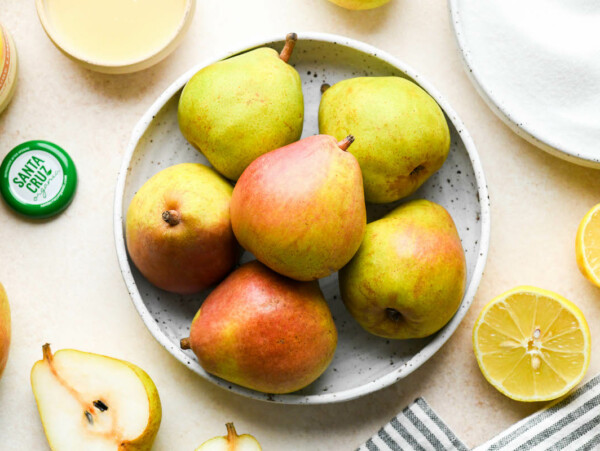
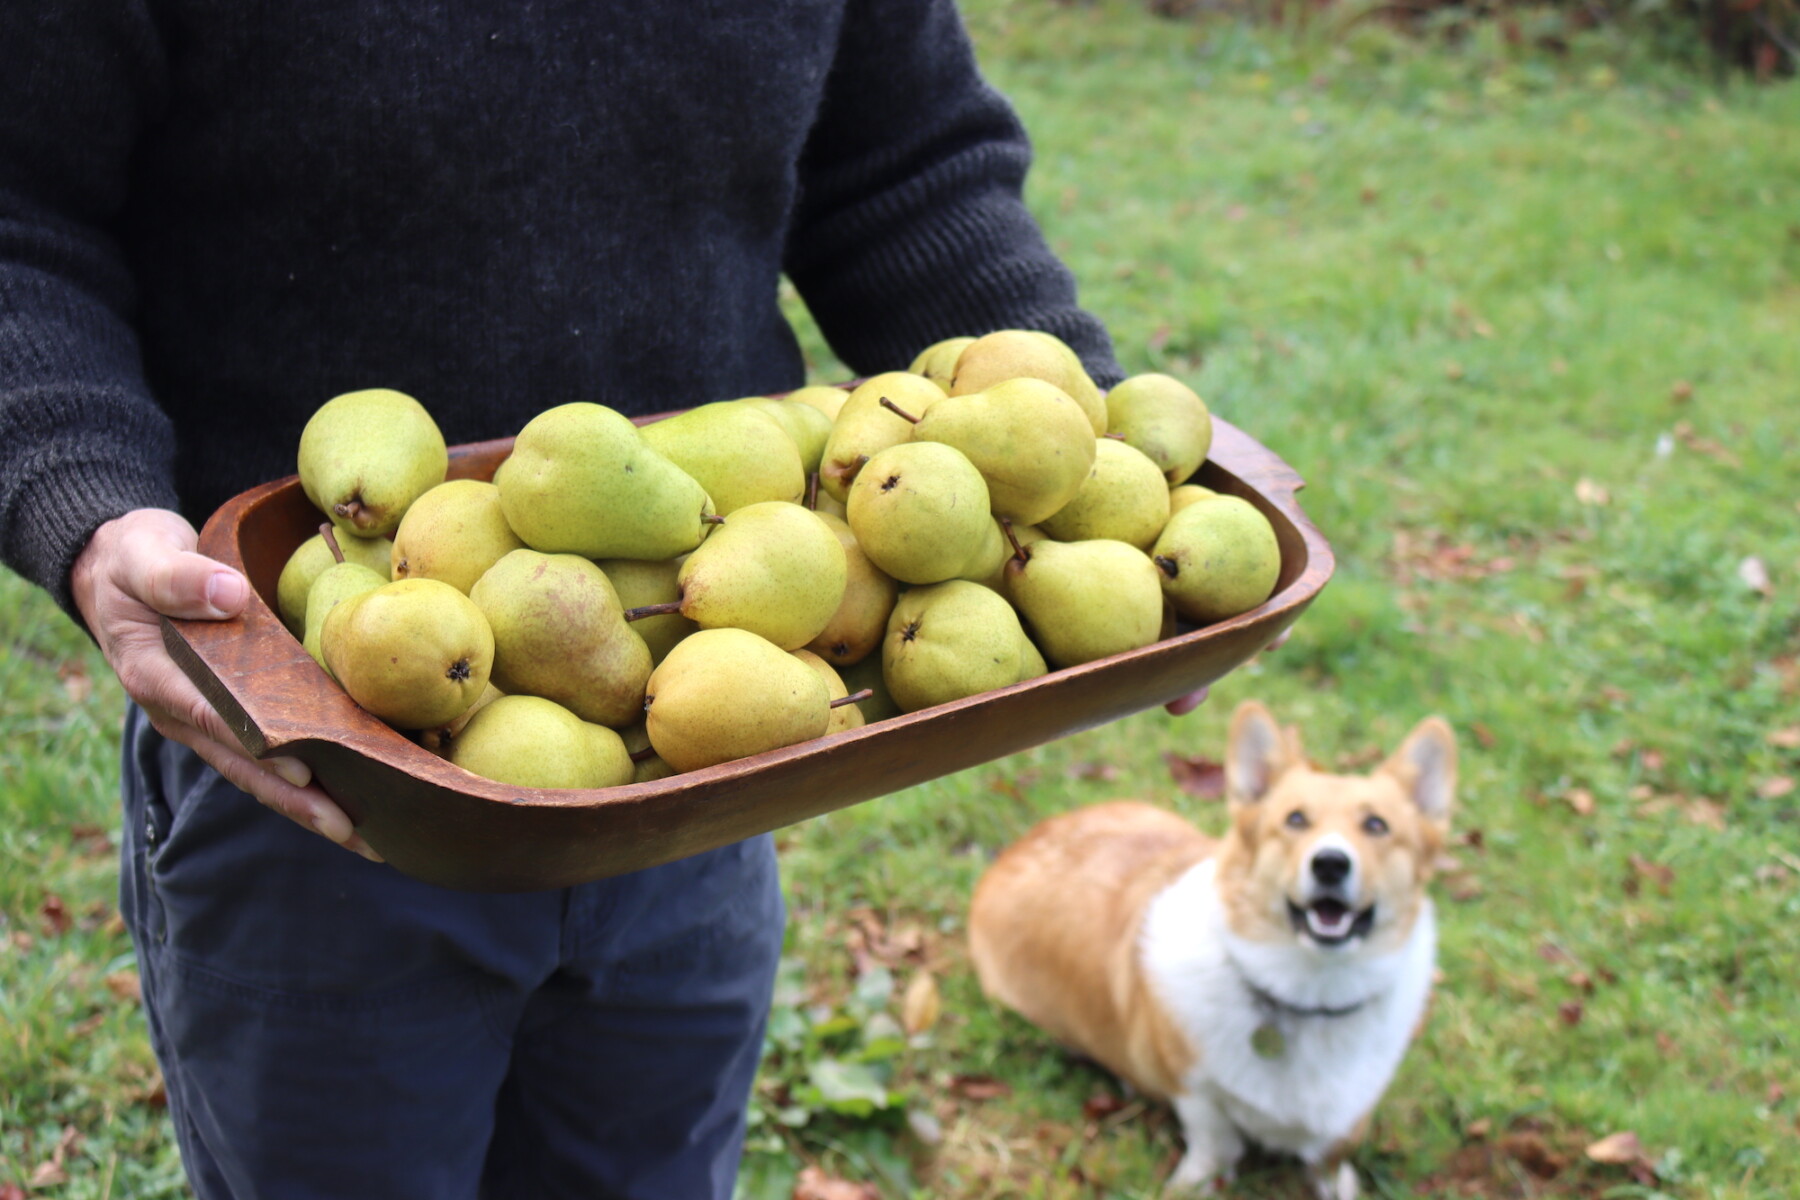
Best Pears for Canning
The best pears for canning are firm, ripe, and free of blemishes. Overripe pears tend to tasty mealy, even when cooked, while under-ripe fruit won’t soften properly or absorb the syrup. Look for pears that give slightly when pressed but aren’t mushy.
Bartlett pears are the traditional choice for canning thanks to their smooth texture and naturally sweet flavor. And, quite frankly, because they’re available everywhere and go on sale in season. But Bosc, Anjou, Seckel and even Kieffer pears also work well. Kieffer pears, in particular, are firm and tart, which helps them hold up beautifully in syrup-based preserves.
Syrups for Canning Pears
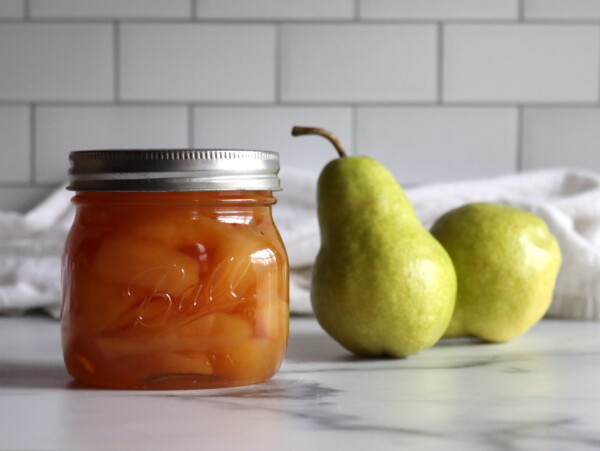
You can use canning syrup for pears, depending on your taste and how sweet the fruit is. I like using extra light syrup because it mimics the natural sweetness of the pears. Pears canned in water will lose sweetness to the canning water and taste washed out. Extra light syrup maintains their natural sweetness, but doesn’t make them any sweeter than they already are.
That said, many people prefer light or medium syrup for eating out of the jar, or even heady syrup for a more candied flavor.
Canning syrup sugar quantities are written by “canner batch” either for a batch of 9 pints or 7 quarts, as that’s what often fits in a standard canner. Adjust the batches according to your batch size.
For a 9-Pint Canner Batch, you’ll need the following amounts:
- Extra-light syrup: 3/4 cups sugar to 6 1/2 cups water
- Light syrup: 1 1/2 cups sugar to 5 3/4 cups water
- Medium syrup: 2 1/4 cups sugar to 5 1/4 cups water
- Heavy syrup: 3 1/4 cups sugar to 5 cups water
- Extra-Heavy Syrup: 4 1/4 cups sugar to 4 1/4 cups water
For a 7-Quart Canner Batch, you’ll need the following amounts:
- Extra-light syrup: 1 1/4 cups sugar to 10 1/2 cups water
- Light syrup: 2 1/4 cups sugar to 9 cups water
- Medium syrup: 3 3/4 cups sugar to 8 1/4 cups water
- Heavy syrup: 5 1/4 cups sugar to 7 3/4 cups water
- Extra-Heavy Syrup: 6 3/4 cups sugar to 6 1/2 cups water
You can also substitute fruit juice (like apple or white grape juice) or plain water if you’re looking for a no-sugar option. Just know that water-packed pears will be safe, but the flavor may be flat.
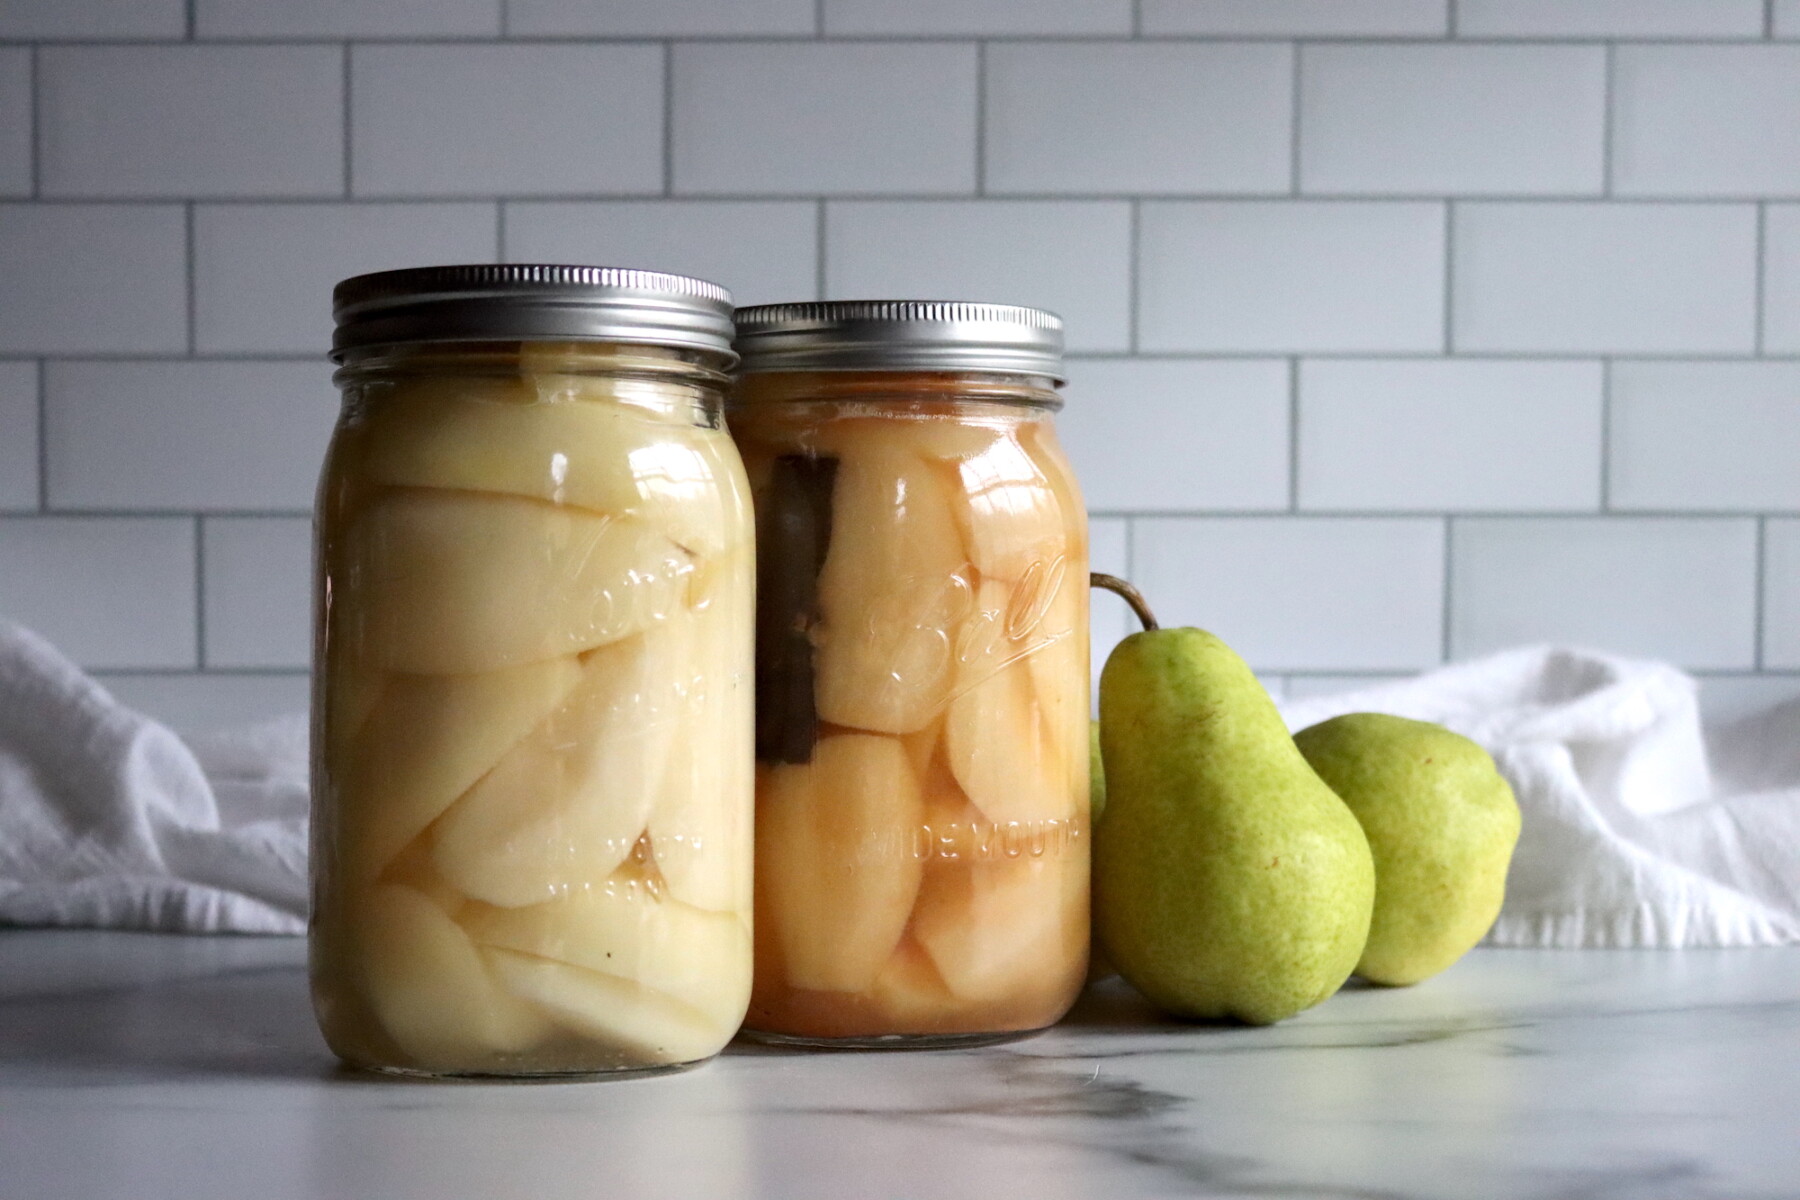
Ball Canning has a recipe for Canning Pears in Cinnamon Cider which is just pears canned in apple cider with a cinnamon stick added into the jar. It’s delicious, and an easy substitution to make in this recipe.
You can also use other more highly flavored juices like cranberry juice, pomegranate juice, orange juice or pineapple juice for something really unique. Keep in mind that those juices will flavor the pears, and that may or may not be to your liking. Pears in white wine or red wine also works, but again, try a small batch before committing to make sure you like it.
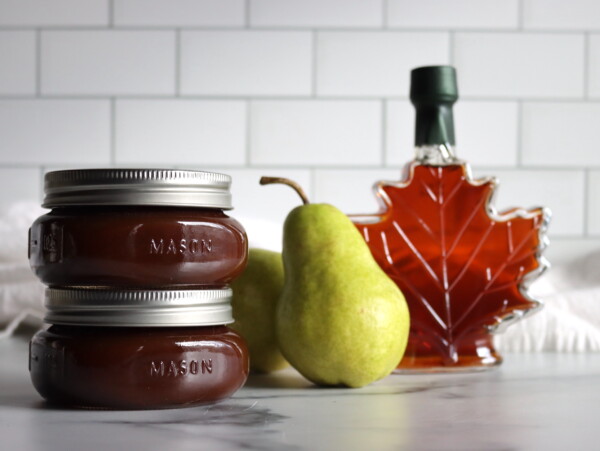
Honey or maple syrup work wonderfully as well, but keep in mind they’re sweeter than sugar so you’ll only need about 2/3 to 3/4 as much to get the same sweetness as sugar.
Preparing Pears for Canning
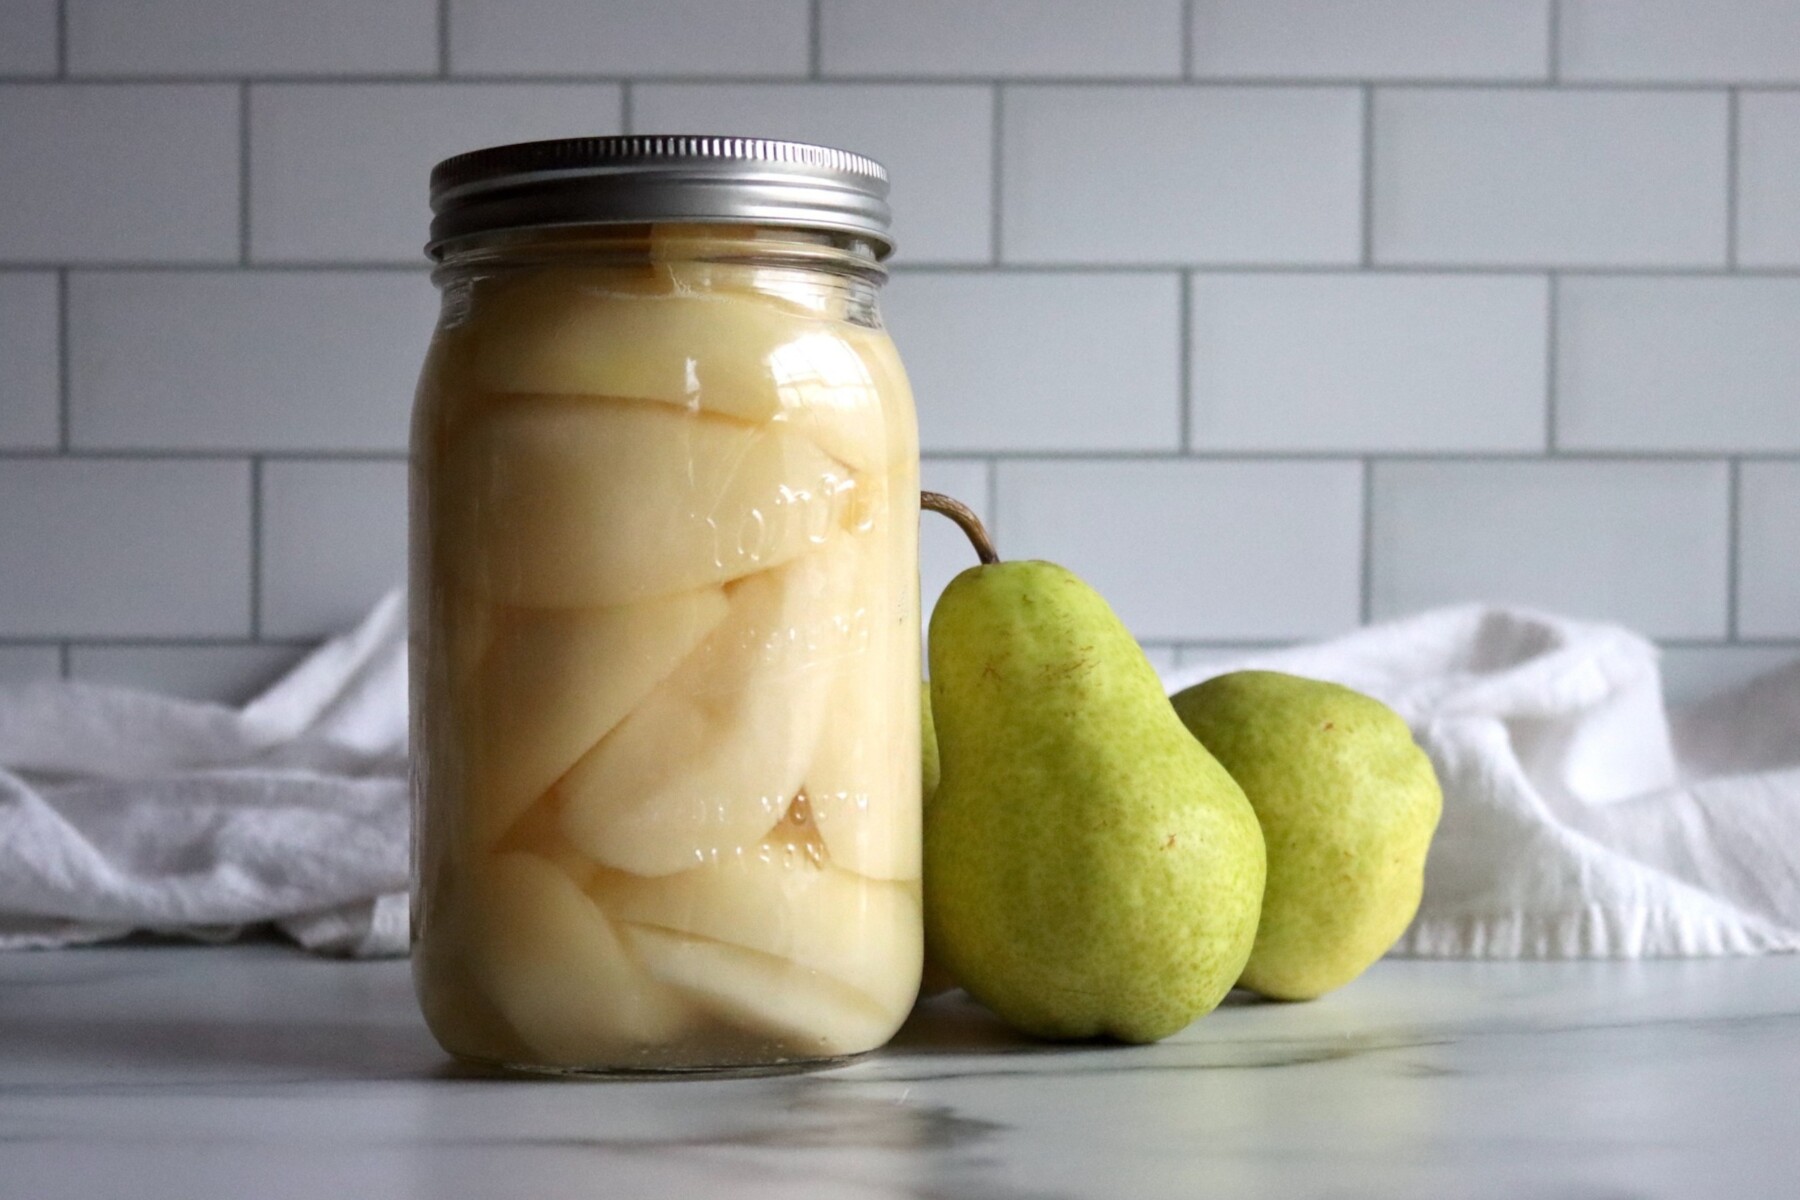
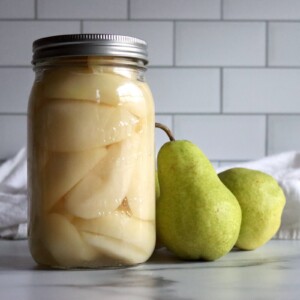
Start by washing, peeling, and halving the pears. Remove the cores with a melon baller, teaspoon measuring spoon, or any small spoon. That’s especially handy when canning pear halves, as it can be tricky to get the cores out of the halves with a knife.
If you’re canning pears in quarters or slices, that’s less critical, and you can easily run a knife down the pear quarters and remove the cores and seeds.
Very small pears under 2’’ in diameter can be canned whole with stems intact. That’s an old fashioned technique, and it was once used to create beautiful garnishes on plates beside meats on holiday tables. These days, that’s less practical, though it’s still a handy technique if you want to make one of those dramatic quick bread loaves with whole pears baked into it.
Peeling is technically optional, and not required for canning safety, but it’s highly recommended for quality. The peels get tough in the canner, and they fall off the pear slices and float around the jars. It’s much nicer to peel the pears, and they’re tastier and more useful that way, align with prettier, of course.
To prevent peeled pears from browning as you work, prepare a simple pre-treatment before you start. Mix ½ cup bottled lemon juice with 2 quarts of cold water, or dissolve six crushed 500 mg Vitamin C tablets in a gallon of water. Drop peeled and sliced pears into the solution as you go, then drain before canning to keep their color bright and fresh.
Once the pears are peeled and prepped, prepare your syrup in a large pot by combining your chosen amount of sugar and water. Bring to a boil, stir until the sugar dissolves, then reduce to a simmer.
Simmer the drained pear halves in the hot syrup for 5 minutes. This is the hot pack method recommended by the USDA, and it ensures that the fruit heats evenly and won’t float in the jar.
Waterbath Canning Pears
Ladle the hot pear halves and syrup into prepared jars, leaving ½ inch headspace. De-bubble the jars with a non-metallic utensil, wipe the rims, and apply 2-part lids until fingertip-tight.
Process the jars in a boiling water bath canner, adjusting for elevation:
- Elevations 0–1,000 feet: 20 minutes for pints or 25 minutes for quarts
- Elevations 1,001–3,000 feet: 25 minutes or 30 minutes for quarts
- Elevations 3,001–6,000 feet: 30 minutes or 35 minutes for quarts
- Elevations Above 6,000 feet: 35 minutes or 40 minutes for quarts
After processing, turn off the heat and allow the jars to sit in the canner for another 5 minutes before removing them to cool on a towel on the counter. This can help prevent siphoning or liquid loss from jars, as well as thermal shock.
Once you remove the jars from the canner, Let them sit undisturbed for 12 to 24 hours before checking seals. Store any unsealed jars in the refrigerator for immediate use. Wash sealed jars, label and store in a cool, dark place for up to 18 months. Refrigerate after opening.
Pressure Canning Pears (Not Recommended)
While it’s technically possible to pressure can pears using either a dial-gauge or weighted-gauge canner, it’s not recommended. The higher temperature can cause the fruit to discolor and turn pink or brown, and it may alter the texture.
For best results, both in quality and appearance, stick with boiling water bath canning, which is the method used in all tested recipes from the USDA and Ball.
That said, if you’re bound and determined to pressure can pears, the processing time at pressure is 10 minutes for both pints and quarts. Pressure is adjusted to altitude, according to the following:
With a Dial Gauge Canner
- Elevations 0–2,000 feet: 6 pounds pressure
- Elevations 2,001–4,000 feet: 7 pounds pressure
- Elevations 4,001–6,000 feet: 8 pounds pressure
- Elevations 6,001–8,000 feet: 9 pounds pressure
With a Weighted Gauge Pressure Canner
- Elevations 0–1,000 feet: 5 pounds pressure
- Elevations 2,001 and above: 10 pounds pressure
Yield Notes
On average, you’ll need:
- 17½ pounds of pears for a full 7-quart canner load
- 11 pounds of pears for 9 pints
A single quart jar holds about 2½ pounds of fruit, and a pint usually holds about 1 ¼ pounds of fruit. If you’re canning a smaller batch, scale accordingly.
That said, the total yield will depend on the size of your pears and how you pack them. Pear halves, especially from large pears, pack less densely than pear slices or quarters. You’ll need more pears by weight if packing in smaller chunks.
Similarly, small pears have more waste in peels and cores, at least proportionally, and that may impact total yield.
Creative Canning Variations
Once you’ve mastered the basics, try these simple ways to put your own spin on canned pears:
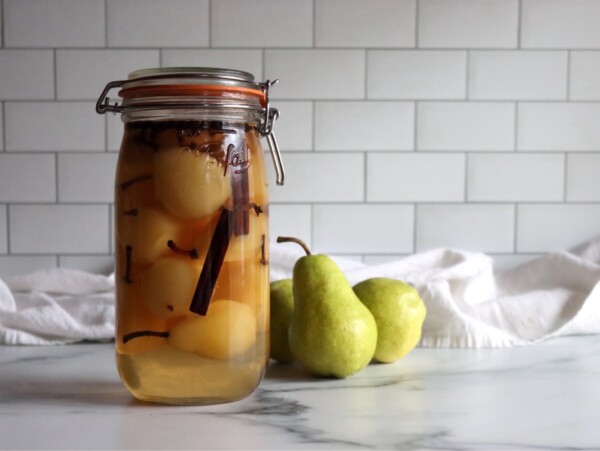
- Add warm spices like cinnamon sticks, cloves, or star anise to the syrup for a cozy fall flavor.
- Use part brown sugar in place of white sugar for a richer, caramel-like syrup.
- Infuse with vanilla by simmering a split vanilla bean in the syrup while it cooks.
- Try white grape juice or apple cider as a sugar-free alternative with better flavor than plain water.
- Slice instead of halve for fruit that’s easier to use in baking and desserts.
- Add a splash of brandy or bourbon for a grown-up twist. White wine works well too, for a sweet dessert pear, and red wine is great as a canning liquid for red wine poached pears. Liquor and wine are safe for canning, and can add great flavor.
Using Canned Pears
Canned pears are incredibly versatile. Serve them chilled straight from the jar, or warm them gently in syrup and spoon over pancakes, waffles, or oatmeal. They also make a great topping for yogurt or cottage cheese.
You can dice them into fruit salads, bake them into crisps and cobblers, or use the syrup to glaze cakes and quick breads. I’m particularly fond of making the NYT Plum Torte by substituting canned pear halves in place of the plums. It’s delicious!
And don’t toss the leftover syrup—it’s delicious stirred into tea, cocktails, or sparkling water.
Pear Canning Recipes
Canning Pears
Equipment
Ingredients
- 17½ pounds pears, Firm, ripe, about 2½ pounds per quart, see notes for pints
- 1 1/4 cups sugar, for extra light syrup, see notes
- 10 1/2 cups water, for extra light syrup, see notes
- Water and ascorbic acid or lemon juice, to prevent browning, see notes
Instructions
- Prepare a water bath canner, jars, and lids before you begin.
- Wash, peel, and halve the pears. Core them using a melon baller. Keep pears in acidified water until ready to use.
- In a large saucepan, prepare your desired syrup strength by combining sugar and water. Bring to a boil and stir until the sugar dissolves.
- Drain the pears and add them to the syrup. Simmer gently for 5 minutes.
- Pack hot pears into hot jars, cut side down, and ladle hot syrup over them to cover, leaving ½ inch headspace. De-bubble, wipe rims, and apply lids.
- Process pints for 20 minutes and quarts for 25 minutes, adjusting for altitude (see notes).
- Once processed, turn off the heat and let jars sit in the water for 5 minutes before removing.
- Let cool 12 to 24 hours before checking seals and storing.
Notes
Canning Syrups
The syrup used as a canning liquid can be adjusted to your taste, and these are the sugar amounts for various canning syrups: For a 9-Pint Canner Batch, you’ll need the following amounts:- Extra-light syrup: 3/4 cups sugar to 6 1/2 cups water
- Light syrup: 1 1/2 cups sugar to 5 3/4 cups water
- Medium syrup: 2 1/4 cups sugar to 5 1/4 cups water
- Heavy syrup: 3 1/4 cups sugar to 5 cups water
- Extra-Heavy Syrup: 4 1/4 cups sugar to 4 1/4 cups water
- Extra-light syrup: 1 1/4 cups sugar to 10 1/2 cups water
- Light syrup: 2 1/4 cups sugar to 9 cups water
- Medium syrup: 3 3/4 cups sugar to 8 1/4 cups water
- Heavy syrup: 5 1/4 cups sugar to 7 3/4 cups water
- Extra-Heavy Syrup: 6 3/4 cups sugar to 6 1/2 cups water
Preventing Browning
To prevent peeled pears from browning as you work, prepare a simple pre-treatment before you start. Mix ½ cup bottled lemon juice with 2 quarts of cold water, or dissolve six crushed 500 mg Vitamin C tablets in a gallon of water. Drop peeled and sliced pears into the solution as you go, then drain before canning to keep their color bright and fresh.Altitude Adjustments
Process the jars in a boiling water bath canner, adjusting for elevation:- Elevations 0–1,000 feet: 20 minutes for pints or 25 minutes for quarts
- Elevations 1,001–3,000 feet: 25 minutes or 30 minutes for quarts
- Elevations 3,001–6,000 feet: 30 minutes or 35 minutes for quarts
- Elevations Above 6,000 feet: 35 minutes or 40 minutes for quarts
Nutrition
Nutrition information is automatically calculated, so should only be used as an approximation.