This post may contain affiliate links. Please see our disclosure policy.
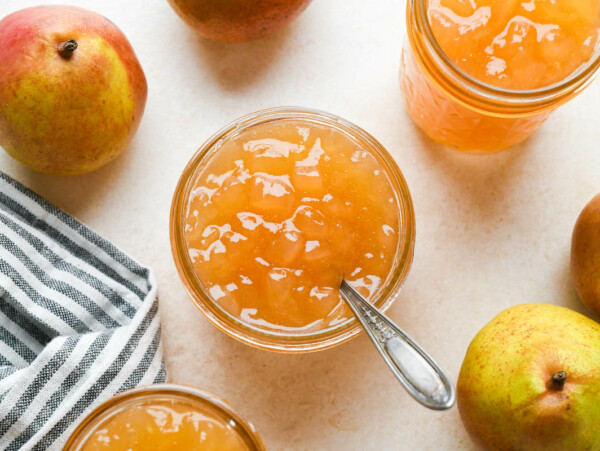
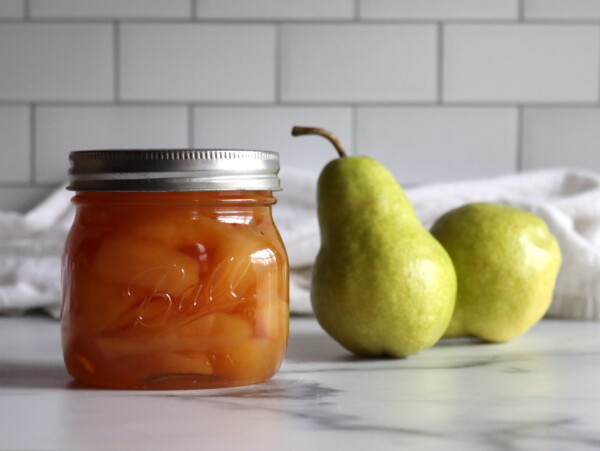
Canning pear pie filling is a practical and delicious way to preserve pears at their peak. With just a few pantry ingredients and some Clear Jel for thickening, you’ll have jars of silky, spiced pear filling ready for pies, crisps, cobblers, and more. This tested water bath canning recipe is perfect for stocking your pantry with ready-to-use homemade desserts.
Pear season always sneaks up on me just as I’m wrapping up my usual apple canning recipes and prepping for fall cleanup. While I love drying pears or canning pears in syrup, pear pie filling is a spectacular way to preserve this short season fruit. It’s a bit more work up front, but having jars of homemade pie filling on the shelf makes dessert as easy as rolling out a crust.
This recipe is safe for water bath canning, thanks to the addition of bottled lemon juice and the use of Clear Jel, a special thickener specifically approved for home canning. Once the jars are sealed and cooled, you’ll have a silky, spiced filling ready to go for pies, crisps, cobblers, and even spooned over yogurt or pancakes.
Whether you’re canning a full batch of 7 quarts or just putting up a single quart with your leftover pears, this is one recipe that deserves a spot in the pantry.
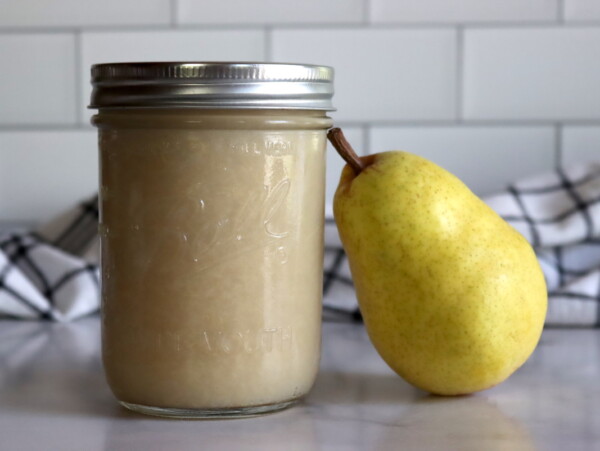
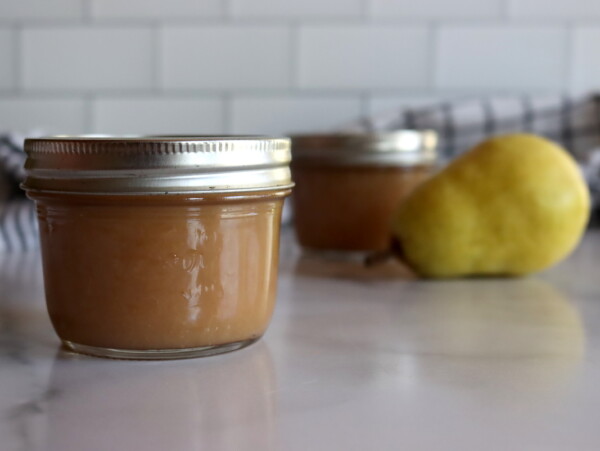
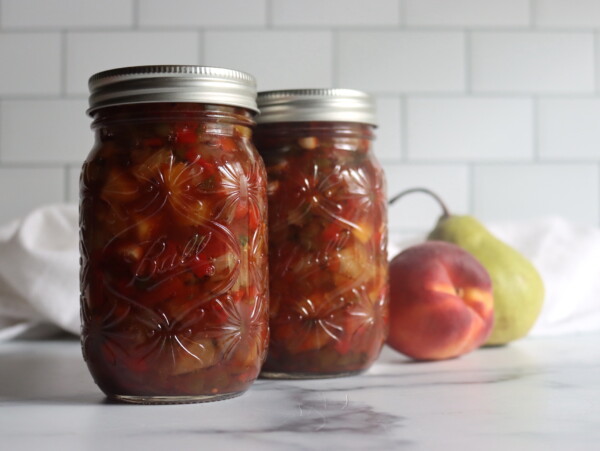
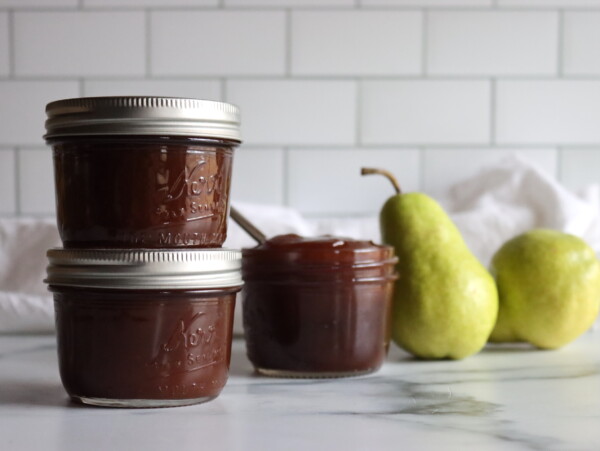
This recipe for canning pear pie filling is just one of many ways I preserve pears in season. I also have recipes for pear jam (my daughter favorite), pear jelly, pear sauce and my husband’s favorite Pear Butter to stock your pantry shelves. I even have a lovely recipe for pear salsa with honey and balsamic if you’re adventurous.
If you’re looking for other similar autumn pie filling recipes, try canning apple pie filling or if you still have late season blueberries in your fridge as I often do, canning blueberry pie filling is a great idea too. If you really want to turn heads at a pot luck, there’s even a tested canning recipe for green tomato pie filling canning recipe as well.
A Quick Look at the Recipe
- Recipe Name: Pear Pie Filling
- Recipe Type: Thickened Pie Filling with Clear Jel
- Canning Method: Waterbath Canning
- Prep/Cook Time: 30 Minutes
- Canning Time: 30 Minutes
- Yield: Either 1 Quart or 7 Quarts
- Jar Sizes: Half Pint, Pint or Quart
- Headspace: 1 inch
- Ingredients Overview: Pears, Clear Jel, Sugar and Water or Juice
- Difficulty: Moderate, be sure to follow the instructions closely for working with clear jel to avoid clumping
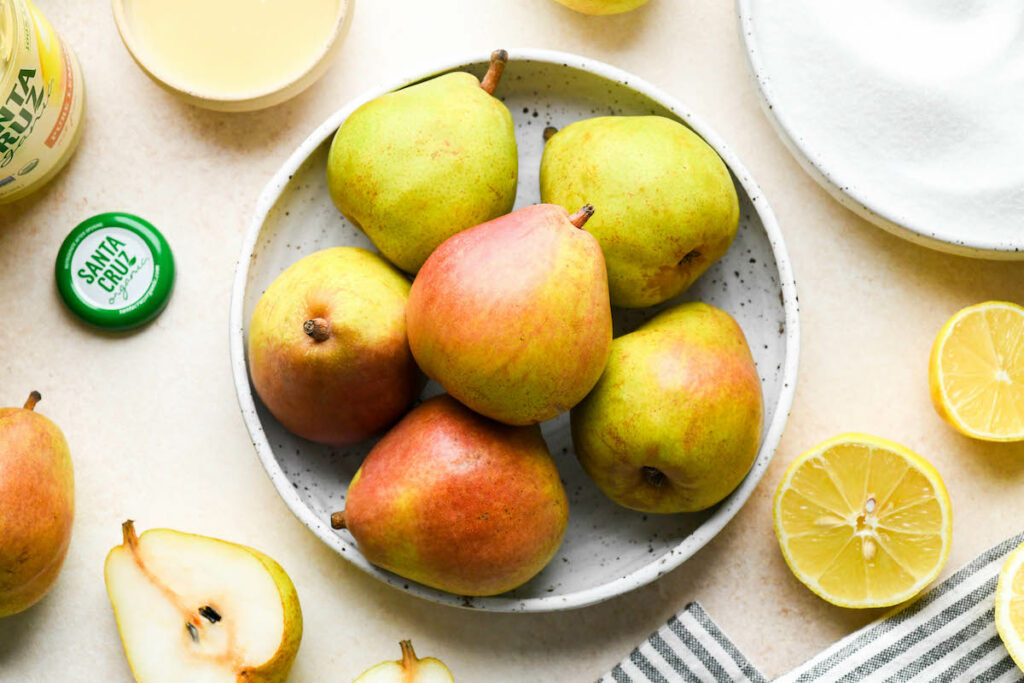
Ingredients for Pear Pie Filling
The ingredients here were developed by the University of Washington Cooperative Extension, and they tested making pear pie filling for canning as a variation on their canning recipe for peach pie filling.
For a single quart jar of pear pie filling, you will need:
- 3 ½ cups of pears, peeled and sliced
- 1 cup granulated sugar
- ¼ cup plus 1 tablespoon Clear Jel
- ¾ cup cold water (or juice)
- ¼ cup bottled lemon juice
- ⅛ teaspoon cinnamon (optional)
- ⅛ teaspoon almond extract (optional)
To yield a full 7-quart canner batch, the amounts are as follows:
- 6 quarts of pears, peeled and sliced
- 7 cups granulated sugar
- 2 cups plus 3 tablespoons Clear Jel
- 5 ¼ cups cold water (or juice)
- 1 ¾ cups bottled lemon juice
- 1 teaspoon cinnamon (optional)
- 1 teaspoon almond extract (optional)
Be sure to use Cook Type Clear Jel which is activated when heated, not the instant type. You cannog use instant clear jel instant, corn starch or flour in canning. Only “cook type” clear jel is safe and tested for canning. We buy ours in a 1 ½ pound tub from Hoosier Hill and it’s never failed to set in my pie filling canning recipes.
Sometimes I like to add a little cinnamon and almond extract to my pear filling, especially for pies, but both are optional. The bottled lemon juice is not optional—it ensures that the acidity level stays safe for water bath canning.
Prepping the Pears
Start by washing, peeling, and coring your pears, then slice them into uniform ½-inch wedges. It’s worth taking the time to make even cuts so everything cooks evenly and fits neatly into the jars.
Next, bring a large pot of water to a boil. Blanch the sliced pears for 1 minute, just until slightly softened, then drain and keep them warm.
This step helps remove excess air from the fruit, preventing shrinking and floating in the jar later. It also pre-cooks them, which believe it or not, actually helps prevent them from breaking apart when canned. By driving off the air, the pear slices are more stable and the air doesn’t rapidly expand in the fruit in the canner, which would break apart the pear slices.
Making Pear Pie Filling
In a separate pot, combine the sugar and Clear Jel, then whisk in the cold water (or juice, if you prefer).
It’s important that the liquid used here be room temperature or cold! When clear jel combines with hot liquid, it sets and clumps. It needs to dissolve in cold or room temperature liquid and then gradually warm to boiling as it thickens.
Add your spices and flavorings, if using. Set the pot over medium-high heat and stir constantly. The mixture will thicken gradually—don’t walk away.
Once it starts to bubble, stir in the bottled lemon juice and cook for one more minute. This thickened mixture is what gives your pie filling that rich, glossy consistency.
Remove the thickened syrup from heat and fold in the warm, blanched pear slices. Work quickly here so the mixture stays hot while you fill jars.
Canning Pear Pie Filling
Ladle the hot pie filling into prepared jars, leaving 1 inch of headspace. De-bubble each jar with a knife or spatula, and adjust headspace again if needed. Wipe the rims, apply 2-piece canning lids, and secure to fingertip tight.
Process jars in a boiling water bath canner, adjusting for altitude. (See below.)
Altitude Adjustments for Water Bath Canning
- 0 to 1,000 feet – Process for 30 minutes
- 1,001 to 3,000 feet – Process for 35 minutes
- 3,001 to 6,000 feet – Process for 40 minutes
- Above 6,000 feet – Process for 45 minutes
Once processing is complete, turn off the heat and allow the jars to rest in the canner for 5–10 minutes before removing. Let them cool undisturbed for 12 to 24 hours before checking seals.
Properly canned jars will keep in the pantry for up to 18 months. Store in a cool, dark place and refrigerate after opening.
Safe Recipe Changes
A few changes can be made to this recipe without affecting canning safety. You may wish to adjust sugar and spices to suit your particular taste. In addition to cinnamon, you can try adding additional warming spices such as nutmeg or cardamom. Other recipes recommend the inclusion of ginger or vanilla bean.
A few elements, however, cannot be altered. You cannot decrease the amount of lemon juice called for in the recipe – this amount is required for canning safety. And while you cannot increase the amount of Clear Jel called for in this recipe, you can decrease the amount used.
To make a looser set pie filling, you can decrease the amount of Clear Jel to ¾ the amount given (3 to 4 tablespoons per quart). Similarly, you can increase the amount of lemon juice used in the recipe for a more tart pie filling, but don’t decrease it.
Either way, be sure to use bottled lemon juice, rather than fresh, to ensure the required acidity needed for canning safety.
FAQ
No. Clear Jel is the only thickener approved for canning. Cornstarch, flour, tapioca, and other thickeners are not safe for home-canned pie fillings.
This recipe is designed for water bath canning due to the high acidity of the filling. Pressure canning is not necessary, and can result in quality issues. Clear jel isn’t designed for those high temperatures, and may lose thickening power, and it’s also likely to siphon as it expands in the pressure canner. Stick with waterbath canning for this recipe.
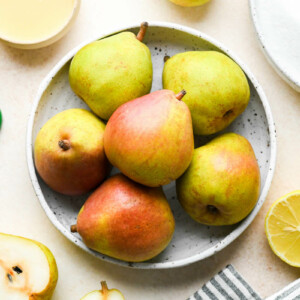
Use firm pears like Bartlett, Anjou, or Bosc. Softer pears will break down during cooking and result in mushy filling.
Properly sealed jars will maintain best quality for about 12 months in a cool, dark place. The jars are safe to eat so long as they’re sealed, but I’ve found that home canned pie fillings tend to separate and degrade in quality after a year. Refrigerate after opening.
Yes! You can change the sugar and spices in this recipe, as they’re for flavor rather than preservation. Do not change the amount of lemon juice, as that’s required for preservation. You can also reduce the amount of clear jel used for a thinner pie filling, but don’t increase it because it’ll be too thick for safe canning.
How to Use Canned Pear Pie Filling
Of course, this filling makes an incredible pear pie, especially when paired with a buttery lattice crust. But don’t stop there—it’s also delicious in:
- Crisps and cobblers topped with oat or biscuit topping
- Galettes or hand pies for a rustic treat
- Stirred into oatmeal or spooned over pancakes
- Layered into yogurt parfaits
- Baked into coffee cakes or muffins
It’s a versatile, shelf-stable preserve that brings the flavor of ripe pears to your table, no matter the season.
Pear Canning Recipes
Canning Pear Pie Filling
Ingredients
For a Single Quart:
- 3 ½ cups pears, peeled and sliced
- 1 cup sugar
- ¼ cup plus 1 tablespoon Clear Jel
- ¾ cup cold water, or juice
- ¼ cup bottled lemon juice
- ⅛ teaspoon cinnamon, optional
- ⅛ teaspoon almond extract, optional
For a 7 Quart Canner Batch:
- 6 quarts pears, peeled and sliced
- 7 cups sugar
- 2 cups plus 3 tablespoons Clear Jel
- 5 ¼ cups cold water, or juice
- 1 ¾ cups bottled lemon juice
- 1 teaspoon cinnamon, optional
- 1 teaspoon almond extract, optional
Instructions
- This is a flexible recipe that allows you to choose to make the pie filling by the quart or by the 7 quart canner batch. Choose which version you're making and use only the ingredients for your batch size listed above.
- Prepare jars, lids, and water bath canner.
- Wash, peel, and core your pears. Cut into slices ½ inch thick.
- Fill a pot with a few quarts of water and bring to a boil. Cook the pear slices for one minute after the water has returned to a boil to blanch the fruit. Remove and drain, placing in a covered dish to hold in the heat.
- In a fresh pot, combine sugar and Clear Jel. Add the room temperature or cold water (or juice) and spices. Do not use the hot blanching liquid, it'll clump the clear jel. Stir or whisk until the Clear Jel has fully dissolved.
- Once entirely dissolved, set heat to medium-high. Stir the mixture continuously as it thickens and heats. When bubbling, add the lemon juice and boil for one more minute, stirring all the while.
- Remove from heat, fold in the drained, blanched fruit into the thickened clear jel and ladle into prepared canning jars. De-bubble the mixture and leave 1 inch headspace before cleaning the rims and applying 2-part canning lids. Immediately process in a water bath canner, processing both pints and quarts for 30 minutes below 1,000 feet in elevation (adjusting time as needed for altitude, see notes).
- Once processing time is complete, turn off the heat and allow the jars to rest for another 10 minutes. Remove with the help of a jar lifter and place atop a towel to cool, undisturbed.
- Check seals after 12 to 24 hours. Move any unsealed jars to the refrigerator for prompt consumption. Properly stored and sealed jars will keep at the best quality for one year. Refrigerate after opening.
Notes
Altitude Adjustments
This recipe can be canned in pints or quarts, and the canning times are the same fore both jar sizes.- 0 to 1,000 Feet in Elevation: 30 minutes
- 1,001 to 3,000 Feet in Elevation: 35 minutes
- 3,001 to 6,000 Feet in Elevation: 40 minutes
- Above 6,000 Feet in Elevation: 45 minutes
Nutrition
Nutrition information is automatically calculated, so should only be used as an approximation.
Such a unique twist on classic apple pie. Pear pie is just as tasty, if not better, and it’s delicious used in other homemade desserts too. I like pear pie filling as a layer between cakes, or used to make shortbread crumble bars.