This post may contain affiliate links. Please see our disclosure policy.
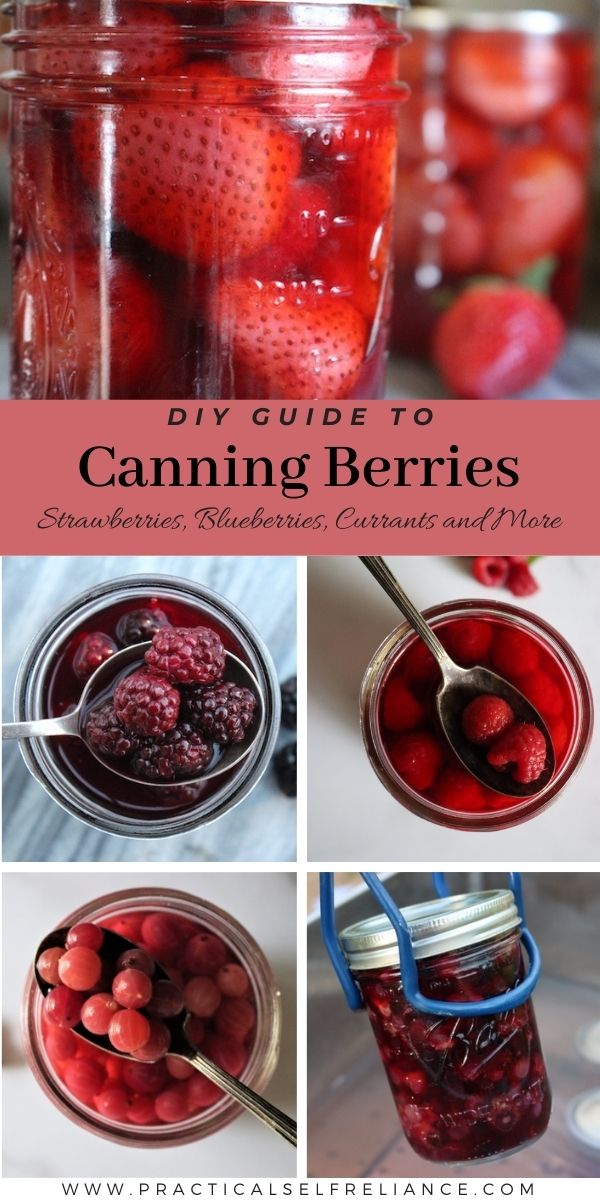
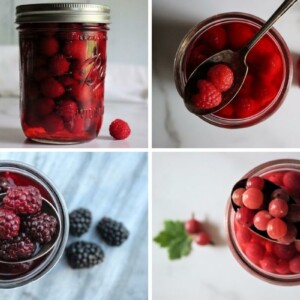
Canning berries is a simple way to preserve them right on the pantry shelf, and they’re perfect for homemade muffins, cobblers, or eaten with a spoon right out of the jar.
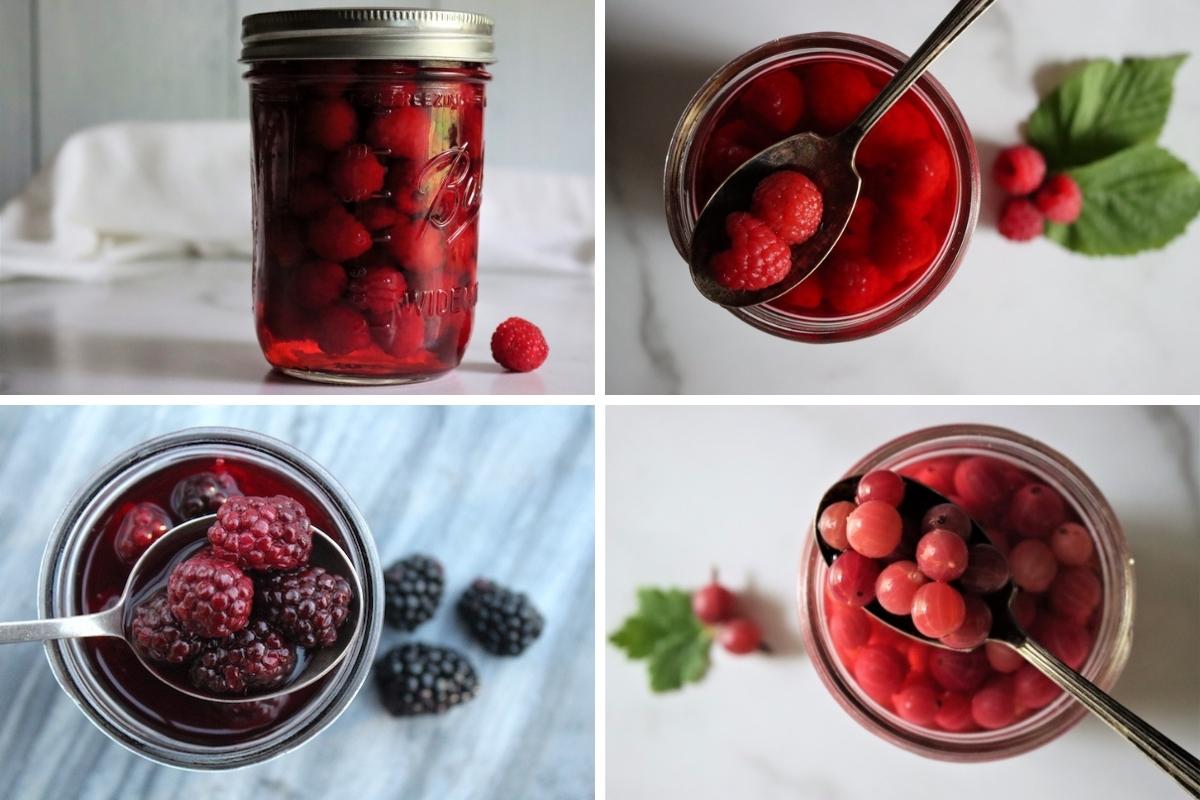
Nothing quite captures the essence of a fruitful summer like the sweet burst of a freshly-picked berry straight from the vine.
But what if you could extend the joy of berry season through the colder months and beyond? Canning is the answer! Here’s how you can savor summer with your very own canned berries, ready for indulging in a berry compote, atop pancakes, or simply by themselves.
Whether you’re looking to preserve your berry harvest or create delectable homemade treats, this article has you covered.
Best Berries for Canning
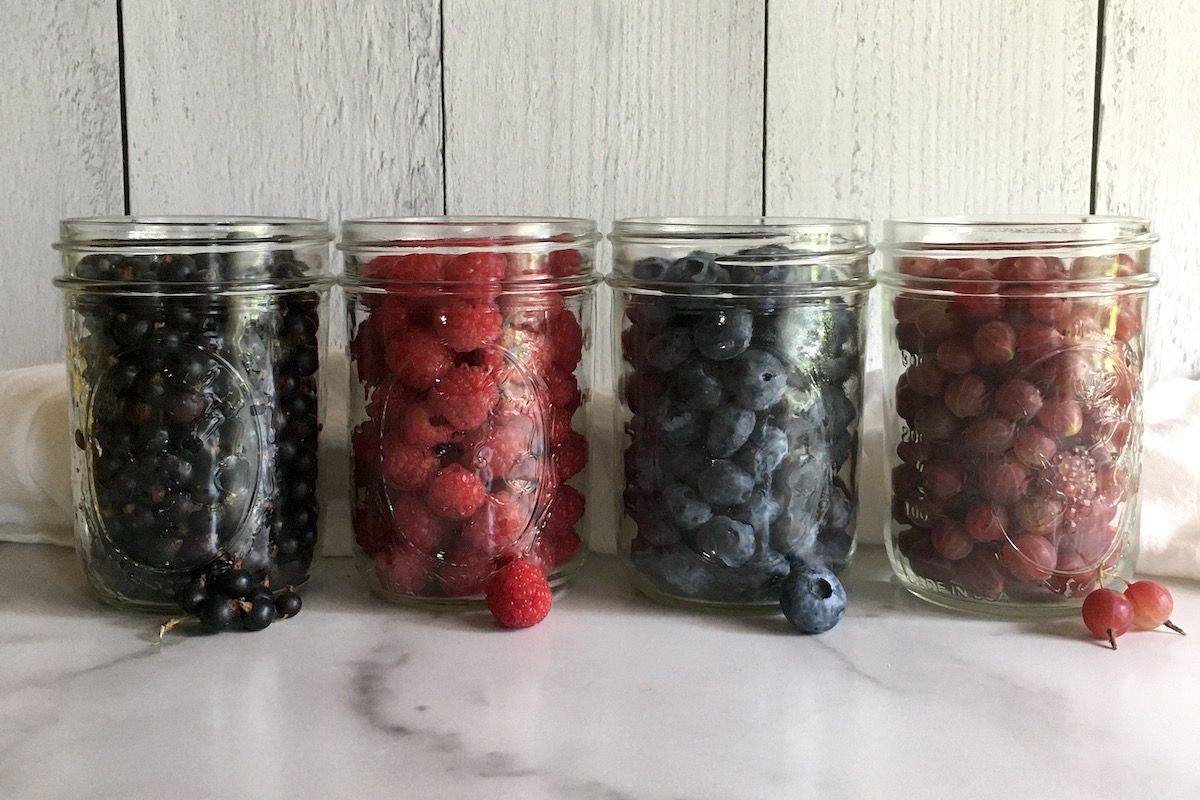
These canning instructions can be used for any of the following types of berries:
- Blackberries
- Blueberries
- Currants
- Dewberries
- Gooseberries
- Huckleberries
- Loganberries
- Mulberries
- Raspberries
Unfortunately, these berry canning instructions cannot be used for elderberries. Elderberries are less acidic than most berries, with a pH that’s often right around 5.0. Berries must have a pH of under 4.6 to be safe for water bath canning.
There are a few safe, tested recipes for canning elderberries, including elderberry jam and elderberry jelly. Besides those, elderberries can be preserved in the freezer, dehydrator, or freeze dryer.
Please only use the types of berries listed above when water bath canning berries at home.
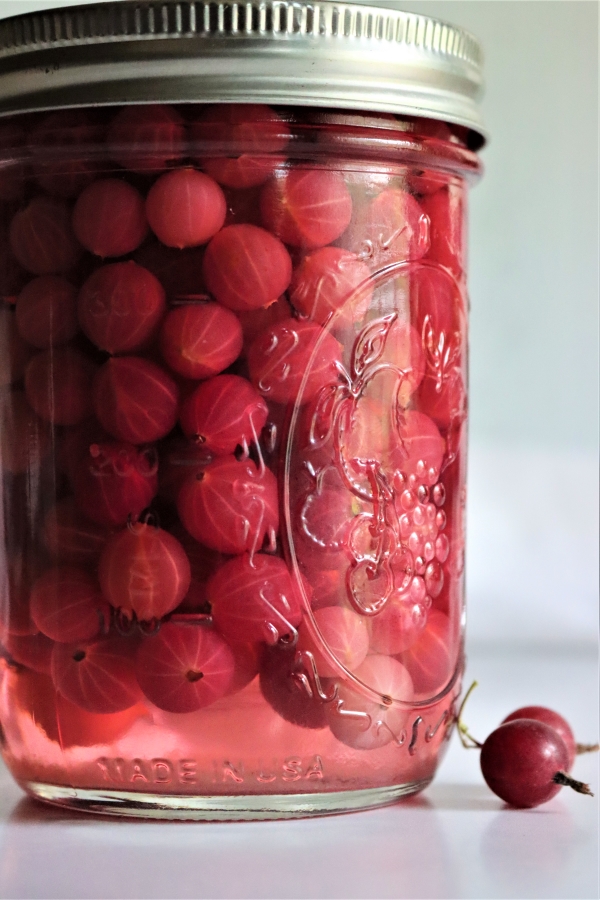
Beyond the berry type, it’s important to select berry varieties that are firm, which will allow them to hold together better during canning. Harvesting ever so slightly underripe fruit can help as well.
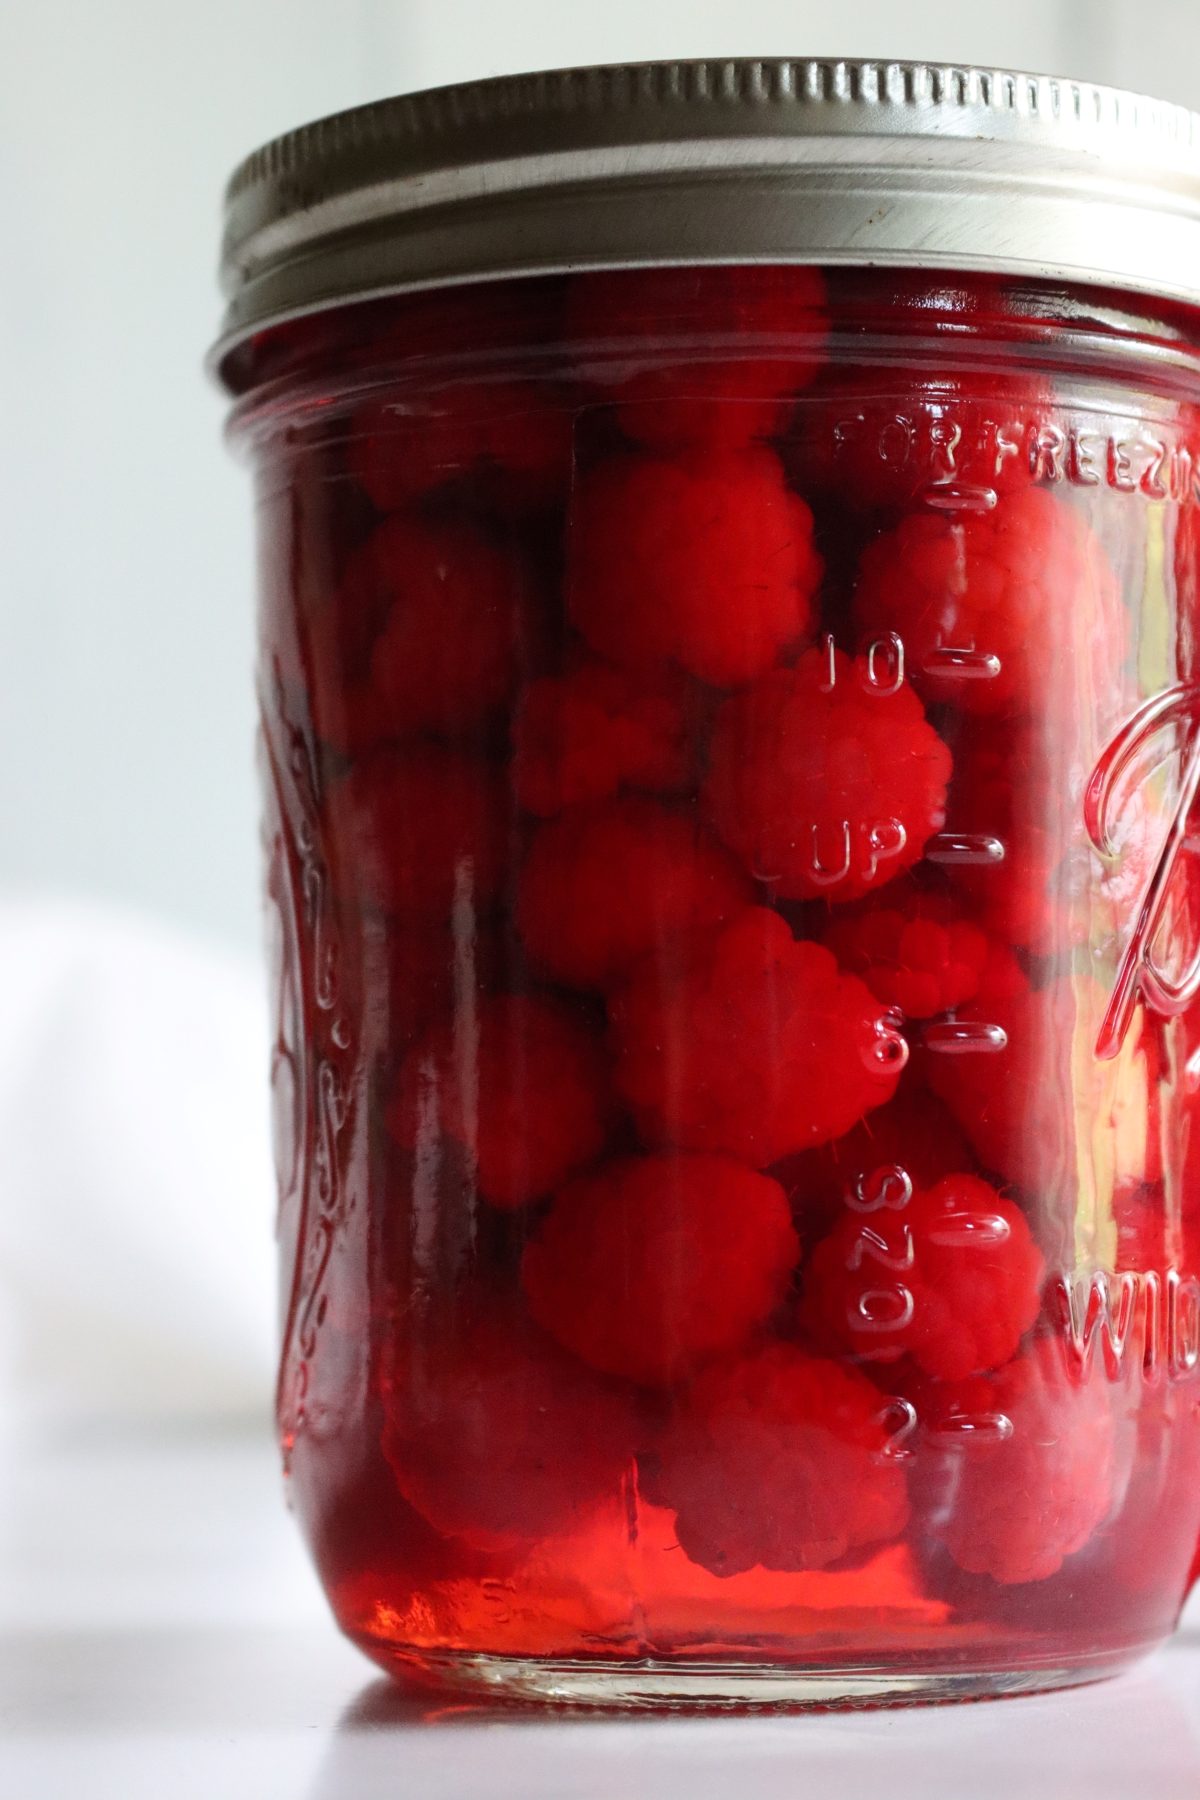
With delicate berries like raspberries, I’d recommend raw packing directly into the jar for canning. I actually take my canning jars right out to my raspberry patch and hand-pick directly into the jars so that the berries see minimal handling. This keeps them firm and fresh, and allows for beautiful home canned raspberries in the jar.
Ingredients for Canning Berries
The ingredients for canning berries are quite simple. To make a canner batch of seven quarts, you’ll need the following:
- 12 lbs blueberries, blackberries, currants, dewberries, huckleberries, loganberries, raspberries, or mulberries
- Sugar syrup, juice (apple or grape), or water (optional)
Blueberries, blackberries, currants, dewberries, huckleberries, loganberries, raspberries, or mulberries are all fantastic for canning. Make sure they’re ripe and sweet with uniform color.
As for the syrup, juice, and water, these are technically optional but will serve as the base in your jars to enhance preservation. Choose a liquid that complements the natural sweetness of your selected berries.
You can also add a bit of liqueur or brandy to your canning liquid, and that will really enhance the flavor of fruits like blackberries and raspberries.
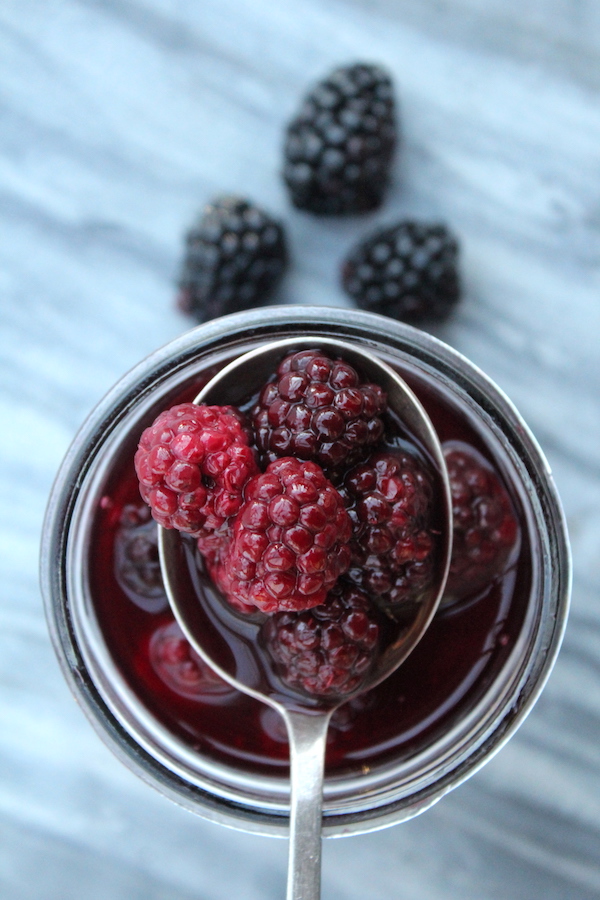
Syrup for Canning Berries
The berries themselves may be canned in plain water, fruit juice, or sugar syrup.
I don’t recommend plain water, as it washes out their flavor.
Apple or cherry juice works well, and is a good natural sweetening option, but the berries will take on the taste of the juice.
I use extra light syrup for canning most berries, as it mirrors their natural sweetness. That way, the berries don’t lose sweetness to the canning liquid, but they also don’t get sweeter from a sugar-heavy syrup either. For tart berries like gooseberries, you might prefer a light to medium syrup.
For the extra light syrup, you’ll need 6 1/2 cups water and 3/4 cup sugar for a 9-pint canner load. For other syrup strengths, you can see this table of canning syrups, which takes you through light all the way up to extra heavy.
Instructions for Canning Berries
(If you’re not familiar with water bath canning, I’d strongly recommend you read my beginner’s guide to water bath canning before getting started.)
Before you start, you need to gather all the necessary equipment. This includes a boiling water canner (a large, deep pot with a fitted lid and removable jar rack), canning jars, lids, rings, jar lifter, canning funnel, and nonmetallic spatula.
You can also follow this recipe by using a pressure canner, which will allow you to process more jars in a bit less time. You can use either a weighted or dial gauge canner – we will give you times and instructions for both.
The first step is to prepare your berries. Wash the berries thoroughly, then drain, cap, and stem as needed. With gooseberries, snip off heads and tails with scissors. It’s best to do this right before canning to ensure freshness.
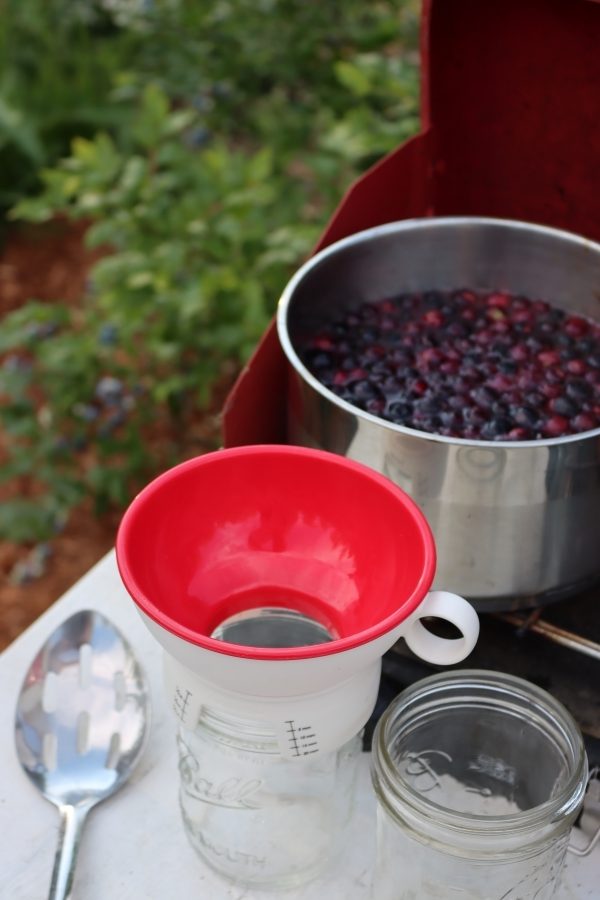
If you use syrup, water, or juice, heat it to a boil, then simmer while you prepare the cherries and pack them into the jars.
There are two methods for packing your berries: Hot Pack and Raw Pack.
Raw Pack Berry Canning Method
Pack berries directly into jars, leaving 1/2 inch headspace. Cover with boiling syrup, water, or fruit juice.
Process in a water bath canner per the table below.
Hot Pack Berry Canning Method
Simmer berries in water or syrup for about 30 seconds to heat through and drive off some air from their tissues. Strain with a slotted spoon and pack into canning jars leaving 1/2 inch headspace. Cover with boiling liquid (their blanching liquid, whatever you chose). Process in a water bath canner per the table below.
Note that a hot pack is only recommended for blueberries and gooseberries, as they hold up better. More delicate fruits like raspberries work out much better as a raw pack.
Times for Canning Berries
Once your jars are filled, remove any air bubbles with your spatula. Wipe the jar rims clean for a good seal. Place the lids and screw on the rings until they’re fingertip tight.
Using your jar lifter, process the jars in a boiling water canner. Process quarts for 20 minutes (raw pack) or 15 minutes (hot pack).
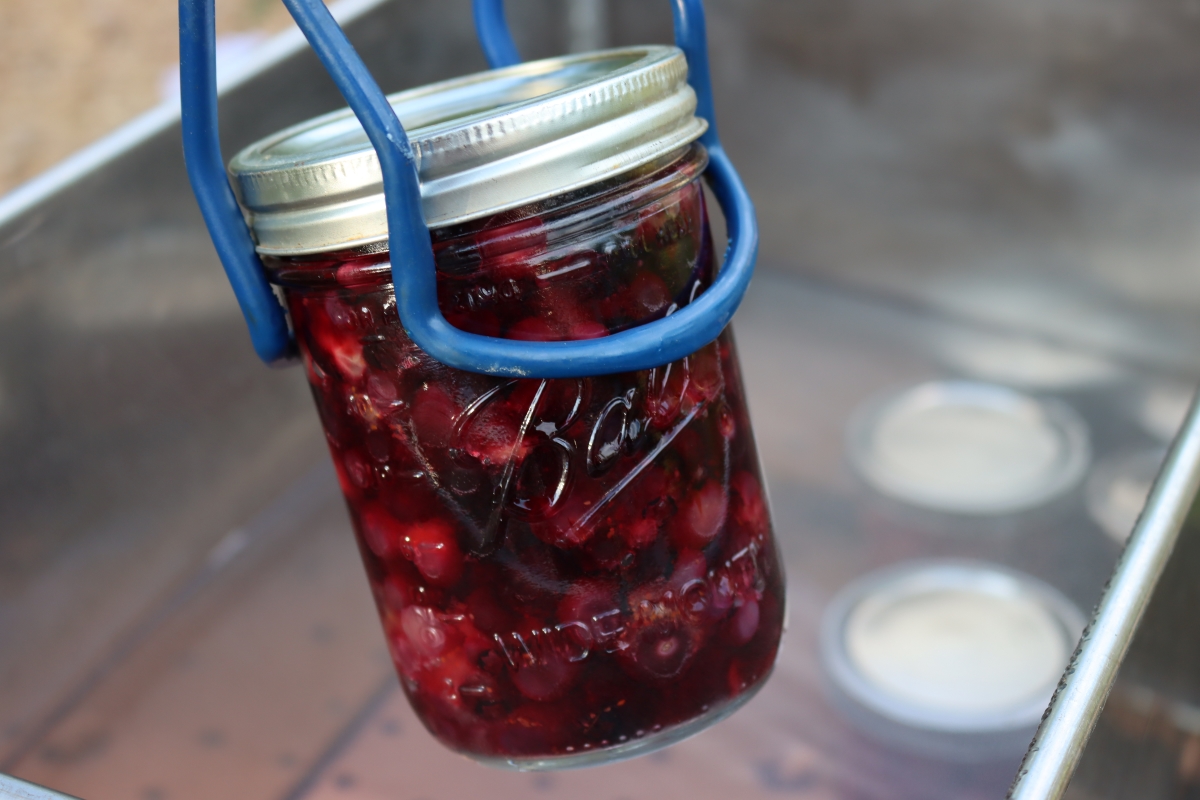
If you choose to use the pressure canner, you’ll process quarts for 10 minutes at 6 lbs pressure in a dial-gauge canner or for 10 minutes at 5 lbs pressure in a weighted-gauge pressure canner.
After processing, turn off the heat and allow the jars to cool in the canner for five minutes (if you’re using a pressure canner, wait for the canner to depressurize completely before continuing on).
Once cool and depressurized (if applicable), carefully remove the jars and place them on a cloth or towel on your counter. Allow them to cool for about 24 hours and listen for the satisfying pop of a sealed lid. Label with the canning date and berry type before storing in a cool, dark place.
Water bath canning times for berries are summarized in the table below:

Note that when you raw pack berries for canning the canning time in quarts is longer. For pints, it’s the same process time as hot pack.
For that reason, I recommend raw pack in pints or half-pints. (Half pints have the same process time as pints.) That minimizes their total cook time for better results.
You can also pressure can berries, though I don’t recommend it. Some people just plain prefer to pressure can. (Know that you can water bath can in a pressure canner, if that’s all you have…just don’t put the lid on and fill it up with water like a normal canning pot.)
Still, if you’re dead set on pressure canning berries, here are the process times and pressures.

When working with a weighted gauge canning, the pressures are a bit different simply because the canner operates at set pressures (5, 10, or 15 PSI):

After processing, be sure to let the pressure canner cool completely before opening.
Serving Home Canned Berries
Canned berries offer a convenient and versatile option for adding a burst of fruity flavor to various dishes and desserts.
Here are some different ways to serve canned berries:
- Top off ice cream, yogurt, or pudding with canned berries for a simple yet satisfying dessert.
- Incorporate canned berries into muffins, cakes, or tarts to infuse them with a sweet and tangy flavor.
- Add canned berries to pancakes, waffles, or oatmeal for a nutritious and tasty breakfast treat.
- Pair canned berries with savory dishes like salads, roasted meats, or cheese platters for a unique flavor contrast.
When you’re serving your canned berries, they’re typically ready to eat as they have been preserved in syrup or juice.
However, you can enhance their taste by heating gently before serving or incorporating them into recipes such as compotes, sauces, or toppings. Canned berries offer versatility in both sweet and savory dishes, making them a versatile ingredient to have on hand for quick and delicious meals.
Canning Berries
Ingredients
- 8 lbs blueberries, blackberries, currants, dewberries, huckleberries, loganberries, raspberries, or mulberries
- syrup, juice (apple or grape), or water
Instructions
- Gather a boiling water canner, canning jars, lids, rings, jar lifter, canning funnel, and nonmetallic spatula. Use a pressure canner as an alternative.
- Wash the berries and drain, then cap, stem, and remove heads/tails (for gooseberries) as needed just before canning.
- If you're using syrup, water, or juice, heat the liquid to a boil and let it simmer while you're preparing the berries.
- For the hot pack method, heat the berries briefly, drain, pack into jars, cover with hot liquid leaving ½" headspace. For raw pack, fill the jars with raw berries, then cover with hot liquid maintaining ½" headspace.
- Use a spatula to eliminate air bubbles, wipe the jar rims clean, and then seal with lids and rings until they're fingertip tight. Load the canner with your prepared jars.
- If you're water bath canning, process quarts for 20 mins (raw pack) or 15 mins (hot pack). If you're pressure canning, process quarts for 10 mins at 6 lbs pressure (dial-gauge) or 5 lbs pressure (weighted-gauge).
- After processing, cool the jars in the canner for five mins, or if you're using a pressure canner, wait for complete depressurization.
- Remove the jars, place them on a cloth, and let them cool for 24 hours. Listen for the pop of sealed lids.
- Label the jars with date and berry type, then store in a cool, dark place for up to one year.
Notes
Syrup for Canning Berries
The syrup used per batch varies based on your sweetness preferences. I usually can berries in extra light syrup, as it best approximates the natural sweetness in the fruit. The fruit don't taste washed out, as they do if you can in plain water, but it doesn't really increase their sweetness either.For a 9-Pint Canner Batch, you’ll need the following amounts:
- Extra-light syrup: 3/4 cups sugar to 6 1/2 cups water
- Light syrup: 1 1/2 cups sugar to 5 3/4 cups water
- Medium syrup: 2 1/4 cups sugar to 5 1/4 cups water
- Heavy syrup: 3 1/4 cups sugar to 5 cups water
- Extra-Heavy Syrup: 4 1/4 cups sugar to 4 1/4 cups water
For a 7-Quart Canner Batch, you’ll need the following amounts:
- Extra-light syrup: 1 1/4 cups sugar to 10 1/2 cups water
- Light syrup: 2 1/4 cups sugar to 9 cups water
- Medium syrup: 3 3/4 cups sugar to 8 1/4 cups water
- Heavy syrup: 5 1/4 cups sugar to 7 3/4 cups water
- Extra-Heavy Syrup: 6 3/4 cups sugar to 6 1/2 cups water
Summer Canning Recipes
Looking for tasty canning recipes to preserve your summer harvest?
