This post may contain affiliate links. Please see our disclosure policy.
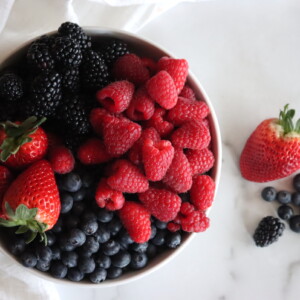
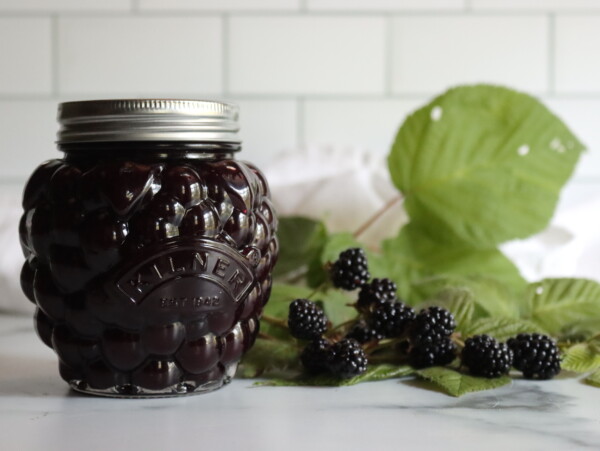
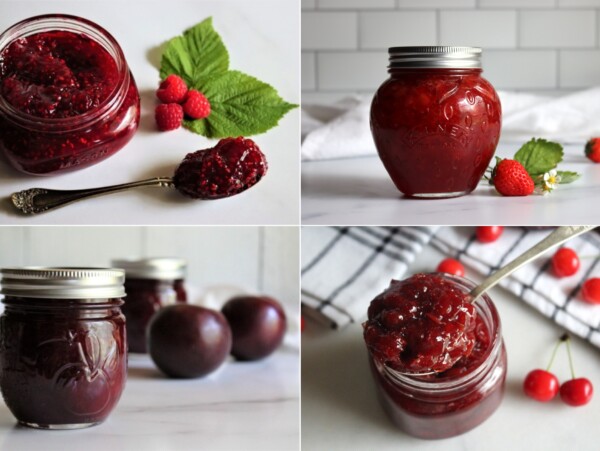
Berry jam is the perfect way to preserve the delicate fruits of summer. This berry jam recipe works with any type of berry, and it’s perfect for making mixed berry jam. I’m a particular fan of triple berry jam made with equal parts strawberries, raspberries, and blueberries. Blackberries work wonderfully in place of the raspberries, too!
Really any berry works, and they all make wonderful berry jam!
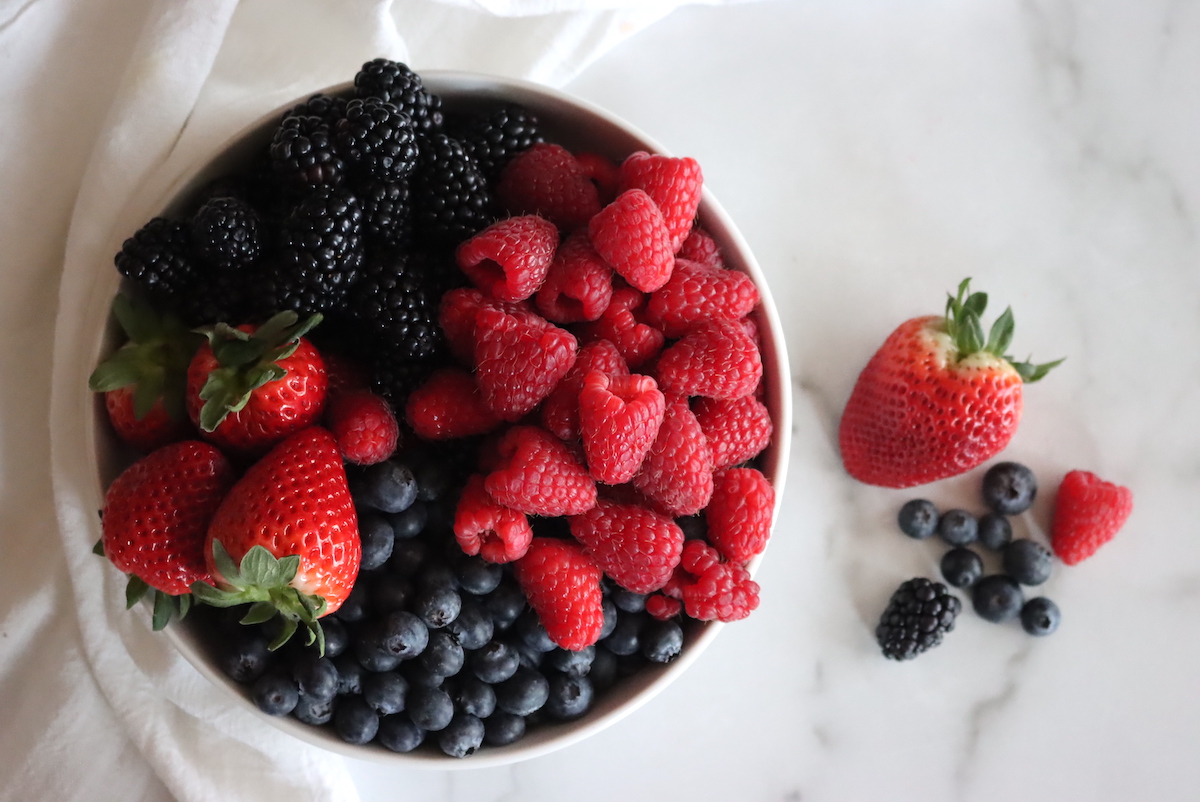
We grow a lot of different types of berries on our homestead, literally dozens of types that all seem to come ripe at the same time during the busy summer season. While I have developed individual recipes for many fruits, sometimes I just need a go-to recipe that will just work when I’m in a hurry.
This one is ideal because it works for making mixed berry jam with multiple types of fruits. With such a variety, we often don’t have enough of any one type of fruit for a whole batch, especially in the early season. This way, they all go into the pot for a truly unique homemade berry jam.
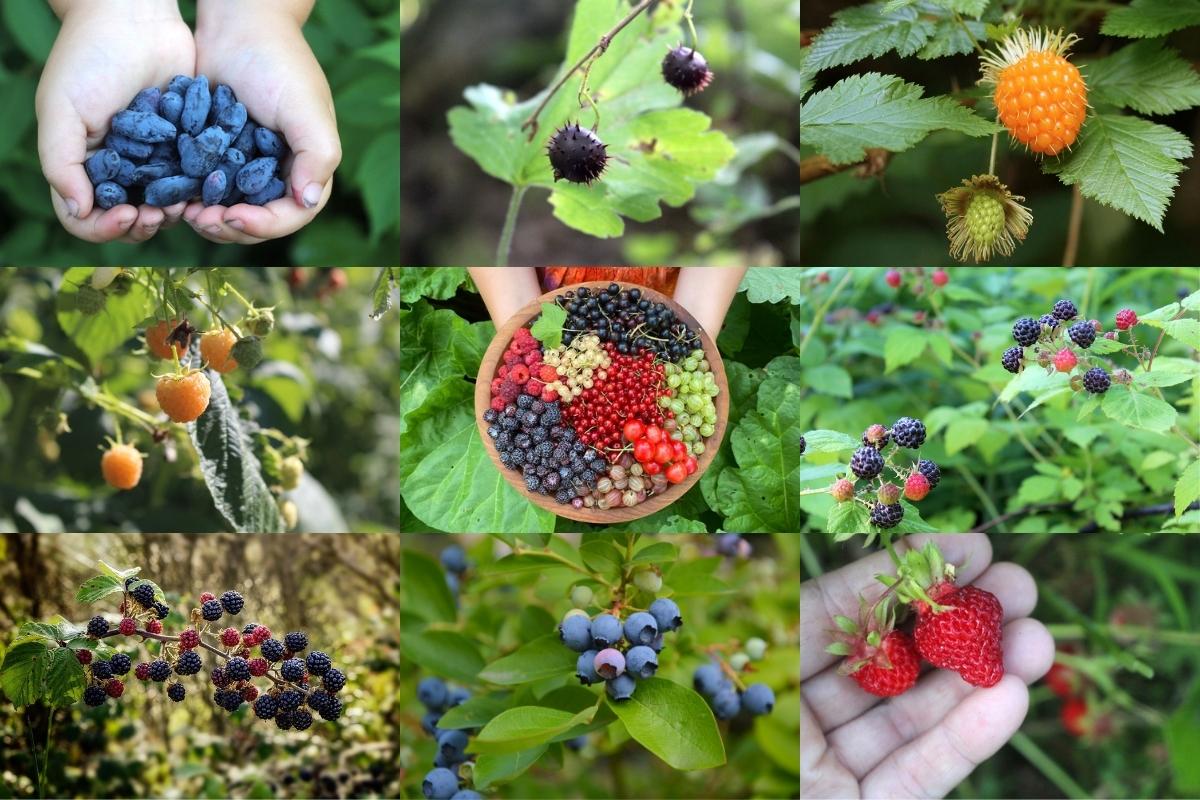
Though they’re all slightly different flavor-wise, this simple berry jam can be made with just about any berry, including:
- Blackberry
- Blueberry (will have a loose set)
- Boysenberry
- Dewberry
- Gooseberry (extra-firm set, do not overcook)
- Honeyberry
- Lingonberry
- Loganberry
- Partridgeberry
- Raspberry
- Salmonberry
- Serviceberry
- Strawberry (will have a loose set)
- Youngberry
- Wild Strawberries (or Alpine Strawberries)
- Wineberries
In a strict botanical sense, many of these are not technically “berries,” and a botanist would object. No worries, it doesn’t actually matter when you’re making jam, and each of these types of berries works wonderfully in this basic berry jam recipe.
Berry Jam Yield
Since they all pack into the measuring cup slightly differently, the recipe starts with mashed fruit so that you’re working with a consistent amount. Some recipes measure the berries as whole fruit, and others use weight. It can all get really confusing.
To make roughly 6 cups or 6 half-pint (8 oz) jars of jam, this recipe uses:
- 9 cups mashed berries (of any type)
- 6 cups sugar
Most berries are around 225 to 250 grams per cup when mashed. That means 9 cups is just under 5 lbs of fresh fruit, or about 2 kg.
If you’re buying berries from the farmer’s market, a dry pint of whole blackberries/raspberries works out to be about 1 cup of mashed fruit. Denser berries that tend to pack better into the pint, like blueberries and strawberries, will yield slightly more.
You can adjust the batch size down if you don’t quite have 9 cups of fruit, just use 2/3 cup sugar for every cup of mashed berries.
I don’t suggest increasing the batch size, as 9 cups of fruit is already pushing the limits for homemade jam. If there’s too much fruit in the pot it won’t heat evenly, which can prevent the berry jam from gelling properly.
High pectin fruits (blackberries, gooseberries, etc) will reach the gel point faster and yield slightly more jam. Low pectin berries (strawberries, blueberries, etc) will take considerably longer to cook and yield a bit less. The recipe still works with all types of berries, even if the yield varies slightly depending on your choice of fruit.
How to Make Berry Jam
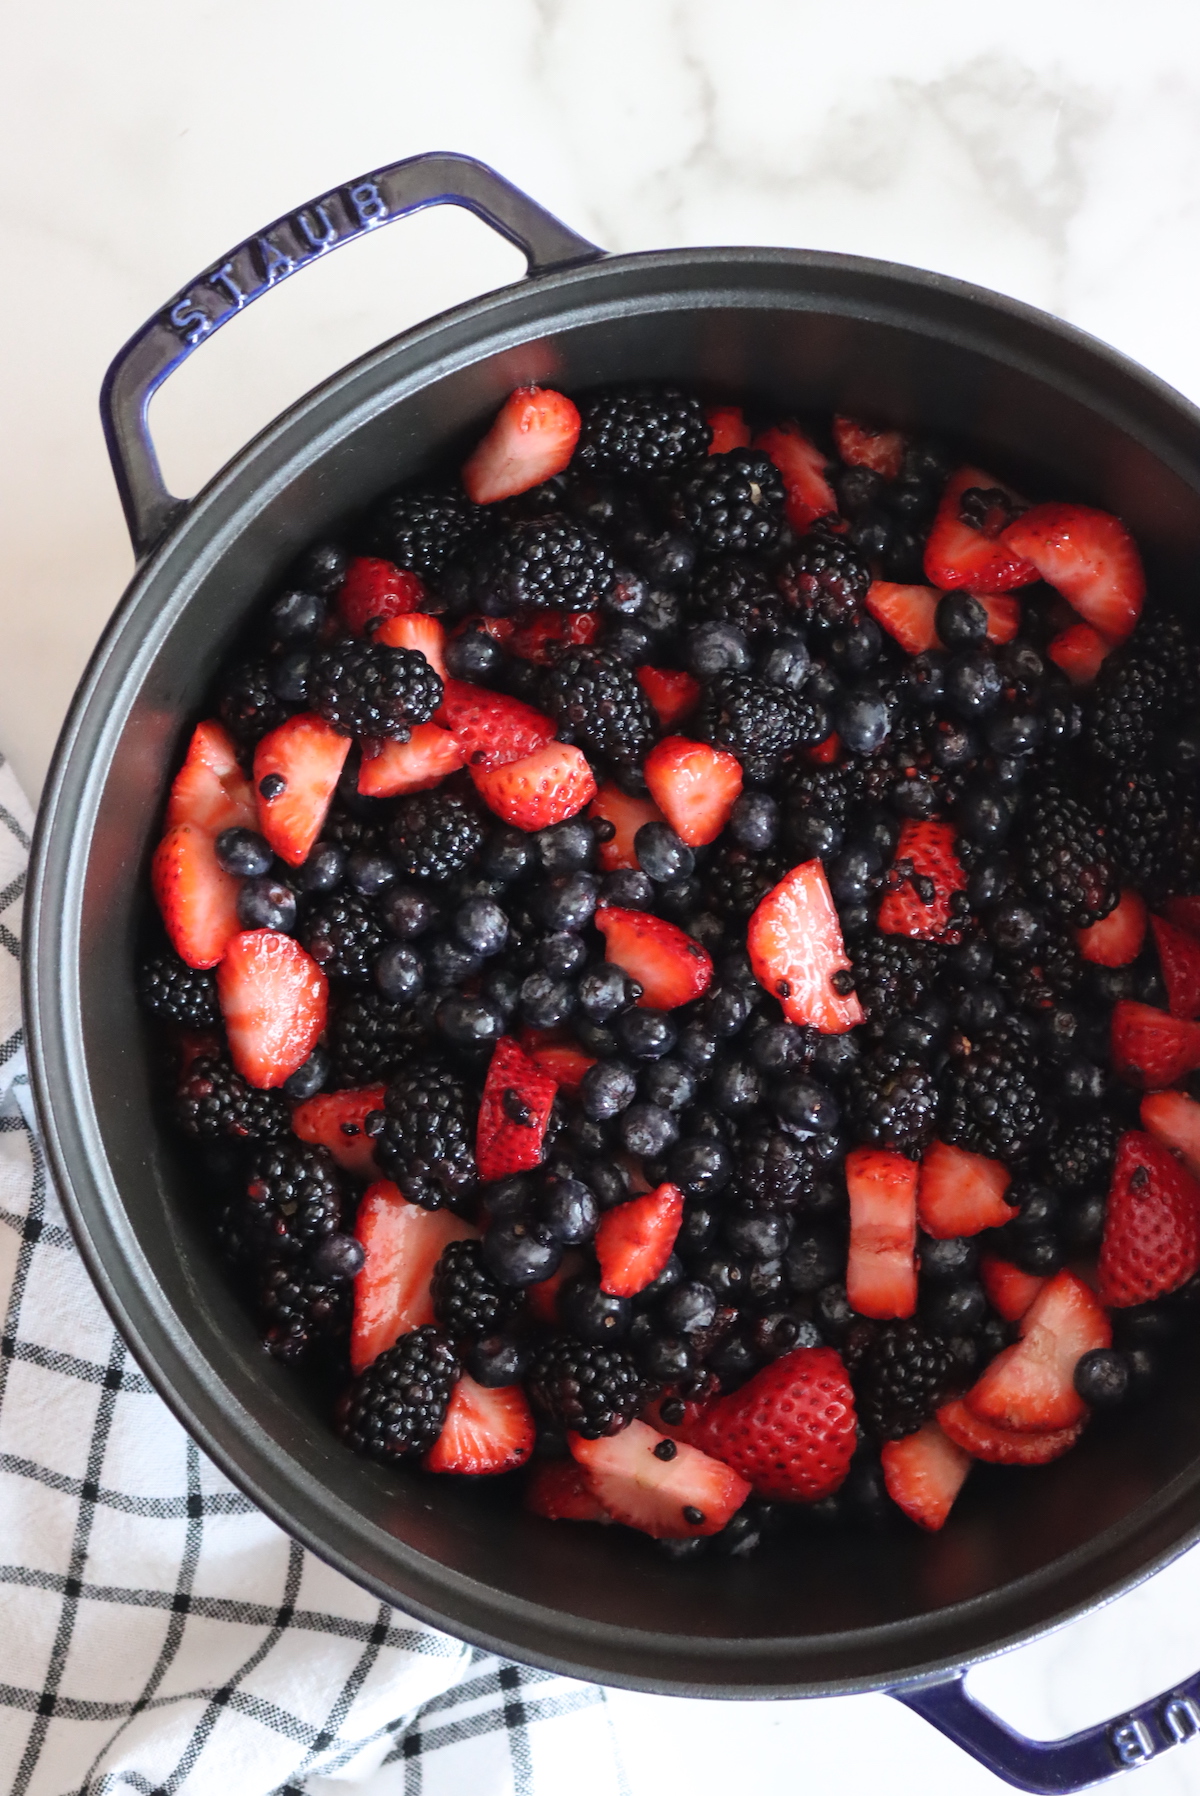
Start by mashing and measuring the berries. It takes just under 5 lbs of berries to make 9 cups mashed. That’s a rough amount, and this berry jam recipe doesn’t have to be exact. Slightly more or less sugar is fine, but don’t reduce the sugar too much or it won’t gel properly.
Add the mashed berries and sugar to a jam pot and bring it to a boil over medium-high heat. Stir frequently to prevent scorching or boil overs.
Be sure to use a deep pot because berry jam tends to foam quite a bit as it cooks. The berries should come up no more than halfway up the sides (when whole) or about 1/3 of the way up the pot once mashed. You need extra space or you’ll have a mess, trust me.
Cook the berry jam until it reaches its setting point, or begins to gel.
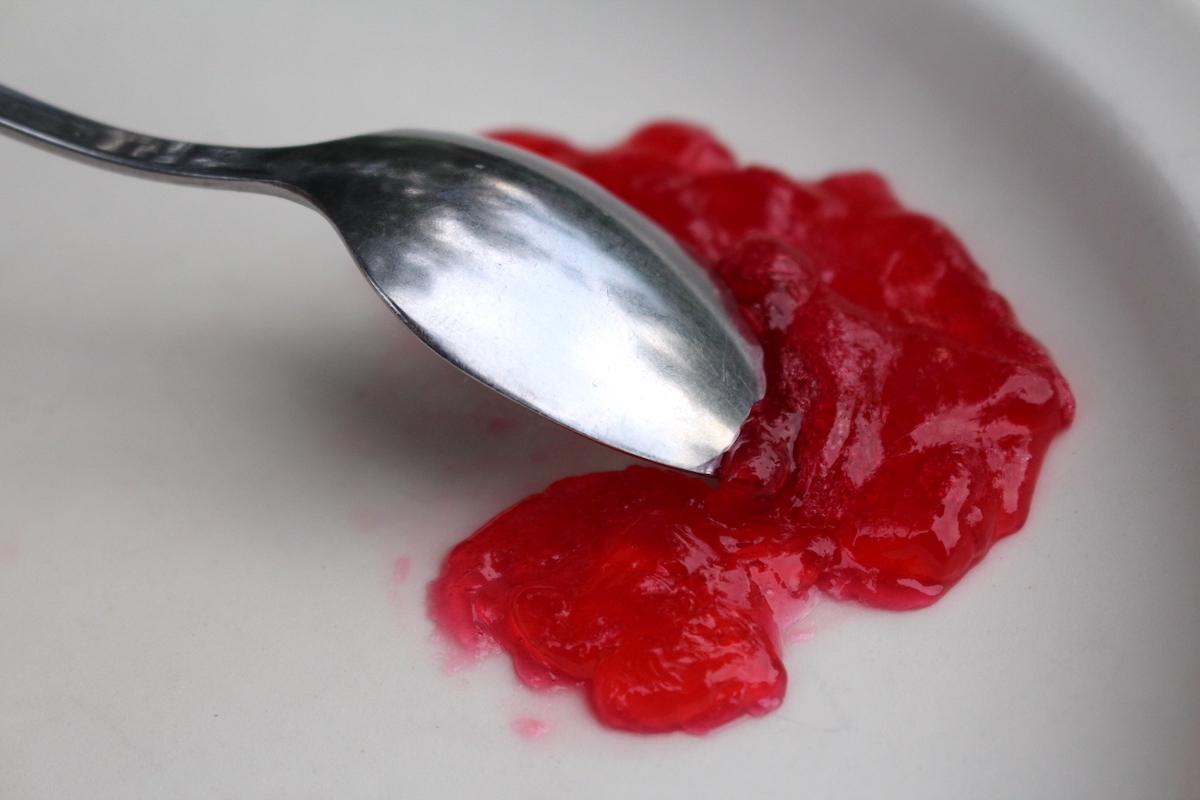
You can test the jam set on a plate that’s been placed in the freezer. It should cool rapidly when it hits the cold plate, and that’ll show you the finished texture. When “set” the jam will wrinkle back when you press it with a spoon.
I tend to test for set point with an instant-read thermometer, as it’s easier to keep track of the progress of a jam as it approaches the right temperature. When I do the plate test I sometimes burn the jam while I’m messing around with the plate, so I think it’s simpler to just watch the thermometer climb and turn off the heat when it’s ready.
The setpoint of jam is 220 degrees F at sea level (104 C). For every 500 feet above sea level, subtract one degree. If you’re at 1,000 feet in elevation, for example, then the setpoint is 218 degrees F.
Experienced jam makers know what it looks like as a jam approaches gel stage. The bubbles change slightly and take on a glossier look. It is possible to finish a jam at the right point just by looking at it, but until you have a few hundred batches under your belt, the thermometer method is the most dependable.
Once the jam has finished cooking, remove it from the heat and ladle it into prepared jars, leaving 1/4 inch headspace.
Canning Berry Jam
It’s perfectly fine to make a refrigerator or freezer jam, but generally, I prefer to can my homemade jams because they’ll keep right on the pantry shelf until opened.
If canning, prepare a water bath canner and jars before you begin cooking the jam. Process the jars in a water bath canner for 10 minutes (or 15 minutes if above 6,000 feet in elevation).
Remove the jars from the canner and allow them to cool on a towel on the counter for 12-24 hours before checking seals.
Berry Jam Recipes
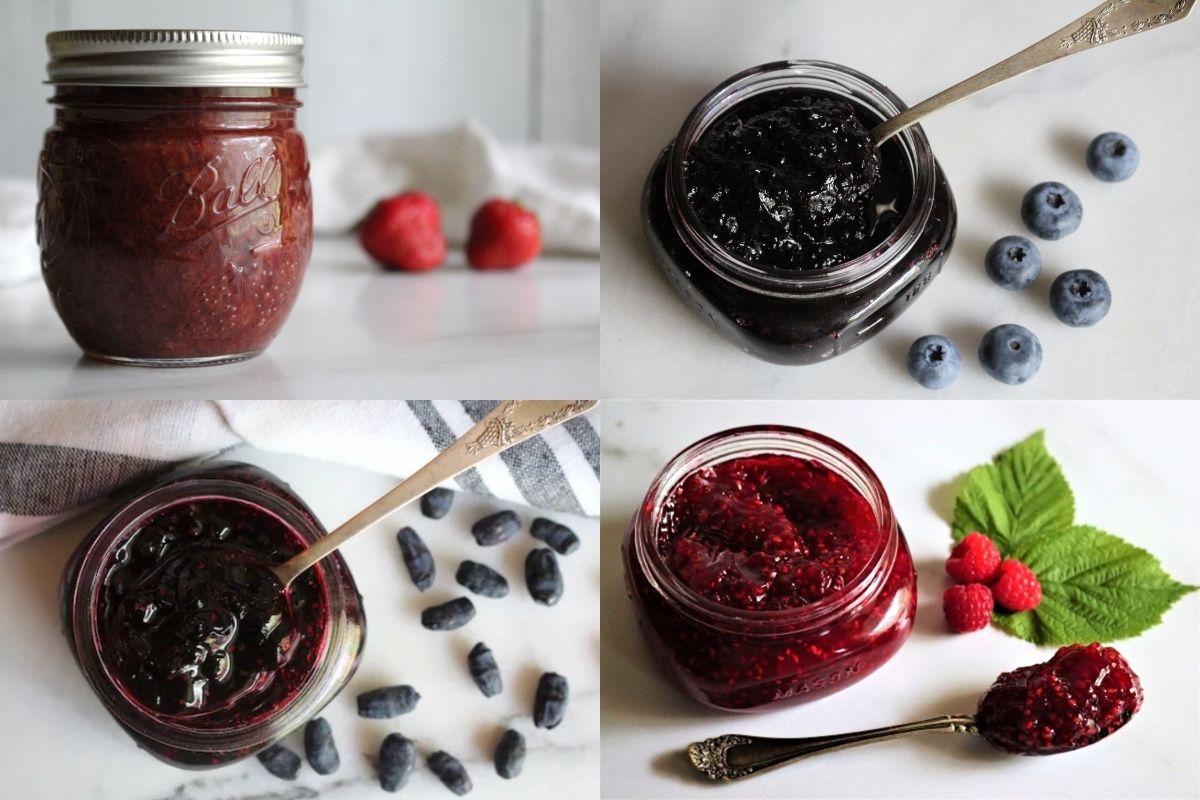
Though this berry jam recipe works well with any berry, or a mixture of berries, sometimes it’s nice to have a recipe for the specific berries you have on hand.
I find that raspberries call for a bit of extra sugar because they’re naturally quite tart, and gooseberries need a shorter cook time than other types of berries. Strawberries, on the other hand, need a longer cook time and will have a loose set.
There are differences between berry types, and if you have one particular berry in mind, I’d suggest skipping over to the berry jam recipe for each type. Here are my favorites:
- Blackberry Jam
- Black Raspberry Jam
- Blueberry Jam
- Gooseberry Jam
- Honeyberry Jam
- Raspberry Jam
- Wild Strawberry Jam
All of these berry jam recipes are made without pectin, so they’re quite similar to this master berry jam recipe. They may have varying amounts of sugar depending on the type of fruit, and some incorporate a bit of lemon juice to help balance out the flavor (and incorporate a bit more natural fruit pectin).
If you’ve never made jam, I’d suggest reading through my beginner’s guide to making jam before you get started. Beyond that, if you intend to make a shelf-stable preserve that you can store on your pantry shelf, please read through my beginner’s guide to water bath canning if you’re not familiar with home canning.
Canning is optional, and this berry jam recipe can be made as a refrigerator jam that will keep for several weeks, or a freezer jam that will keep for up to 6 months. If properly canned and sealed, berry jam will maintain peak quality on the pantry shelf for up to 18 months.
Refrigerate after opening.
Berry Jam
Equipment
Ingredients
- 9 cups berries, mashed, about 6 lbs fruit
- 6 cups sugar, roughly 3 lbs sugar
Instructions
- Pick over the berries and remove any stems or spoiled fruit. Slightly underripe fruit is fine, as it contains more pectin and will help the berry jam set.
- Mash the berries and measure them after you’ve mashed them. For every cup of mashed berries, add 2/3 cup sugar.
- Prepare a water bath canner (if canning), and prepare jam jars.
- Place the berries and sugar in a jam pot and bring the mixture to a boil over medium-high heat. Cook time will vary based on the type of berry, and high pectin berries (gooseberries, blackberries) will set faster than lower pectin fruits (strawberries). The average cook time is about 10-15 minutes, but closer to 5 for high pectin fruits and closer to 30 for low pectin fruits.
- As the jam begins to thicken, test for set on a plate that’s been placed in the freezer. Alternately, use an instant-read thermometer. Berry jam reaches it’s set point at 220 degrees F (or 104 C) at sea level. Subtract 1 degree for every 500 feet in elevation. For example, at 1000 feet in elevation, the jam should finish at around 218 F.
- When the jam reaches its set point, remove the pot from the heat and ladle the jam into prepared jars leaving 1/4 inch headspace.
- Seal with 2 part lids.
- If canning, process the jars in a water bath canner for 10 minutes (or 15 minutes if above 6,000 feet in elevation). Remove the jars to cool on a towel on the counter and check seals after 12 to 24 hours. Store any unsealed jars in the refrigerator for immediate use.
- This jam will keep for several weeks in the refrigerator or up to 6 months in the freezer. Properly canned and sealed jars will maintain peak quality for 18 months on the pantry shelf. Refrigerate after opening.
Notes
Nutrition
Nutrition information is automatically calculated, so should only be used as an approximation.
Berry Jelly Recipes
If chunky jam recipes aren’t quite your thing, maybe try a homemade berry jelly recipe!
- Blackberry Jelly
- Black Raspberry Jelly
- Blueberry Jelly
- Gooseberry Jelly
- Raspberry Jelly
- Strawberry Jelly
Summer Berry Canning Recipes
Besides jam and jelly, most berries can be preserved as fruit butter, pie fillings, or just whole canned berries:
- Canning Blackberries
- Canning Strawberries
- Canning Blueberries
- Canning Raspberries
- Canning Gooseberries

Hello,
Can this jam be made w/frozen berries that have been thawed in the fridge? If so, would I measure the berries before thawing or after? Thanks
Yes, you can make it with frozen berries, it just might have a less firm set because freezing reduces pectin in fruit. Berries usually have enough that they can be frozen and still set though. Measure them after thawing. Enjoy!