Pear jam is as delicious as it is easy, and this pleasantly sweet preserve showcases the best pears of the season (no pectin required!)
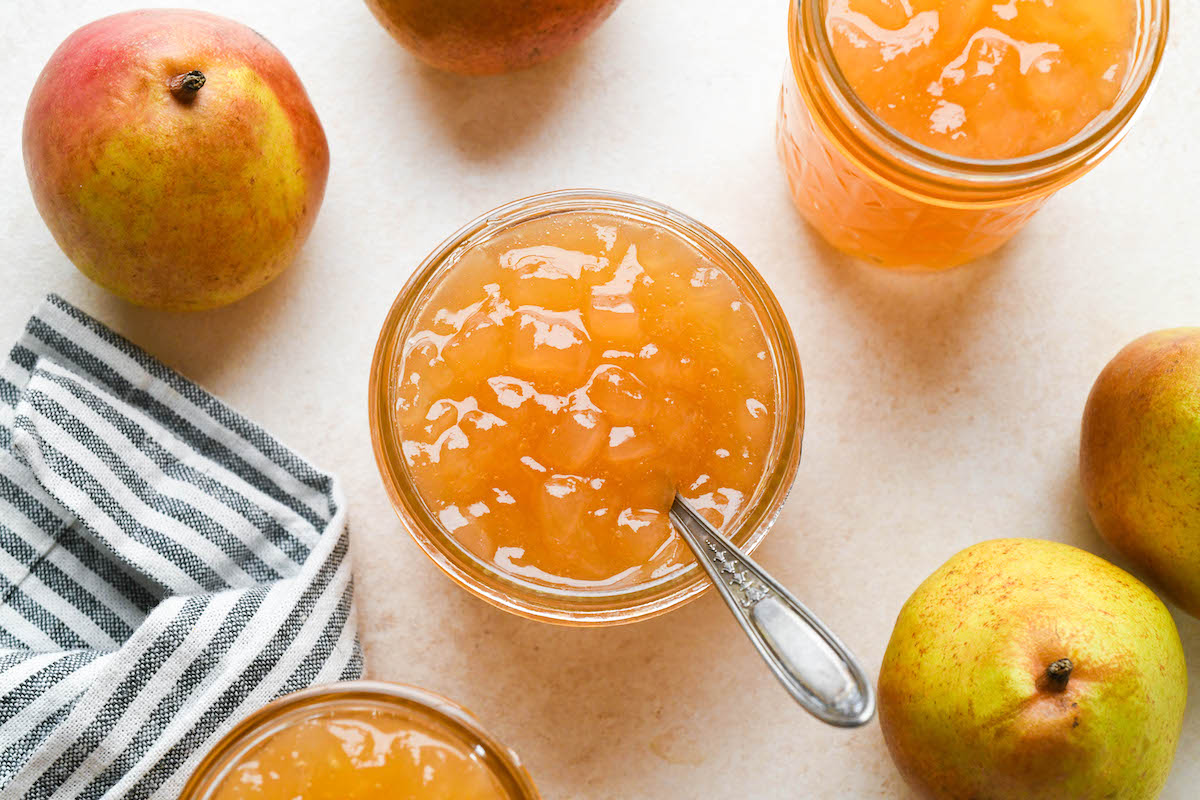
If you’ve ever found yourself the recipient of a plethora of pears and you feel like you’ve exhausted every avenue in terms of using them up, this recipe for pear jam is sure to please in terms of its taste and easy preparation. For some reason, pear jam has never really caught on the way other fruit jams have.
An old-fashioned preserve, pear jam is simple in flavor, but I think it’s that very simplicity that makes it shine on its own or when it’s served as a condiment or a topping for pancakes. This jam tastes of pure, unadulterated pear. I would go so far as to say it’s almost like you’re enjoying a pear that was picked from a tree only moments before.
This jam recipe only calls for three ingredients, none of which are pectin, which means it can be made without planning a special trip to the grocery store. Whether you make it for your family or give this pear jam as a gift to a well-deserving friend, anyone who enjoys this jam will be sure to respond with appreciation requests for the recipe.
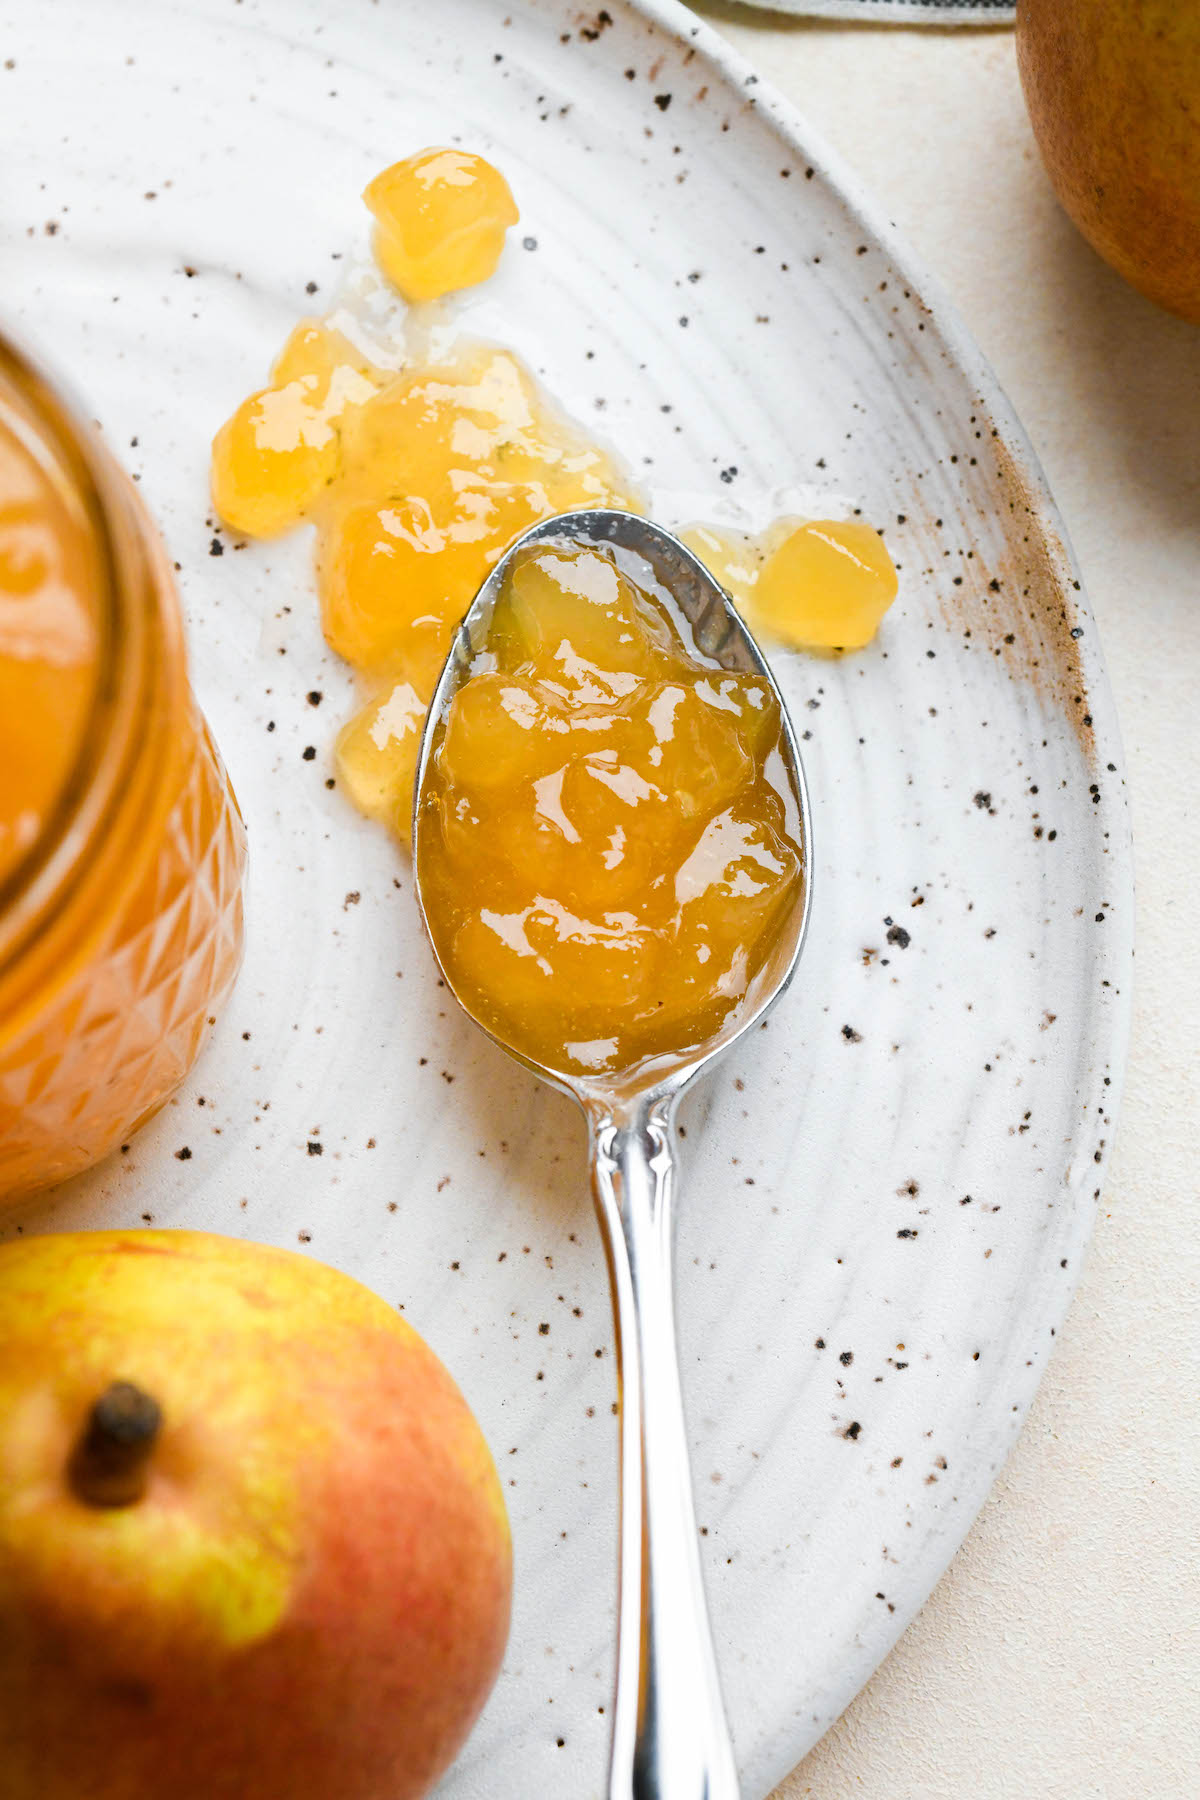
Ingredients for Pear Jam
This recipe for pear jam yields 4 to 5 half-pint jars (or roughly 4 to 5 cups) and it calls for the following ingredients and measurements:
- 4 lbs. pears*
- 2 to 3 cups granulated sugar (to taste)
- 1/4 cup lemon juice (I use Santa Cruz organic lemon juice for canning whenever lemon juice is listed as an ingredient)
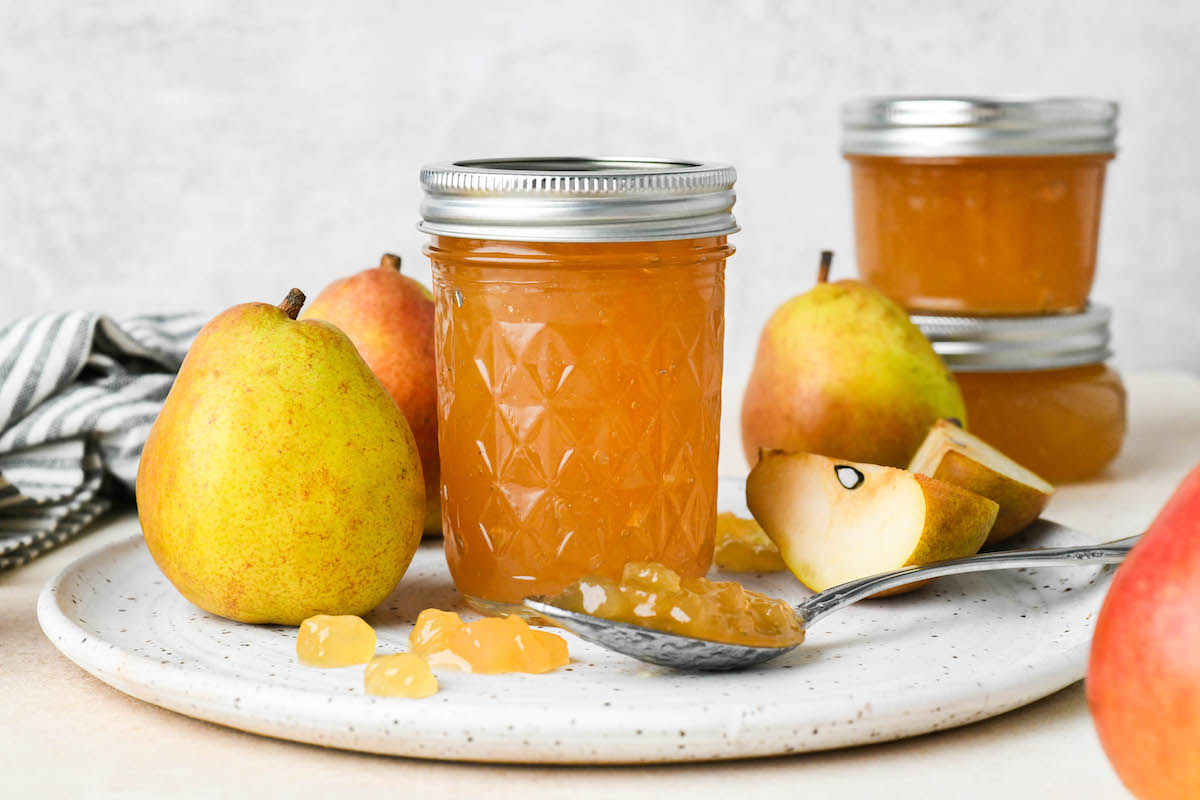
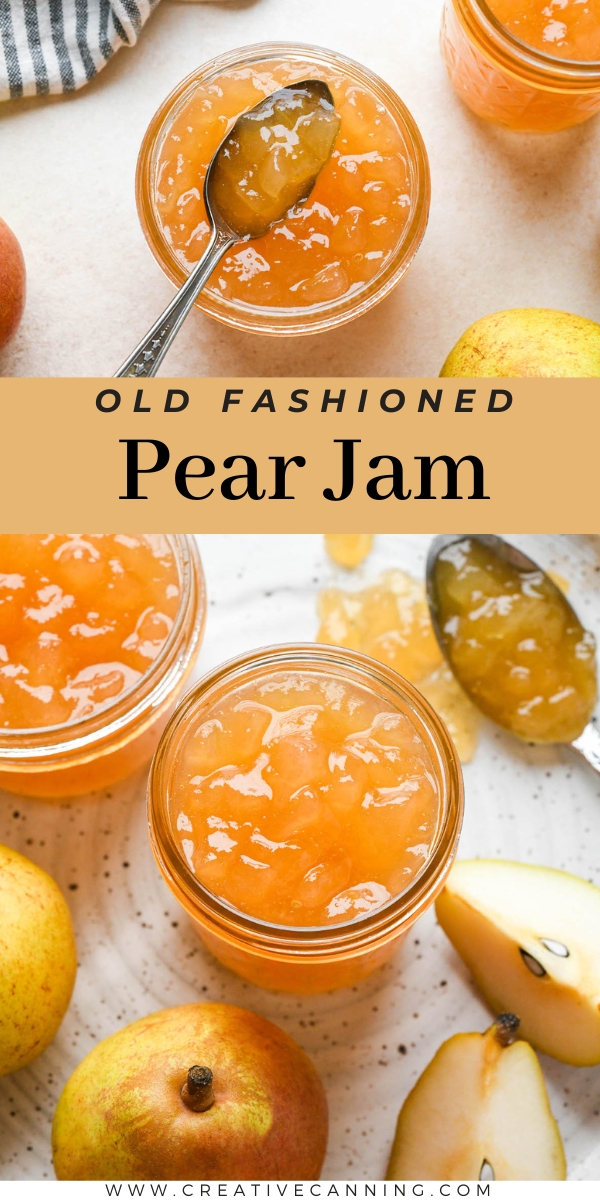
*Choose flavorful pears that are slightly underripe or barely ripe for pear jam. According to the PennState Agricultural Extension, the best pear varieties for home canning projects include Bartlett, Bosc, Anjou, and Comice. For reference, Bartlett pears are pictured in the images that go along with this recipe.
Because pears are already naturally high in pectin, there’s no need to add commercially prepared pectin to this jam—you should have no issues getting this jam to gel properly. Besides, the lemon juice called for in this recipe adds naturally-occurring pectin to the pears during the maceration stage.
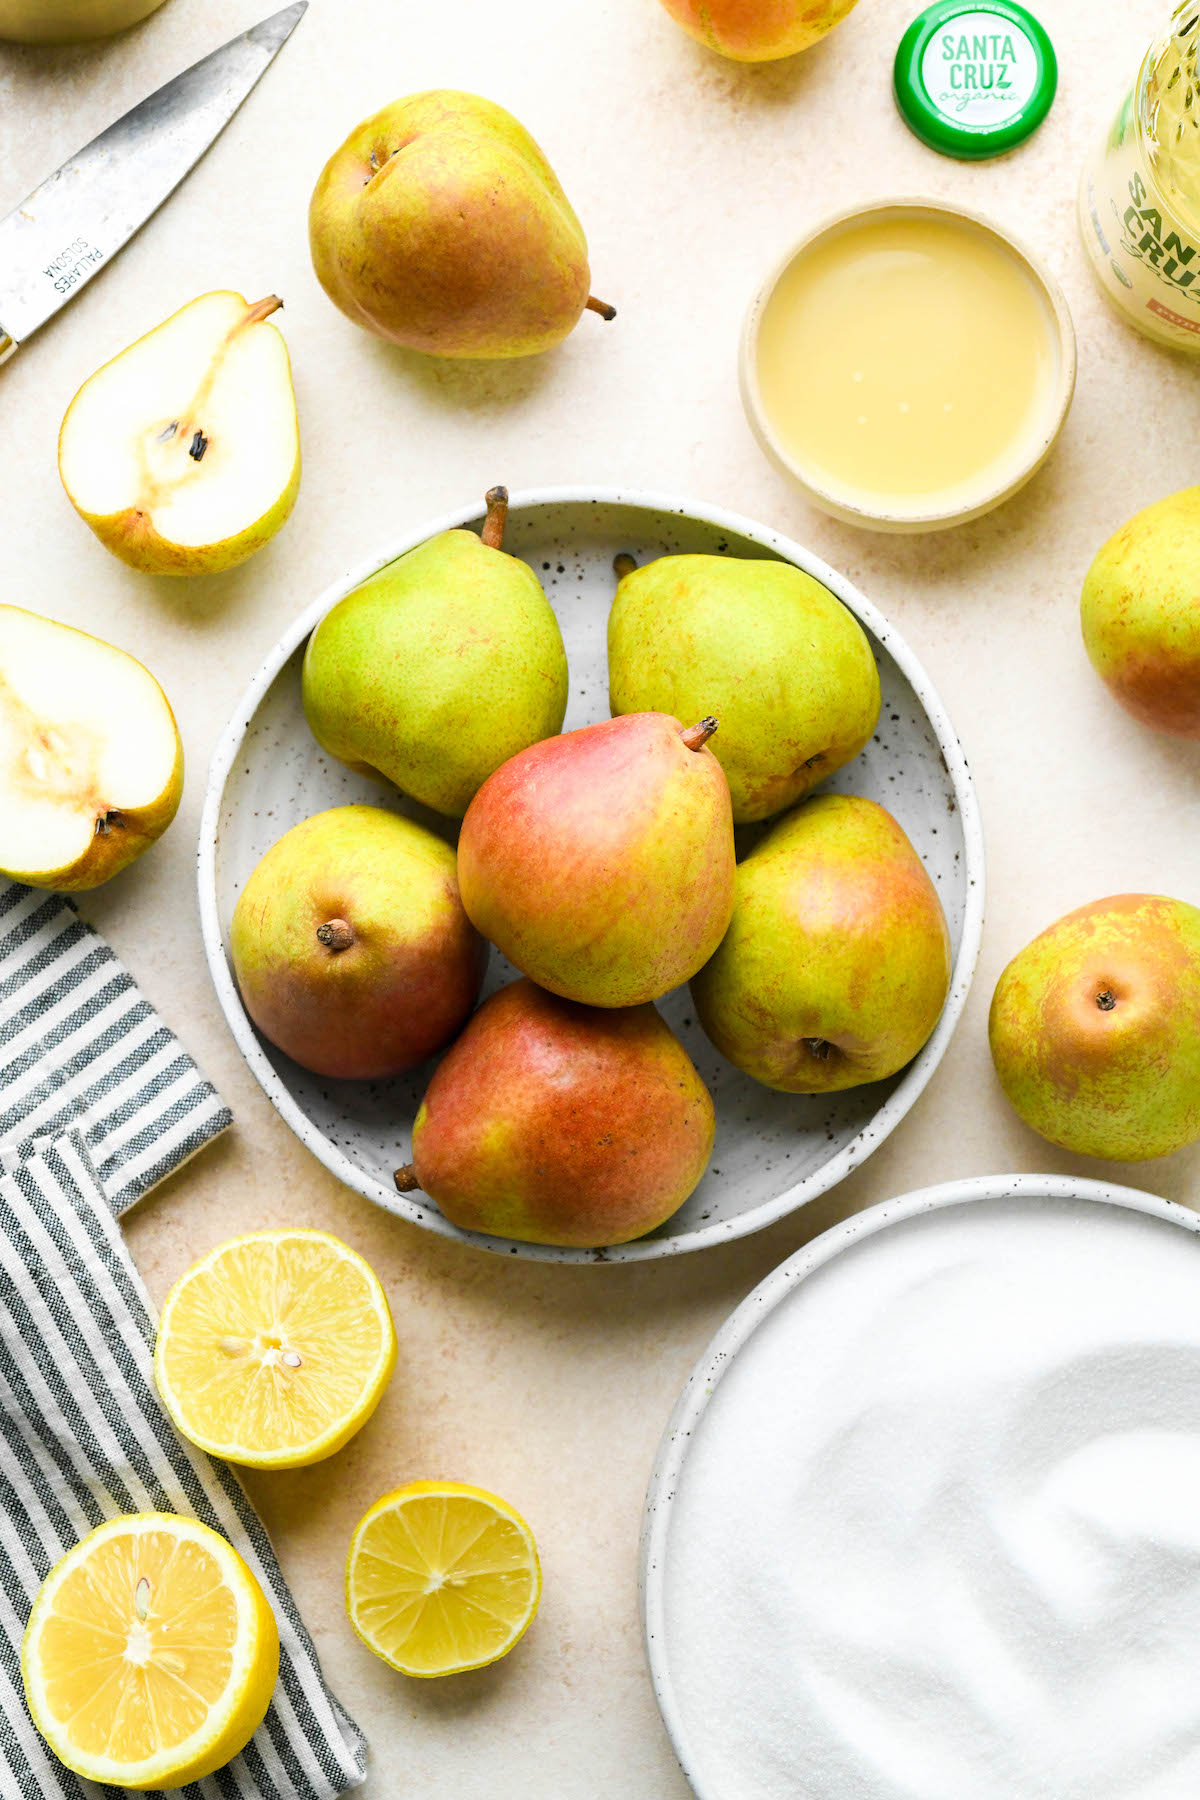
How to Make Pear Jam
My biggest piece of advice going into this recipe would be to have all the ingredients prepped as described. This means you should ideally begin the recipe the day before you plan on canning, since the pears need 12 to 24 hours to macerate before they can be cooked.
Peel, core, and coarsely dice the pears using a small, sharp knife. You can make the dice fairly small, as the chopped pear doesn’t break down significantly during cooking. If you decide the jam is too lumpy, you can always mash the pear pieces with the back of a wooden spoon or a potato masher before distributing it into jars.
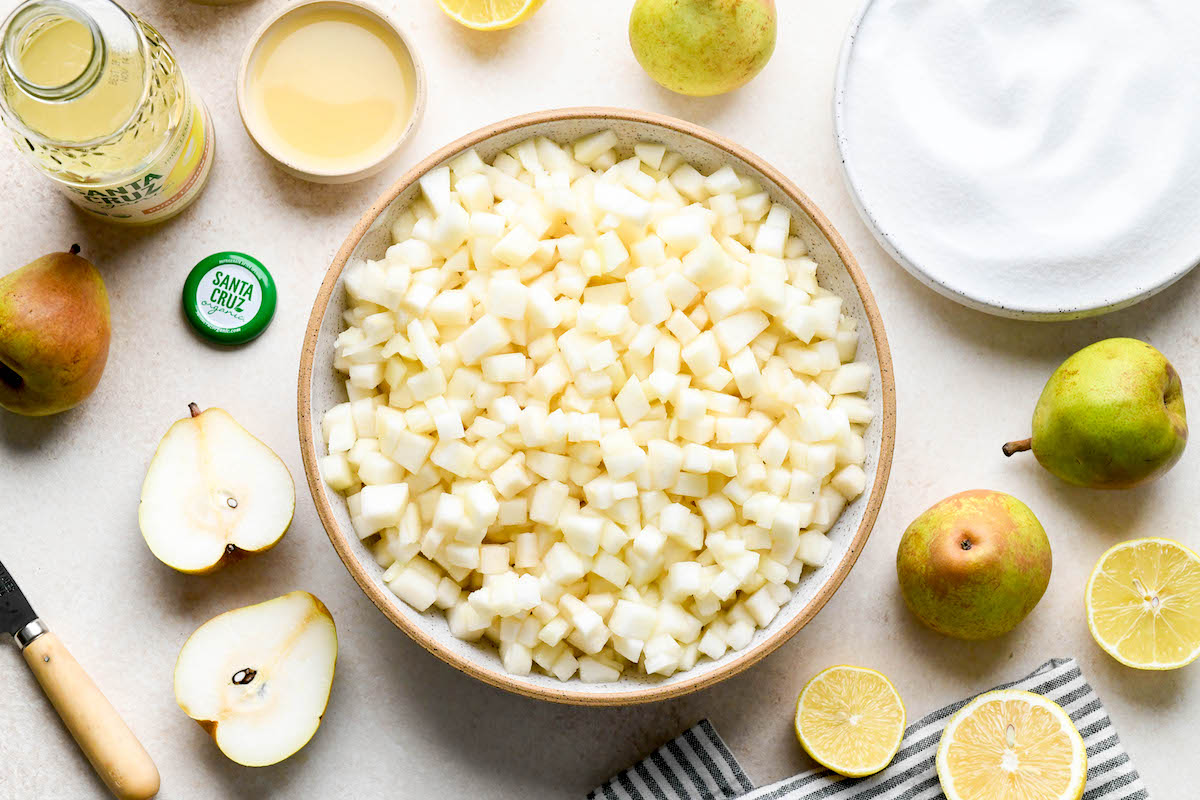
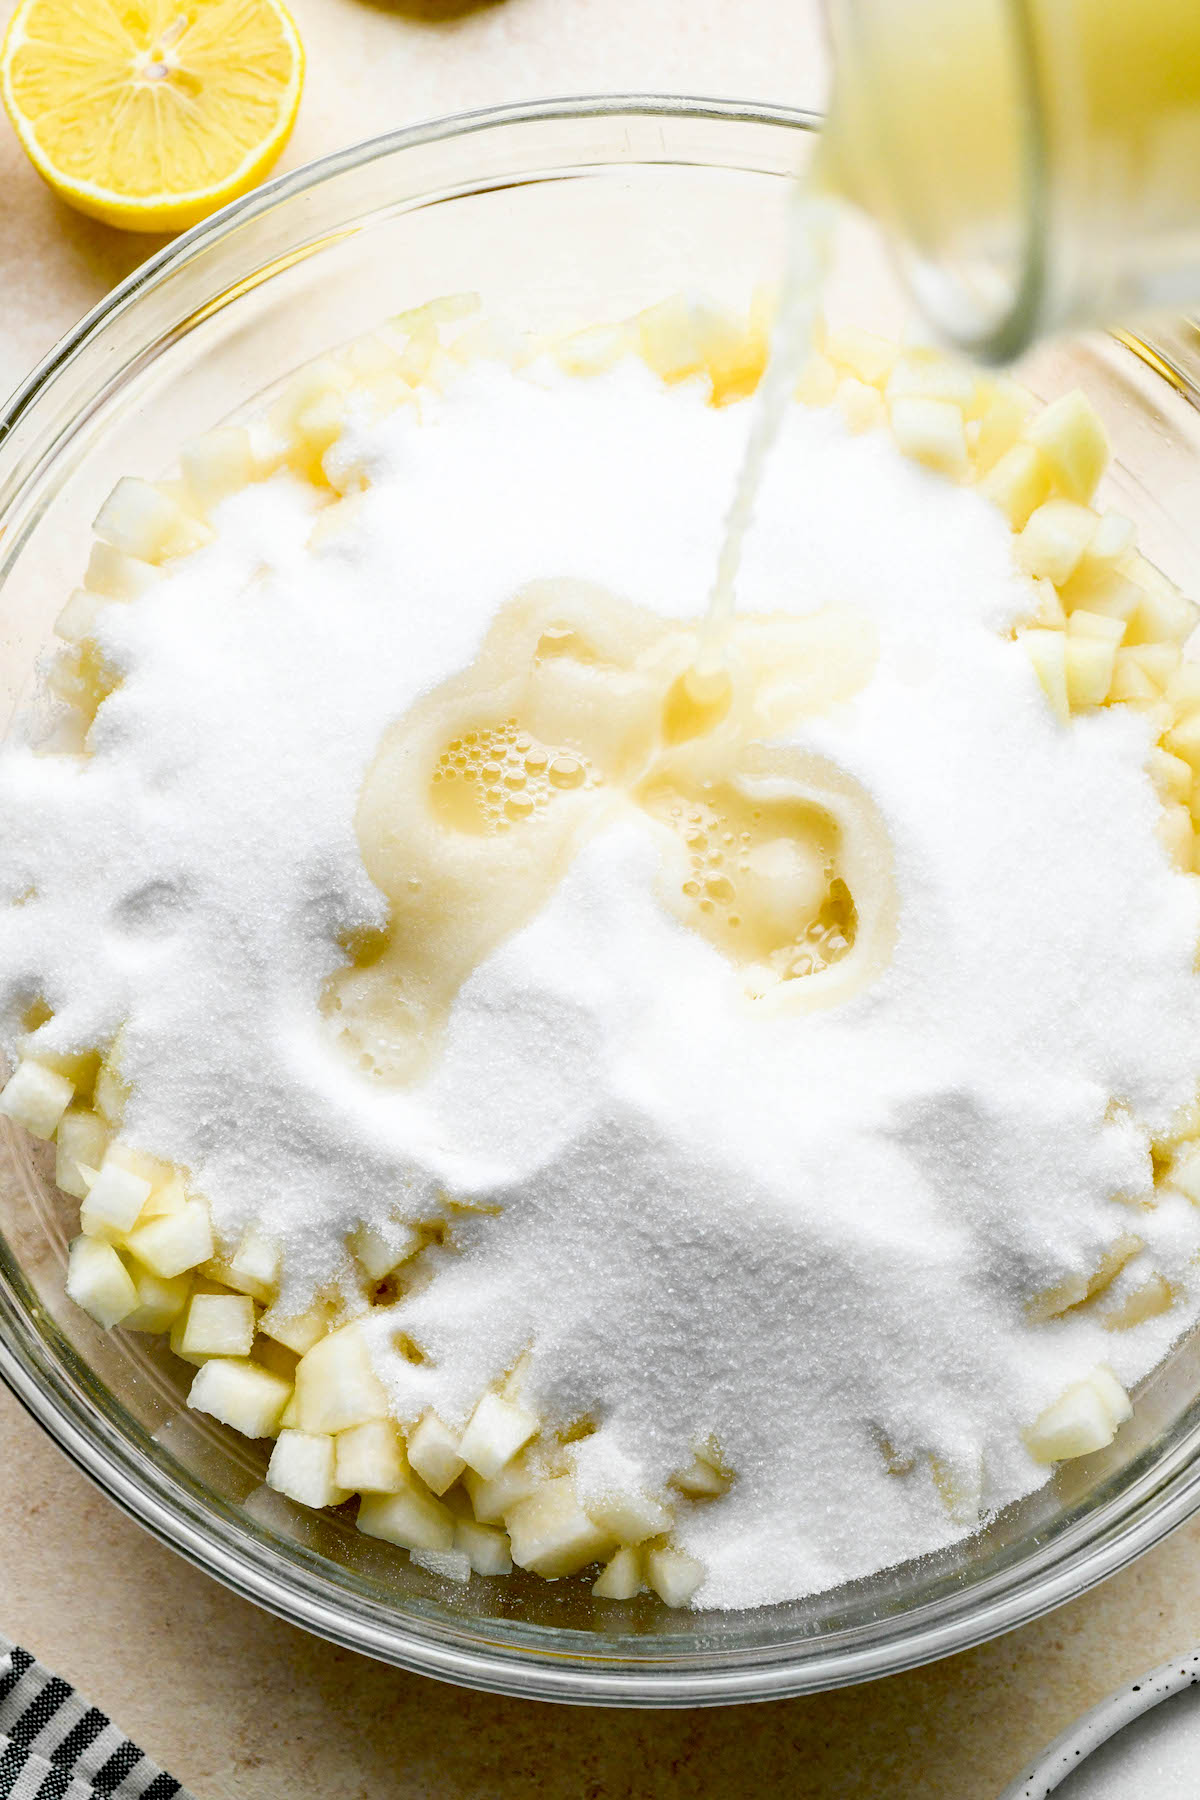
In a large bowl, toss the pear pieces with the lemon juice as you work. This will help prevent the fruit from browning and will add extra pectin to the fruit as lemon juice (any citrus juice, actually) is a great source of this gelling agent.
Sprinkle the granulated sugar onto the lemon juice-covered pear pieces and toss to coat. Cover the fruit and place the bowl in the refrigerator so that the pears can macerate for 12 to 24 hours. If you’re truly pressed for time, you could limit the maceration time to 4 hours, but that’s the absolute bare minimum.
When you remove the macerated pears from the fridge you’ll notice a rich, syrupy liquid at the bottom of the bowl.
This syrup is liquid gold, and it’s going to form the base of the pear jam, a sweet cooking liquid that will poach the fruit until it’s tender and sweet.
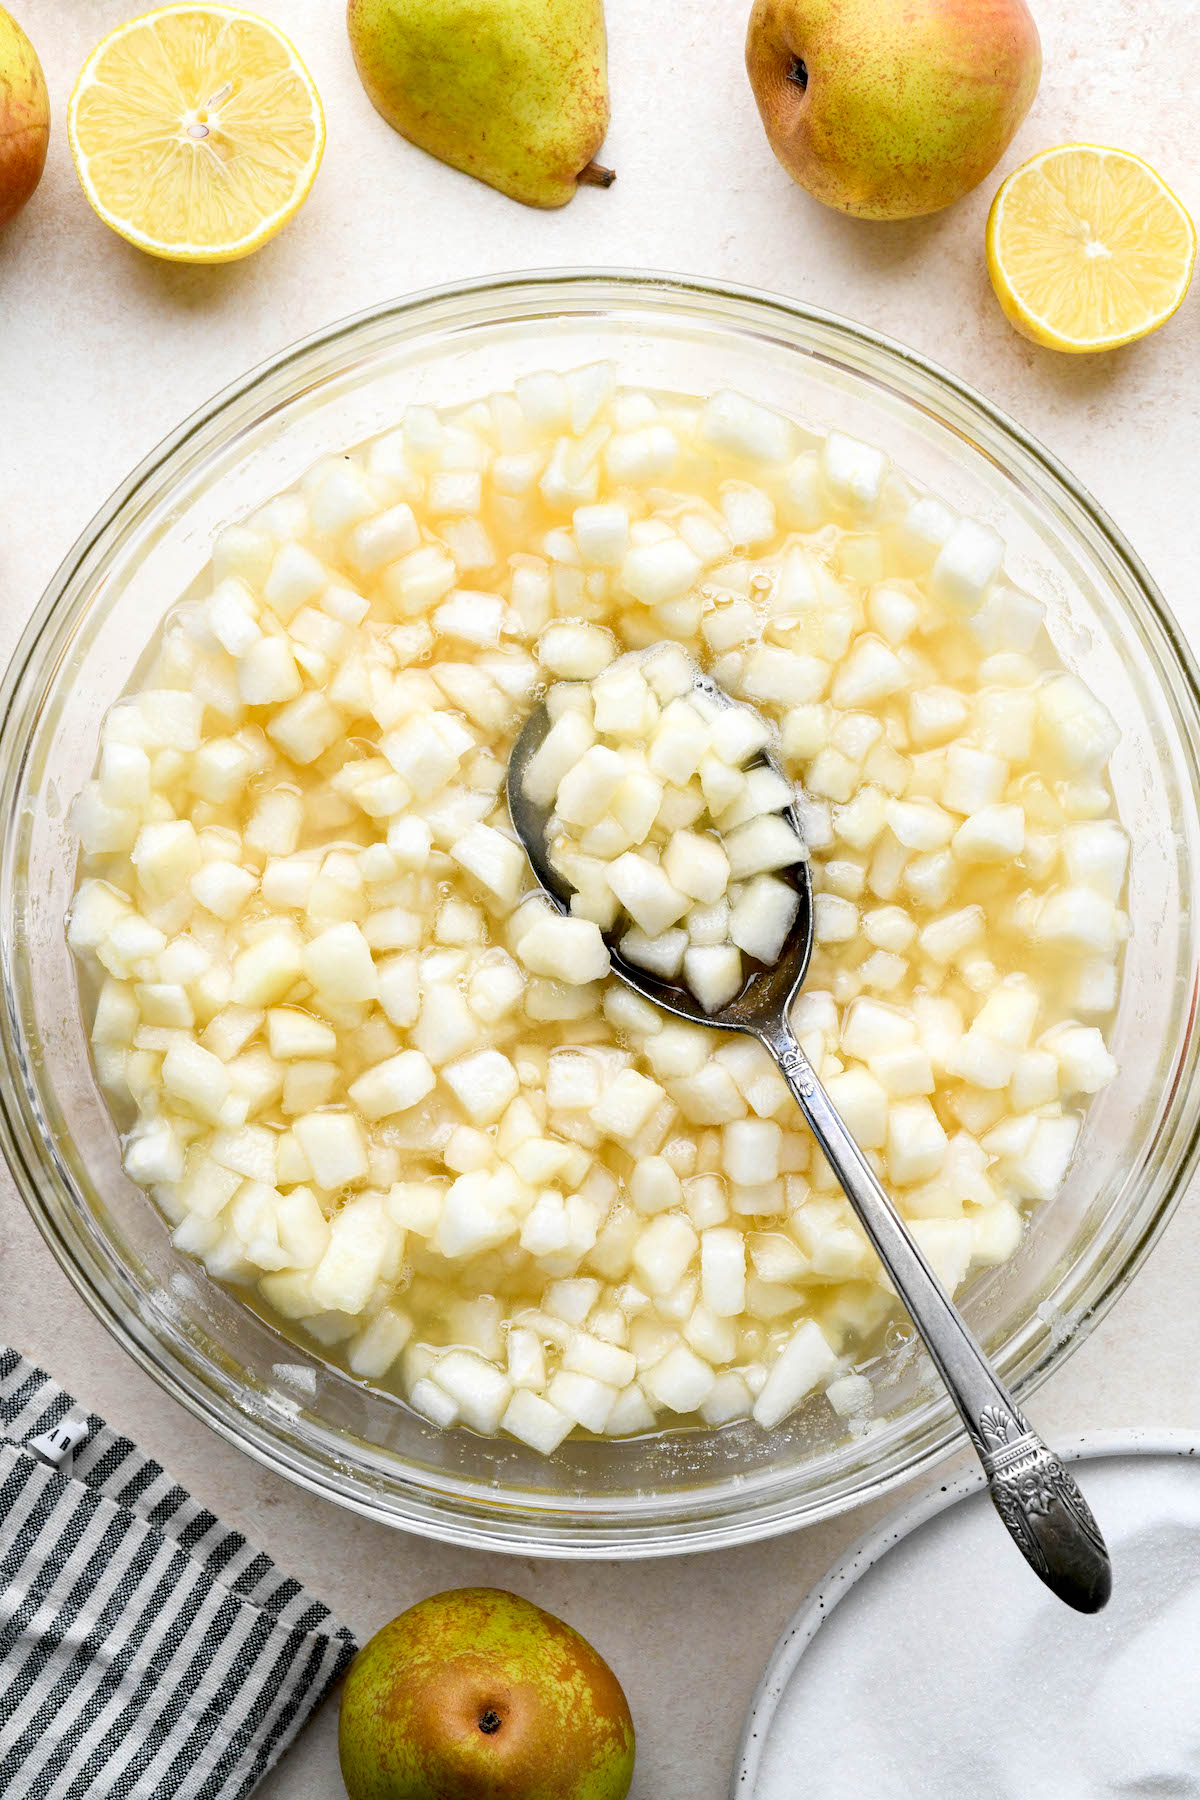
Pour the contents of the bowl into a saucepan or jam pot. I suggest using a larger pot with a heavy bottom as this jam has a tendency to foam up as it cooks.
From past canning projects, I’ve learned that ample space goes a long way toward preventing unnecessary messes.
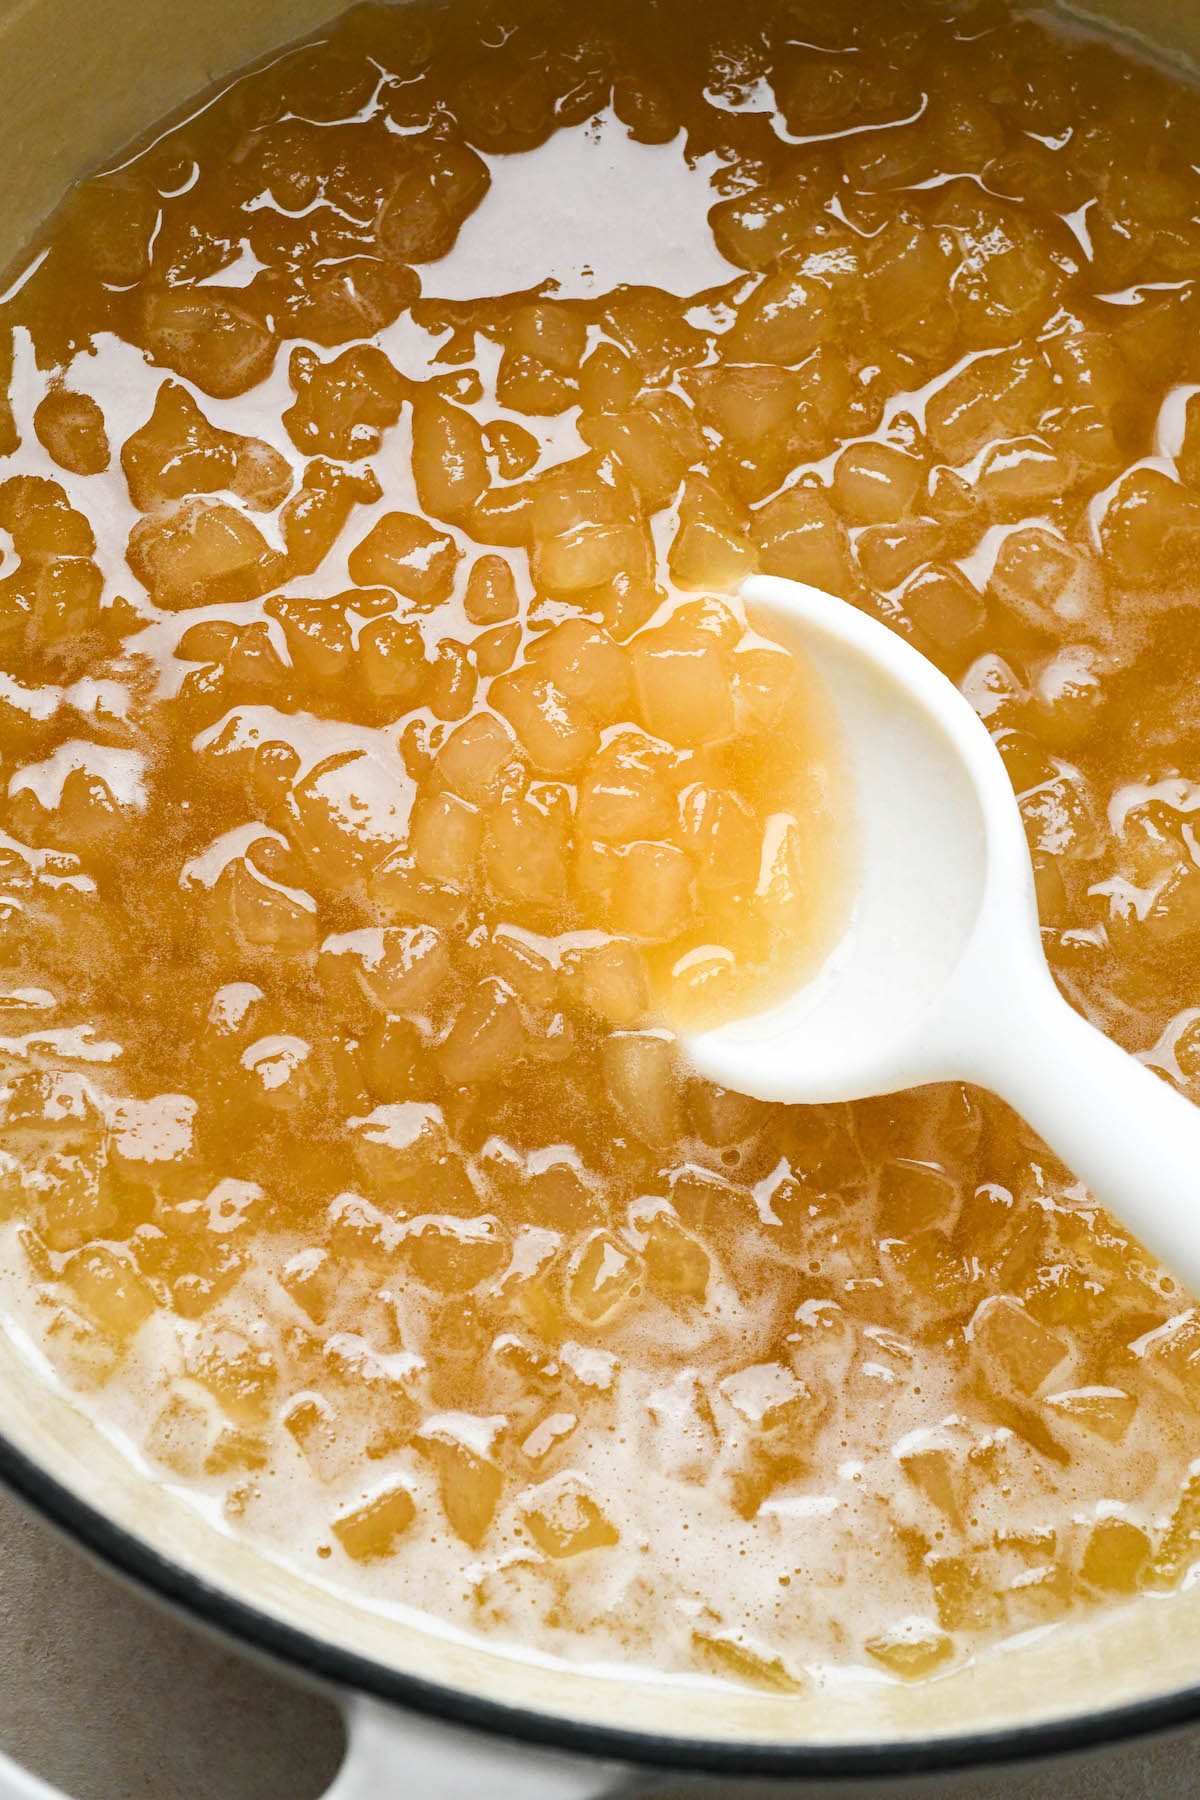
Bring the pears and liquid to a boil over high heat. Once the jam comes to a boil (it will be quite foamy), reduce heat to medium-high and cook the pears for 10 to 15 minutes while stirring occasionally.
At this point, the hot jam will be approaching the gel stage. To test the jam, you can use one of two methods.
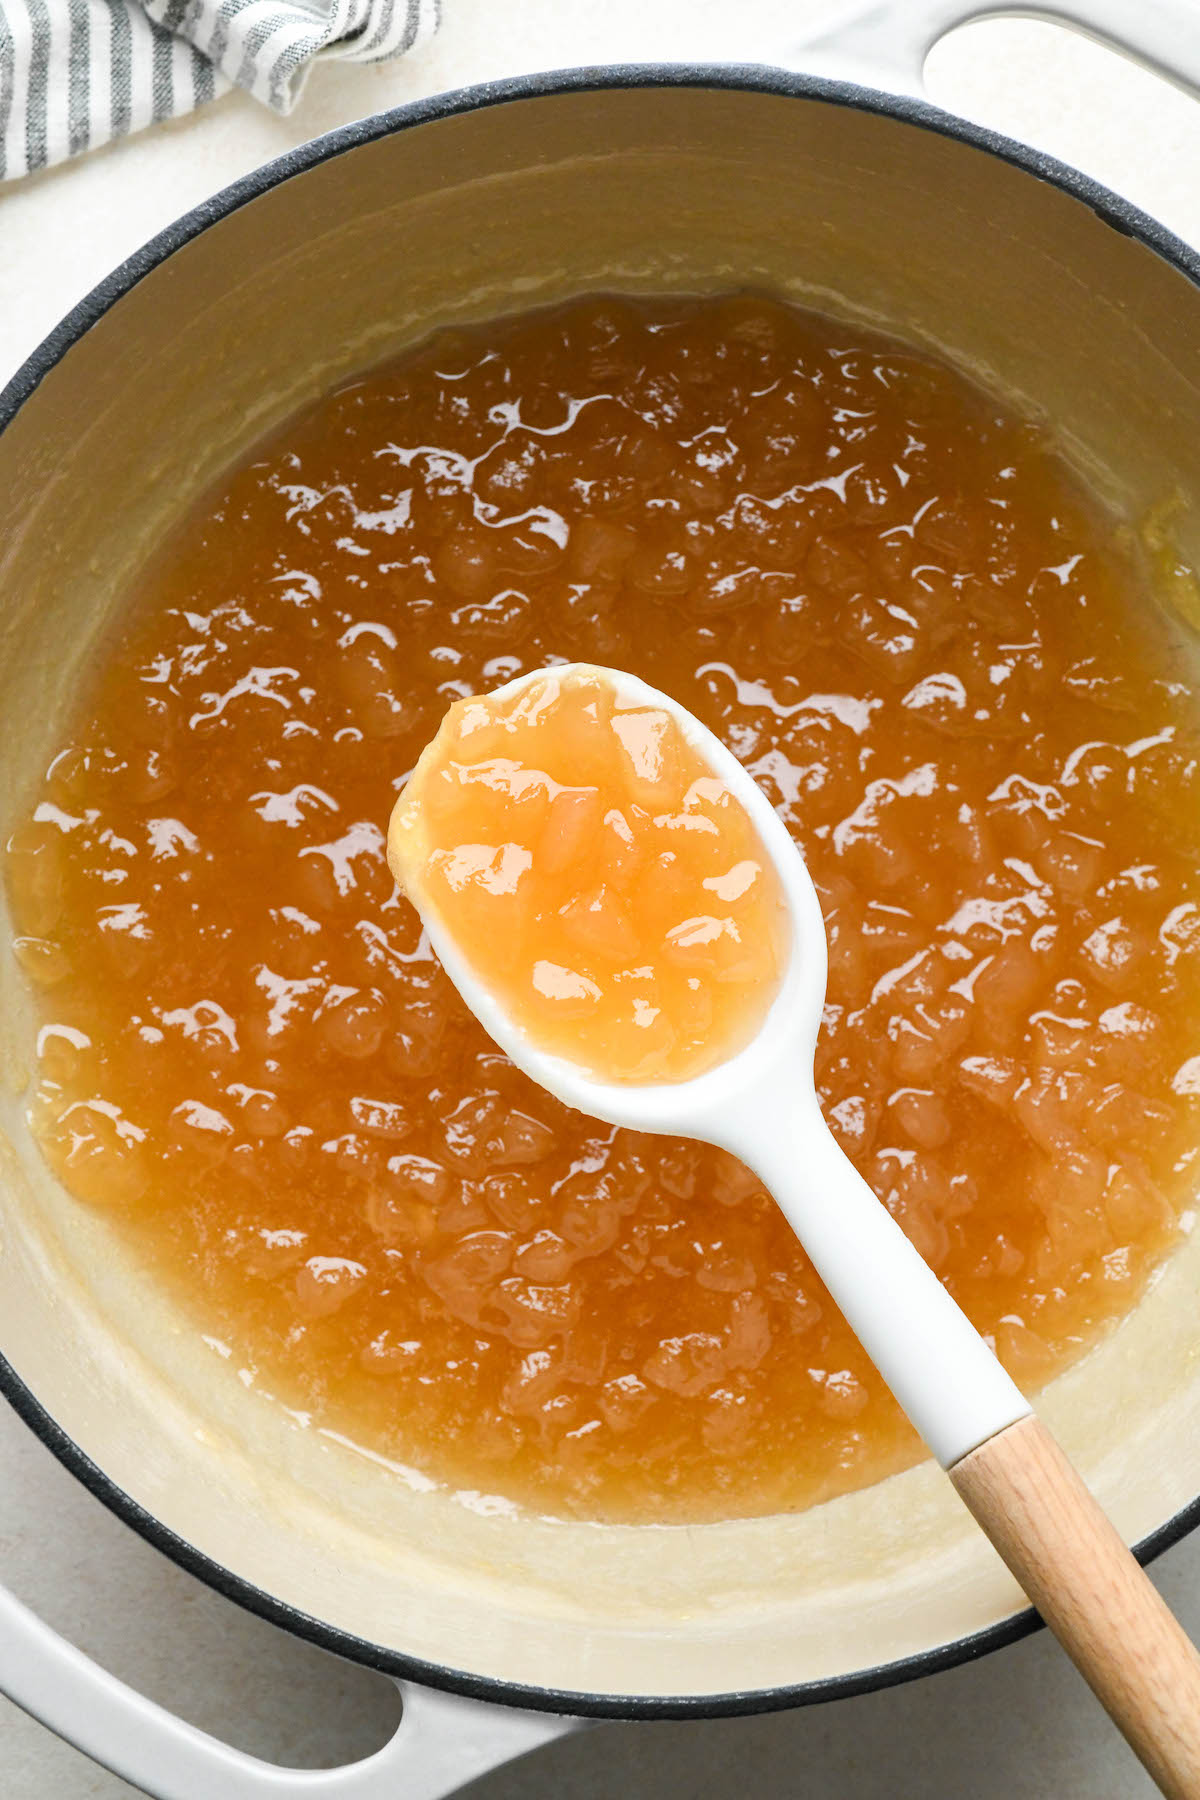
The most fool-proof method for testing the jam is to use an instant-read culinary thermometer. Gelling occurs at 220 degrees F/105 degrees C at sea level, or slightly less at higher elevations.
If you don’t have a thermometer, you can still test the jam. Place a glass plate in the freezer, and when it’s completely chilled you can dollop a small amount of jam onto the glass—if it sets quickly and wrinkles when touched you know you’ve hit the gel stage.
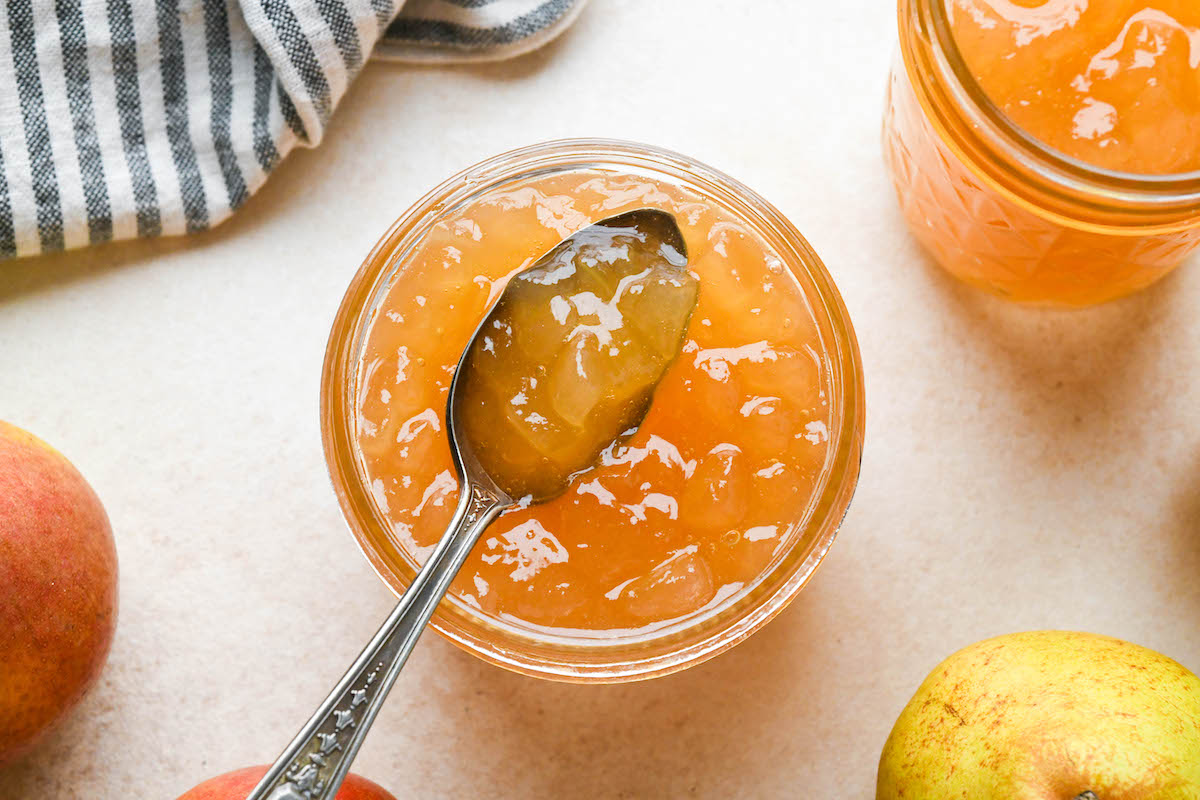
Similarly, you can test pear jam for doneness by removing a small spoonful and blowing on it to quickly cool it down. Drop the jam back into the pot, if it “sheets” off the spoon (rather than dripping), the pear jam has gelled.
Once the jam has finished cooking, remove the saucepan from the heat and prepare 4 to 5 half-pint jars for canning.
Pear Jam Variations
Once you learn how to make a basic pear jam recipe, the sky’s the limit in terms of creating variations that utilize other complementary flavors:
- Pear vanilla jam: this recipe calls for vanilla beans, which are split, scraped, and added to the jam during the cooking stage.
- Spiced pear jam: in this recipe, cinnamon and cloves are simmered with pears before canning.
- Rum-spiced pear jam: another recipe that uses warm winter spices, this version finishes the jam off with spiced rum before canning.
- Vanilla pear berry jam: a combination of pears and strawberries, this pear jam recipe would be delicious served on pancakes or waffles.
- Pear ginger jam: a zippy pear jam made with fresh ginger and lemon zest.
Canning Pear Jam
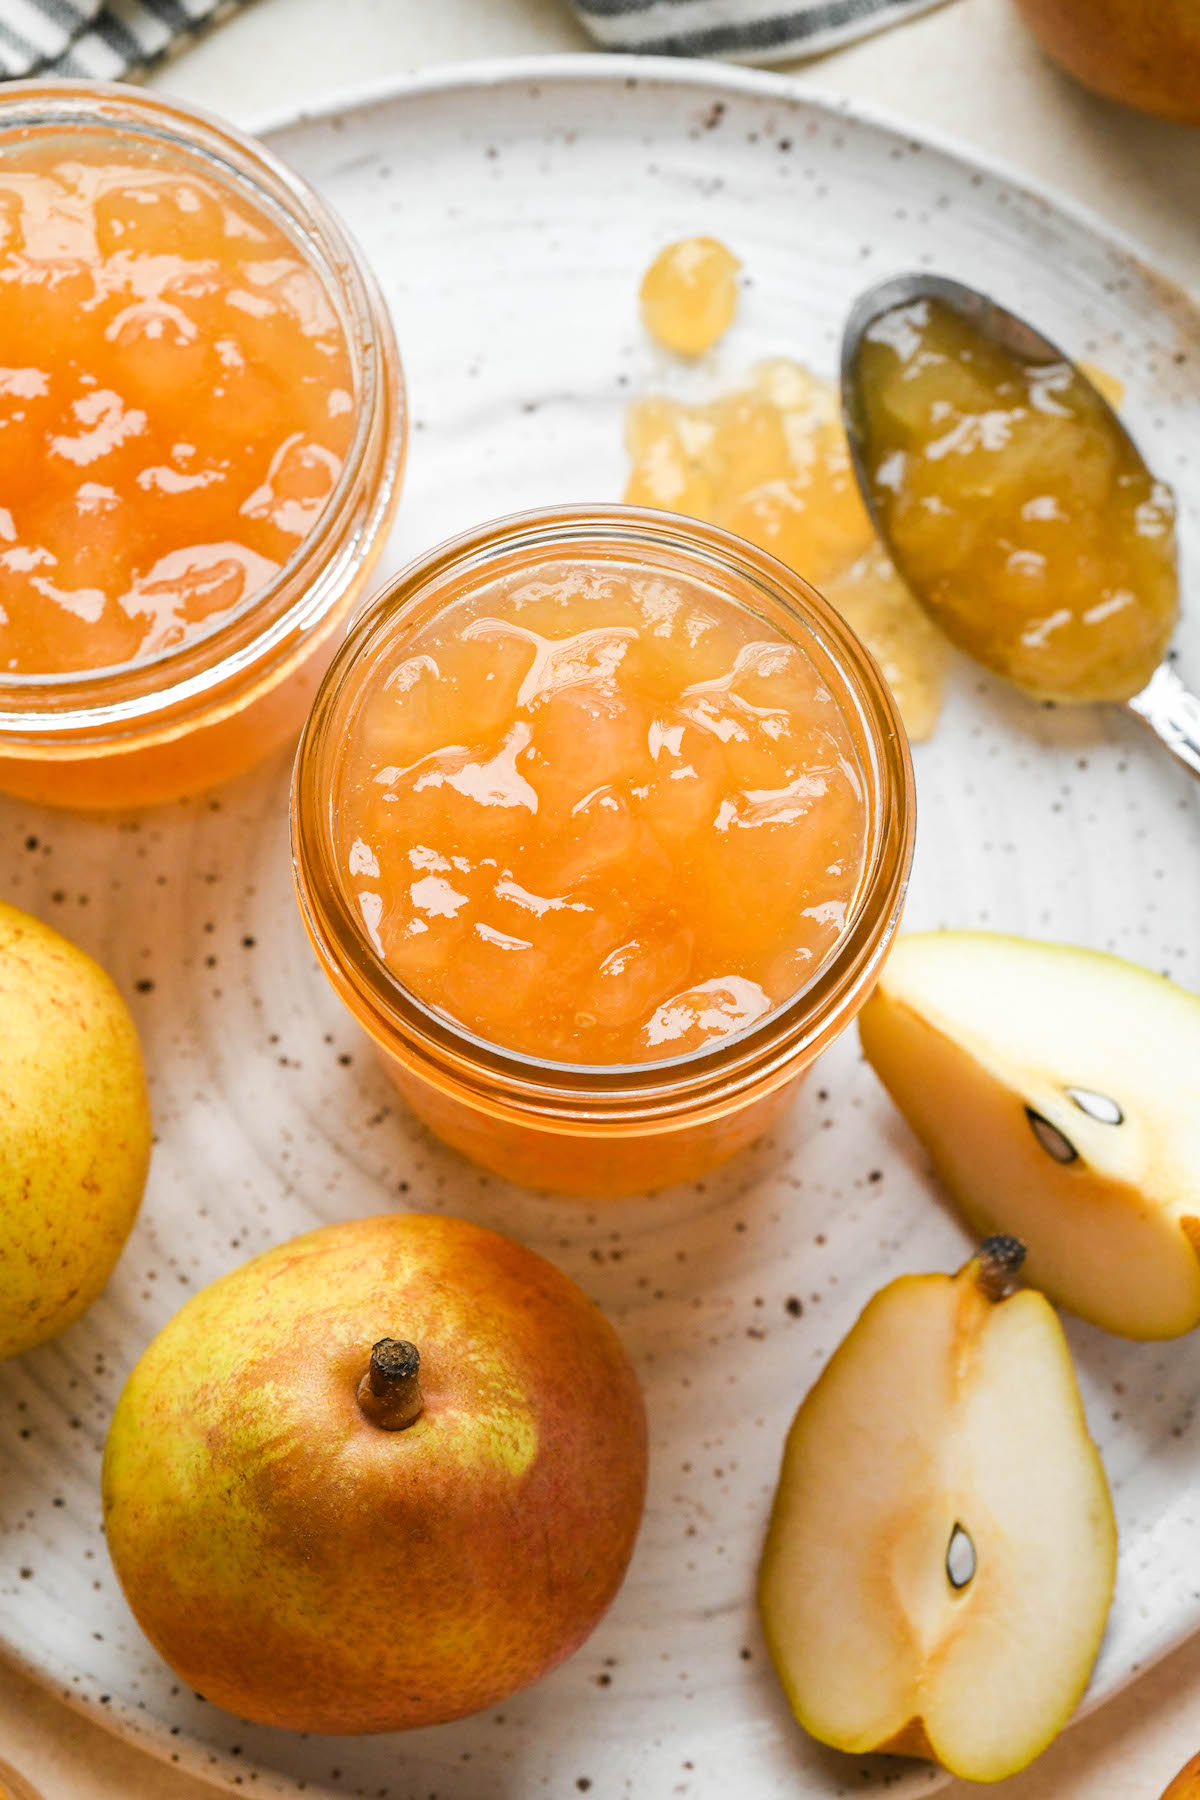
When the pear jam has finished cooking and has been removed from the heat, carefully fill prepared half-pint jars with the still-hot jam using a spoon, leaving 1/4-inch headroom at the top. Run a silicon spatula or plastic knife around the inside of each jar and re-measure the headspace, adding more jam if needed.
Wipe the sides and rims of each jar and apply two-piece canning lids until fingertip tight. Process the jars for 10 minutes and then turn off the heat. Let the jars sit in the hot water canner for another 5 minutes before removing them to help prevent siphoning from occurring.
Set the jars on a clean surface lined with a kitchen towel, leaving at least an inch of space between each jar. Give the jars 12 to 24 hours to come to room temperature. Check seals and move any unsealed jars to the refrigerator (aim to use the jam within a week or two). Store sealed jars in a cool, dry place away from direct light sources for up to 18 months.
Ways to Use Pear Jam
Despite it being a relatively unknown condiment, pear jam lends itself well to a variety of culinary endeavors. Here are just some of the ways I like to use it:
- On sandwiches (with butter or nut butter)
- Tucked into a layer cake or coffee cake
- Sandwiched into pear jam donuts
- Shaken into a gin and pear jam smash
- Dolloped beside roasted pork, boar, or any other gamey meat (with a side of spicy mustard)
- Added to muffins and quick breads
- Stuffed into French toast
- Spread on English muffins
- Spooned over pancakes and waffles
Ways to Preserve Pears
Making pear jam is just one way to preserve the sweet flavor of pears. If you’re flush with fruit, try these other methods of preserving pears:
Pear Jam
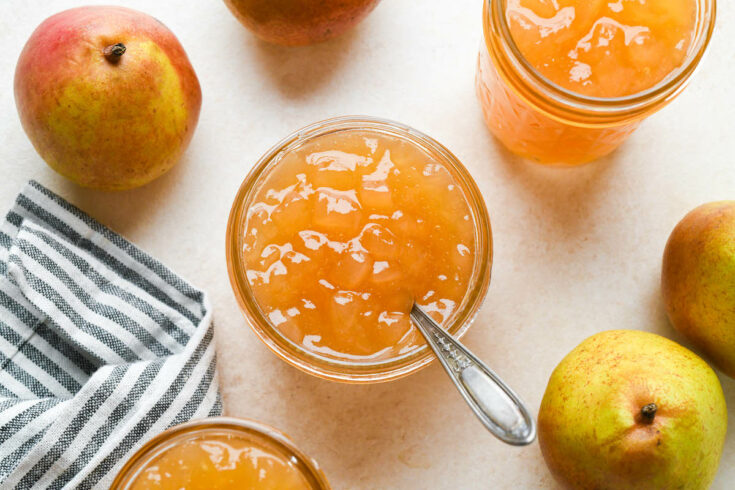
A simple pear jam recipe made with only three ingredients—no packaged pectin required!
Ingredients
- 4 lbs. pears
- 2 to 3 cups sugar (to taste)
- 1/4 cup bottled lemon juice
Instructions
- Peel, core, and dice pears, keeping the dice quite small (you can always mash the jam later on if the pear pieces are too large).
- In a large bowl, toss the diced pears with lemon juice and sugar. Stir to coat.
- Cover bowl and store in the refrigerator for 12 to 24 hours. If you're short on time, 4 hours will suffice.
- Pour macerated pears and syrup into a large, heavy-bottomed saucepan or jam pot.
- Bring the mixture to a boil over high heat. Lower heat to medium-high and cook the pears for 10 to 15 minutes, stirring occasionally.
- When the jam has thickened, test to make sure it has reached the gel stage either with a thermometer (jam should be ~220°F/105°C) or with a cold plate.
- Decant cooked pear jam into prepared half-pint jars, leaving 14-inch headspace. Wipe jars and rims clean with a dish towel and apply two-piece canning lids until fingertip tight.
- Load jars into prepared hot water canner. Process for 10 minutes. When timer goes off, turn off heat and let the jars sit for another 5 minutes to prevent siphoning due to a sudden change in temperature.
- Transfer processed jars to a clean surface lined with a kitchen towel, leaving at least an inch of space between each jar. Let the jars come to room temperature. Check seals of each jar, moving unsealed jars to the refrigerator to be used within 1 to 2 weeks. Store sealed jars in a cool, dry place away from direct light for up to 18 months.
Pear Canning Recipes
Looking for more Pear canning recipes?
Old Fashioned Jam Recipes
Like to make jam the old-fashioned way, without added boxed pectin?
Leave a Reply