This post may contain affiliate links. Please see our disclosure policy.
Canning chicken soup ensures you have a homemade batch of chicken soup on hand when you need it. It’s the perfect pick me up when you’re under the weather, but it also make a satisfying meal anytime.
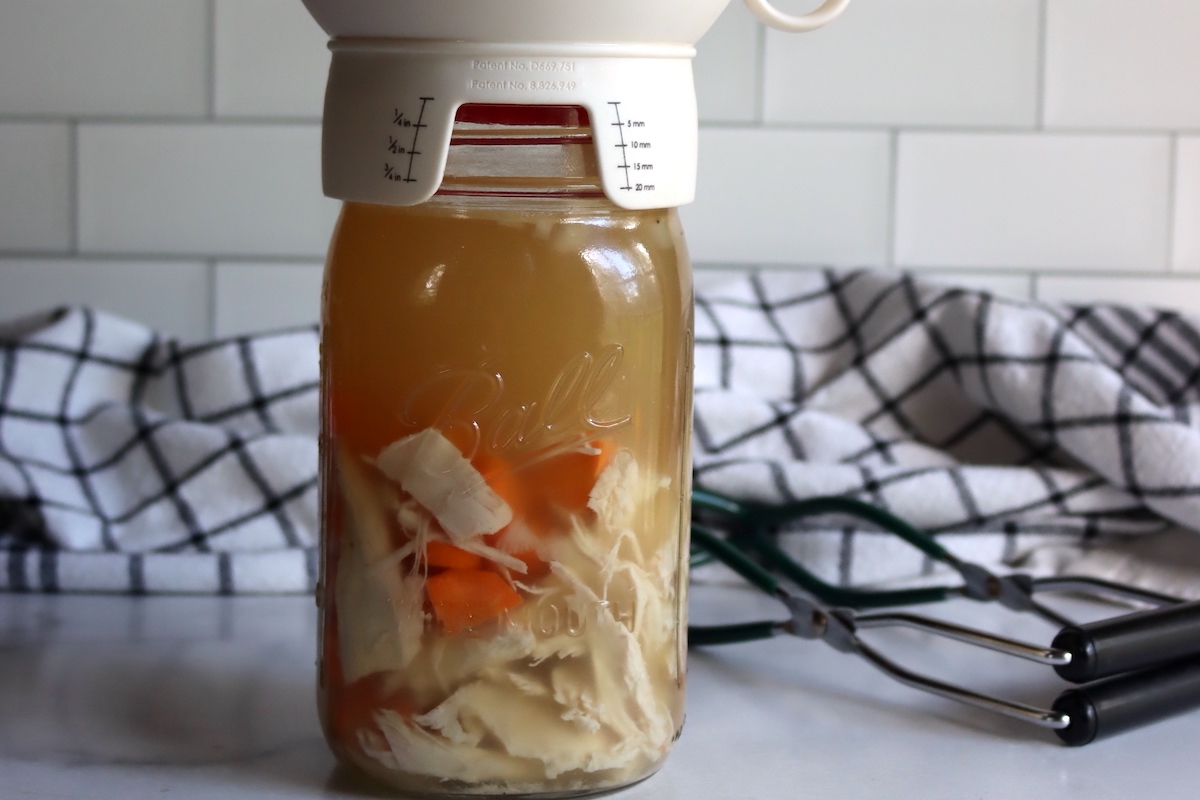
Homemade chicken soup is just what the doctor ordered when you’re under the weather, but who has the energy to cook chicken soup from scratch when they’re sick?
My mama’s 3000 miles away, and she’s not exactly dropping by with a care package when I’m sick. When my own kids are sick, I know that I’m next…
So what’s better than homemade chicken soup? Home canned chicken soup right on your pantry shelf when you need it!
This simple, canning safe recipe for chicken soup is an easy heat and eat meal when you need it. I tend to turn it into chicken noodle soup for serving, and I’ll cook wide egg noodles separately and add them into the pot once it’s reheated.
You can also turn it into chicken and rice soup, or chicken and dumplings at serving.
(Just keep in mind, starchy ingredients like noodles, rice and dumplings are not safe for canning, and those will have to be added at serving. Boiling up a batch of noodles takes about the same amount of time as reheating the soup, and I always have noodles on my pantry shelf, so that’s no big deal.)
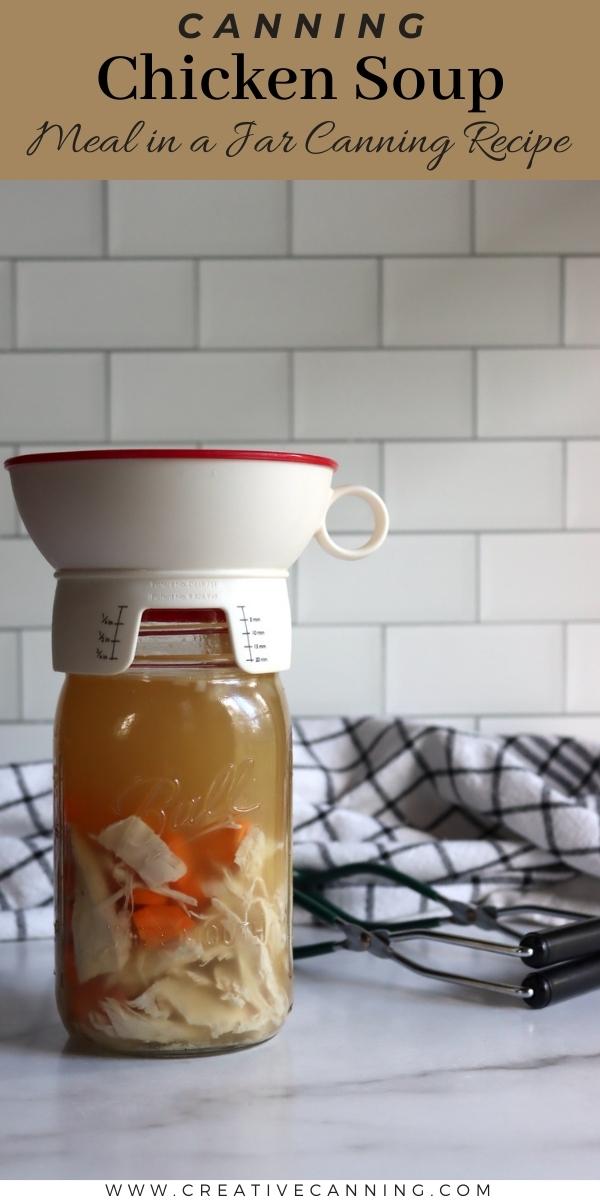
I’d like to note that since posting this, I’ve been asked a dozen times…where did you get that canning funnel!?!?
It’s a prepworks by progressive canning funnel with measurements.
Ingredients for Canning Chicken Soup
This tested canning recipe for chicken soup is adapted from the Ball Blue Book of Home Canning.
To make 4 quarts (or 8 pints) of home canned chicken soup, you’ll need:
- 4 quarts chicken stock
- 3 cups diced, cooked chicken (about one 3 lb cooked chicken)
- 1 1/2 cups celery, chopped (roughly 3 stalks)
- 1 1/2 cups carrots, sliced (roughly 3 medium)
- 1 cup onion, chopped (1 large)
- Salt and pepper to taste
The recipe is hot packed, which means that all the ingredients are added to a stock pot and brought to a boil for a few minutes before being equally distributed among the canning jars, leaving 1” headspace.
There’s a bit more chicken stock than you’ll need here, but it’s always better to have a little extra in the pot than end up short. In reality, you need a bit more than 3 quarts.
The blue book recipe is almost identical to what you’d end up with if you opted for the “choose your own adventure” soup canning recipe from the USDA. I’ve outlined that process below, because it gives you the flexibility to change the ingredients as you see fit, adding in veggies or taking them away to suit your tastes.
Make Your Own Chicken Soup Recipe
The ingredients for chicken soup are pretty simple, and start with a rich chicken broth, and add in:
- Shredded cooked chicken
- Carrots
- Onions
- Celery
- Salt, Pepper and Dry Spices of your choice
Personally, I can’t stand celery, so I don’t use it. That’s not a problem at all, as you’re almost always able to omit ingredients in soup canning recipes. This particular soup canning recipe is based on the USDA’s “Your Choice Soup Recipe” which allows you to make soup out of almost anything that has it’s own canning recipe.
In this case, all the ingredients in this canning recipe are safe for canning on their own, so they’re fine for use in this generic soup recipe.
The main thing is that when using this canning approved recipe, the “solids” in the soup can only fill the jar half way. The rest of the jar is filled with broth, which works perfectly for chicken soup.
Since you can fill the jar half way with any solids you choose, it makes it easy to plan out a batch. I’m canning in quart jars, and for each quart, I’ll add in:
- 1 cup shredded chicken
- 3/4 cup sliced carrot
- 1/4 cup sliced onion
If you’re using celery, you can add that too. The main thing is, for each quart jar, you are adding in 2 cups of solids total.
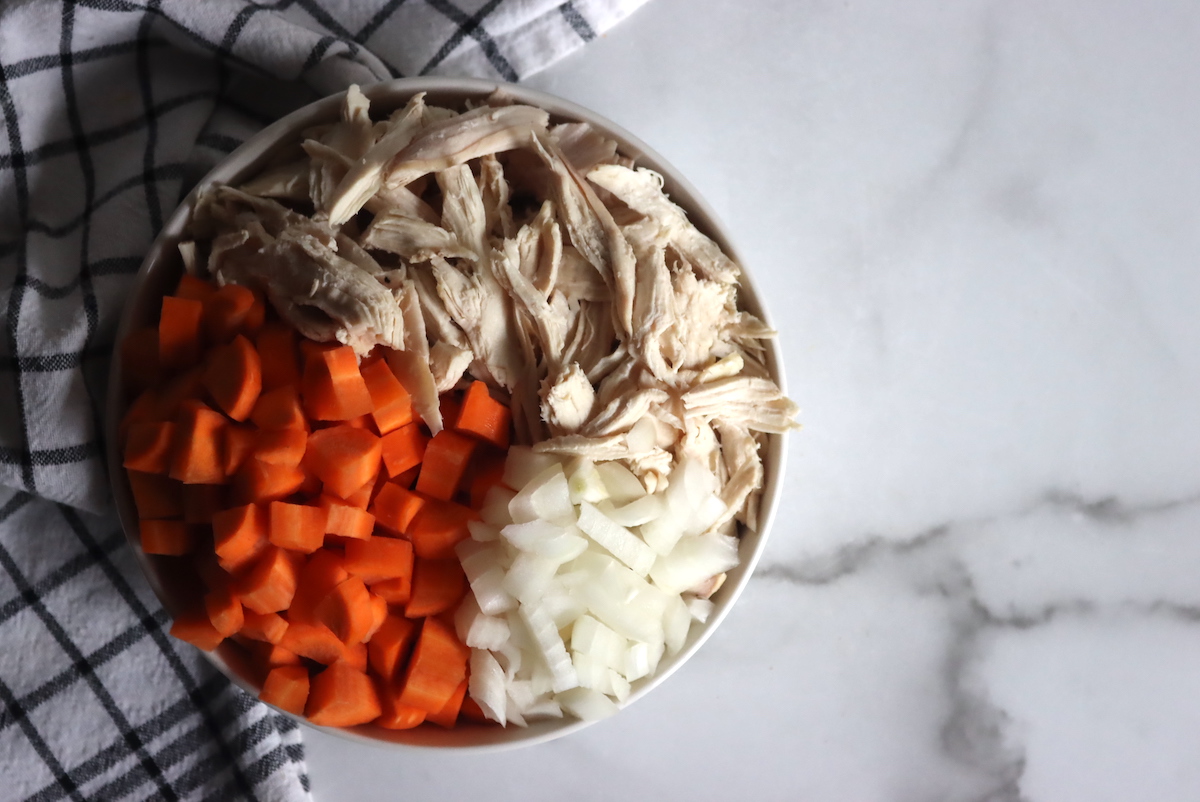
The balance of the space in the jar is made up with chicken broth, which can be homemade or store bought. I tend to roast whole chickens to get the shredded chicken for this recipe, and then I use their bones to make my own chicken broth.
Store bought broth or bullion cubes also work, but watch the salt content of those, they tend to be quite salty.
For each quart, you’ll also need about 3 cups of chicken broth. I know, that’s 5 cups total in each jar, but the solids don’t take up all the space. “Two cups of solids” still leaves space for 1 cup of chicken stock in the nooks and crannies.
So to re-cap, for each quart jar of home canned chicken soup, you’ll need:
- 1 cup chicken, shredded
- 1/2 cup carrots, sliced
- 1/4 cup onions, diced
- 1/4 cup celery, diced
- 3 cups chicken broth
- salt and pepper to taste
If you don’t like one of the vegetables, as I don’t like celery, just make up the volume with other vegetables or more chicken. Either way, the solids should total 2 cups.
(If canning in pints, you’ll need half as much.)
Once you have your ingredients assembled, prepare your pressure canner. Next, add all the ingredients to a pot and bring it to a boil with the chicken stock. Cook for 5 minutes, and then use a slotted spoon to fill the jars half way with solids.
Top with broth, leaving 1 inch headspace.
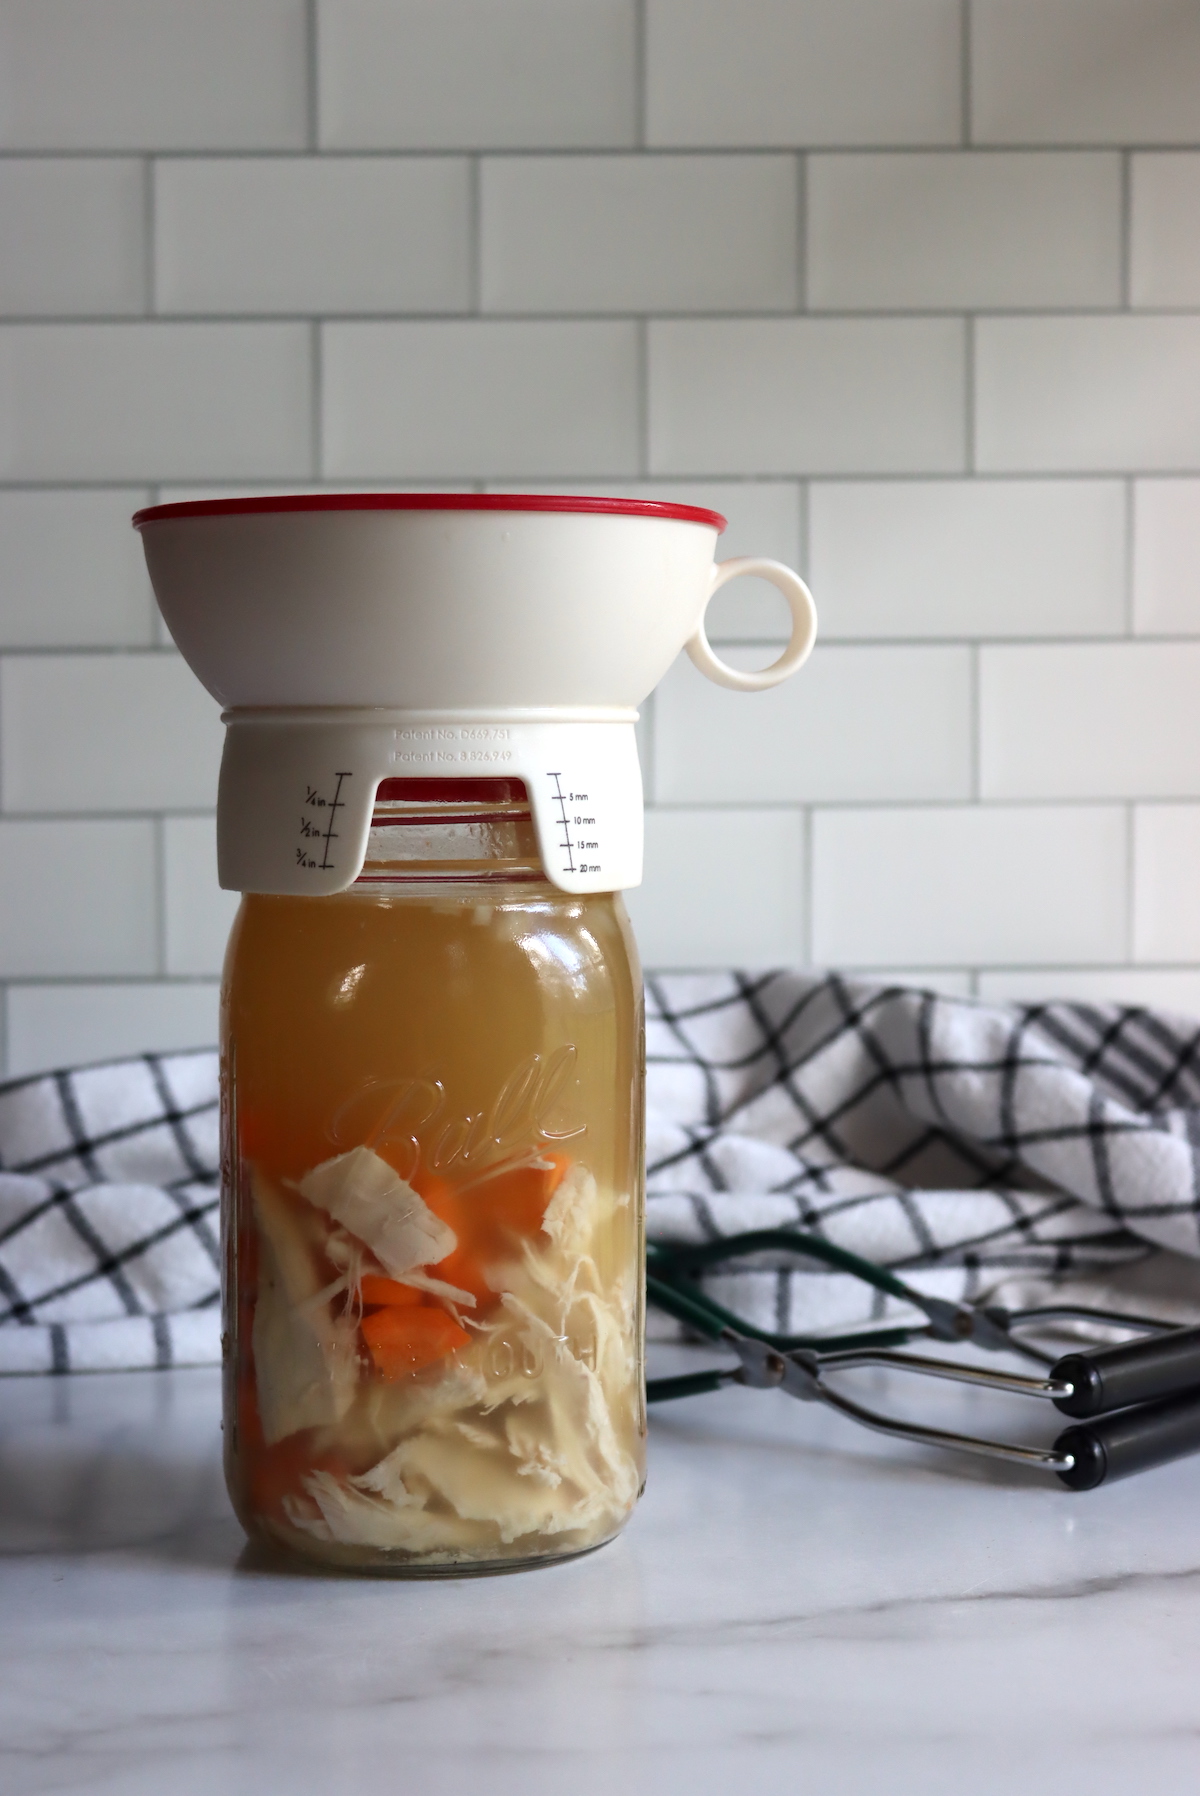
Canning Chicken Soup
Once you’ve assembled your ingredients, prepare your pressure canner for hot pack according to the manufacturers instructions. That usually means adding in the bottom trivet, along with several inches of water and bring it to a simmer.
Prepare the soup for hot pack by chopping all ingredients. Peel and chop the carrots, dice the onions and celery.
Combine all ingredients in a large stock pot and bring the ingredients to a boil. Simmer for 5 to 10 minutes, until ingredients are heated through.
Use a slotted spoon to evenly distribute the solids among 4 quart jars or 8 pint jars. Top with broth, leaving 1 inch headspace, and cap with 2 part canning lids.
Process the jars in a pressure canner for 75 minutes for pints and 90 minutes for quarts, adjusting for altitude (see below).
When the canning time is complete, allow the canner to cool to room temperature on it’s own before removing the jars.
Check seals, and store any unsealed jars in the refrigerator for immediate use. Properly canned and sealed jars will maintain peak quality on the pantry shelf for 18 months, and be good to eat long after provided they’re still sealed. Refrigerate after opening.
Canning Times for Chicken Soup
The original Ball Blue Book Recipe uses canning times of 75 minutes for pints and 90 minutes for quarts for this chicken soup recipe. The USDA’s generic soup canning recipe recommends 60 minutes for pints and 75 minutes for quarts for broth-y soups like this one.
I’ve gone with the more conservative ball blue book times since I was using their tested recipe. The extra canning time does not seem to impact the quality of the soup, and allows you to fill the jars a bit more than half way if you like a soup with a bit less broth.
Altitude Adjustments
The canning time remains the same regardless of altitude, but the required pressure changes above 1,000 feet in elevation.
For dial gauge pressure canners:
- 0 to 2,000 feet in elevation – 11 lbs pressure
- 2,001 to 4,000 feet in elevation – 12 lbs pressure
- 4,001 to 6,000 feet in elevation – 13 lbs pressure
- 6,001 to 8,000 feet in elevation – 14 lbs pressure
For weighted gauge pressure canners:
- Above 1,000 feet – 15 lbs pressure
- 0 to 1,000 feet in elevation – 10 lbs pressure
Serving Home Canned Chicken Soup
To serve, reheat in a saucepan and serve over cooked rice or pasta (or as is). I think roughly 1 cup of cooked pasta or rice works well for a quart of soup, but you’ll have to use your best judgement. Some people like a heartier soup, while others prefer theirs with a bit more broth.
Adding rice or pasta is optional, and just stretches the soup a bit further. It’s perfectly fine to warm and serve as is.
Canning Chicken Soup
Equipment
Ingredients
- 4 Quart chicken stock
- 3 cups diced, cooked chicken (about one 3 lb cooked chicken)
- 1 1/2 cup celery, chopped (roughly 3 stalks)
- 1 1/2 cup carrots, sliced (roughly 3 medium)
- 1 cup onion, chopped (1 large)
- 3 chicken bullion cubes, optional
- Salt and pepper to taste *see note
Instructions
- Start by preparing a pressure canner for hot pack based on the manufacturers instructions. That usually means adding in the bottom trivet, along with several inches of water and bring it to a simmer.
- Prepare the soup for hot pack by chopping all ingredients. Peel and chop the carrots, dice the onions and celery.
- Combine all ingredients in a large stock pot and bring the ingredients to a boil. Simmer for 5 to 10 minutes, until ingredients are heated through.
- Use a slotted spoon to evenly distribute the solids among 4 quart jars or 8 pint jars.
- Top with broth, leaving 1 inch headspace.
- Cap with 2 part canning lids and process the jars in a pressure canner for 75 minutes for pints and 90 minutes for quarts, adjusting for altitude (see notes).
- When the canning time is complete, allow the canner to cool to room temperature on it's own before removing the jars.
- Check seals, and store any unsealed jars in the refrigerator for immediate use. Properly canned and sealed jars will maintain peak quality on the pantry shelf for 18 months, and be good to eat long after provided they're still sealed. Refrigerate after opening.
- To serve, reheat in a saucepan and serve over cooked rice or pasta (or as is).
Notes
Canning Time
The original Ball Blue Book Recipe uses canning times of 75 minutes for pints and 90 minutes for quarts for this chicken soup recipe. The USDA's generic soup canning recipe recommends 60 minutes for pints and 75 minutes for quarts for broth-y soups like this one. I've gone with the more conservative ball blue book times since I was using their tested recipe.Altitude Adjustments
The canning time remains the same regardless of altitude, but the required pressure changes above 1,000 feet in elevation. For dial gauge pressure canners:- 0 to 2,000 feet in elevation – 11 lbs pressure
- 2,001 to 4,000 feet in elevation – 12 lbs pressure
- 4,001 to 6,000 feet in elevation – 13 lbs pressure
- 6,001 to 8,000 feet in elevation – 14 lbs pressure
- 0 to 1,000 feet in elevation – 10 lbs pressure
- Above 1,000 feet – 15 lbs pressure
Nutrition
Nutrition information is automatically calculated, so should only be used as an approximation.
Soup Canning Recipes
Looking for more soup canning recipes? Read on my friends….
- Beef Stew Recipe for Canning
- Garden Vegetable Soup
- French Onion Soup
- Spicy Tomato Vegetable Soup
- Roasted Tomato Basil Soup
What a great website, thank you.
You’re quite welcome!
I’m waiting for my new digital pressure canner to arrive so I am researching soup recipes and canning info. I’ve been canning for 21 years, pressure canning for 4, but have never canned soups. From the research I have done, NCFHFP does not recommend celery in any canned soups. can you please tell me why you have included celery in your recipes?
There are a number of tested soup canning recipes (including this one) that include celery. This one’s from the Ball Book of Canning, and honestly, I’m personally not a fan of celery so I usually leave it out.
I have an article specifically on designing your own safe soup canning recipes that walks you through all the details of what the NCHFP outlines about soup, and you can read that here: https://creativecanning.com/choice-soup-canning-recipe/
The guidance isn’t to not use celery, as there are plenty of tested recipes that include it, the guidance is when you are creating your own soup canning recipe using their “choice canning guidance” that you only use veggies that already have a specific canning recipe for them alone. Onions, for example, have their own specific pressure canning recipe and can be included, while cabbage doesn’t, so they don’t recommend adding cabbage.
Celery doesn’t have its own specific canning recipe on its own, so it’s not specifically “allowed” in their choice soup canning protocol, at least from the NCHFP, but it is fine in recipes that are tested using it. That said, the University of Alaska’s extension seems to think that celery is the exception to that rule, and does include it in their soup canning recipes developed using the “choice” guidelines from the NCHFP. Many other extensions treat celery as if it’s the same as onions in recipes, and even specifically say things like “use 1 cup of either celery or onions.” So while the NCHFP doesn’t specifically allow for it, other extensions do.
Either way, that’s a long answer, but as to your specific question about this recipe, it’s specifically tested including celery so that’s an allowed inclusion.
Hope this helps!
Great recipe! I was planning on making chicken soup by adding the cooked, chopped chicken to the jar. Then layering the parboiled carrots, onion, and celery on top, then filling the jar up with chicken broth. I believe this follows the USDA guidelines but have not found a recipe that does it this way. Do you have thoughts on this method?
Thanks!
Shannon
It soudns like you’re parboiling everything, so you’re definitely fine following USDA directions, just make sure the chicken broth you top it with is boiling.
Even if you’re not par-boiling, Ball canning does raw packs of their soup recipes, and uses the same canning times as hot pack for soups. It’s not specifically a USDA thing, but it is something that the “canning authorities” do.
Then why couldn’t I just layer cooked or raw chicken and raw ingredients in in each jar and top with boiling broth? 90 min for quarts
Ball wrote their recipe as a hot pack recipe, and that’s for quality as raw veggies tend to bust apart in the canner, and raw chicken lets off liquid that clouds the broth. You can pack it with raw meat and veggies, and you’d use the instructions for canning brothy soups here:
https://creativecanning.com/choice-soup-canning-recipe/
Loved this recipe but I pressure canned this two days ago and got a good seal. Then today I looked at the jars and there is brown particles on the ring of the mason jar below the lid. Is this normal? I am wondering if I left too much head space and that the soup will go rancid.
That’s not uncommon with pressure canning, there’s often particles on the lid. So long as you canned it for the appropriate time and the jars sealed then you’re good.
Can you raw pack or partially cook the chicken instead?
I’m worried about the chicken being too dry by the time it’s pre-cooked, then pressure canned, then reheated.
Also, you mentioned you can substitute or swap veggies if you prefer. Can you use any vegetable as long as it has been safe tested? Last question… can you add different spices and/or omit onion? Thank you!
You can use raw chicken, and you can swap the veggies for other canning safe veggies. Omitting the onion is fine, and adding different spices is fine. Enjoy!
You mentioned using raw chicken which sounds like a time saver but this seems counter to what I have read about removing the fat from broth as the fat is a potential safety risk due to botulism. Am I misunderstanding something? Thanks and grateful for the site.
KD
Chicken fat is not a botulism risk, nor is animal fat of any kind. What you’ve probably heard is that oils and fats can cause an issue if your jars siphon (more on that here: https://creativecanning.com/canning-liquid-loss-siphoning/) and the oil get into the seal and cause a seal failure. It’s not that you cannot put up recipes with animal fats, in fact, there tested NCHFP recipes for canning straight pork sausage which is A LOT fattier than chicken. It’s just that when there’s fat or oil in the jar, you need to be vigilant that you wipe the jar rims with vinegar on a towel (as you always should) before you put your lids and rings on to clean off any oil. And, you need to check seals before you store the jars (again, as you always should).
All of Ball Canning’s pressure canning meal in a jar recipes are for raw chicken, and there are explicit instructions from the NCHFP for canning raw chicken. It’s not in any way prohibited or cautioned against.
Hope this helps!
safe for canning on they’re own
incorrect grammar, should say: safe or canning on their own
Thanks Ella, fixed it!
Are you bringing the chicken and vegetables to a boil in the chicken stock or just water and then adding the stock to the vegetables once they’re in the jar?
You are bringing the soup to a boil with the chicken stock, and then using a slotted spoon to allocate about 2 cups solids to each jar. You’re then topping it with the broth from the pot. The main thing here is you want to put the broth into the jars after the solids so you can evenly distribute the chicken and veggies.