This post may contain affiliate links. Please see our disclosure policy.
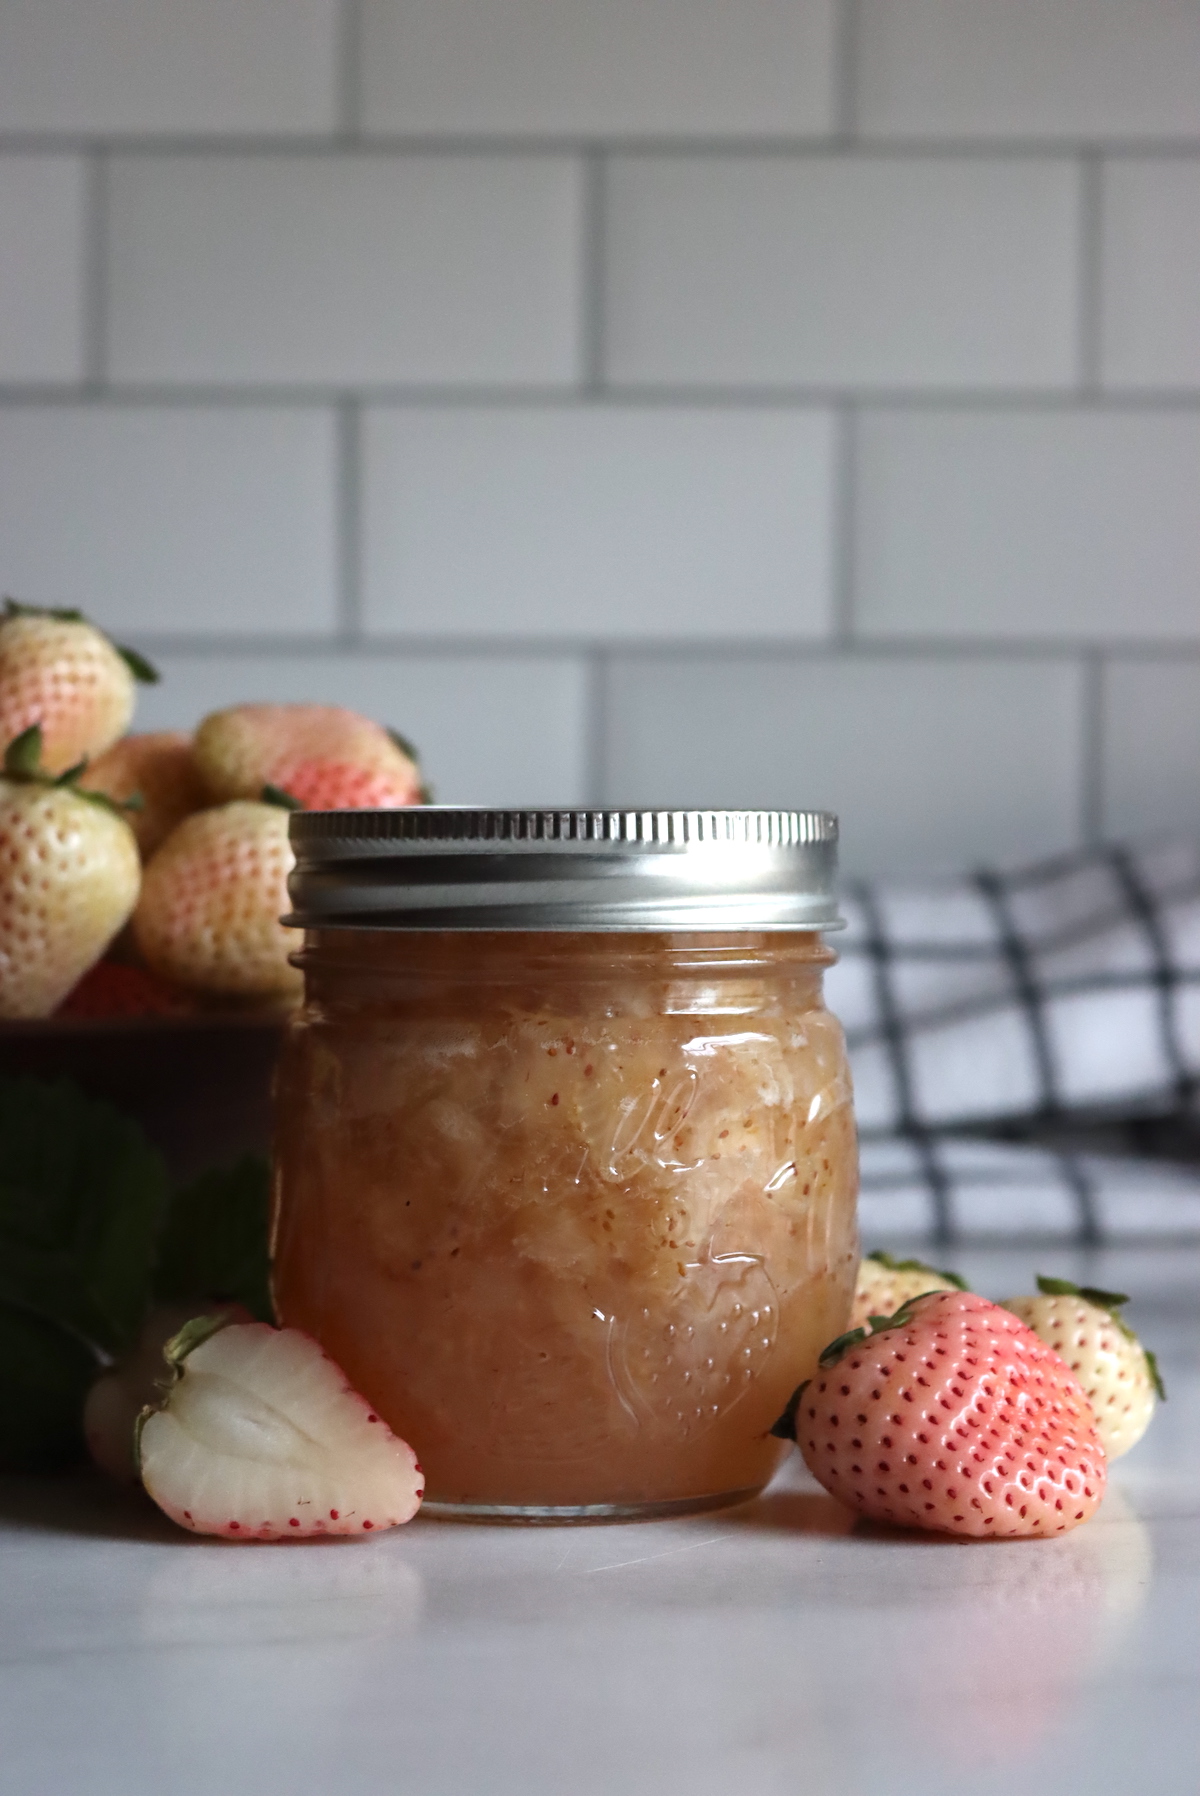
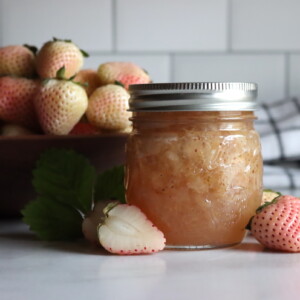
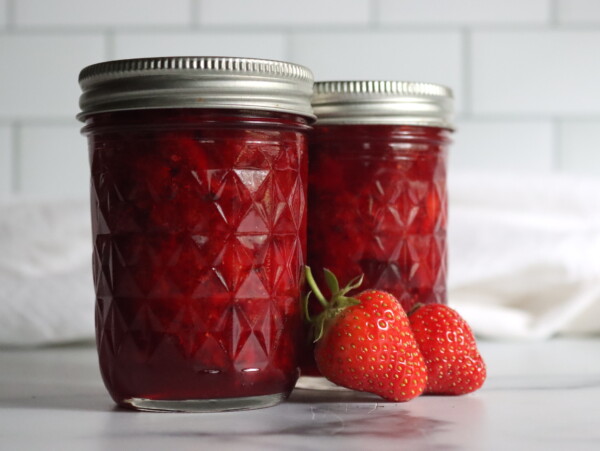
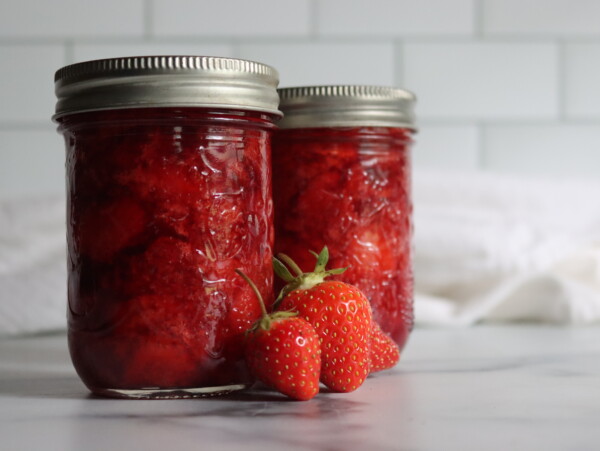
Pineberry jam is a delicious way to use pineberries in season, and it comes together with just a few simple ingredients.
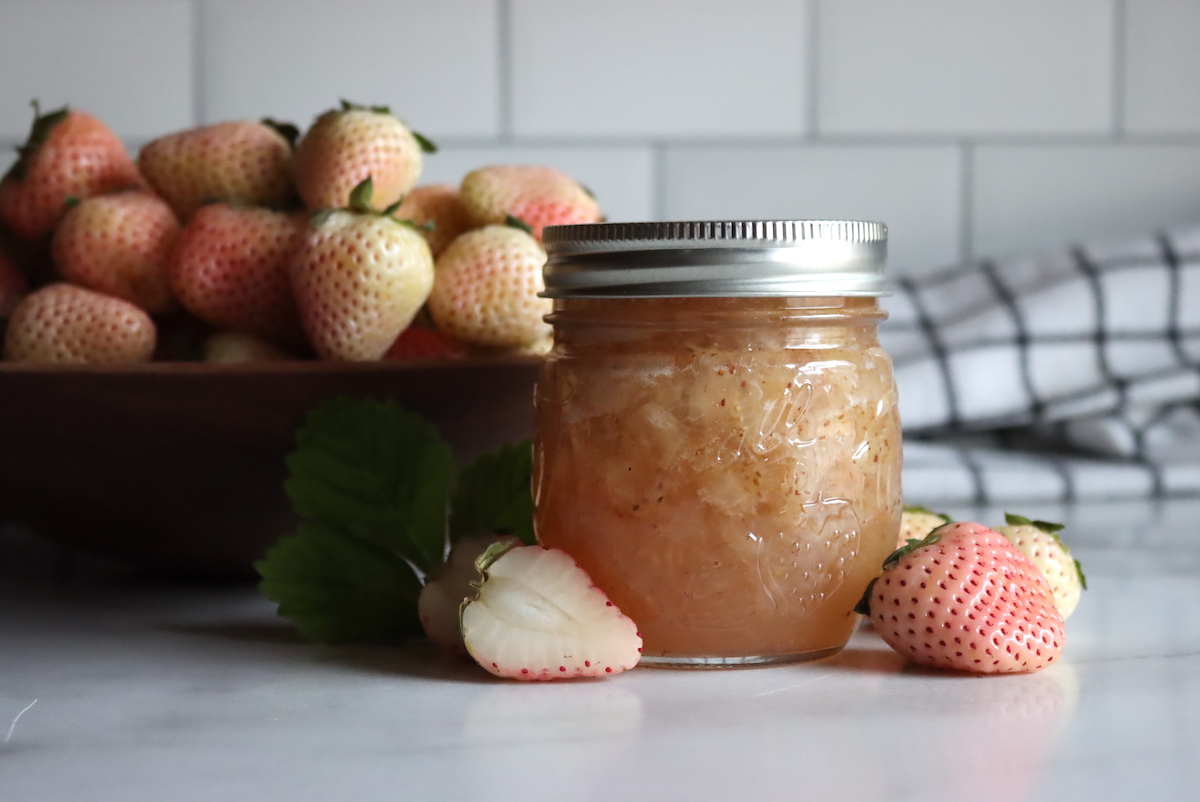
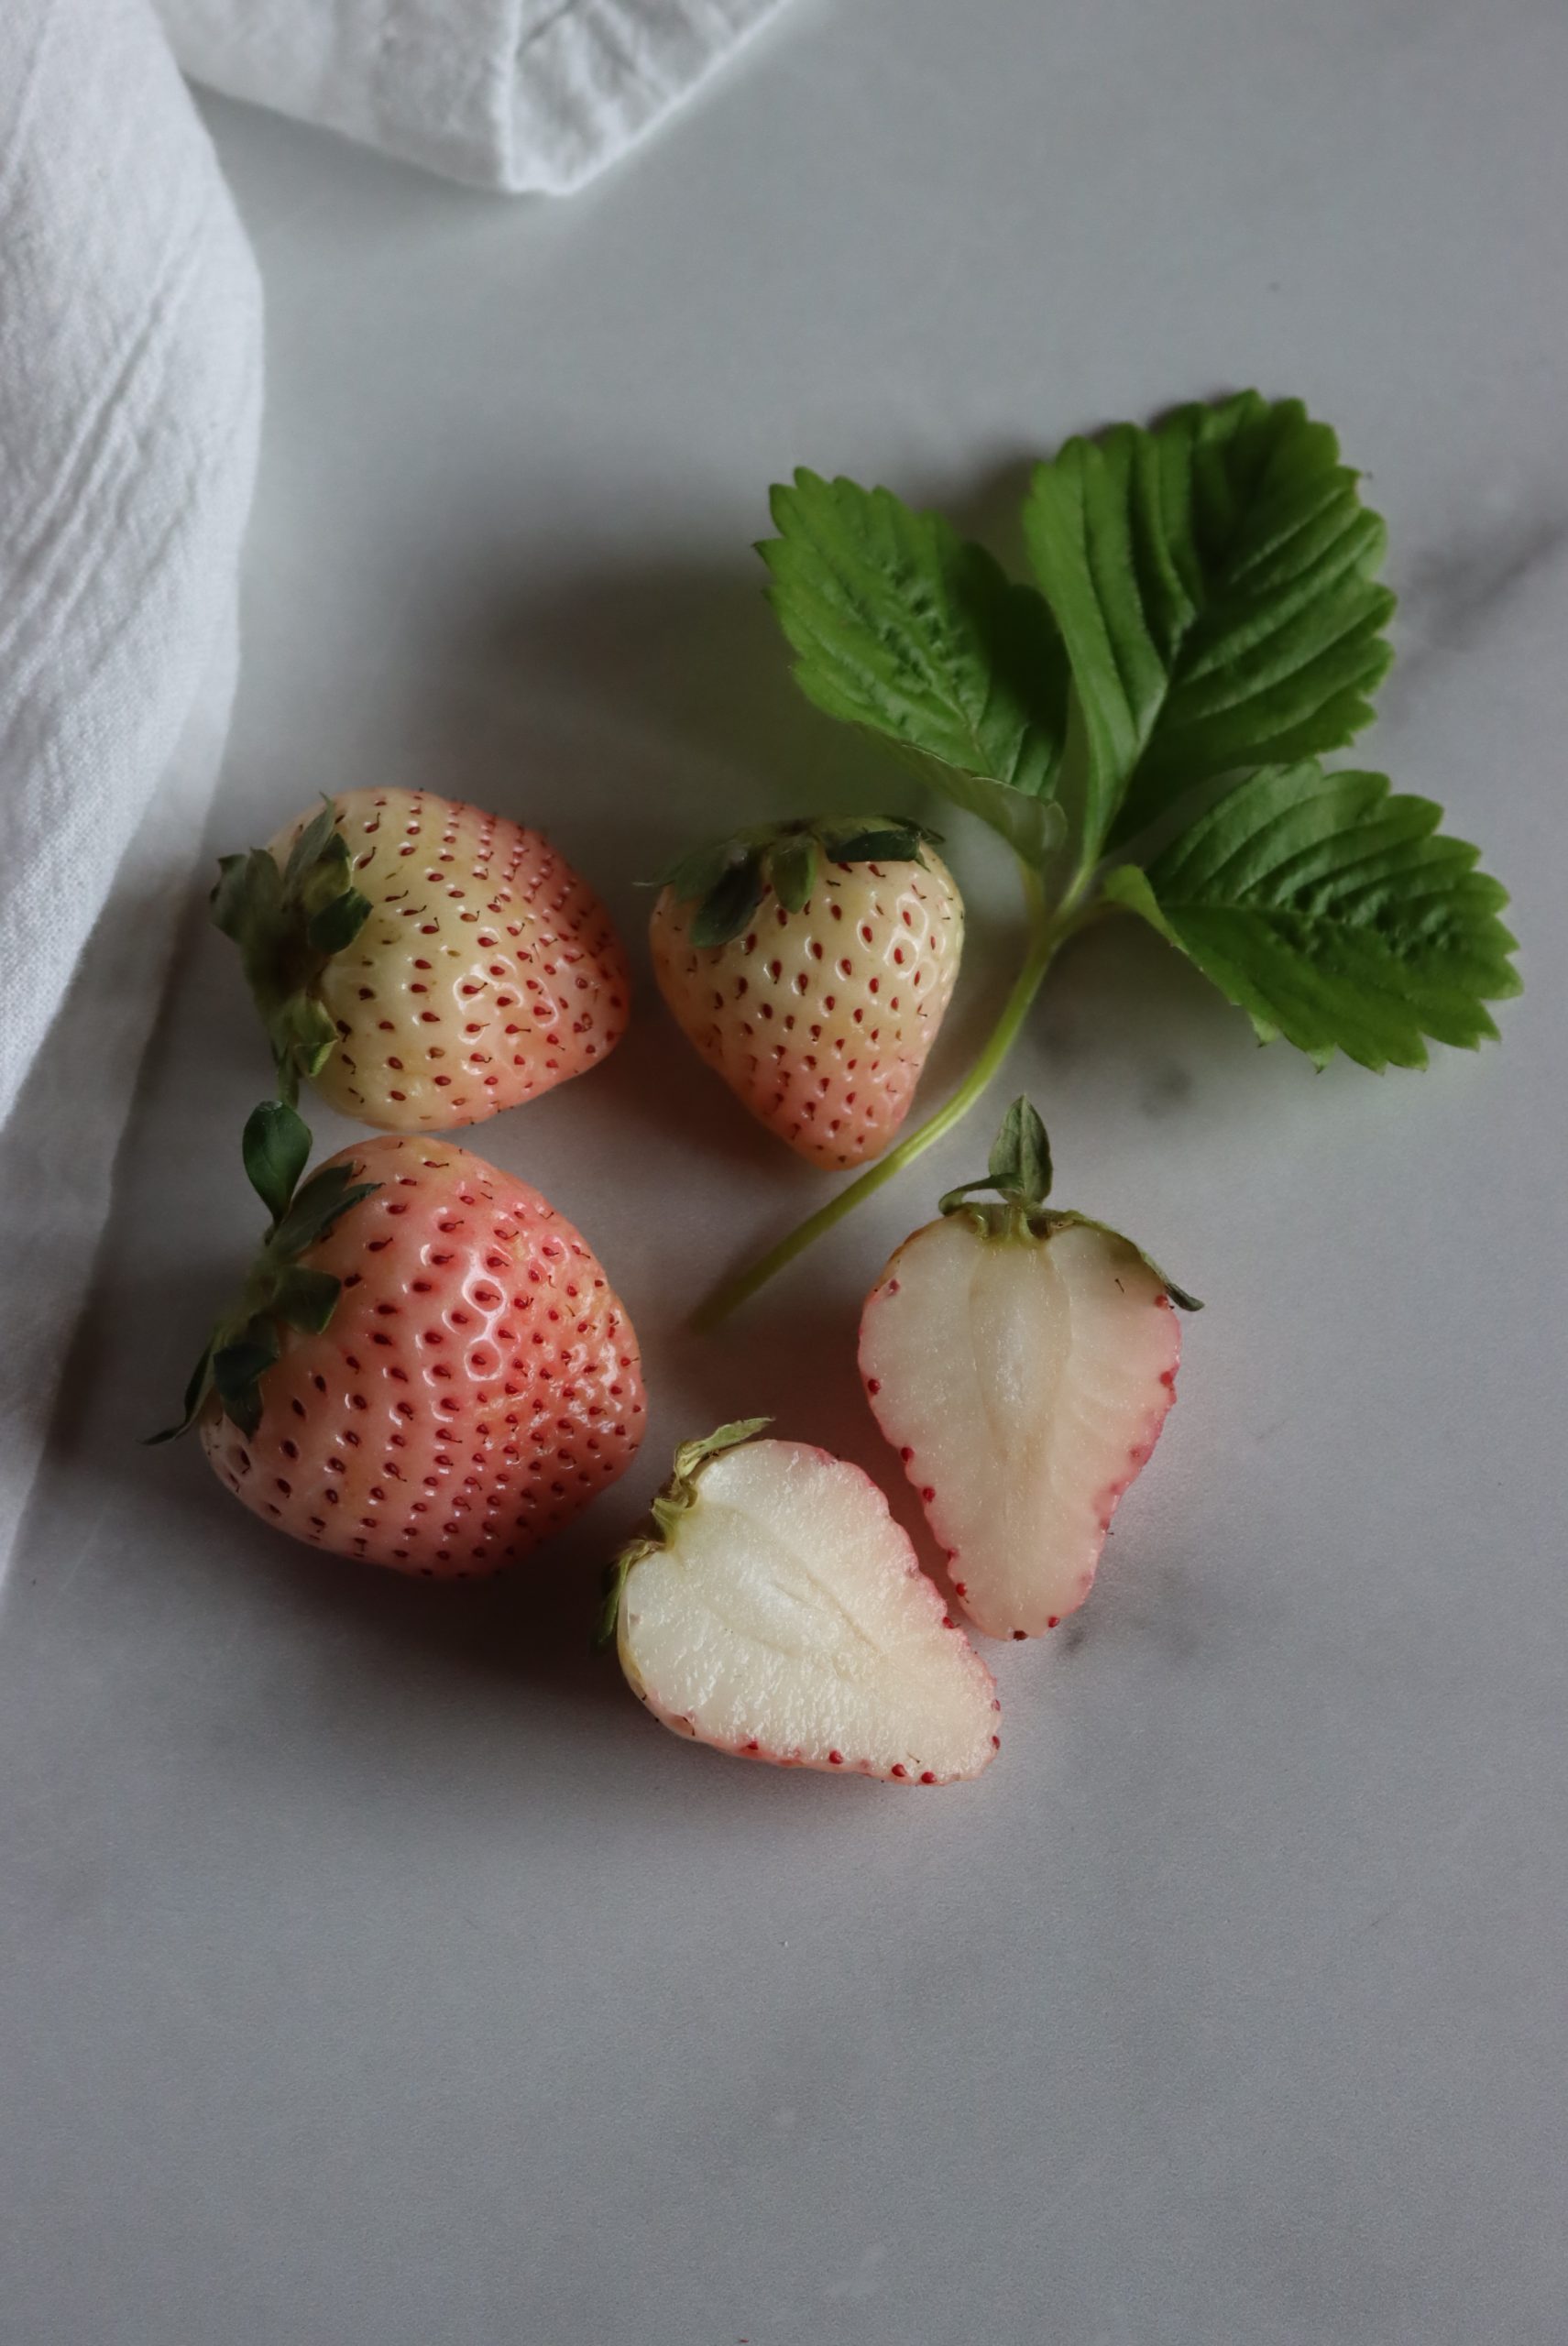
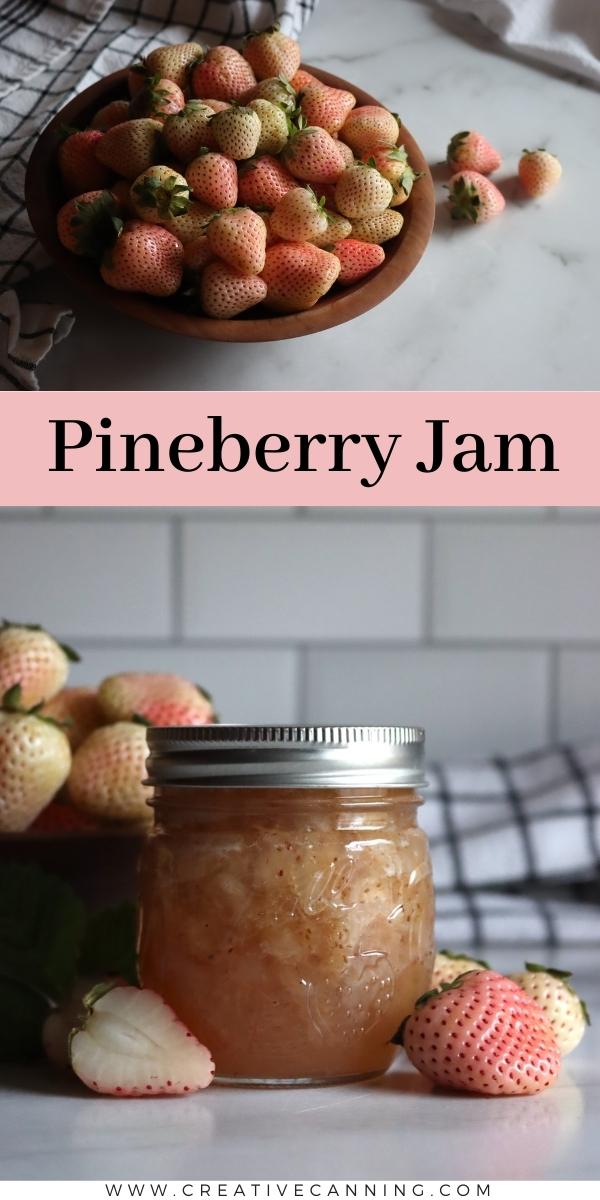
Pineberries are a fun new strawberry variety that tastes a bit like pineapple. The fruits are white, with bright red seeds, and occasionally a pink blush.
Since they’re so unique, pineberries are popular for decorating tarts and desserts, and they’re in more grocery stores each year.
We grow pineberries in our garden, so we have plenty on hand to test out new pineberry recipes.
(If you’ve never tried pineberries and can’t find them locally, you can buy pineberries online.)
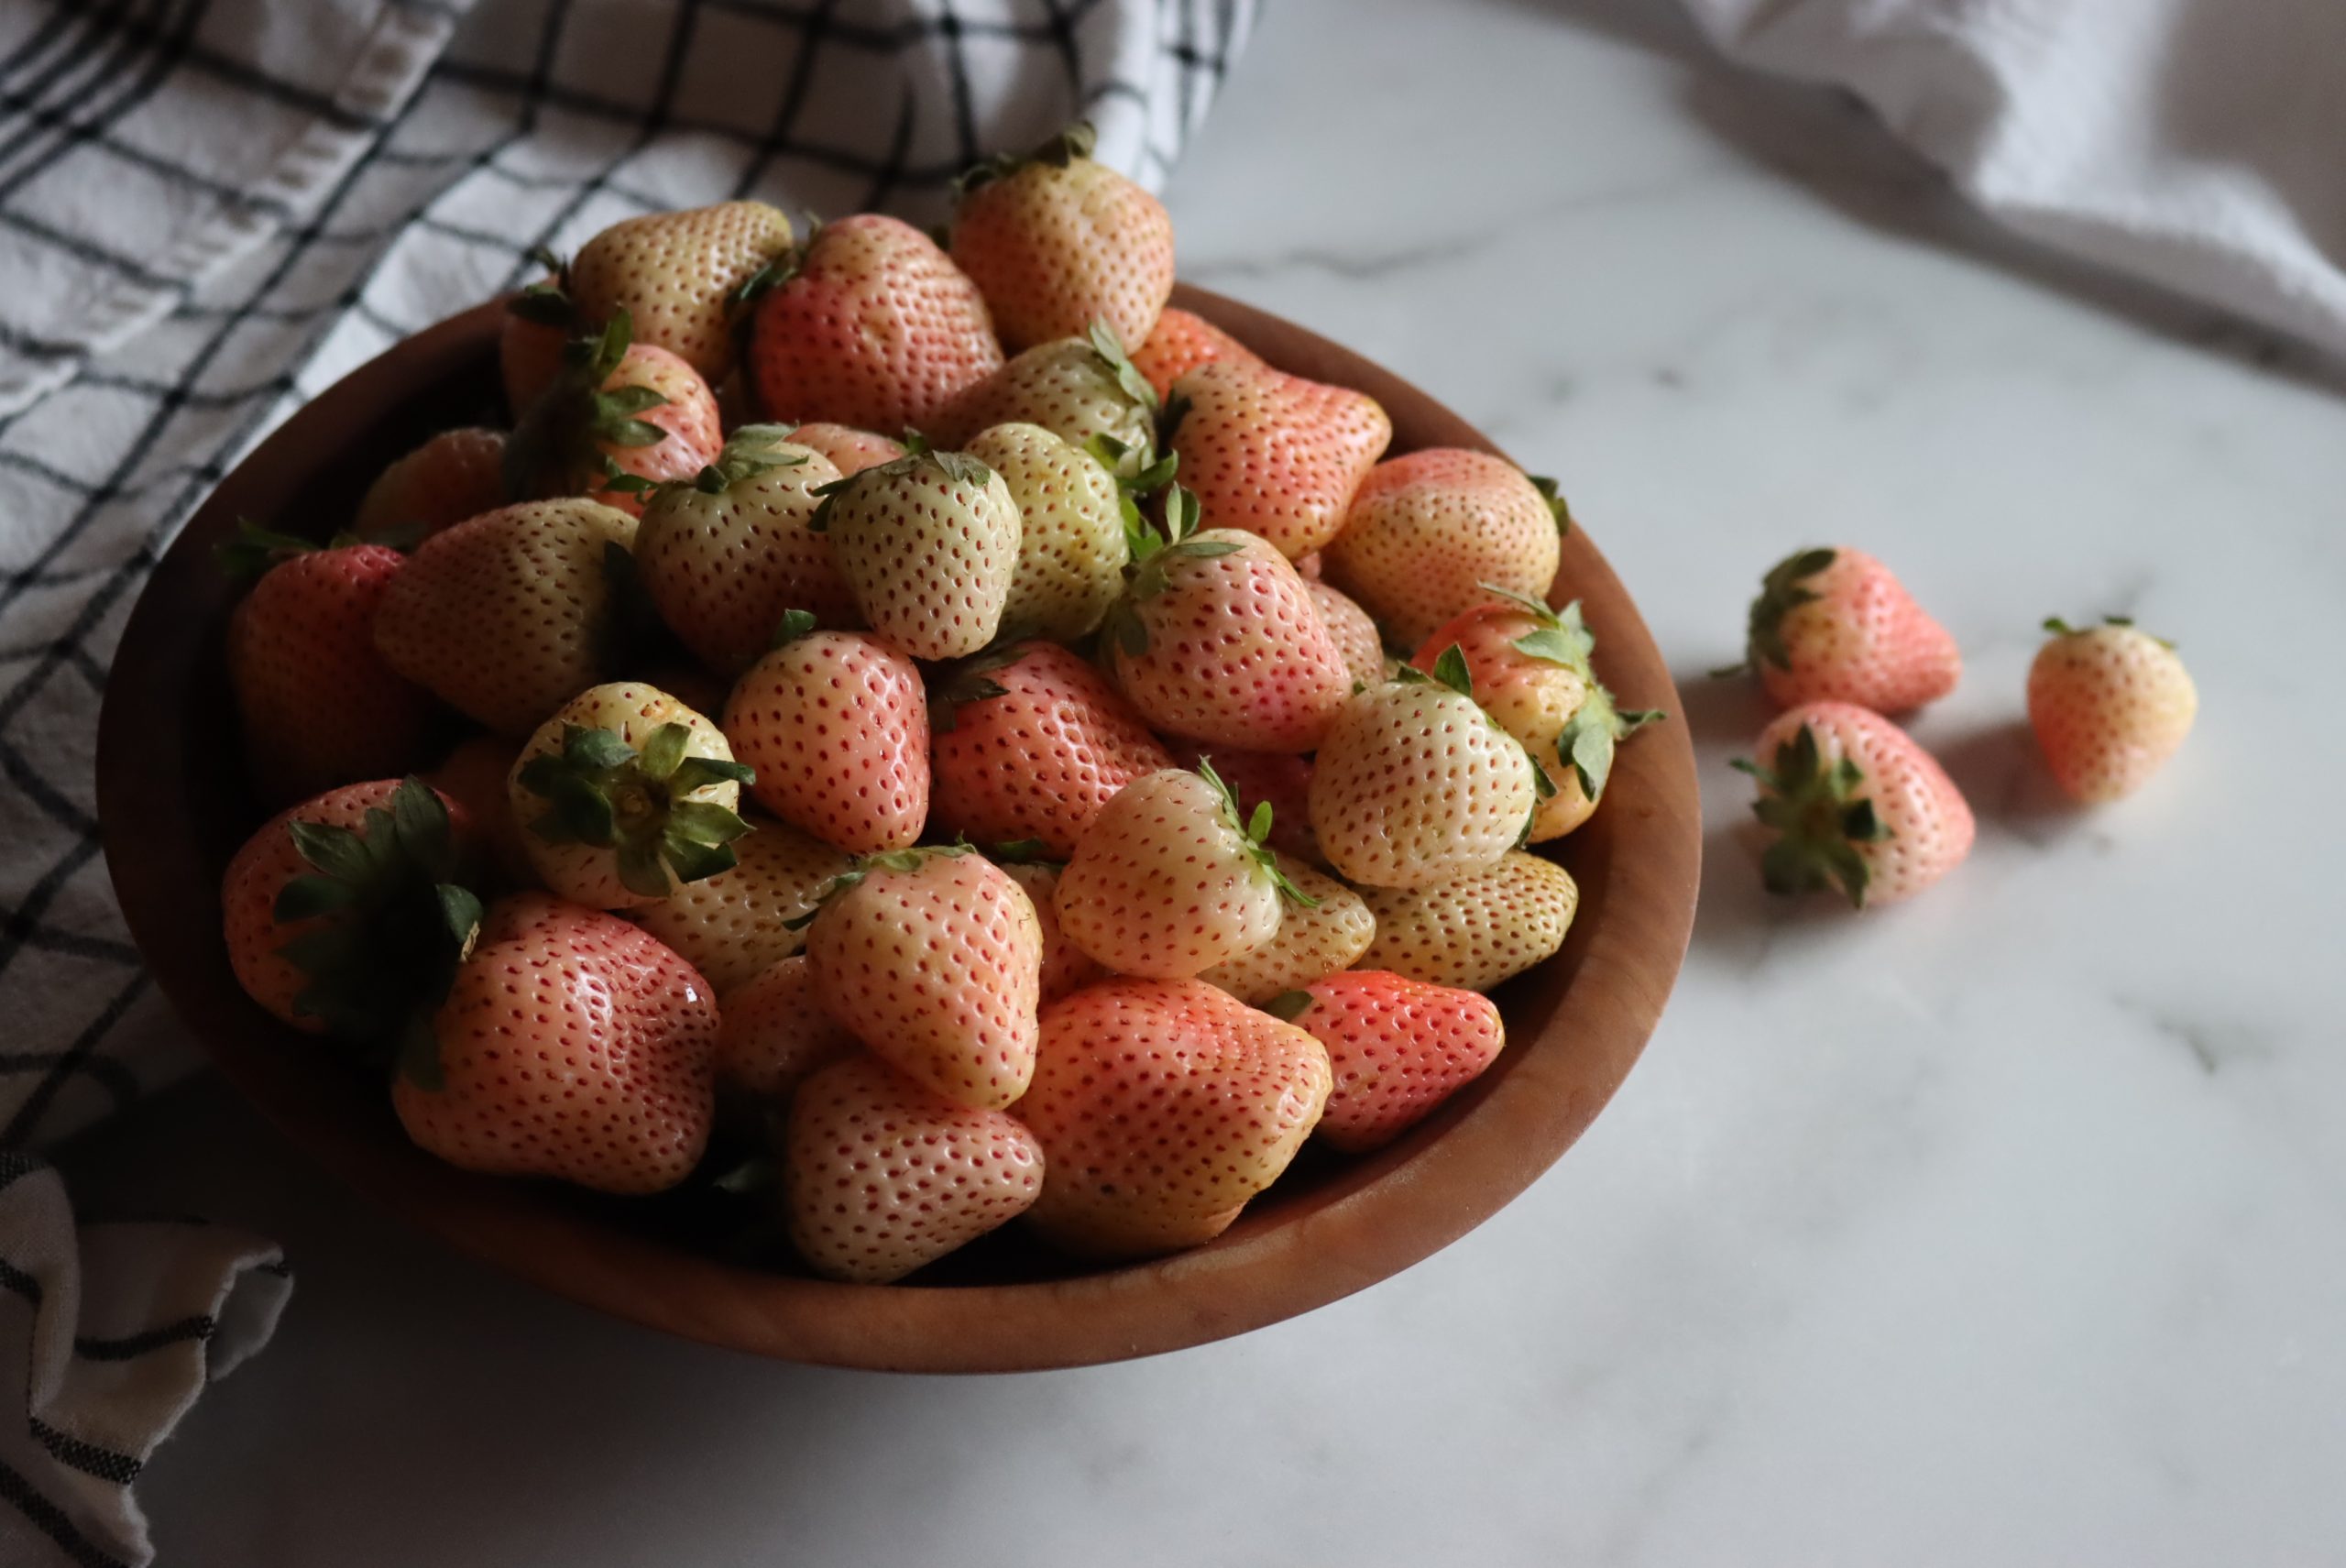
Ingredients for Pineberry Jam
Pineberries make a wonderful jam, with a flavor that’s a bit like strawberry, but lighter, with hints of pineapple and tropical fruit.
They are still strawberries, but they also have a pineapple flavor. Some people say there are hints of apricot or pear in the flavor. Whatever flavor you taste in them, they are sweet and delicious!
This recipe will make about 7 to 8 half-pint jars (8 oz each) of pineberry jam. You can cut the recipe in half and only use 4 cups fruit, 3 cups sugar, and 1 Tbsp lemon juice to make about four jars if you want less. Don’t double the recipe, as large jam recipes often fail to set because they don’t heat evenly in the pan.
To make pineberry jam, you will need to have the following:
- 8 cups mashed pineberries (approximately 4 quarts of fresh pineberries, or 4 ½ to 5 pounds)
- 6 cups granulated sugar
- 2 Tablespoons lemon juice (fresh or bottled)
Pineberries should be harvested when they are just reaching the ripe stage, and some may be a little underripe, but do not let them get too mature because berries that are past their peak can ruin your jam!
It can be more challenging to tell if a pineberry is ripe because the primary flesh color of the pineberry is white and does not change much while ripening.
The best way to judge if pineberries are ready is by watching the color of the red seeds. The seeds will become a darker red as they ripen, so look for the berries with darker red seeds.
If the berry is getting soft or mushy, it is past the ripe stage, and you do not want to use them in your jam.
Pineberries are less acidic than their red strawberry sisters, but they will still make excellent jam, provided you don’t skip the lemon juice! Lemon juice also gives natural pectin to the jam.
If you are using fresh lemons to make your lemon juice for this recipe, ensure you have at least two tablespoons of lemon juice. Do not skimp on the juice. Bottled lemon juice is slightly more concentrated, so two tablespoons will be sufficient.
Low Sugar Pineberry Jam
This pineberry jam recipe doesn’t use pectin, and it requires a good bit of sugar to get the jam to set.
If you want to reduce the sugar in this recipe, you will need to use a low-sugar pectin like Sure Jel Low Sugar, and follow the instructions in the box for strawberry jam. You can also use Pomona’s Universal Pectin as a low-sugar option, and again, follow the recipe on the box for strawberry jam.
Still, I think this recipe is just about right, given that pineberries can be a bit tart, but I always like to give a low-sugar option.
Making Pineberry Jam
As you pick through the pineberries, check for good quality, ripe berries, and discard any berries already showing signs of being overripe (bruising or too soft).
Like strawberries, pineberries have a hull, the green part attached to the stem, plus a small core that can extend into the pineberry.
You will need to hull the pineberries to remove the green part and a little bit from the inner core.
Some people have hulling tools, while others use a straw to remove the stem and core. I think the best way, and the one that will provide you with the least amount of waste, is to use a paring knife.
Cut at an angle from the outside edge of the green stem part into the pineberry, and making a circular cut, you cut a cone-shaped core out of the pineberry. It shouldn’t need to be bigger than the width of the green leafy area on the stem part.
A tough core in the middle will come out with the cone-shaped stem part you cut, leaving a slight hollow in the middle of your pineberry.
Once you have removed the hulls from your pineberries, rinse them under a delicate stream of cool, clean water to rinse off any dirt or debris.
In a large bowl, using a masher or a durable spoon, mash the pineberries. Mashing smaller amounts of fruit at a time, then placing the crushed fruit in a measuring cup makes the process easier. Continue until you get 8 cups of mashed pineberries.
In a large saucepan, pour the 8 cups of fruit, 6 cups of sugar, and 2 Tbsp. of lemon juice, and stir to mix.
Over medium-high heat, cook the mixture, stirring often, as the sugar will dissolve and the mixture will become more liquid.
Pineberries, like strawberries, tend to foam up as the mixture boils. Keeping the temperature at medium-high and stirring often will help keep it from foaming over the edges of your saucepan.
Bring the mixture to a boil, and continue to boil gently as the mixture starts to thicken. If necessary, skim any foam at the top using a metal spoon.
Continue to gently boil the pineberry jam until it reaches the gel stage, which may take up to 45 minutes or a bit longer, depending on the fruit.
You can test your jam using the cold plate test to see if it is at the gel stage. To do this, have a couple of small plates or saucers in the freezer.
When you are ready to test your jam, take a plate out of the freezer, drop about a tablespoon of jam onto it, and then return it to the freezer for 1-2 minutes.
Remove the plate from the freezer again, and lightly push at the edge of the dollop of jam with your fingertip.
If the jam appears to have a “skin” on top or wrinkles when you gently push it, you know it has reached the gel stage.
If your finger slides right through it, then it is not ready yet, and you need to continue to cook your jam. Be patient and continue to stir often, skimming off the foam.
Another way to test for the gel stage is to use a candy thermometer and cook the jam until it reaches 220° Fahrenheit.
If you plan on canning your jam, prepare your jelly jars by heating them in a hot water bath. If you plan to keep your jam in the refrigerator or freezer, prepare containers for freezing.
When the jam has reached the gel stage, ladle or pour it into prepared jars or containers, leaving ¼” of headspace at the top of each jar.
Wipe the container’s rim with a clean cloth and put lids on your containers. Use a 2-part lid system if you are going to can your jam.
Fresh pineberry jam is delicious for immediate use by storing it in the refrigerator but should be eaten within a month. Pineberry jam will keep well for up to 6 months in the freezer.
Canning allows you to store your delicious pineberry jam for up to 18 months or longer if safely canned and stored in your pantry or a cool, dry place. Instructions for canning pineberry jam are below.
Pineberry Jam Variations
Pineberries can have a mildly tropical pineapple flavor, combining well with mango to make a lovely tropical treat.
Raspberries and blackberries make excellent jams, and adding pineberries adds brightness to those popular flavors.
Rhubarb and pineberries make a delightfully tangy and fruity jam with many uses, including a delicious ice cream topping!
Are Pineberries Safe for Canning?
Since pineberries are a new fruit, there are no studies (yet) that test their average pH to determine if they’re safe for canning as is. Strawberries generally have a pH of about 3.5, which is well below the line for safe canning.
White fruit variants tend to be a little bit less acidic than their normal counterparts. For example, white peaches are quite a bit less acidic than regular peaches. If that is the case, they’d likely still be safe for canning as regular strawberries are quite acidic, and a little less acidic would be fine.
That said, there are no tests on the subject yet, so it’s best to play it safe. I’m adding two tablespoons of lemon juice to this batch, which should bring the pH down even more. It also improves flavor and adds pectin to the batch.
Be aware that pineberries haven’t been officially tested for canning yet, so this is at your own risk. Use your best judgment. You can always choose to make it as a refrigerator or freezer preserve instead.
Canning Pineberry Jam
Before cooking the jam, prepare the supplies, including the water bath canner, jars and lids, a timer or thermometer, and a jar lifter. For more detailed instructions on hot water bath canning, please read my beginner’s guide to water bath canning before you get started.
Using a canning funnel with ¼” headspace measurements marked on the lip of the funnel makes a cleaner job of filling your jars and helps you maintain the proper headspace you need for canning.
Once you have filled your jelly jars, wipe the rims of the jars with a clean cloth and apply 2 part canning lids.
Though new canning lids no longer require you to heat the lid to ensure a good seal, I am still in the habit of dipping the lid in my hot water using a magnetic lid lifter, then placing the hot lid on my hot jars with a clean rim. That way, I know I will have the best chance for a solid seal on my jam jars.
Place your filled and lidded jars into your preheated canner and bring the canner to a full rolling boil. Once boiling, process the jars for 10 minutes, or 15 minutes if in higher altitudes above 6,000 feet.
When the processing time has elapsed, turn off the heat and allow the jars to set in the water for 5 minutes. This additional time to sit in the canner prevents siphoning, which can happen if the temperature change in the jar is too extreme too quickly.
Use a jar lifter to remove the jars from the canner and set them to cool on a towel on the counter, leaving some space between the jars for airflow.
Check the seals on the lids after 24 hours and store any unsealed jars in the refrigerator for immediate use.
Store your canned jam in your pantry or other cool, dry place. The quality of the jam will last about 18 months or even longer with a good seal. Refrigerate the jam once opened.
Ways to Use Pineberry Jam
Pineberry jam is just as versatile as strawberry jam, and having a heaping helping on your breakfast toast or muffin is a great way to start the day!
Using it as a filling for pastry baked goods is also an excellent way to add new flavor to your baked items.
And I absolutely can’t resist pineberry jam, or pineberry rhubarb jam, on top of vanilla ice cream for a refreshing summertime treat.
Pineberry Recipes
Looking for more ways to use Pineberries?
Pineberry Jam
Equipment
Ingredients
- 8 cups pineberries, mashed, about 4 quarts fresh pineberries
- 6 cups granulated sugar
- 2 Tbsp. lemon juice
Instructions
- Pick through your pineberries carefully, remove the hulls, and rinse your berries with cool, clean water.
- Mash your pineberries in a bowl using a masher or durable spoon. Measure out 8 cups of mashed fruit.
- Place the pineberry mash, sugar, and lemon juice into a large saucepan.
- Over medium-high heat, cook the fruit mixture, stirring often to dissolve the sugar, bringing the jam to a slow boil.
- Cook the mixture at a slow boil, stirring often. Foam can be skimmed off the top of the mixture with a metal spoon.
- Cook the jam until it has reached the gel stage, which should be approximately 45 minutes or a little longer.
- Test the jam to see if it has reached the gel stage using the cold plate test or until the temperature reaches the gel stage at 220° F.
- Ladle or pour the jam into prepared jars or containers.
- Preserve the jam using a hot water bath canning method, or after the jam has cooled, keep the jam refrigerated for up to 1 month or frozen for up to 6 months.
Notes
Nutrition
Nutrition information is automatically calculated, so should only be used as an approximation.
Old Fashioned Jam Recipes
Love making jams the old-fashioned way, with no added pectin? Just sugar, fruit, and a little bit of love in each jar…
Fruit Canning Recipes
Putting up more fruit this summer? I have plenty of fruit canning recipes…
You saved me!! I got 3 flats of pine berries and I was just lost. I can only eat so many!!
I wanted to make a jam but I wasn’t sure if they would cook like the strawberries. Thank you for also including that it’s not tested as I am the local jam lady! I’ll only sell them as refrigerator jams!
Quick question though. Can I freeze them like strawberries? Hulled and cut in half? Also any thoughts on pairing them with anything? Something like pine berry banana? 🤔
I think they’d be wonderful paired with pineapple, and Ball Canning has a strawberry pineapple jam that I’ve been meaning to use them for. Since it has half pineapple (which you know is really acidic) and half strawberries that one should be fine for canning even if the fruits are borderline (still, it’s not tested, so at your own risk and all). And yes, you can treat them just like strawberries in the freezer.