This post may contain affiliate links. Please see our disclosure policy.
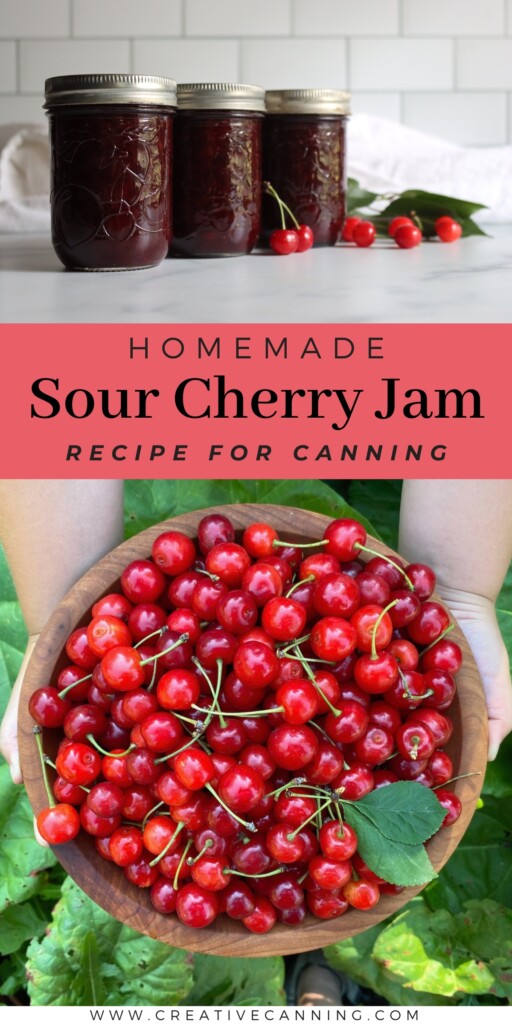
Sour cherry jam has the incredible flavor of farm-fresh sour cherries. These cherries are also known as “pie cherries,” and though they’re sour fresh, they’re perfect when you add a bit of sugar for jam.

If you’ve ever had the pleasure of tasting sour cherry jam, you know it’s anything but sour! Also known as tart cherries or pie cherries, these tiny red fruits pack a punch when it comes to flavor. With just a bit of sugar, sour cherries transform into a jam that’s beautifully tart, sweet, and bursting with cherry goodness.
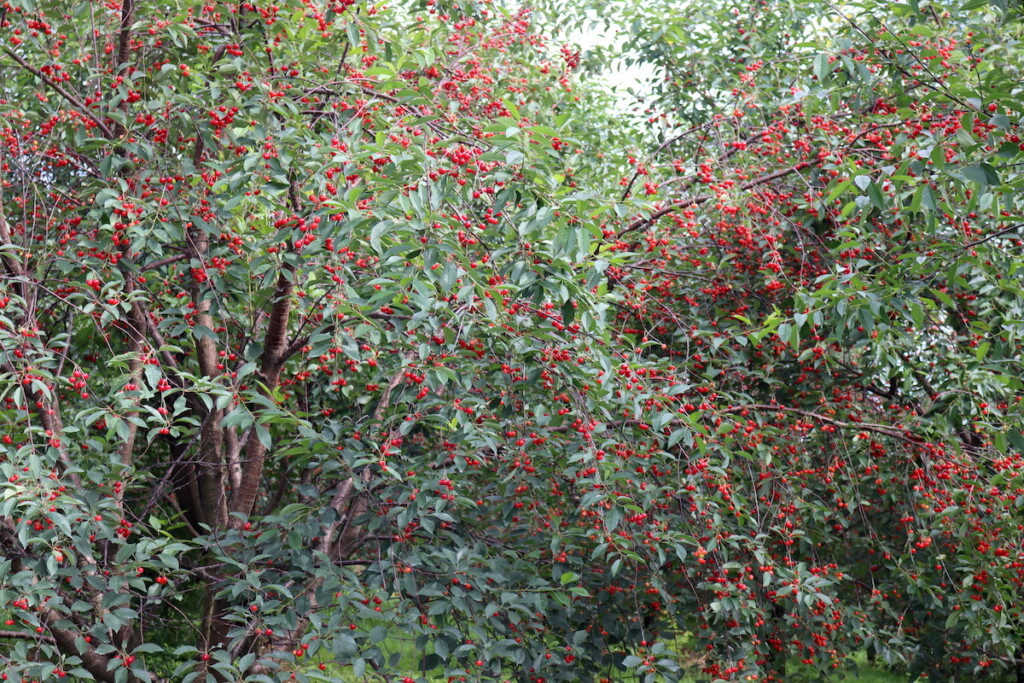
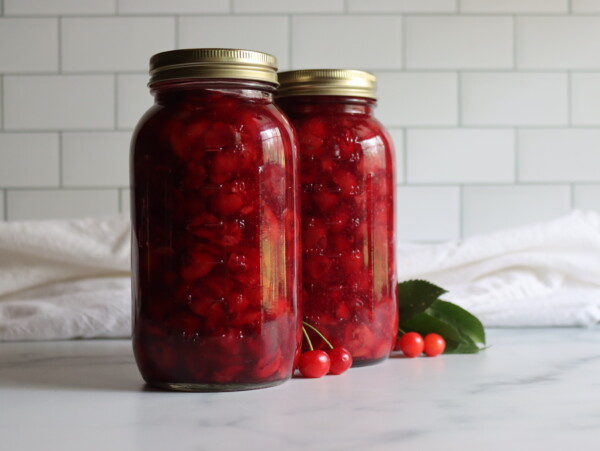
On our homestead, we grow our own sour cherry crop, and every year, I add another tree or two to keep up with my jam-making habit. There’s nothing quite like fresh-picked cherries, and this year’s batch had me excited for a new batch of jam—along with cherry pie filling for later in the season!

Sour cherries are the perfect fruit for jam because of their natural tartness and their incredible cherry flavor. They taste much more like true cherries than black cherries do, and when you buy something that’s “cherry” flavored, it’s these tart cherries that are doing the work.
Though you won’t often find them in stores due to their fragility during transport, growing your own—or finding a local “pick-your-own” farm—can yield a bounty that’s ideal for canning.
Unlike sweet cherries, which can be eaten fresh, sour cherries need to be preserved in some way, whether through freezing, canning, or turning them into jam. That’s where this recipe comes in!
Ingredients for Sour Cherry Jam
This recipe makes a small batch of two half pint jars, but it can be doubled for a larger batch. Don’t start with more than 10 cups fruit (double recipe), as really large batches have trouble heating even and wont set properly.
- 3 lbs fresh sour cherries (about 2 1/2 lbs pitted or 5 cups pitted fruit)
- Juice of 1 lemon (about 2 tablespoons)
- 2 cups sugar (or more, depending on your sweetness preference)
I find that the cherries cook down so much that 2 cups of sugar is just about right. If you really like sweet preserves, go ahead and add 3 cups.
While some recipes call for commercial pectin, I love making my sour cherry jam the old-fashioned way, without pectin. Just like in my grandmother’s time, I use lemon juice to help the jam gel naturally. The lemon adds a nice zing, while the longer cooking time intensifies the cherry flavor.
Without pectin, the process takes a little longer, but the end result is worth it. The jam has a richer, more concentrated cherry flavor, and it sets up beautifully. Plus, the texture is perfectly thick without being too jelly-like.
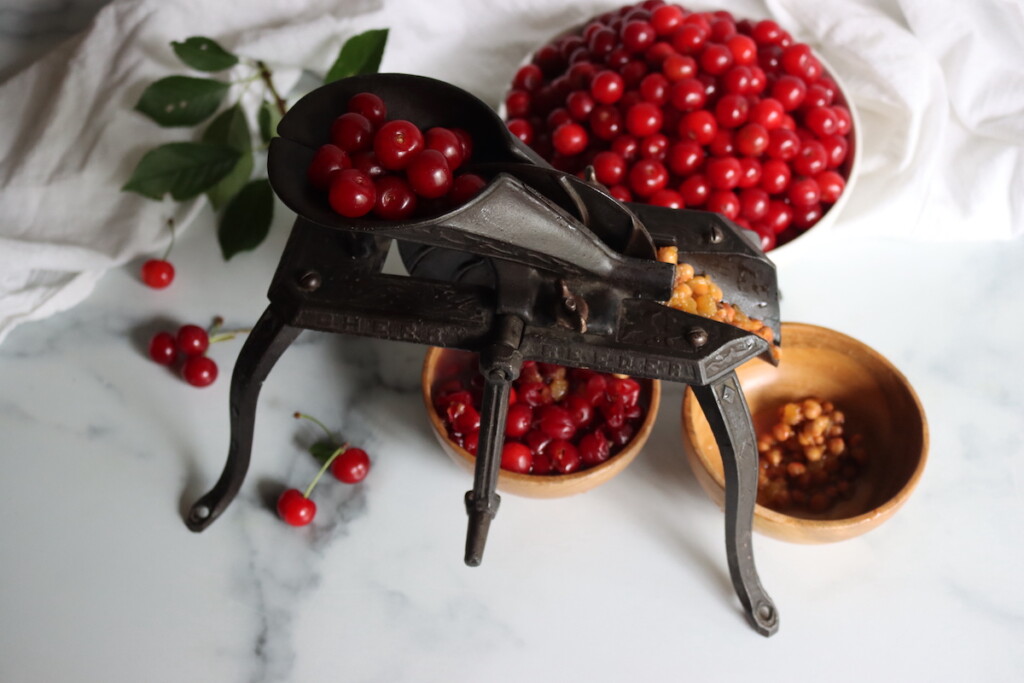
Generally, I pit my cherries using a small handheld pitter that works really well, but this past year I came across an antique cast iron cherry pitter and couldn’t pass it up. It works so well for large batches of cherry jam, but I’ve found it only works on the soft tart cherries. Modern sweet cherries are too large and firm, and they won’t go through antique pitters.
How to Make Sour Cherry Jam
Start by pitting your cherries. If you’re working with fresh, unpitted fruit, it’s easiest to use a cherry pitter. If you don’t have one, a sharp knife will do the trick, though it’s a bit more time-consuming.
(If you’re curious about how my cherry pitter works, I uploaded a short video of it in action.)
When you’ve pitted your cherries, place them into a large, heavy-bottomed pot. This jam foams more than most jams, so you’ll want to make sure it’s quite deep. The cherries should only come up about 1/3 to at most 1/2 way up the sides at the start.
Add the lemon juice to the cherries and heat the mixture over medium-high heat. Stir occasionally to prevent sticking, and bring the cherries to a boil. Once boiling, reduce the heat to medium and let it simmer for about 20 minutes, stirring frequently. The cherries will break down into a juicy, pulpy mess. If you’re using pectin (I usually don’t), you would add it at this stage.
After 20 minutes, add the sugar. Stir to dissolve it completely into the fruit mixture. Now, it’s time to keep an eye on the pot. If you’re not using pectin, keep cooking for another 25-30 minutes, stirring often to prevent burning. The jam will begin to thicken.
You can test for gel stage by placing a spoonful of the jam on a plate that has been chilled in the freezer. After 1 minute, run your finger through the jam. If it wrinkles and holds its shape, it’s ready. If it’s still too runny, cook it a bit longer. You can also use an instant-read thermometer to check the temperature—gel stage occurs at 220°F (or 218°F if you’re at 1000 feet above sea level).
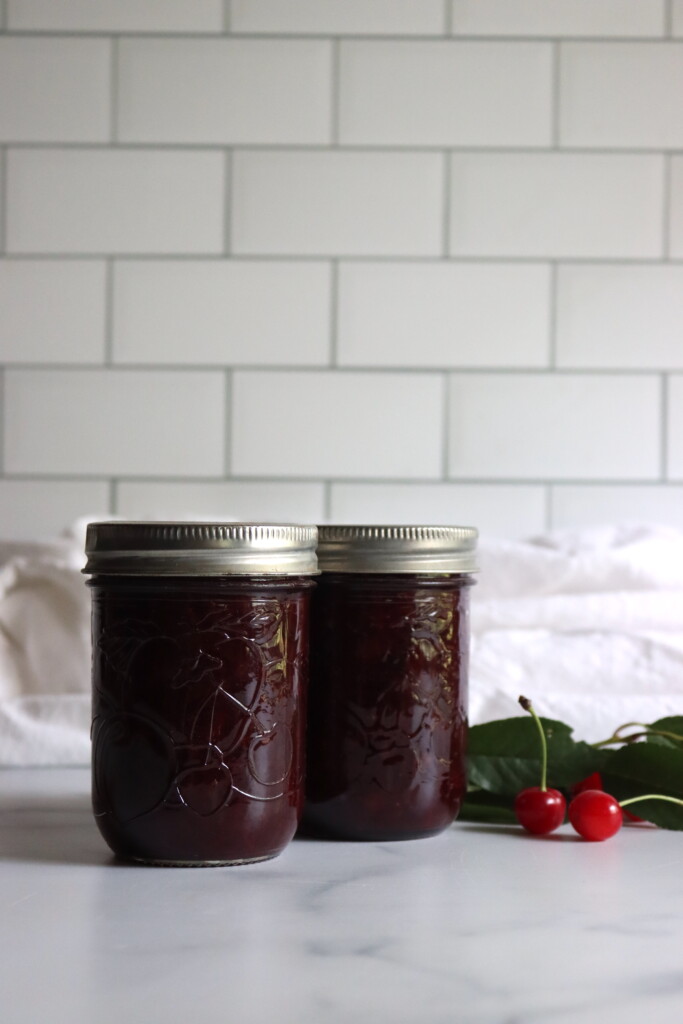
Once your jam has thickened and reached gel stage, remove it from the heat. Ladle the hot jam into sterilized jars, leaving about 1/4 inch of headspace. Be careful to remove any air bubbles by gently tapping the jars or using a bubble remover. Wipe the rims with a clean cloth to ensure a good seal.
Canning Sour Cherry Jam
Once filled, cap the jars with sterilized lids and tighten the screw bands until they’re just fingertip-tight. Process the jars in a boiling water bath for 10 minutes (or 15 minutes above 6000 feet in elevation).
This will ensure they seal properly and become shelf-stable. (You can skip this step if you plan to use the jam within a few weeks and refrigerate it instead.)
After processing, let the jars cool completely. If any lids didn’t seal, use those jars first or store them in the fridge. Otherwise, store sealed jars in a cool, dark place for up to a year. Once opened, keep the jam in the fridge and use within a month.
Tips for The Perfect Preserve
- Sweetness Level: This recipe uses 2 cups of sugar for a balanced sweetness, but you can increase it to 3 cups if you prefer a sweeter jam. Sour cherries can be quite tart, so adjust based on your taste preferences.
- Pectin Option: If you prefer a faster, more foolproof method, you can add pectin. For Sure-Jell, use 1 packet (1.75 oz) and double the lemon juice to 1/4 cup, as well as increase the sugar to 4 cups. Be sure to follow the pectin instructions for the best results.
- Altitude Adjustments: If you live at a higher altitude, be aware that the boiling point of water decreases as elevation increases, so your jam may need a bit more time to reach gel stage. Adjust by cooking the jam for an extra 5 minutes for every 1000 feet above sea level.
Why Make Sour Cherry Jam Without Pectin?
I truly believe that making jam without commercial pectin produces the best flavor. The slow cooking process allows the cherries’ flavor to concentrate, and the texture of pectin-free jam is much more authentic and natural. I also love the challenge of getting the jam to set without shortcuts!
It’s definitely a little more work, but the result is a thick, intensely flavorful jam that captures the essence of summer in every jar.

Sour Cherry Jam
Equipment
Ingredients
- 3 lbs sour cherries, see notes
- 2 tbsp Lemon Juice, fresh or bottled
- 2 cups sugar
Instructions
- Pit and prepare cherries. Place in a heavy-bottomed pot with lemon juice.
- Bring to a boil, reduce heat, and simmer for 20 minutes, stirring frequently.
- Add sugar (and pectin if desired), stir to dissolve, and continue cooking for 25-30 minutes until jam thickens.
- Test for gel stage on a plate that's been chilled in the freezer, or with an instant read thermometer. This jam is done at 220 °F at sea level, but the finish temperature drops by 1 degree for every 500 feet above sea level. For example, at 1000 feet in elevation, it'll finish at 218 °F.
- Ladle jam into sterilized jars, leaving 1/4 inch headspace. Remove bubbles and wipe rims.
- If canning, process in a boiling water bath for 10 minutes, or 15 minutes if above 6,000 feet in elevation.
- Let cool, check seals, and store in a cool, dark place.
Notes
Nutrition
Nutrition information is automatically calculated, so should only be used as an approximation.


Great easy recipe. Super tasty and sweet jam.
Lovely!
Can I make pickled or water bath canned farm fresh cherries that I have stored in my freezer? They’re already pitted.
Yes, they’re perfectly safe for canning from the freezer, but as whole cherries or pickled cherries they’ll fall apart if previously frozen, and may not give you the nice firm cherries in syrup you’d expect. The recipe for cherry pie filling specifically uses previously frozen cherries, so that’s a good choice, as is cherry jam.
I love this recipe! Thank you for sharing.
I did notice that the two times (doubling) and 3 times (tripling) chart had the cherries at the same amount for all 3 recipes. Just thought you might want to change it! Thank you again for sharing!
Thanks for the heads up, I fixed that glitch and the recipe card should be displaying properly now when you scale the recipe.
Question. Do I use the whole cherry or should they be “chopped”?
When working with sour cherries, we use the whole pitted cherry because they shrink so much as they cook. You can chop them (or pulse them in a food processor) if you want a finer texture, but I leave them whole.
Perfect recipe, thank you! My go to jam method is a 2:1 fruit to sugar ratio with the juice of a couple lemons. I had never made sour cherry jam so wanted to make sure my usual way would work, I was so happy to find your recipe! Jam without pectin is much more flavourful and I would never go back!
Oh yes, I agree with you!
my cherries were extra sour, so I added a bit more sugar. it turned out delicious.
Lovely!
Have you ever used frozen cherries?
I have a freezer full of frozen cherries in quart bags and would like to use them instead of fresh cherries. How diligent do I need to be to drain the bags of the cherry juice.
Also do you by any chance have a cherry butter recipe?
I do have a cherry butter recipe here: https://creativecanning.com/cherry-butter/
Yes, you can use frozen cherries. What I’d do with the juice is keep it, but defrost the cherries in a colander. Next take the juice and sugar and cook it down for a while, making a syrup. Add the cherries and then cook all the way to jam. That way, you still get all the flavor from the juice but you can lower the cooking time on the cherries themselves so they don’t fall apart as much and you’ll get a chunkier jam.
Enjoy!