This post may contain affiliate links. Please see our disclosure policy.
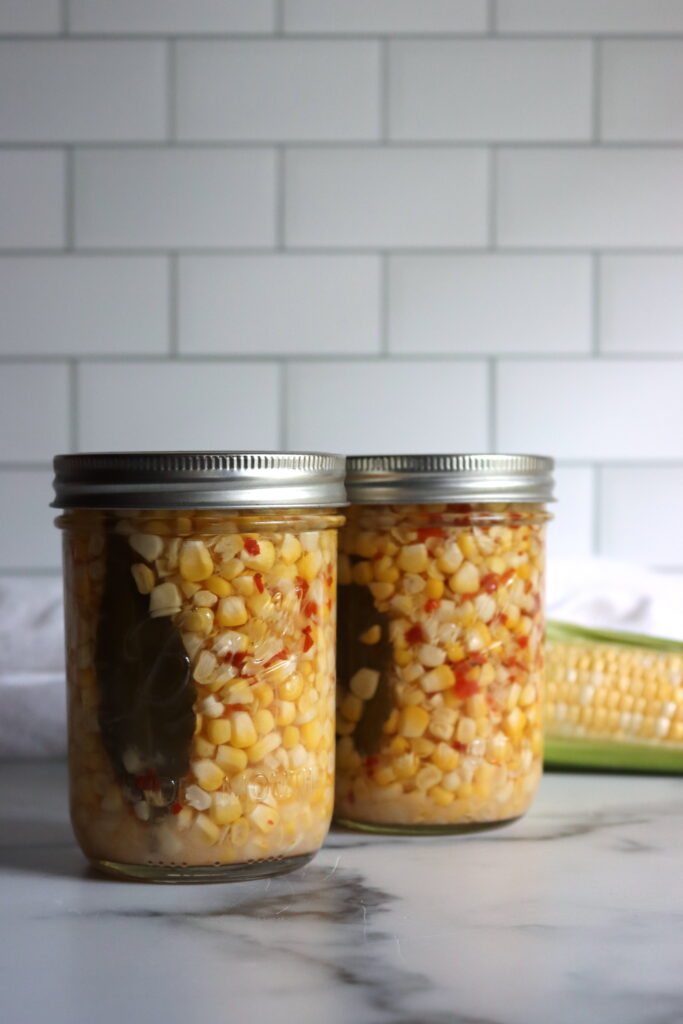
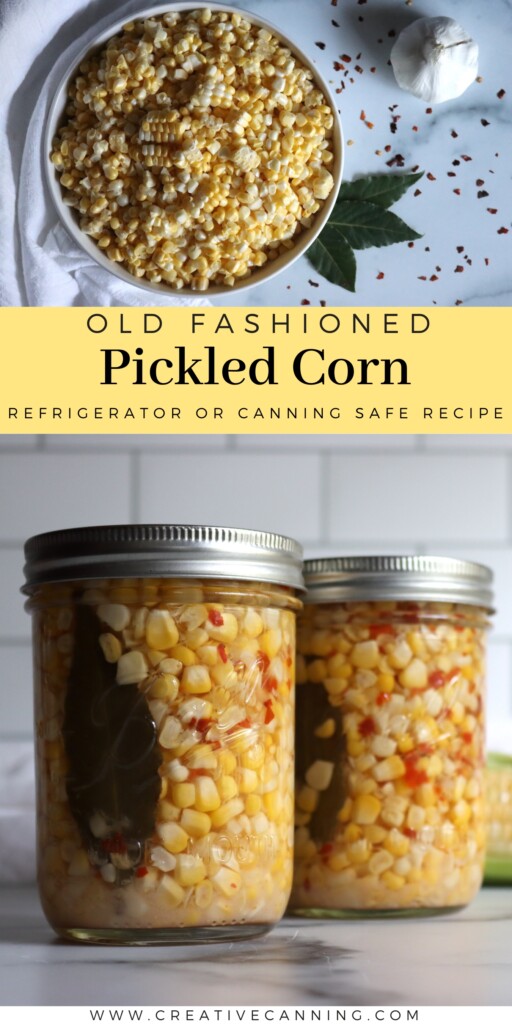
Pickled corn is a fun and flavorful way to preserve summer corn. It’s sweet, salty, just a little spicy, and perfectly crunchy. Serve it on hot dogs, burgers, tacos, burritos, or even as a topping for grilled fish or crab cakes.
This small-batch recipe makes just one pint—ideal for a test run or a quick addition to your canning lineup. But know that you can scale the recipe up to make as much as you want!
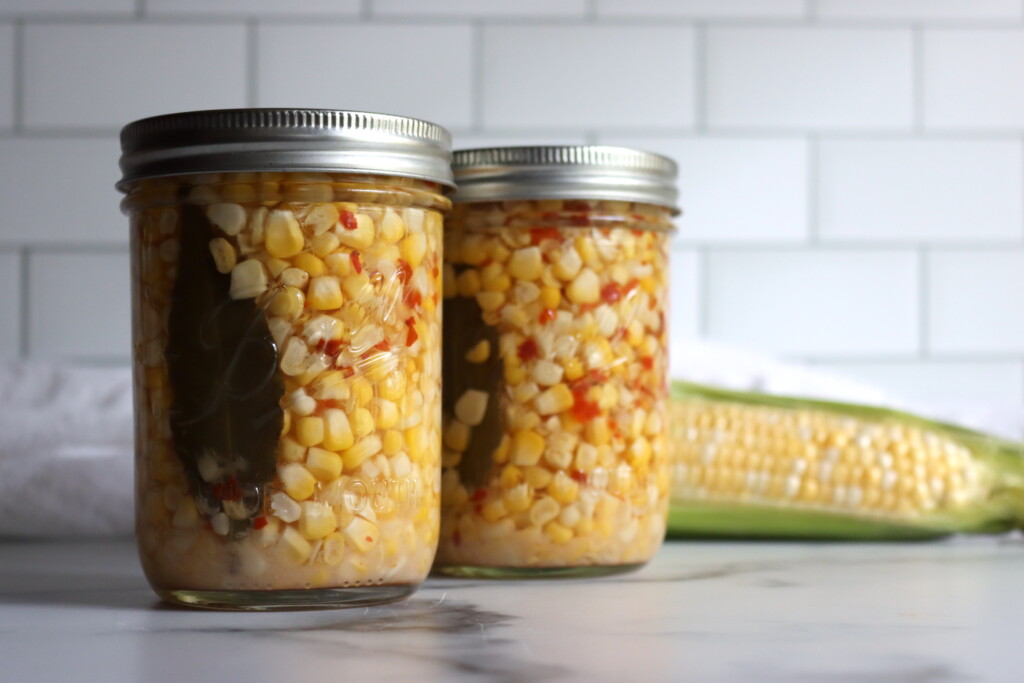
There’s something special about opening a jar of homemade pickled corn—especially in the middle of winter—when you need a little pop of summer to brighten up your plate. This small-batch corn relish is quick to make, easy to can, and endlessly versatile. Sweet corn, tangy vinegar, a touch of sugar, and a gentle kick from jalapeños make it the kind of condiment you’ll want to spoon onto everything.
You can use it straight from the jar as a relish on hot dogs, burgers, or tacos. Stir it into grain bowls, pile it onto crab cakes, or layer it into wraps for a burst of flavor and crunch. It also makes a thoughtful gift if you’re into edible presents.
This recipe makes one pint—a great test run if you’re new to canning or just looking to preserve a bit of corn from the market or garden. You can easily scale it up, though, and make a few extra jars while you’re at it.
Why You’ll Love It
Why You’ll Love It
- Big flavor, small batch: You don’t need bushels of corn or hours in the kitchen. One pint is easy and manageable.
- Versatile: It’s great on meats, in wraps, or spooned over salads.
- Crisp texture: The corn keeps its crunch, making it stand out from softer relishes.
Ingredients for Pickled Corn
Each ingredient in this recipe has a role to play, from flavor to preservation. I’ve written this as a small batch recipe to make a single pint jar. For more pickled corn, simply multiply the recipe by the total number of pints you wish to make.
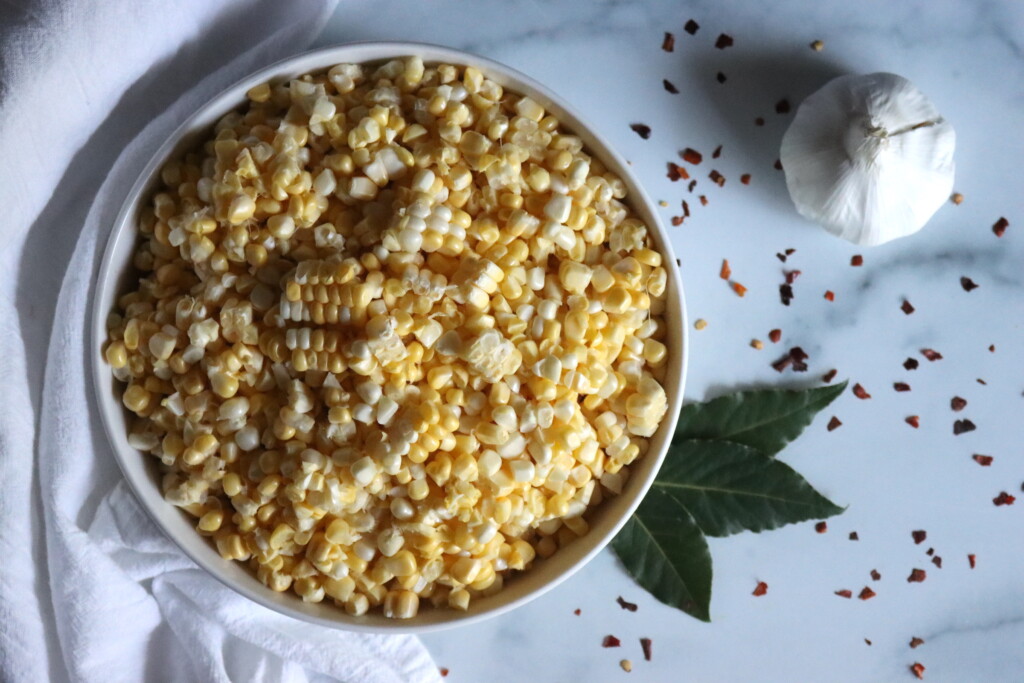
Here’s what you’ll need to make 1 pint of pickled corn:
- Corn: Use fresh corn off the cob or frozen corn straight from the bag. The corn brings sweetness, crunch, and that unmistakable summer flavor. If you’re using frozen, there’s no need to thaw it first.
- Jalapeño: Adds a mild to moderate heat, depending on the pepper and whether you leave the seeds in. For more heat, keep the seeds. For less, remove them—or substitute with a milder pepper like poblano, or even sweet bell pepper for a no-heat version. You can substitute any pepper, hot or sweet, in this recipe. Try to keep the total amount at no more than about ¼ cup diced so that the corn can really shine through in the recipe.
- Bay Leaf: A subtle background note that deepens the flavor of the brine. Optional, but nice.
- Garlic Clove: This adds a nice flavor to round out the pickles, and just a hint of heat. It’s optional, but strongly recommended.
- Red Pepper Flakes: The jalapeno is adding a bit of color, but most the heat is coming from the red pepper flakes. For a mild pickled corn, go with ½ tsp. If you really want a lot of heat, you can use up to 2 tsp per pint.
- White Vinegar: The acidic base of the pickling liquid. You can substitute apple cider vinegar for a slightly mellower, fruitier tang. Avoid vinegar below 5% acidity. Don’t reduce the total quantity of vinegar.
- Water: Dilutes the vinegar slightly to balance the flavor. You can use all vinegar for tangier pickled corn, but it can be pretty intense. Do not increase the amount of water used, but you can decrease it and add more vinegar.
- Sugar: Adds sweetness to balance the tartness of the vinegar and the heat from the peppers. You can adjust to taste or swap in honey or maple syrup for a different flavor. The sugar is optional, and not required for preservation, but it does give it a great flavor.
- Salt: Essential for flavor, but not strictly required for preservation. You can reduce the salt if you’re on a low salt diet, but the flavor will suffer for it. Pickles really do need a salty kick to taste right. Some recipes use much more salt, but I find 1 tsp is enough to give great flavor without being overwhelming. Use pickling or kosher salt, not table salt, which often contains anti-caking agents.
Again, remember that this pickled corn is preserved by the vinegar, and you cannot reduce the total amount of vinegar per pint (or increase the water). Salt and sugar are optional, as are the spices. The vinegar is what’s preserving the corn, everything else is for flavor.
Feel free to add any dry spices that suit your taste. Good choices are mustard seeds, coriander seeds, cumin seeds or a bit of turmeric for color.

How to Make Corn Relish
Start by combining all your ingredients in a medium saucepan or stock pot. Bring everything to a boil over high heat, then reduce the heat and let it simmer for five minutes. This heats the vegetables through and helps the flavors meld into the brine.
While the mixture simmers, prepare a clean, sterilized pint mason jar. When ready, ladle the hot relish into the jar, making sure to get a good balance of corn and brine. The brine should completely cover the corn in the jar.
Leave ½ inch of headspace at the top, and use a chopstick or butter knife to remove any air bubbles.
Make sure all the solids are fully submerged under the brine, then wipe the rim clean, apply a two-part canning lid, and screw the ring on just finger-tight.
Canning Pickled Corn
Process the jar in a boiling water bath canner for 15 minutes, adjusting for altitude (see below).
Once done, remove the jar and let it cool for 12–24 hours without disturbing it. Check that the lid has sealed before storing.
Canning is optional, and this recipe works just fine as a refrigerator recipe. If not canning, store it in the refrigerator where it’ll keep for several weeks.
If canned, it’ll store right on the pantry shelf and maintain peak quality for 12-18 months. Refrigerate after opening.
Altitude Adjustments
Because water boils at different temperatures depending on elevation, you’ll need to adjust your processing time to ensure safety:
- 0 to 1,000 feet: 15 minutes
- 1,001 to 3,000 feet: 20 minutes
- 3,001 to 6,000 feet: 25 minutes
Above 6,000 feet? Add 5 more minutes for every additional 2,000 feet.
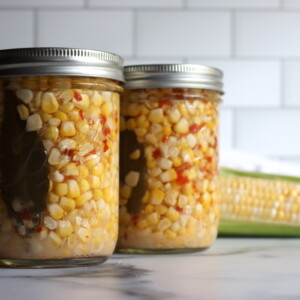
Pickled Corn
Equipment
- Wide Mouth Pint Mason Jars
- Wide Mouth Canning Lids
Ingredients
- 1 ¾ cup corn, fresh or frozen
- 1 medium jalapeño pepper, diced
- 1 clove garlic, sliced thin
- ½ tsp red pepper flakes, or more for more heat
- 1 medium bay leaf
- ¾ cup white vinegar, or cider vinegar
- ½ cup water
- ¼ cup sugar
- 1 tsp salt
Instructions
- Combine ingredients: Add all ingredients to a saucepan or small stockpot. Bring to a boil over high heat.
- Simmer: Reduce heat and let simmer for 5 minutes, until everything is heated through and fragrant.
- Fill jar: Ladle the hot mixture (solids and liquid) into a sterilized pint jar, leaving ½ inch headspace. Make sure the corn and peppers are fully submerged in the brine.
- Seal:Wipe the jar rim, apply the two-part canning lid, and screw on the ring until fingertip tight.
- Process in waterbath canner: Process pint jars in a boiling water bath canner for 15 minutes, adjusting for altitude (notes below).
- Cool & store: After processing, let the jar sit undisturbed for 12–24 hours. Check the seal, label, and store in a cool, dark place for up to a year.
Notes
- Frozen corn works great! No need to thaw before adding to the pot.
- For more heat: Leave the jalapeño seeds in, choose hotter peppers, or add more red pepper flakes.
- Double or triple the recipe if you’d like to make more jars—just scale the ingredients accordingly.
Altitude Adjustments
- 0 to 1,000 feet – 15 minutes
- 1,001 to 3,000 feet – 20 minutes
- 3,001 to 6,000 feet – 25 minutes
Nutrition
Nutrition information is automatically calculated, so should only be used as an approximation.
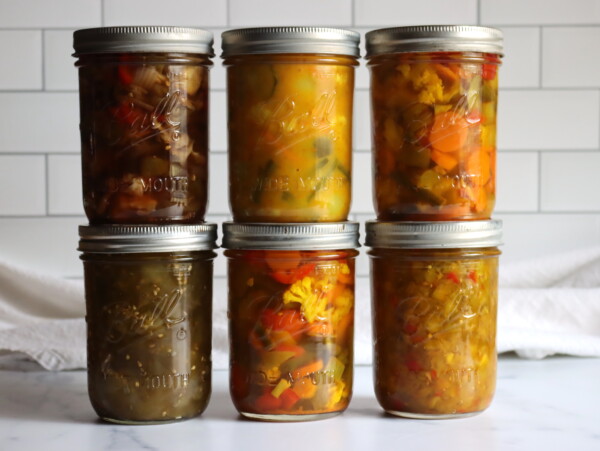
Corn Canning Recipes
Looking for more ways to preserve corn in a jar?
Pickled corn salad is a similar preserve, and it’s mild enough to be served as a side dish at potlucks and summer gatherings.
Classic corn salsa is another great choice, and it can be made mild to hot based on your choice of peppers. It has plenty of tomato flavor, but gets amazing crunch from the added corn.

This simple pickled corn recipe comes out perfect! It’s great as a relish on both tacos and hot dogs, or really anything, and it’s a lot easier to make than the much more involved recipe for pressure canning plain corn. Just enough vinegar and salt to keep things interesting and make everything safe for waterbath canning. Yum!