This post may contain affiliate links. Please see our disclosure policy.
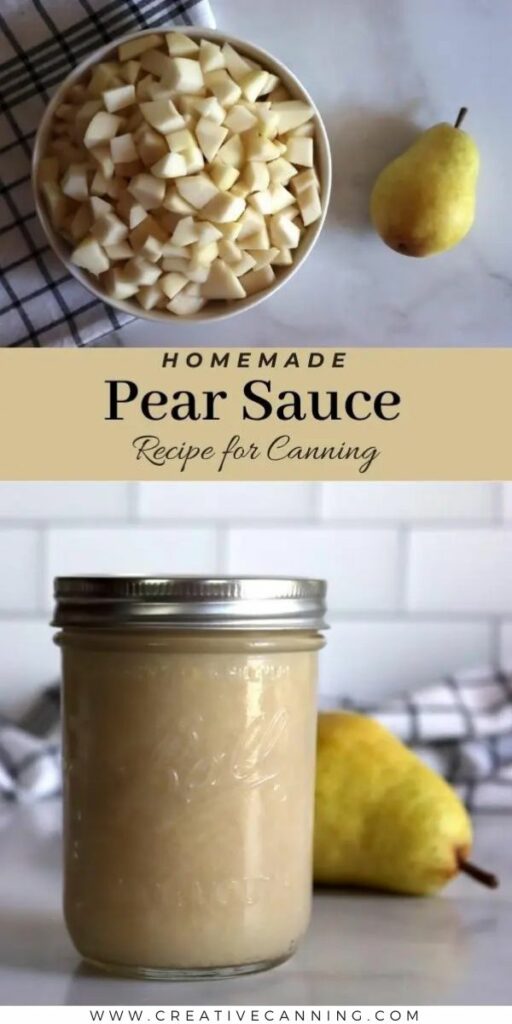
Pear sauce is basically just applesauce made with pears, and it’s incredibly simple. Pears cook a bit differently than apples, so making pear sauce isn’t exactly the same as making applesauce, and the flavor is well worth the effort!
If you’re already a fan of homemade applesauce (making it or eating it — or both!) then you should definitely give homemade pear sauce a try. The method is essentially the same, the only difference being that pears typically need a longer cooking time than apples (and a bit more determination if you’re mashing them up by hand). Even without the addition of sugar, which I don’t tend to use, pear sauce is much sweeter than applesauce.
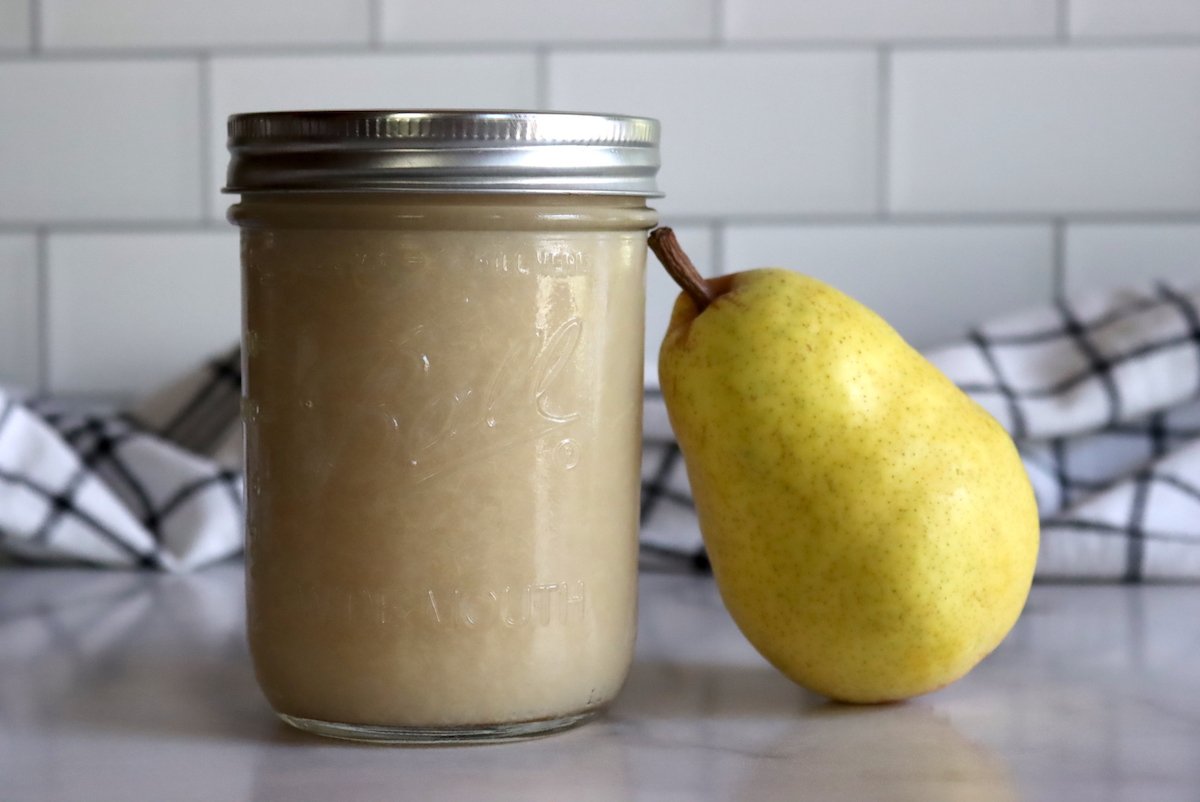
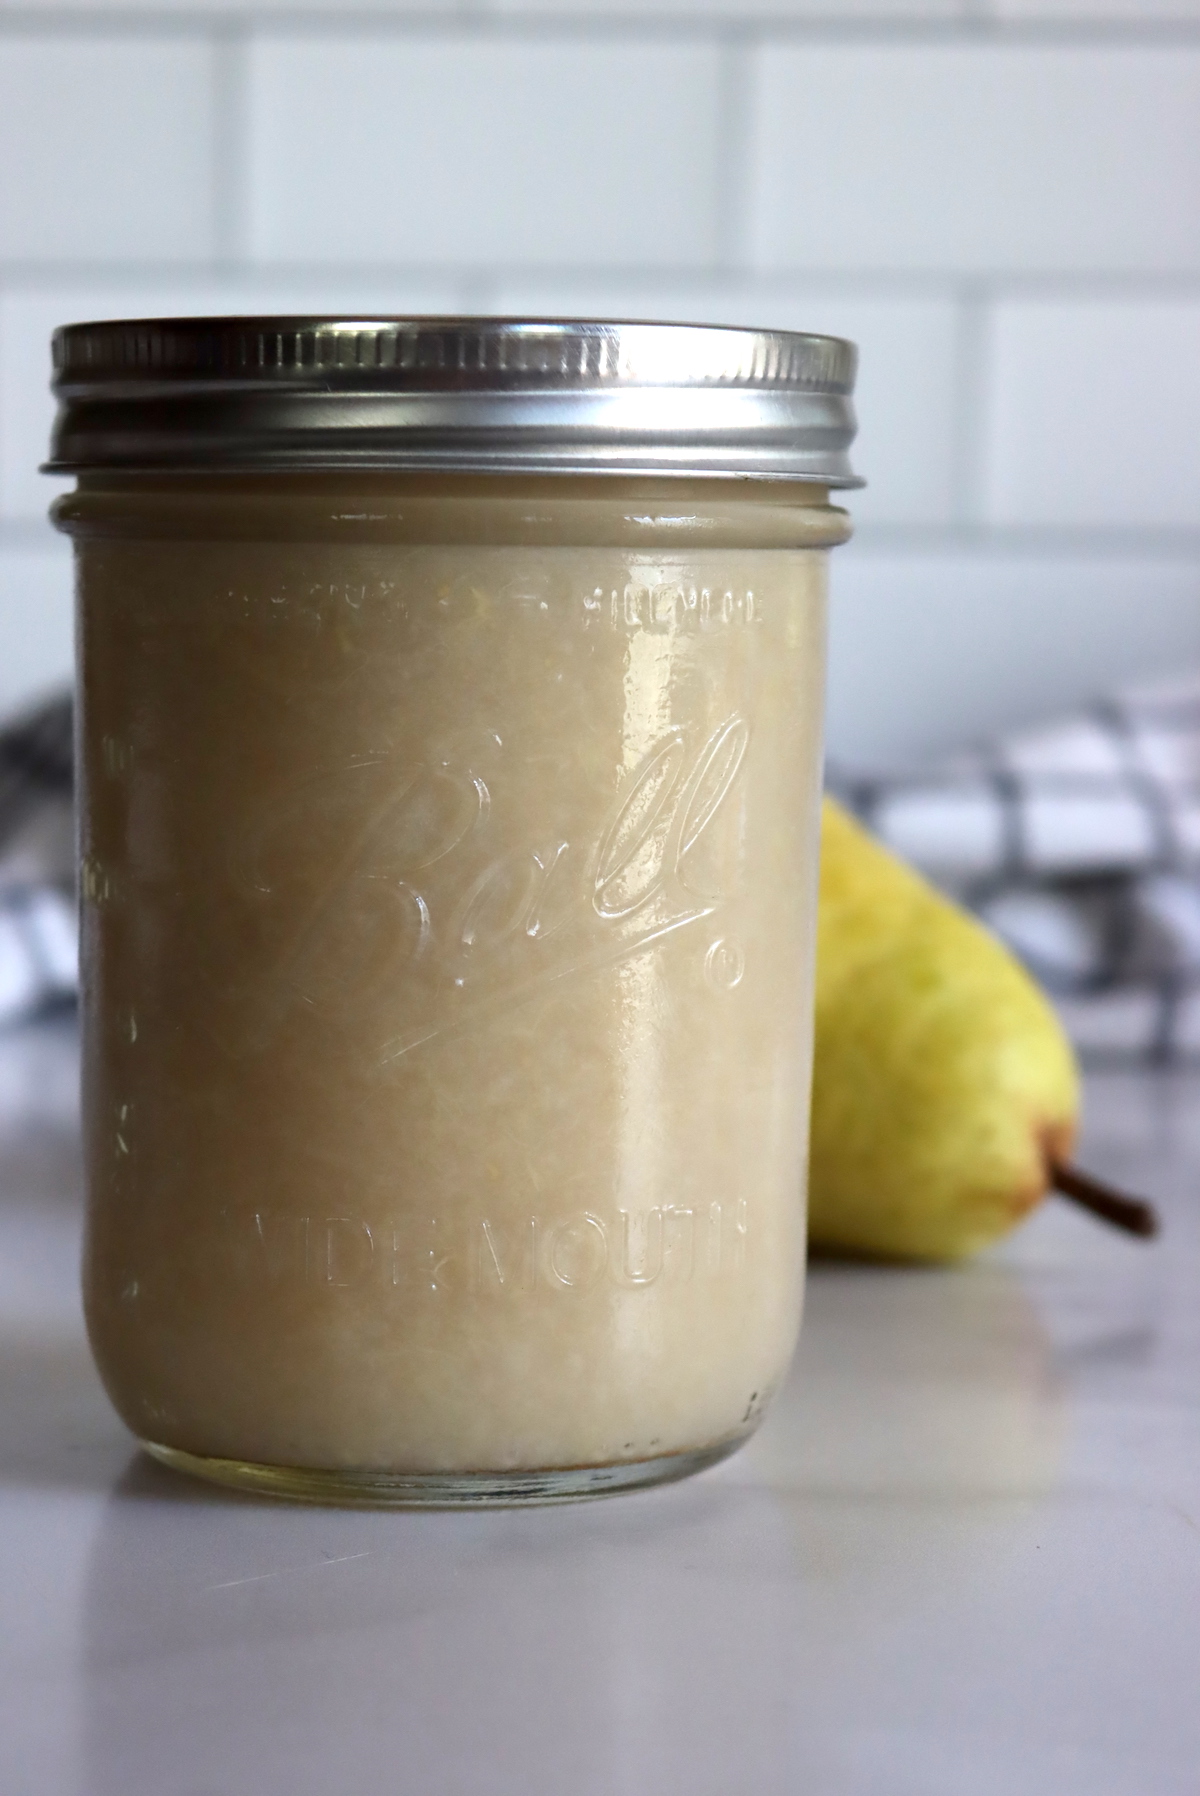
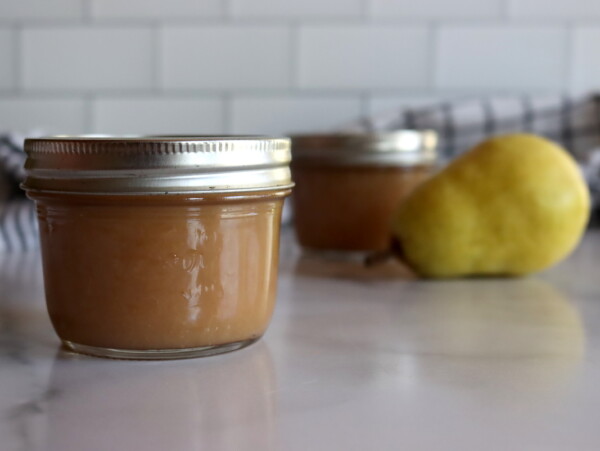
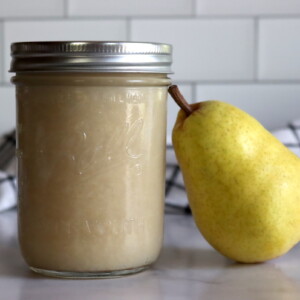
The recipe I’m going to show you in this post uses pears and only pears, but I’ve given you some suggestions for additional seasoning and flavors if you want to make a spiced version. My basic recipe will give you a snowy white pear sauce that’s just as tasty on its own as it is served with roast pork. I’m also going to show you how to can your pear sauce, so that you can enjoy that homemade, orchard-fresh flavor throughout the entire year.
How Many Pears Do you Need for Pear Sauce?
Believe it or not, pears have a lot of juice in their tissues, a good bit more than apples. If you’ve ever bitten into a perfectly ripe pear to feel that sweet juice dribble down your chin, you know just what I mean.
That means they take a good bit longer to cook down into sauce, but you’ll also need more pears per pint of finished sauce. The flavor will be concentrated, which is even better. More pears per jar!
To make 1 pint of pear sauce, you’ll need 5 to 6 medium-sized pears. That equals roughly 2 1/2 pounds of pears (just over 1 kg), or about 5 cups once peeled, cored, and diced.
I’ve written this as a small batch pear sauce recipe for a single pint, but you can make as much or as little as you’d like. Unlike jam recipes which can’t be doubled, sauce recipes can be multiplied as many times as you want so long as you have a big enough pot. Be aware that you’ll need to be able to stir it regularly to keep the bottom from burning.
If you want a standard 9-pint canner batch, multiply the recipe by 9 and start with about 22 1/2 pounds of fruit. Similarly, for a 7-quart canner batch, you’d need about 35 pounds of fruit. Pears cook down considerably and have a lot of juice. That means you need a lot to start with to make pear sauce, but you also get an amazingly sweet, concentrated flavor without added sugar.

Best Varieties for Making Pear Sauce
You can use any variety you have available, or you can combine two or more types in the same sauce. I’d suggest using bartlett, bosc, seckel, or other common varieties. Any variety will work, and some of the homegrown types that aren’t great fresh are perfect for pear sauce.
We grow a couple of canning varieties or pears that are best when cooked, namely golden spice (which isn’t all that good fresh, but makes a great sauce).
The one exception is Asian pears (sometimes called apple pears), they aren’t super-flavorful when cooked anyway and they’re very low acid, making them unsuitable for canning. You can make Asian pear sauce as a refrigerator or freezer recipe, but it’s not safe for canning. All other pear varieties are perfectly fine for water bath canning with no other ingredients added.
(Asian pears are acceptable for canning as whole or halves, provided you add enough lemon juice or citric acid. There’s just not an established canning recipe for Asian pear sauce, namely because it’s not that tasty, and honestly, it’s rather obscure and the amount of acid would depend on how much they’re cooked down. Asian pears are best fresh, though I do make a few batches of home-canned Asian pears every year for baking pear cake, which is lovely.)
How to Make Pear Sauce
After the pears have been peeled, cored, and diced you should have about 5 cups of prepared fruit. If you fall short of 5 cups, add an extra pear, as the finished recipe yields a small pint so long as you have about 5 cups of diced fruit at the start.
Pears can have super-thick peels and gritty cores, so take your time preparing them during this stage — the extra effort is worth it. Pear cores are particularly notorious and are about as annoying as popcorn kernels when you get any kind of fragment stuck in your teeth.
Add the prepared pears to a heavy-bottomed saucepan or a Dutch oven along with 1/2 cup water to prevent scorching (you could also add pear or apple juice for an extra boost of flavor). If there’s one thing I’ve learned about cooking with pears, it’s that they take quite a bit longer than apples to cook down into a sauce, which is why I typically prefer to halve or quarter them when I’m canning large amounts.
For this particular batch, I began checking the pears for doneness at the 30-minute mark. The pieces of pear were nearing toward soft at this point, but were still holding their shape and there was plenty of separate juice. To compare cooking times, whenever I make applesauce using Honeycrisp apples the fruit breaks down in half the time.
After 45 minutes of cooking, the juice has largely evaporated but the pear chunks are still holding their shape. They’re quite mushy at this point, but unlike apples, pears keep their shape even when they feel soft to the touch.
(That’s why canning pears is more common than canning apple slices, and one reason that pears make an incredible pear jam, since they hold their shape so well during cooking. You can make jam with them without worrying so much about it turning into pear sauce, or pear cooking down into pear butter. Both of those are delicious, of course, but sometimes you want jam rather than sauce!)
This is when a stick blender or food mill becomes especially handy, although you can also use a wooden spoon or potato masher for a more rustic pear sauce.
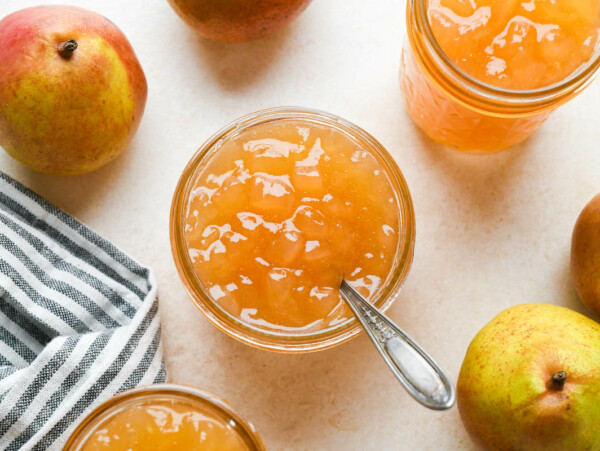
I think that pear sauce is plenty sweet without the addition of extra sugar, but you could always add some if you prefer a sweeter sauce (I would add a tablespoon at a time, tasting between each addition). You could also add warm spices such as cinnamon, ground ginger, allspice, or nutmeg — only a pinch is needed, you don’t want to overwhelm the flavor of the pears.
Pears are acidic enough to be canned without having to add lemon juice for safety reasons, but some people like to add a tablespoon to the finished pear sauce to prevent browning and discoloration due to oxidization. I usually skip this last part, unless I’m gifting canned pear sauce and I want it to keep its original color.
If you toss the pears right into the pot as you’re dicing them and get it cooking as you go then you can often skip the lemon juice and still get a pure white sauce. That’s what I did for this batch. No added lemon juice (so no added tart notes), but it’s still a beautiful white sauce because they started cooking before they could oxidize.
Canning Pear Sauce
New to hot water canning? Be sure to check out my beginner’s guide to water bath canning for all the information you need to get started.
Carefully ladle still-hot pear sauce into a prepared pint jar, leaving 1/2-inch headspace (this is where a canning funnel/headspace measurer comes in handy!). Wipe the rim of the jar and apply a two-piece lid until fingertip tight before loading the pear sauce into a hot water canner.
Processing times for pint jars are as follows: 15 minutes at altitudes of 0-1,000 feet; 20 minutes at altitudes of 1,001-6,000 feet; and 25 minutes at altitudes higher than 6,000 feet.
If you decide to make a larger batch of pear sauce in quart jars, the processing times are as follows: 20 minutes at altitudes of 1-1,000 feet; 25 minutes for altitudes of 1,001-3,000 feet; 30 minutes for altitudes of 3,001-6,000 feet; and 35 minutes for altitudes higher than 6,000 feet.
When the timer goes off, turn off the canner and let the pear sauce sit in the hot water for 5 minutes before removing. Use a jar lifter to carefully remove the pear sauce from the canner; place the jar on a clean towel and let the pear sauce come to room temperature. Check the seal of the lid and remove the ring so that it can be used for other canning projects. If for some reason the lid didn’t seal properly, transfer the pear sauce to the fridge and enjoy as soon as possible (it will keep in the fridge for about a week or so).
Canned pear sauce should be stored in a cool, dry place away from direct light and will keep for up to 18 months.
Ways to Use Pear Sauce
Basically, any way that you like to use applesauce is a good way to use pear sauce. I like to enjoy it as-is, with a sprinkling of (extra) cinnamon, either cold or warmed up over the stove. It’s also delicious added to baked goods, especially quickbreads, and can be used as a partial substitute for oil or melted butter.
On the savory side, pear sauce is excellent when it’s served with pork, venison, or duck (either as part of a marinade or warmed through and served beside the meat). This is one of the reasons I don’t tend to season pear sauce as it’s cooking, it makes the finished sauce more versatile than if it had been pre-flavored with spices or other seasonings.
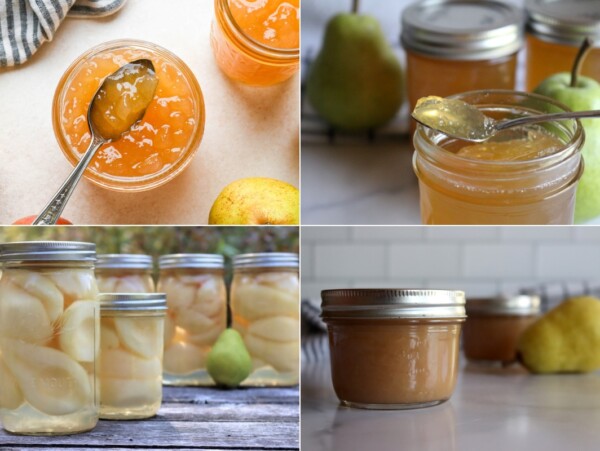
Pear Canning Recipes
Pear Sauce
Equipment
Ingredients
- 2 1/2 lbs pears, about 5 or 6 medium-sized pears
- 1/2 cup water, or apple/pear juice
Instructions
- Wash, peel, and core the pears and then cut into chunks.
- Add the cut-up pear chunks and 1/2-cup of water to a heavy-bottomed saucepan or a Dutch oven.
- Simmer the pear pieces over medium heat until softened, anywhere from 30-50 minutes.
- Blend the pears and concentrated juice with a stick blender or process using food mill — the pear sauce can be chunky or smooth.
- Carefully ladle the hot pear sauce into a prepared 1-pint jar, leaving 1/2-inch headspace.
- Wipe the jar rim and apply two-piece lids until fingertip-tight; load the jar into the canner and process for 15 minutes (or see chart below).
- Turn off water bath canner and let the pear sauce rest in the hot water for 5 minutes before removing.
- Let the pear sauce cool to room temperature (about 12 hours) and then check the seal of the jar. Store unsealed pear sauce in the refrigerator and use within a week. Store sealed pear sauce in a cool, dark place away from direct light — enjoy within 18 months.
Notes
about 5 cups of peeled, cored, and diced fruit. If you want a standard 9-pint canner batch, multiply the recipe by 9 and start with about 22 1/2 pounds of fruit. Similarly, for a 7-quart canner batch, you'd need about 35 pounds of fruit. Pears cook down considerably and have a lot of juice. That means you need a lot to start with to make near sauce, but you also get an amazingly sweet, concentrated flavor without added sugar.
Altitude Adjustments
- 0 to 1000 feet in elevation – 15 minutes for pints, 20 minutes for quarts
- 1,001 to 3,000 feet in elevation – 20 minutes for pints, 25 minutes for quarts
- 3,001 to 6,000 feet in elevation – 20 minutes for pints, 30 minutes for quarts
- Above 6,001 feet in elevation – 25 minutes for pints, 35 minutes for quarts
Nutrition
Nutrition information is automatically calculated, so should only be used as an approximation.
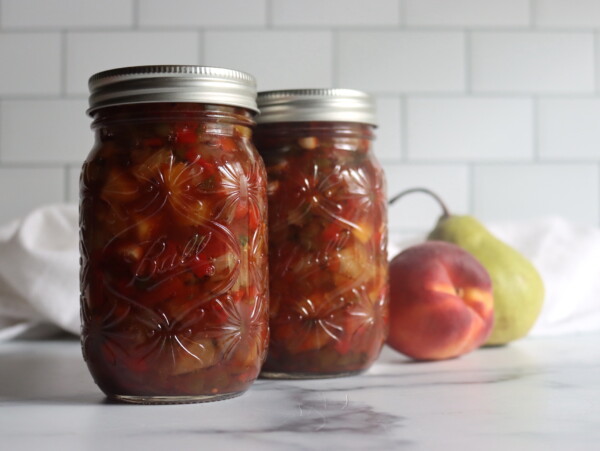
Fall Canning Recipes
Putting up more than just pears this season?
If I wait until the pear sauce is cooled to room temperature, can I freeze this recipe instead of canning the pear sauce? I don’t do canning.
Of course you can freeze it. Just make sure you use freezer safe containers and you’ll be all set. Enjoy!
Can I blend the pears before cooking and not peel????
Yup, that’s perfectly fine. I would suggest cooking before you blend, as cooking will prevent separation when you blend it. Sometimes when you blend raw fruits they’ll separate due to an enzymatic action, and then they’ll stay as separate juice/pulp when you cook them later. It’s much more dependable to cook them, even if just blanching them for a few minutes, before you blend them. Best of luck!
So easy to do and yes, it tastes great!
Will I need to adjust the recipe if I add the cinnamon candies (melted) to the sauce when canning?
No, you can add them, that’s fine. Usually cinnamon candies are just cinnamon oil, red dye and corn syrup, all of which are fine for canning. If yours have any crazy ingredients in them beyond that, maybe you’ll need to look into it further, but if that’s all they have then no adjustments needed. Enjoy!
Is it necessary to do the hot bath
If you want to keep it on the pantry shelf, then yes. If you keep it in the fridge and eat it within two weeks, you don’t have to can it. If you want it to be shelf stable, you do need to do canning.
When you are multiplying the apples by 9 to make the 9. pint jars are you also multiplying the water by 9?
Yes, you will need to add more water to get the pears to cook properly without scorching or burning. They take quite a bit of time to fall apart, and they’ll need the water in there to cook them through. Nine times as much water would be 4 1/2 cups, which is about correct for that amount of fruit, but it doesn’t have to be exact. Anywhere in the 3 to 5 cups range will get the job done, just add more if you see it start to boil dry before the pears fall apart.
I am intrigued by the statement about not having to add lemon juice here for safety’s sake. I made a batch with a different recipe that included lemon juice, and it’s way too lemony/tart. Gonna follow yours this next batch.
Follow-up: the quantity was exactly as stated (I measured 5 cups prepared pears per pint jar desired), and the flavor was terrific. Definitely did not miss the sugar. I added 3tsp cinnamon, 3/4 tsp nutmeg, and 3/4 tsp cardamom. Getting ready to make up my next batch. 🙂