This post may contain affiliate links. Please see our disclosure policy.
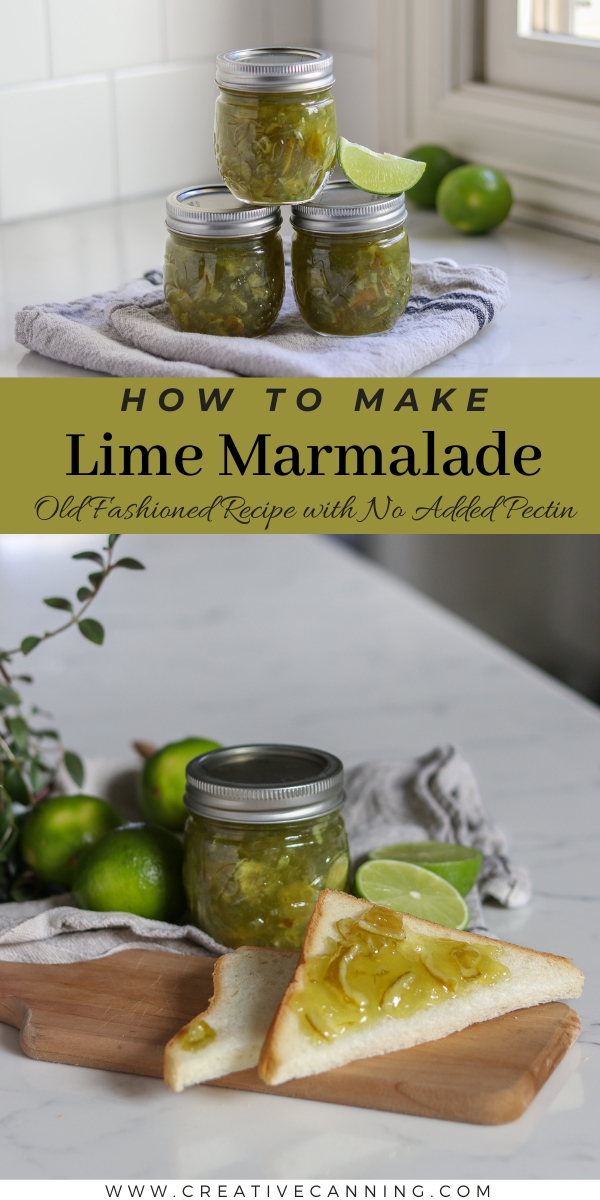
Lime marmalade is a really unique citrus marmalade that’s a lime lover’s dream! This recipe is made the old-fashioned way, without added boxed pectin. It takes a bit longer than quick recipes with pectin, but believe me, it’s worth it!
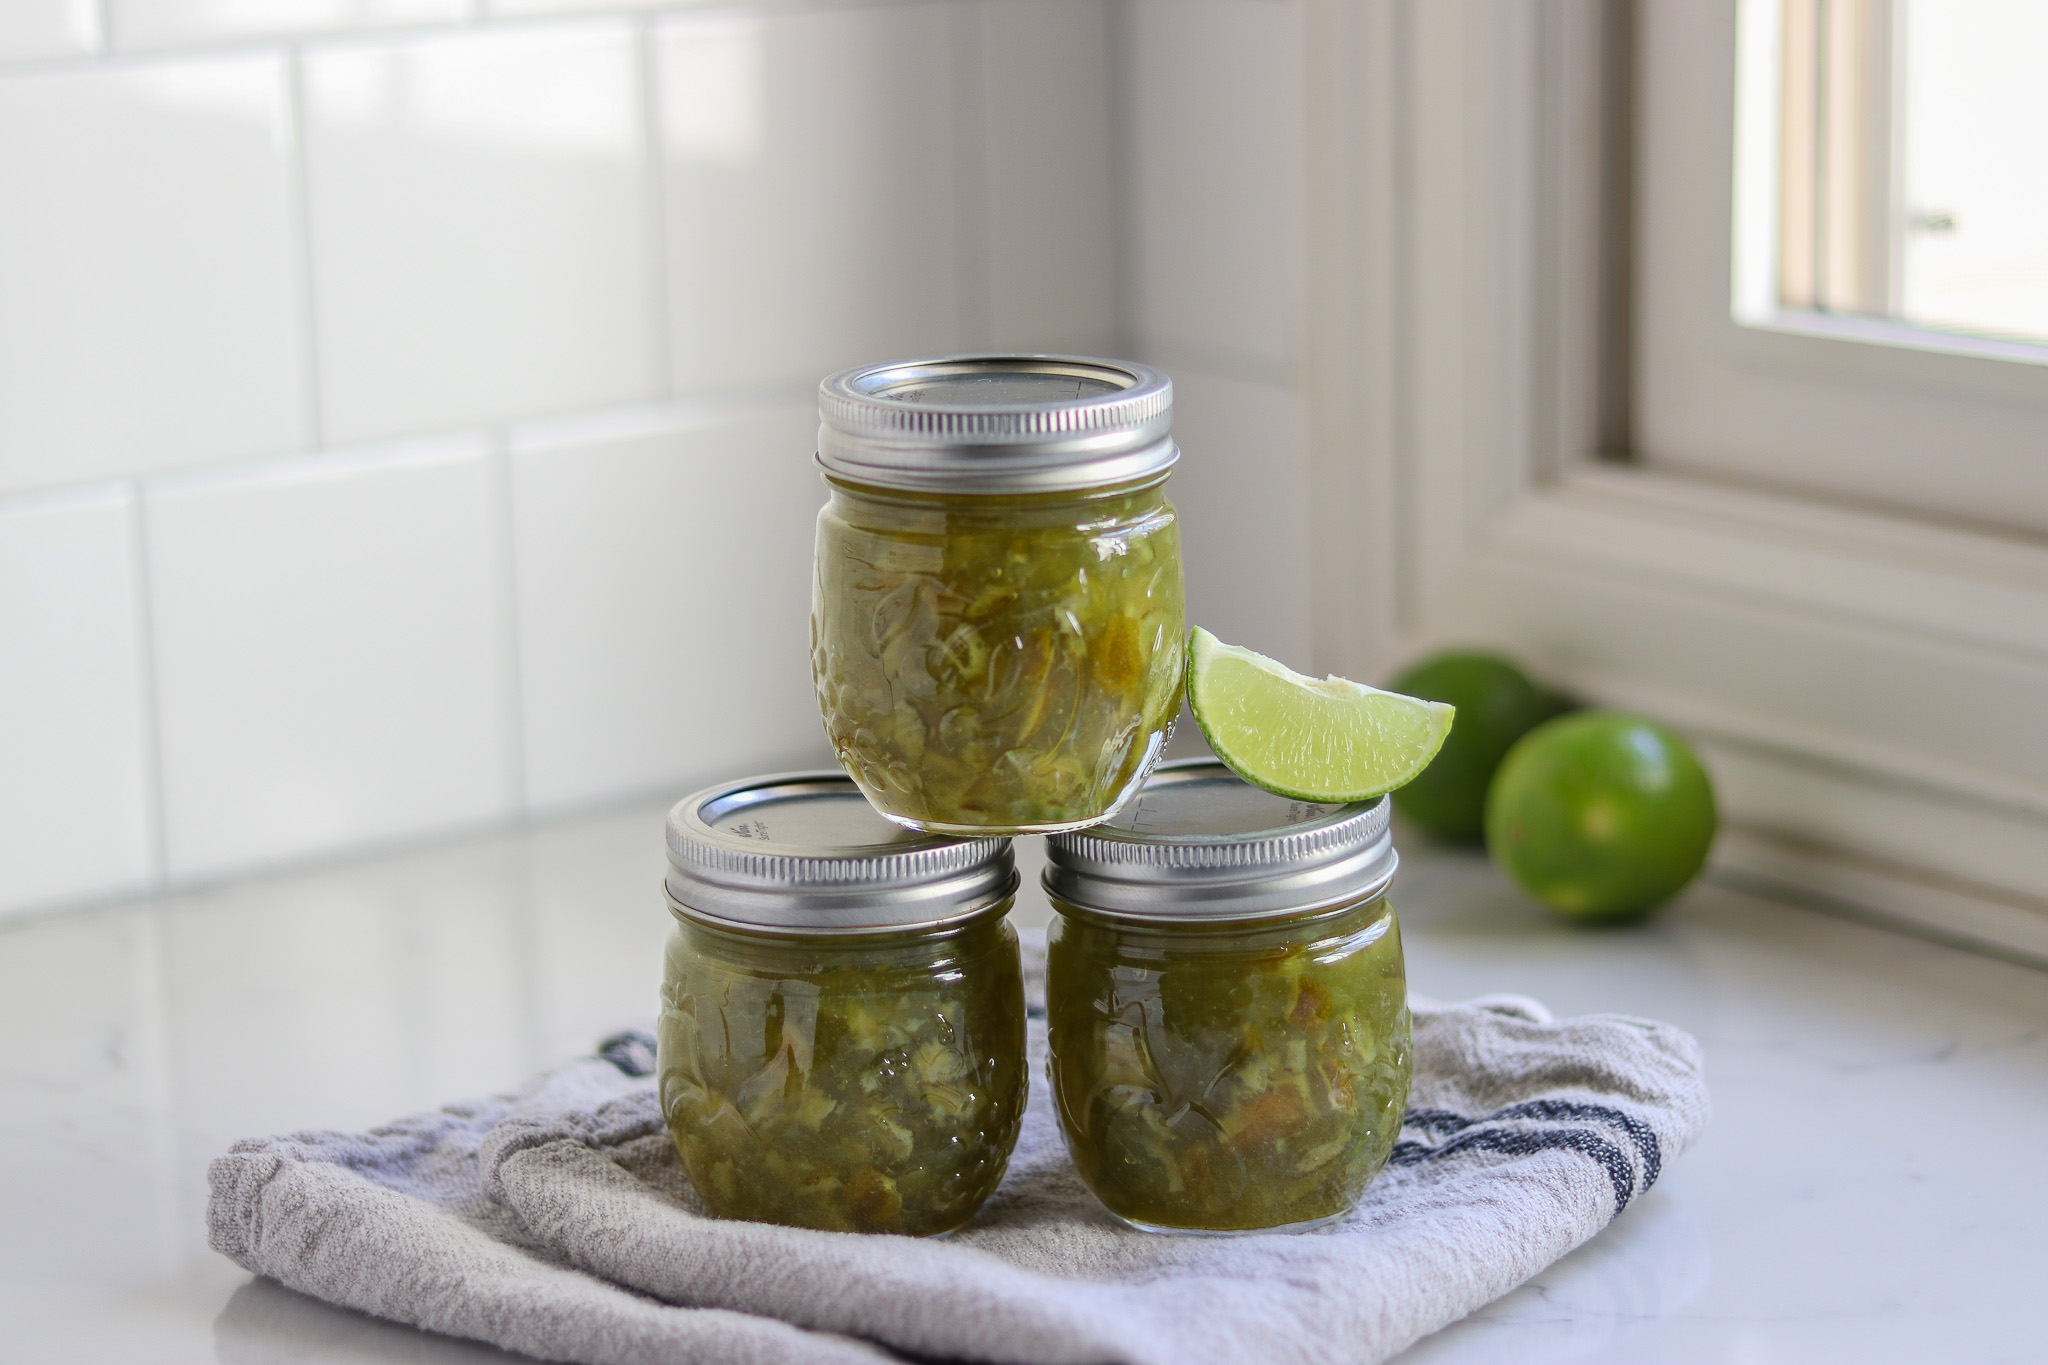
My husband absolutely loves limes and lime-flavored desserts. Given a choice, he’d always choose lime pie or lime bars for dessert, and he has a jar of lime aid in his hand all summer long.
I found this recipe for lime marmalade in one of my favorite canning books, Jam Session by Joyce Goldstein. When I saw it, I knew immediately that my husband would absolutely love it.
She makes it the old-fashioned way, without added boxed pectin. It’s hard to find a pectin-free (or added pectin-free) marmalade recipe these days, as they take a while to make…but they’re so worth it.
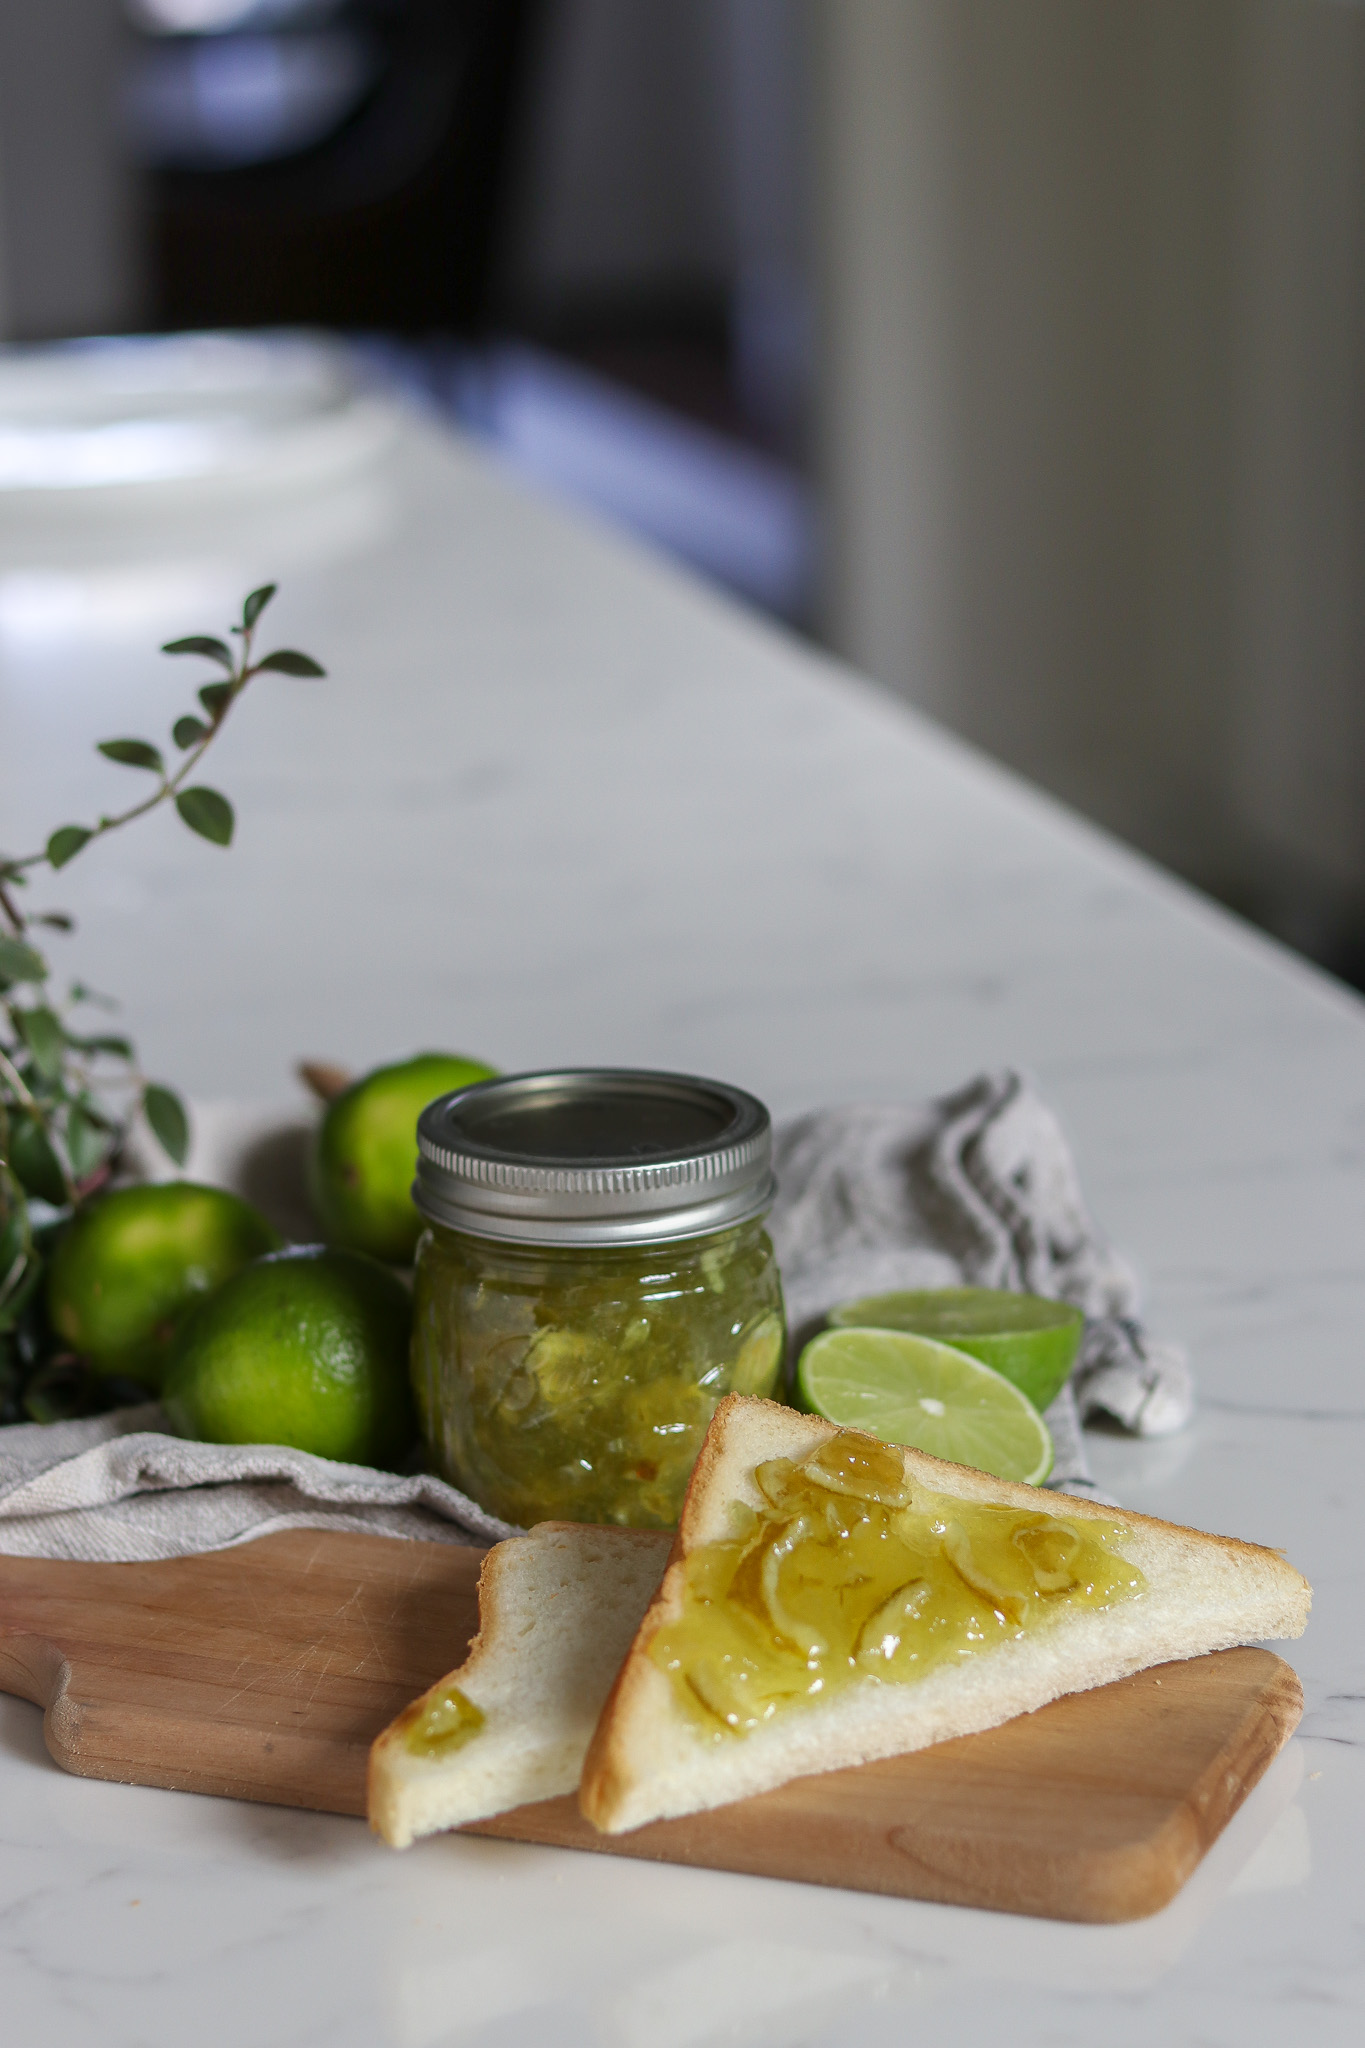
This is a three-day recipe, and here’s what you’ll be doing each day:
Day 1: Slice the limes or chop them in a food processor, then cover them with water and soak them overnight. This softens the peels and conditions them to release their pectin the next day. If you start in the morning, you can just soak them for 6 to 8 hours and then proceed in the evening, making this a 2-day recipe instead.
Day 2: The limes are cooked, sugar is added, and then they’re left to sit overnight. This helps further soften the peels and allows them to release as much pectin as possible.
Day 3: The marmalade is reheated and brought to gel stage, and then it can be either processed in a water bath canner or simply jarred and stored in the refrigerator or freezer.
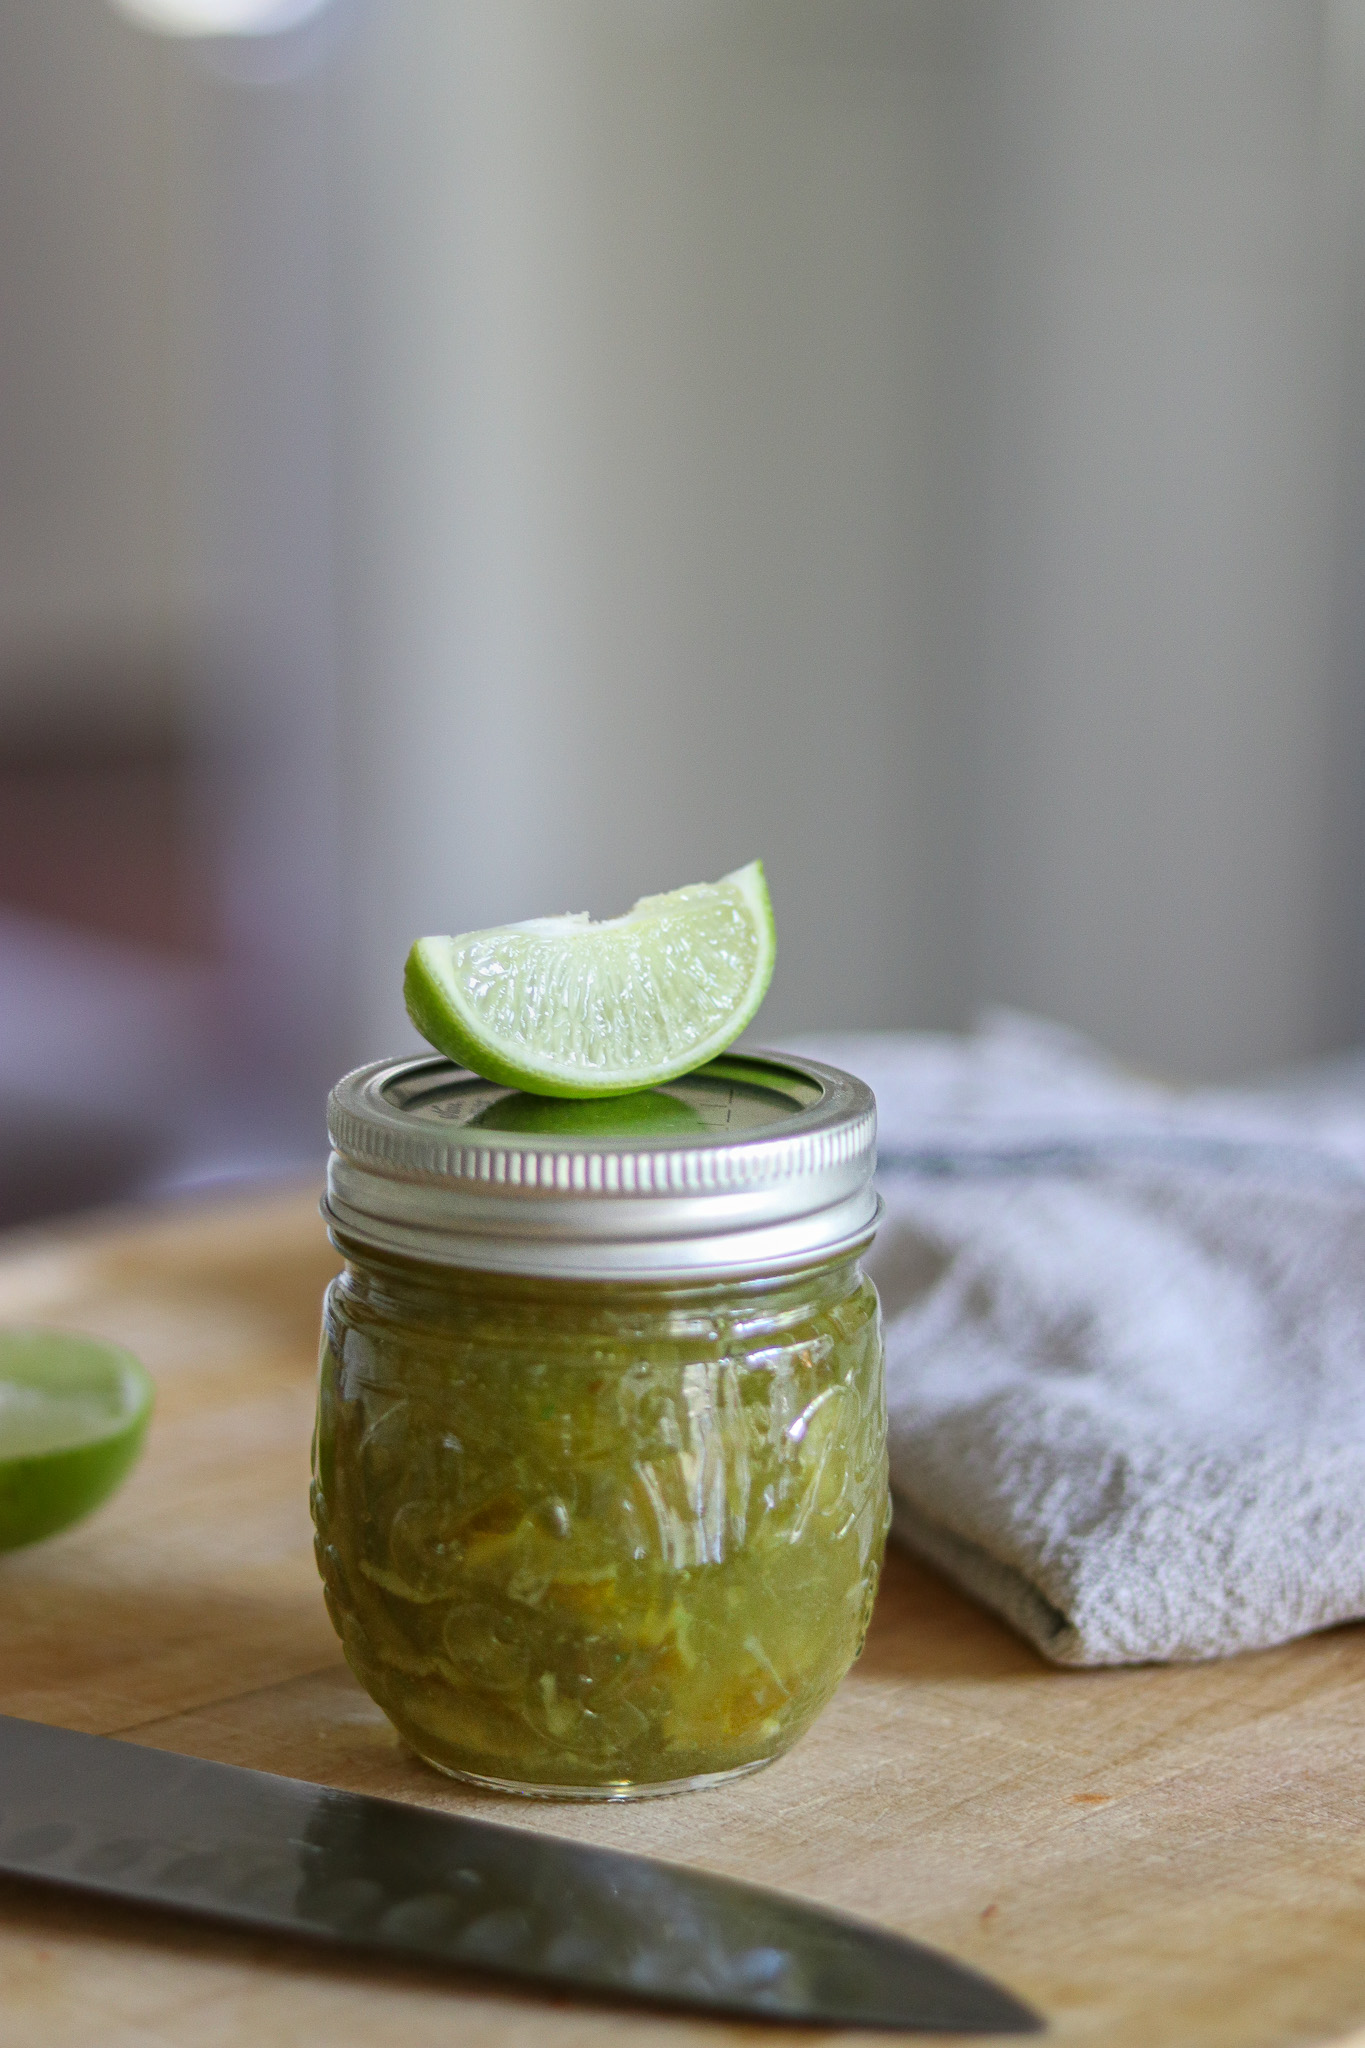
Ingredients for Lime Marmalade Jam
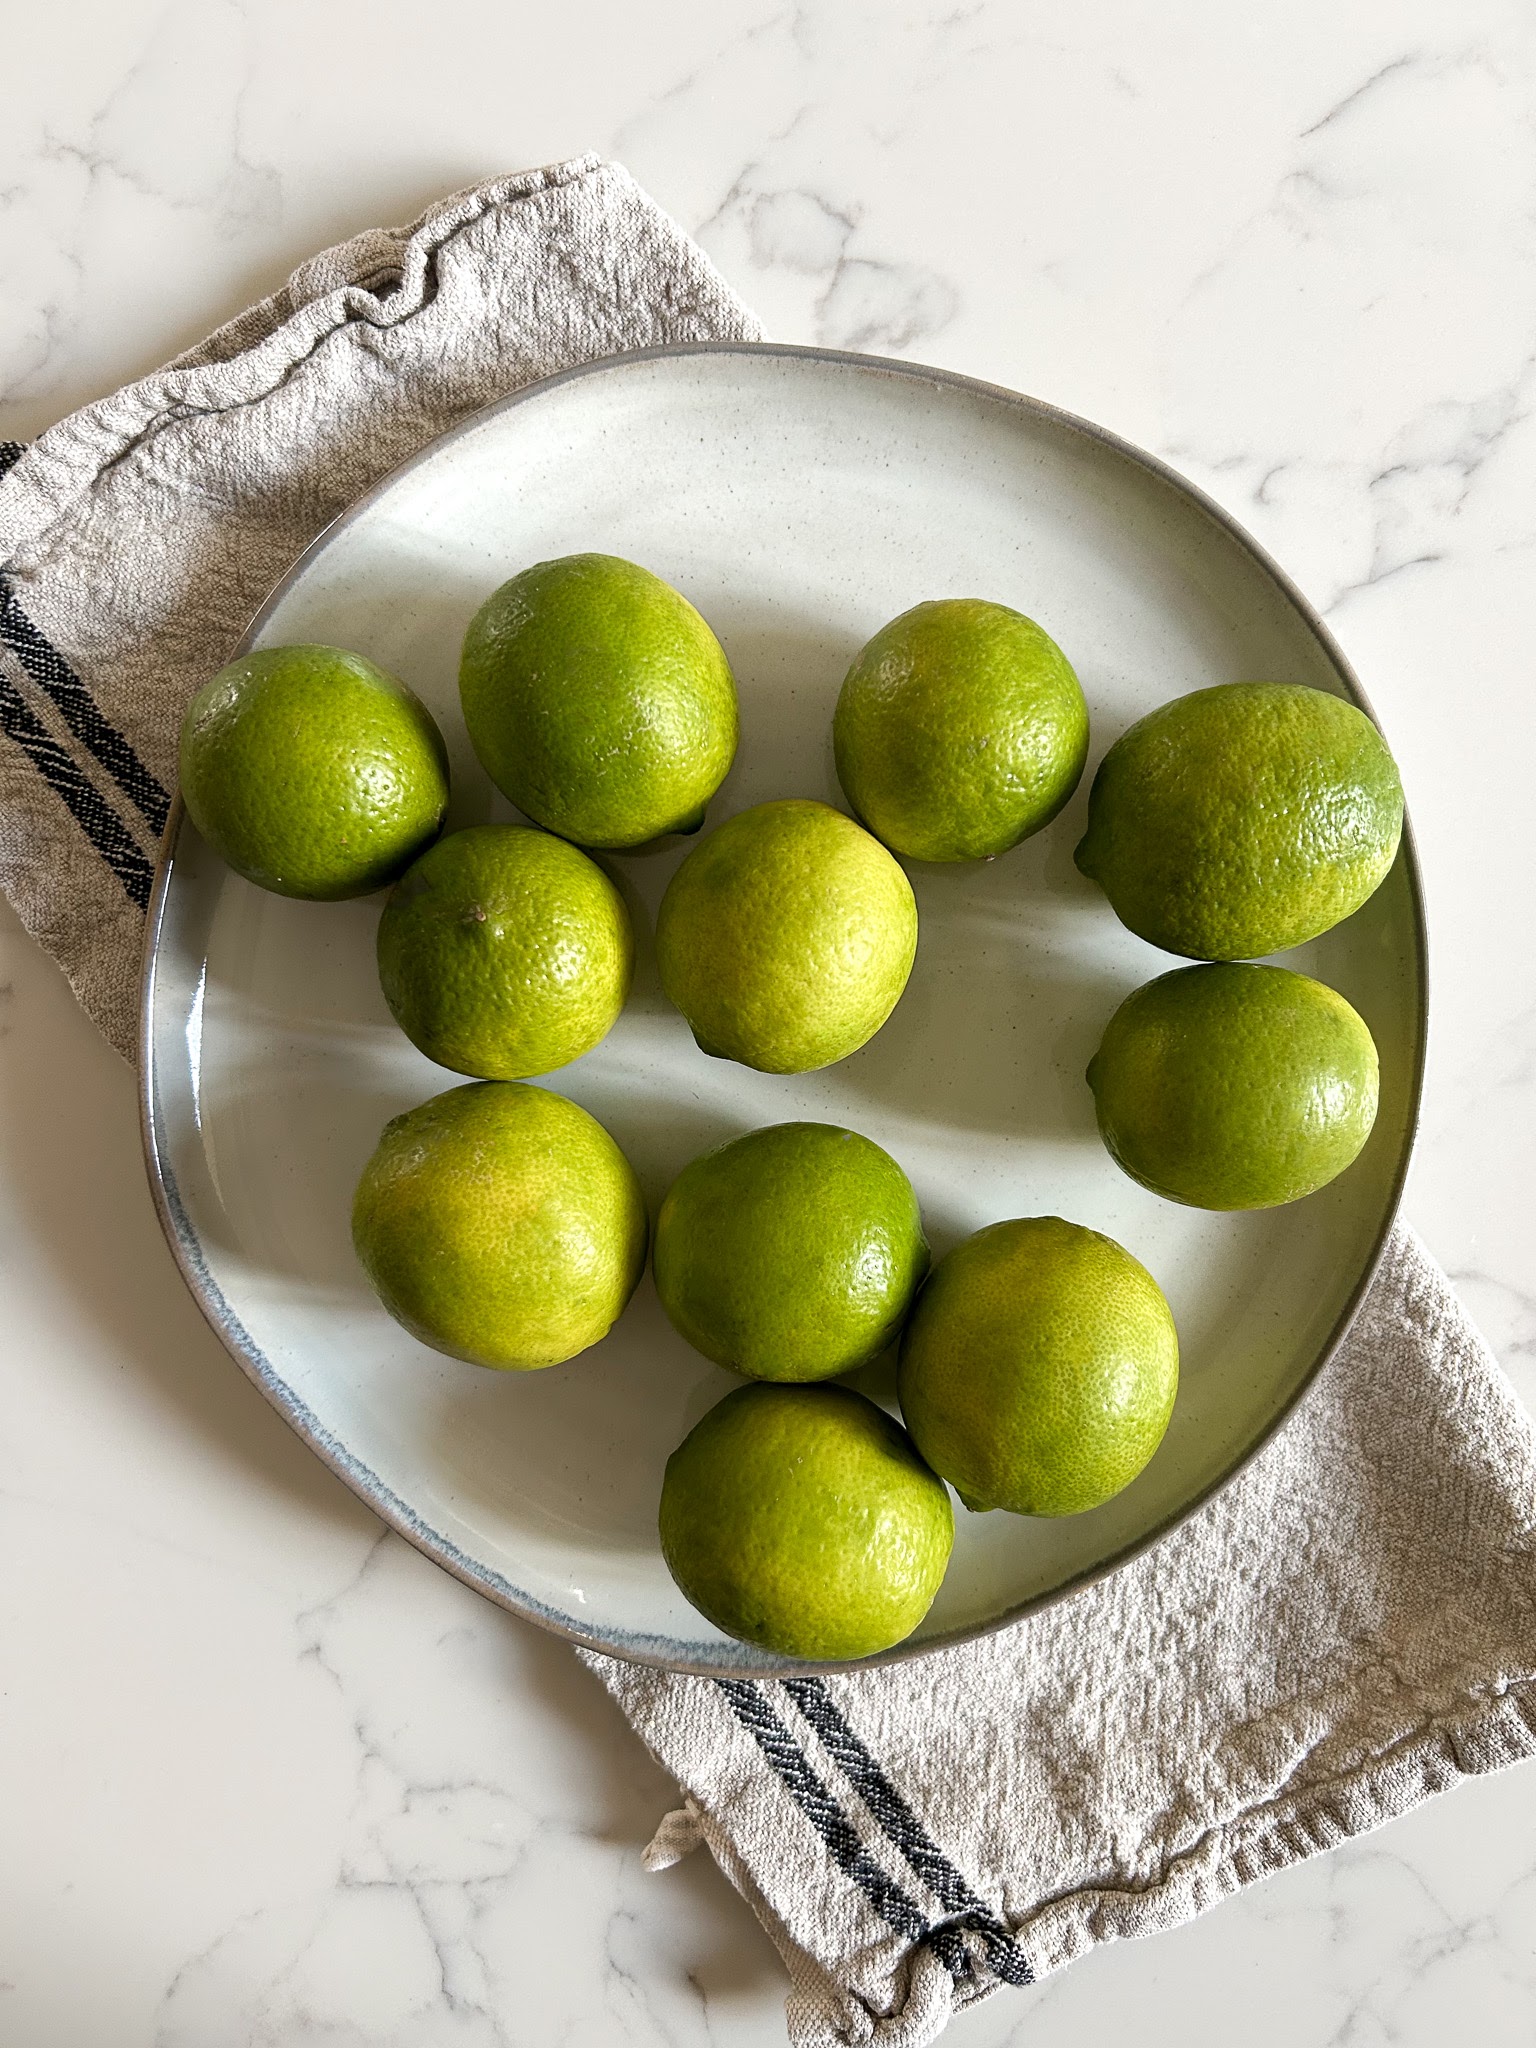
Making a batch of lime marmalade only requires a few simple ingredients. To make a large 10 to 12 jar batch (8 oz each), you’ll need the following:
- 2 lbs limes (about 12 to 14 medium limes)
- 8 cups water
- 6 to 7 cups granulated sugar
- 1 to 2 fresh lemons (optional, but recommended)
- A Few Drops Green Food Coloring, optional
This recipe is a large batch recipe, and you can cut it in half to make a smaller 6-jar batch. That said, the effort is the same either way, and it’s a lovely preserve to give to friends. If you’re going to make a marmalade over two days, you might as well make enough to share.
Limes are naturally very high in pectin, so this simple recipe is made without added pectin. With that in mind, it’s important to follow all the steps and be patient. Boxed pectin is a shortcut that makes marmalade quickly, but you’ll need to be patient when you’re making it the old-fashioned way. It takes time to extract the pectin from the peels, and it takes time for them to soften, so they’re not tough in the finished marmalade.
I like making marmalade the old-fashioned way because it results in a better-finished product, in my opinion. The citrus peels have naturally softened and released their pectin, and they can be a bit tough in marmalades that use pectin. It also saves money, as boxed pectin usually adds about $1 to $1.50 per jar to the total cost.
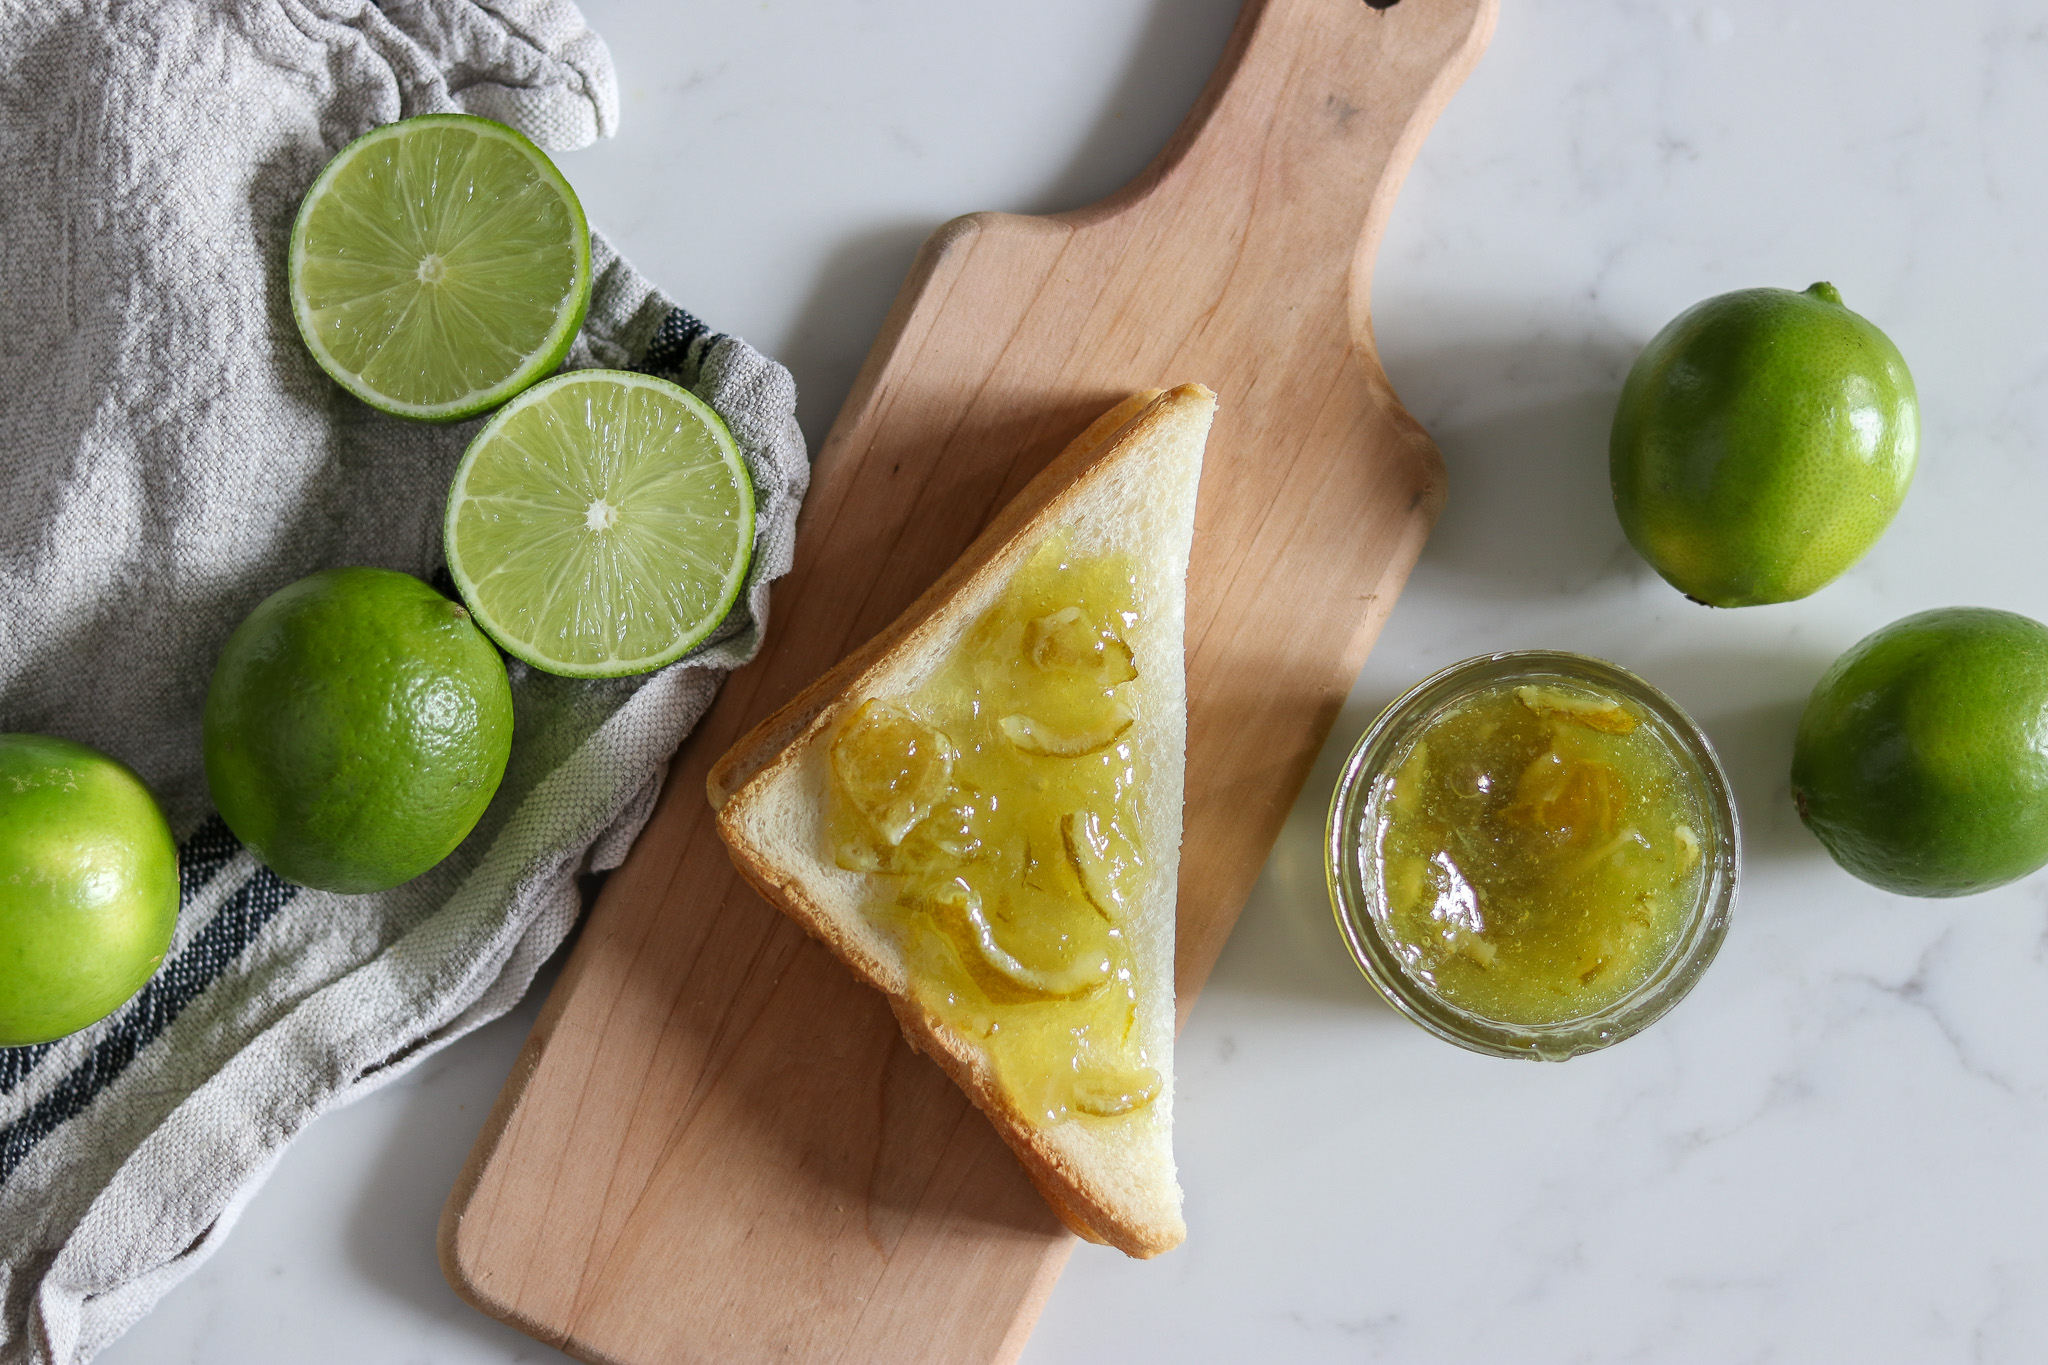
The color on the marmalade comes out a bit drab on it’s own, and it can help to add a few drops of green food coloring so that it looks as good as it tastes. I use an all-natural green food coloring that’s plant-based.
Since we’re making it the old-fashioned way, all you really need is fresh limes and sugar to make this lime-lover’s marmalade!
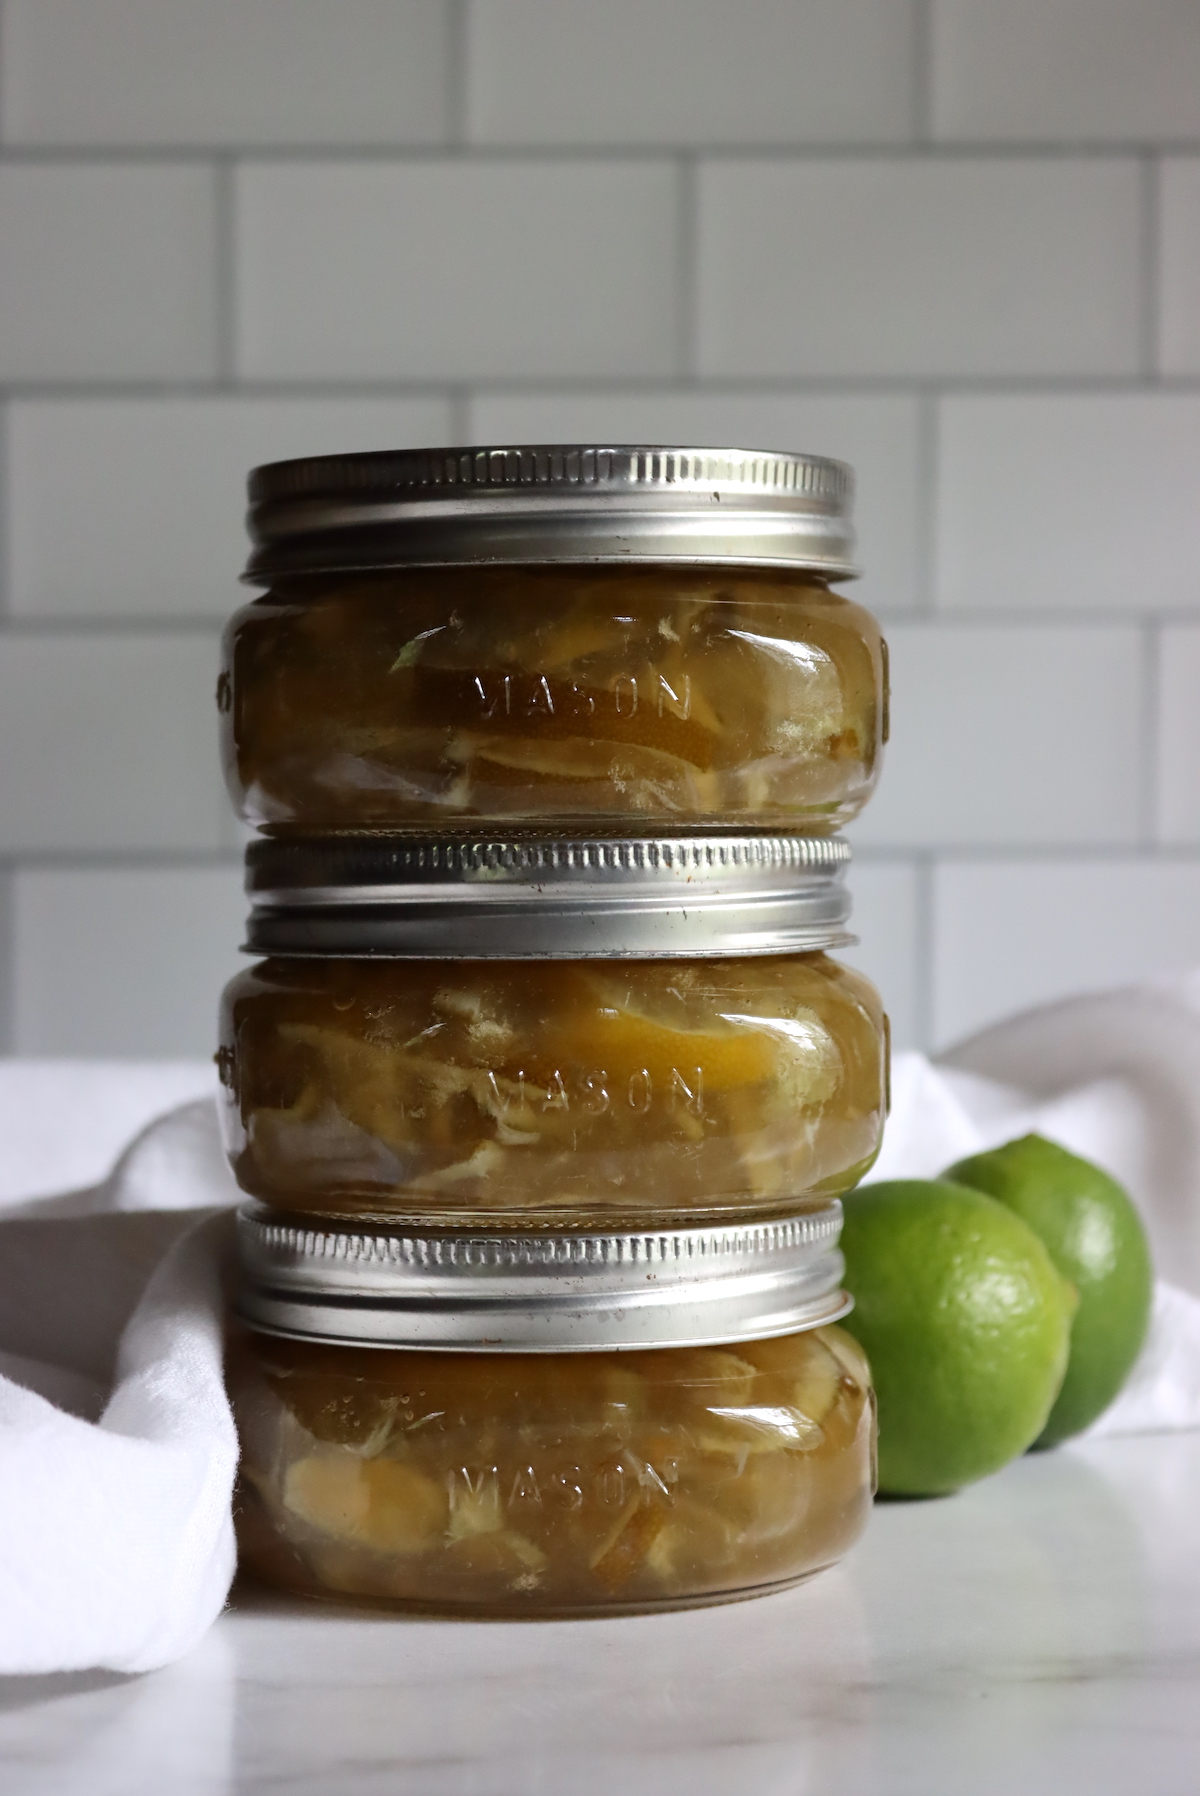
Preparing Limes for Marmalade
Wash the limes as well as possible, as citrus fruits are a high-spray crop, and you’ll be using the whole fruit in this recipe (peel and all). I’d strongly recommend buying organic or locally grown limes that do not use pesticides, if at all possible.
The USDA recommends NOT using soap, detergent, or commercially made produce and fruit wash. Rubbing the limes with your hands while rinsing them with water will be just as effective as using soap or wash. You can also use a clean vegetable brush to gently rub the limes.
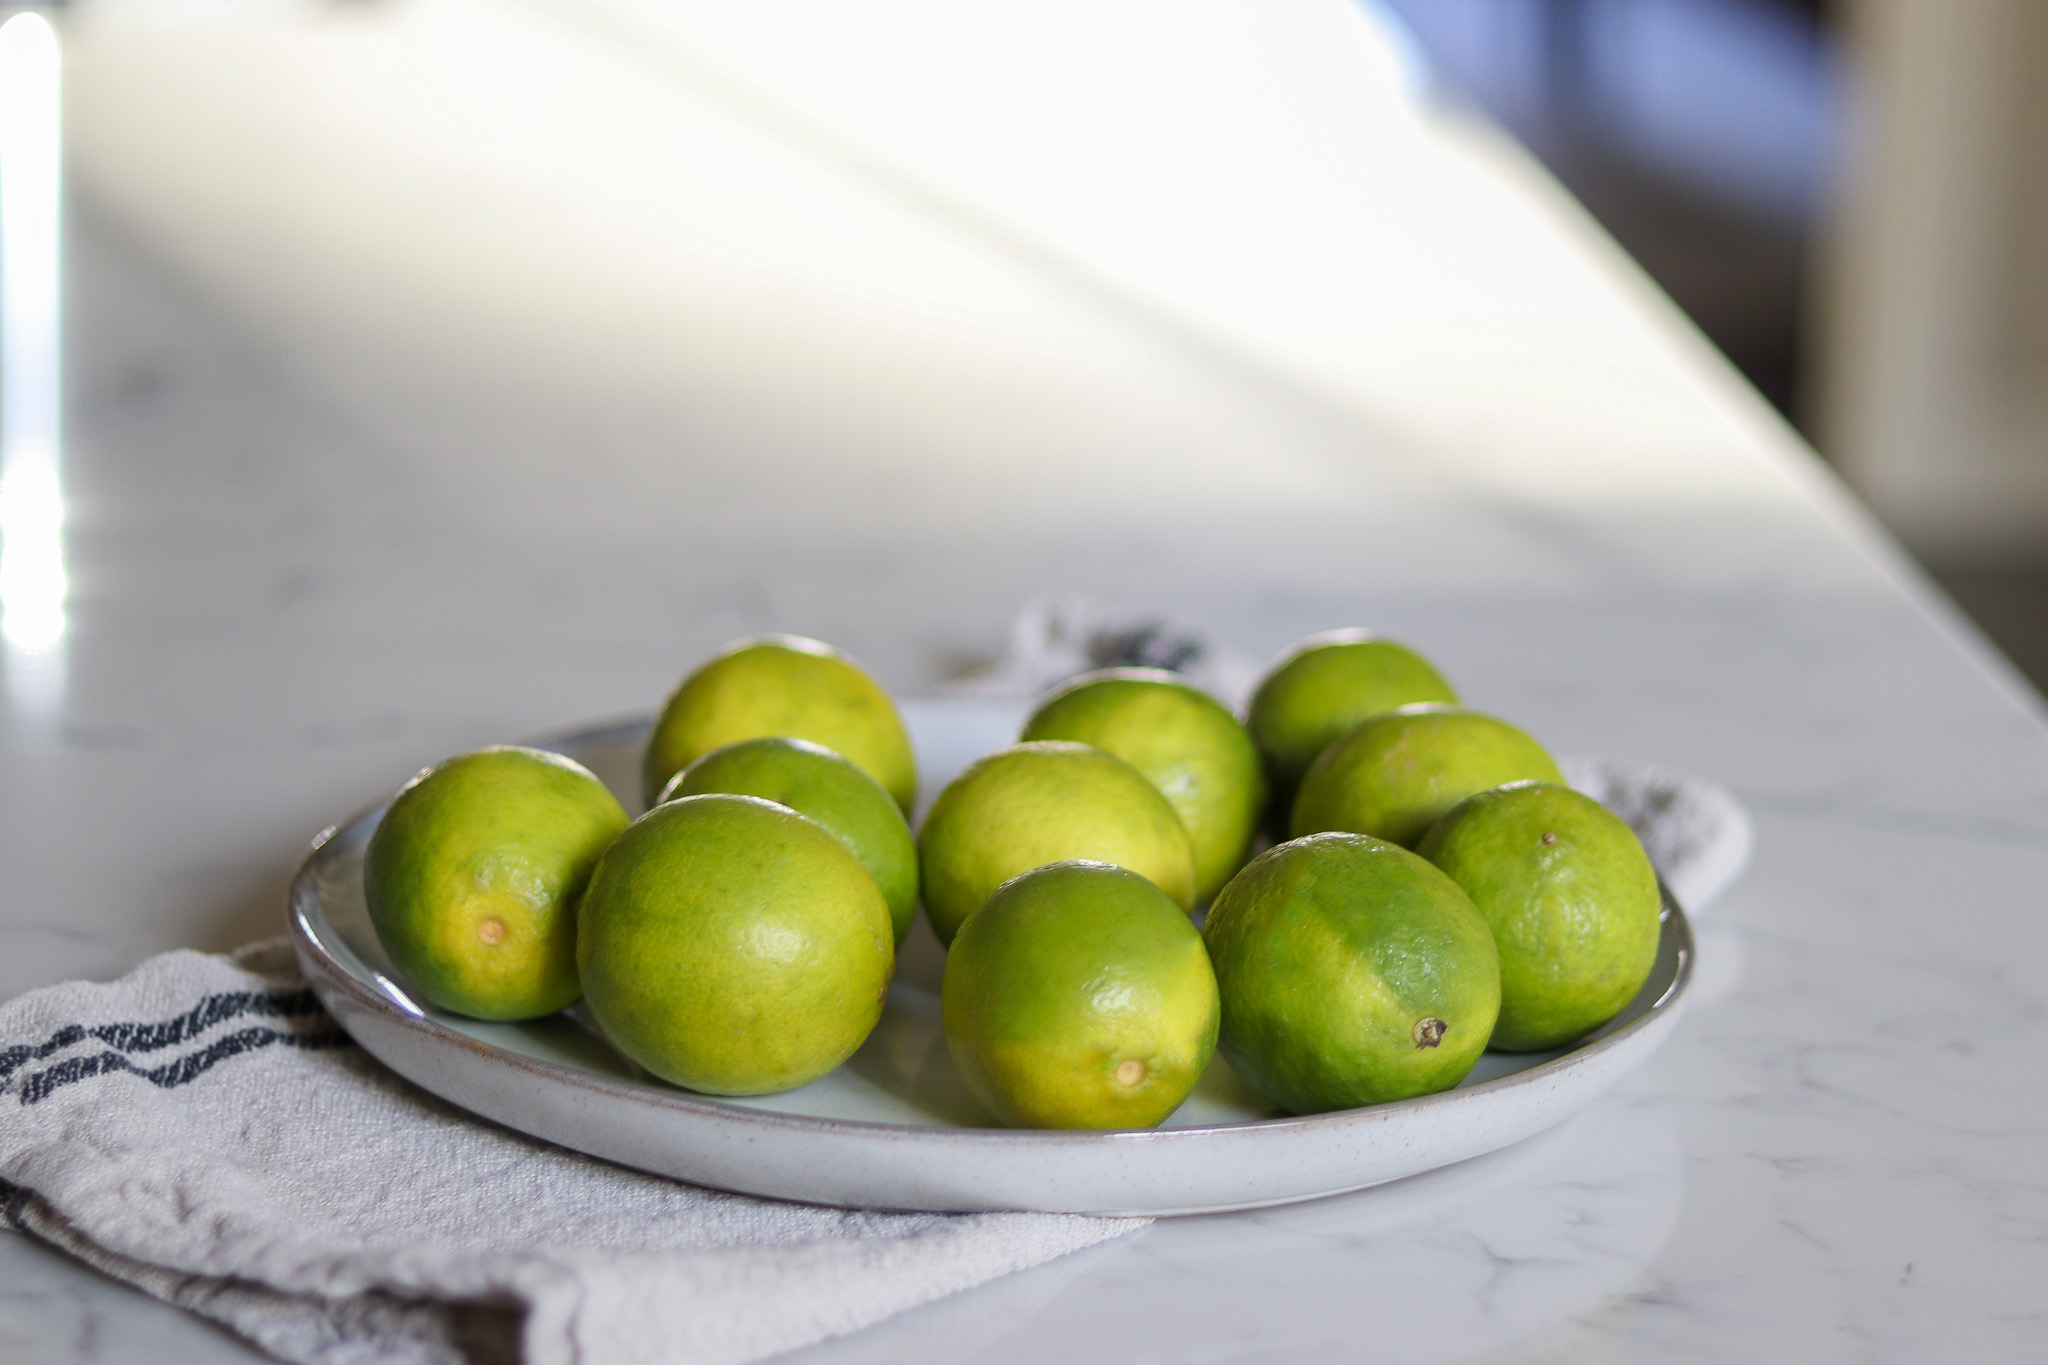
If you are concerned that simple water is not enough, the best alternative is to mix two tablespoons of baking soda with 1 cup of water, rub your fruit with that mixture, and then rinse with clean water. The alkaline properties of baking soda neutralizes most common pesticides and other chemicals that are typically found on fruit, and baking soda also helps citrus peels soften, which will help later on when making the marmalade.
Once you have washed your limes, it’s time to cut them. You have two options here, either food processor chopping or finely slicing. I’ve made this recipe both ways, and I think finely slicing the limes (either by hand with a sharp knife or mandoline) results in the best lime marmalade.
Still, I’ll take you through both methods.
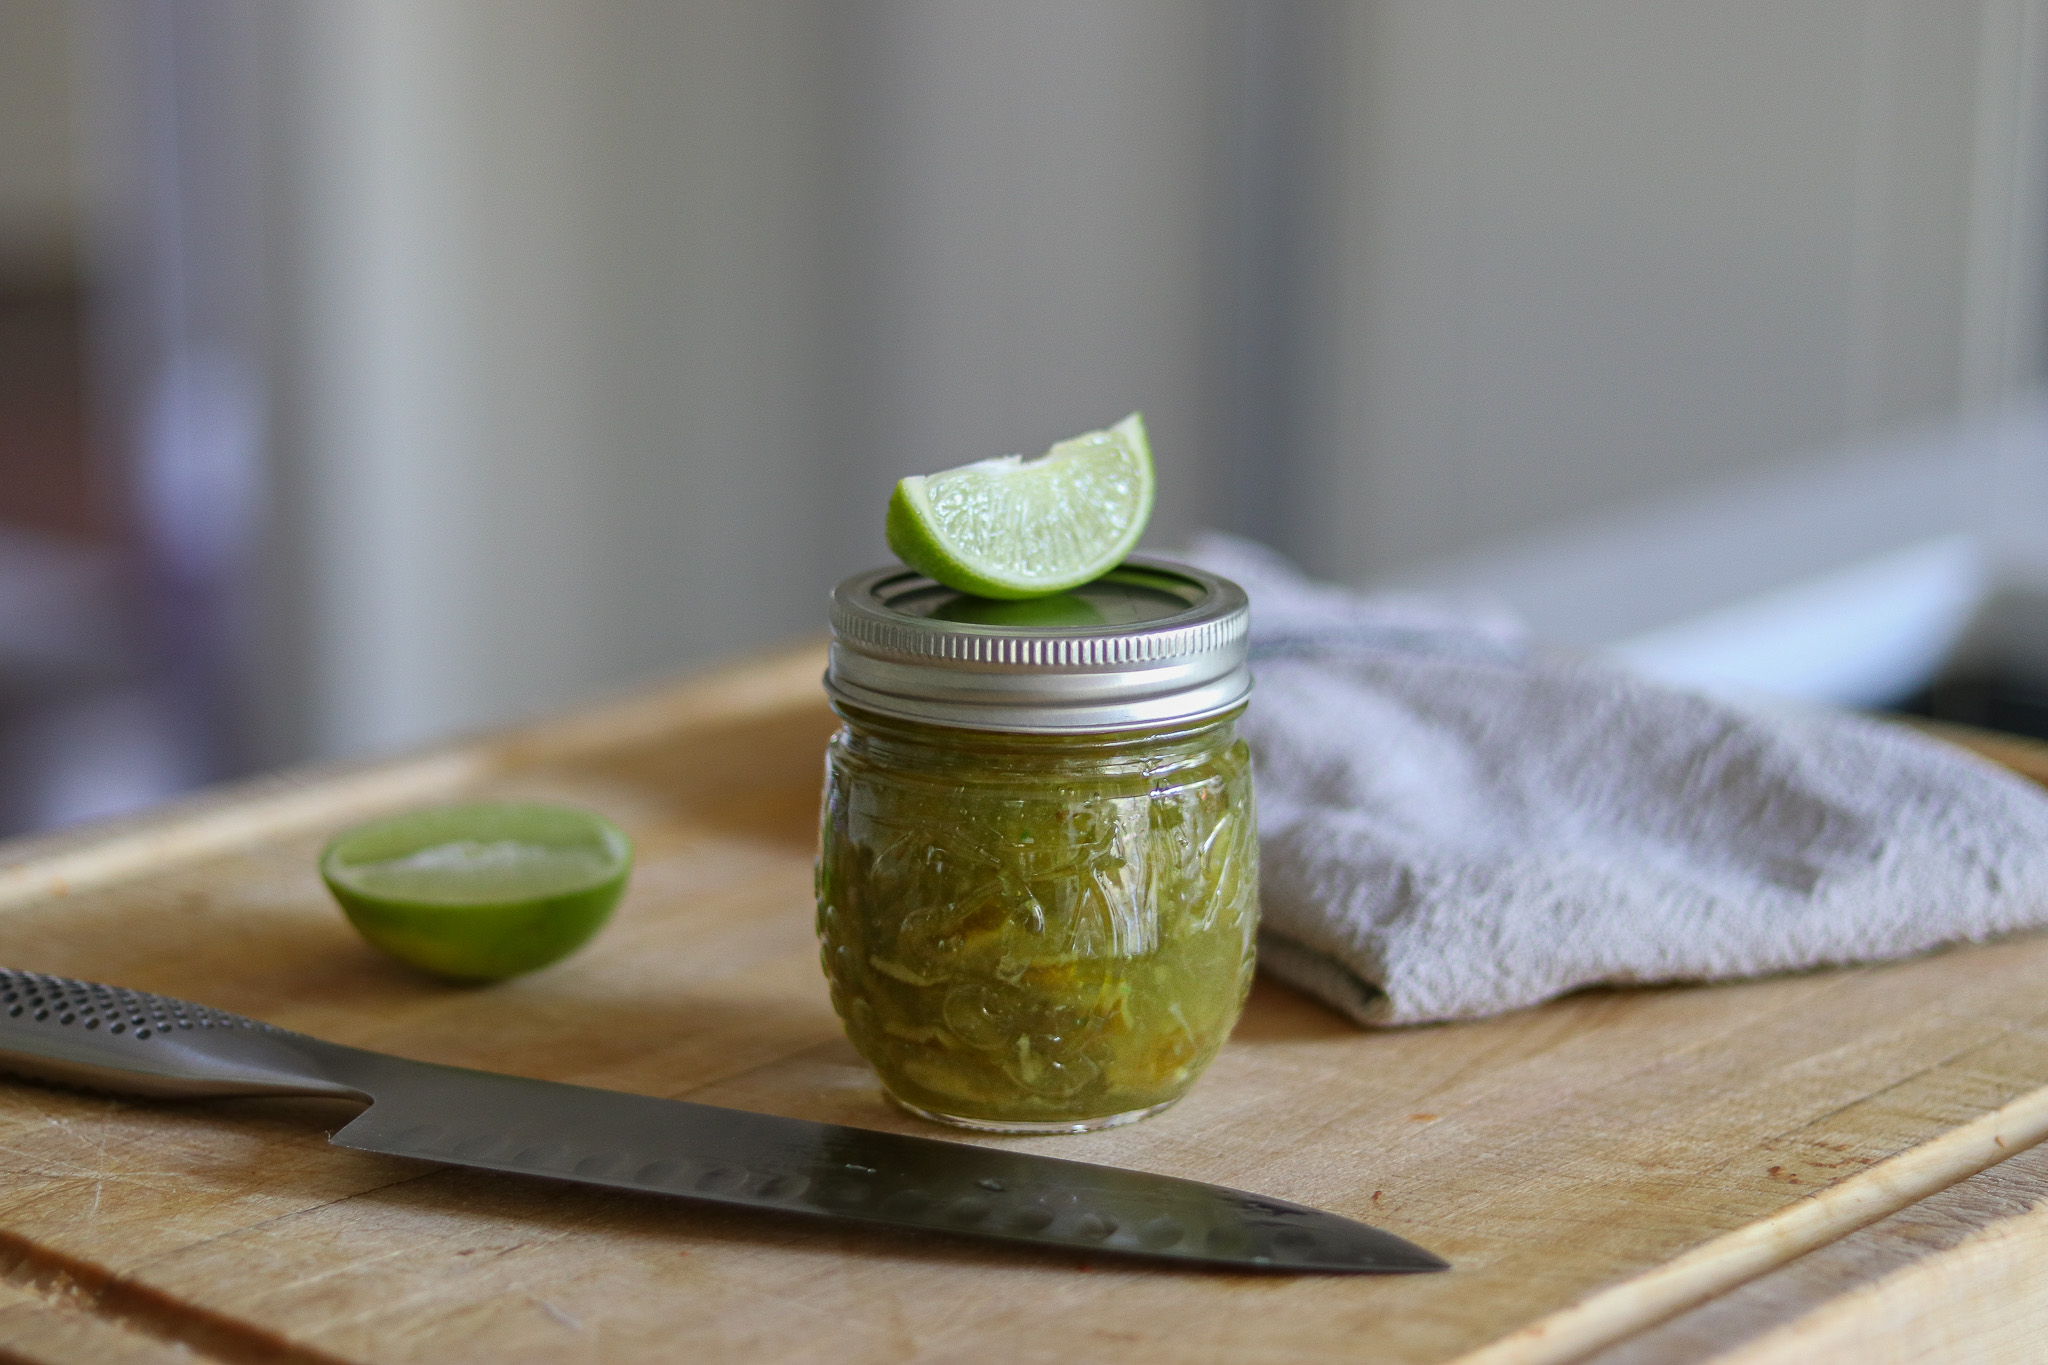
Food Processor Method
First, cut the limes into quarters, picking out as many seeds as possible. You can cut off any tough stem-end part of the lime. You will want to create a rind as soft as possible, so eliminating the stem end will help ensure your finished marmalade is fantastic!
After picking out as many seeds as possible, cut the limes into smaller pieces and then chop them.
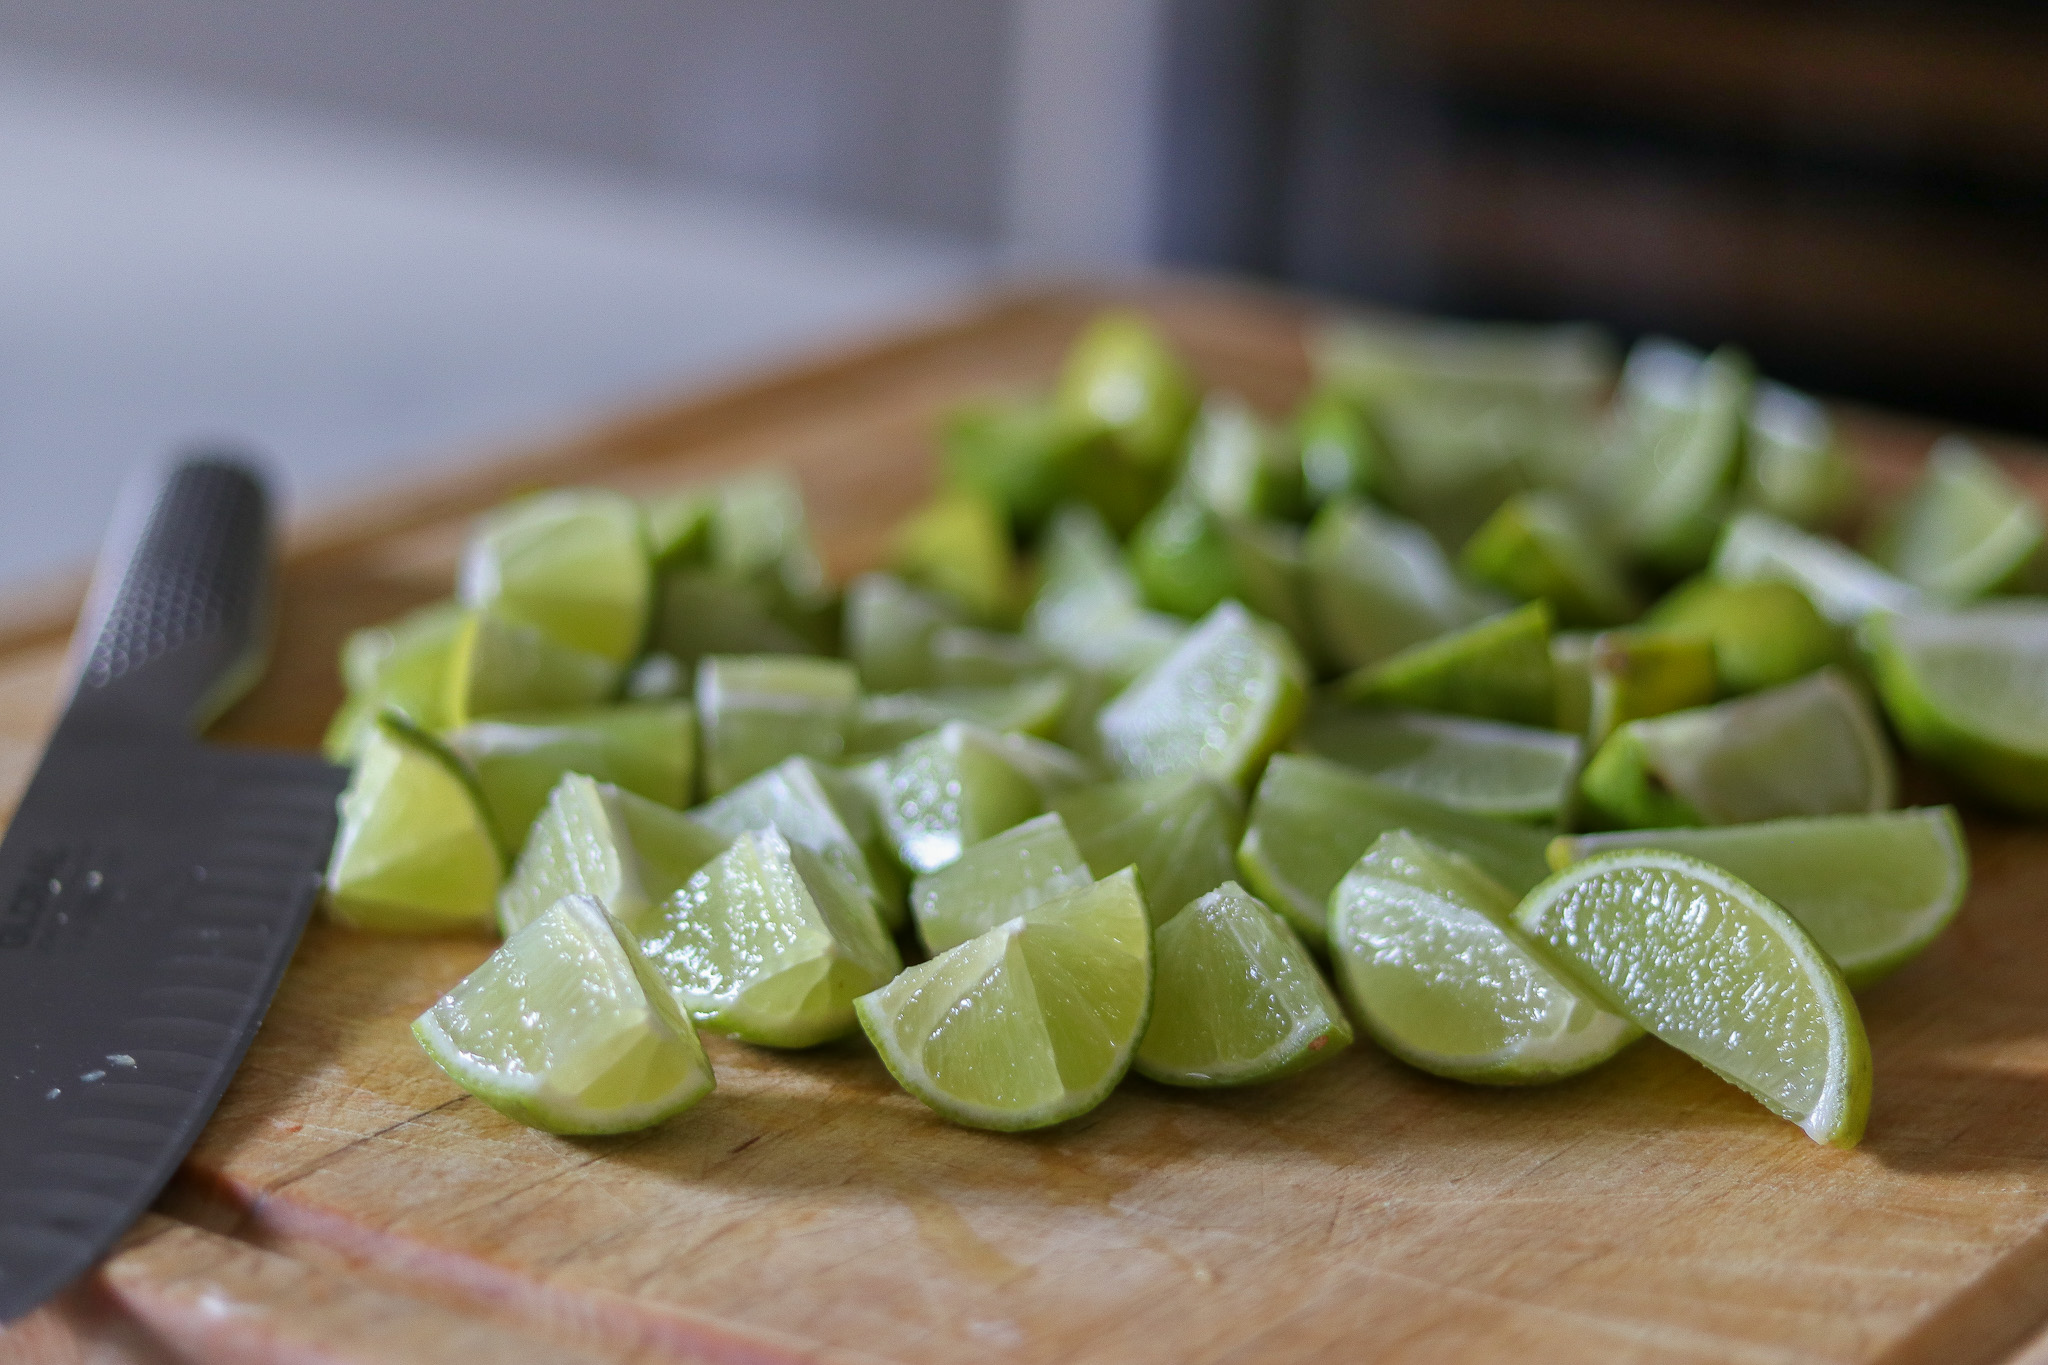
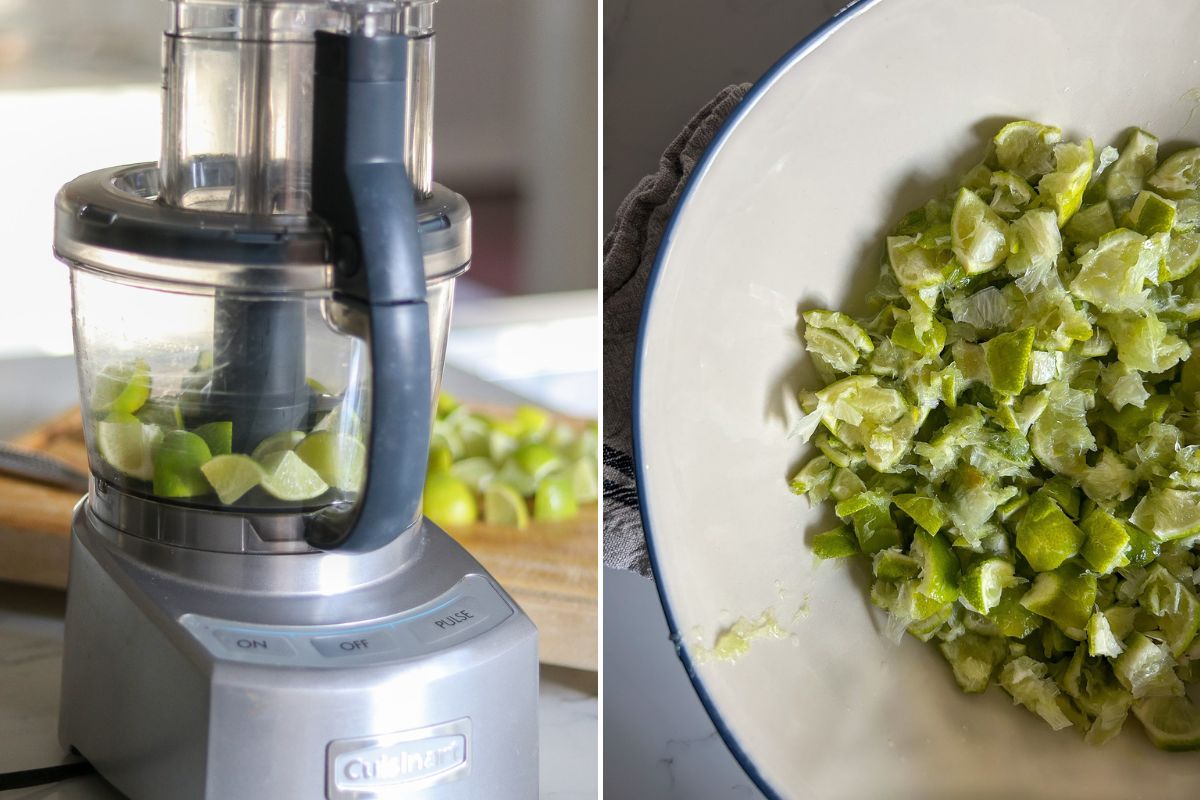
A food processor will work best, using small batches of limes, pulse about a dozen times until the limes are evenly chopped, but you don’t want them to be too fine or mushy.
You should have approximately 7 or 8 cups of processed limes once they are all chopped.
Hand Slicing Method
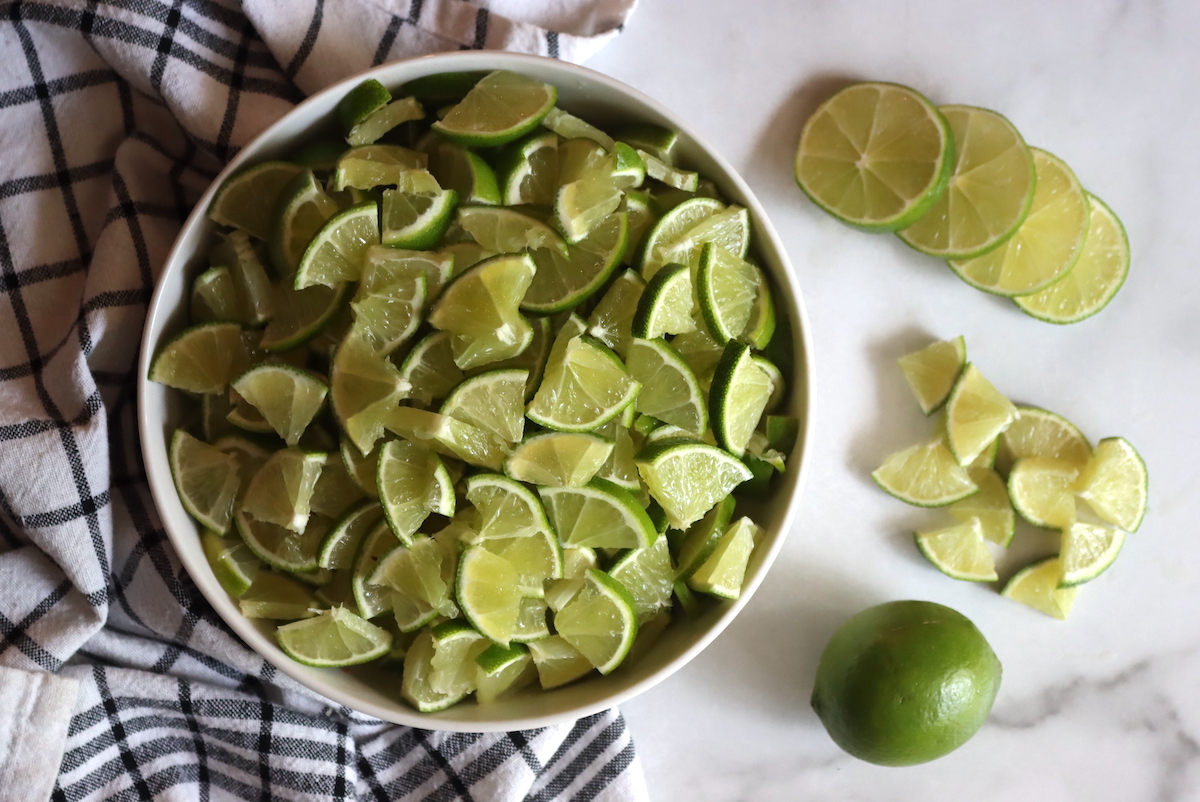
Hand slicing or using a mandoline instead of a food processor results in nicer-looking peel sections in the finished marmalade, and everything will look a bit more uniform. You slice the limes very thin, so you will end up with very thin strips of lime rind in your marmalade.
To use this method, thinly slice the limes on the mandoline or by hand with a sharp knife. Ideally, cut them as thin as you possibly can, and then cut the slices into quarters.
Making Lime Marmalade
Regardless of the slicing method you’ve chosen, the process for making lime marmalade without added pectin is the same.
Put the processed limes in a container big enough to hold the limes, plus 8 cups of water. Cover the sliced limes to keep them clean.
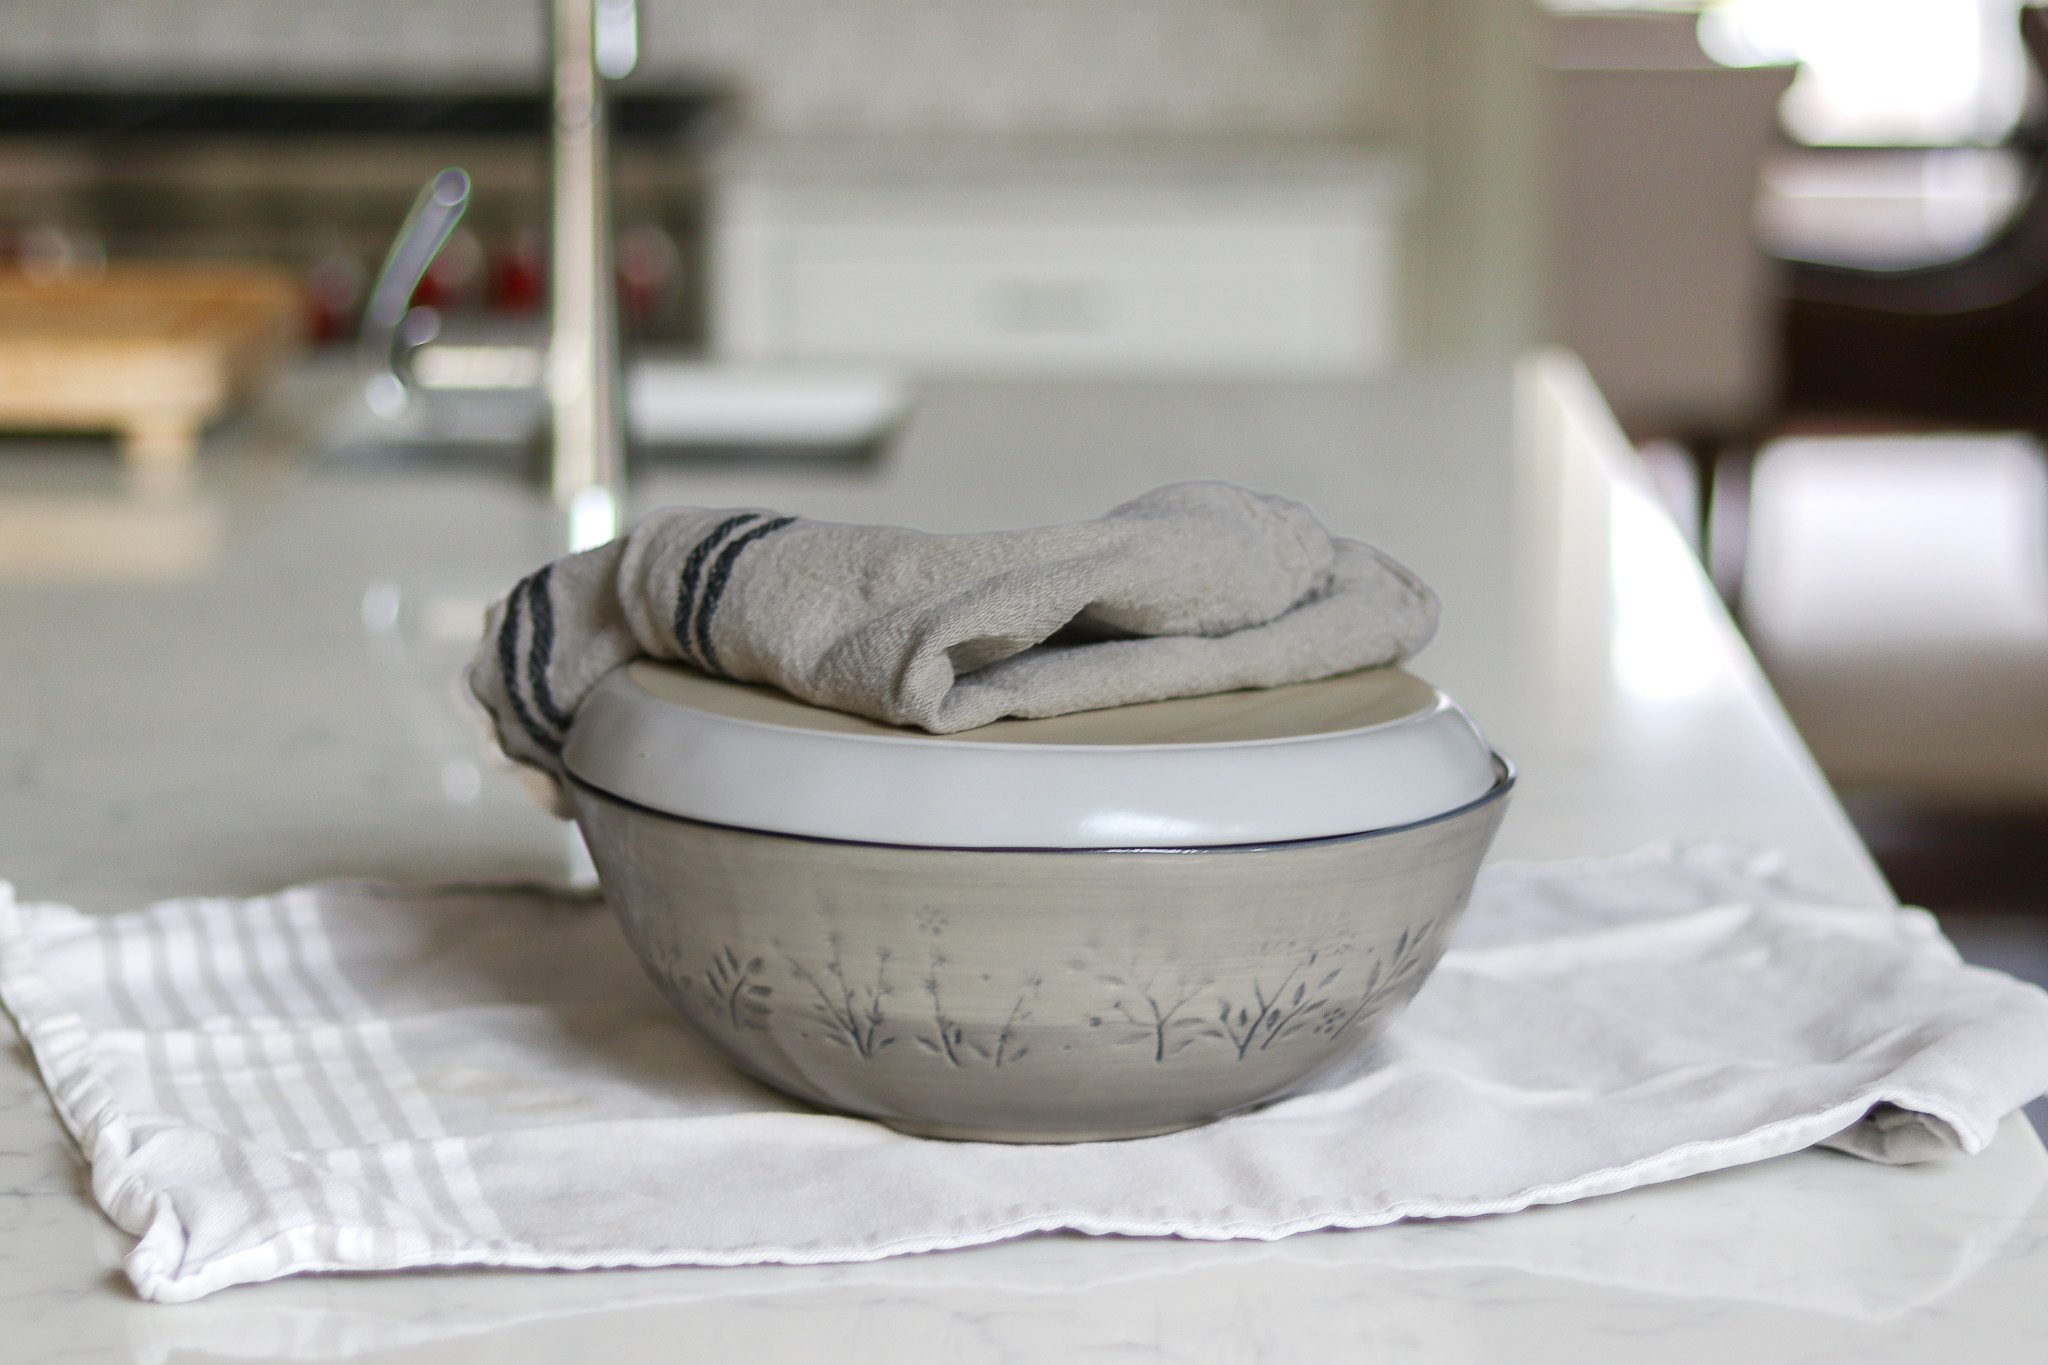
Add 8 cups of water to the limes, stir to mix, then let the mixture sit overnight, or for at least 6 hours.
While overnight is an option, you can actually skip a day in this process by just starting in the morning and then soaking them all day. Then you just do “day 2” in the evening.
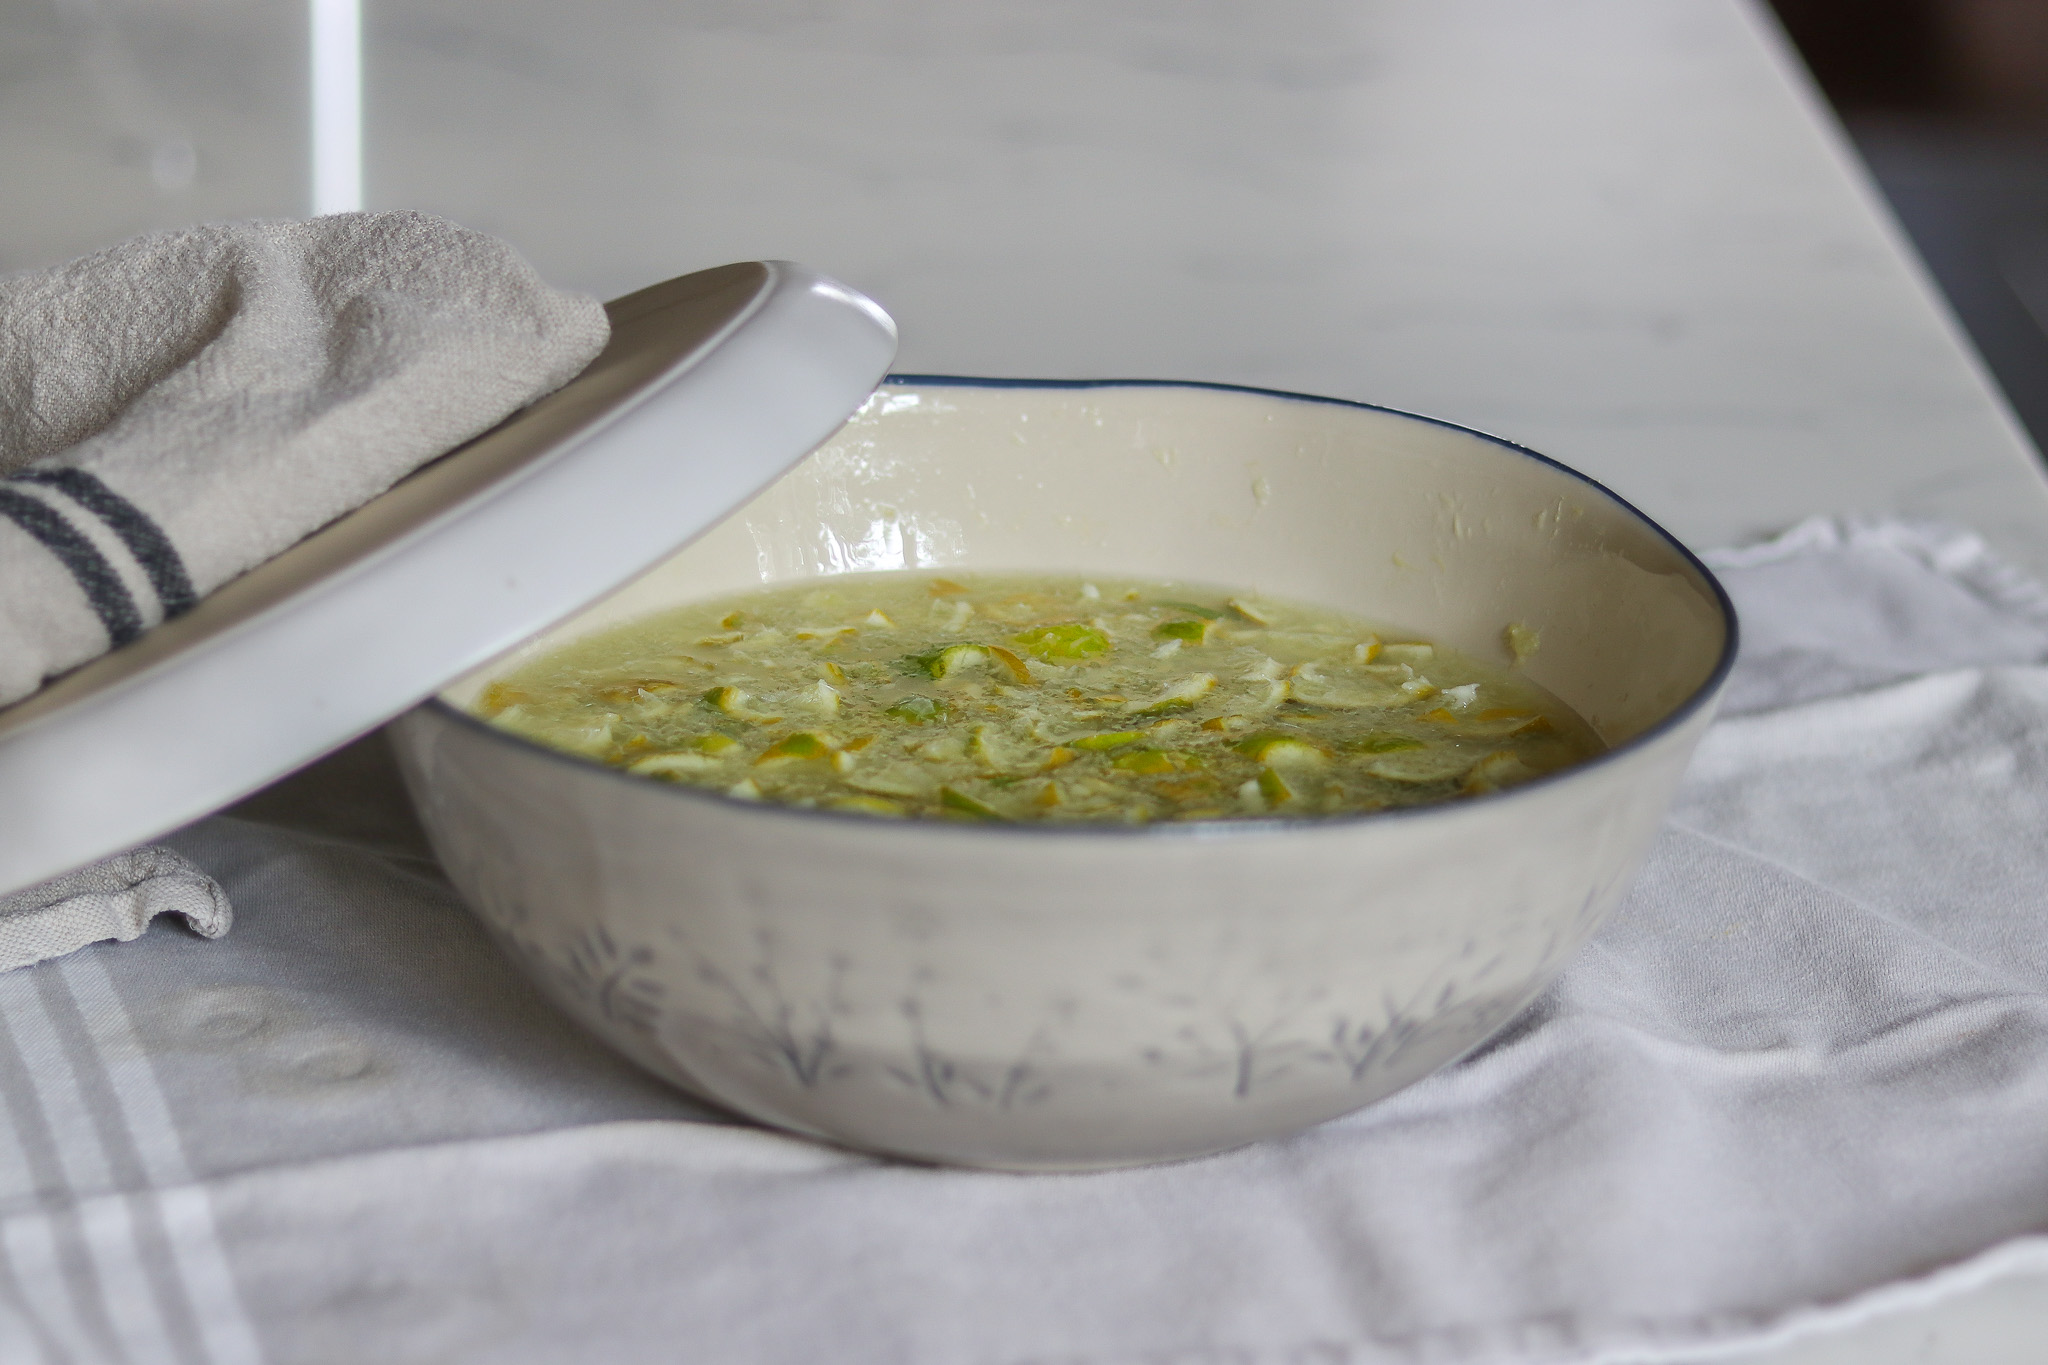
After the overnight soak, place the lime and water mixture into a large pot and cook over medium-high heat until it comes to a boil. Reduce the heat if necessary but keep the mixture at a low boil for 40 minutes, leaving it uncovered.
The mixture needs to cook long enough for the lime peels to become quite soft.
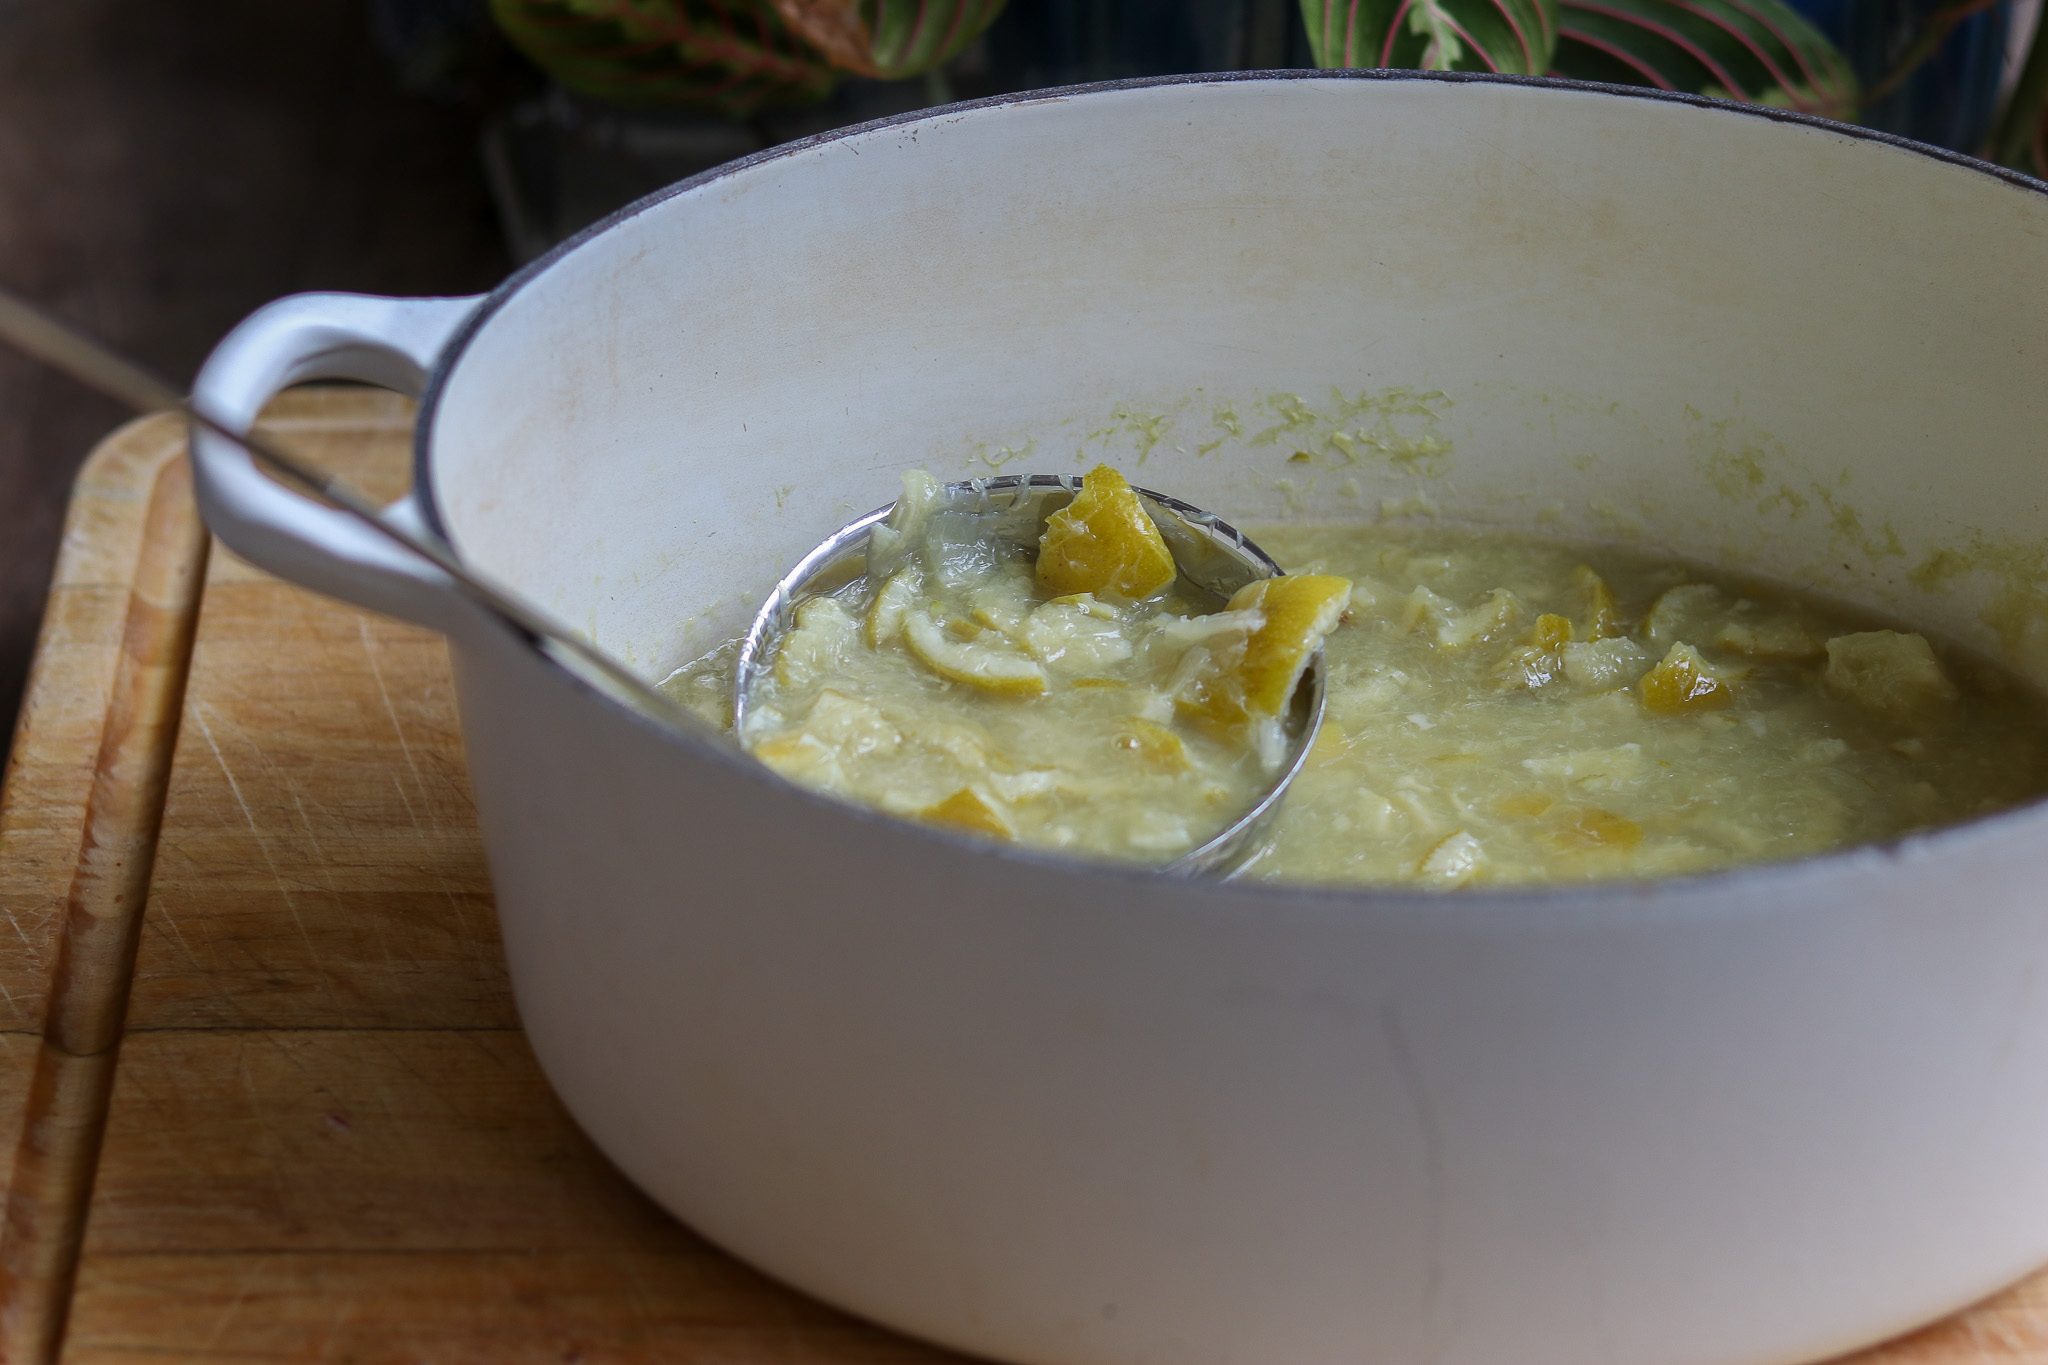
Once the peels are softened, gradually stir in up to 6 cups of granulated sugar, stirring continuously as you add. Keep stirring the mixture until the sugar is fully dissolved.
If you notice seeds in the mixture while stirring in the sugar, try to pick them out as much as possible.
Once the sugar is completely dissolved, dip a spoon into the mixture and taste it, being careful not to burn your mouth as the mixture is very hot!
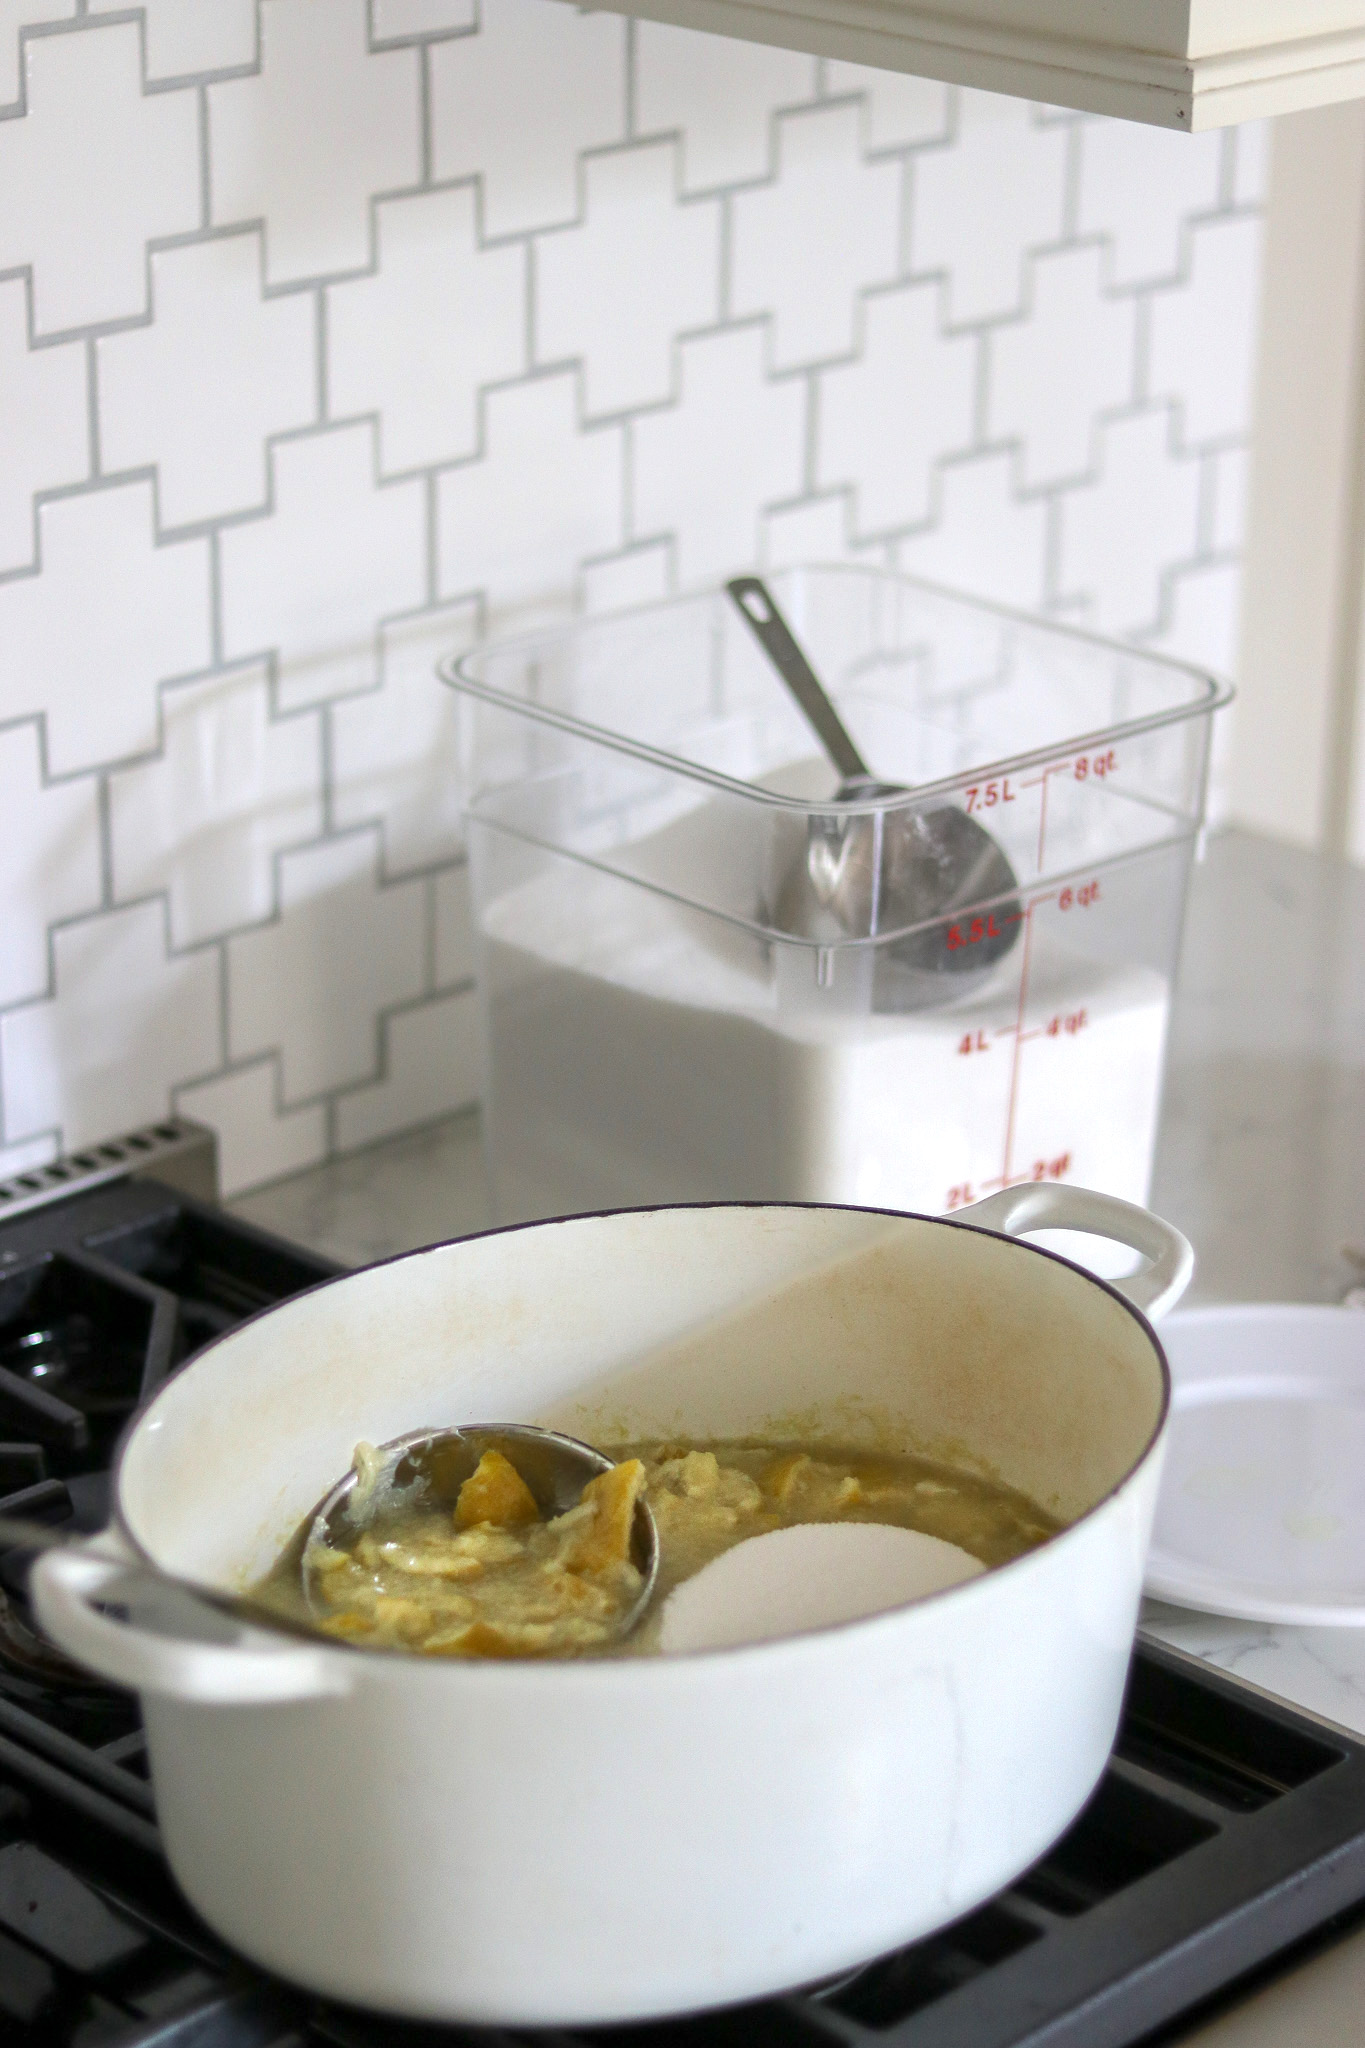
If needed, you can add the remaining 1 cup of sugar, again adding it gradually and stirring it as the sugar dissolves.
Remove from heat and set the mixture aside to cool for several hours or overnight.
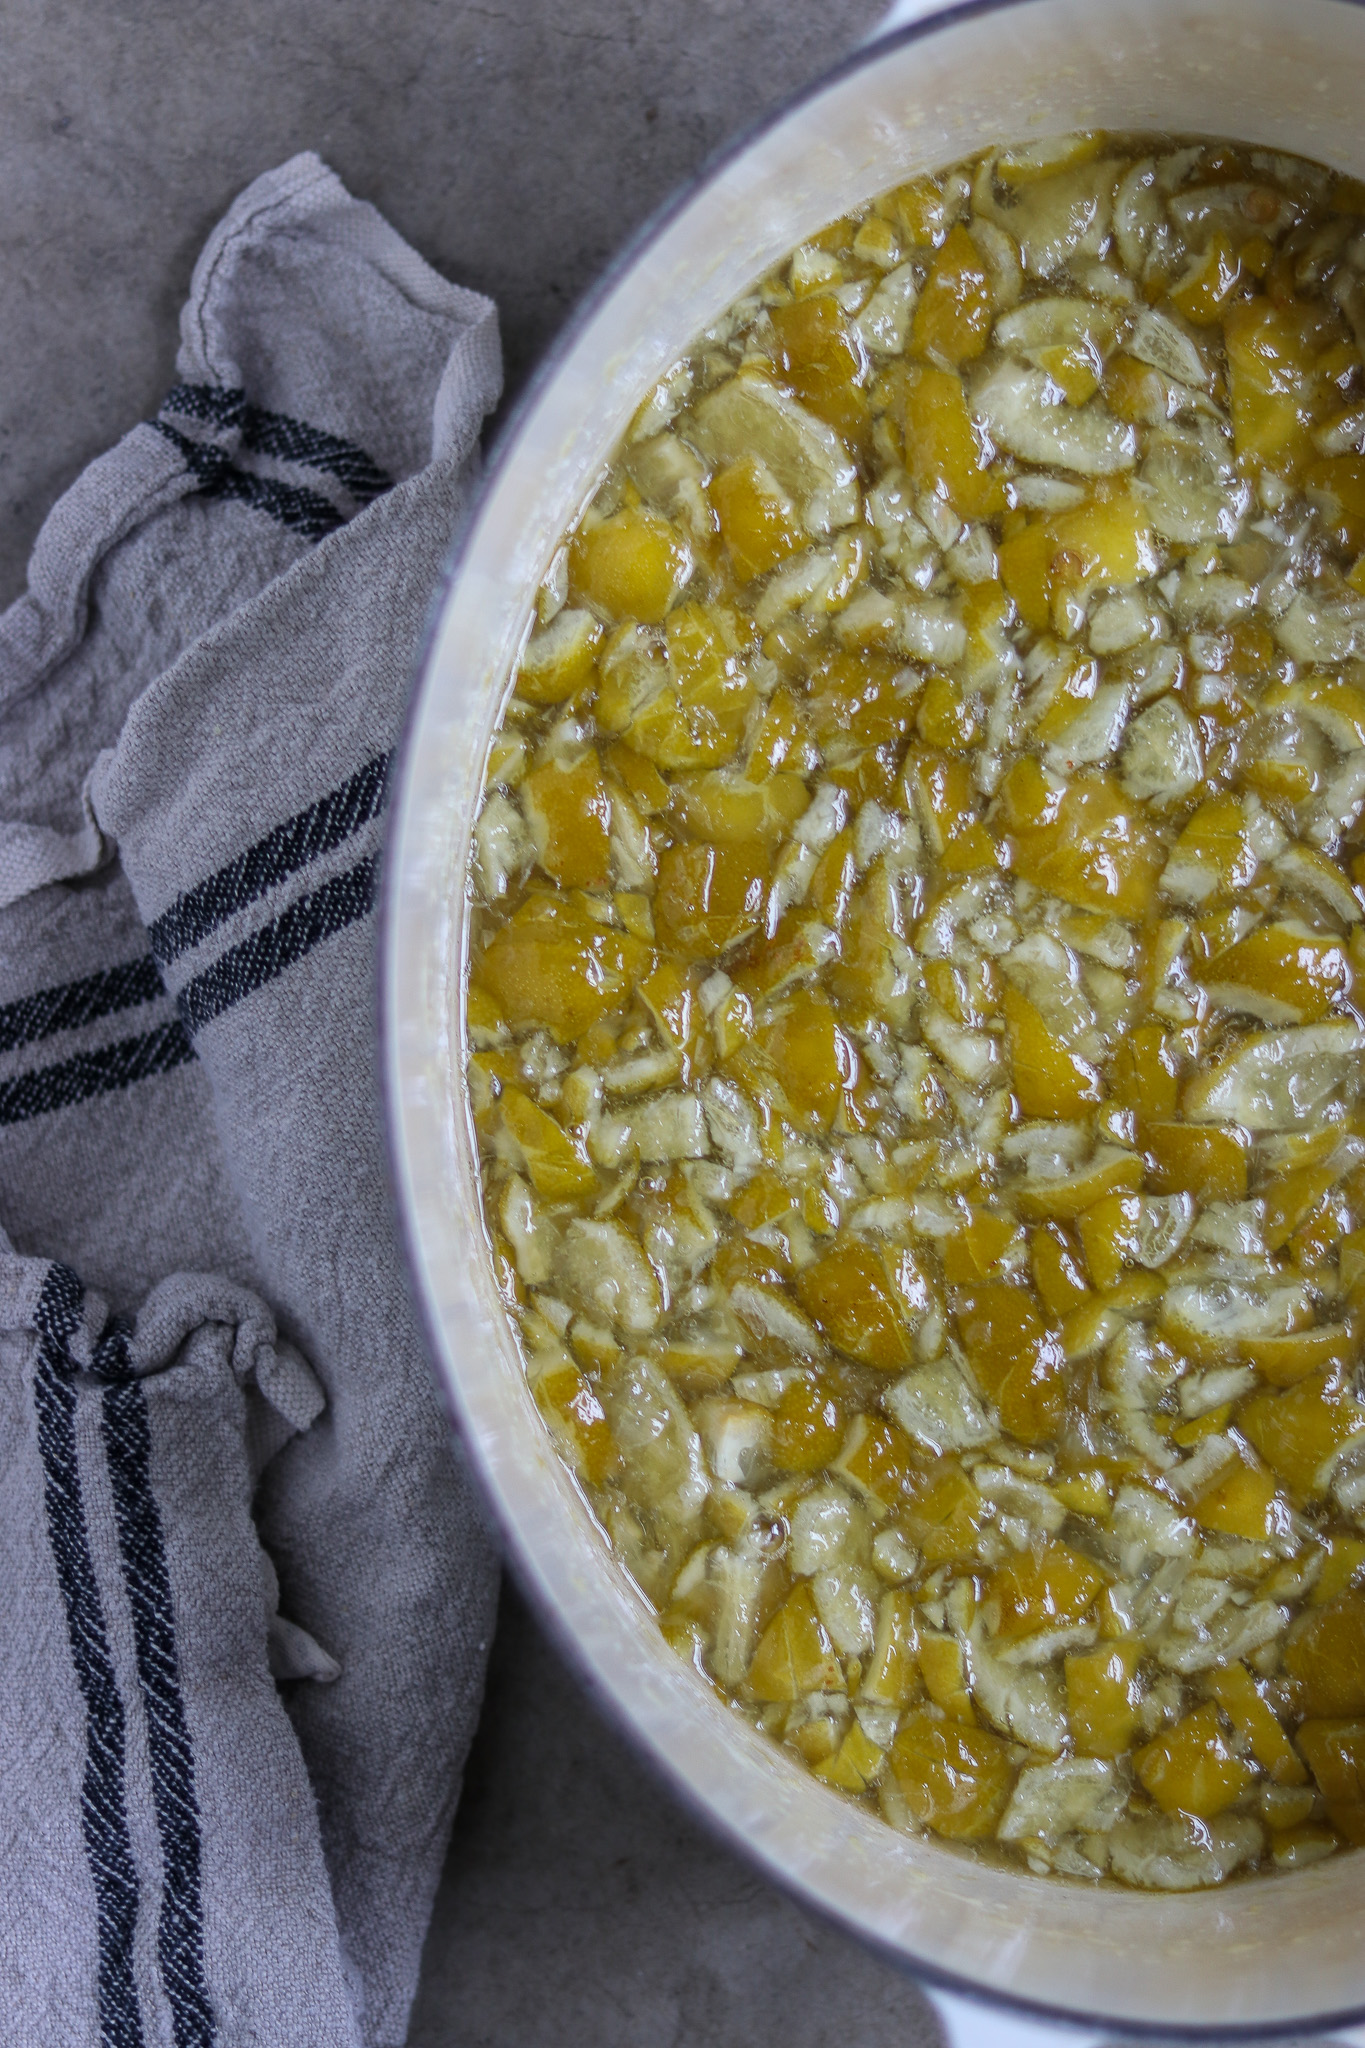
The next day (or later that afternoon), it’s time to finish the marmalade. If you’re canning, now’s the time to prepare a water bath canner. (More on canning times later.)
You should put 3 or 4 small plates in the freezer. They will be used later as you cook your marmalade and test it to see when it’s ready to put in jars.
Get at least 12 half-pints (8 oz.) jelly jars ready.
Place the lime mixture on the stove over high heat and bring to a boil, stirring often.
Once the marmalade has reached a good boil, take a plate out of the freezer and drop about a tablespoon of marmalade onto the plate. Return the plate to the freezer for 1 to 2 minutes.
After 1 to 2 minutes, remove the plate with marmalade from the freezer and, with your fingertip, gently push or “nudge” the dollop of marmalade to see if it has started to set. It will appear to have a skin on the top that “wrinkles” when you nudge it if it is ready.
If your finger slides right through the jam, continue to cook the mixture and do another test after several more minutes. Continue until you end up with a sample that is starting to look like jelly.
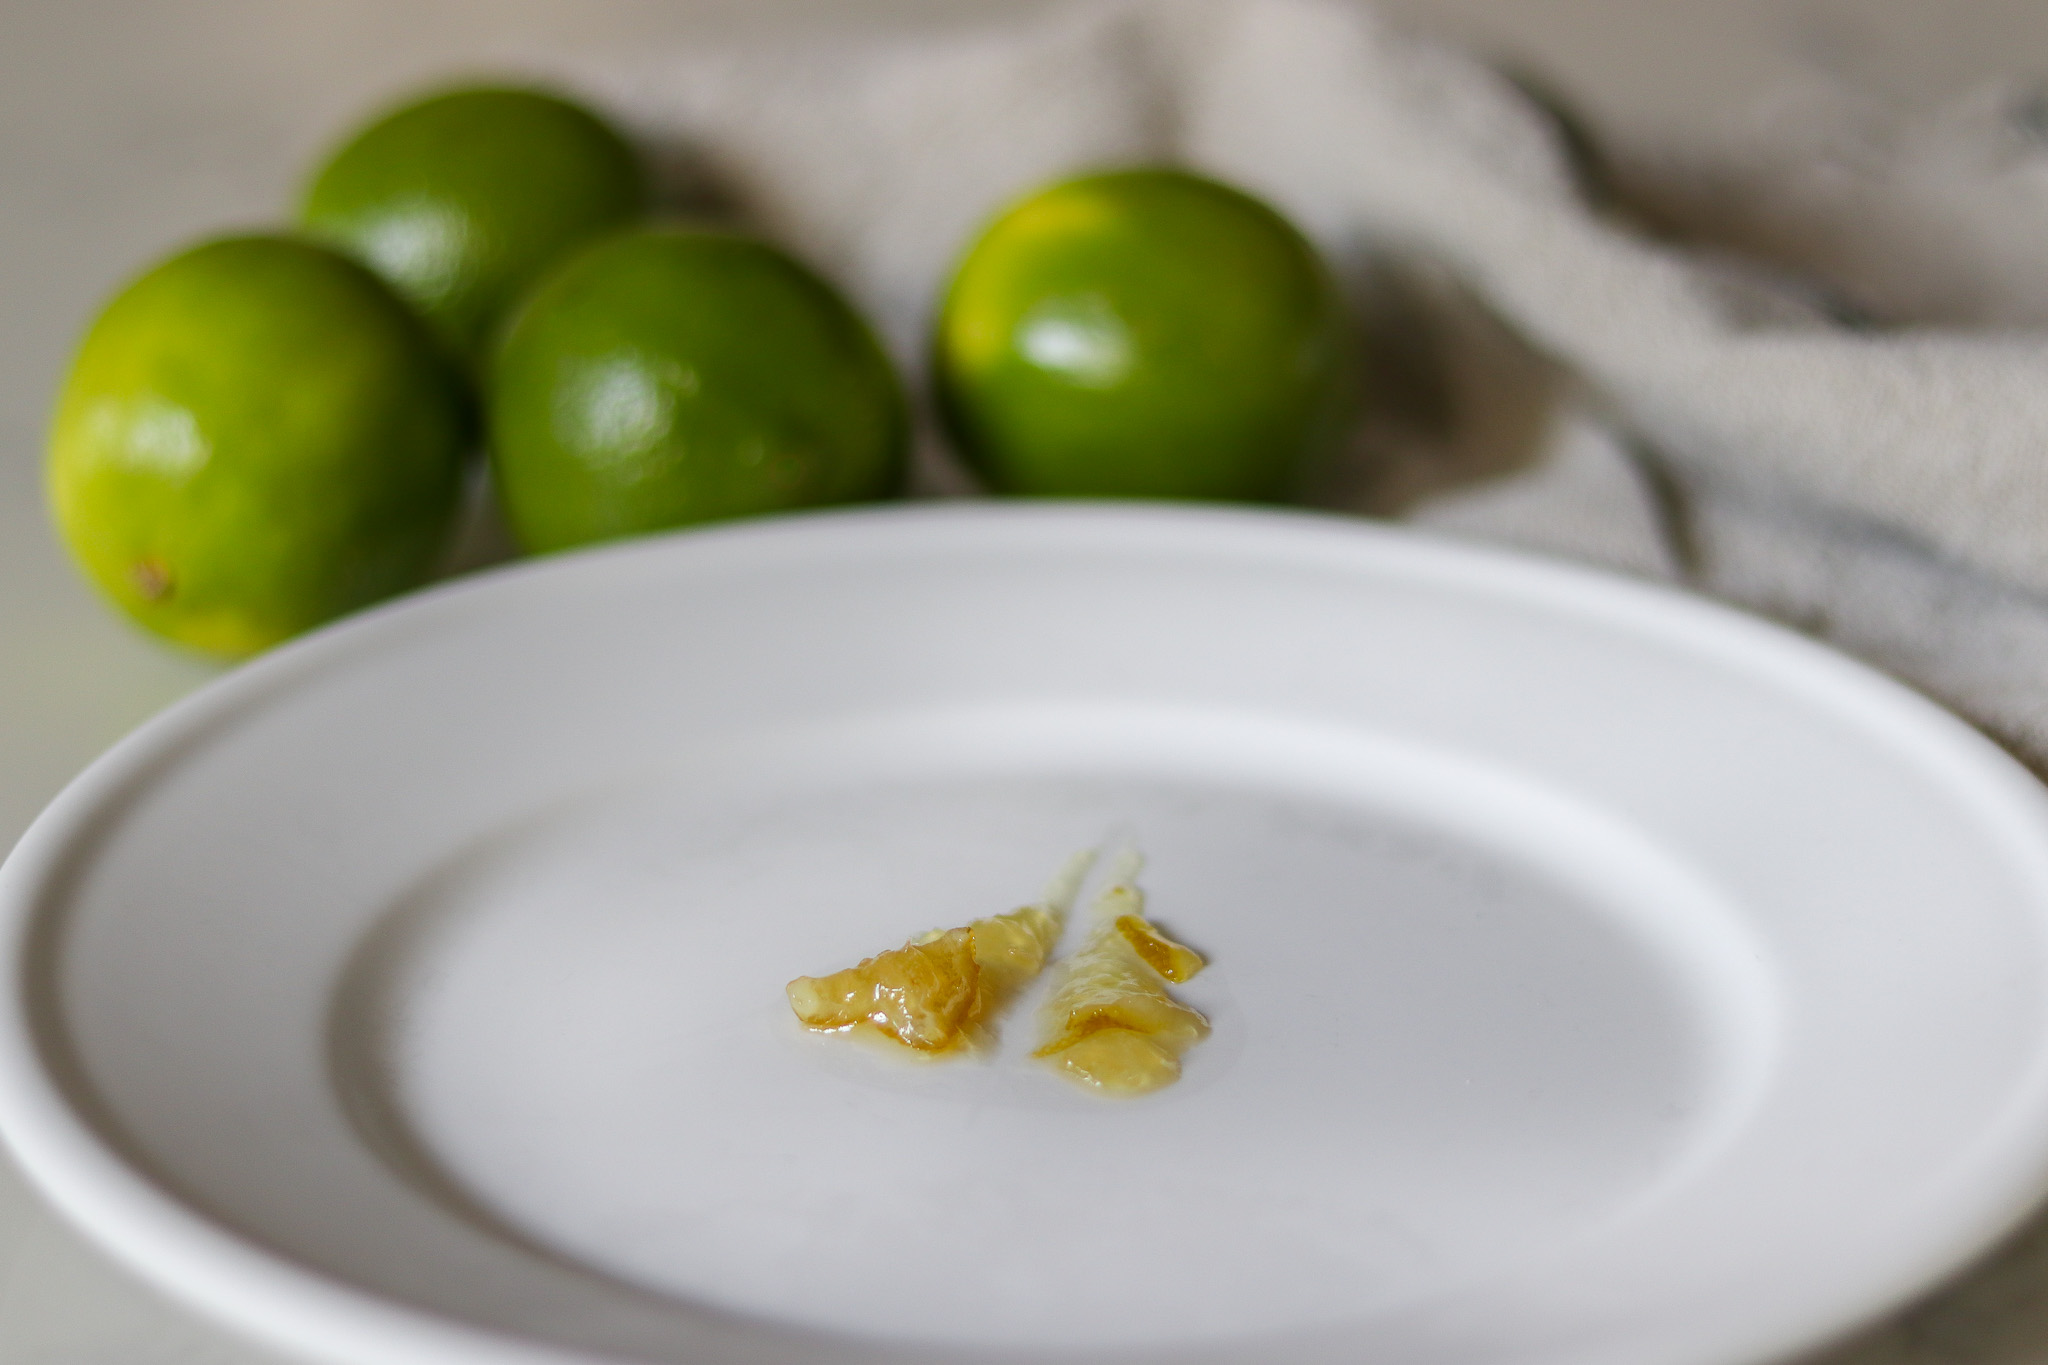
You may want to remove the pot of jam from the stove as you do your cold plate test, to prevent it from overcooking in case your marmalade is already at the set stage.
You may also use a candy thermometer, and stop boiling the marmalade when the temperate has reached 216 to 218 degrees Fahrenheit. Most jams are cooked to 220 F, but this marmalade has a tendency to set really firmly in the jars after a few days as more pectin is released.
You want to finish it at a soft set initially.
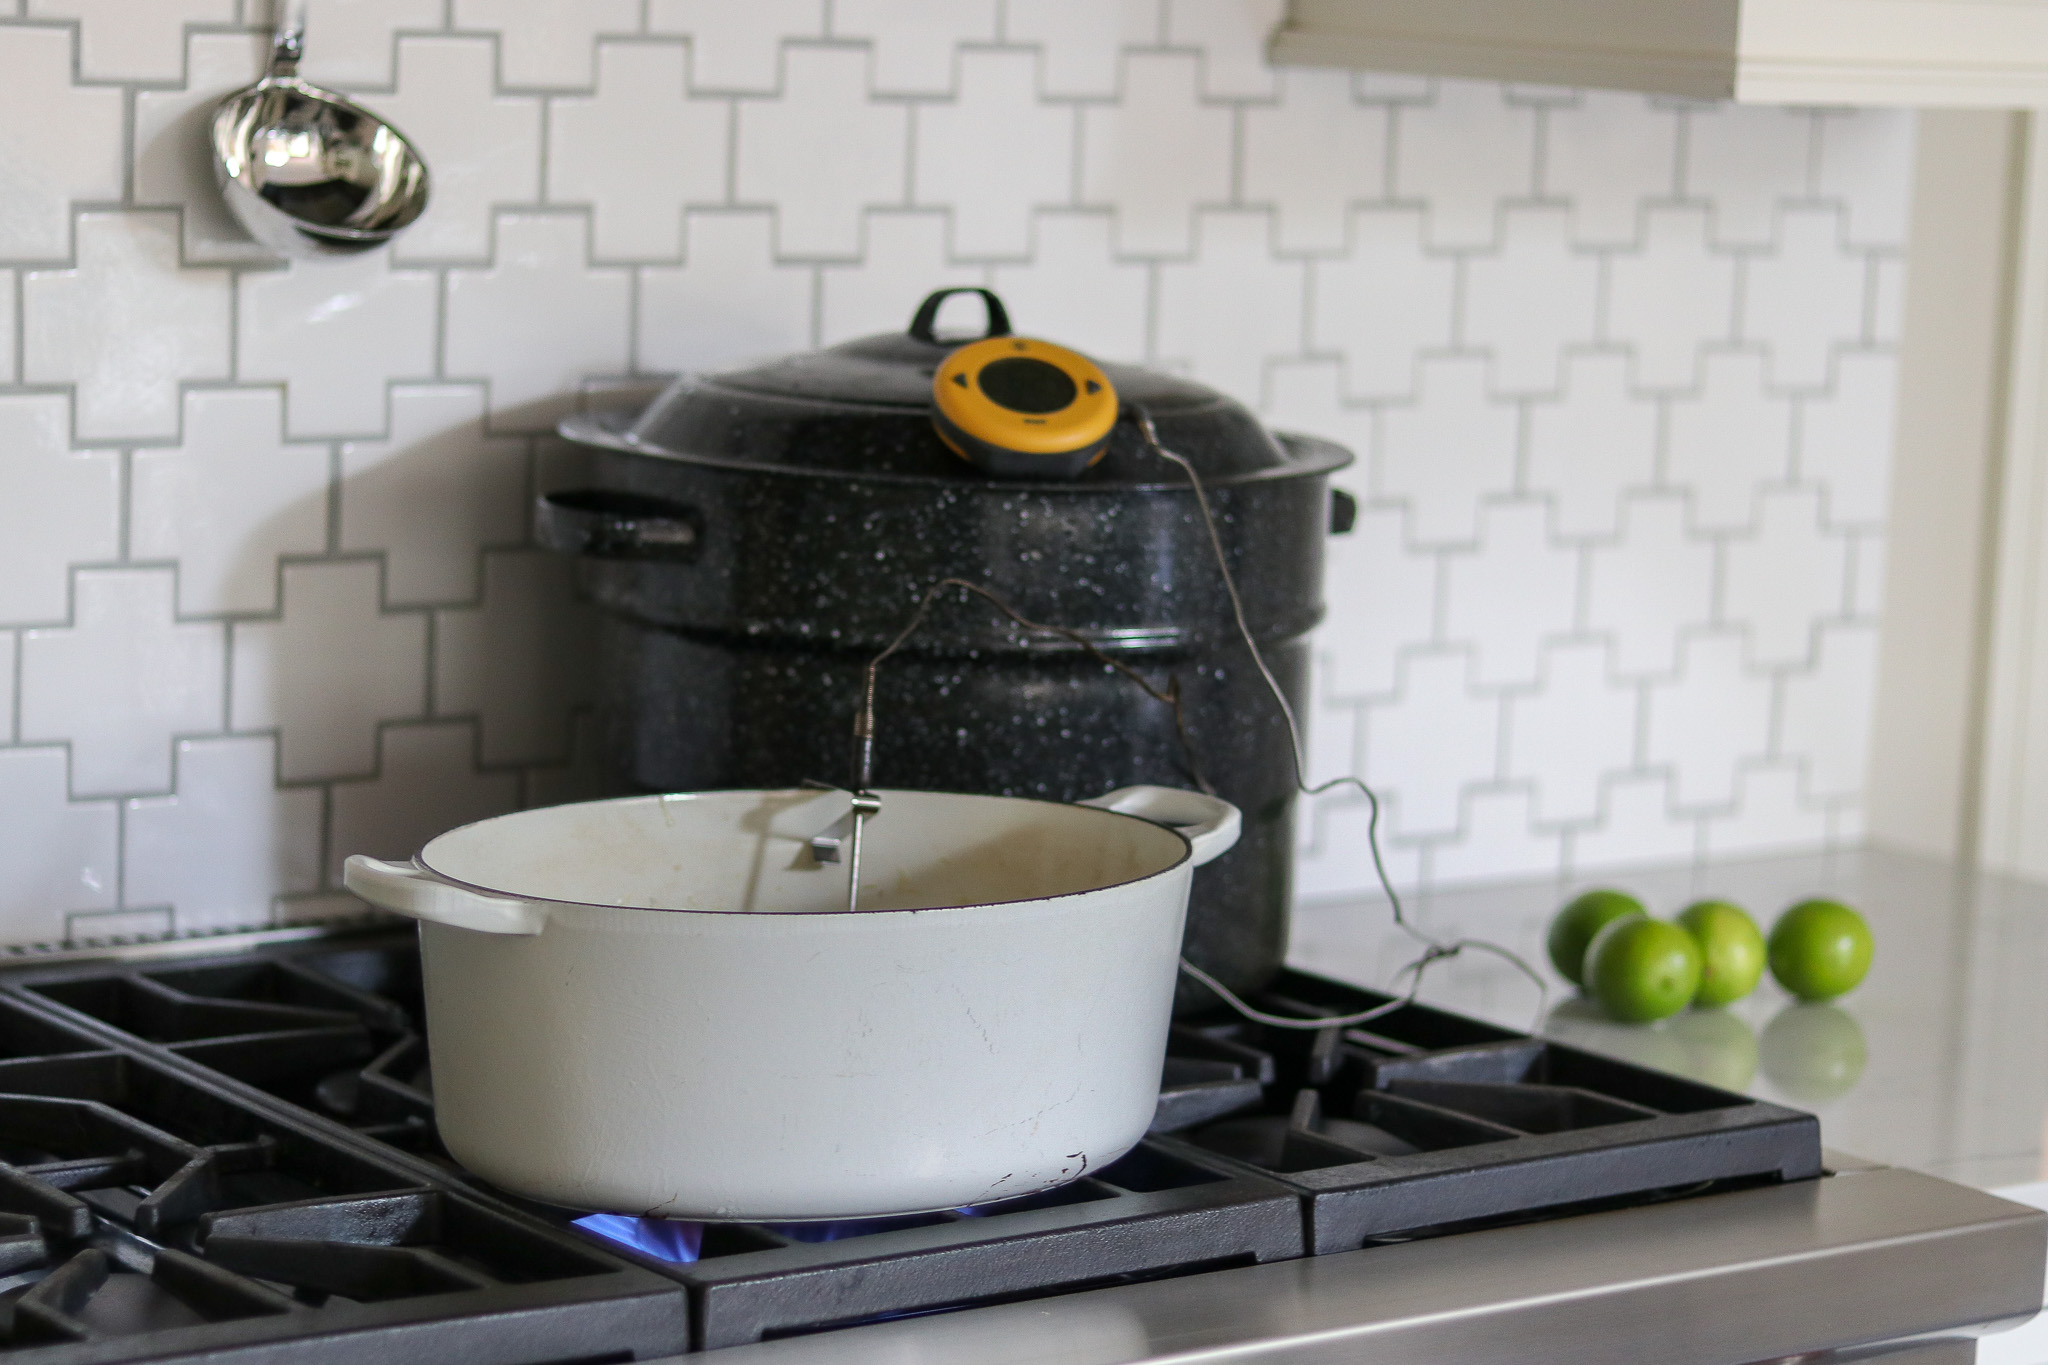
Once it has reached optimal temperature or passed the plate test, taste the marmalade again and add freshly squeezed lemon juice if you want to reduce the limey “tang” a little bit.
Removing the pot from the heat, allow it to sit for about 10 minutes. This allows it to cool slightly before it goes into the jars, so it can set up a bit. If you put it right into the jars, the peels will all float to the top rather than distribute evenly.
After the marmalade has rested for 10 minutes, stir the mixture to ensure the peelings are evenly distributed throughout the marmalade.
Ladle or pour the lime marmalade into your jars, leaving 1/4 inch headspace if canning (or 1-inch headspace if freezing).
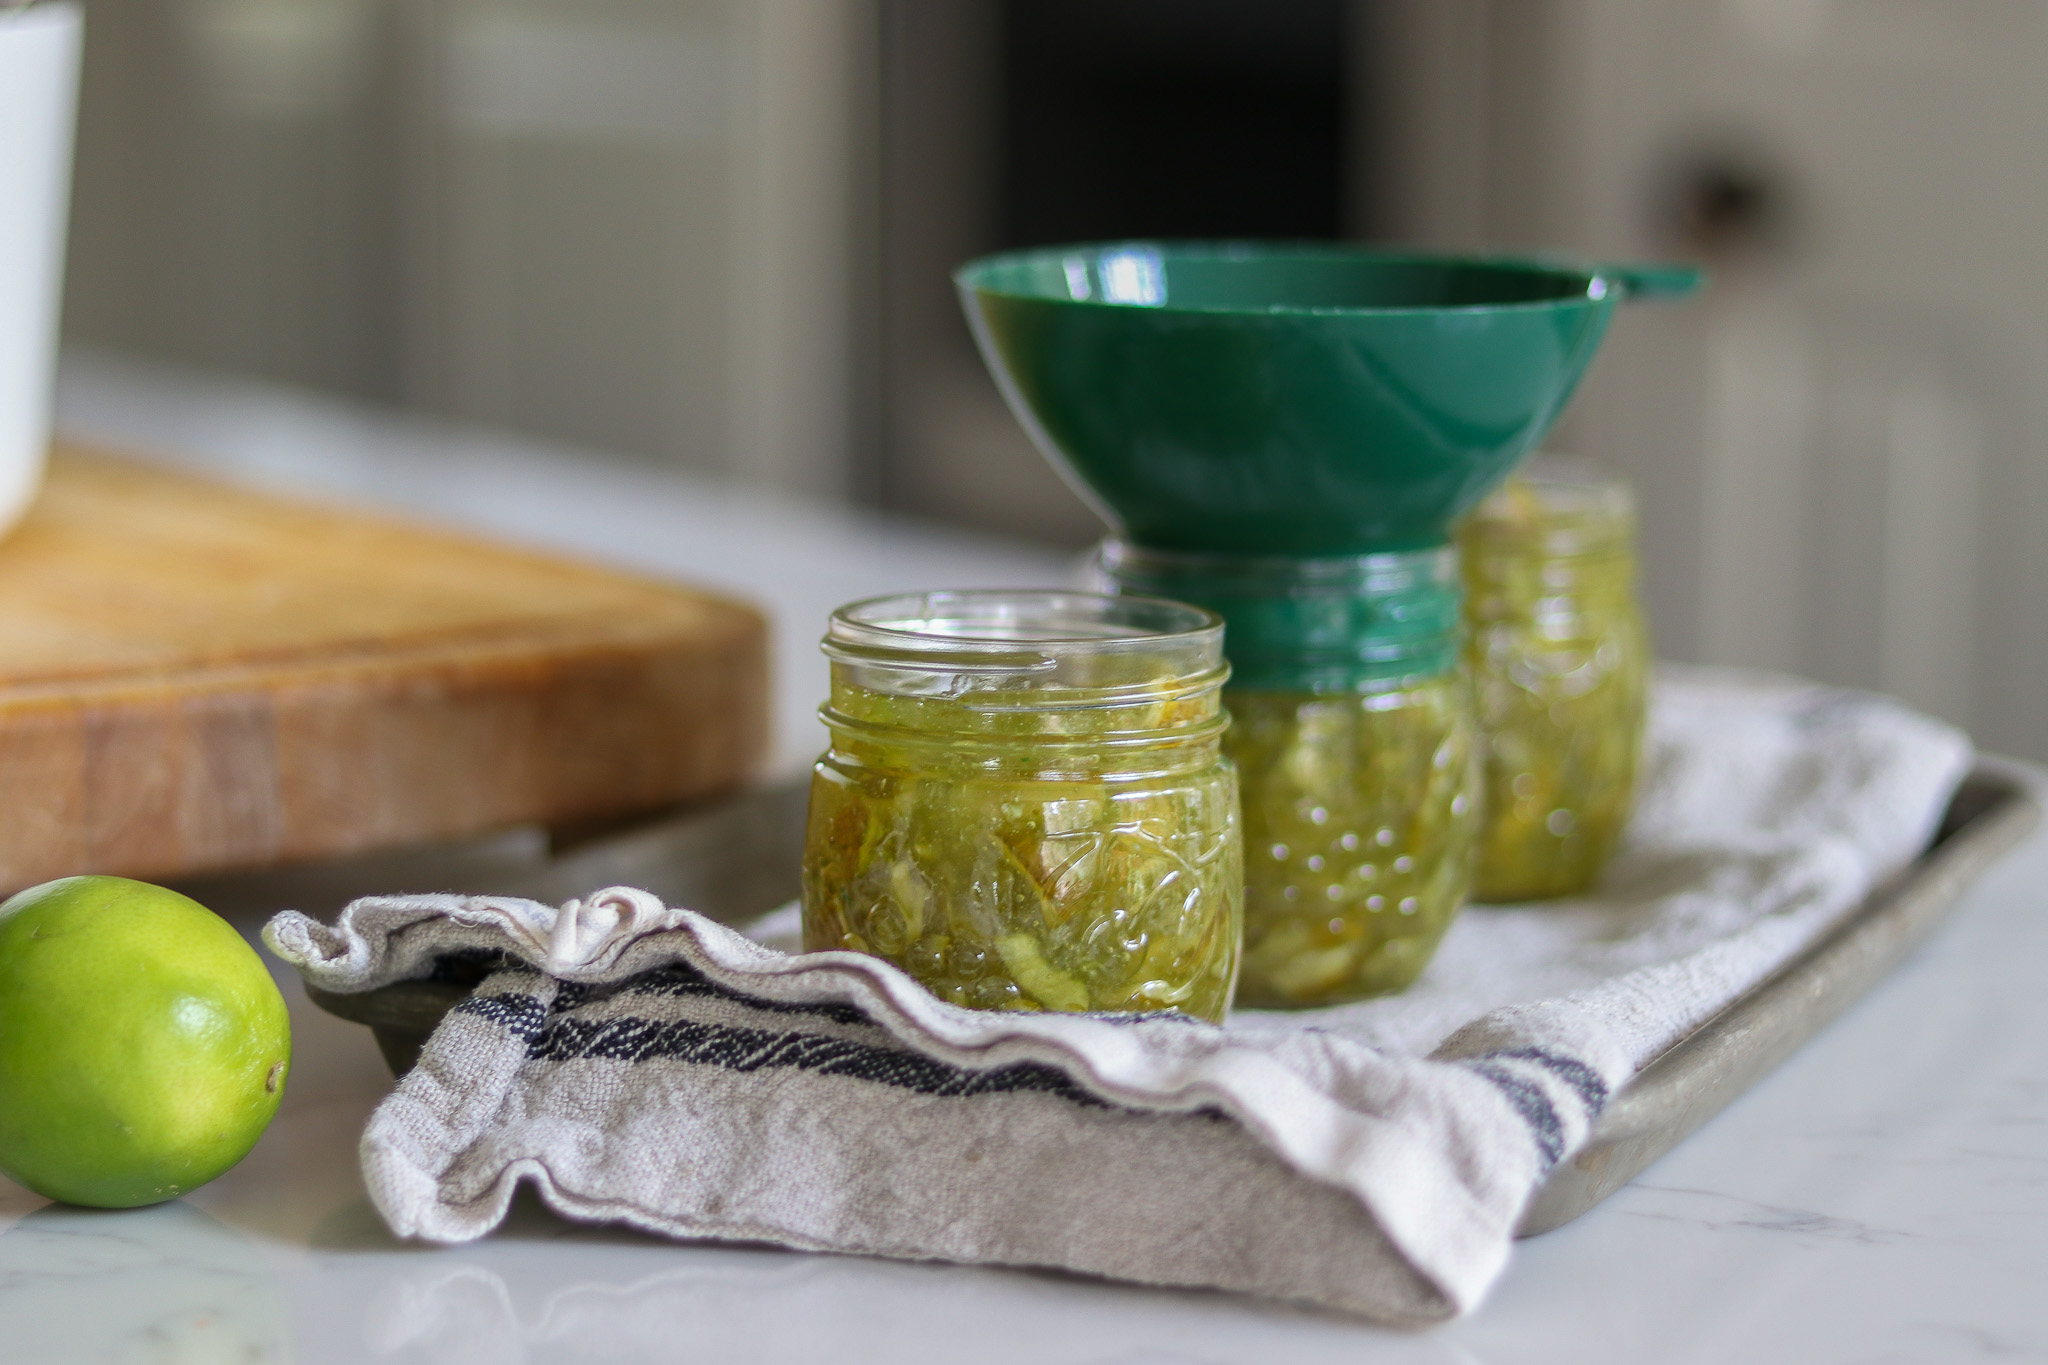
Wipe the rim of the jar with a clean cloth and affix the lids. If canning, proceed to the canning instructions below.
If making a refrigerator or freezer preserve, let the marmalade cool for several hours before you put the containers in the refrigerator or freezer. They should be cool enough to handle without a hot pad.
Label the jam containers with the date and freeze or refrigerate. Lime marmalade should be used within six weeks if refrigerated or may be stored for up to 1 year in the freezer.
Canning Lime Marmalade Jam
Prepare a water bath canner and jars before you start cooking the jam on the final day. If you’re unfamiliar with water bath canning, please read my beginner’s guide to water bath canning before you get started.
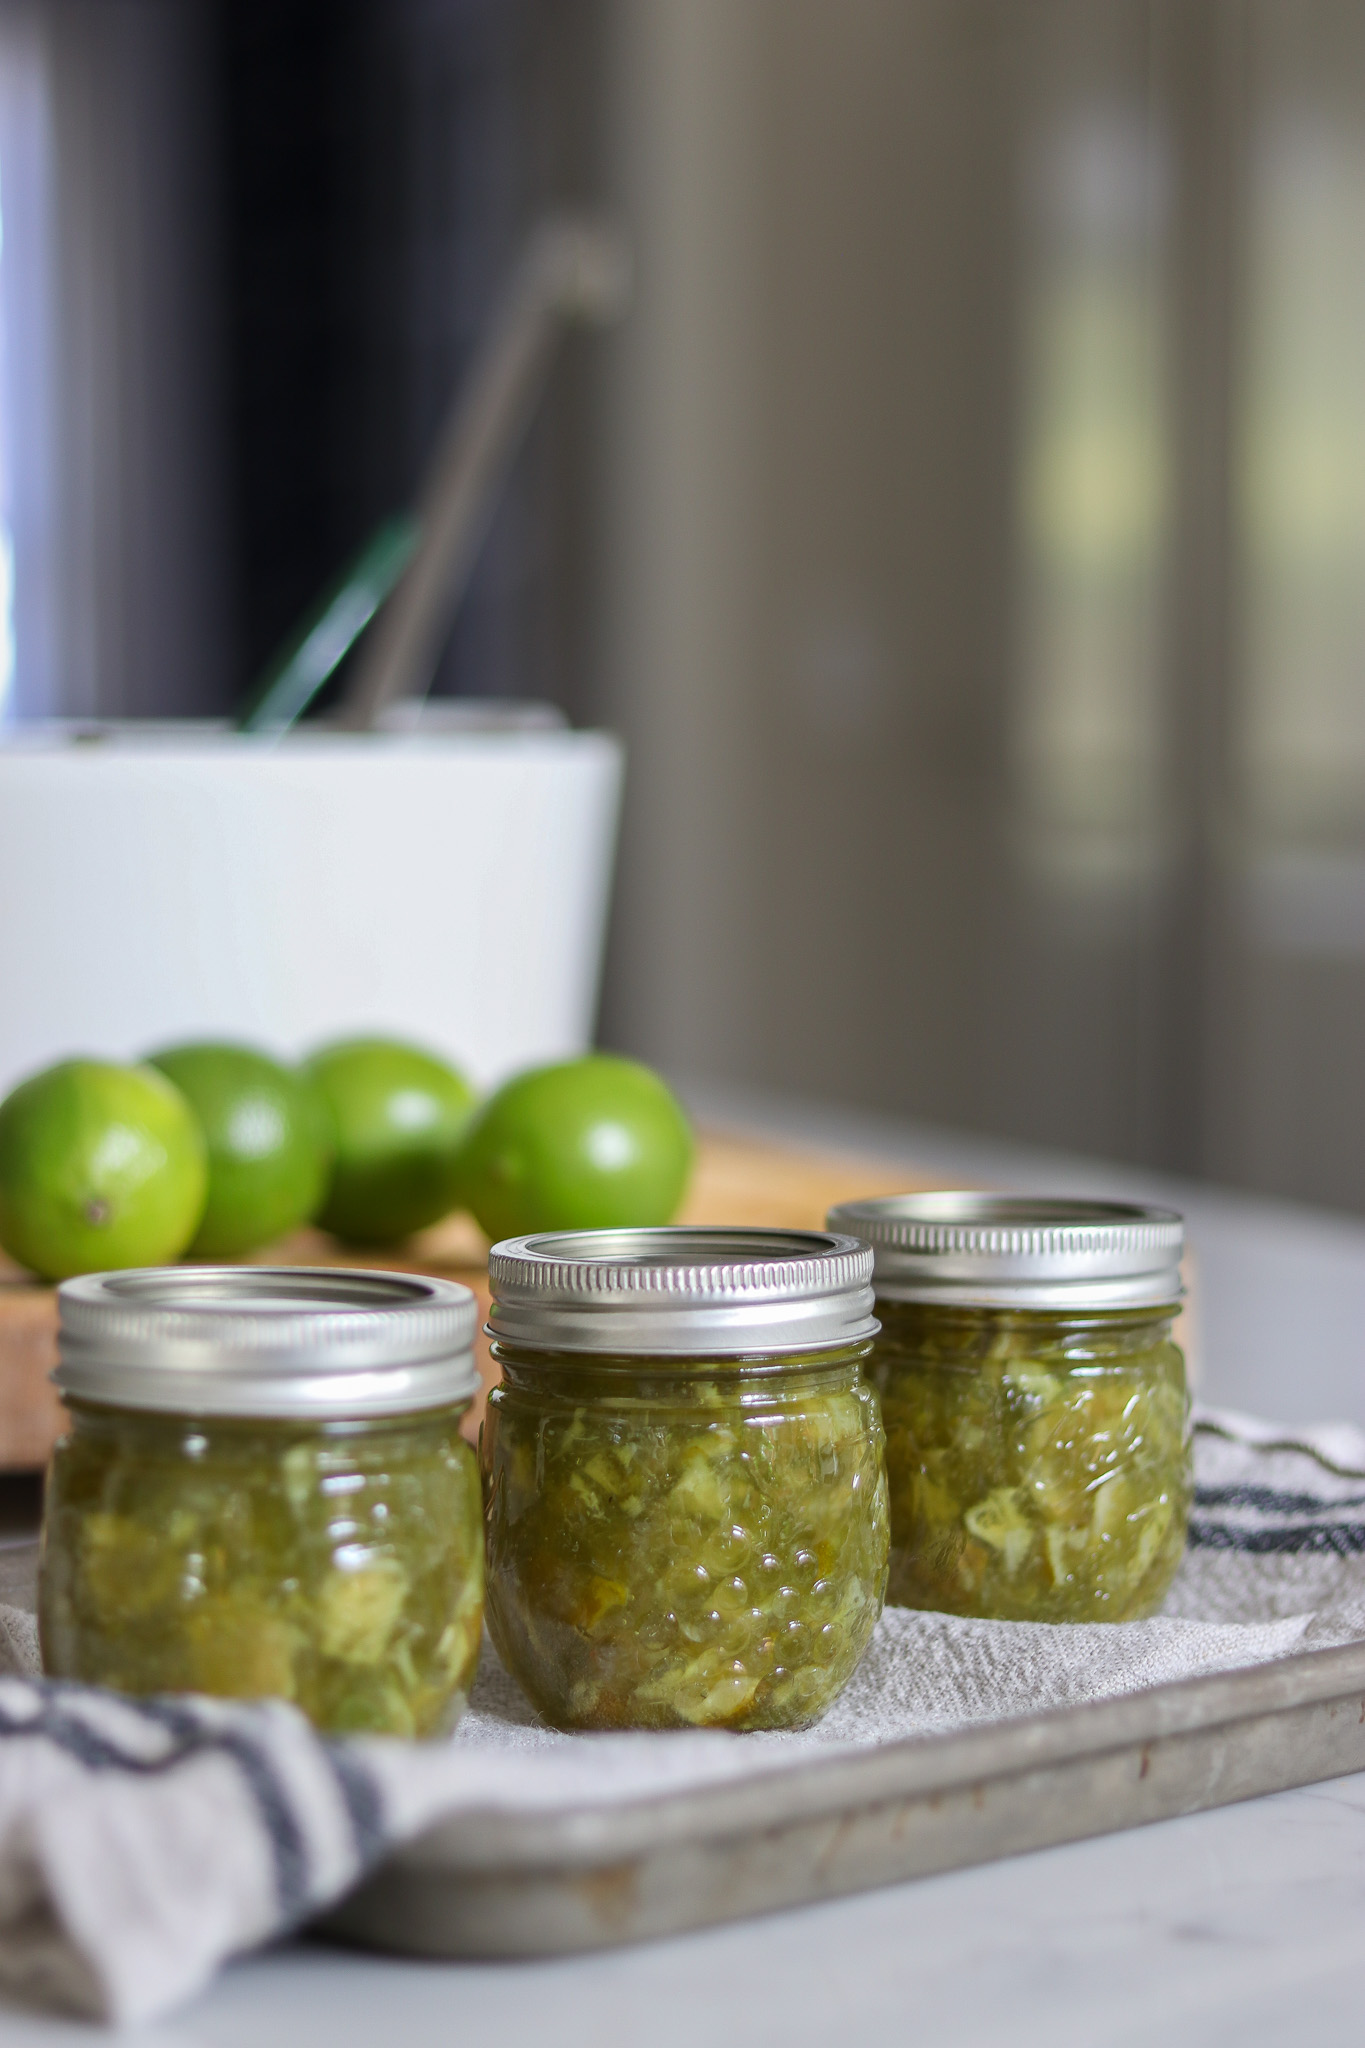
Once the marmalade has reached the set point, carefully ladle the marmalade into the hot jars, leaving ¼” headspace at the top of the jar. Do not overfill. A canning funnel with a headspace measurement on it makes this step easier.
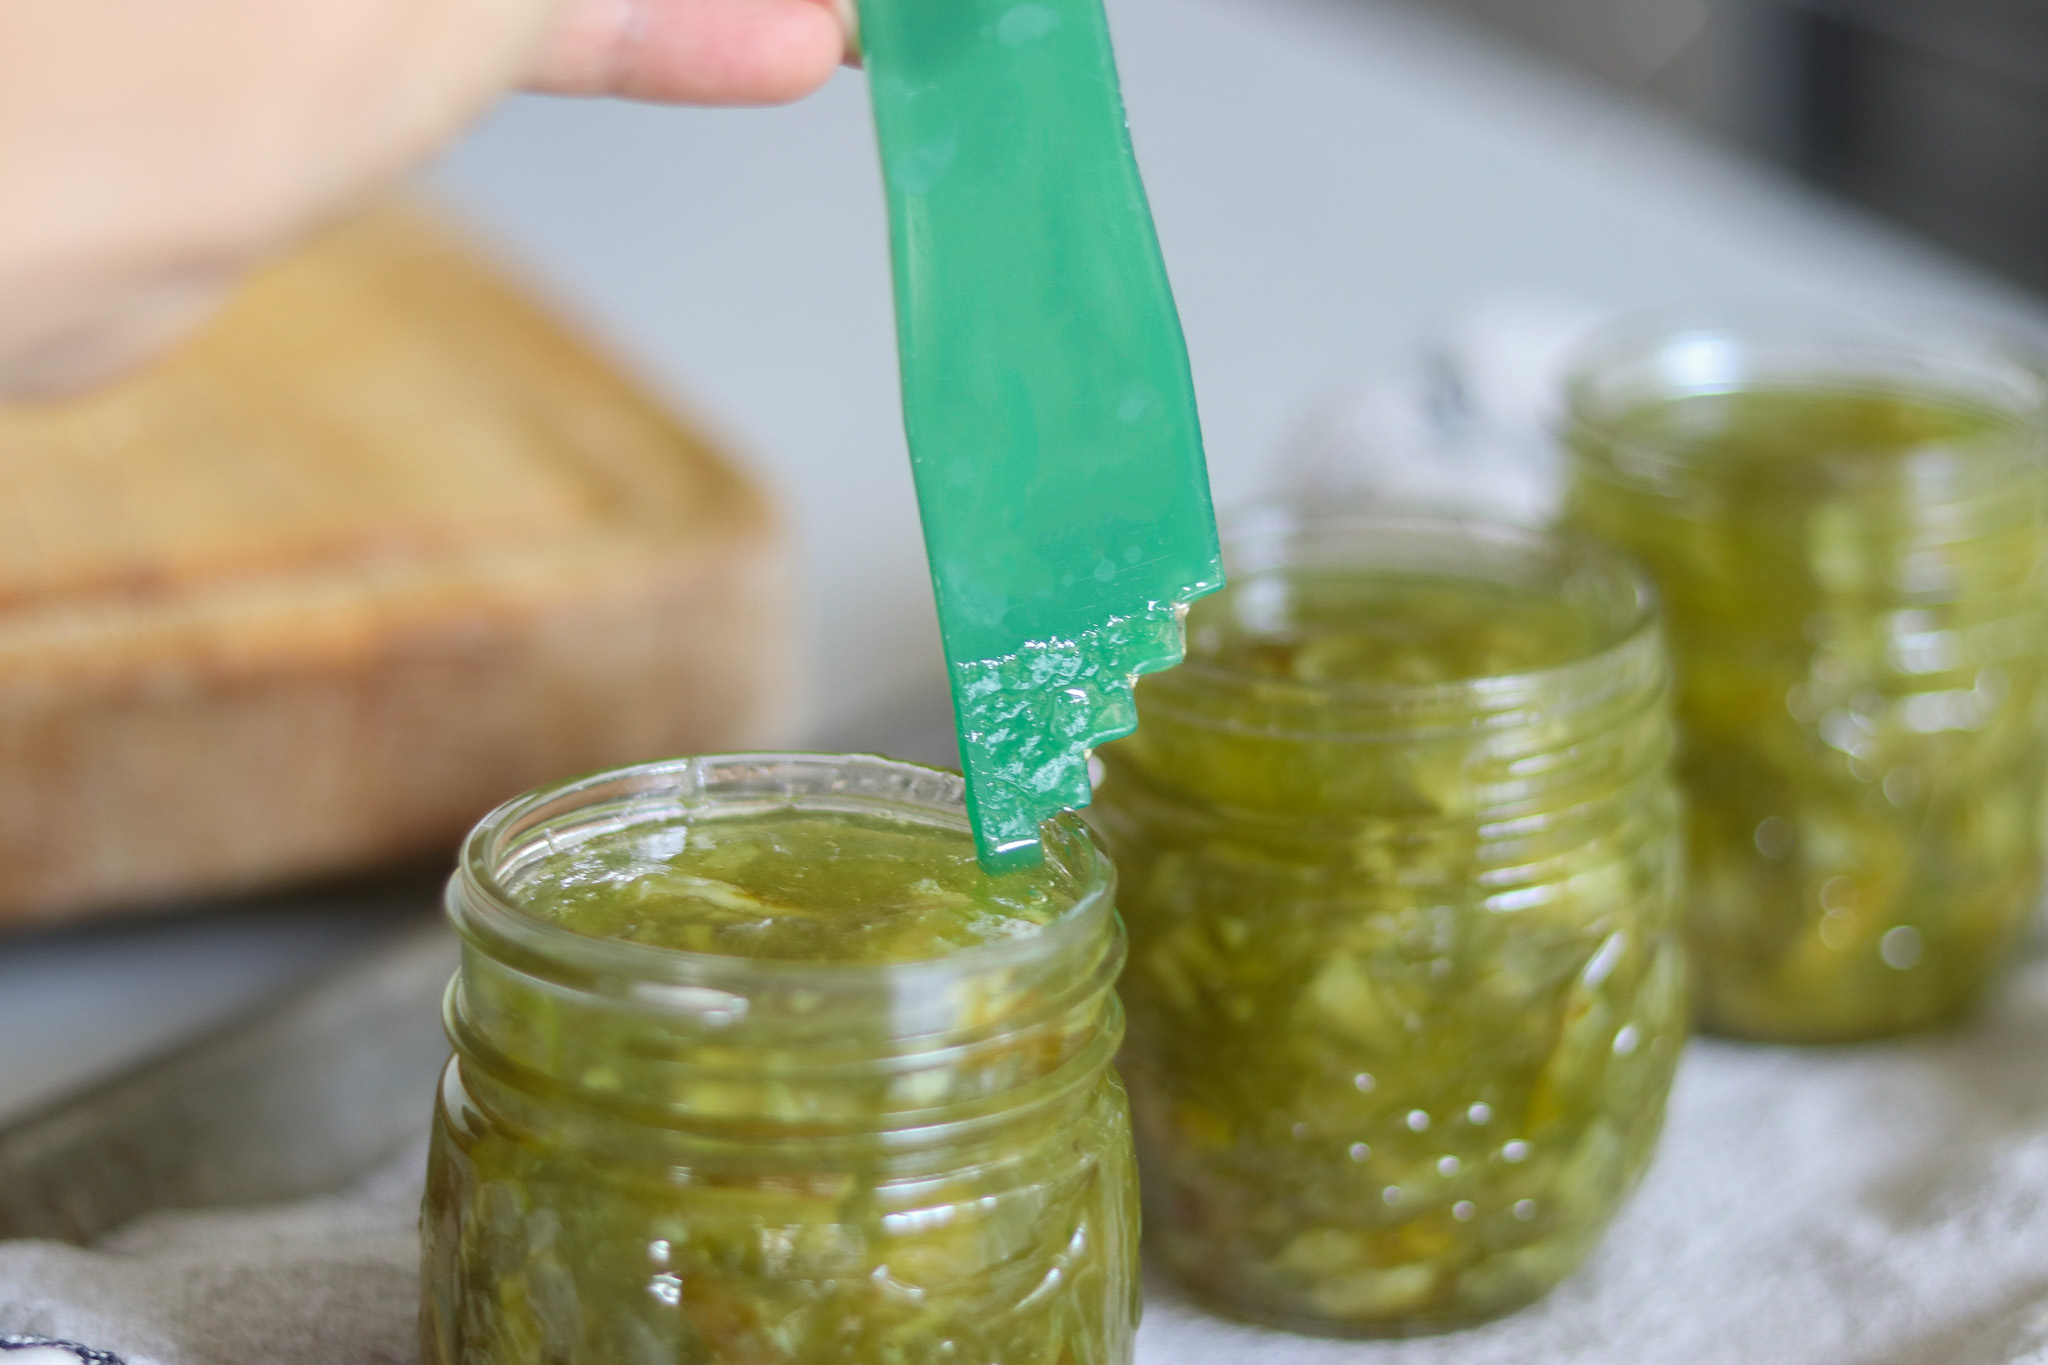
Wipe the rims of the filled jars with a clean cloth and apply 2 part canning lids.
Load the jars into your preheated canner and bring the canner to a full rolling boil. Once boiling, start the timer and process the jars for 10 minutes (or 15 minutes if above 6,000 feet in elevation).
After the processing time is complete, use a jar lifter to remove the jars from the canner and set them to cool on a towel on the counter. Check seals after 24 hours and store any unsealed jars in the refrigerator for immediate use.
Properly canned and sealed jars will maintain peak quality on the pantry shelf for about 18 months, but be good to eat so long as they’re sealed. Remove the canning rings for storage. Refrigerate after opening.
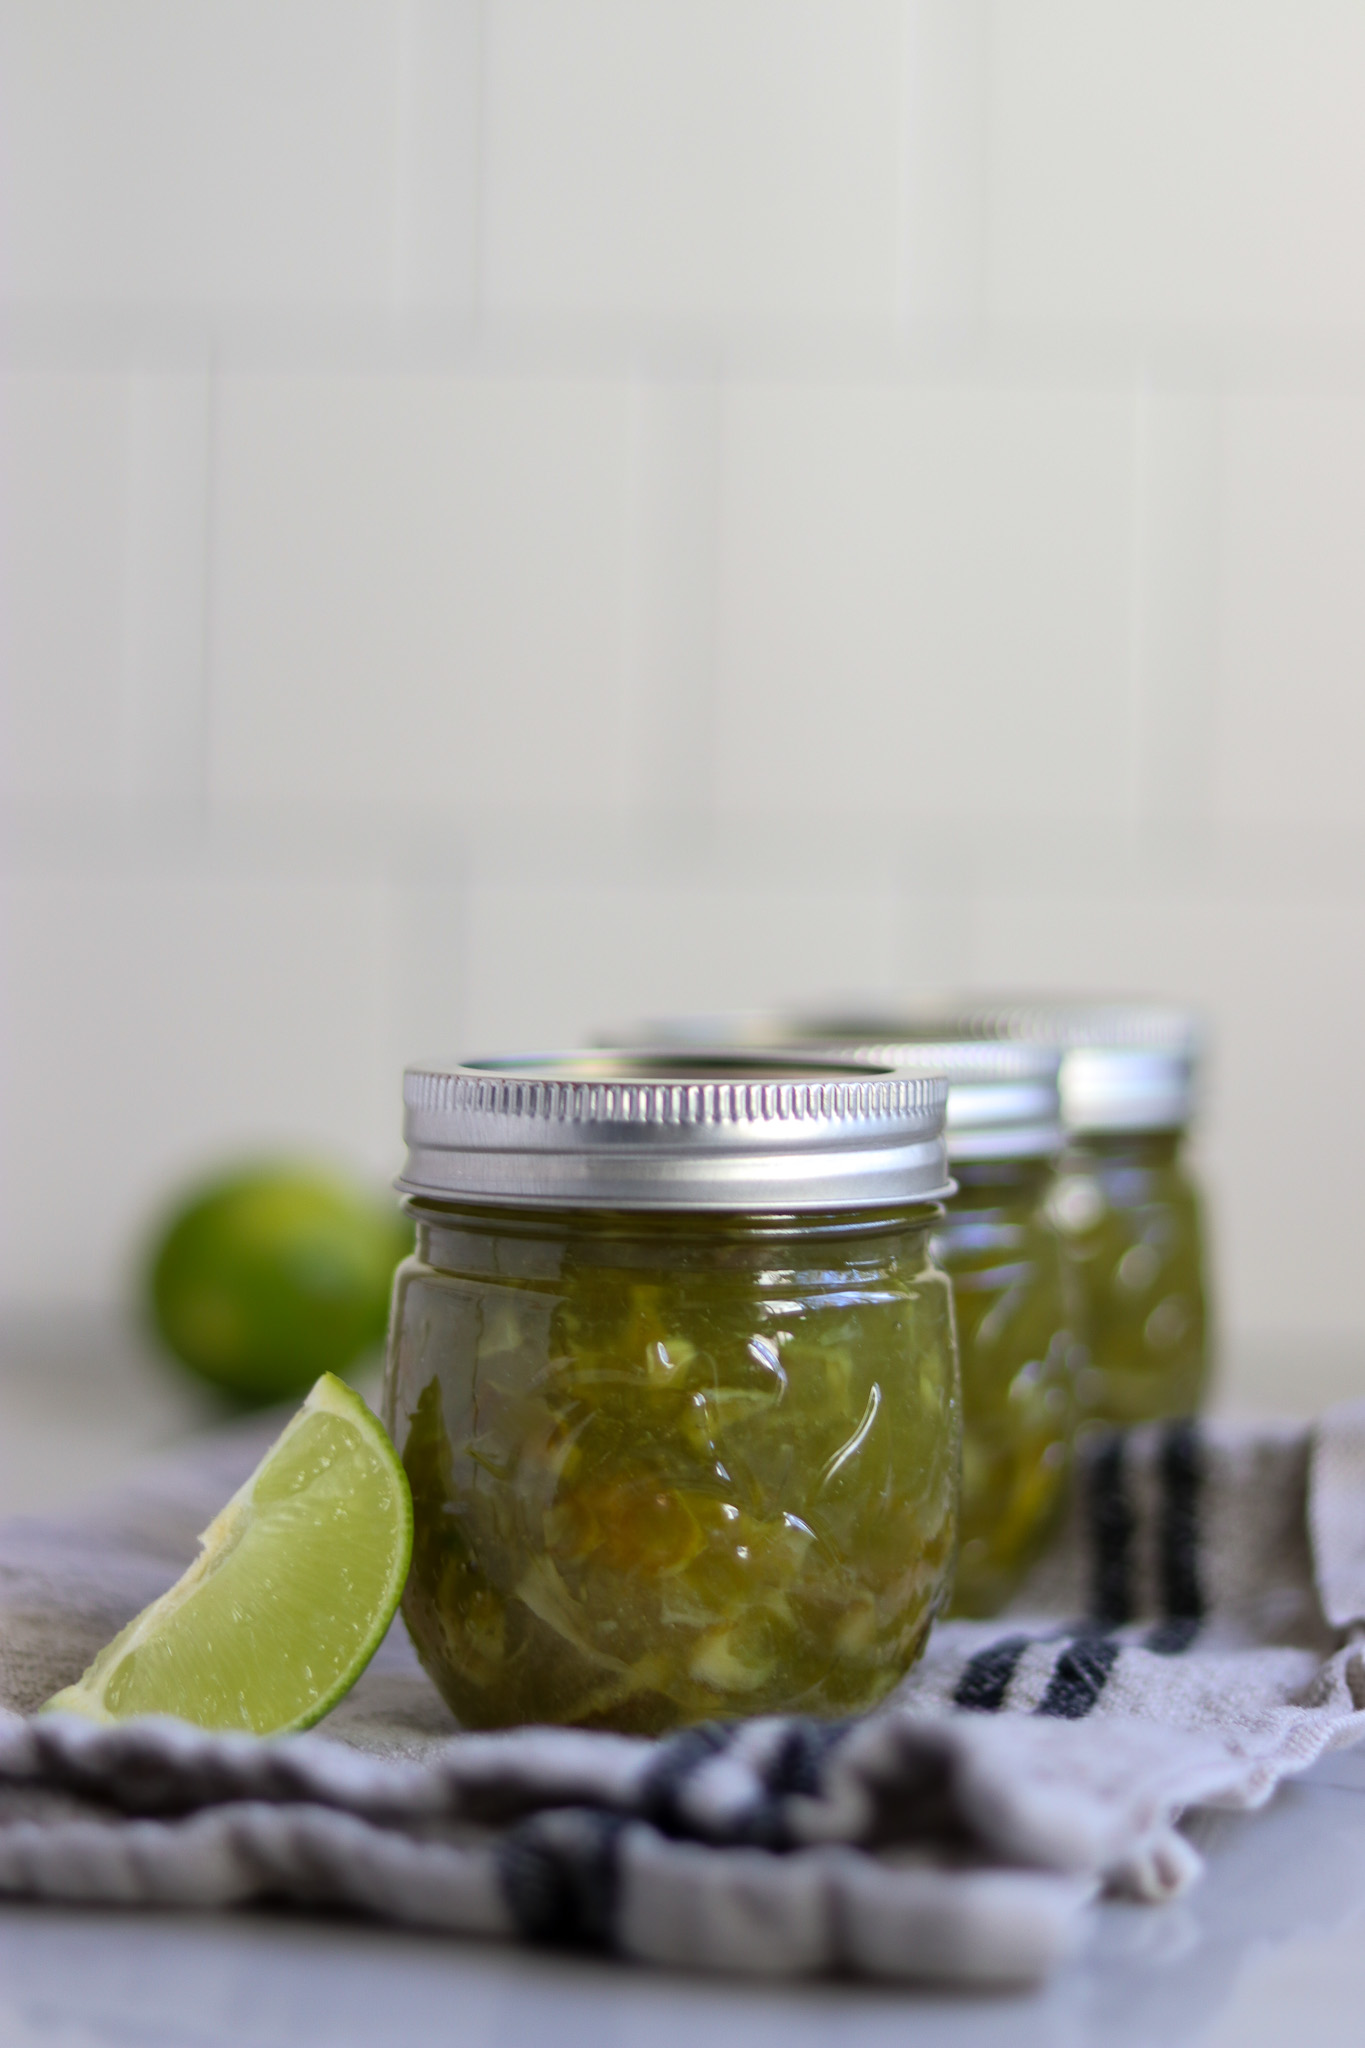
Lime Marmalade Variations
For additional variety, you can make this lime marmalade with other citrus fruits, such as lemons for a lemon-lime marmalade or with sweet oranges for a wonderfully sweet yet tangy marmalade. Simply substitute some of the limes with other citrus fruit.
Another tasty option for this lime marmalade is adding edible flowers such as fresh lavender or hibiscus flowers. The zing from the limes balances well with sweet floral flavors.
Ways to Use Lime Marmalade
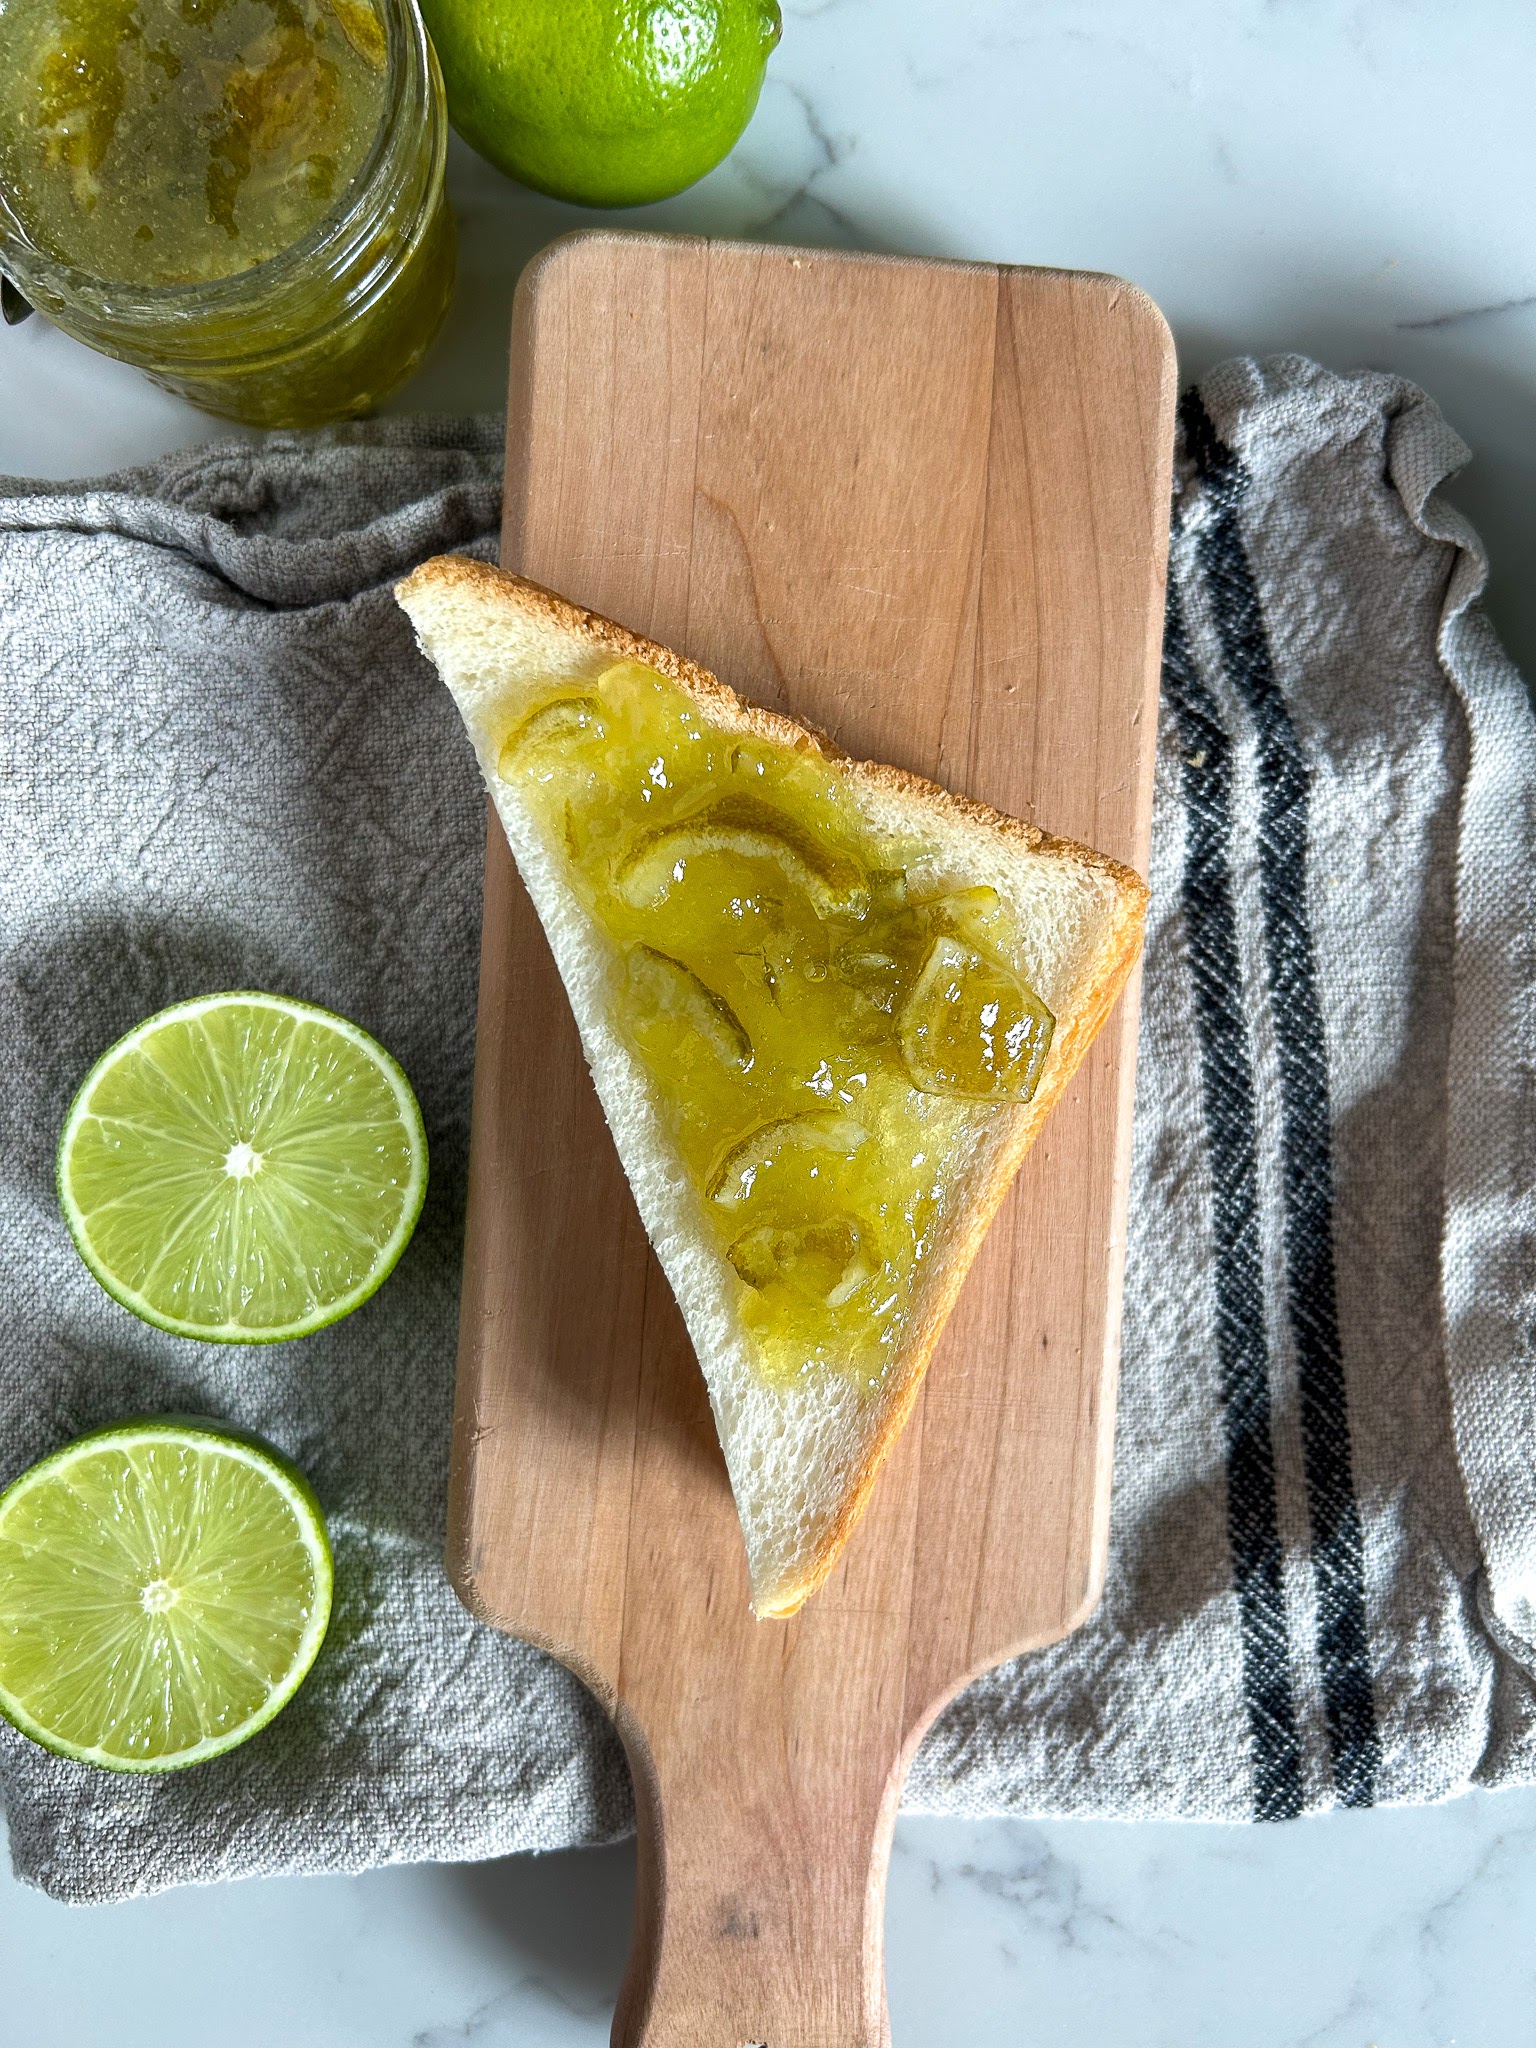
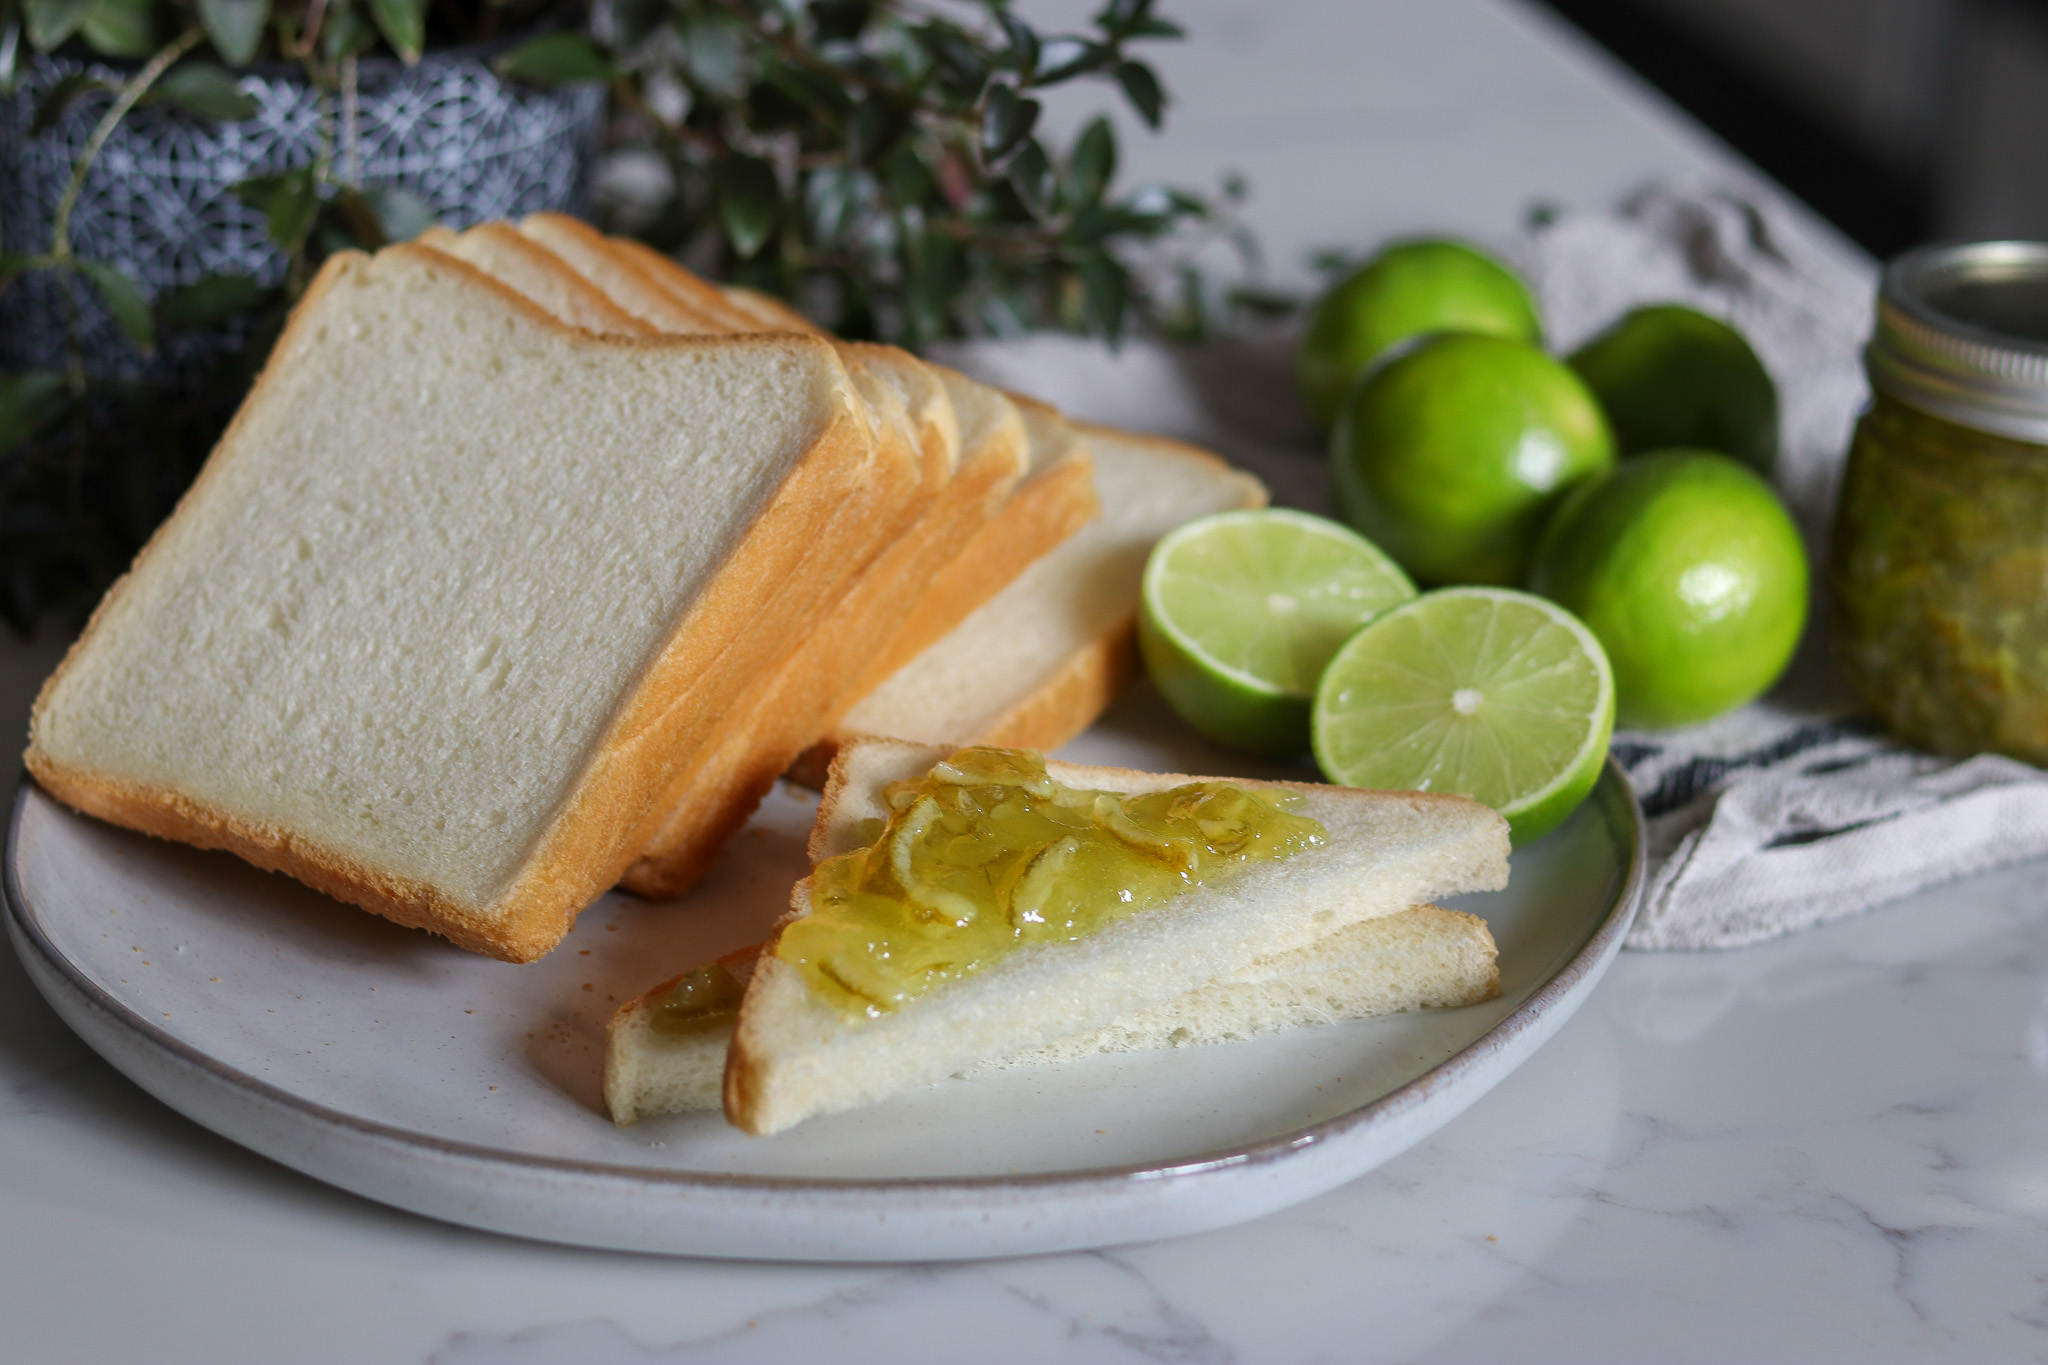
This lime marmalade is a great accompaniment to your morning toast or topping a biscuit with a side of tea.
It’s also delicious on lime bars if used instead of raspberry jam in a raspberry bar recipe, and it’s perfect in between layers of a cake. It’s especially good as a filling for coconut cakes!
Lime Marmalade (Old Fashioned Recipe without Added Pectin)
Ingredients
- 2 lbs limes, about 12 to 14 medium limes
- 8 cups water
- 6 to 7 cups granulated sugar
- Juice of 1 to 2 fresh lemons, optional, but recommended
- A few drops green food coloring, optional
Instructions
Day 1
- Wash the limes thoroughly before beginning.
- Chop off the blossom and stem end from each lime and discard.
- Slice the limes into very thin pieces using a sharp knife or mandoline. Once sliced, chop each slice into quarters. (Alternately, quarter the limes and then pulse in a food processor until the pieces are evenly chopped but are not mushy.)
- Combine 8 cups water with the processed limes, stir, cover, and let the mixture sit overnight.
Day 2
- In a large saucepan or jam pot, bring the lime mixture to a boil, and continue to boil uncovered for 40 minutes until the peelings in the mixture have become soft.
- Add 6 cups of granulated sugar gradually to the lime mixture as it boils, continuously stirring to ensure the sugar is dissolved. Add up to 1 more cup of sugar to taste if needed, continuing to stir until sugar is dissolved.
- Remove the mixture from heat, cover, and let it sit for 6 hours or overnight.
Day 3
- Prepare jars or containers for the jam, and prepare a hot water bath if you plan to can the marmalade.
- Return the lime mixture to the stove over high heat, bringing it to a boil. You may need to add a little water if the mixture has set up too firmly overnight.
- Stir continuously to prevent scorching.
- Using the cold plate test, cook the marmalade until it is firming up but still has a slight syrup consistency. Alternatively, you can cook the marmalade to a temperature of 216 to 218 degrees Fahrenheit, and then test the marmalade using the cold plate test.
- When the marmalade has cooked long enough to pass the cold plate test, taste the marmalade and add freshly squeezed lemon juice to taste if desired. If using green food coloring, this is when you'd add a drop or two, if desired.
- Remove the marmalade from the stove and let it sit for 10 minutes. Finish getting your jars or containers ready.
- Stir the marmalade mixture well so that the contents are all evenly distributed, then ladle or pour into jars or containers. If canning, leave 1/4 inch headspace. If freezing, leave 1'' headspace, and be sure to use freezer-safe jars.
- Preserve the marmalade by using a hot water bath canning method, or after the marmalade has cooled, keep the marmalade refrigerated or frozen until ready to eat.
- If canning, process the jars in a hot water bath canner for 10 minutes (or 15 minutes if above 6,000 feet in elevation). Remove the jars from the canner and allow to cool for 24 hours before checking the seals. Store any unsealed jars in the refrigerator for immediate use. Properly canned and sealed jars of lime marmalade will maintain peak quality for about 18 months on the pantry shelf. Refrigerate after opening.
Notes
Nutrition
Nutrition information is automatically calculated, so should only be used as an approximation.
Marmalade Recipes
After perfecting this tangy treat, why not explore other citrus varieties?
Orange Marmalade is a classic choice, while Grapefruit Marmalade offers a bittersweet flavor profile. For something truly unique, try your hand at Kumquat Marmalade – it’s a great way to preserve these tiny fruits.
If you’re feeling adventurous, our Marmalade with Any Citrus recipe allows for endless experimentation. Don’t forget about the delicate flavors of Meyer Lemon Marmalade for a sweeter option!
Citrus Canning Recipes
There’s more than one way to get citrus in a jar!
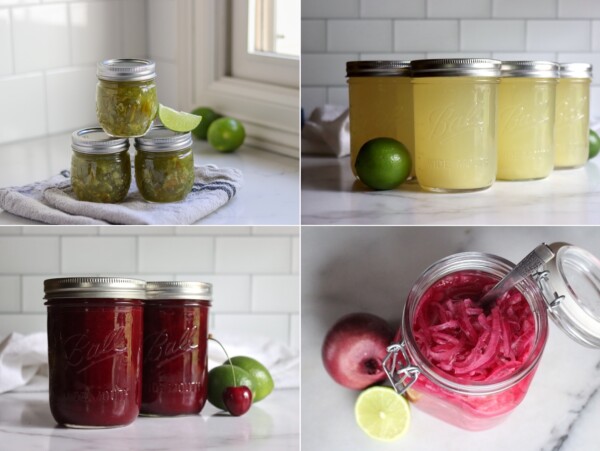
- Canning Lemonade (And Lemonade Concentrate)
- Canning Strawberry Lemonade Concentrate
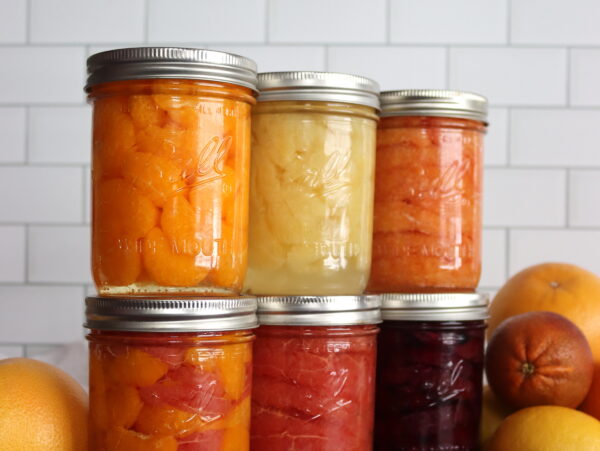
- Canning Oranges
- Canning Grapefruit Sections
I have a gigantic key lime tree in my front yard. Every year I do what I can with them but end up giving bag fulls to friends who can use them for various things. I also have an orange tree and I ate make orange marmalade all the time. I saw this recipe and a light bulb went off over my head now I’m making gallons of this key lime marmalade. Thank you for the recipe I will be sharing this and my jars of marmalade as gifts for many of my friends.
Lovely! I’m so glad you enjoyed it. A few days ago, I ended up with a crate of limes myself, and started researching even more lime canning recipes. We already put up limeade concentrate (https://creativecanning.com/canning-limeade/), which is wonderful, but I found some others that I’m excited to try out this year. Here’s my full list: https://creativecanning.com/lime-canning-recipes/
The marmalade tastes 👌. I used a food processor but had too much pith but once took out a lot of the pith. It’s good.
Hello Ashley
First, let me thank you for all your hard work. You are my “go-to” website for accurate and safe canning recipes.
I have a question regarding the amount of sugar in jams. It’s said that the sugar is for preservation BUT we can preserve whole fruits in cold pack with plain water or syrups with a much lower sugar content. Apple butter also doesn’t have near the sugar content of jams, and it’s safe to can.
Why can we not make jams with a much lower sugar content? I have made cranberry sauce and conserves which have jelled up nicely with not much sugar at all. Would these therefore, be unsafe to can in a hot water bath?
I appreciate your insights
Margret
Hi Margaret,
That’s a really good question! I actually get some version of this question a lot and I decided to finally write an article on the topic, which I just published a moment ago for you here: https://creativecanning.com/sugar-preservation-canning-recipes/
But I’ll answer your question here as well:
Recipes designed by the National Center for Food Preservation and University Extensions don’t require sugar for preservation, as they’re relying on waterbath canning and acidity to preserve the fruit from a spoilage perspective. The only exception I’m aware of is Elderberry Jam and Elderberry Jelly, where they have to be high sugar because elderberries aren’t acidic. In pretty much every other canning recipe, the sugar is for flavor, texture and quality.
Sugar helps fruits maintain their color and shape through canning, so they’re often prettier in the jars with sugar than with not. Sugar also reacts with pectin to help jams and marmalades set, so if you’re reducing sugar, you often need to use a low sugar pectin to get jams to set (even when working with high pectin fruits).
The only “preservation” impact sugar has when waterbath canning is when you open the jars. A “full sugar” jar of jam will last months in the fridge once opened, but a low sugar jam open in the fridge will mold in a week or two. On the pantry shelf and still sealed though, they’re equivalent.
I hope this helps!
-Ashley
Made this twice in a row, I hate watching fruit go to waste. Making a guava jelly next. Nice, simple pretty foolproof recipe. Thanks.
So glad you loved it!
Brilliant recipe and because it is done in stages you can fit it in around other activities. No need for pectin, food colour or lemon juice.
Wonderful, so glad you liked it!
Good, very clear, instructions, delicious end results and I never done this before. I didn’t have lemons so I used a bit of freshly squeezed aronia berries (not sure what they are called in english), I had some berries frozen in autumn. I think it works together with lime, aronia also gives a lot of colour (I wouldn’t had any food colouring either). Just finished, so need to wait until I see how it looks when cooled down. But so far so good!
Lovely, I’m so glad it worked out for you. (They’re called aronia in English too, we grow them here, and that sounds like a lovely addition to help balance flavors.)
Great recipe, I’ve been canning for over 60 years and never had great success with marmalade until now. I did add 1 package of pectin to be sure. Will use this method of three day preparation for other citrus marmalades. Thank you for sharing.
So glad you enjoyed it Rhonda! I just posted three new marmalade recipes this month, for lemon, orange and blood orange. They all use a similar technique. Enjoy!
I made this recipe about two weeks ago and it turned out beautifully! I love the added tips she included to tell me why each step was necessary. I used all the information and all her steps were spot on! I will use this recipe AGAIN!!
Wonderful! I’m so glad you loved the recipe =)
I made this over the weekend, it set up perfectly, all of my jars sealed, and it is delicious!
Wonderful, so glad you enjoyed it!
This recipe is a great base for making a lime vinaigrette. I add a little Dijon mustard, whisk in the oil, then add vinegar to taste.
That sounds amazing!
Hi Ashley
Thank you for the recipe, it sound absolutely delicious and I will be making this asap! When you let the mixture sit from day 1 to day 2, do you leave it in room temperature or the fridge or does it matter?
BR,
Juuso
You can do room temperature or fridge, either way. I just leave it at room temperature.
I appreciated your instruction to take the marmalade off the heat before it hit the jelly temperature on the thermometer. It’s set beautifully, and was not as hard as it sometimes can be.
I used the slicing feature on my food processor, and the marmalade is particularly pretty.
Wonderful, I’m glad it worked out for you!
That slicing probably leaves less .. pulpy clouding of the jelly too I imagine. Good idea. Cheers
Ashley — Sometimes this marmalade “weeps”. I have read that the cause is too high a pH. The fix is to add ½ to 1 tsp baking soda. I haven’t yet (still consuming my weepy but delicious version as more of a spread than a true jelly — but that is next on my agenda. BTW … fist-bump to your old man😄 re good taste.
Good to know! The other marmalade recipes I have used included baking soda to soften the peels (like the orange marmalade I have on here), and this is the first one I’ve tried that didn’t use any baking soda. I assumed it was because the fruit are soaked and then cooked so long, and that they didn’t need the baking soda to soften. It makes sense that It’d also help with weeping. I haven’t had this preserve weep on me, but then again, it doesn’t make it all that long in the pantry…