
This post may contain affiliate links. Please see our disclosure policy.
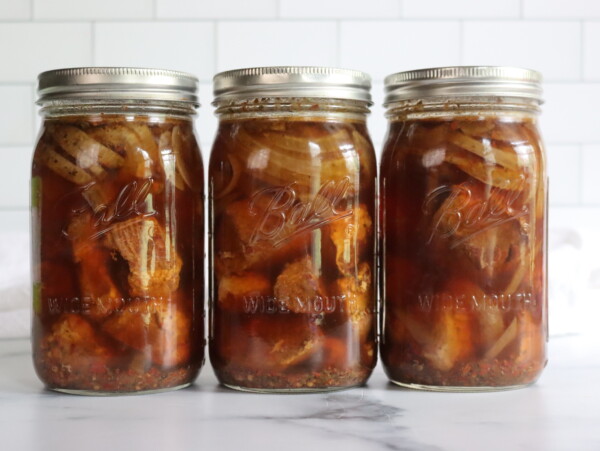
Canning chipotle beef taco meat puts taco night on the pantry shelf, ready in the time it takes to warm tortillas. Everything goes into the jar raw, so a batch is prepped and in the canner faster than most dinners take to cook.
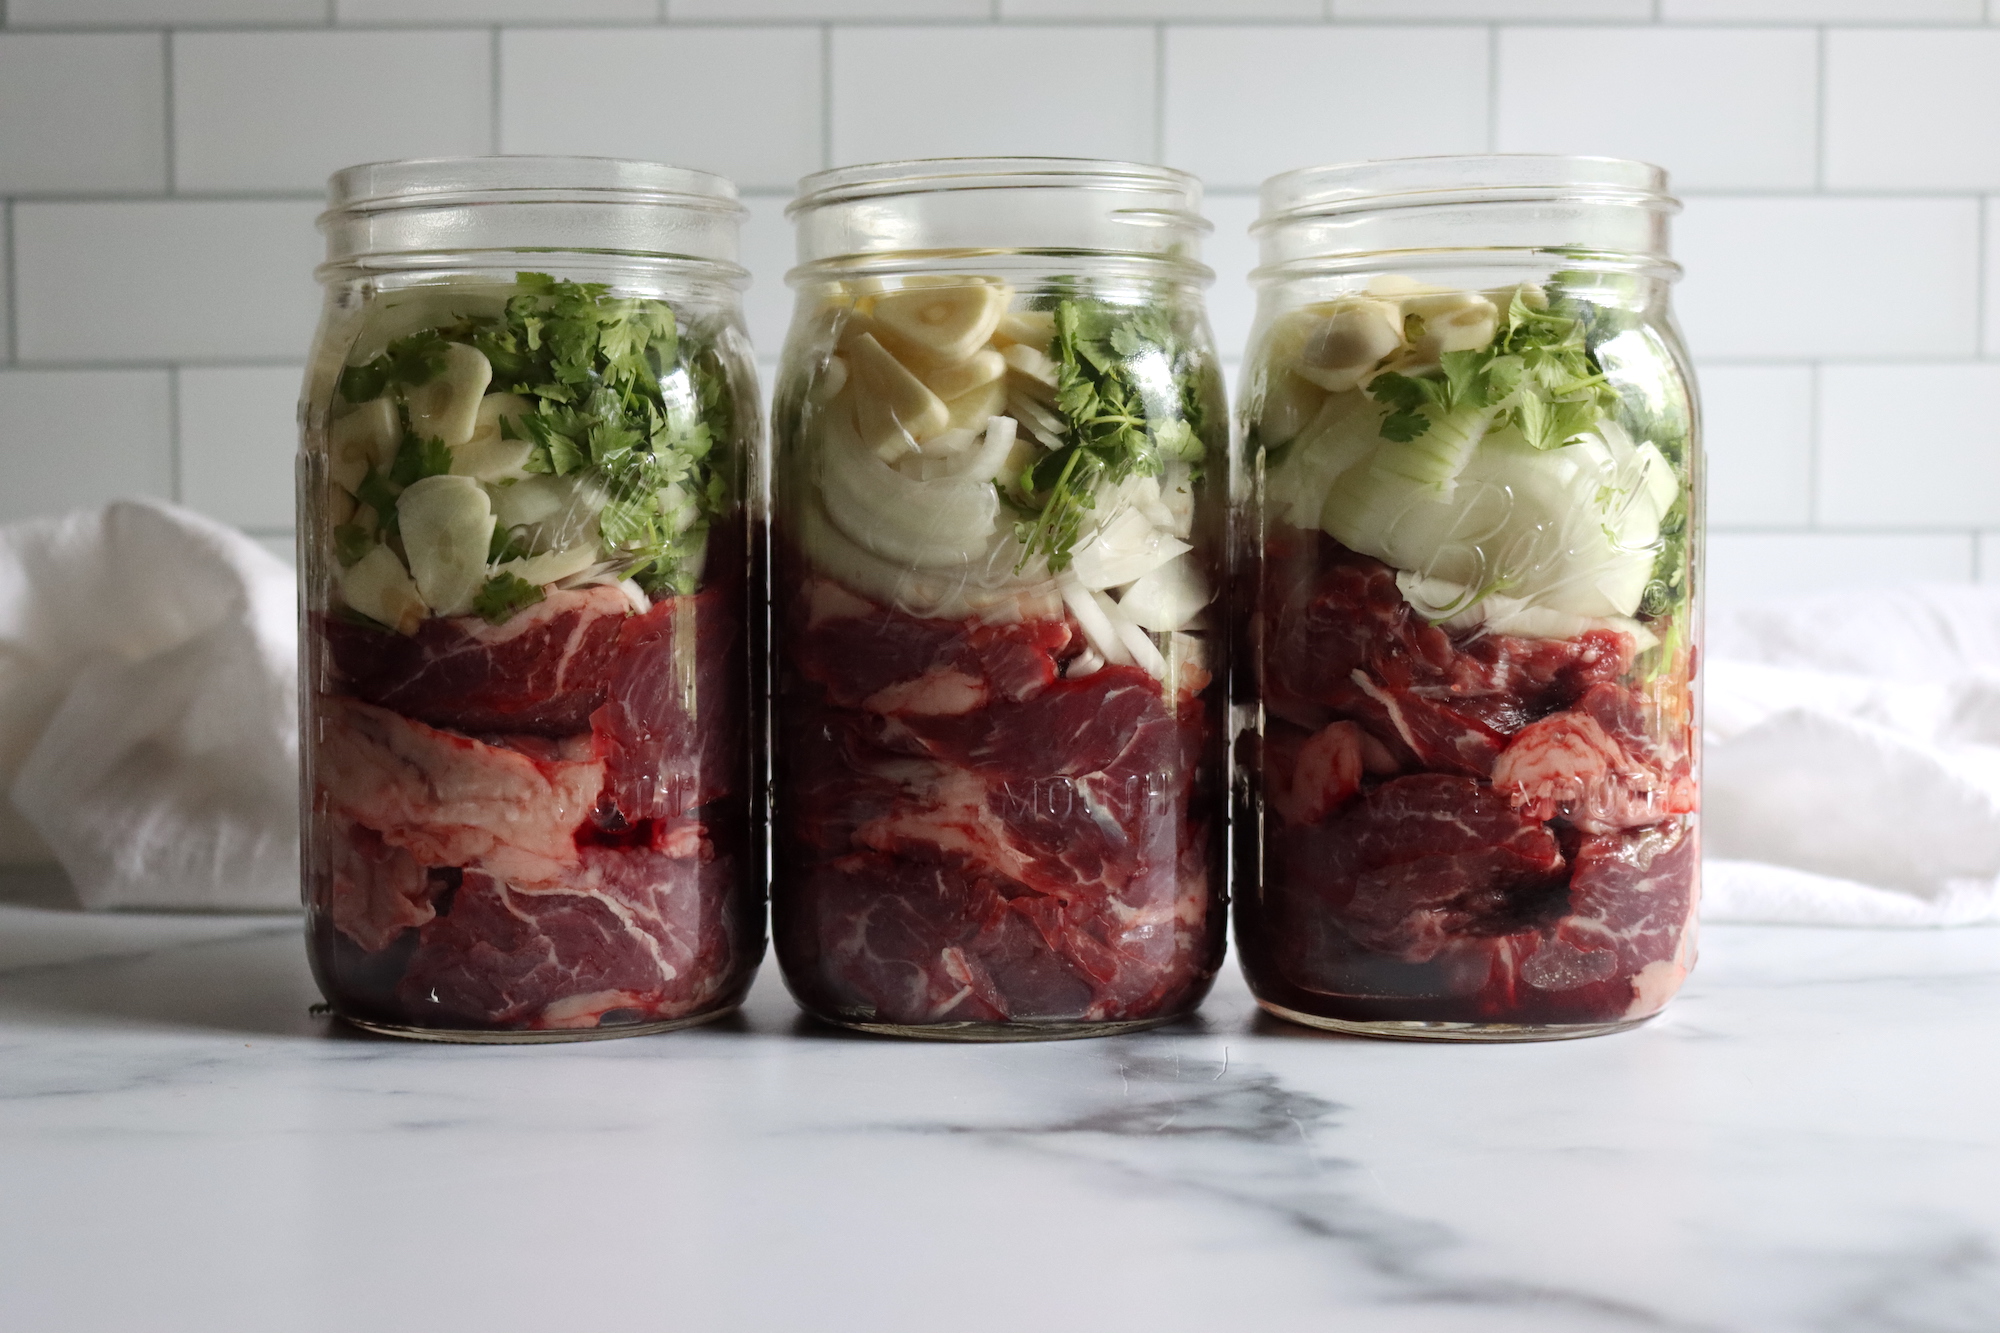
Table of Contents
- Notes from My Kitchen
- Quick Look at the Recipe
- Choosing Beef for Taco Meat
- About the Chipotles in Adobo
- Ingredients for Chipotle Beef Taco Meat
- Chipotle Beef Taco Meat Variations
- Canning Chipotle Beef Taco Meat
- Altitude Adjustments
- Serving Chipotle Beef Taco Meat
- Tips for Success
- Storage and Shelf Life
- Yield Notes
- Canning Chipotle Beef Taco Meat FAQs
- Meal in a Jar Canning Recipes
- Chipotle Beef Taco Meat (Canning Recipe)
- Beef Canning Recipes
This recipe has been reviewed for safety and accuracy by a Master Food Preserver certified through the University of Cornell Cooperative Extension.
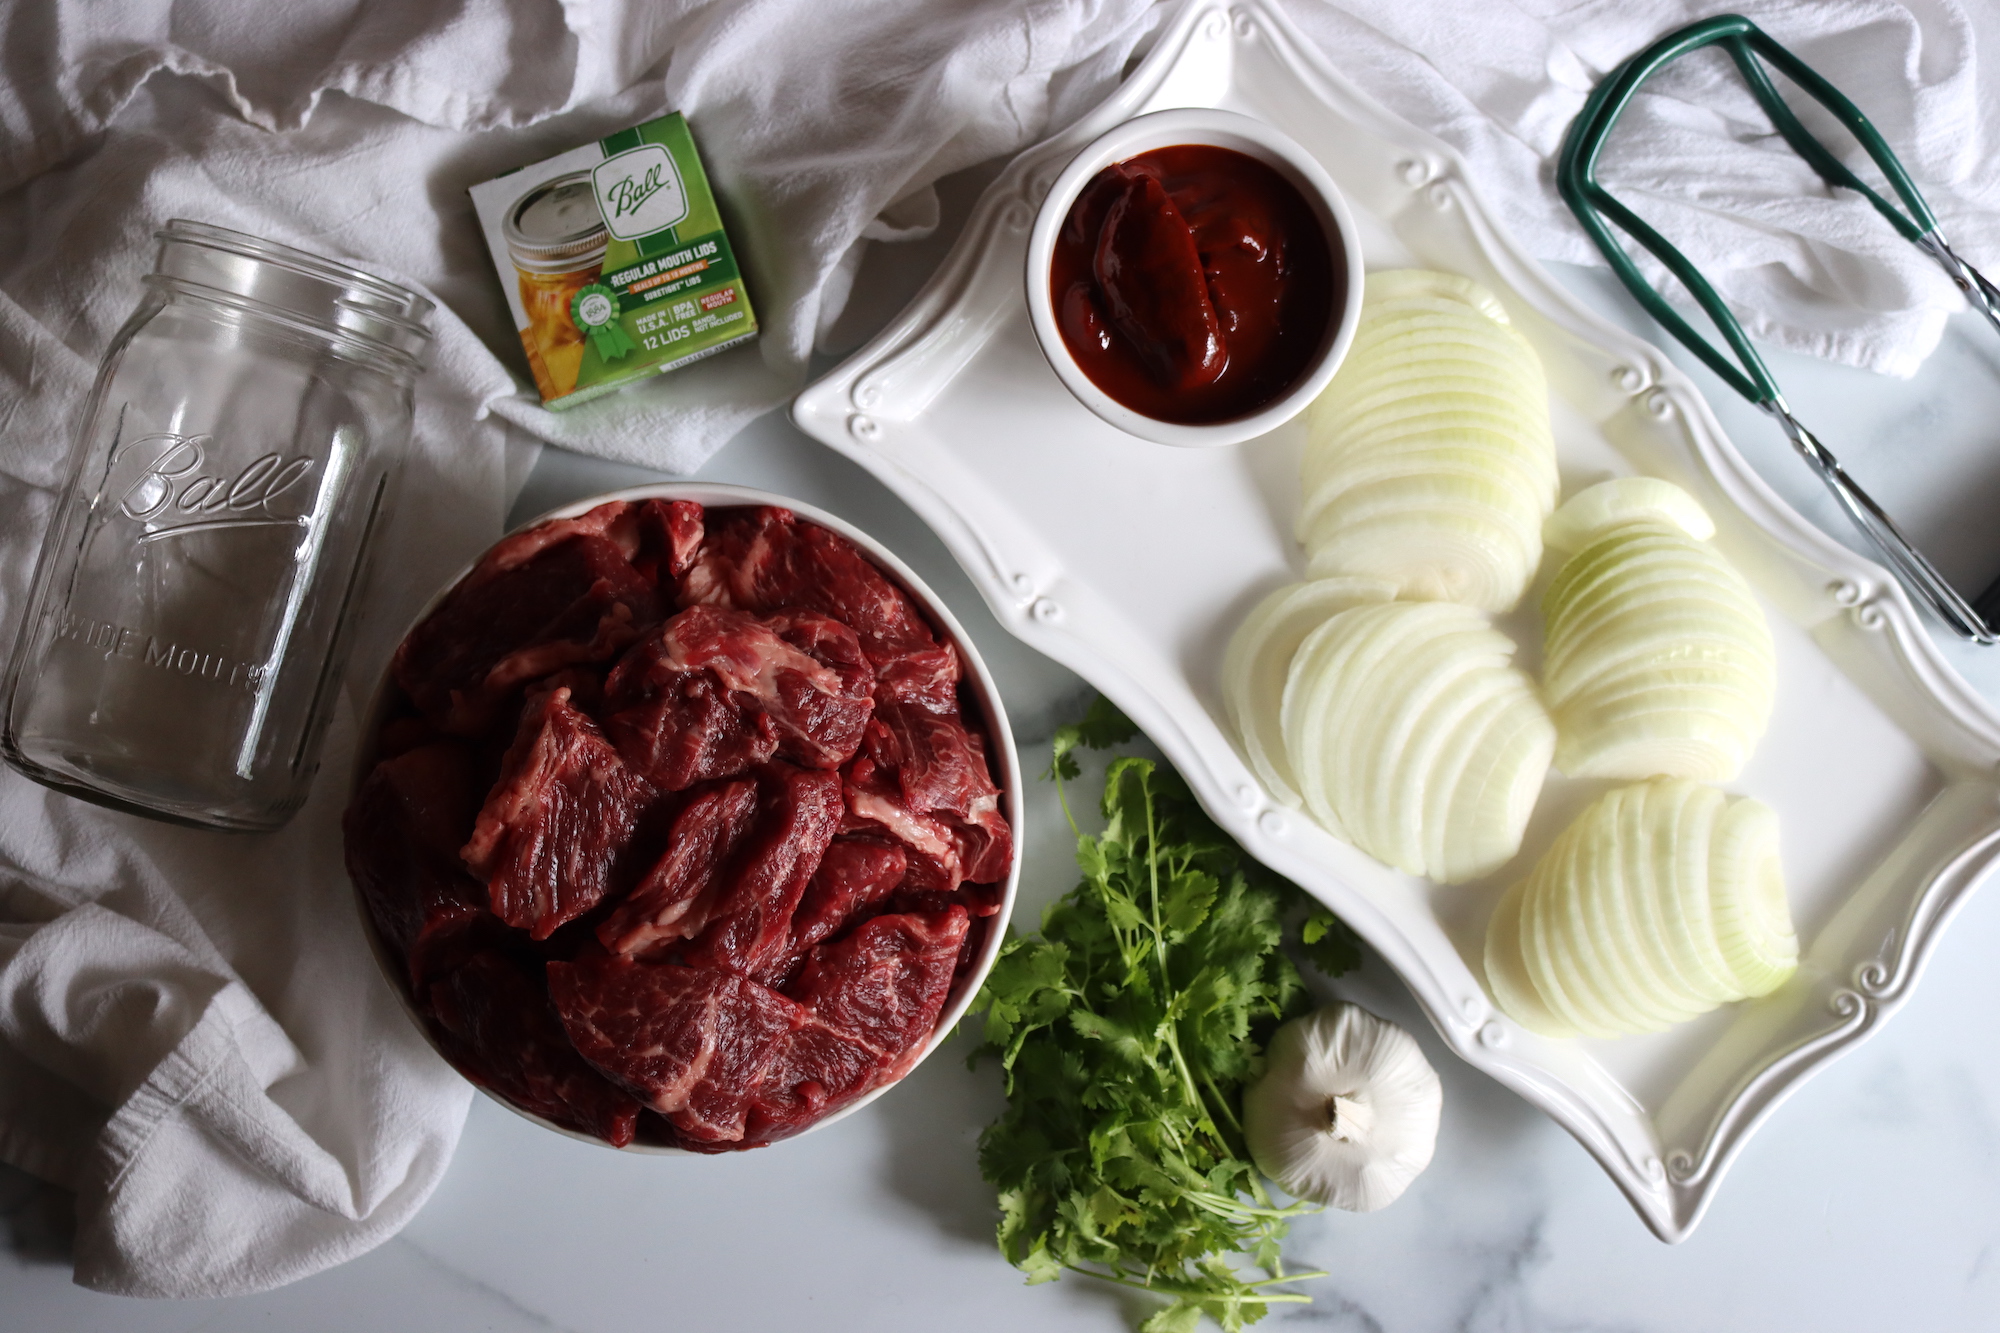
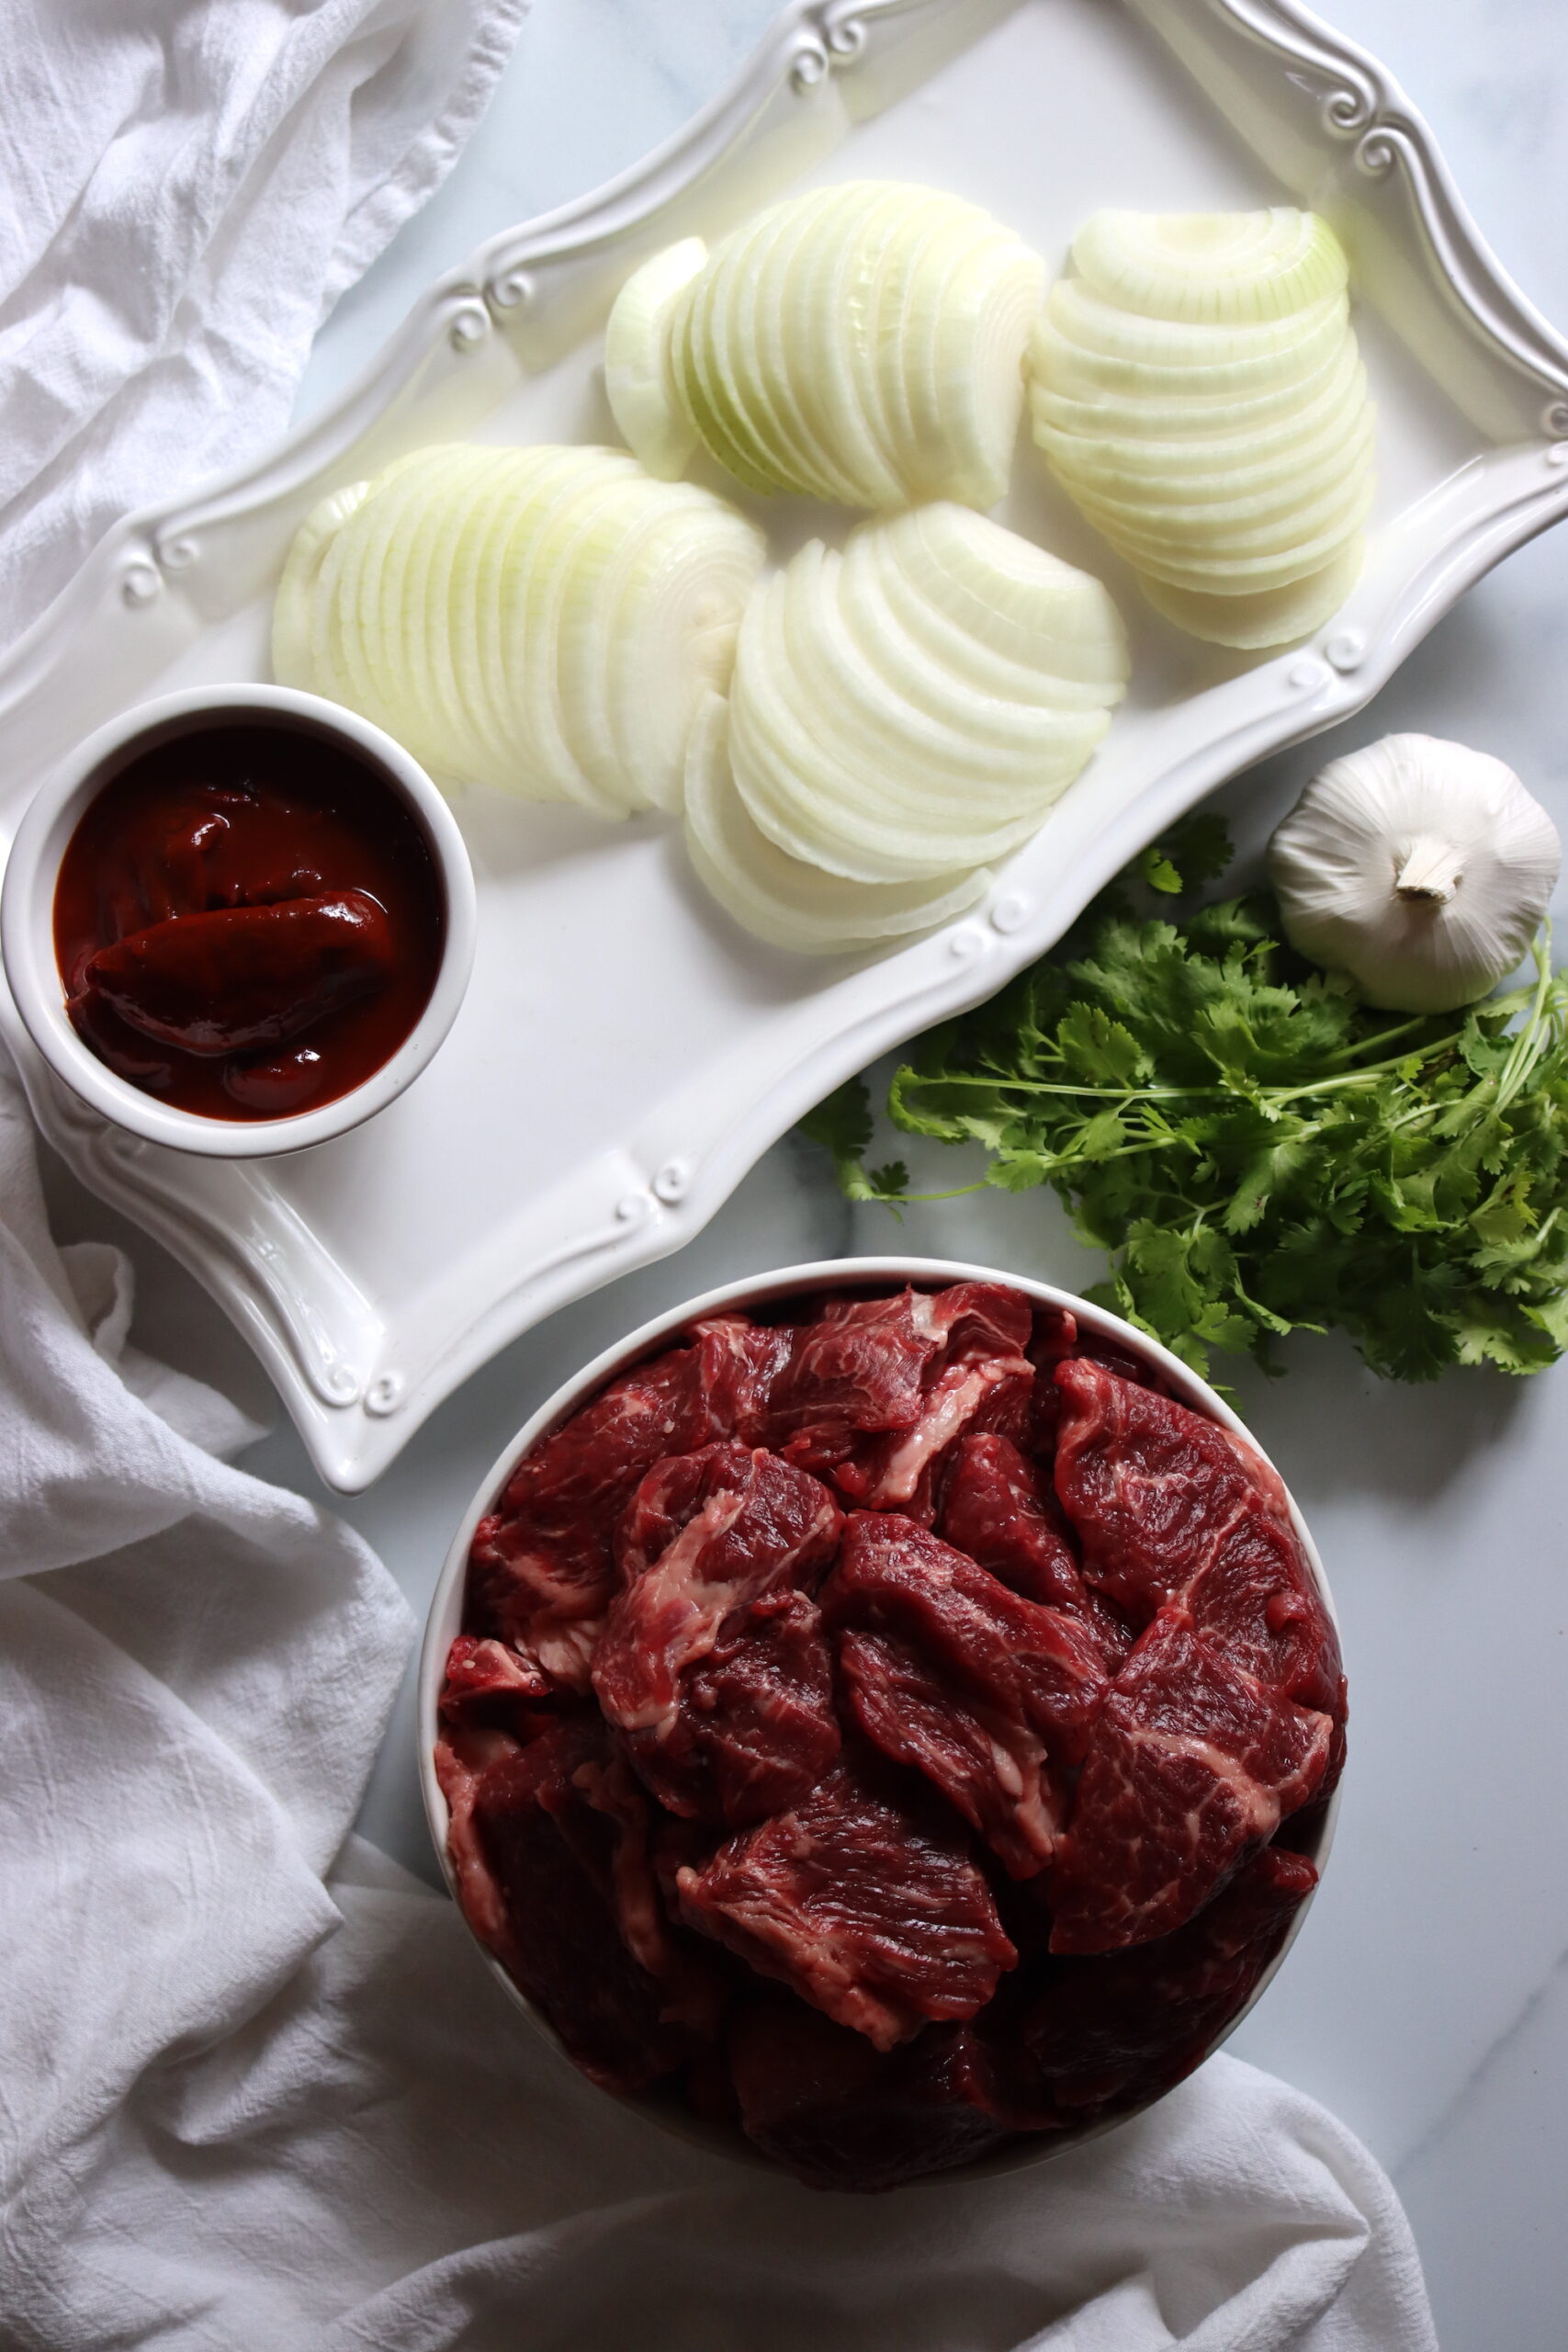
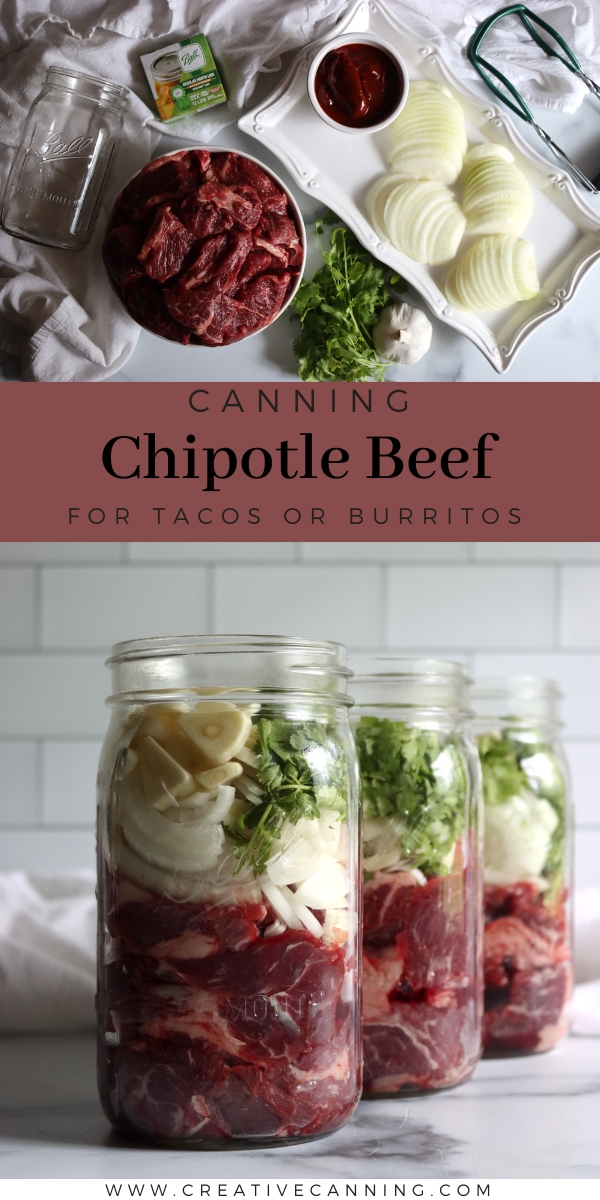
The recipe is from The All New Ball Book of Canning and Preserving, and readers asked for it before I ever made it myself. Chunks of brisket, sliced onions, garlic, cilantro, and chipotle peppers in adobo go into the jar raw, covered with hot beef broth. The long process does the work a slow cooker would.
This is a raw pack, which is unusual for a meal in a jar and is how Ball writes nearly all of theirs. Nothing gets cooked first. The jars pack full of solids with broth filling the gaps, and they process for 75 minutes as pints or 90 minutes as quarts. It’s low acid, which means a pressure canner and not a water bath. My pressure canning for beginners guide walks through a whole batch if you haven’t run one.
A batch makes 2 quarts or 4 pints, which is the smallest load you can run in a canner, and it scales up as far as your canner holds. If you want the ground beef version instead, that’s canning taco meat, and canning chicken taco meat is the same idea with thighs. This one is the chunky, shreddable, barbacoa-style jar.
Notes from My Kitchen

When I asked readers for their favorite canning recipes, this one came up again and again. That’s why I made it originally, but I keep making it because it’s delicious. Now I run full batches in my large All-American canner, which holds 14 quarts.
It turned out to be more than taco meat. We’ve used it on burrito bowls, stirred it into chili, and served it next to eggs for a hearty breakfast. It’s a meal starter more than a single recipe.
The thing I’d tell anyone opening their first jar is to cook off the liquid, rather than draining the jars. Don’t skip that part. The beef crisps in its own drippings and the flavor concentrates, and it’s a different dish than if you just heat it and spoon it out.
Quick Look at the Recipe
- Recipe Name: Canning Chipotle Beef Taco Meat
- Recipe Type: Meal in a Jar Canning Recipe (hearty pack)
- Canning Method: Pressure Canning
- Pack: Raw pack
- Prep Time: 20 minutes
- Cook Time: 10 minutes, to heat the broth
- Canning Time: 75 minutes for pints, 90 minutes for quarts
- Yield: 2 quarts, or 4 pints
- Jar Sizes: Pints or quarts
- Headspace: 1 inch
- Ingredients Overview: Beef brisket, onions, garlic, cilantro, chipotle peppers in adobo, oregano, salt, and beef broth
- Safe Canning Recipe Source: The All New Ball Book of Canning and Preserving
- Difficulty: Easy. Nothing is cooked first, so it’s chop, pack, and process.
- Similar Recipes: Other beef meals in a jar work the same way, including beef pot pie filling, pot roast in a jar, and Hungarian goulash. For more of a Mexican bent, there’s taco soup, chili con carne, and chicken chili verde.
Choosing Beef for Taco Meat
Ball writes this with brisket, and brisket is worth using when you can get it. It’s a hard-working muscle with a lot of connective tissue, and 90 minutes under pressure turns all of that into something that pulls apart with a fork.
Brisket isn’t easy to find everywhere, and readers in Canada have told me it’s rarely at the counter. Any well-marbled tough stewing cut works in its place. Chuck is the easiest swap, and round, stew beef, and flank steak all do fine. The rule of thumb is anything you’d put in a slow cooker.
The cuts to skip are the tender expensive ones. Tenderloin and strip steak come out dry and stringy after a long process. That’s a flavor problem rather than a safety one, but it’s an expensive mistake to make twice.
Cut it into 2-inch chunks and trim the heavy fat. Some fat is what makes this good, since the meat crisps in its own drippings at serving, but a thick fat cap can leave a greasy layer at the top of the jar. For plain jars of meat with nothing else in them, canning beef covers that separately, and it’s the tested basis for beef being in this one.
About the Chipotles in Adobo
A chipotle is a jalapeño that’s been ripened red and smoked dry. Packed in adobo, it’s rehydrated in a tomato and vinegar sauce with garlic and spices, and it comes in the small tins in the Mexican aisle. That’s where all the smoke in this recipe comes from.
Two peppers across the whole batch taste warm rather than hot, and the smoke is more noticeable than the burn. Chop them fine so the heat spreads instead of landing in one jar. A spoonful of the adobo sauce clinging to them is part of the flavor and goes in with them.
Peppers are a vegetable here rather than a seasoning, so this is not the ingredient to double by eye. If you want more heat, the safe place to get it is dry spice, or a fresh pepper stirred into the pan at serving. You can also put up your own with canning chipotles in adobo sauce, which is a good use for a jalapeno glut and gives you jars instead of half-used tins in the fridge.
Ingredients for Chipotle Beef Taco Meat
The ingredient list is short, and every solid in it has its own tested canning basis. This recipe also sits inside the University of Alaska’s “Hearty Soup” protocol, which is the framework behind most of my meal-in-a-jar canning recipes. That gives you room to move things around, as long as anything you add has a tested process of its own.
- Beef brisket: Trimmed and cut into 2-inch chunks, packed raw. Chuck, round, stew beef, or flank steak all substitute.
- Onions: Sliced, not diced. They hold their shape better in the jar and they’re part of what makes this a meal rather than plain meat. More in canning onions.
- Garlic: Sliced, not minced. Eight cloves sounds like a lot and it isn’t once it’s spread across the batch.
- Fresh cilantro: Chopped, stems and all. It’s optional, so leave it out if cilantro isn’t for you and make up the space with broth.
- Chipotle peppers in adobo: Chopped fine. This is where the smoke and most of the heat comes from. You can put up your own with canning chipotles in adobo sauce, or use a small tin.
- Oregano and canning salt: Dry seasonings are the part you can move freely. Cumin, smoked paprika, and a bay leaf per jar are all reasonable additions.
- Beef broth: Hot, poured over to cover. Homemade beef broth is best, and bouillon or boxed stock is fine. Stock and broth are interchangeable, and so is the animal it came from.
Keep more broth hot than you think you need. Raw meat and sliced onions settle as they heat, and jars that looked full when you packed them will want topping up before the lids go on.
This recipe is now on my “Never Out” list! It’s delicious as it is. It’s delicious with canned black beans added when reheating. I’ve served it over rice, or with tortillas. When I want to can something, I always check first to see if you have a recipe, because your recipes are always winners!
Most of the questions I get on this one are about swapping the meat. Here’s where the lines sit.
Chipotle Beef Taco Meat Variations
The meat is the easiest thing to change. Any well-marbled stewing cut works in place of brisket, and so does pork shoulder, chicken thigh, or venison. Match the broth to the meat when you swap, so chicken stock with chicken, though any stock is fine as far as safety goes. You can also leave out any of the vegetables, including the cilantro, and fill the space with broth instead. For other options, you can read through my guide to safe canning recipe changes.
What doesn’t move is the process. This is low acid, it has to be pressure canned, and 75 minutes for pints or 90 for quarts is what keeps it safe. Don’t raise the total volume of solids, and don’t pack the jars tighter to fit more in.
Some things can’t come in at all, even as a swap. Beans, rice, pasta, thickeners, dairy, and cured meats like bacon or chorizo all stay out of the jar. Stir those in when you’re reheating.
Want to build your own version rather than adjust this one? How to create your own meal in a jar canning recipe lays out the full allowed list, and it runs on the same 75 and 90 minute times.
Canning Chipotle Beef Taco Meat
Start the canner and the broth before anything else, since both take a while and everything else goes quickly. Put the trivet in your pressure canner, add 2 to 3 inches of water, and bring it to a gentle simmer with the jars warming inside. Get the broth heating in a separate pot at the same time.
Put the oregano and salt in a big bowl, then add the chopped cilantro, sliced garlic, and finely chopped chipotles. Trim your beef and cut it into 2-inch chunks, and add it to the bowl along with the sliced onions. Mix it with a wooden spoon or clean hands until the seasoning is spread through everything.
That mixing step matters more here than you’d think. This is a raw pack, so nothing simmers together on the stove to even itself out. Whatever seasoning lands in a jar is what that jar tastes like when you open it a year from now.
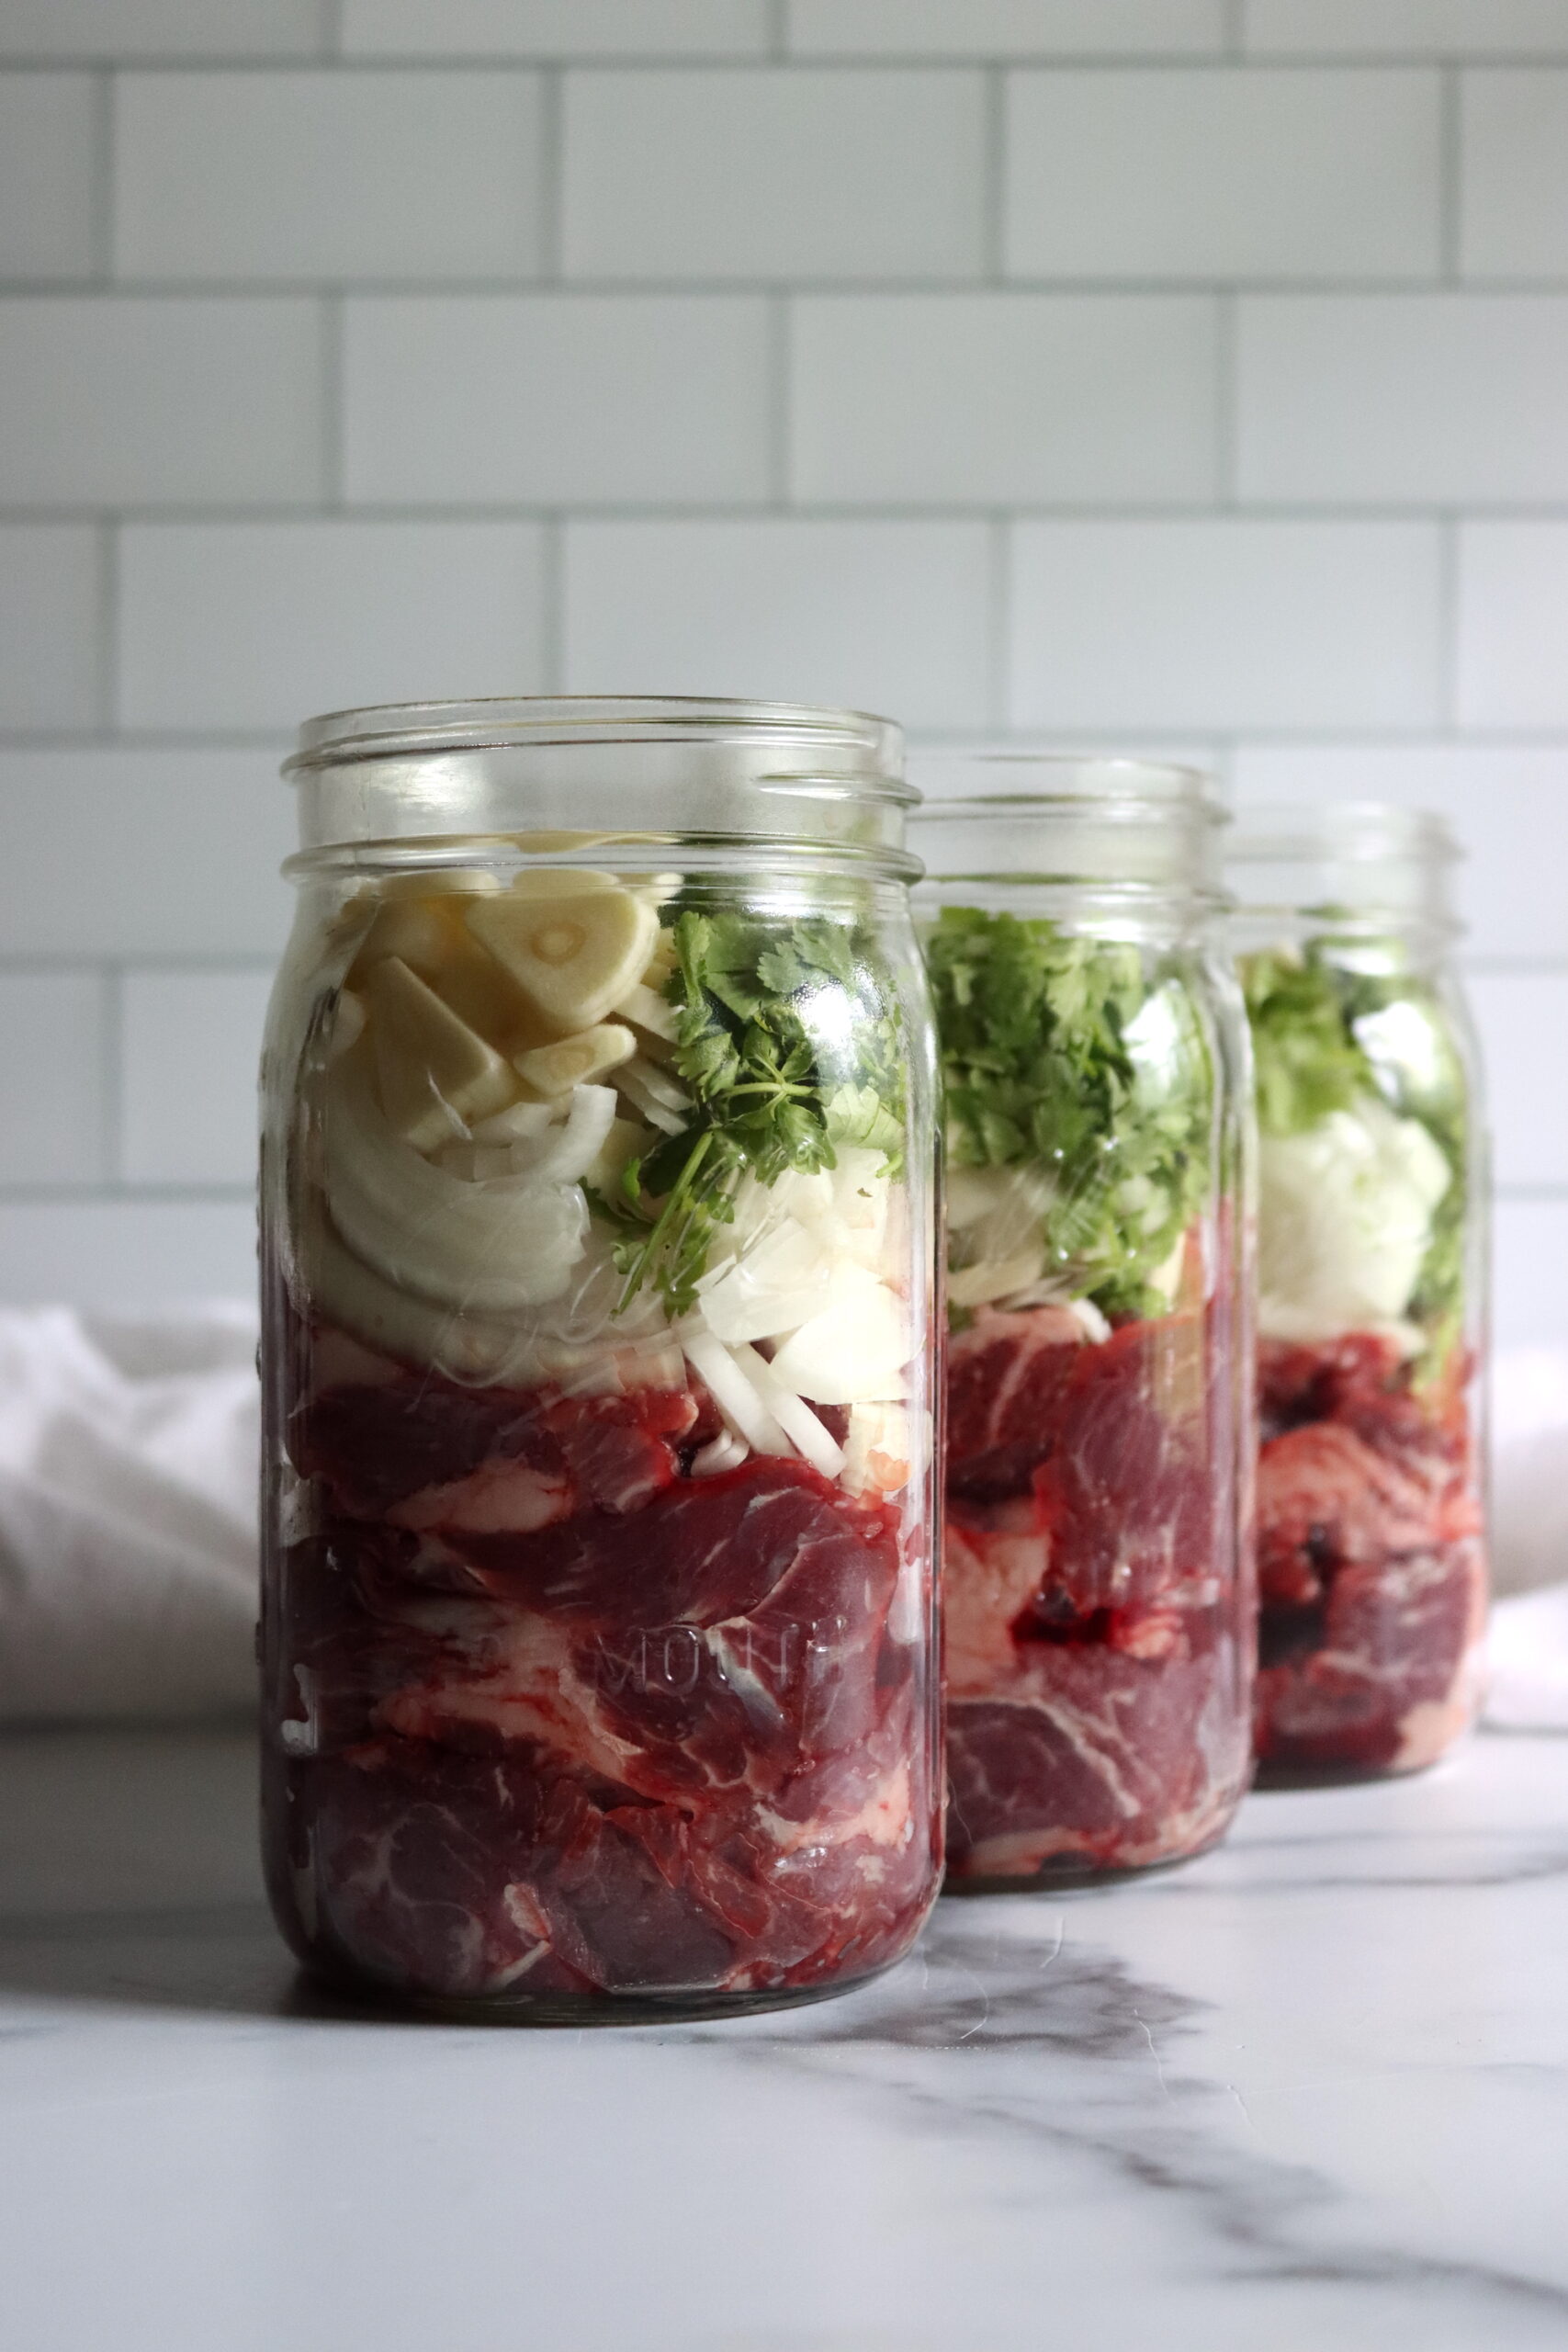
Pack the mixture into hot jars with a canning funnel, leaving 1 inch of headspace. Don’t press it down. A tightly packed jar heats unevenly, and the pack density is part of what the processing time was tested against.
Pour hot broth over the top until it just covers everything, still holding 1 inch of headspace. Run a bubble tool around the inside of each jar and check the level again, because it usually drops. Wipe the rims and threads clean, then apply lids and bands fingertip tight.
Load the jars into the canner with a jar lifter and lock the lid. Let steam vent in a steady stream for a full 10 minutes before you add the weight or close the petcock. Venting is what pushes the air out, and a canner with air trapped in it doesn’t reach the temperature the gauge claims.
Process pints for 75 minutes or quarts for 90 minutes, at 10 pounds pressure in a weighted gauge canner or 11 pounds in a dial gauge canner. Adjust for altitude with the chart below. The time stays the same at every elevation, and the pressure is what changes. If the pressure drops below your target at any point, bring it back up and start the timer over from the beginning.
When the timer goes off, turn off the heat and let the canner come down on its own. Don’t run it under water and don’t lift the weight early. Once it reads zero, let it sit 5 more minutes, then unfasten the lid and open it away from you.
Leave the jars in the canner another 10 minutes before you lift them out. Then set them on a towel with an inch of space around each one, out of a draft, and leave them 12 hours. Meat is low acid and it needs a pressure canner, dial gauge or weighted gauge. There’s no tested water bath process for this at any jar size, and the smallest batch worth running is 2 quarts or 4 pints. More recipes that run the same way are in my pressure canning recipes.
Altitude Adjustments
With pressure canning, the canning time is always 75 minutes for pints and 90 minutes for quarts, at any altitude. Only the pressure changes as you go up. Here are the altitude adjustments for pressure canning chipotle beef taco meat.
For dial gauge canners:
- 0 to 2,000 feet: 11 lbs pressure
- 2,001 to 4,000 feet: 12 lbs pressure
- 4,001 to 6,000 feet: 13 lbs pressure
- 6,001 to 8,000 feet: 14 lbs pressure
For weighted gauge canners:
- 0 to 1,000 feet: 10 lbs pressure
- Above 1,000 feet: 15 lbs pressure
Serving Chipotle Beef Taco Meat
Open a jar and tip the whole thing into a skillet, broth and all. Turn the heat to high and cook until the liquid boils away and the beef starts to sizzle in what’s left, about 5 to 10 minutes depending on your stove. Stir often near the end so it doesn’t catch.
The beef comes out tender enough to break apart with the side of a spoon. Press it against the pan and it shreds, or leave the chunks whole if you’d rather. Either way, that last few minutes in the dry pan is where the flavor concentrates.
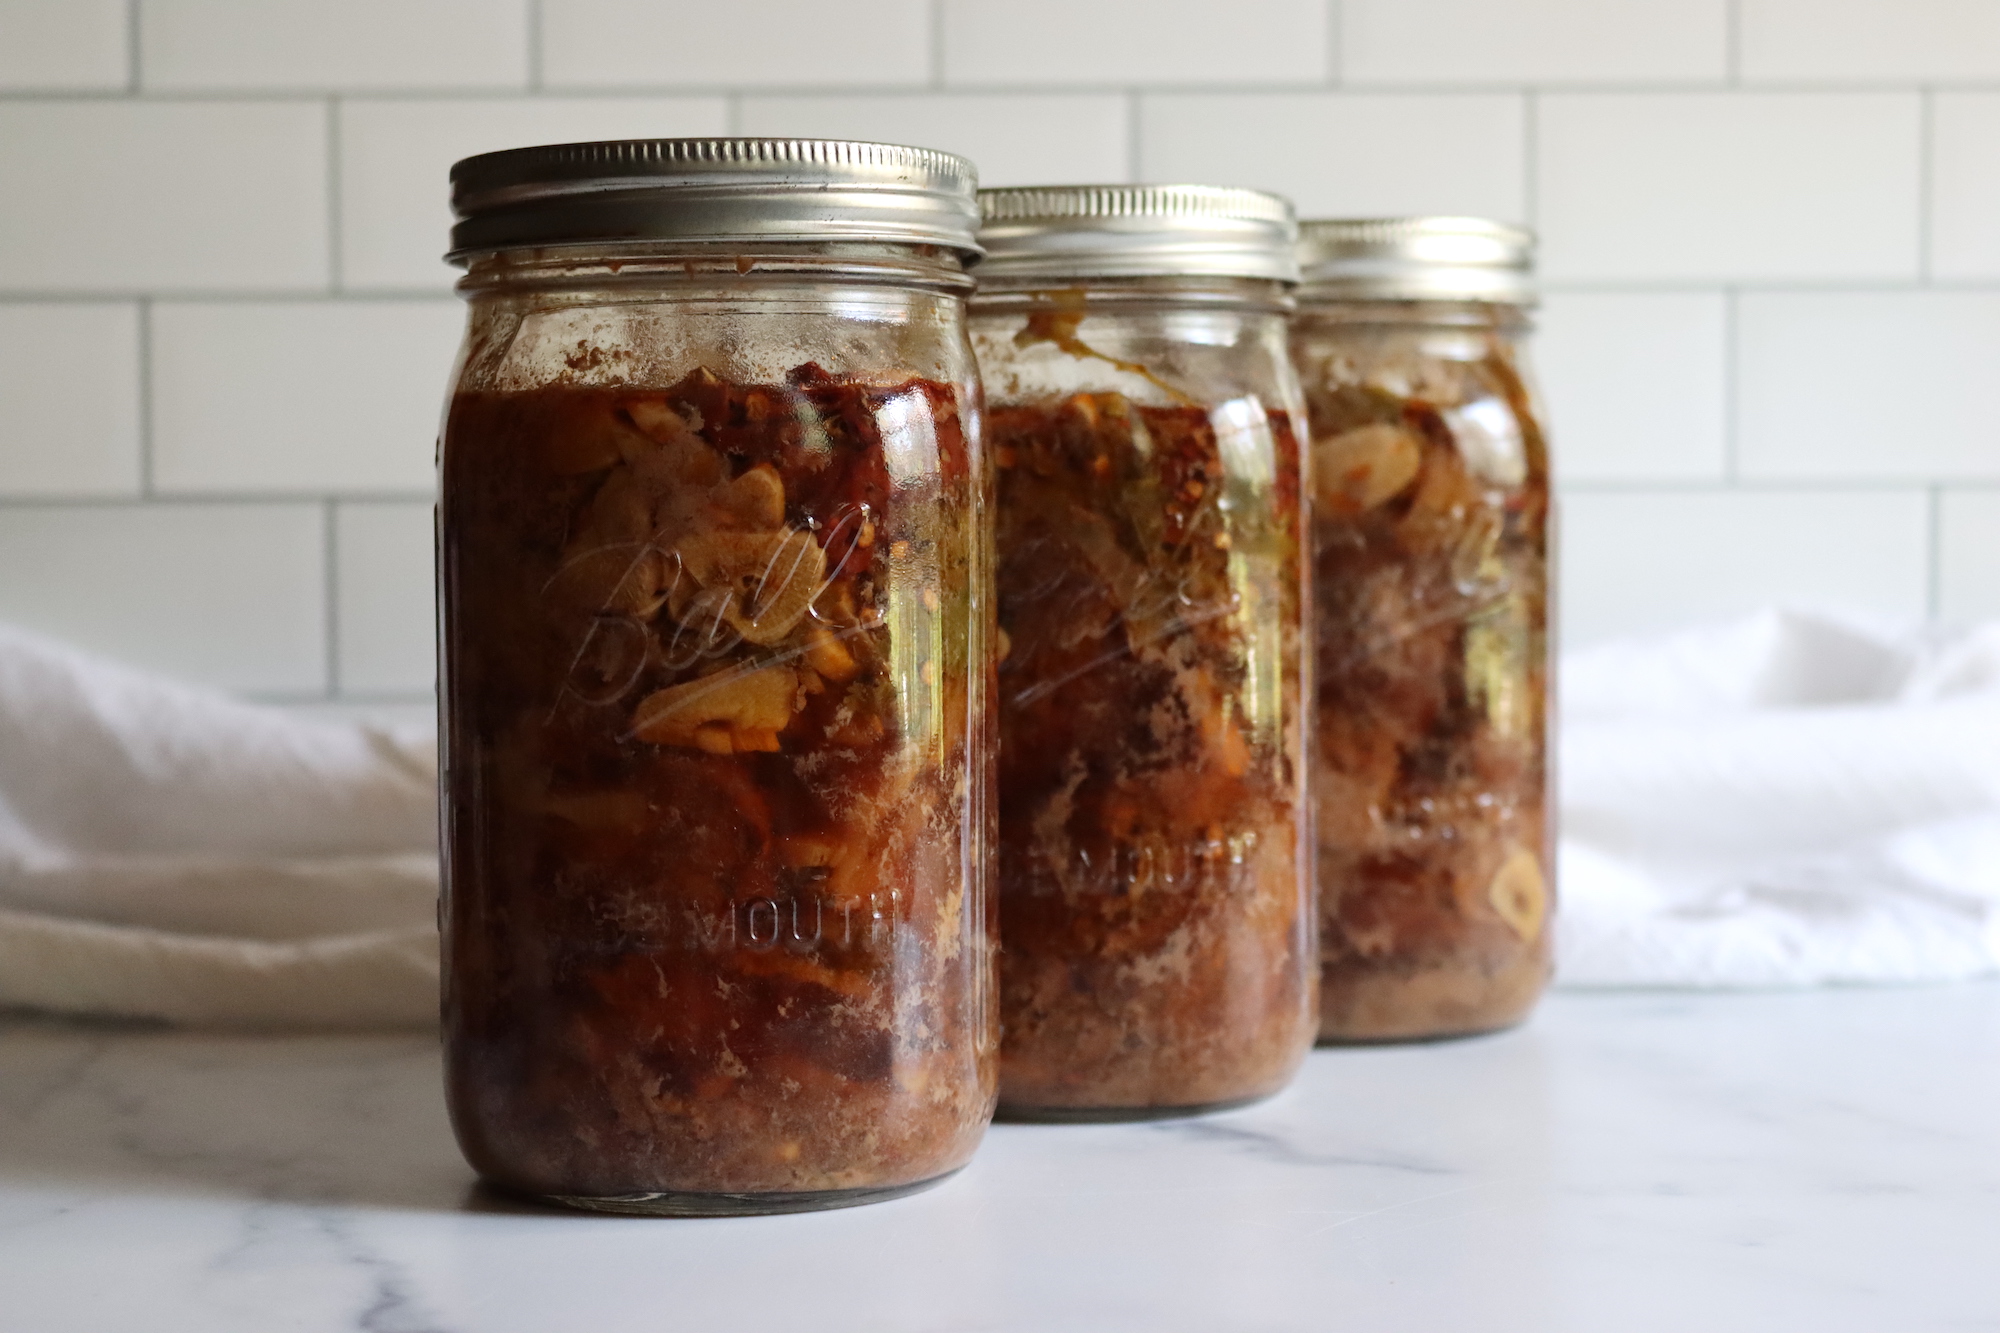
Warm tortillas are the obvious way to enjoy this, with avocado, cheese, cilantro, and a squeeze of lime. A quart fills tacos for four, and a pint does two.
It goes a lot further than tacos, though. Spoon it over rice for a burrito bowl, fold it into quesadillas, pile it on nachos, or stir it into a pot of chili as the meat. Readers add black beans or corn at this stage, which is where those belong rather than in the jar.
It reheats better than most canned meat because of the fat. There’s enough of it to crisp the edges, and that browning is what makes it taste cooked rather than canned. A nonstick pan works, but cast iron gives you better color.
Breakfast is the use I didn’t expect to like. A spoonful next to fried eggs, with a warm tortilla on the side, makes a real meal out of very little effort. More dinners that open this easily are in my meal in a jar canning recipes and my beef canning recipes.
Tips for Success
Trim the beef before you weigh it. A brisket point can carry a half pound of fat cap, and if that goes in the jar you get a thick greasy plug at the top instead of meat.
Cut the chunks a little larger than feels right. They shrink over 90 minutes, and 2-inch pieces come out about the size you’d want in a taco. Smaller pieces turn to threads.
Slice the onions instead of dicing them. Sliced onion holds together and stays recognizable in the jar, while diced onion disappears into the broth and leaves you with plain meat.
Run a bigger batch than you think you need. This is the recipe my family works through fastest, and 2 quarts goes quickly once people know it’s on the shelf. The prep for 14 quarts is barely longer than the prep for 4.
Storage and Shelf Life
Once the jars are cool, press the center of each lid. A sealed lid curves down and doesn’t move or click. Take the rings off before you store them, since a ring left on can hold a failed lid in place and hide a jar that never sealed.
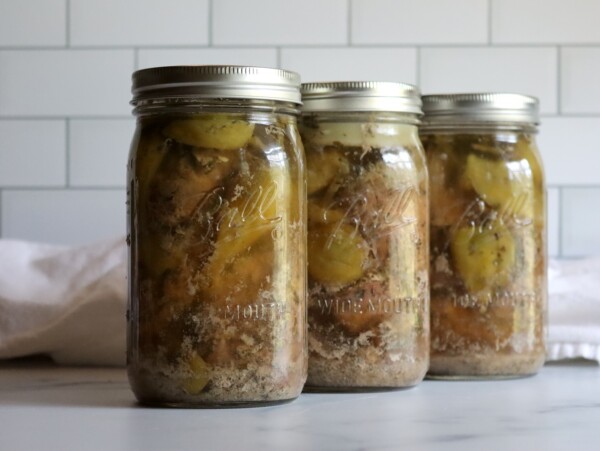
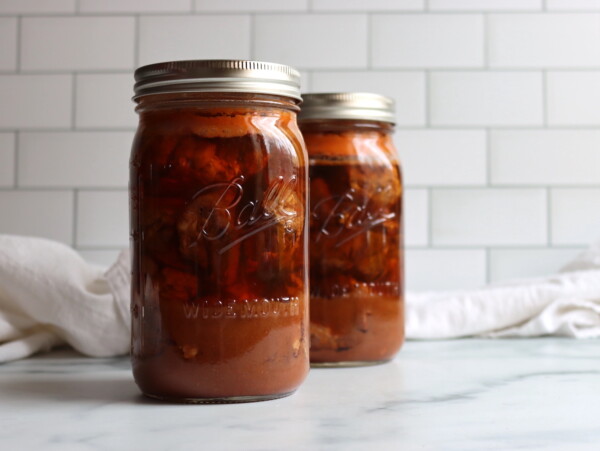
Label them and store them somewhere cool, dark, and dry. Sealed jars hold their quality for 12 to 18 months, and they stay safe past that as long as the seal holds. Expect a layer of fat at the top of the jar, which is normal on any canned meat and melts back in when you heat it.
A jar that didn’t seal goes in the fridge and gets eaten within a week, or you can reprocess it with a new lid for the full time if you catch it within 24 hours. Once you open a sealed jar, refrigerate it and use it within three or four days.
Yield Notes
One batch fills 2 quarts or 4 pints, which is also the minimum load for an even process. There’s no smaller version of this recipe, so a half batch isn’t worth starting.
Scaling up is easy, and it’s what I do. Multiply everything by whatever fits your canner, and the only ceiling is how many jars it holds in one layer or two. My large All American Brand Canner holds 14 quarts, and I fill it.
Two pounds of beef makes about 2 quarts once the onions and broth are in. If you’re buying brisket to trim yourself, start with a little more than 2 pounds, since the fat cap and silverskin come off before it’s weighed for the jars.
Canning Chipotle Beef Taco Meat FAQs
These are the ones readers ask most in the comments.
No. This is low acid, and a water bath canner doesn’t get hot enough to make meat and vegetables safe on the shelf. Boiling a jar for a long time doesn’t substitute for pressure, and there’s no tested water bath process for this at any jar size. It needs a pressure canner.
Yes. Any well-marbled tough stewing cut works in place of brisket, so chuck, round, stew beef, and flank steak all do fine, and anything you’d put in a slow cooker is a good sign. Pork shoulder, chicken thigh, and venison all substitute too. Skip the tender expensive cuts like tenderloin, which come out dry and stringy after a long process. That’s flavor rather than safety.
Add the broth. Meat does release liquid in the jar, but this recipe is written and tested with hot broth poured over to a 1-inch headspace, and that liquid is what carries heat through a jar packed with raw chunks. Pack loosely, top up to 1 inch, and don’t press the meat down to make room.
No to both. Beans, rice, pasta, and thickeners all change how heat moves through the jar, and none of them are in the tested recipe. Stir them in when you reheat instead, which is where black beans, corn, and a squeeze of lime all belong anyway.
Sealed jars in a cool, dark cupboard hold their quality for 12 to 18 months, and they stay safe longer than that as long as the seal holds. A layer of fat at the top of the jar is normal on canned meat and melts back in when you heat it. Once you open a jar, refrigerate it and use it within three or four days.
Meal in a Jar Canning Recipes
More whole dinners you can open and heat:
If you tried this Canning Chipotle Beef Taco Meat recipe, or any other recipe on Creative Canning, leave a ⭐ star rating and let me know what you think in the 📝 comments below!
And make sure you stay in touch with me by following on social media!
Chipotle Beef Taco Meat (Canning Recipe)
Equipment
- Canning Jars, Lids and Bands
Ingredients
- 2 lbs beef brisket, trimmed and cut into 2-inch chunks, see notes
- 2 cups onions, sliced
- 8 cloves garlic, sliced
- 1/2 cup fresh cilantro, chopped, optional
- 2 chipotle peppers in adobo, finely chopped
- 2 tsp oregano, dried
- 2 tsp canning salt
- beef broth, hot, about 1 cup per quart, to cover
Instructions
- Prepare the pressure canner, jars, lids, and bands. Put the trivet in, add 2 to 3 inches of water following your manufacturer's directions, and bring the canner to a gentle simmer with the jars warming inside it.
- Heat the beef broth in a separate saucepan and keep it hot.
- Combine the oregano and salt in a large bowl, then add the cilantro, garlic, and chipotle peppers.
- Trim the beef and cut it into 2-inch chunks, then add it to the bowl with the sliced onions. Mix until the seasoning is spread evenly through the meat and onions.
- Pack the raw mixture into the hot jars, leaving 1 inch headspace. Do not press it down.
- Pour hot beef broth over the mixture until it just covers the solids, still holding 1 inch headspace.
- Release trapped air bubbles, then check the headspace again and top up with hot broth to hold 1 inch.
- Wipe the rims and threads clean, set the lids on, and apply the bands fingertip tight.
- Load the jars into the pressure canner, fasten the lid, and vent a steady stream of steam for 10 minutes before adding the weight or closing the petcock.
- Process pints for 75 minutes or quarts for 90 minutes at 10 pounds pressure in a weighted gauge canner or 11 pounds in a dial gauge canner, adjusting for altitude (see notes).
- Turn off the heat and let the canner depressurize on its own, then wait 5 minutes before removing the lid, opening it away from your face.
- Leave the jars in the canner another 10 minutes, then remove them to a towel lined counter and let them cool undisturbed for 12 hours.
- Check the seals, remove the rings, label the jars, and store them in a cool, dark place.
Notes
- 0 to 2,000 feet: 11 lbs
- 2,001 to 4,000 feet: 12 lbs
- 4,001 to 6,000 feet: 13 lbs
- 6,001 to 8,000 feet: 14 lbs
- 0 to 1,000 feet: 10 lbs
- Above 1,000 feet: 15 lbs
Nutrition
Nutrition information is automatically calculated, so should only be used as an approximation.
Beef Canning Recipes
More ways to put beef on the shelf:
Find the perfect recipe
Searching for something else? Enter keywords to find the perfect recipe!

Beef brisket is not readily available in Canada. What other part of beef can be used?
Any well marbled tough stewing cut will work. Beef chuck is a good substitute, but really, anything you’d use for pot roast. Enjoy!
This recipe is now on my “Never Out” list! It’s delicious as it is, its delicious with sliced peppers added in. It’s delicious with canned black beans added when reheating. I’ve served it over rice, or with tortillas. Thank you for all your recipes. When I want to can something I always check first to see if you have a recipe, because your recipes are always winners!
Thank you Jennifer, This made my day! I love that it’s earned a spot on your “Never Out” list, and those add-ins sound great. Thanks so much for checking my recipes first, that’s the best compliment I could ask for. Happy canning!
Have you tried this with venison? Is it too lean?
I haven’t tried this with venison, but I think it should work just fine. Venison tends to do really well in the pressure canner.
Want to say I love ur recipes make them all the time Thks
Thank you Bonnie!
Do you think it would taste good with pork, I have a lot of pork roast.
Yes, I think this would be delicious with pork!
Would you use chicken stock to use this recipe for chicken?
Yes, if making this recipe with chicken, I’d suggest chicken stock (but any type of meat or veggie stock is fine in terms of safety). Enjoy!
Would it be okay to substitute flank steak? I have one of those. Thank you for any advice!
You can actually use any meat in this, be it another cut of beef, but also you could use pork, chicken, etc. Flank steak is a great choice. Anything that you would cook in a slow cooker is a great choice (chuck, round, stew beef, flank steak, etc). The only ones to avoid here, for flavor, not for safety, are the tender expensive cuts like tenderloin and such. They they don’t do as well in pressure canning. Enjoy!
I canned this for the first time and then turn around and tried it. I can’t believe how tasty it was!! The whole family loved it. What a great recipe and thank you so much for sharing! I will definitely be making more of this!!
Wonderful!
This turned out awesome!
Lovely!
This is one of our favorite things to can. I have switched the brisket for chicken and pork too.
Oh nice! I really love canning seasoned chicken taco meat, but I haven’t made a chipotle version with this recipe. Now I’m going to have to try that!
Love your recipes !
thank you so much ❤️
You’re quite welcome Darla!
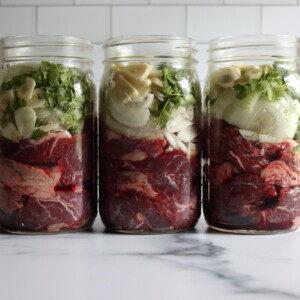
In the photo it seems you layered meat then vegetables. In the instructions you mixed it all together then added to the jar. Which is preferred.? ALSO when I have canned meat before , I did not add any liquid as the beef makes its own juice in the jar. So would adding liquid make the jars too full while processing?
Definitely want to try this, sounds DElish
Mix it all together as the instructions say. That’s how the original Ball recipe does it, and it keeps the seasoning even through every jar. The broth is part of this tested recipe. You’re right that plain raw pack beef is canned without any liquid, but that’s a different process. Here, pour the hot broth over the meat just to cover it while keeping 1 inch of headspace, and that leaves everything enough room in the jar during processing.