This post may contain affiliate links. Please see our disclosure policy.
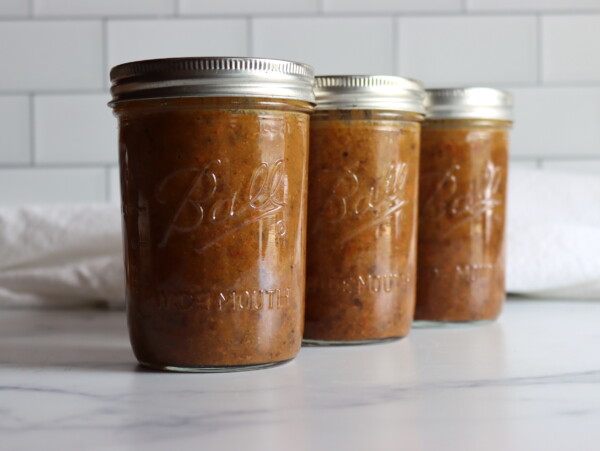
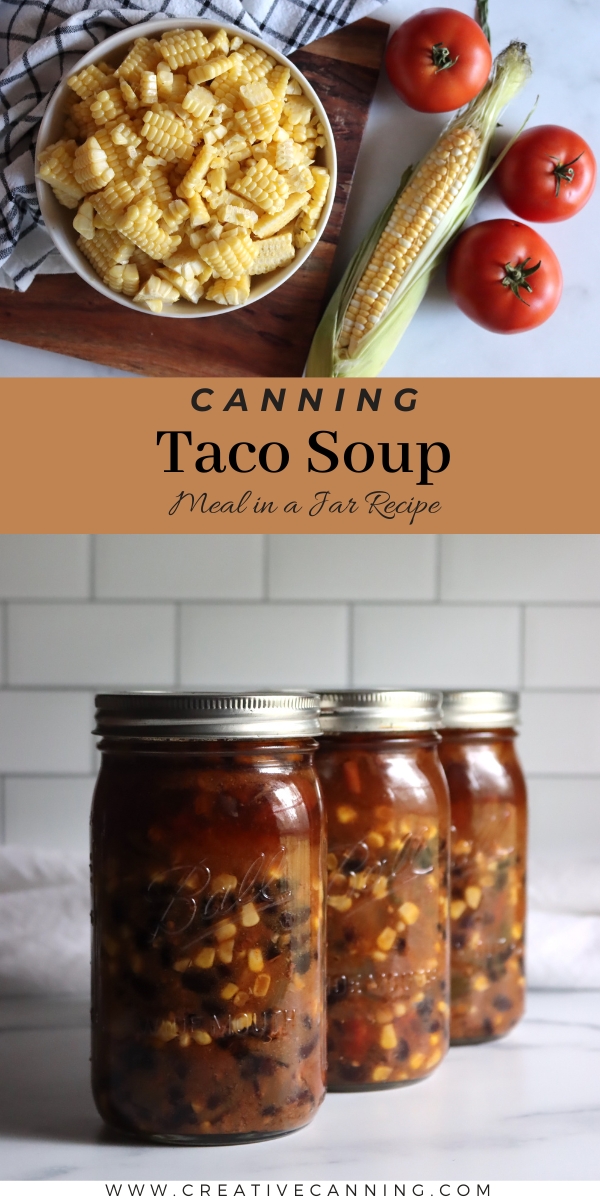
Taco Soup is a deliciously complex soup that’s incredibly satisfying right off the pantry shelf. Serve it as is, or spice it up with sour cream, salsa, and tortilla chips at serving.
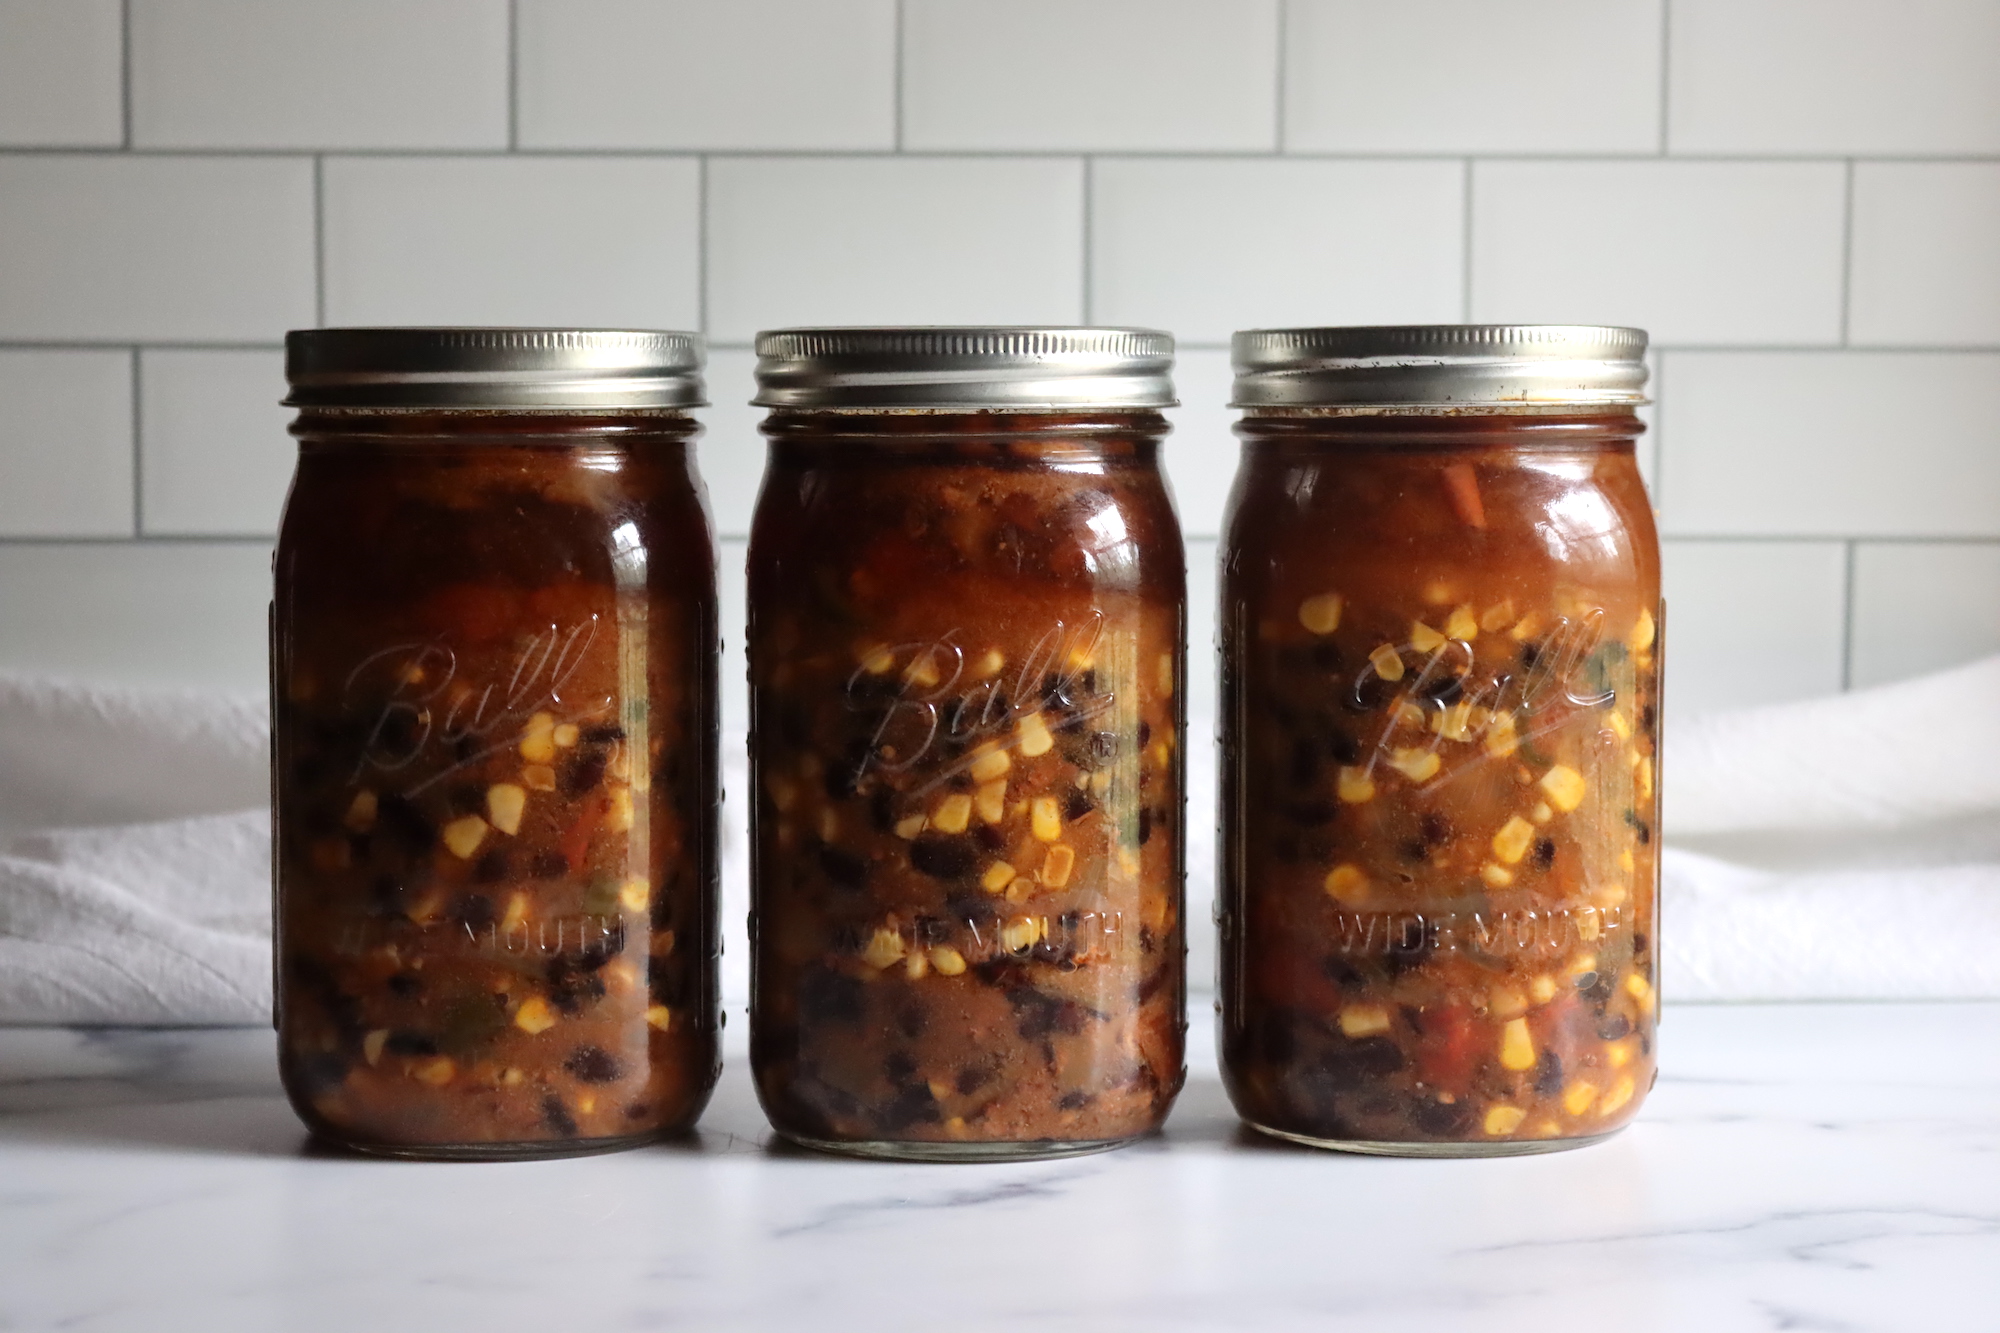
Taco soup is a delicious, satisfying soup canning recipe that’s easy to make and perfect for beginning pressure canners. It’s one of my favorite ground beef canning recipes, and the budget friendly protein is rounded out into a full meal with beans, corn and a south of the border spice mix that brings it all together.
This soup is delicious on it’s own, but I love mixing two jars of home canned soup together at serving to make new meals in a flash. Taco soup combines really well with a jar of home canned southwest tomato soup, or roasted poblano corn chowder, or southwest vegetable soup. All three variations are excellent.
Or, simple serve it as is with a sprinkle of cheese, dollop of sour cream and a few tortilla chips. (And of course, it’s always delicious with homemade salsa. This one goes especially well with southwest corn salsa or salsa ranchera, and a few lime pickled onions too!)
Why you’ll love soup canning recipe!

Taco soup has all the cozy, slow-simmered flavor of chili, but with that unmistakable “taco night” vibe built right in. When I’m staring down a weeknight that’s already gone sideways, I love knowing I can open a jar and have something genuinely filling on the table in minutes, without leaving the house.
What makes this one a real keeper in my pantry is how well it holds up as a complete meal. The beans and beef make it hearty, the tomatoes and spices give it depth, and the corn adds just enough sweetness to round everything out. And it’s endlessly customizable at serving. Add some sour cream, a handful of crushed tortilla chips, or a little extra salsa turns it into a full-on comfort-food bowl without any extra work. It’s the kind of soup that makes you feel like you planned ahead, even if you didn’t.
A Quick Look at the Recipe
- Recipe Name: Taco Soup
- Recipe Type: Soup Canning Recipe
- Canning Method: Pressure Canning
- Prep/Cook Time: 30 Minutes, plus bean soaking time
- Canning Time: 60 Min for Pints, 75 Minutes for Quarts
- Yield: 7 quart jars or 14 pint jars
- Jar Sizes: Pint or Quart
- Headspace: 1 inch
- Ingredients Overview: Ground beef, dry beans, tomatoes, onions, corn, broth and spices.
- Safe Canning Recipe Source: NCHFP Brothy Soup Canning Guidelines
- Difficulty: Moderate. Make sure you rehydrate the beans by soaking or pre-cooking them. Do not fill jars more than halfway with solids, as processing times are for a brothy soup.
- Similar Recipes: The process is very similar to making other brothy bean soups, including White Bean and Kale Soup, Butternut Squash and White Bean Soup, Chipotle Black Bean Soup and Cuban Black Bean Soup.
Ingredients for Taco Soup
This recipe for canning taco soup is adapted from Pressure Canning for Beginners and Beyond by Angi Schneider, which happens to be my very favorite pressure canning book. Angi’s recipes are always spot on, and the spicing for this one is exceptional.
The ingredients for canning taco soup are quite simple. To make a canner batch of 14 pints or 7 quarts, you’ll need the following:
- 2 lbs ground beef, lightly browned
- 1 lb (2 1/2 cups) dried beans, red, black, or pinto, presoaked
- 12 cups water, or broth
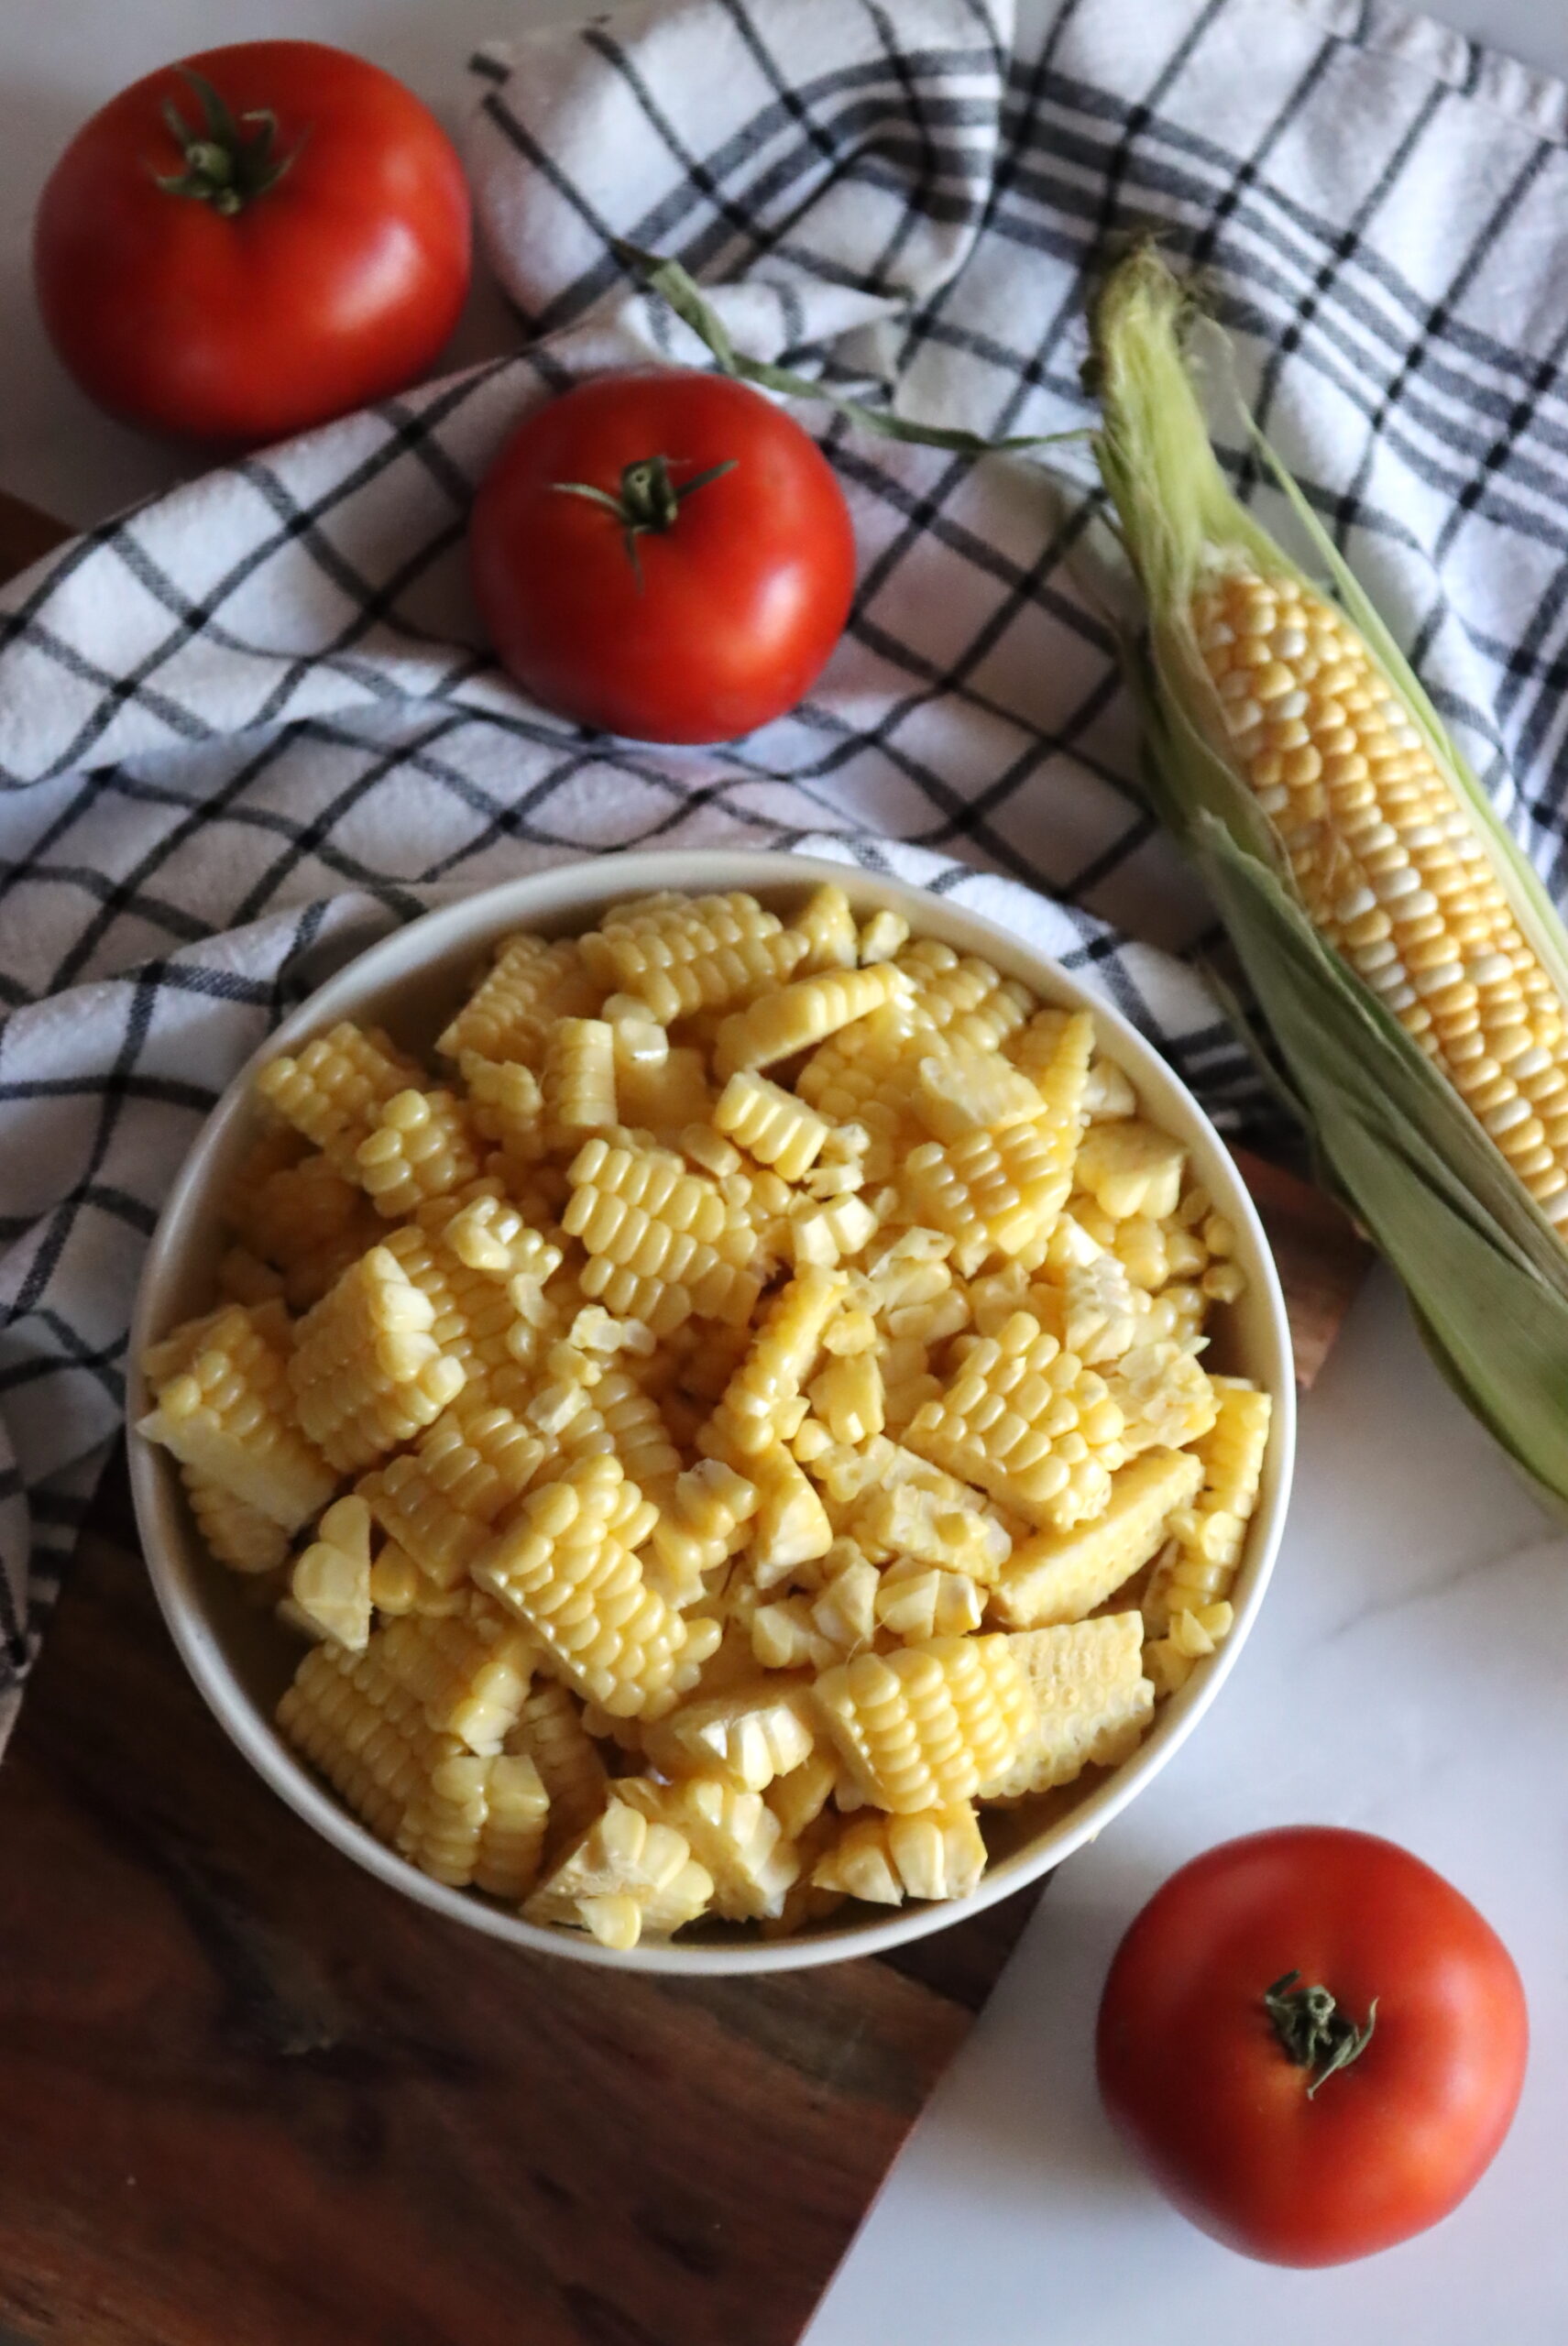
- 4 lbs tomatoes, peeled and chopped
- 4 cups onion, diced
- 4 cups corn, fresh or frozen
- 10 cloves garlic, minced
- 2 tbsp canning salt
- 2 tbsp chili powder
- 1 tbsp black pepper, ground
For Serving (optional):
- Shredded cheddar or Monterey jack cheese
- Sour cream
- Diced chives
Note that the beans in this recipe need to be soaked via the quick-soak or overnight method. Either method is fine, but make sure you do it before beginning this recipe (see below for instructions).
You will need roughly 4 ½ lbs of whole tomato and 1 ½ lbs of onions to achieve the quantities listed above. You’ll also need six to seven ears of corn, but frozen corn will work fine too.
Pre- Soaking Beans
Before canning, the beans need to be rehydrated so they cook evenly and safely in the jars. You can use either the overnight soak or the quick soak method.
For the overnight soak, place dried beans in a large pot and cover them with several inches of water. Let them soak for 8 hours or overnight, then drain and rinse before proceeding with the recipe.
For a quicker option, bring the beans and water to a boil and boil for 2 minutes. Turn off the heat, cover the pot, and let the beans soak for 1 hour. Drain and rinse the beans before canning.
Recipe Tip
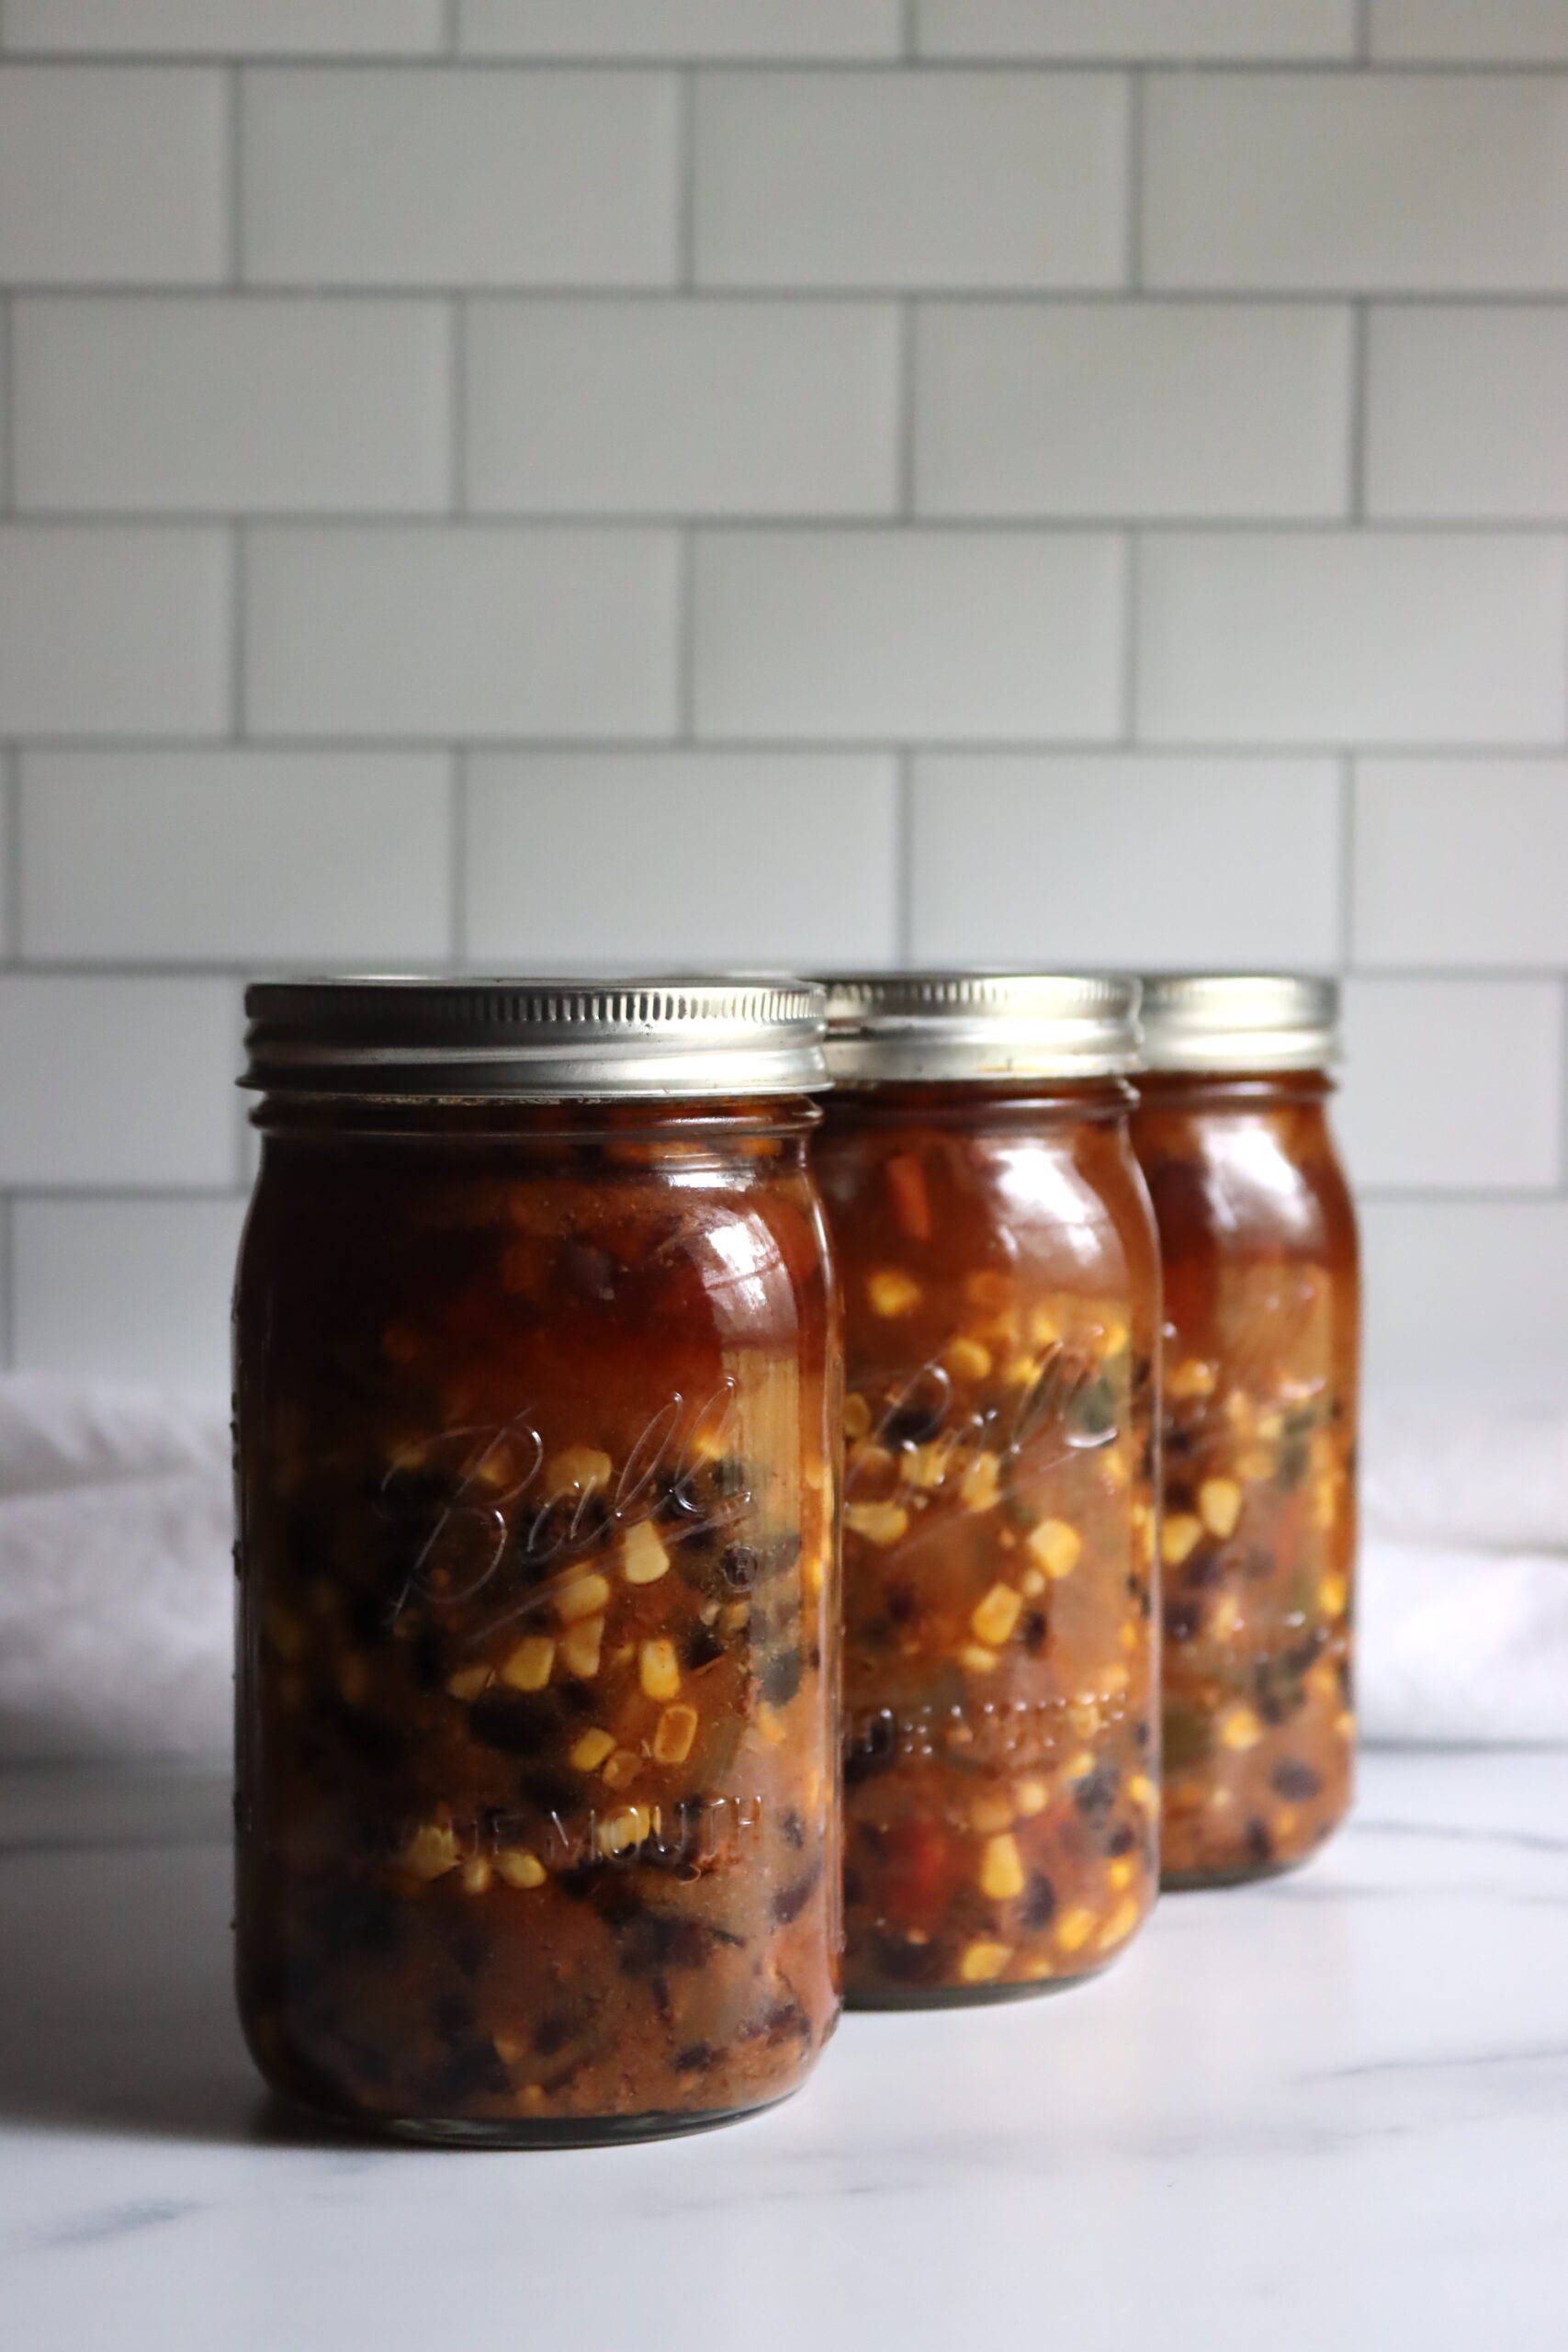
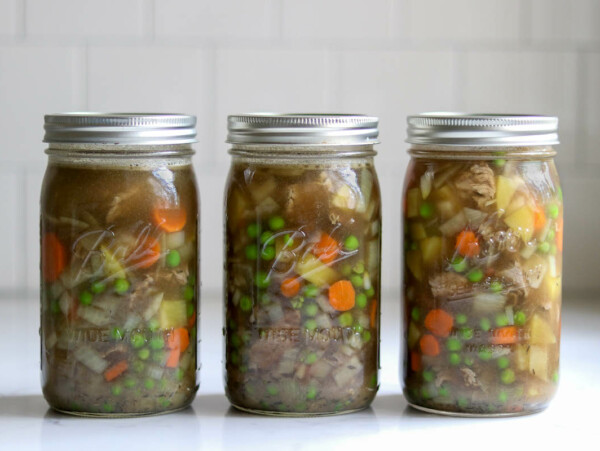
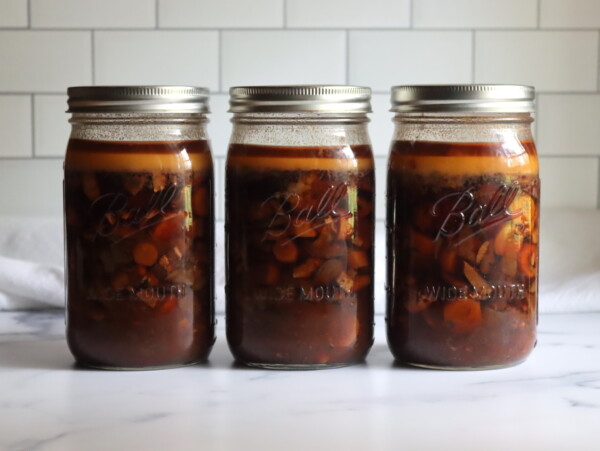
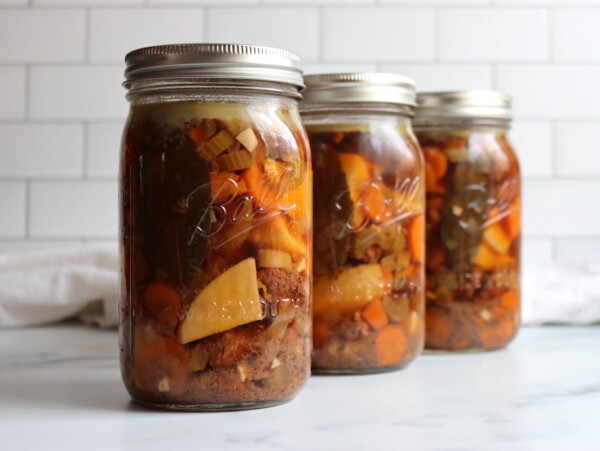
This recipe follows the “brothy soup” guidance from the NCHFP. When you pack the jars, each jar should only be half filled with solids and then the remaining space is broth. This allows for even heat penetration and proper processing.
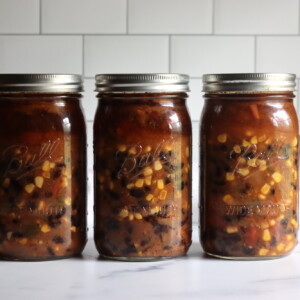
Both the beans and corn will expand when pressure canned, so in the end your jars will look about 2/3rds full when you store them on your pantry shelf. When you re-heat the soup, the broth will evaporate further, so you’ll end up serving a hearty soup. Yes, even with half filled jars at the start!
Canning Taco Soup
Begin by preparing the pressure canner, along with your lids and jars. Fill the canner with a few inches (approximately 8 cm) of water, based on the instructions from your specific canner manufacturer. Place the canner on the stovetop over low heat, placing the jars inside to stay warm. Since this is a hot-pack recipe, you’ll need to keep the water at 180 degrees Fahrenheit (82 Celsius) while you prepare the rest of the ingredients.
Start by browning your ground beef, and then set it aside.
Drain the water from the soaking beans. Pour the beans into a large stockpot, then cover with fresh water. Bring them to a boil and cook for 5 minutes, then remove from the heat and drain the water.
(Yes, you need to do this 5 minute cook and drain whether you did the overnight soak or the quick soak. It helps fully rehydrate the beans before canning.)
Pour the beans back into the pot, adding 12 cups of water or broth. Then, add the tomatoes, garlic, spices, corn, onions, and browned beef. Bring this mixture to a boil over high heat, then reduce the heat to a gentle boil. Let it boil for another five minutes.
At this point, the beans and vegetables won’t be fully cooked – that’s okay! They will continue cooking in the jars. The idea here is just that everything is heated through when it goes into the jars for hot pack, rather than it’s actually cooked at this point.
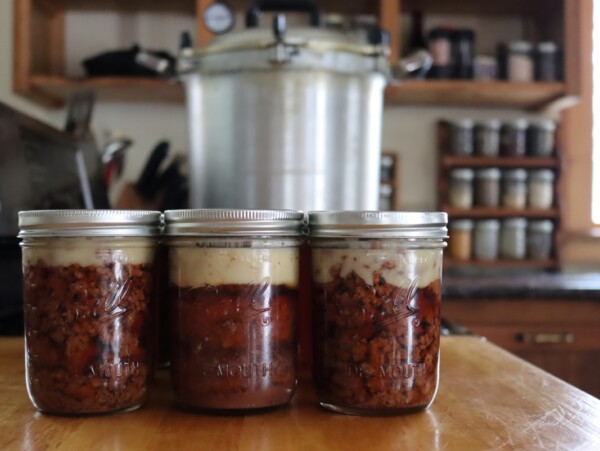
Take the stockpot off the heat, then use a slotted spoon to scoop the solids in the mixture into jars first. Evenly distribute the solids between the jars, making sure that you don’t fill the jars up more than halfway with solids.
Once the solids are distributed, ladle the remaining broth into the jars to bring it up to 1 inch headspace.
Remove the bubbles with a bubble removal tool and check to make sure you have adequate headspace. You can top the jars off with boiling water if you’re short on liquid. Then, wipe the rims using a clean, damp cloth to remove food residue or particles. Place the lids and bands on the jars, then load them into the pressure canner.
Put the lid on the pressure canner and allow it to vent steam for 10 minutes. Then, process the jars for 60 minutes for pints or 75 minutes for quarts, adjusting pressure to your altitude (see below).
When the processing time has finished, you can allow the canner to depressurize naturally. Remove the jars and let them cool on the counter for 12 hours. Check the seals, label, and store the jars for one year.
Altitude Adjustments
Altitude adjustments for meat canning recipes, including this taco soup recipe, are as follows:
For dial gauge pressure canners:
- 0 to 2,000 feet in elevation – 11 lbs pressure
- 2,001 to 4,000 feet in elevation – 12 lbs pressure
- 4,001 to 6,000 feet in elevation – 13 lbs pressure
- 6,001 to 8,000 feet in elevation – 14 lbs pressure
For weighted gauge pressure canners:
- Above 1,000 feet – 15 lbs pressure
- 0 to 1,000 feet in elevation – 10 lbs pressure
Serving Taco Soup
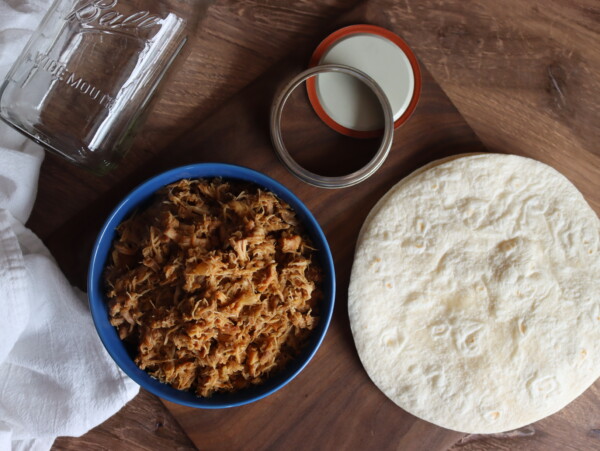
When you’re ready to serve, simply empty a jar of soup into a stockpot. Heat it up for about 10 minutes, or until it’s bubbling, then garnish with sour cream, chives, and cheese. We recommend serving it with some cornbread, tortillas, or tortilla chips.
Another great idea? Serve it over rice or with a side of cornbread. You can also use it as a filling for tacos, burritos, or quesadillas.
Taco Night Inspired Recipes

If you tried this Taco Soup Canning Recipe, or any other recipe on Creative Canning, leave a ⭐ star rating and let me know what you think in the 📝 comments below!
And make sure you stay in touch with me by following on social media!
Canning Taco Soup
Equipment
Ingredients
- 2 lbs ground beef, lightly browned
- 1 lb dry beans, weighed as purchased, then pre soaked, 2 1/2 cups dried red, black, or pinto beans
- 12 cups broth, or stock or water
- 4 lbs Tomatoes, peeled and chopped
- 4 cups onion, diced
- 4 cups corn
- 10 cloves garlic, minced
- 2 tbsp salt, canning or kosher salt
- 2 tbsp chili powder
- 1 tbsp ground black pepper
Instructions
- Pre-soak your beans, either for 8 hours (usually done overnight) or by using the quick soak method. To do a quick soak, bring the beans and water to a boil and boil for 2 minutes. Turn off the heat, cover the pot, and let the beans soak for 1 hour. Drain and rinse the beans before proceeding with the rest of the recipe.
- Prepare the pressure canner, along with your lids and jars. Fill the canner with a few inches of water, based on the instructions from your specific canner manufacturer. Place the canner on the stovetop over low heat, placing the jars inside to stay warm.
- Start by browning your ground beef, and then set it aside.
- Place your drained beans in a pot of water and bring to a boil. Cook for 5 minutes, then drain again. (This is required with both the overnight soak and quick soak methods.)
- Pour the beans back into the pot, adding 12 cups of water or broth.
- Add the tomatoes, garlic, spices, corn, onions, and browned ground beef.
- Bring this mixture to a boil over high heat, then reduce the heat to a gentle boil. Let it boil for another five minutes.
- Take the stockpot off the heat, then use a slotted spoon to scoop the solids into prepared jars. Be sure to evenly divide the solids between the jars, filling each one no more than halfway.
- Use a ladle to fill the jars the rest of the way, leaving 1 inch headspace.
- Remove the bubbles with a bubble removal tool and check to make sure you have adequate headspace. You can top the jars off with boiling water if you're short on liquid.
- Then, wipe the rims using a clean, damp cloth to remove food residue or particles. Place the lids and bands on the jars, then load them into the pressure canner.
- Put the lid on the pressure canner and allow it to vent steam for 10 minutes.
- Process the jars for 60 minutes for pints or 75 minutes for quarts. Adjust the processing pressure to your altitude, see notes below.
- Allow the canner to depressurize naturally. Remove the jars and let them cool on the counter for 12 hours.
- Check the seals, label, and store the jars for one year.
Notes
Soaking the Beans
Before canning, the beans need to be rehydrated so they cook evenly and safely in the jars. You can use either the overnight soak or the quick soak method. For the overnight soak, place dried beans in a large pot and cover them with several inches of water. Let them soak for 8 hours or overnight, then drain and rinse before proceeding with the recipe. For a quicker option, bring the beans and water to a boil and boil for 2 minutes. Turn off the heat, cover the pot, and let the beans soak for 1 hour. Drain and rinse the beans before canning.Altitude Adjustments for Canning Taco Soup
Altitude adjustments for meat canning recipes, including this taco soup recipe, are as follows:For dial gauge pressure canners:
- 0 to 2,000 feet in elevation – 11 lbs pressure
- 2,001 to 4,000 feet in elevation – 12 lbs pressure
- 4,001 to 6,000 feet in elevation – 13 lbs pressure
- 6,001 to 8,000 feet in elevation – 14 lbs pressure
For weighted gauge pressure canners:
- 0 to 1,000 feet in elevation – 10 lbs pressure
- Above 1,000 feet – 15 lbs pressure
Nutrition
Nutrition information is automatically calculated, so should only be used as an approximation.
Beef Canning Recipes
Find the perfect recipe
Searching for something else? Enter keywords to find the perfect recipe!

Can I leave out the meat, will that change the pressure time
You can leave out the meat, but that won’t impact the canning time. Beans and corn actually can for as long as meat, so it’s the same canning time either way.
Can frozen corn be used or does it need to be fresh from the cob?
Frozen corn works wonderfully, enjoy!
Doesn’t it have to can for 90 minutes, because it has meat in it?
This one follows the NCHFP’s guidance for canning soups, which allows you to process the jars for less time because they’re only half filled with solids. You can read more about the canning times and guidance used for this recipe here: https://creativecanning.com/choice-soup-canning-recipe/
Hope this helps!
I have canned steamed tomato juice I use in place of broth a lot of times. Can I use that in place of the broth here or should I stick to my canned chicken broth?
You can use tomato juice here, that’s totally fine. Enjoy!
Thanks!! Making some now for meal prep for my new grandbaby due in a few weeks!
Lovely!
If you don’t like diced tomatoes, can you use crushed tomatoes instead?
Of course. Enjoy!
Can I substitute chicken for ground beef.
Yes, you can use any meat in this recipe. Enjoy!
I just finished canning 7 quarts of seasoned taco meat for my daughter’s family. I have about 2 lbs left. I’d like to use it to make this recipe. I was wondering if maybe I could just leave out the chili powder? What do you think?
Yes, that’s perfectly fine! Pre-cooked seasoned taco meat would be great in this recipe, and in that case, yes, I’d leave out the chili powder (and maybe the other seasonings depending on what you used for seasoning in the taco meat). You may also need to adjust the salt. Either way, those are all fine modifications for this recipe. Enjoy!
I made this recipe and it is one of my favourite recipes for canning. I will definitely make it again. Delicious!
Wonderful!
Is it possible to do this with water bath canning method as I don’t have a pressure canner?
No, this one has to be pressure canned. Waterbath canning only works for jams, jellies and pickles.
Can I use ground turkey instead of ground beef ?
Yes, that’s perfectly fine. Enjoy!
Looks wonderful. We love taco soup here. Did I miss how long the beans should soak? Thank you!
You can do an overnight soak (8 hours) or a quick soak. For a quick soak, bring the beans and water to a boil and boil for 2 minutes. Turn off the heat, cover the pot, and let the beans soak for 1 hour. Drain and rinse the beans before canning.
Looks yummy! I’ve read that you can sometimes safely substitute vegetables in canned soup recipes, as long as the total measurements remain the same. If so, could I substitute some of the corn and onions for chopped peppers?
For this particular recipe, yes, so long as the total volume says the same. This recipe follows the “brothy soups” protocol for canning, where you fill the jar halfway with solids and then fill to the top with broth. Because the beans expand a bit the jars look a bit more than half full coming out of the canner. Here’s where you can find instructions on what you can and cannot substitute in this recipe:
https://creativecanning.com/choice-soup-canning-recipe/
This sounds so good! How would you adjust the recipe if not able to pressure can and just want to make it for supper?
If you’re not going to pressure can it, the main thing you have to make sure is that the beans get cooked. What I’d do is cook the beans in broth until just tender, and then make the soup from there.
Can you use chicken breast cubed instead of ground beef?
Yes, that’s a fine substitution and I think it’d be delicious. Enjoy!
Unfortunately(or not) my soup canned at 15 pressure for 1/2 the time. Is that ok or do I need to start over?
I’m assuming that 10 pounds is right for your altitude? Canning at a higher pressure than required is fine, and that’s perfectly safe. For most foods, you actually won’t notice much of a difference. In taco soup, you might notice that the beans are a bit softer, and the corn might have changed in flavor a bit. The natural sugars in corn caramelize when canned at a really high temperature. That may or may not be delicious in this soup, you’ll have to see. But in terms of canning safety, if the jars are sealed, you’re good.
Hi, can I use canned diced tomatoes instead of fresh?
Yes, that’s perfectly fine, enjoy!
Can I use taco seasoning in the taco soup for canning? If so how much for 2 lbs of ground meat. Do I leave out the chili powder.
You should be able to use a packet of taco seasoning, depending on what’s in it. If it has thickeners (flour, etc), then no, but if it’s just spices then it’s fine. Most taco seasoning has salt in it though, so that’d likely make your recipe too salty if you used all the salt I have in the recipe. You’ll have to play with it and find a recipe that suits your tastes, but canning wise, there’s no reason not to try it. Enjoy!
I have some extra taco soup from my batch as I did some quarts and some pints. How long does the extra amount need to cook in order to soften the beans?
Depends a bit on your beans, but I’d go with an hour and a half, to up to 2 hours.
Can I use canned whole tomatoes?
Yup, that’s fine. Just make sure you chop them, but they can come from a can instead of fresh. Enjoy!
Could I use canned tomatoes instead of fresh for the taco soup? If so, what would be the amount?
Yes, you can use canned tomatoes in place of fresh. One 14.5 ounce can of diced tomatoes is usually considered equal to a pound, so since this recipe starts with 4 pounds tomatoes, you’d need four or those cans.
I have a Ball electric canner. How many minutes would I need to process in that?
Ball electric canners are water bath only, and this is a pressure canning recipe.
Because the beans are not fully cooked how full should the jars be of solids compared to the liquid so there is space for expansion of the beans? Your finished jars looks like it’s a ratio of 3 to 1 solids to liquid.
When you pack the jars, you’re only filling the jars halfway with solids. The beans do still expand a bit when canned, so they end up looking more like they’re 3/4 full when they’re canned and on the pantry shelf.
I have a good bit of creamed corn in my freezer that I need to rotate out. Could I use it in this?
Creamed corn is one of those that’s tricky for canning because it has so much starch. You can’t add that to soup canning recipes in general, even when you can use regular corn. Sorry about that!
Can I adjust seasonings to my taste without compromising the shelf stability?
You can adjust any dry seasonings you like without compromising safety. Enjoy!
I find it difficult to use a recipe that uses pounds instead of cups like 1 pound of dried beans Are we suppose to weigh the beans and other ingredients Do i need a kitchen scale?
A pound of dried black beans is 2 1/2 cups. I’ll go in and add that note. (Many people buy their beans in 1 pound bags, and don’t know it in cups, that’s why I put the dry bean measurements by weight.)
Unfortunately, I currently do not have a pressure canner. Can I water bath the soup? Also, for how long?
This recipe (and all soup recipes) must be pressure canned.
Hi! How long do you soak the beans for adding them to this recipe?
You can do an overnight soak (8 hours) or a quick soak. For a quick soak, bring the beans and water to a boil and boil for 2 minutes. Turn off the heat, cover the pot, and let the beans soak for 1 hour. Drain and rinse the beans before canning.
Do you cook the beef before adding it?
Yes, the ground beef needs to be browned before it’s mixed into the soup for this recipe.
Could this be canned without meat? I’m a new vegetarian and wondered if I left meat out would it change the time of canning?
You can can this recipe without the meat, that’d be perfectly fine. The canning time would be the same actually, as corn has one of the longest canning times of anything (including meat). Just skip adding the meat and proceed with the recipe as written otherwise. (You’ll likely need more veggie broth to fill the jars, so plan for that.)