This post may contain affiliate links. Please see our disclosure policy.
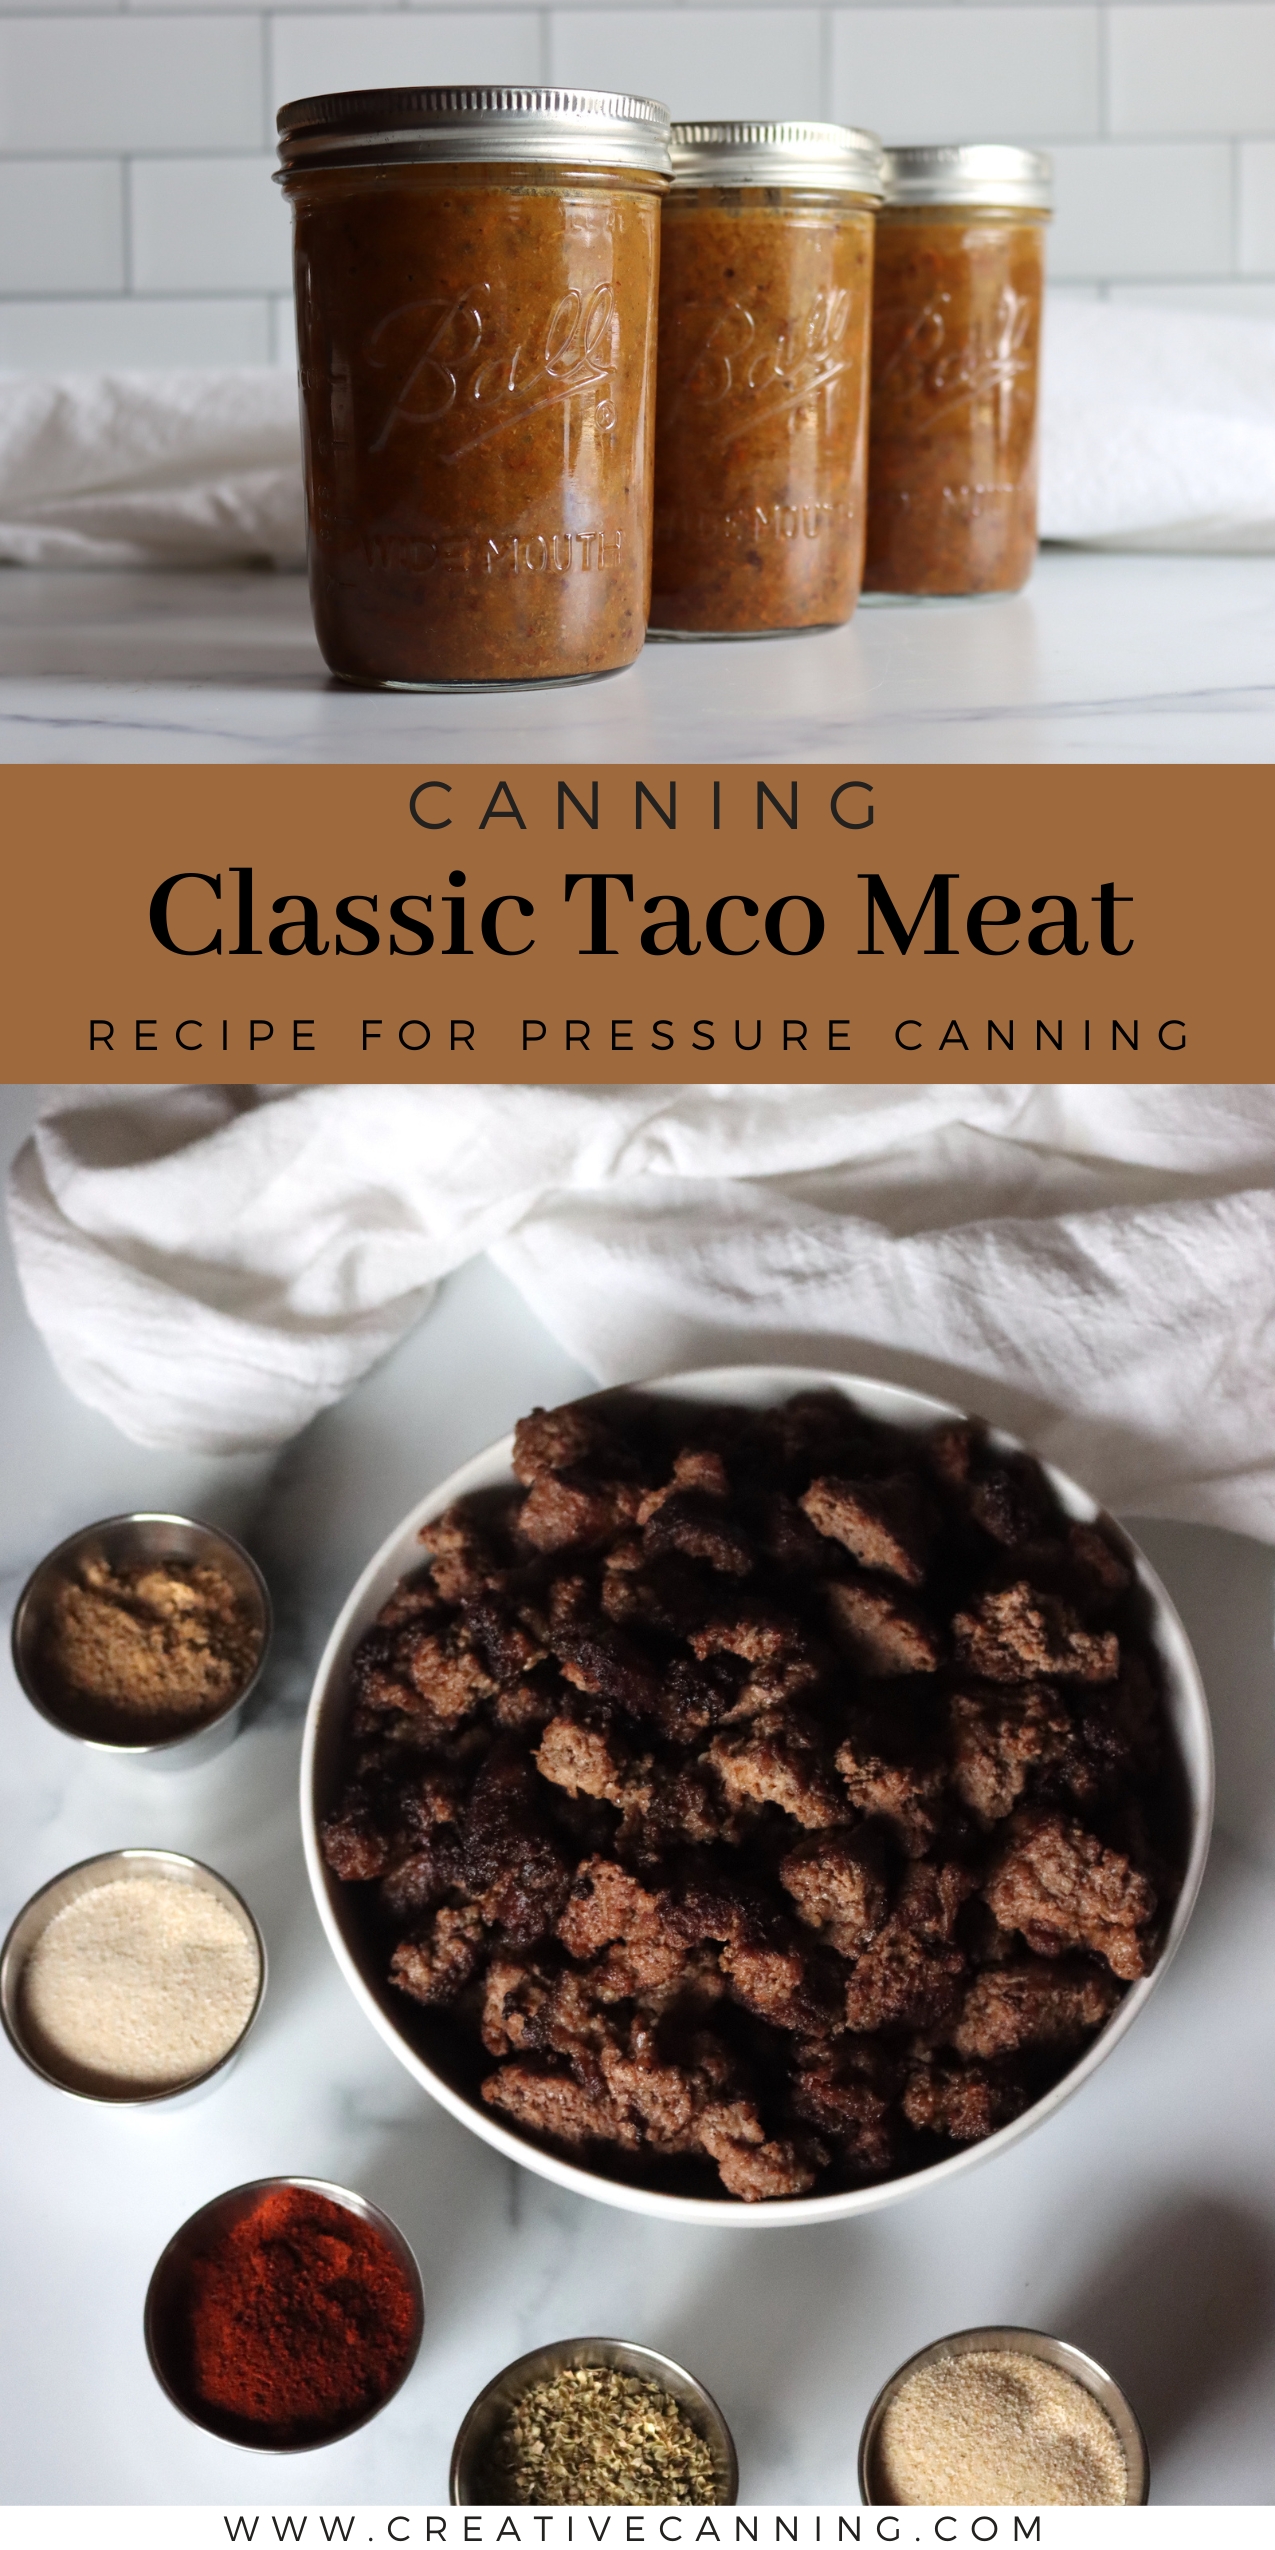
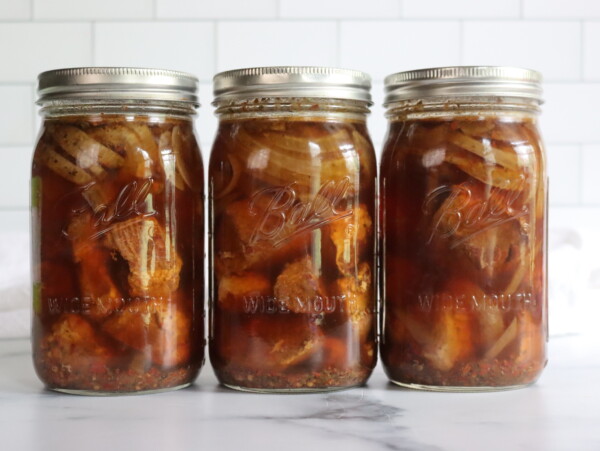
Canning taco meat is a delicious homemade convenience food, and after pressure canning, it’ll be waiting ready to heat and eat on your pantry shelf.
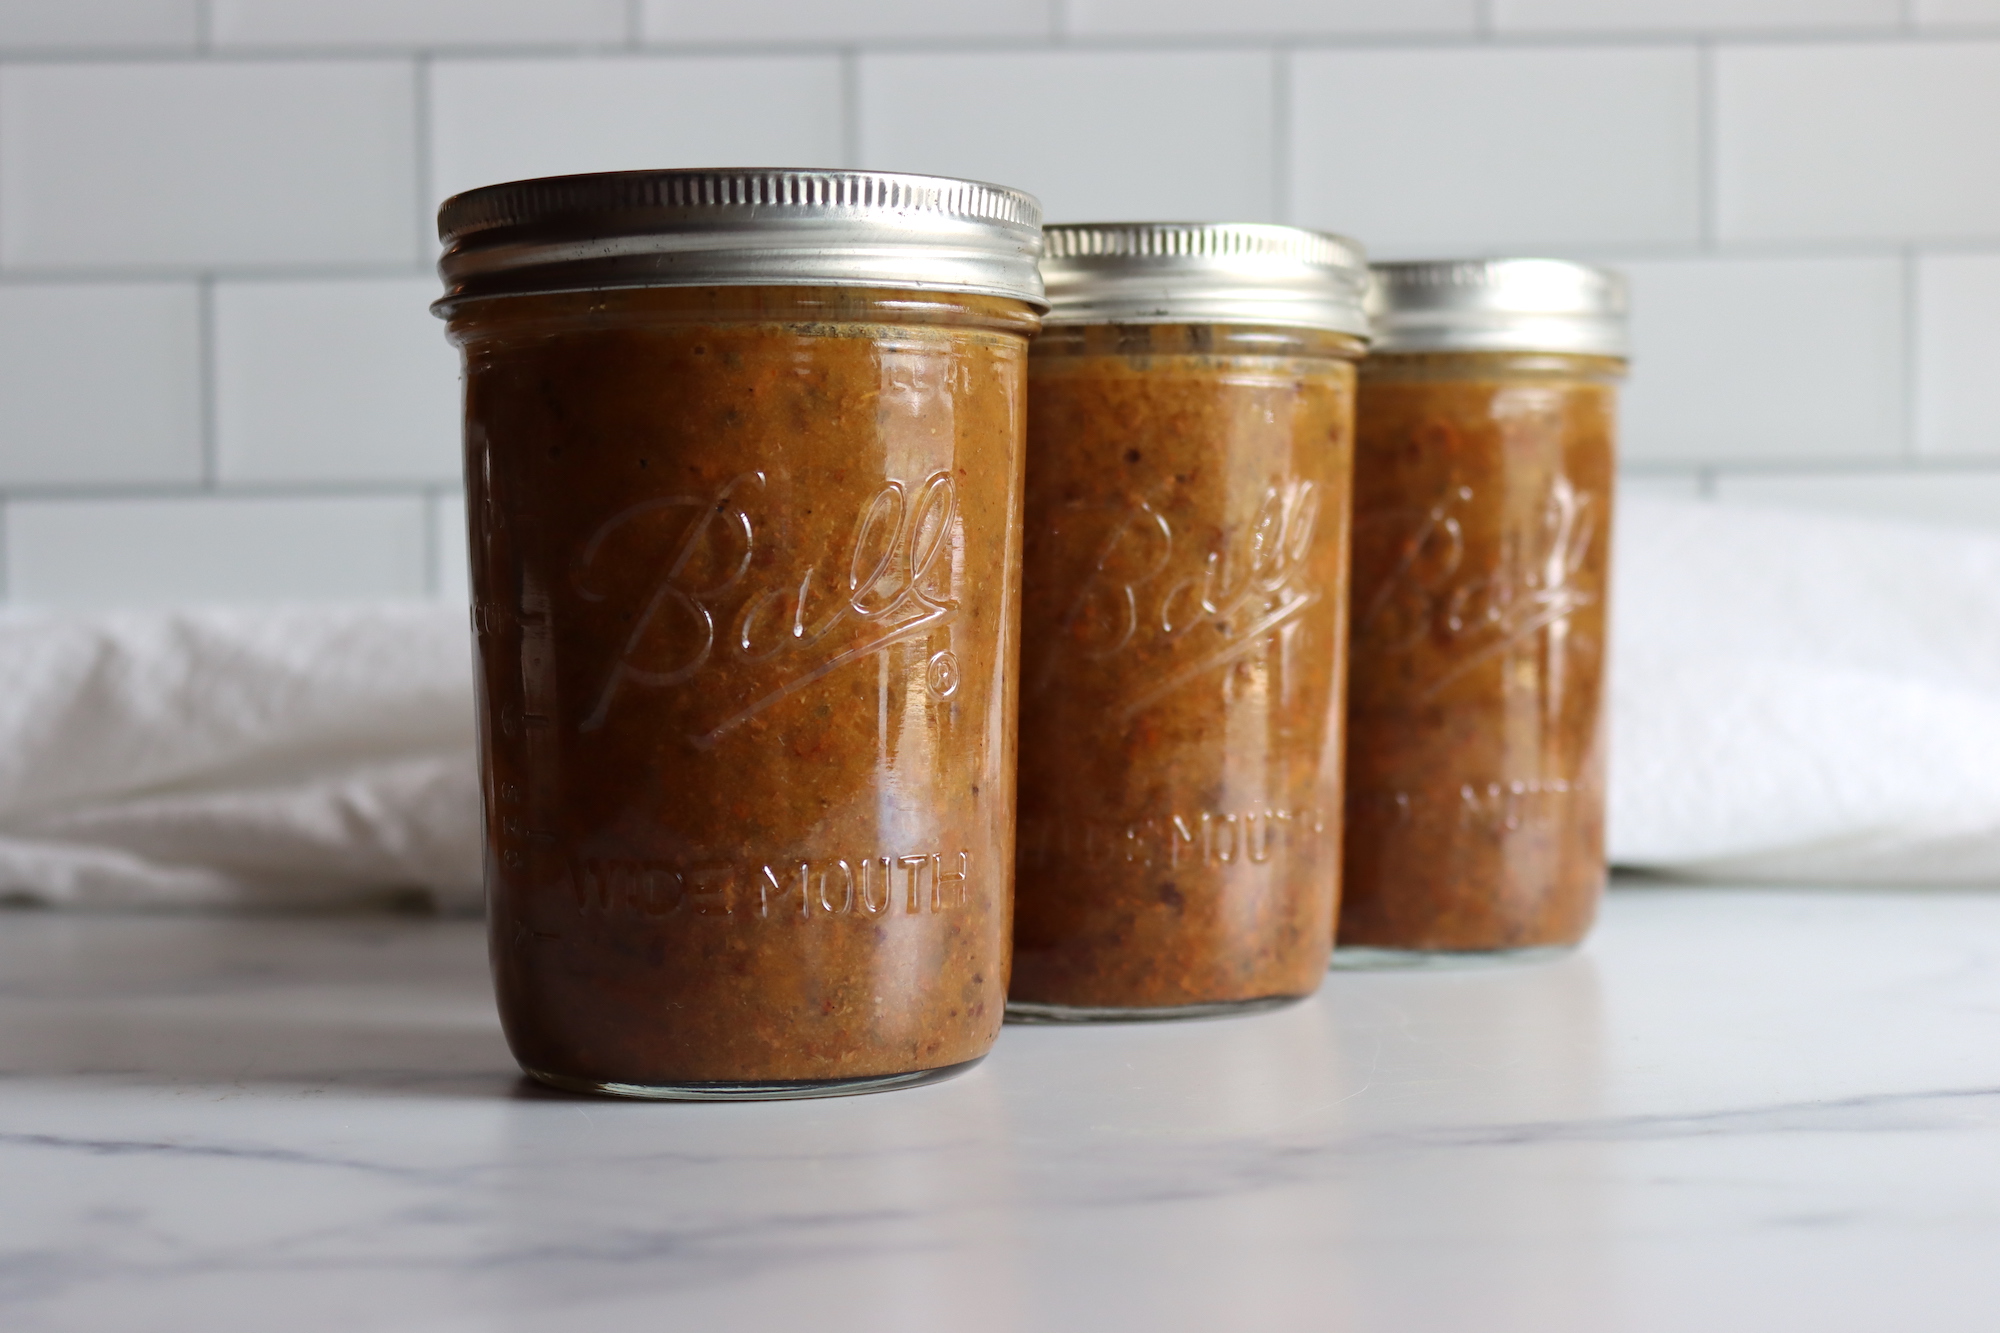
If you’re a fan of tacos (who isn’t?), you’ll love the idea of having taco meat prepped and ready to go, just waiting in your pantry for a quick and tasty meal. Pressure canning taco meat with ground beef is an easy way to store flavorful, seasoned meat that can be used for tacos, burritos, nachos, and so much more.
You won’t have to worry about defrosting meat before dinner (or the freezer going out in a storm). Storing ready to heat and eat taco meat on your pantry shelf ensures you have tender, juicy taco meat available on demand. Whether you’re a busy parent, meal prepper, or just love the convenience of homemade convenience foods, this recipe will quickly become a staple in your kitchen.
Why Pressure Can Taco Meat?
Pressure canning is a safe and effective way to preserve meat, and it works wonders for taco meat. Ground beef can be canned with a flavorful broth or juice, allowing the spices to infuse the meat during the canning process.
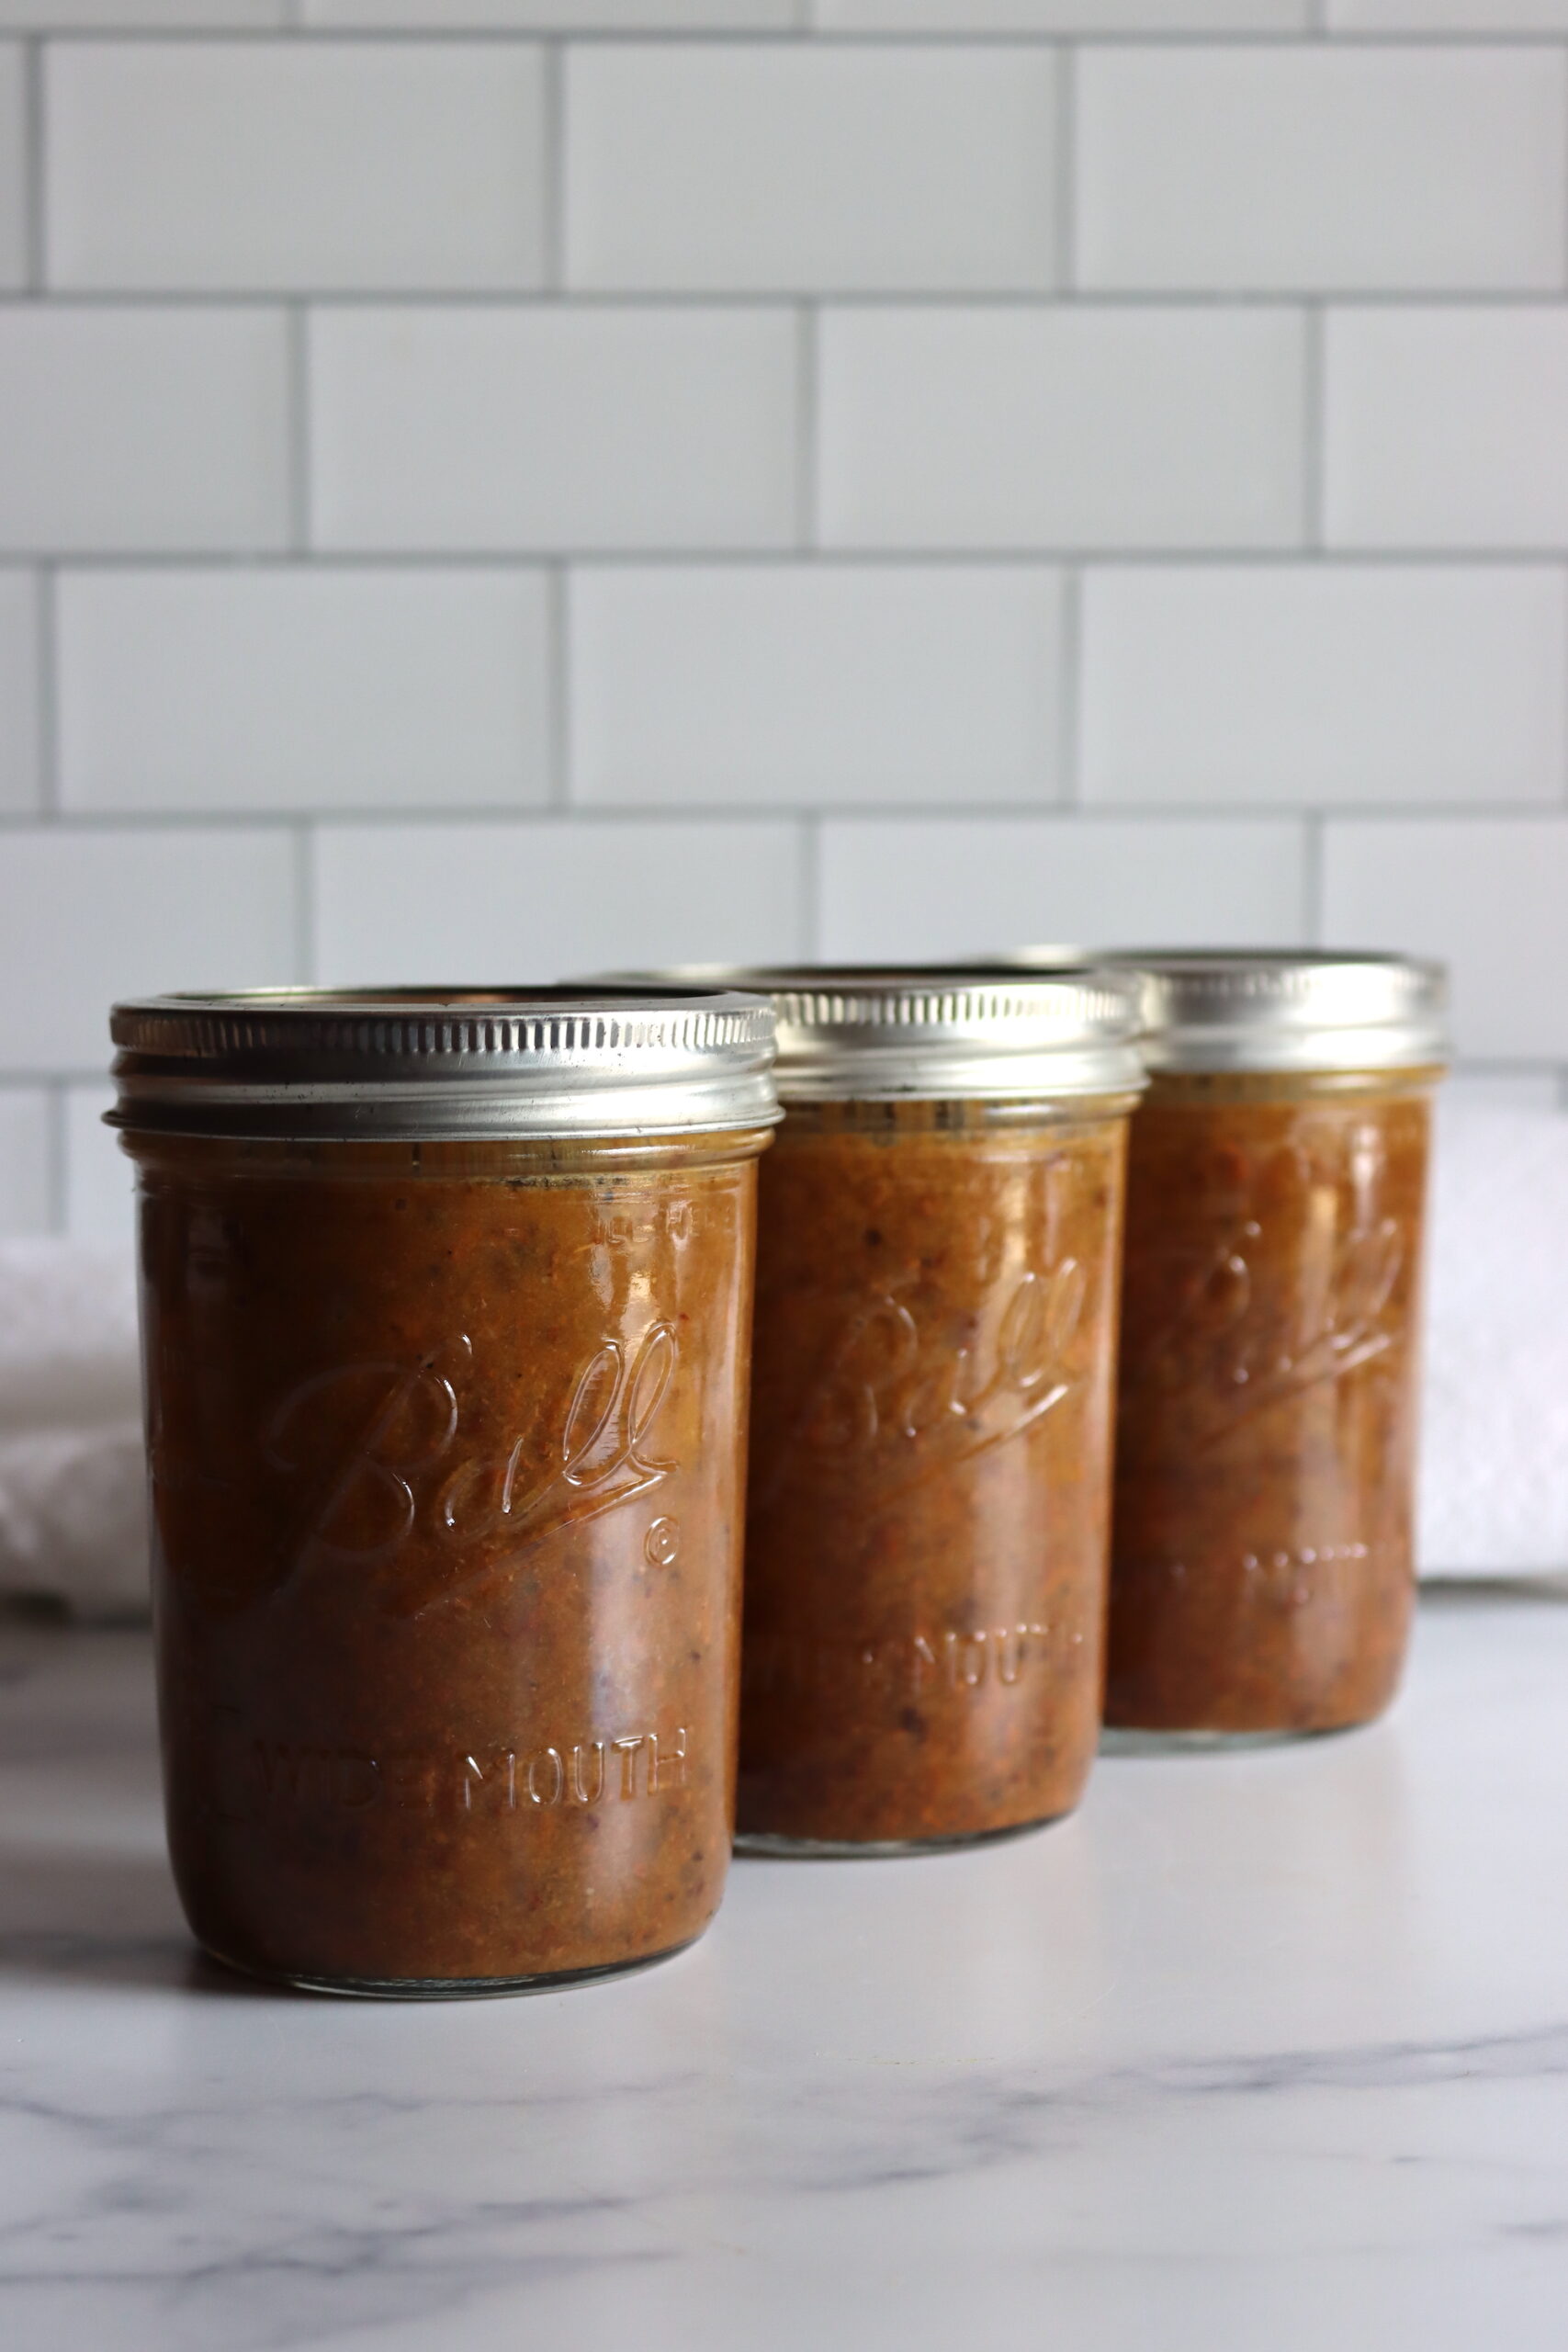
By using beef broth or tomato juice as the canning liquid, you’ll end up with moist, tender taco meat that’s ready to heat and serve. Plus, the pressure canning method seals in the flavor, making sure your taco meat stays delicious for months.
For the best flavor, don’t drain the meat when serving. Simply pour it into a saucepan and cook over high heat until most of the liquid evaporates, concentrating the flavor.
Ingredients for Canning Taco Meat
To make 4 pint jars, you’ll need the following:
- 3 lbs ground beef
- 3 to 4 tsp salt
- 2 Tbsp. Onion Powder or Minced Onion
- 1 Tbsp. Garlic Powder
- 1 Tbsp. Chili Powder
- 1 Tbsp. Cumin
- 1 tsp. Oregano (preferably Mexican oregano)
- 1 tsp. Red Pepper Flakes (optional, for heat)
- Beef broth or tomato juice (about 3 cups, for canning liquid)
This recipe uses ground beef for classic ground beef tacos, but you can use any ground meat you have on hand. Ground chicken, turkey and pork work fine, as do wild game meats like venison and bear.
Generally, you want about 1 tsp of salt per pint when canning ground meat, but feel free to adjust to your tastes. I tend to like a little less, and I usually go with around 3 tsp.
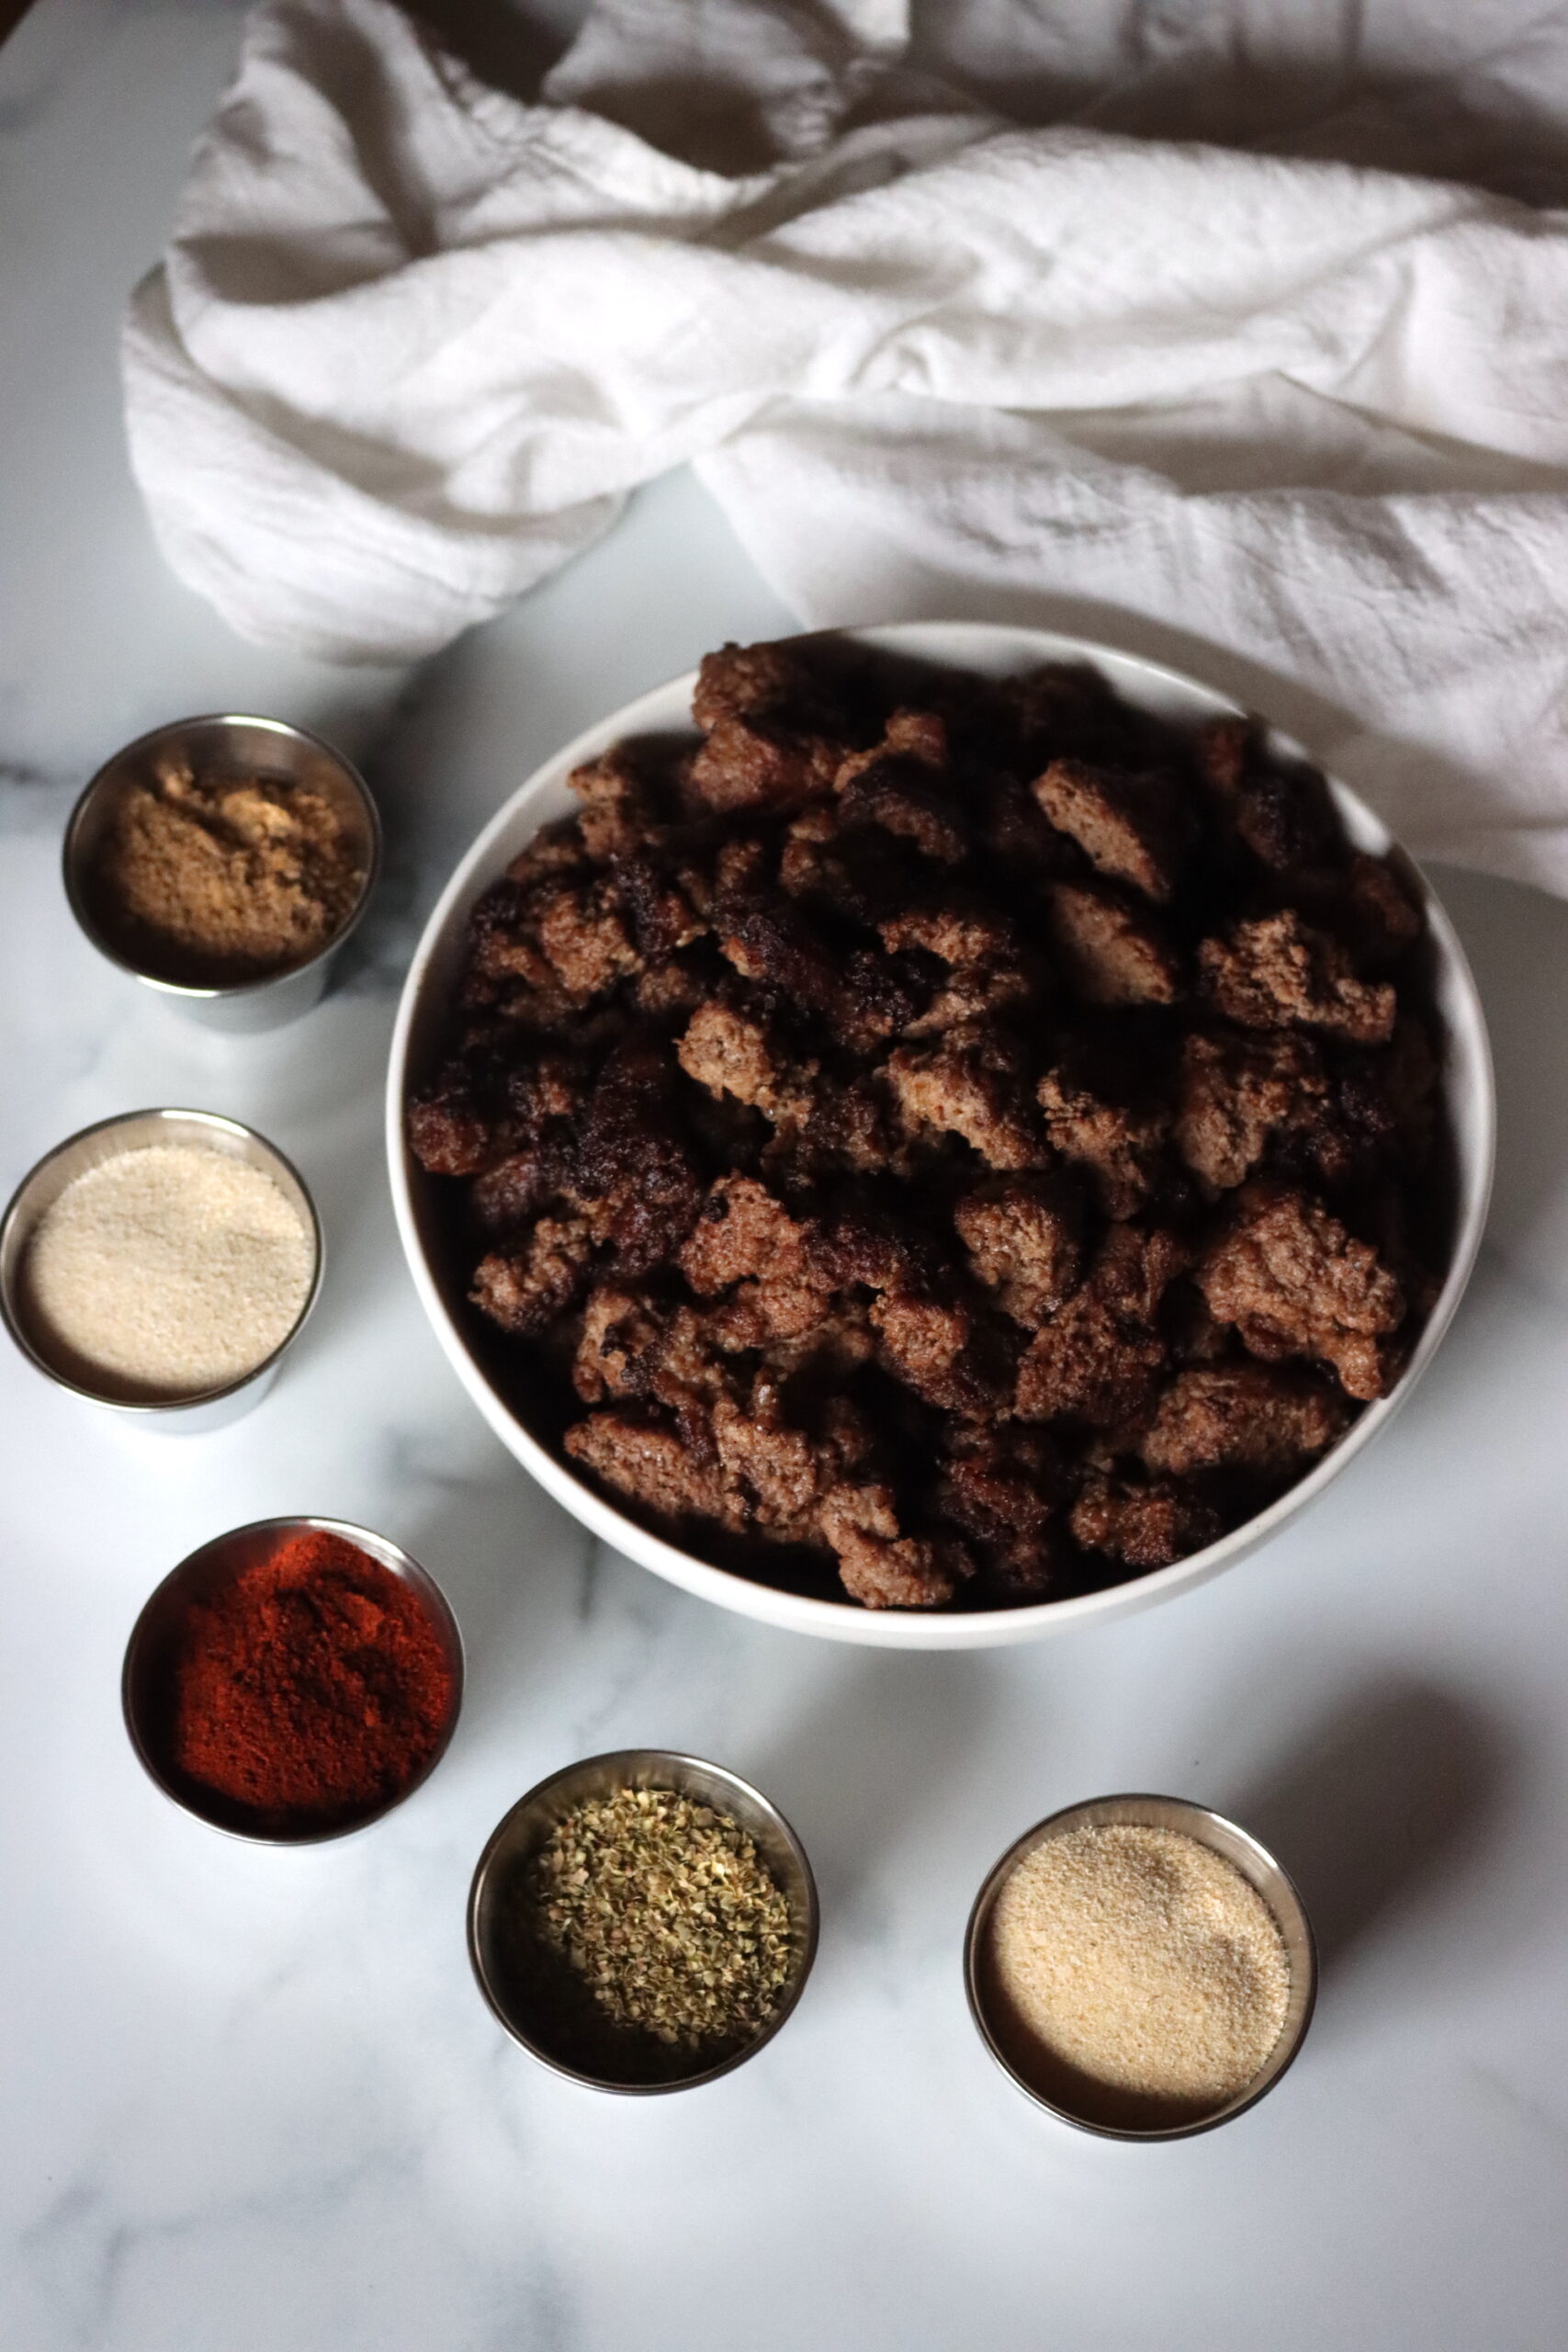
The seasonings are up to you, provided you use dried spices. This mix is a classic taco seasoning spice mix, but you can use whatever spices your family likes.
This recipe uses the guidelines for canning ground meat put out by the NCHFP, and it’s just meat, seasonings and boiling broth or tomato juice.
If you want to add veggies like diced peppers, tomatoes or onions, you’ll need to follow the guidelines for canning hearty soups. (I know, it’s not really a “soup canning recipe” but it is meat, veggies, and broth in a jar, so it cans the same.)
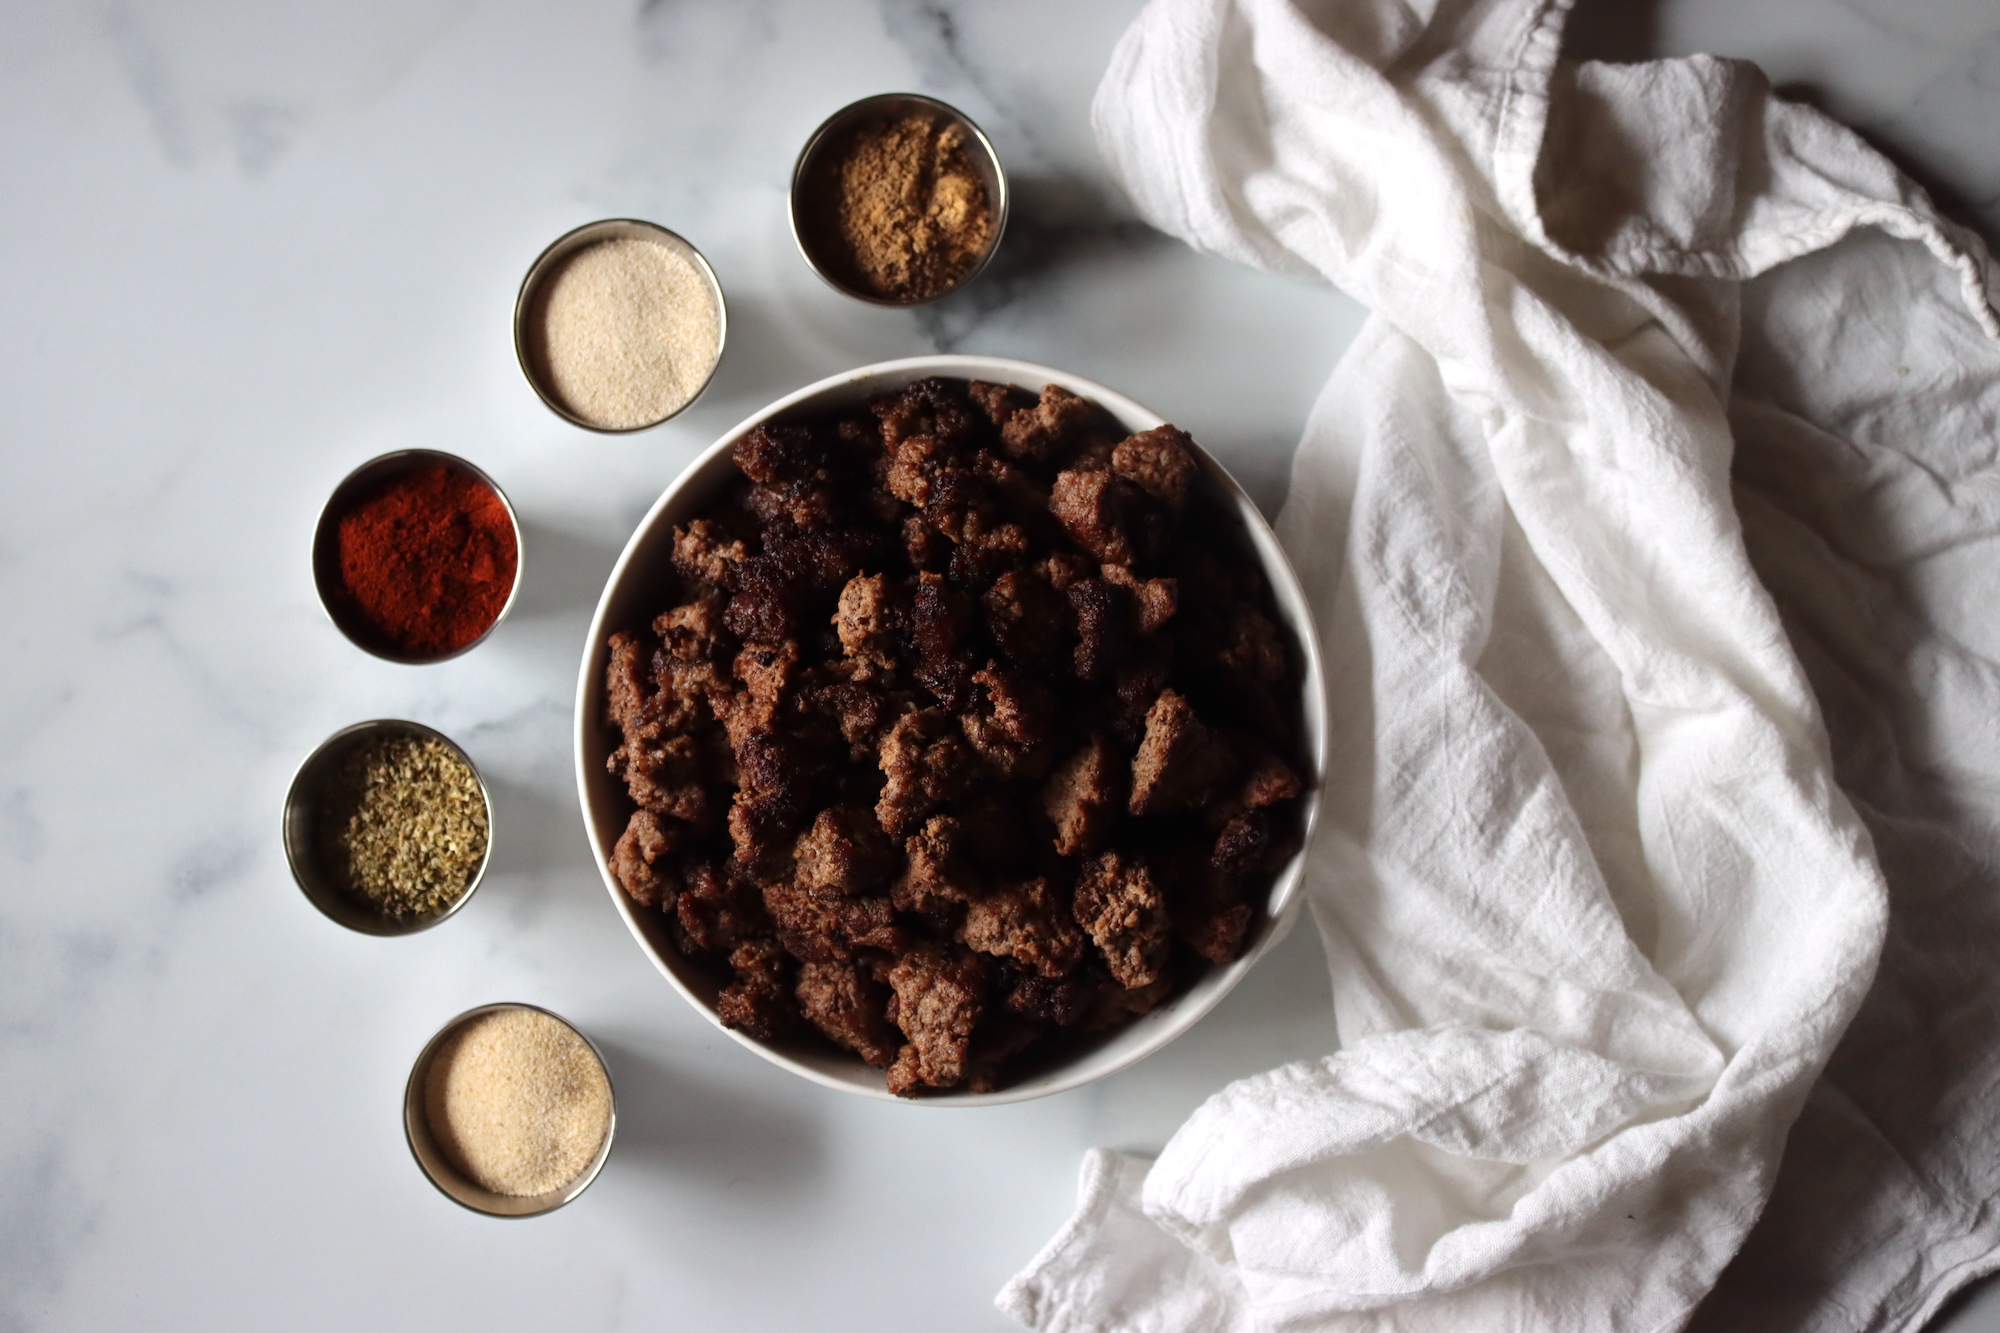
Personally, I like to cook the meat without breaking it up too much, and I brown it thoroughly in big chunks. That helps the finished canned good have a nice texture once it finishes in the canner.
Preparing Taco Meat for Canning
Start by browning the ground beef in a large skillet over medium heat. You can break up the beef as it cooks, making sure it’s crumbled and fully browned.
Some people like to mix the seasoning directly into the meat while it’s cooking, but you can also mix the seasonings in after the meat is browned. Either method will result in a deliciously seasoned taco meat, so choose whatever works best for you!
Once the beef is fully browned and drained of excess fat, stir in the seasonings: salt, minced onion, chili powder, cumin, red pepper flakes, and oregano (if you haven’t already). Mix well to ensure that the spices are evenly distributed throughout the meat.
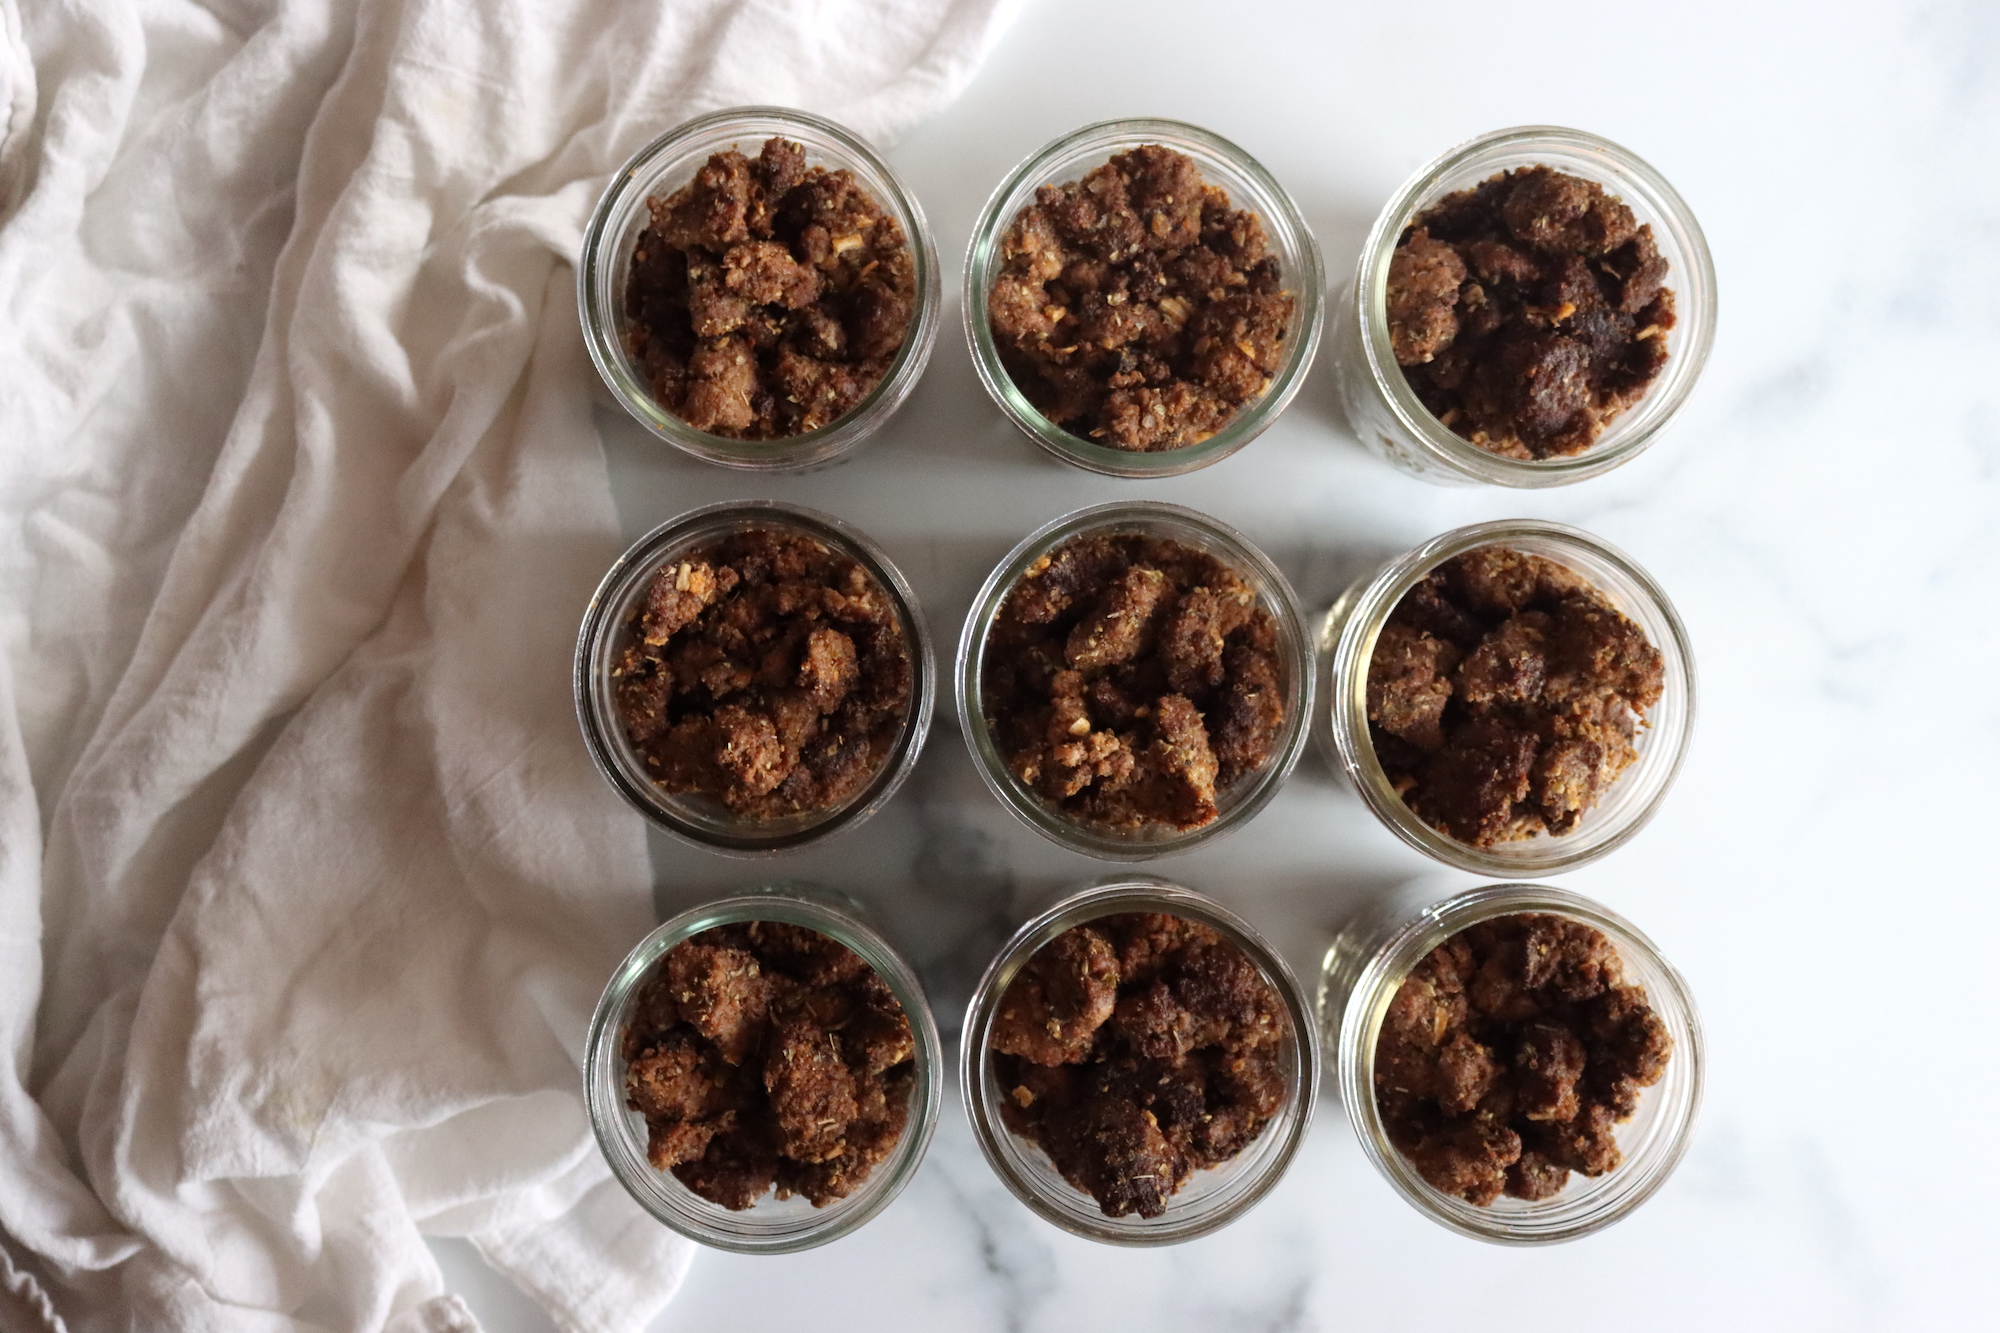
Next, it’s time to prepare the jars. Prepare 4 pint-sized canning jars and their lids. (You can increase the batch size as I’ve shown below if you’d like, as the limit here is what you can fit in your canner. I’ve written this as a small batch recipe, but feel free to make a big batch.)
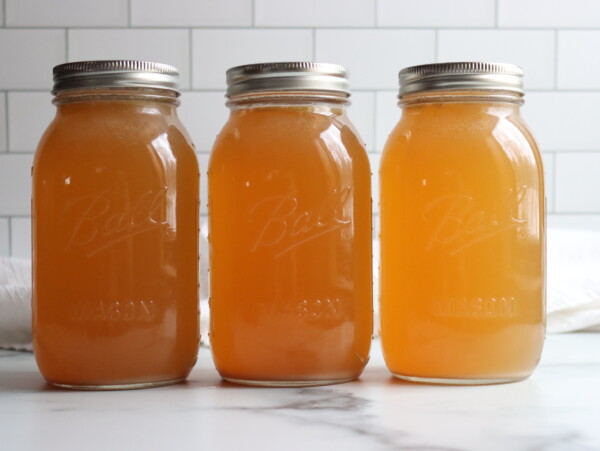
You’ll also need to prepare your canning liquid—either beef broth or tomato juice. For a richer, more savory flavor, beef broth is a great choice. However, tomato juice can lend a nice tangy kick to the meat, so feel free to choose based on your preference.
You’ll need about ¾ cup of canning liquid per jar, or about 3 cups total for this recipe. Whatever liquid you choose (broth, tomato juice or water), it should be brought to a boil and added to the jars boiling hot.
Now it’s time to pack the jars. Spoon the seasoned ground beef into the jars, leaving about an inch of headspace at the top. You want the meat to be packed well, but don’t cram it in too tightly.
After the meat is packed into the jars, pour your boiling hot beef broth or tomato juice into each jar, ensuring that the meat is mostly covered. Make sure to leave that inch of headspace to allow for proper sealing during the canning process.
Canning Taco Meat
Once your jars are filled, use a clean, damp cloth to wipe the rims of the jars to remove any grease or residue that could interfere with the seal. Place the sterilized lids on the jars and screw on the bands until they’re just finger-tight.
Now it’s time to pressure can. Process the jars in a pressure canner at 10 pounds of pressure for 75 minutes (for pints and half pints) or 90 minutes for quarts. If you’re canning at an altitude of over 1,000 feet, be sure to adjust the pressure (see below).
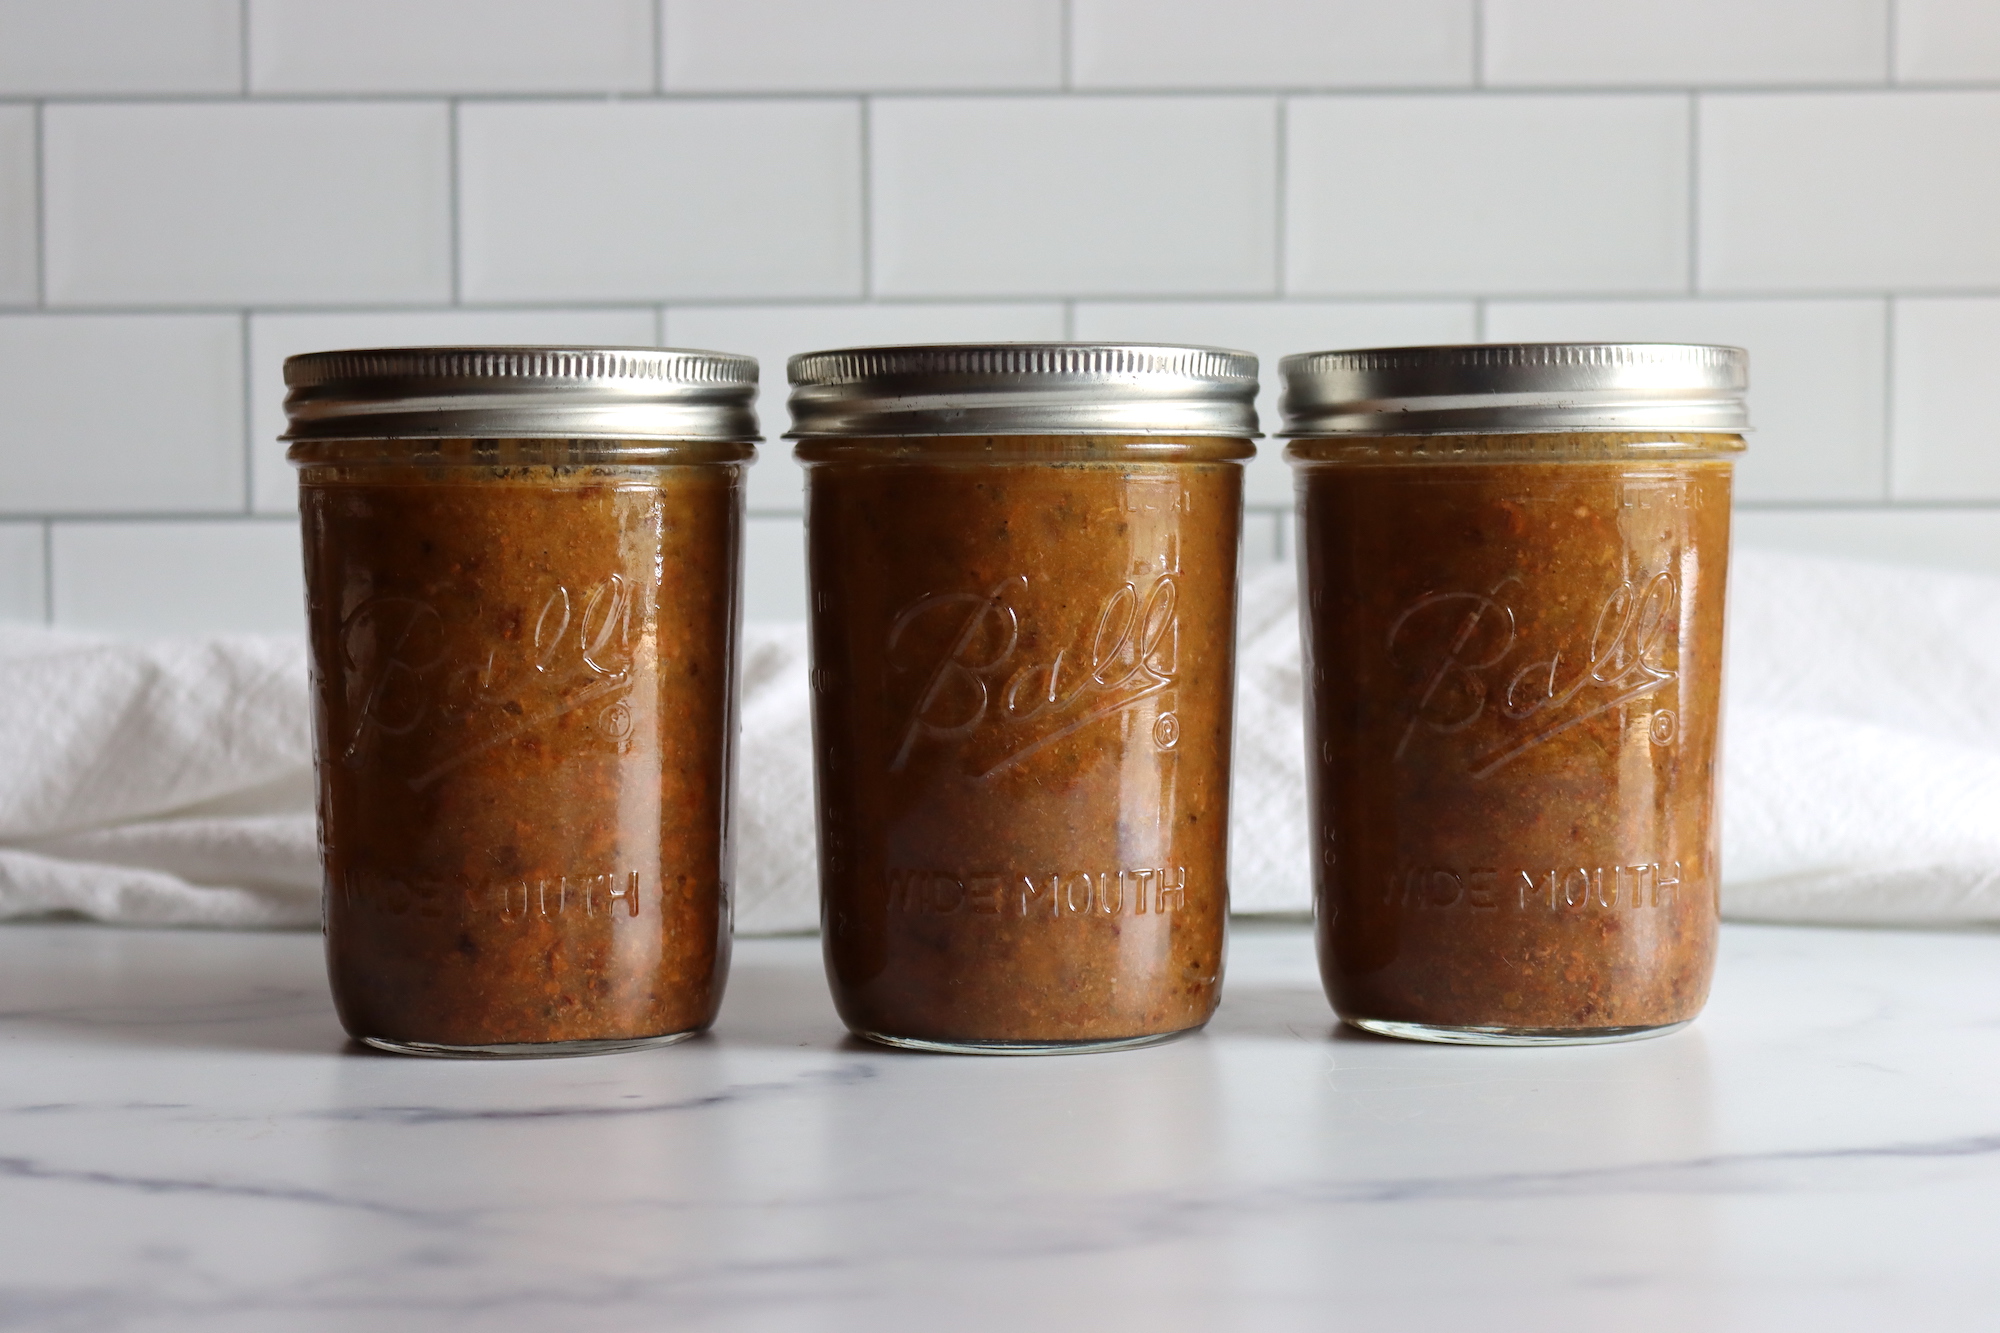
After the canning process is complete, turn off the heat and allow the pressure canner to cool down naturally. Once the pressure has come down to zero, carefully remove the jars from the canner and set them on a clean, towel-lined counter to cool. As the jars cool, you’ll hear the satisfying “pop” of the lids sealing. Let them cool completely before storing them in a cool, dark place.
Altitude Adjustments
The total time required does not change with elevation, but the pressure required does increase at higher elevations.
Weighted Gauge Canner:
- Under 1,000 Feet Elevation Use 10 lbs
- Over 1,000 Feet Elevation use 15 lbs
Dial Gauge Canner:
- 0 to 2,000 Feet Elevation Use 11 lbs
- 2,001 to 4,000 Feet Use 12 lbs
- 4,001 to 6,000 Feet Use 13 lbs
- 6,001 to 8,000 Feet Use 14 lbs
Tips & Variations
- Adjust the Spice Level: If you prefer milder taco meat, reduce the amount of red pepper flakes or skip them entirely. For more heat, feel free to add extra chili powder or even some cayenne powder to the mix.
- Broth or Juice? You can experiment with the canning liquid. Beef broth gives the meat a savory richness, while tomato juice adds a tangy twist. You can even mix both together for a balanced flavor profile.
- Add-ins: If you like, you can throw in some diced bell peppers or chopped tomatoes into the jars before sealing them. Just remember to adjust your headspace to ensure proper sealing. If you’re adding veggies, be sure to follow the guidelines for canning hearty soups.
How to Use Your Canned Taco Meat
Once your taco meat is canned, you’ve got a convenient, ready-to-go meal for any occasion. Simply open a jar, heat the meat in a skillet or microwave, and use it for tacos, burritos, taco salads, nachos, or anything else that could use a bit of seasoned ground beef. You’ll love how tender and flavorful the meat is, with the spices fully infused during the canning process. For extra deliciousness, top with cheese, lettuce, salsa, or your favorite taco fixings.
Canning Taco Meat
Equipment
- Wide Mouth Pint Jars
- Wide Mouth Canning Lids
- Jar Lifter
Ingredients
- 3 lbs ground beef
- 4 tsp salt, Adjust to your tastes, this is the NCHFP recommendation, but I like a bit less at around 3 tsp.
- 2 Tbsp. Onion Powder, or Minced Onion
- 1 Tbsp. Garlic Powder
- 1 Tbsp. Chili Powder
- 1 Tbsp. Cumin
- 1 tsp. Oregano, preferably Mexican oregano
- 1 tsp. Red Pepper Flakes, optional, for heat
- 3 cups Beef broth or tomato juice, About 3 cups for canning liquid, you may need a bit more to bring jars to 1'' headspace.
Instructions
- Add a bit of oil to a large skillet, and cook the ground beef over medium heat. Break it up as it cooks, browning on all sides.
- Once the beef is browned and excess fat is drained, stir in the salt, minced onion, chili powder, cumin, red pepper flakes, and oregano. Mix well to evenly coat the meat with the spices.
- Sterilize 4 pint-sized canning jars and their lids. (You can adjust the recipe to make more jars as needed, depending on your canner’s capacity.)
- Choose either beef broth or tomato juice as your canning liquid. You'll need about ¾ cup of liquid per pint jar (about 3 cups total for this recipe). Bring the canning liquid to a hard boil and keep hot as you pack the jars.
- Spoon the seasoned ground beef into the jars, packing it tightly but without overpacking. Leave about an inch of headspace at the top.
- Pour the boiling hot beef broth or tomato juice into each jar, ensuring the meat is mostly covered, but still leaving that inch of headspace.
- Use a clean, damp cloth to wipe the rims of the jars to remove any grease or residue that could affect the seal.
- Place sterilized lids on the jars and screw on the bands until they’re just finger-tight.
- Process the jars in a pressure canner at 10 pounds of pressure for 75 minutes (for pints and half pints) or 90 minutes (for quarts). If you’re above 1,000 feet in altitude, adjust the pressure as needed (see notes).
- After canning, turn off the heat and let the canner cool naturally. Once the pressure has dropped to zero, carefully remove the jars and place them on a towel-lined surface. Allow the jars to cool completely before storing them in a cool, dark place.
Notes
Altitude Adjustments
The total time required does not change with elevation, but the pressure required does increase at higher elevations.Weighted Gauge Canner:
- Under 1,000 Feet Elevation Use 10 lbs
- Over 1,000 Feet Elevation use 15 lbs
Dial Gauge Canner:
- 0 to 2,000 Feet Elevation Use 11 lbs
- 2,001 to 4,000 Feet Use 12 lbs
- 4,001 to 6,000 Feet Use 13 lbs
- 6,001 to 8,000 Feet Use 14 lbs
Nutrition
Nutrition information is automatically calculated, so should only be used as an approximation.
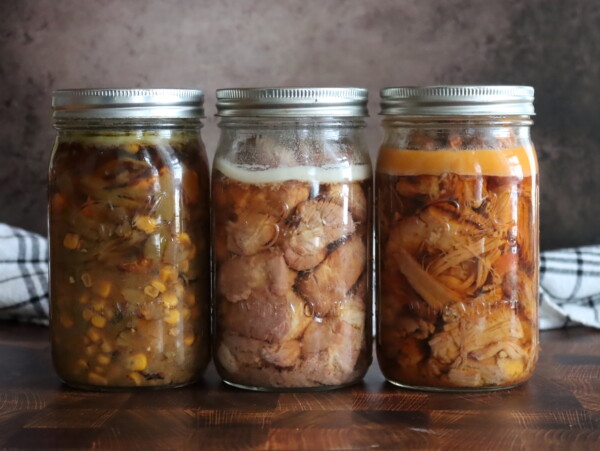
Taco Meat Canning Recipes
There’s more than one way to put up taco meat!
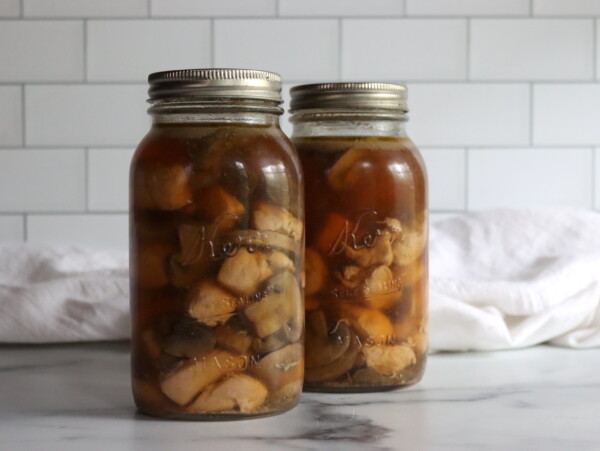
Ground Beef Canning Recipes
There’s more than one way to put ground beef in a jar! Try these ground beef canning recipes:
This stuff is truly good.
So glad you like it!
I love all of your recipes, thank you!
Quick question- broth room temp or heated? Thank you!
The broth should be boiling when it’s added to the jars. I’ll clarify that in the recipe, thank you!
Can I cut this recipe in half so that I only need 1 1/2 pounds of ground beef? Next question is can I use half beef and half ground turkey?
Hi Pam,
You’ve manage to hit on two things that seem fine, but they’re actually not according to NCHFP guidance. The minimum batch size for pressure canning is 2 quarts (or 4 pints) because the heat up and cool down time is actually part of the processing time. If there’s not enough in the canner, the canner will heat and cool too quickly and the jars won’t be processed right.
As to ground turkey, they’ve found that ground poultry can have higher bacterial loads than other meats, so while you can substitute pork, beef, venison, lamb and even bear or elk…ground poultry is one of the few meats you can’t add. Really, almost anything but a bird is fine.
Sorry to be the bearer of bad news here! So often simple switches like that are fine, just not this time.
What’s the shelf life?
If properly pressure canned and sealed, the jars are safe to eat indefinitely (so long as they stay sealed, refrigerate after opening of course). After about 12-18 months, quality will begin to degrade and it won’t be quite as tasty. I’d recommend eating them within a year for best quality.
What is the texture like? Is it the same it would be if we just made it or is it soggy?
When you reheat it, the key is to keep the fat in it and crisp it in the fat. You have to cook it for 10ish minutes on the stove at high heat, which drives off the liquid and crisps the meat for serving. If you do that, it comes out just like you made it and not soggy. Enjoy!
Under equiptment it says half pint jars, but the instructions show pint – processing time is also for pint jars and quarts. Can you clarify?
You can use any jar size here. I usually use pint (and I’ve gone in and edited the equipment so it’s consistent, it now says pint jars). Process times are 75 minutes (for pints and half pints) or 90 minutes for quarts.