This post may contain affiliate links. Please see our disclosure policy.
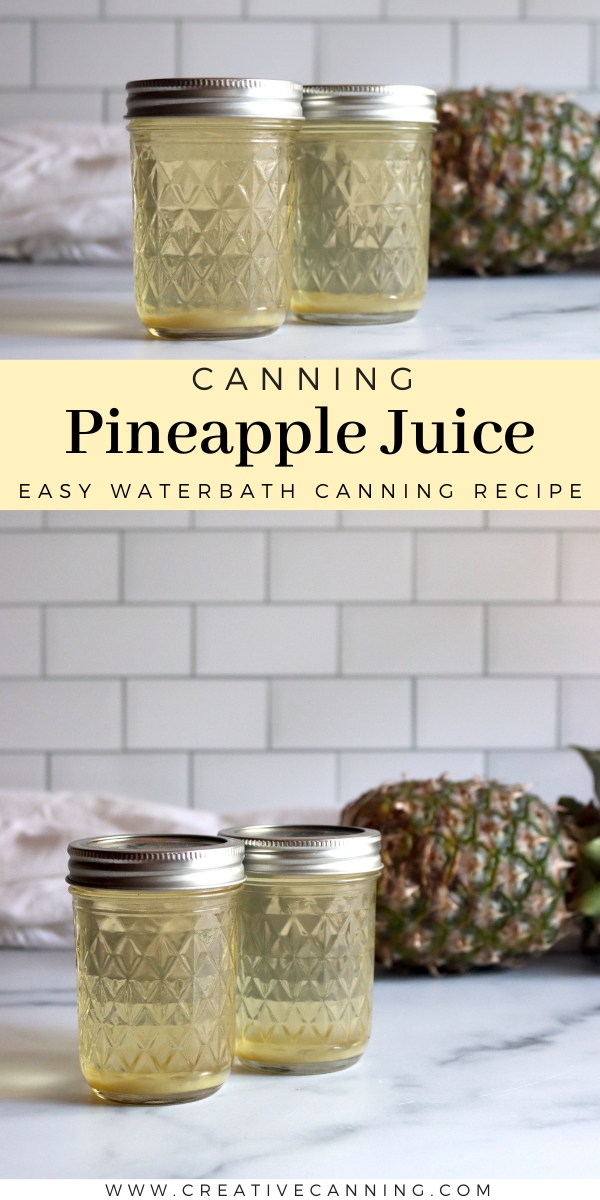
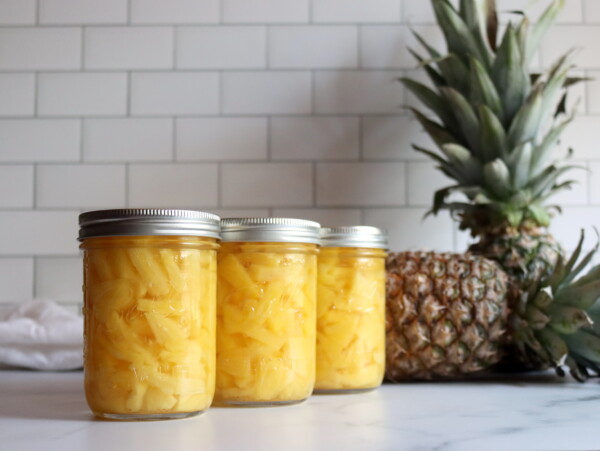
Canning your own pineapple juice is a great way to enjoy it year-round, and the quality of homemade juice is much better than that of store-bought stuff.
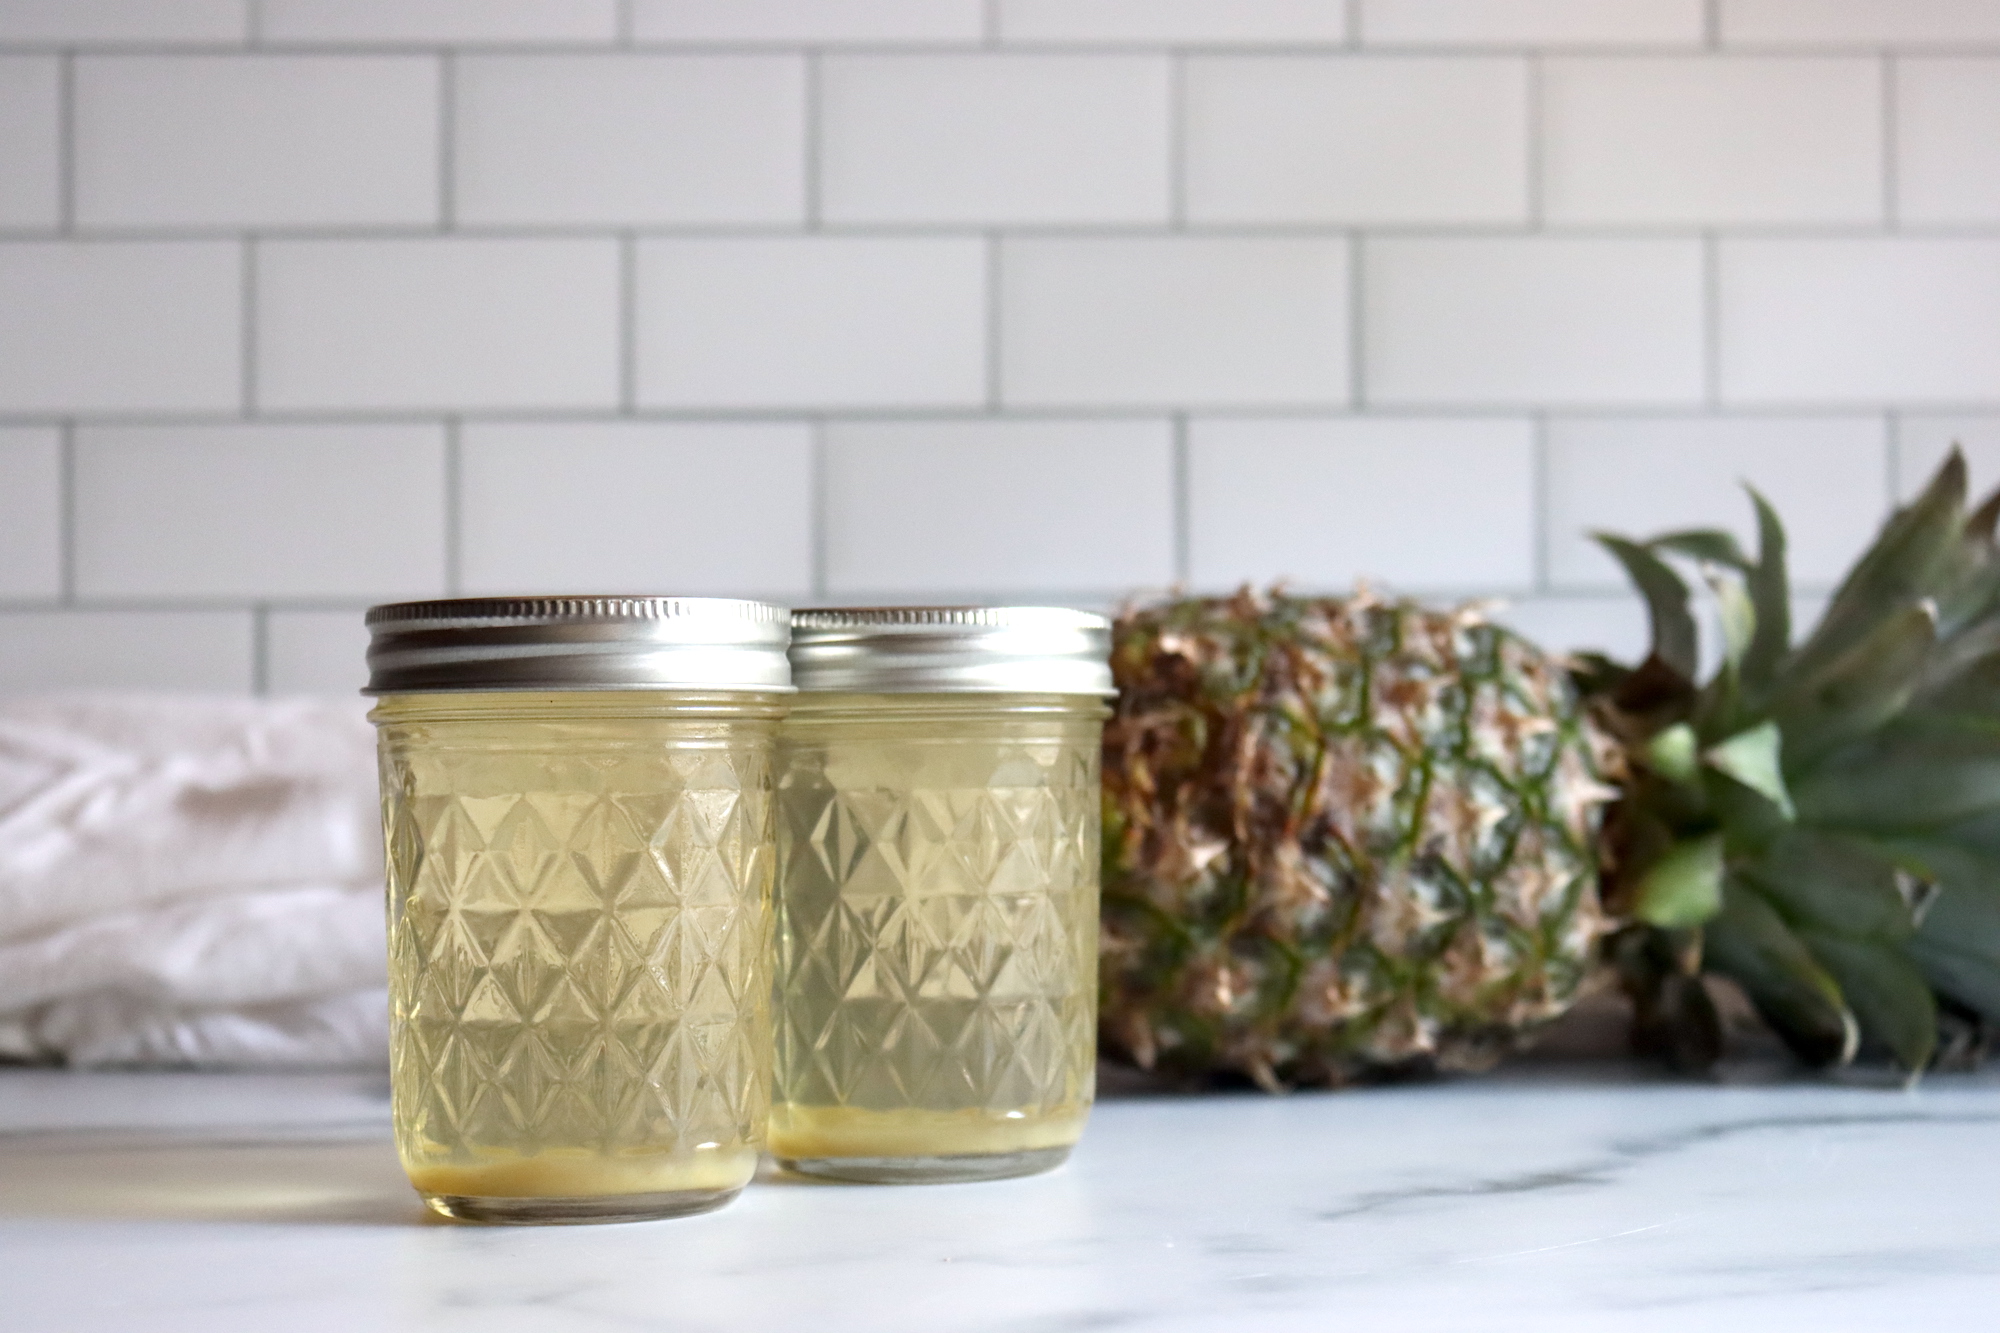
Pineapple isn’t exactly a fruit you’re going to harvest from your backyard (unless you live in the tropics, and if that’s you, I’m jealous). But just like with canning fresh pineapple, the reason to can pineapple juice is simple: it tastes amazing, and the flavor of homemade juice is worlds better than anything you’ll find at the store.
Store-bought pineapple juice is often packed from low-quality, overripe fruit that’s been sitting around too long. And even the so-called “premium” options can’t compete with the taste of fresh, high-quality juice.
Ever notice how canned pineapple juice tends to have that flat, metallic taste?
That’s because of the reaction between the fruit’s acidity and the metal of the cans. It’s the same reason pickles are always canned in glass—so the metal doesn’t mess with the flavor. (The same thing happens when you’re canning pineapple chunks, which is one reason we put them up in glass at home instead of buying canned.)
When you can your own pineapple juice, it’s fresh, vibrant, and completely free of the metallic aftertaste. Plus, it’s sweet and bright, packed with all the tropical goodness of fresh pineapples.
You’re getting the best quality juice from the best fruit, and it’s all sealed in glass to preserve that wonderful flavor. It’s totally worth it to pick up a few pineapples in season (which, for me, means April when they’re often on sale) and make your own juice. Trust me, once you try homemade pineapple juice, you won’t go back to the store-bought stuff.
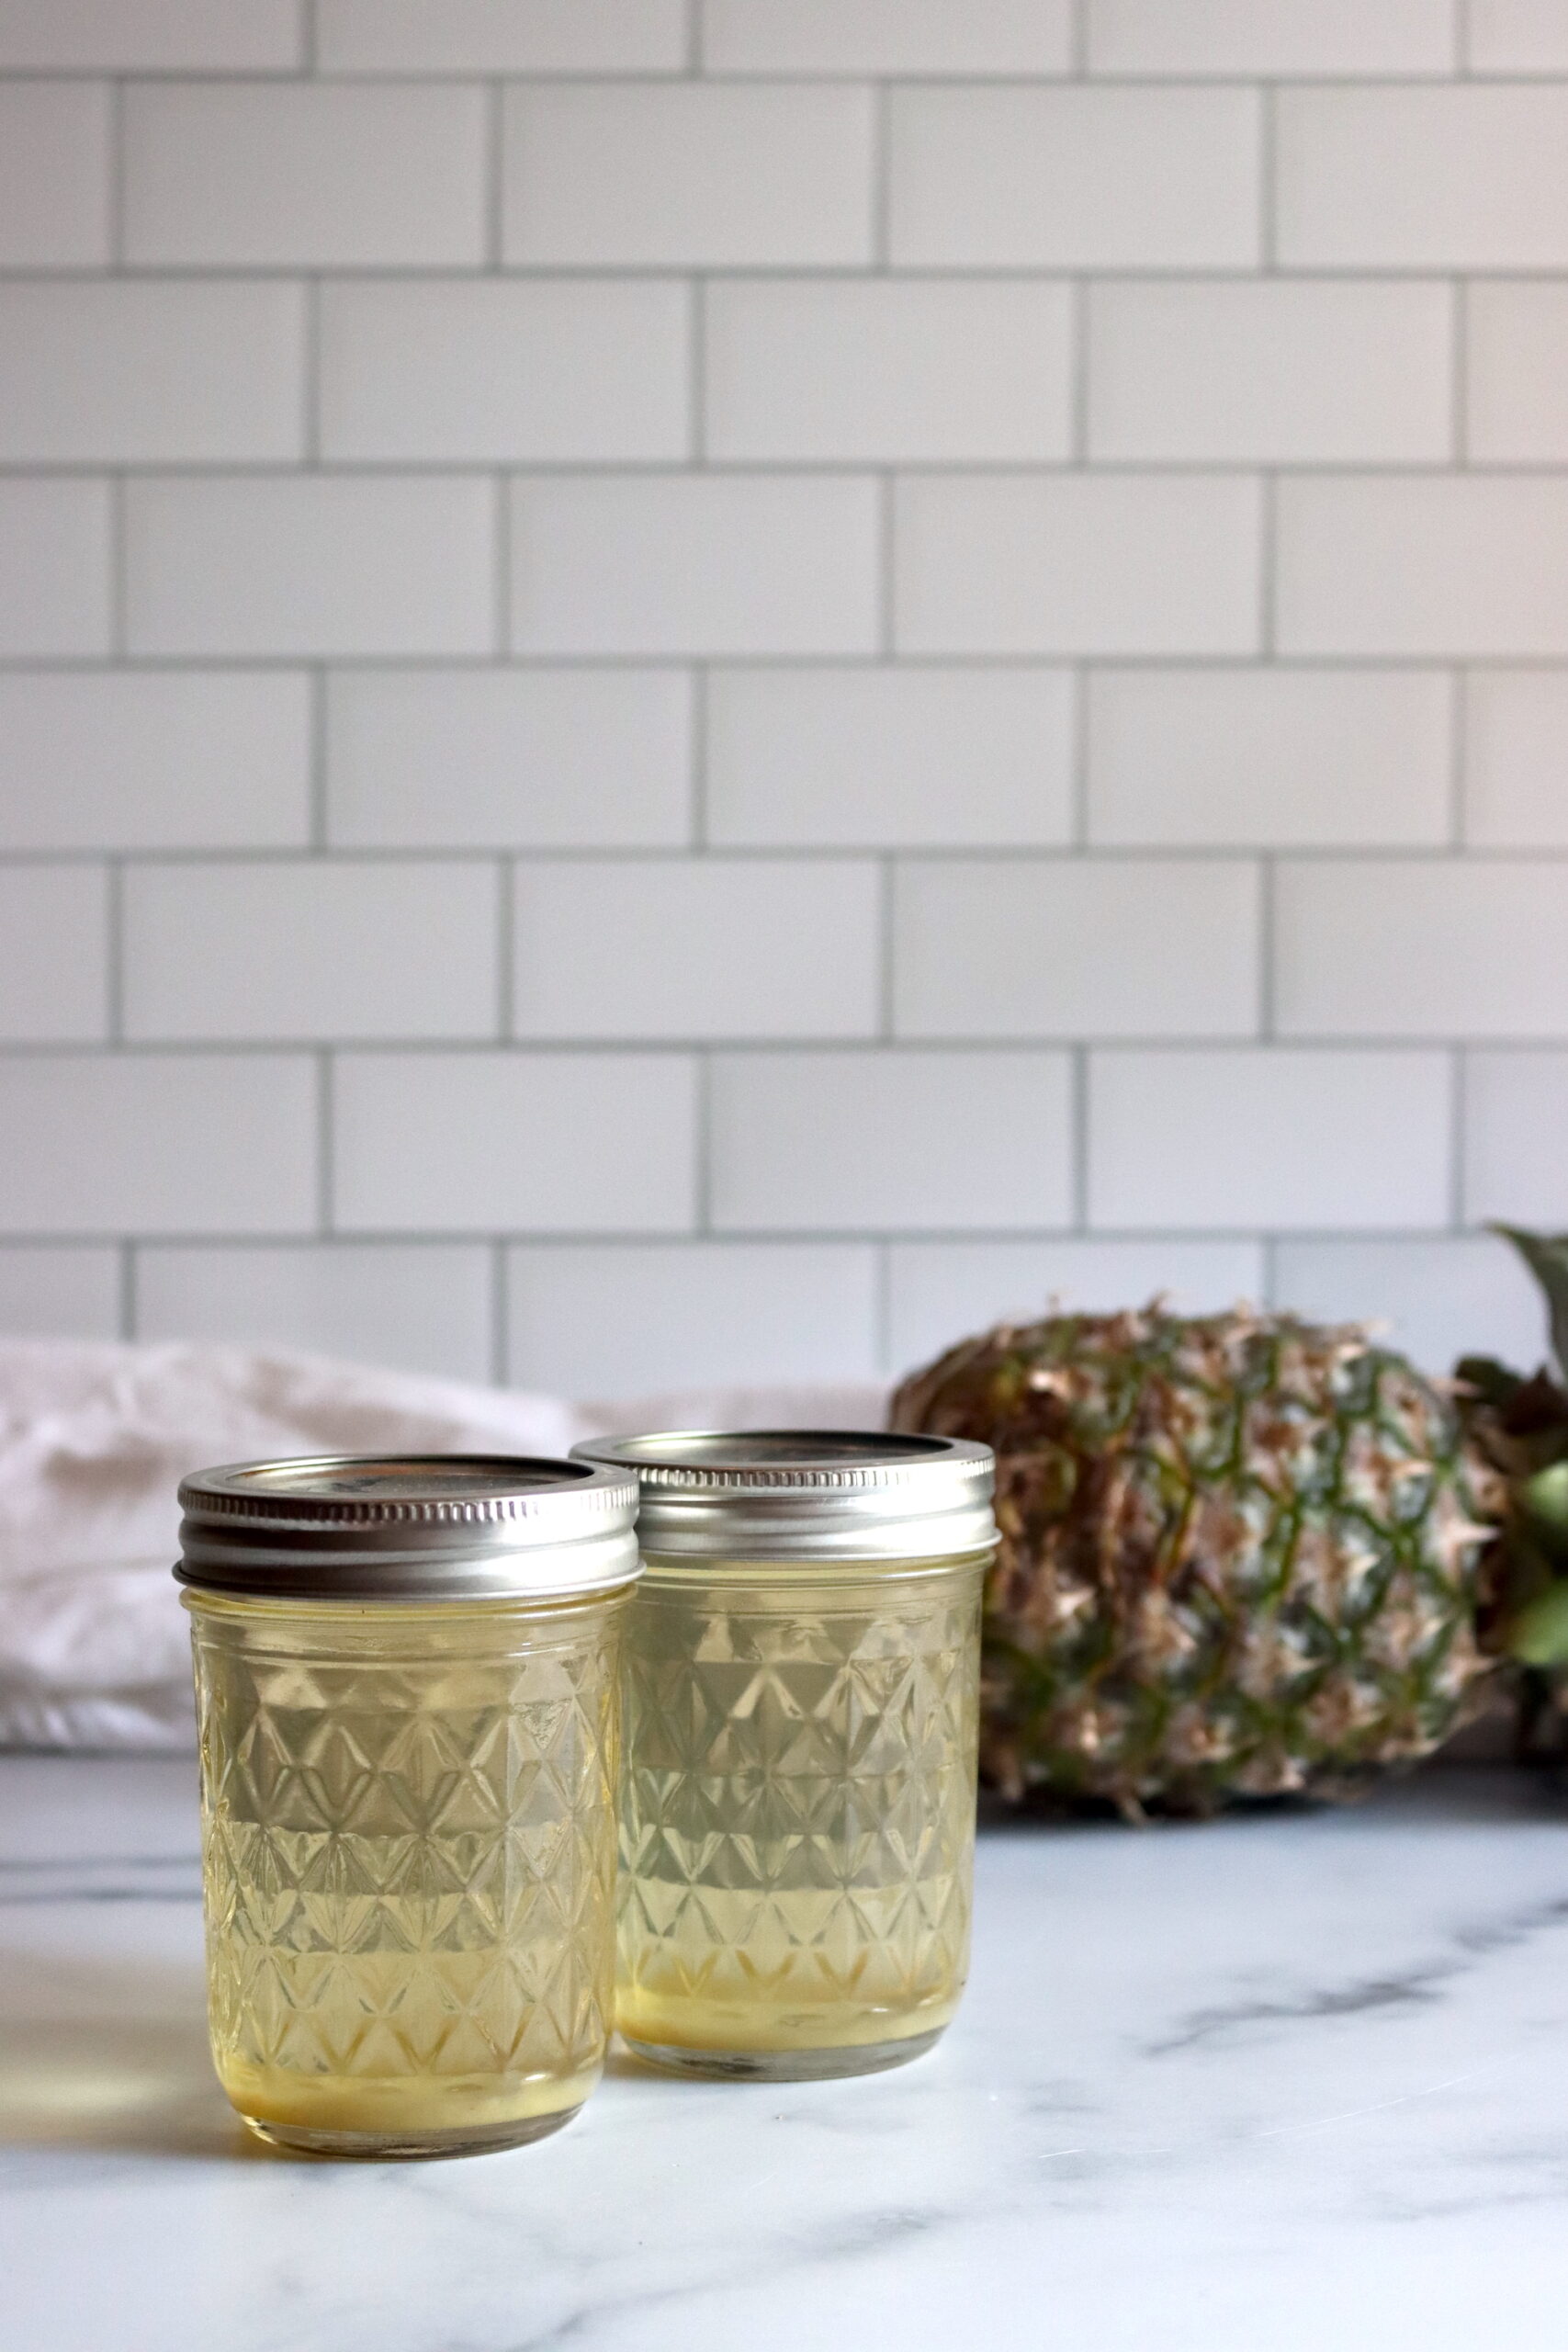
These instructions for water bath canning pineapple juice are based on answers from the Extension’s helpline, which says that pineapple juice can be canned using the University of Oregon’s instructions for canning apple juice with quick no-boil pasteurization. I use this same process for canning apple cider to keep the fresh apple flavor in the jar.
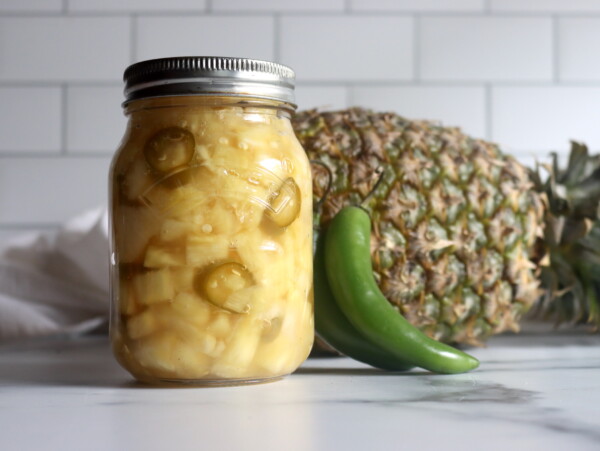
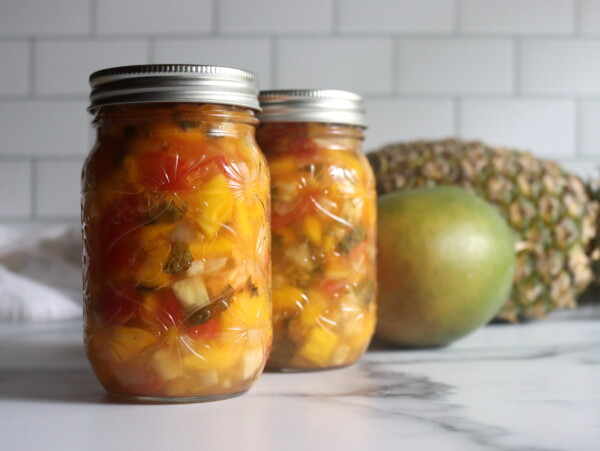
If you find pineapples on sale at the store (usually in the spring, around April) you can also put up a batch of spicy pickled pineapple or pineapple mango salsa. They’re both really delicious, and unlike anything you can buy in the store.
Selecting Pineapples for Juice
Before you begin, it’s essential to pick out firm, ripe pineapples. Overripe fruit can yield a less crisp juice, while underripe pineapples might leave you with something too tart. Wash your pineapples thoroughly and get rid of the tough outer skin with a sharp knife. Be sure to cut off any eyes (those little spiky bits) as well.
No need to core the pineapple. Usually, when canning plain pineapple, you pull out the fibrous core, but all the fiber is filtered out when you’re making juice anyway. Leave it in to increase your yield.
Finally, cut the fruit into chunks or slices, ready for juicing.
Making Pineapple Juice
There are a couple of ways to extract juice from pineapples. If you have a juicer, that’s probably the easiest method—just toss in the pineapple chunks, and let the juicer do the work. The juice will come out nice and smooth, and you’re all set!
If you don’t have a juicer, no worries. You can use a blender instead. Just toss the pineapple chunks into your blender and puree it all into a smooth mix. Then, strain the juice through a fine mesh strainer or cheesecloth to get rid of the pulp. You’ll be left with clear, fresh juice.
Want to make it a little sweeter? Pineapple juice is naturally sweet, but if you like a sweeter flavor, add a little sugar or honey to taste and stir until it’s fully dissolved.
Pasteurizing the Juice
Before you start pasteurizing the juice, it’s a good idea to prepare jars and a water bath canner. It only takes a few minutes to get the juice heated, so having a canner already ready will get you ahead for the next step.
Just like apple juice, fresh pineapple juice needs to be pre-warmed and pasteurized to ensure it’s safe for canning and to kill any potential bacteria.
To pasteurize the juice, pour it into a large pot and heat it on medium. Stir it every now and then to make sure it heats evenly.
You want the juice to reach between 185°F and 210°F (85°C to 99°C). If you don’t have a thermometer, you’ll know it’s hot enough when small bubbles start forming along the edges—just don’t let it boil.
While it’s heating up, you might notice some foam forming on top. Use a spoon or ladle to skim that off.
Make sure you don’t boil the juice, that’ll make it cloudy and give it more of a cooked flavor.
Canning the Pineapple Juice
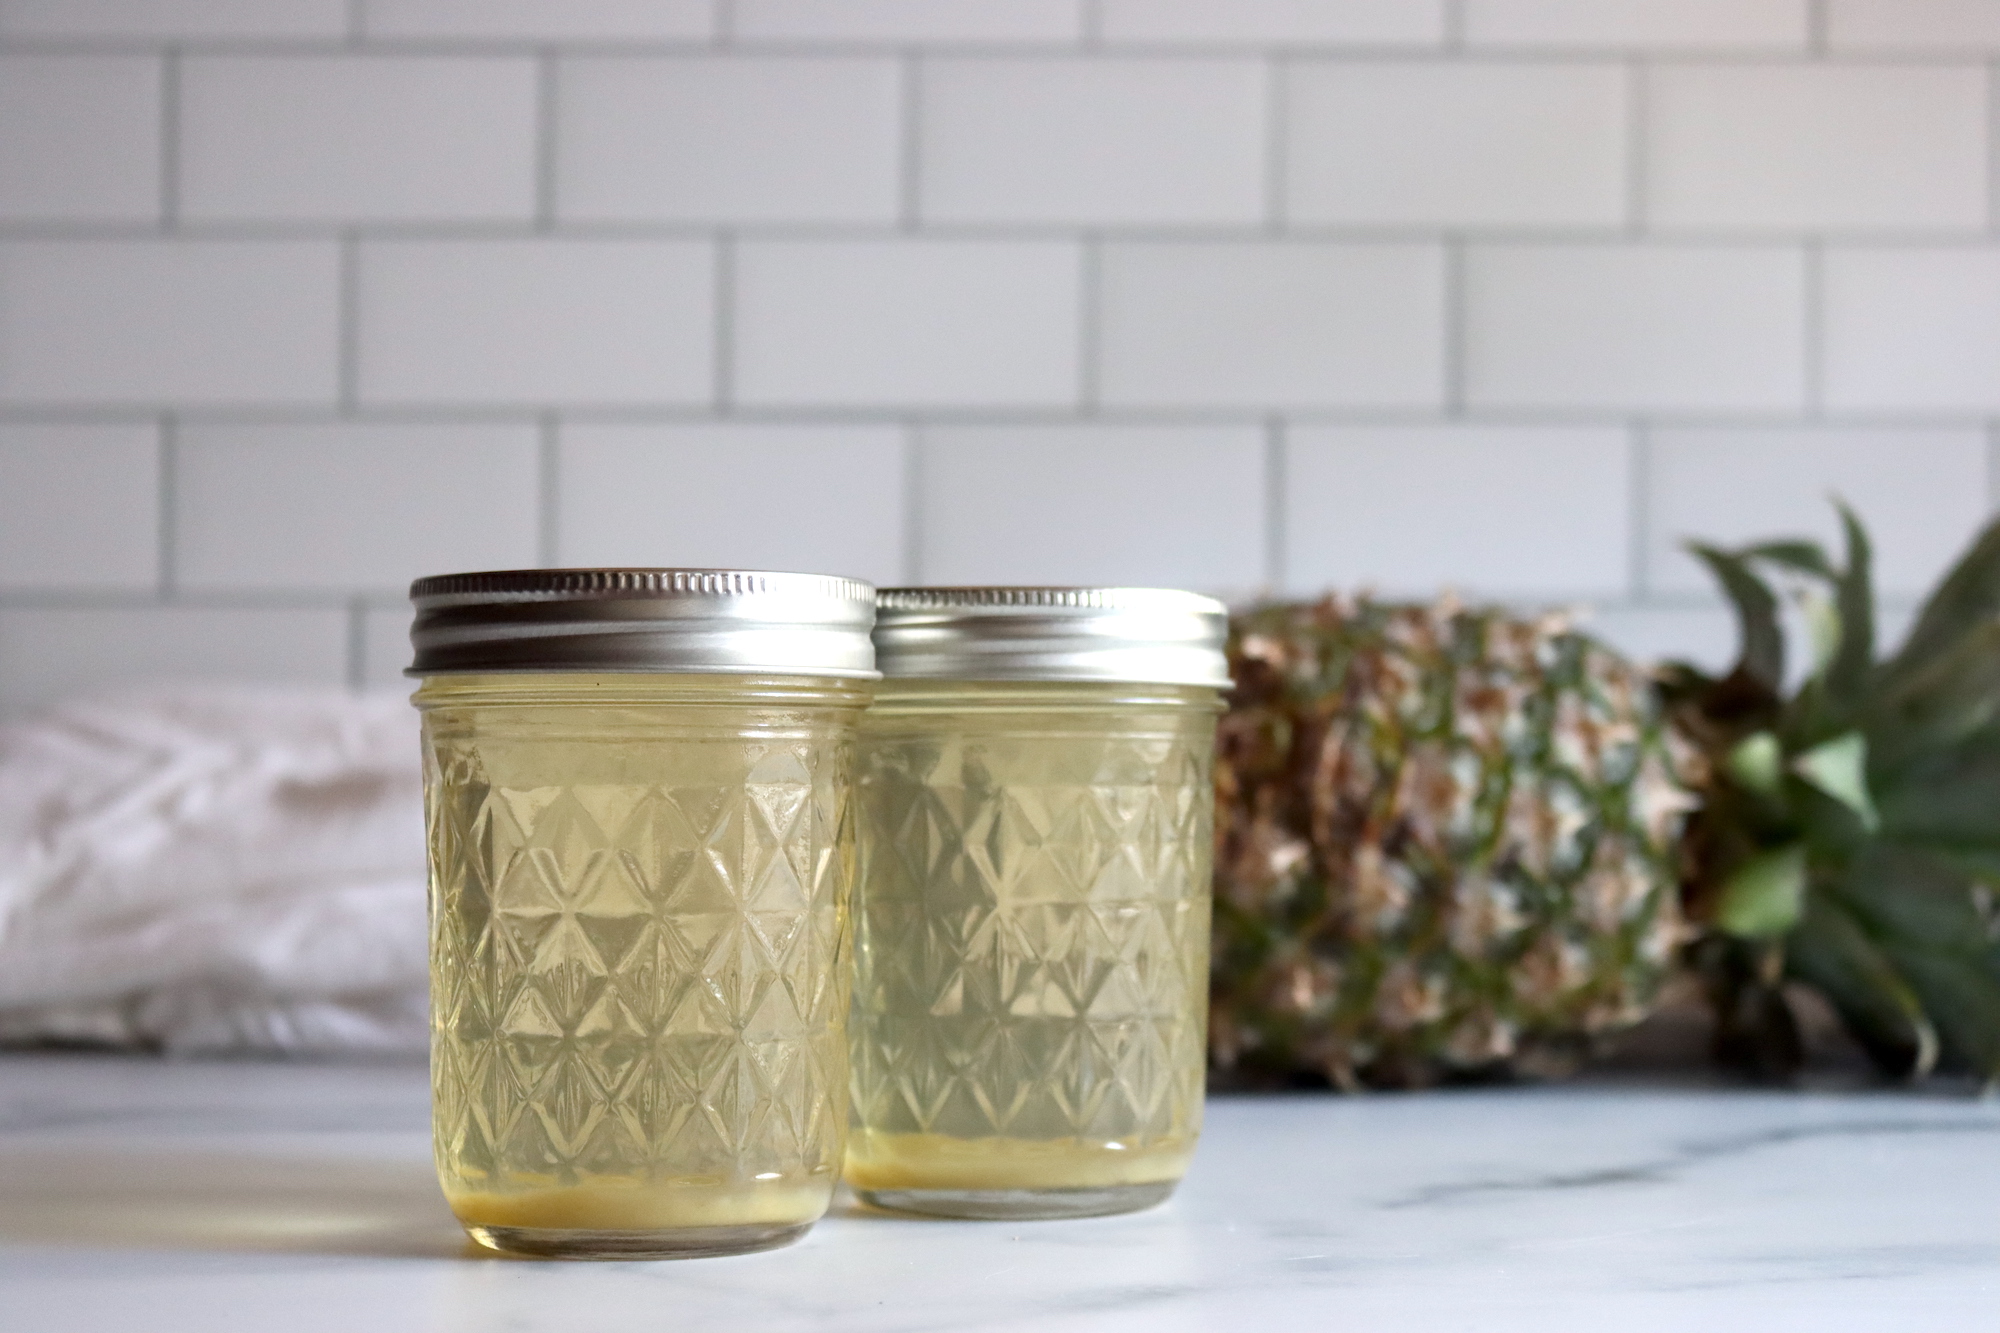
Once your juice is pasteurized, it’s time to can it. Ideally, you’ve already prepared jars and brought a water bath canner to a gentle simmer before you started pasteurizing the juice.
Next, carefully pour the hot juice into your sterilized jars, leaving about ½ inch of space at the top.
Wipe the rims of the jars with a clean cloth to make sure there’s no juice residue that could affect the seal. Then, place the lids on the jars and tighten the rings just until they’re “fingertip tight”—don’t over-tighten, or the jars won’t seal properly.
Now it’s time to process the jars in a boiling water canner.
Carefully lower the jars into the water, ensuring the water covers the jars by at least an inch. The processing time depends on the size of the jars and your altitude.
For pints and quarts, process the jars for 10 minutes below 6,000 feet in elevation or 15 minutes above 6,000 feet.
Once the processing time is up, carefully remove the jars from the canner and set them aside to cool. Once they’re cool, check the seals—press down on the center of each lid, and if it doesn’t pop back, you’re good to go.
Store the sealed jars in a cool, dark place, and you’ll have fresh pineapple juice ready to enjoy anytime.
Pineapple Canning Recipes
Canning Pineapple Juice
Equipment
- Half Pint Jars
- Jar Lifter
Ingredients
- Fresh, Ripe Pineapples —about 1 pineapple per pint of juice
- Sugar, optional
Instructions
- Choose firm, ripe pineapples. Overripe fruit can make the juice less crisp, and underripe fruit will leave you with a tart flavor. Wash the pineapples thoroughly, then cut off the tough outer skin with a sharp knife. Be sure to remove any eyes (those little spiky bits). There’s no need to remove the core—the fiber from the core will be filtered out when you make the juice, and leaving it in helps increase your yield. Finally, cut the fruit into chunks or slices, ready for juicing.
- If you have a juicer, just toss the pineapple chunks in, and let the juicer do the work. If you don’t have a juicer, don’t worry! Use a blender to puree the pineapple chunks into a smooth mix. Then strain the juice through a fine mesh strainer or cheesecloth to remove any pulp, leaving you with clear, fresh juice. For a sweeter flavor, you can add a little sugar or honey and stir until it dissolves.
- Before you begin pasteurizing the juice, get your canning jars ready by washing and sterilizing them. Bring a water bath canner to a gentle simmer. Since pasteurizing the juice only takes a few minutes, having the canner ready will help keep things moving smoothly.
- Pour the fresh juice into a large pot and heat over medium heat. Stir occasionally to ensure it heats evenly. You want the juice to reach between 185°F and 210°F (85°C to 99°C). If you don’t have a thermometer, you’ll know the juice is ready when small bubbles start forming along the edges, but it shouldn’t be boiling. Be sure to skim off any foam that forms at the surface. Avoid boiling the juice to prevent cloudiness and a cooked flavor.
- Carefully pour the hot, pasteurized juice into the sterilized jars, leaving about ½ inch of headspace at the top. Wipe the rims of the jars with a clean cloth to remove any juice residue that could affect the seal. Place the lids on the jars and tighten the rings until they’re “fingertip tight”—don’t overtighten, or the jars won’t seal properly.
- Carefully lower the jars into the simmering water bath canner, ensuring the water covers the jars by at least an inch. Process the jars for 10 minutes at elevations below 6,000 feet, or 15 minutes above 6,000 feet.
- Once the processing time is up, carefully remove the jars from the canner and allow them to cool. Check the seals by pressing down on the center of each lid—if it doesn’t pop back, the jar has sealed properly. Store the sealed jars in a cool, dark place, and your homemade pineapple juice is ready to enjoy!
Notes
Nutrition
Nutrition information is automatically calculated, so should only be used as an approximation.
Pineapple Canning Recipes
Looking for more ways to preserve pineapple?
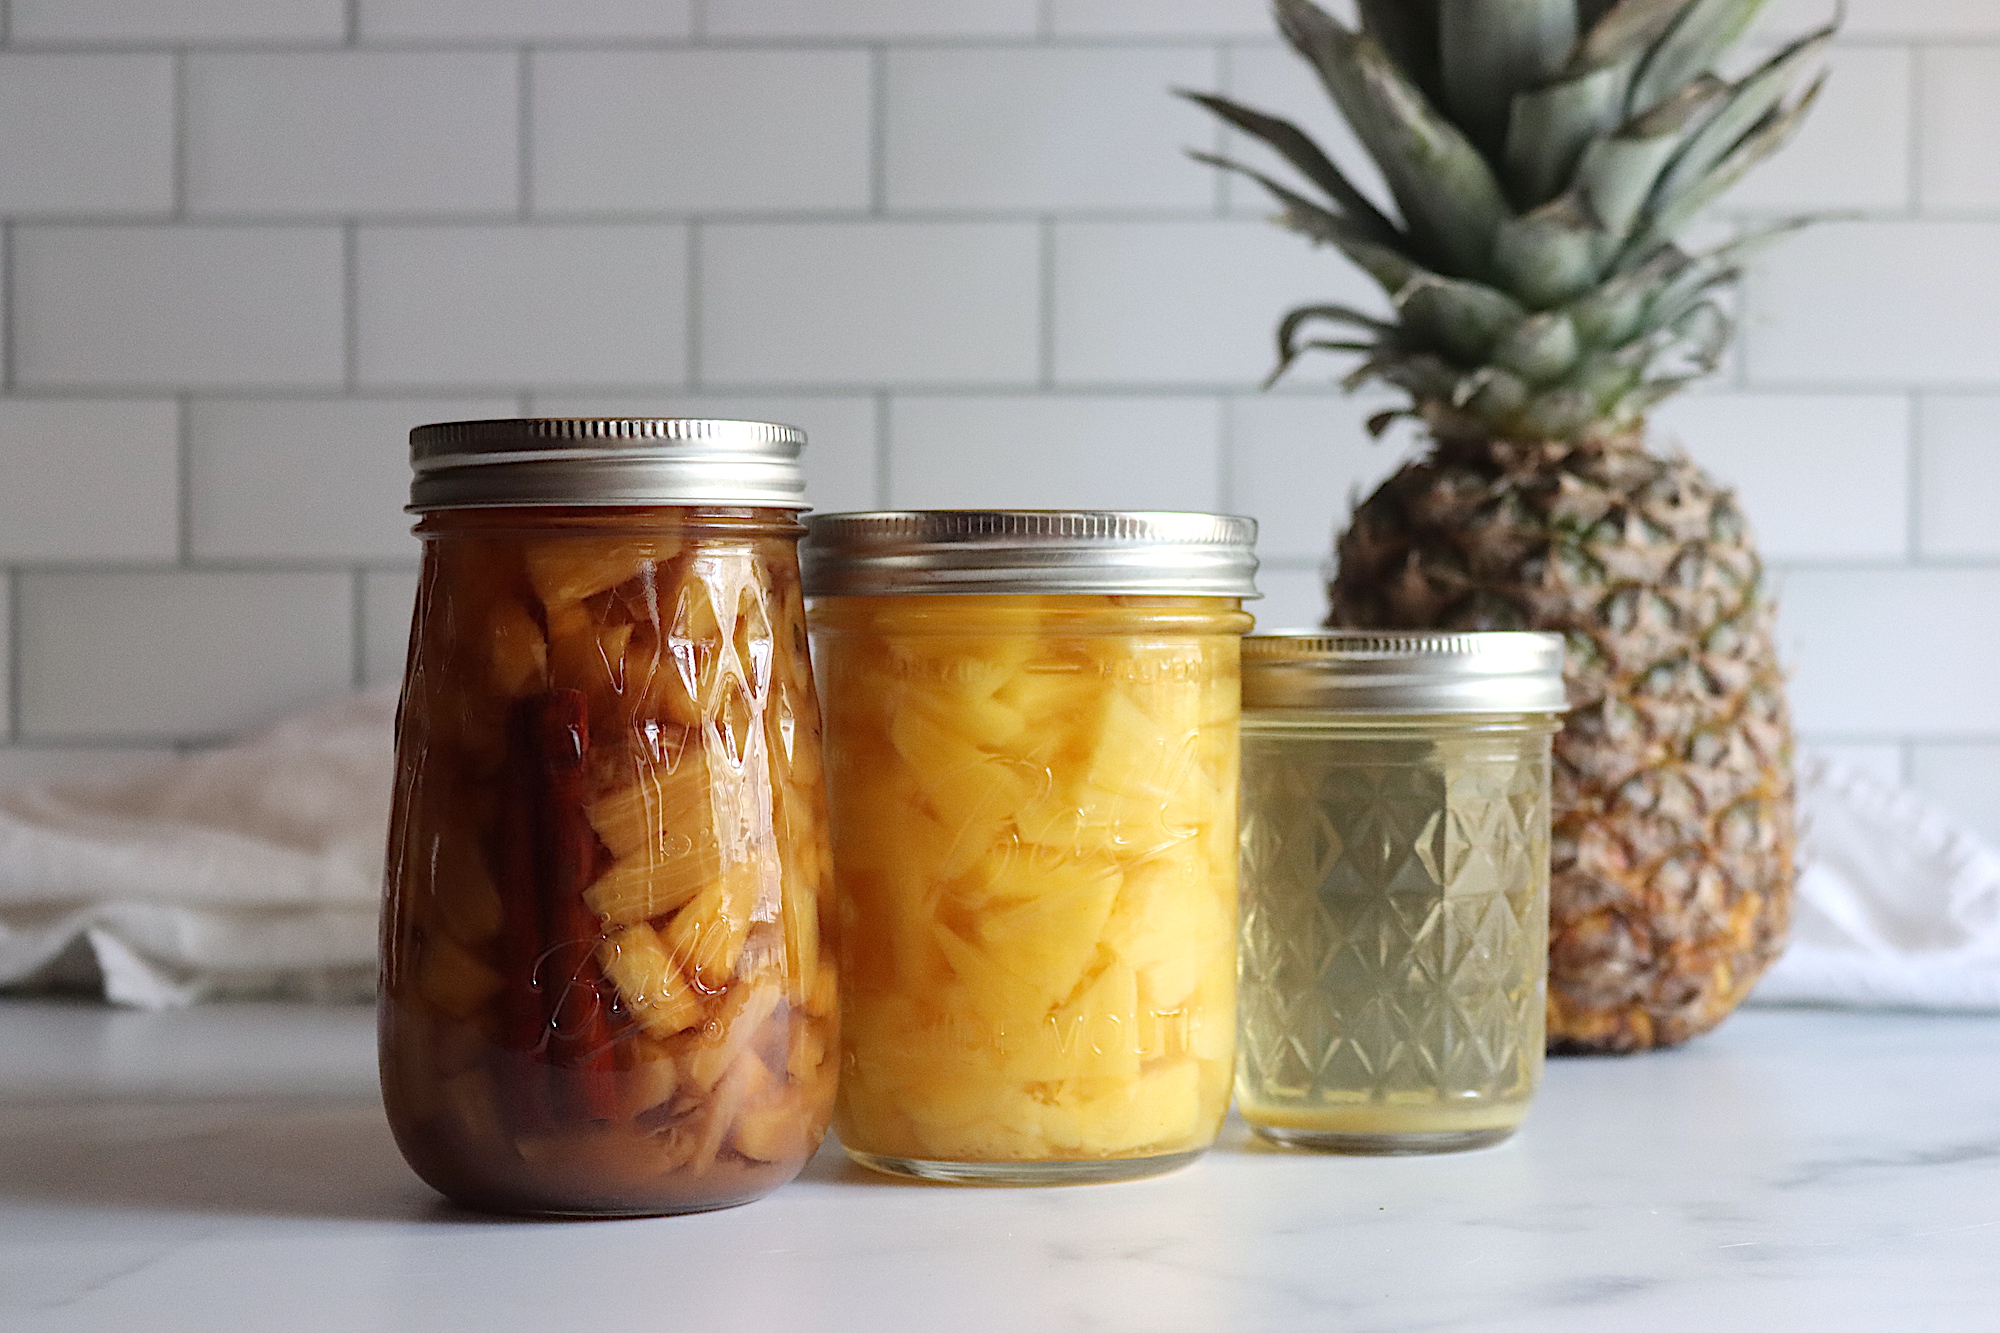
Juice Canning Recipes
Pineapple isn’t the only juice you can preserve in a jar!
I’ve used this recipe couple times now it works perfectly.
Wonderful!