This post may contain affiliate links. Please see our disclosure policy.
Canning chicken taco meat makes for quick and easy meals on busy weeknights, and this simple raw-pack pressure canning recipe is easy to get into the pressure canner without much fuss.
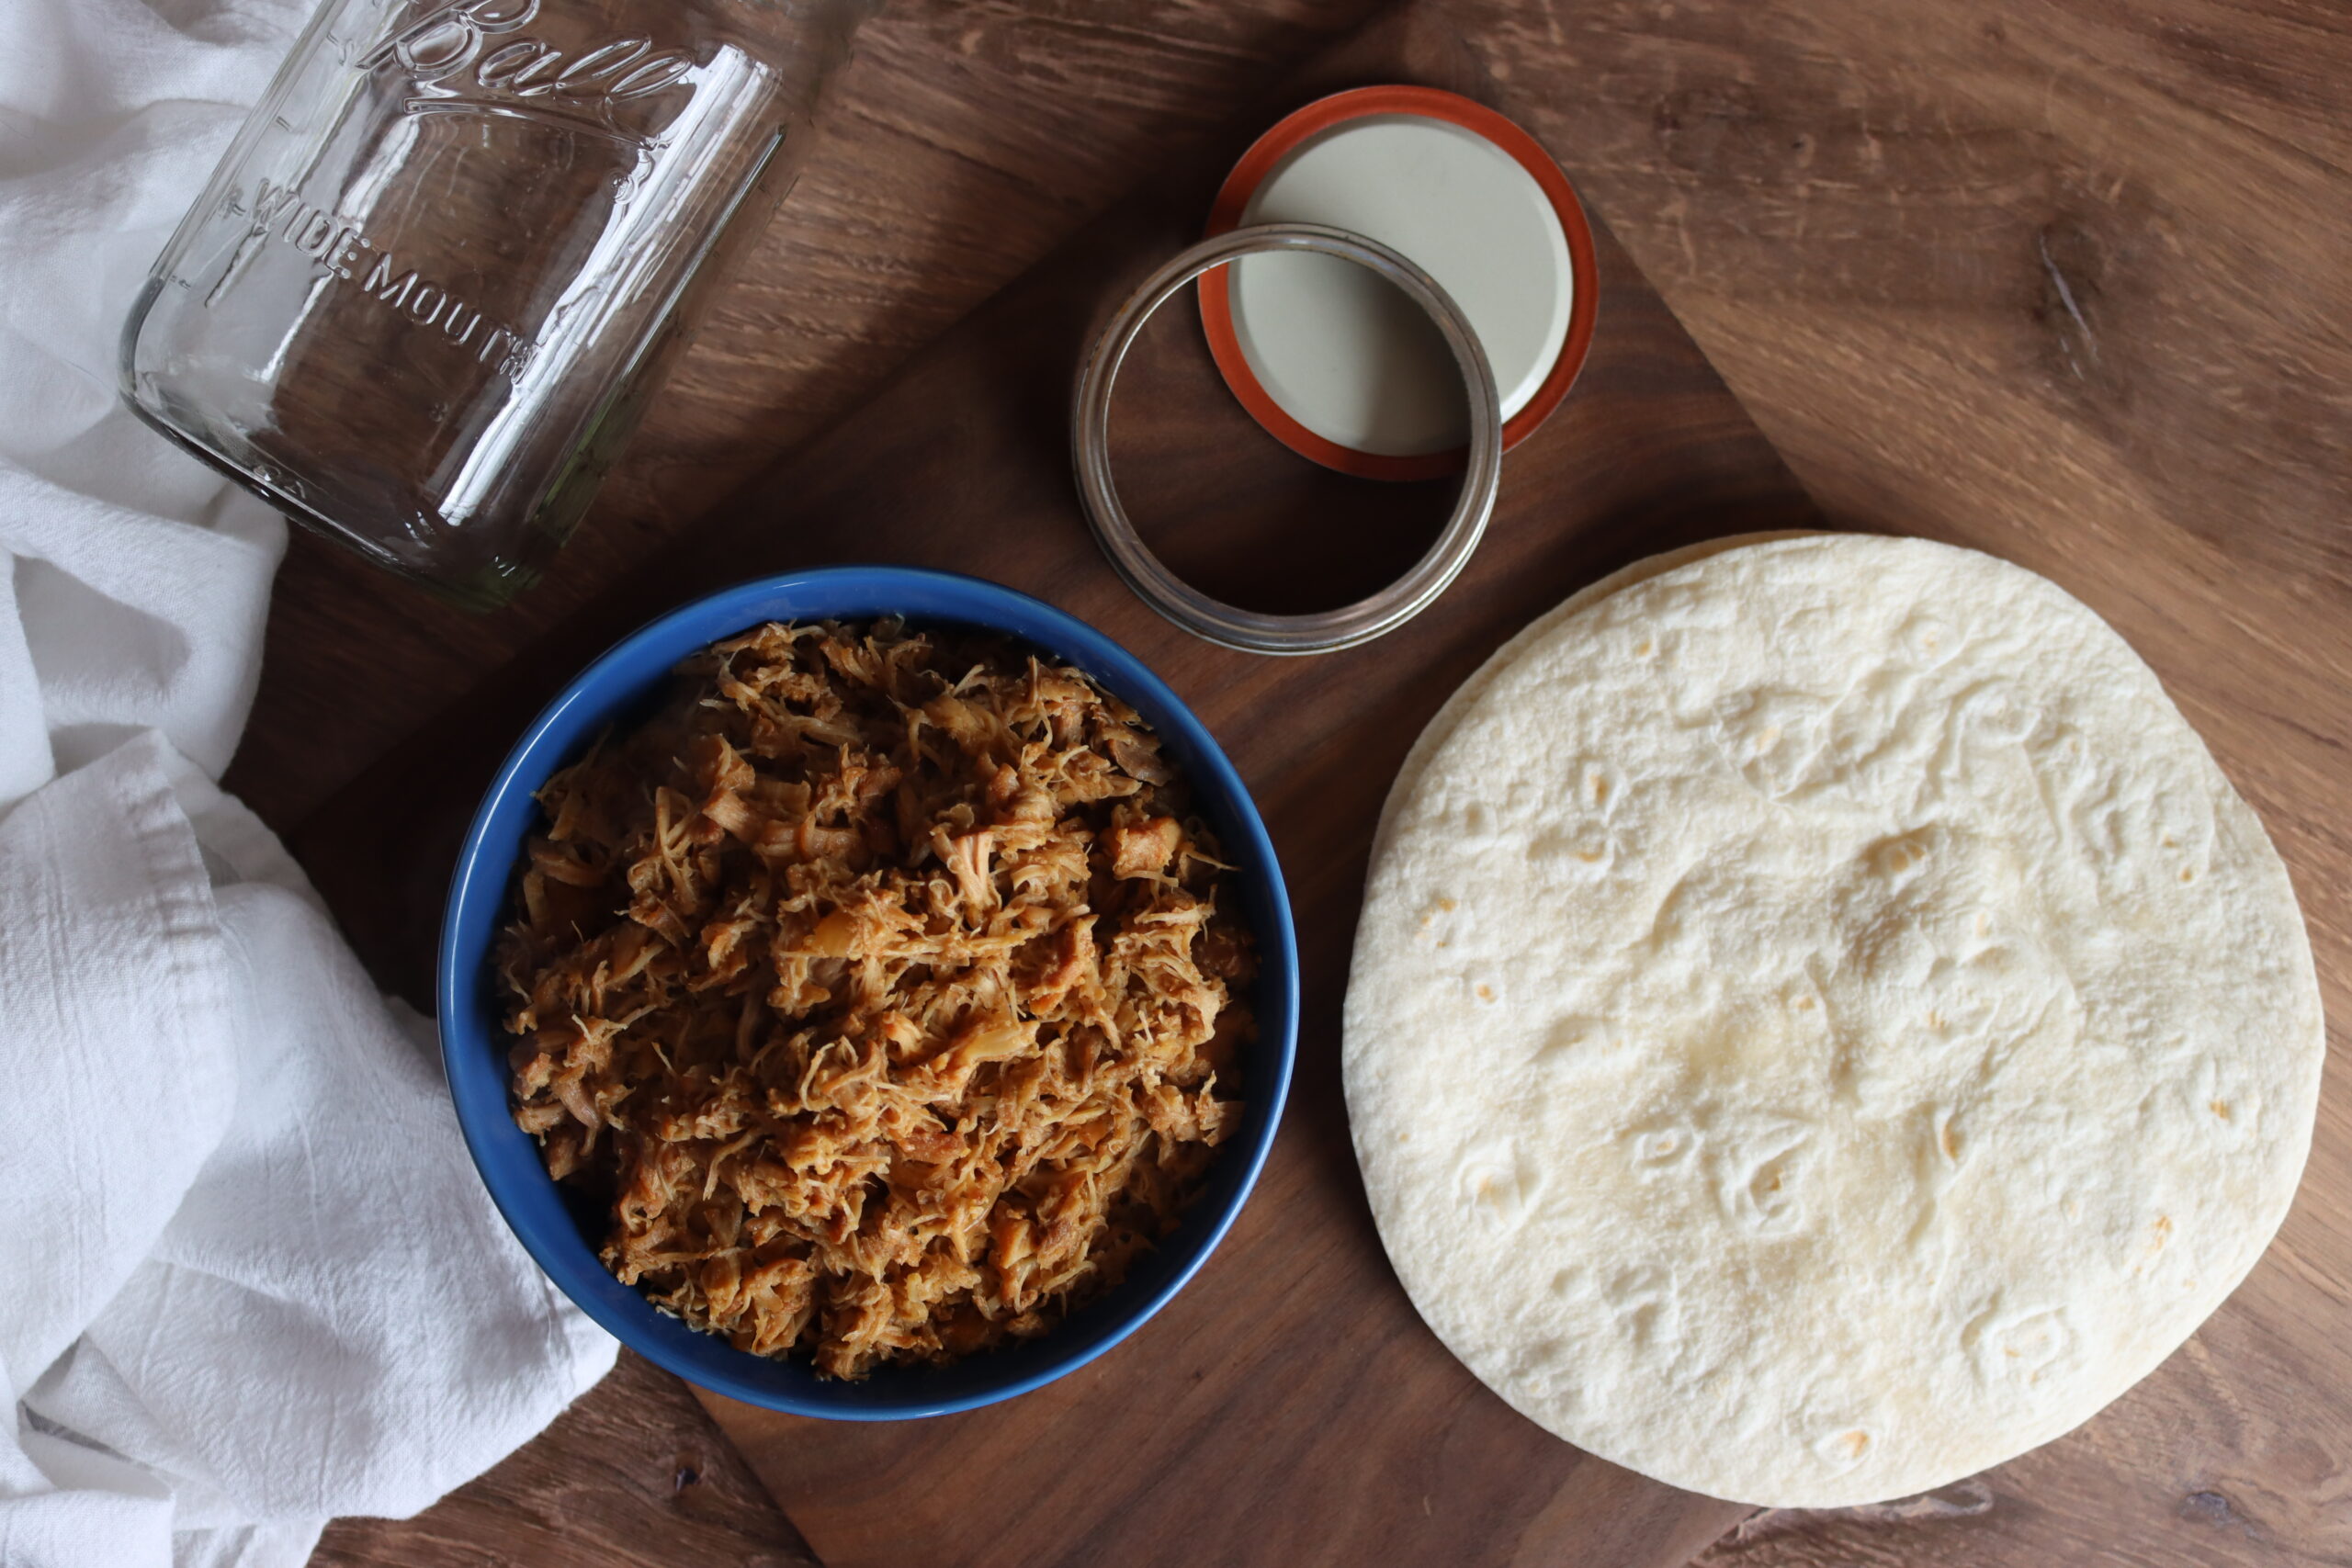
If you’re looking for an easy way to stock up on flavorful, ready-to-serve taco meat, this Taco Meat Chicken recipe is for you. By raw packing seasoned chicken thighs into canning jars and pressure canning them, you’re creating tender, pulled chicken with a kick—perfect for tacos, burritos, enchiladas, or even salads. Best of all? The spices infuse the meat during the canning process, making your job much easier when you’re ready to serve.
This simple, no-fuss recipe is a great way to preserve chicken and have it on hand for quick meals throughout the year. Chicken thighs work wonders here because they’re more flavorful and tender than chicken breasts, and they practically fall apart after canning, giving you that perfect shredded texture without any extra effort.
Why Raw Packing?
Generally, when I’m canning chicken, I hot pack, which means that I brown the meat and pre-cook it, which helps “set” the proteins, and it actually holds together better after canning. For chicken taco meat, I want pulled chicken, so I’m actually hoping it’ll shread easily and fall apart after canning when I reheat it.
Raw packing is the process of placing raw meat directly into canning jars without adding any liquid. As the meat cooks during the canning process, its own juices are released and sealed inside the jar, keeping everything moist and tender.
This method not only preserves the meat, but also allows the spices to really soak into the chicken, so each bite is full of flavor.
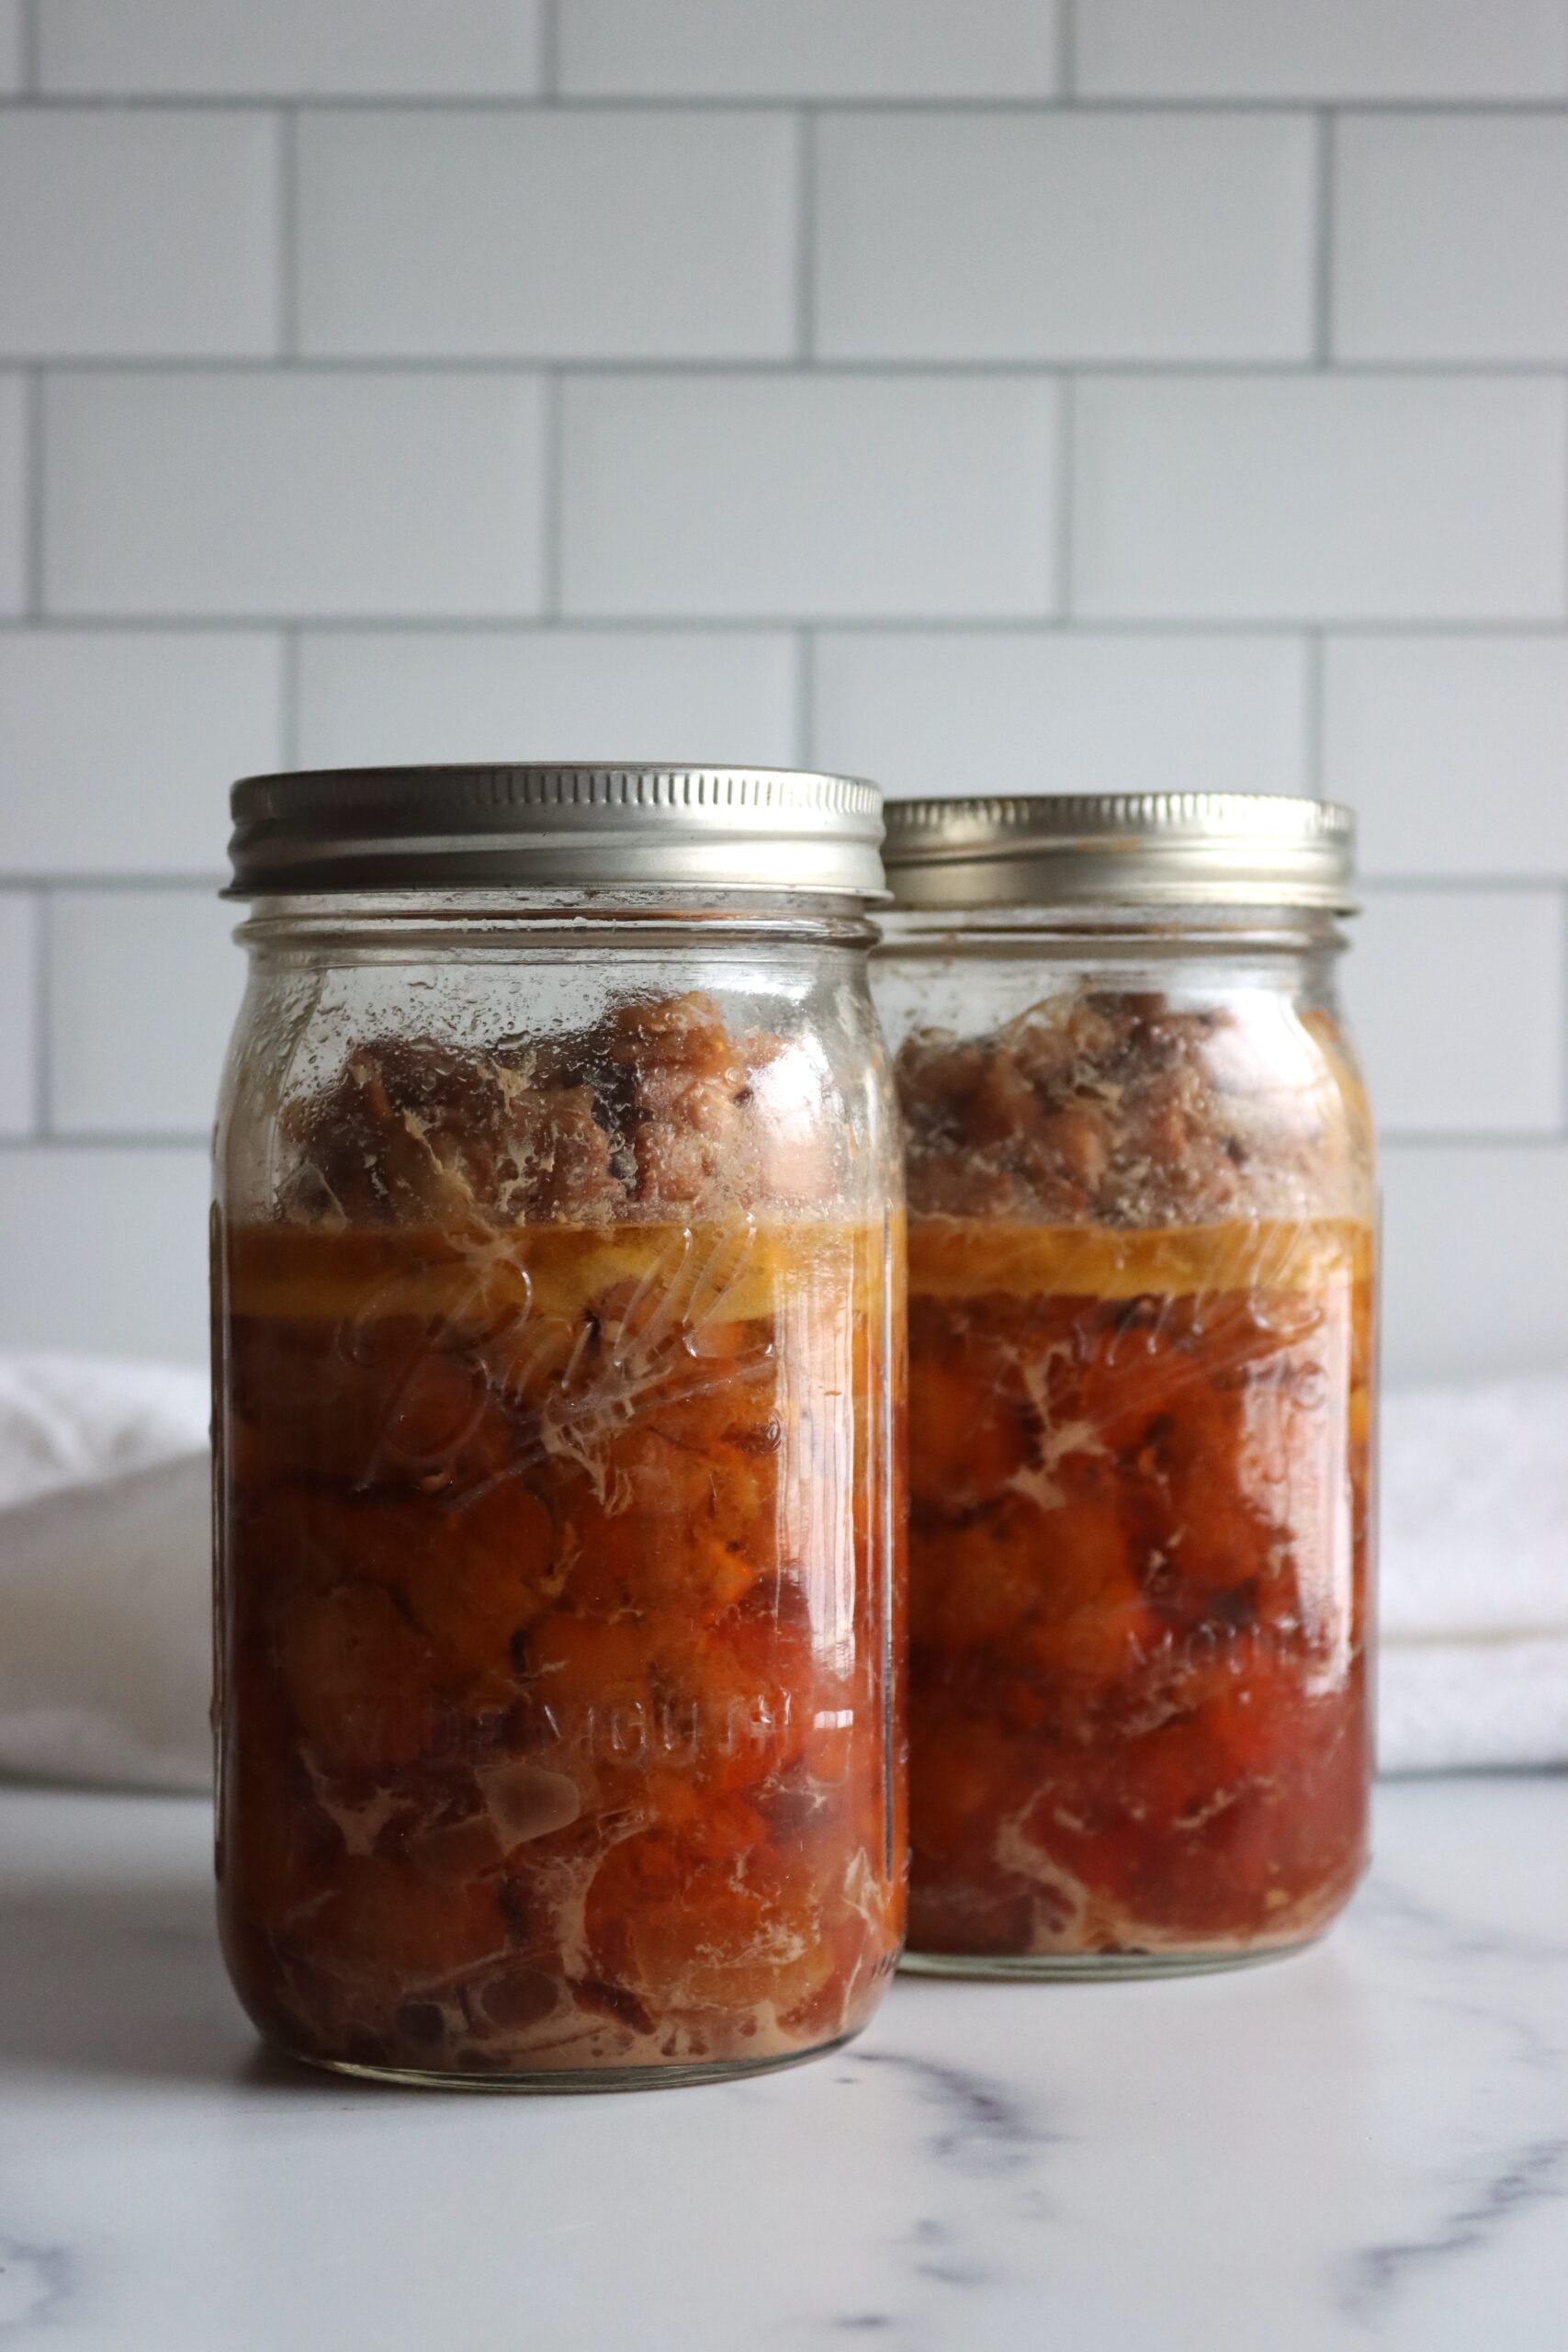
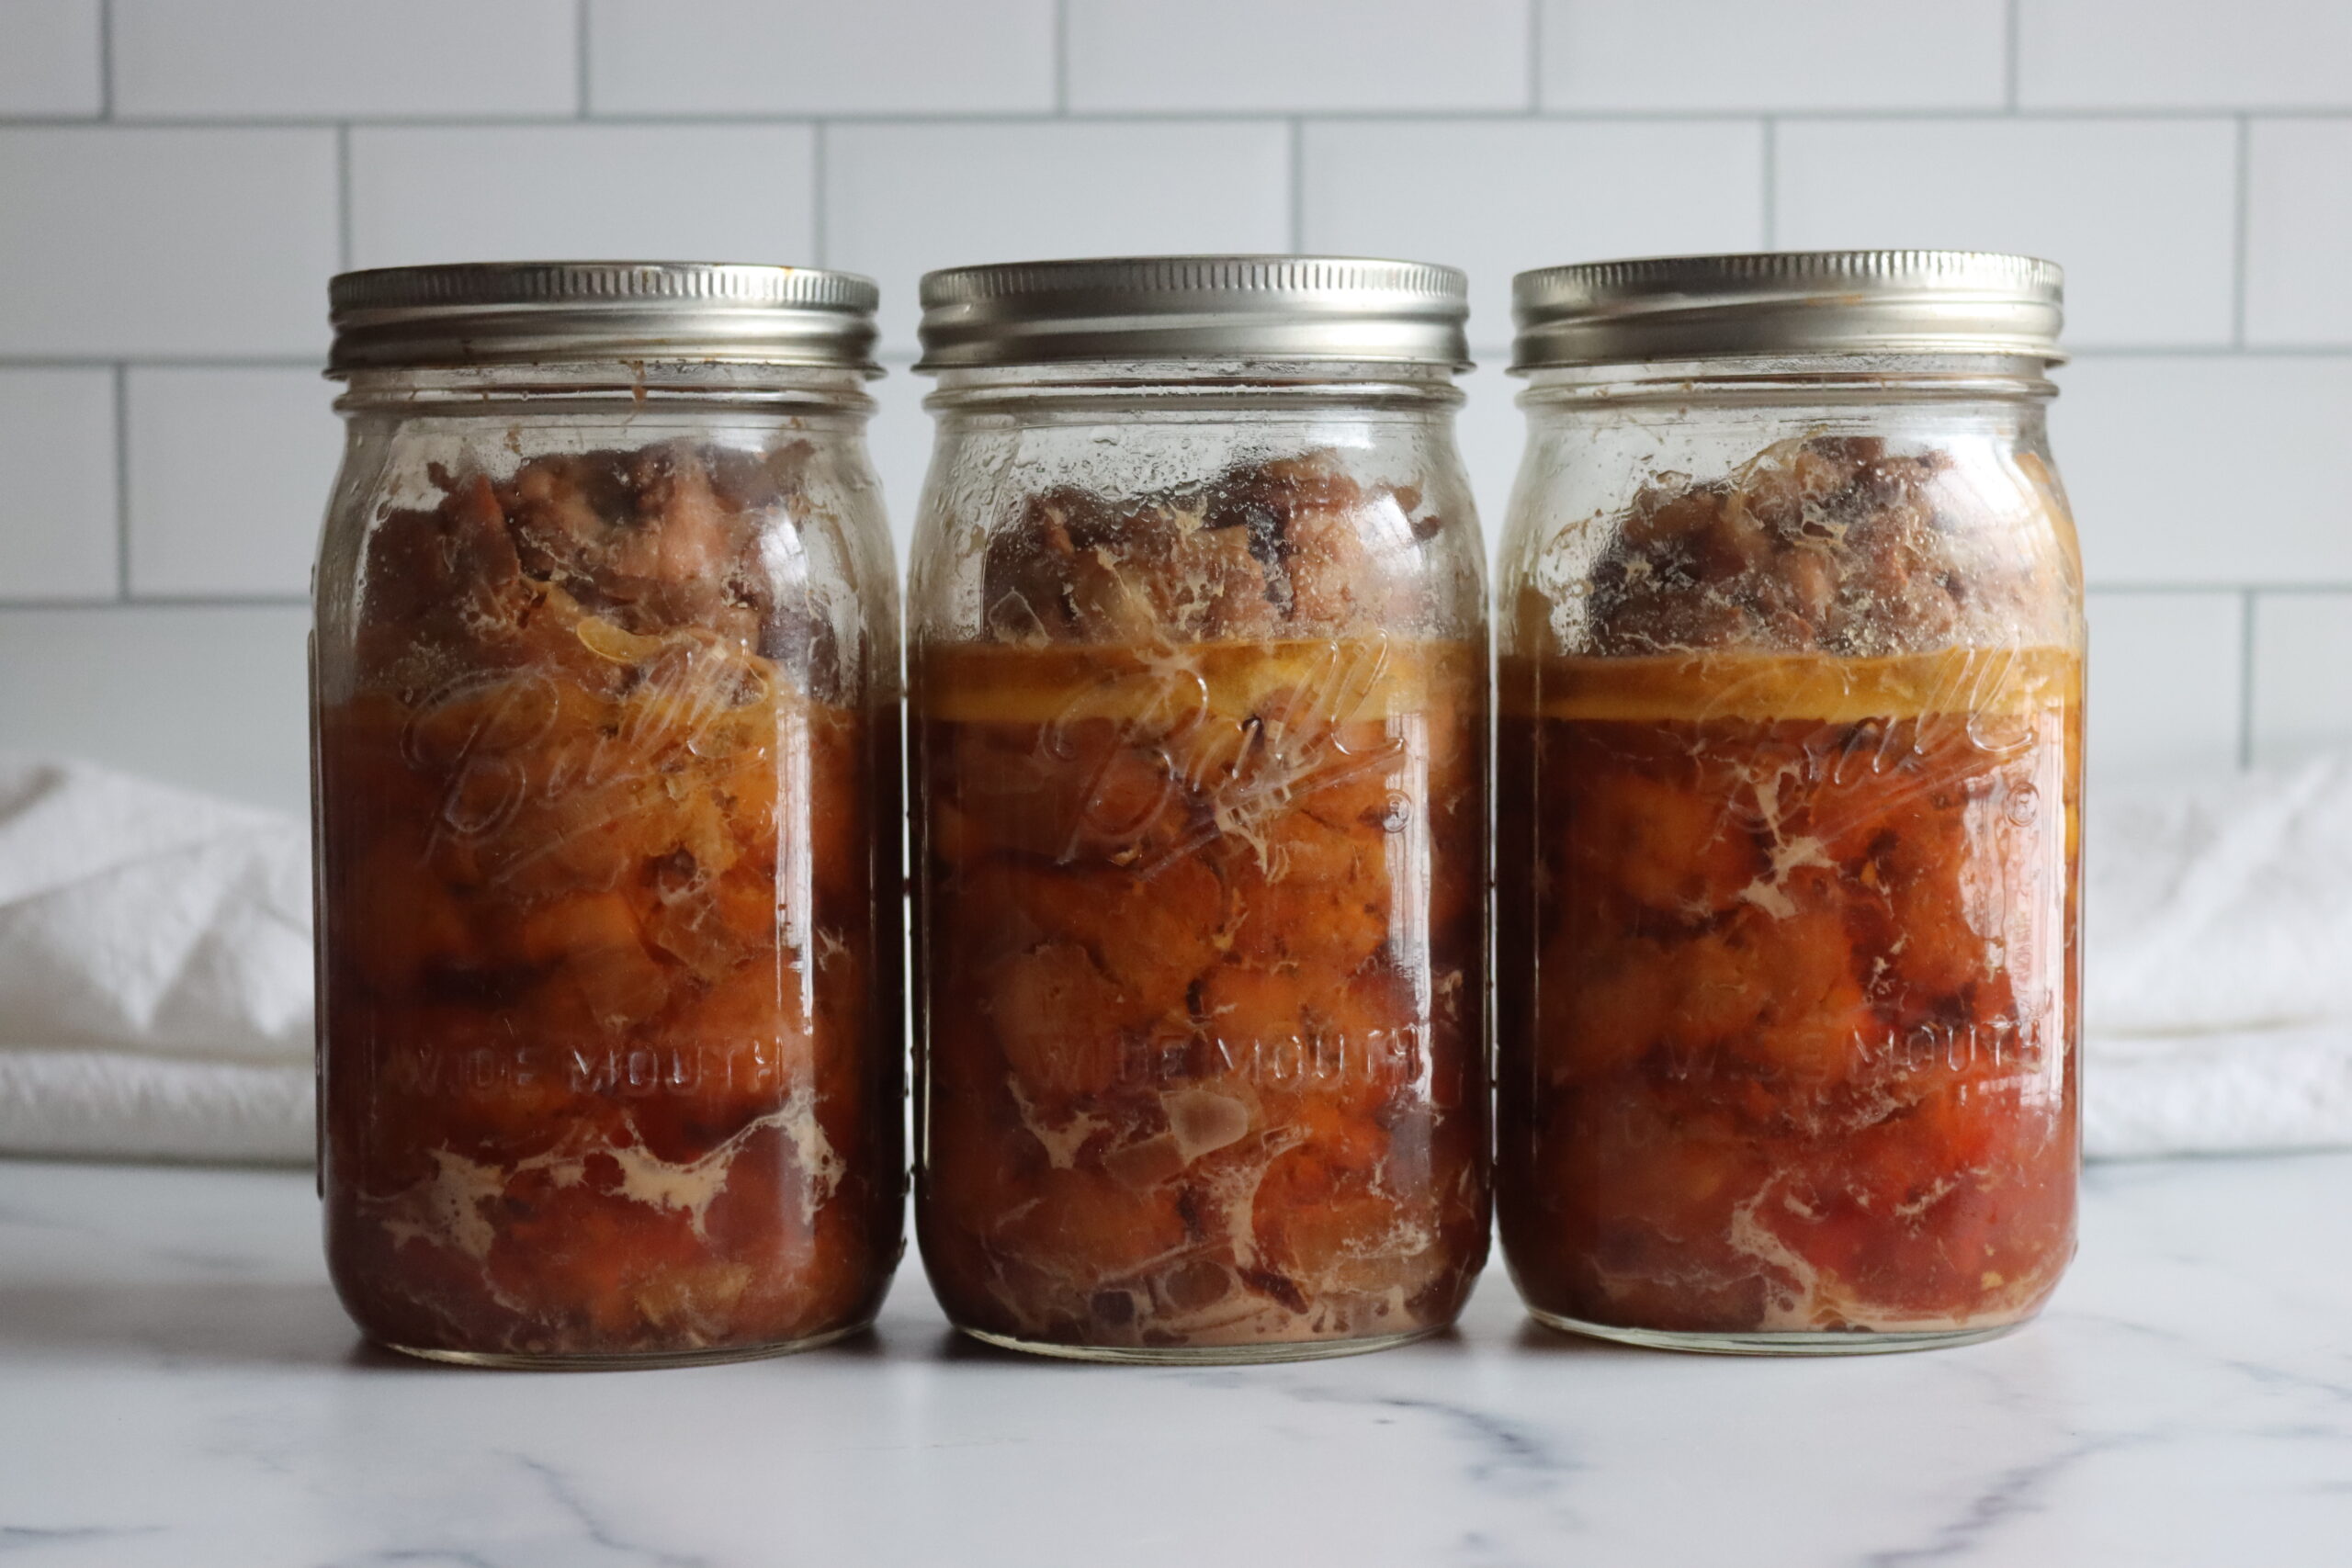
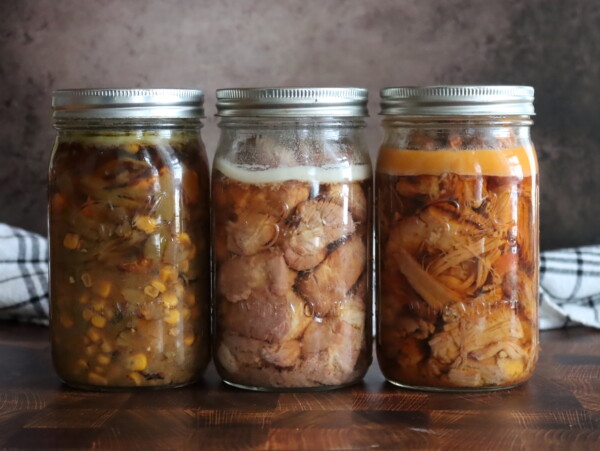
My only objection to this process is it makes for ugly jars. When you raw pack, things don’t look as neat in the jars…and it’s honestly not pretty on the shelf.
Who cares? It tastes amazing, and likely you’re the only one looking at your canning pantry anyway. It’d beautiful (and delicious) when served, even if it’s a bit lacking in shelf appeal in the jar.
Ingredients for Taco Meat Chicken
To make a three-quart canner batch, you’ll need the following:
- 5 lbs chicken thighs (boneless, skinless)
- 1 Tbsp. Salt
- 1 Tbsp. Onion Powder
- 1 Tbsp. Garlic Powder
- 1 Tbsp. Paprika
- 1 tsp. Cumin
- 1 tsp. Black Pepper
- Red Chili Flakes (to taste, 1 tsp to 1 tbsp.)
When raw packing, I generally get just under 2 pounds of chicken to a quart jar. I’ve found that 5 lbs chicken is just right for 3 quart jars, leaving 1 ½ inches of headspace.
For salt, the general recommendation is 1 tsp per quart jar, and it works out perfectly in this recipe. The salt helps maintain the chicken’s flavor and texture during canning, and prevents the meat from tasting dry after canning. You can use less if you’d like, but I wouldn’t skip it.
(It’s not for preservation; it’s for flavor and quality.)
The spices here are completely up to you, so long as you only use dry spices.
Other good choices are Mexican oregano and ground coriander.
Taco seasoning blends often use chili powder, but I’ve found that can be a bit abrasive after pressure canning. I like the flavor better using paprika for that warm pepper flavor, and then red chili flakes for heat. (Smoked paprika is even better, if you can find it.)
Canning Taco Meat Chicken
To begin, trim any excess fat from the chicken thighs and dice the meat into 1 to 2-inch pieces. The pieces should be small enough to fit into the jars but large enough to remain tender during the canning process. Once the chicken is prepared, combine the salt, onion powder, garlic powder, paprika, cumin, black pepper, and red chili flakes in a large bowl. Toss the diced chicken with the seasoning mixture until every piece is evenly coated.
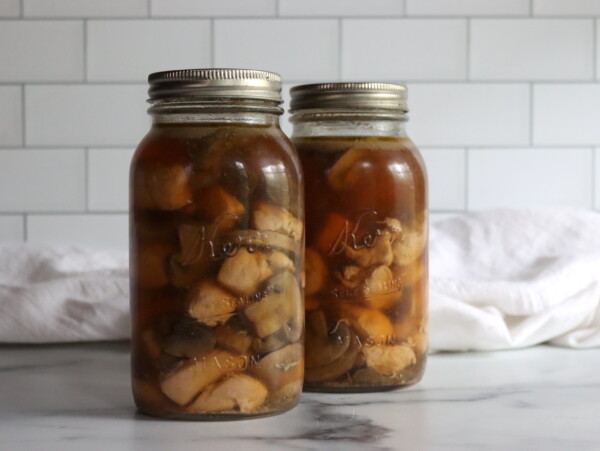
Begin packing the seasoned chicken tightly into the jars, making sure it’s snug but not overly compressed. Leave about 1 1/2 inches of headspace at the top of each jar. The chicken will release liquid during the canning process, so there’s no need to add any extra liquid.
Before sealing, wipe the rims of the jars with a clean, damp cloth to ensure a good seal. Place the sterilized lids on top of the jars and screw on the bands until they’re just finger-tight.
Process the jars in a pressure canner according to the manufacturer’s instructions for your specific model. For quart jars, you will need to can them at 10 pounds of pressure for 90 minutes, or for pints the time is 75 minutes. Be sure to adjust the pressure if you’re over 1,000 feet in elevation (see below).
Once the canning process is complete, turn off the heat and let the canner cool down naturally. After the pressure has fully released, carefully remove the jars from the canner and set them on a clean, towel-lined surface to cool. As they cool, you’ll hear the satisfying “pop” of the lids sealing. Let the jars cool completely before storing them in a cool, dark place.
Altitude Adjustments
With pressure canning, the processing times stay the same at higher altitudes, but the pressures change. Here are the altitude adjustments for pressure canning:
For dial gauge pressure canners:
- 0 to 2,000 feet in elevation – 11 lbs pressure
- 2,001 to 4,000 feet in elevation – 12 lbs pressure
- 4,001 to 6,000 feet in elevation – 13 lbs pressure
- 6,001 to 8,000 feet in elevation – 14 lbs pressure
For weighted gauge pressure canners:
- 0 to 1,000 feet in elevation – 10 lbs pressure
- Above 1,000 feet – 15 lbs pressure
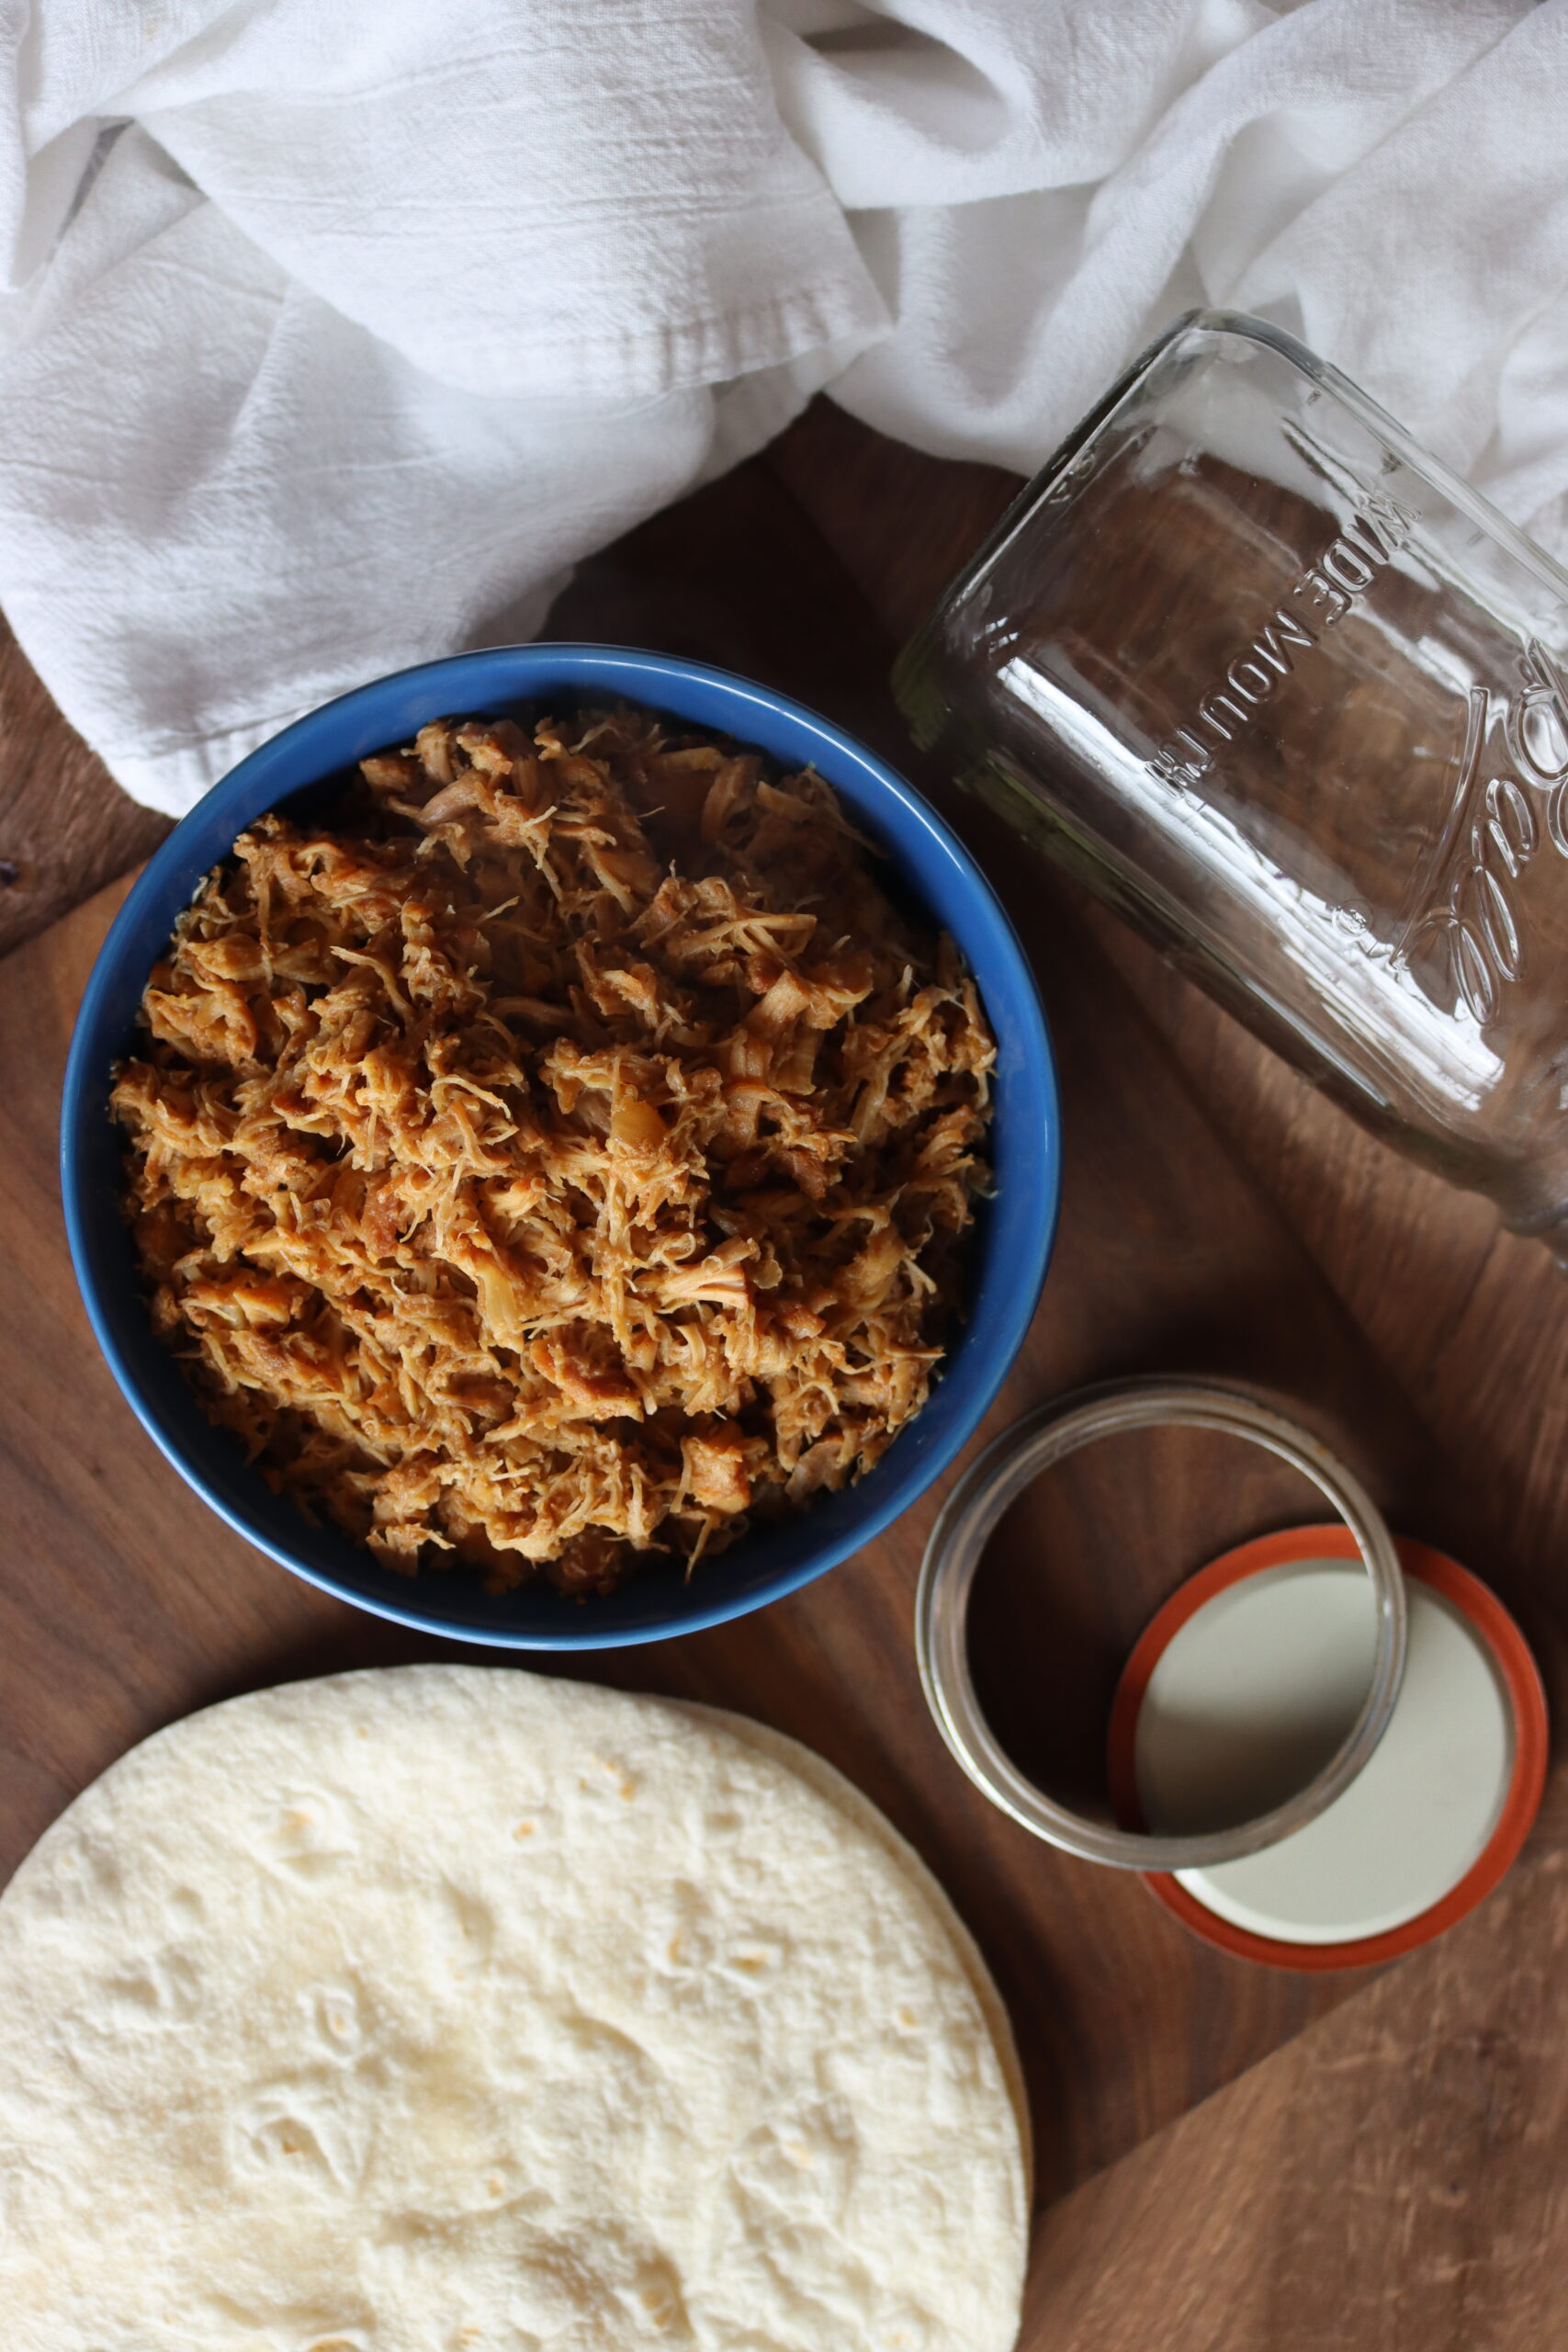
Serving Taco Meat Chicken
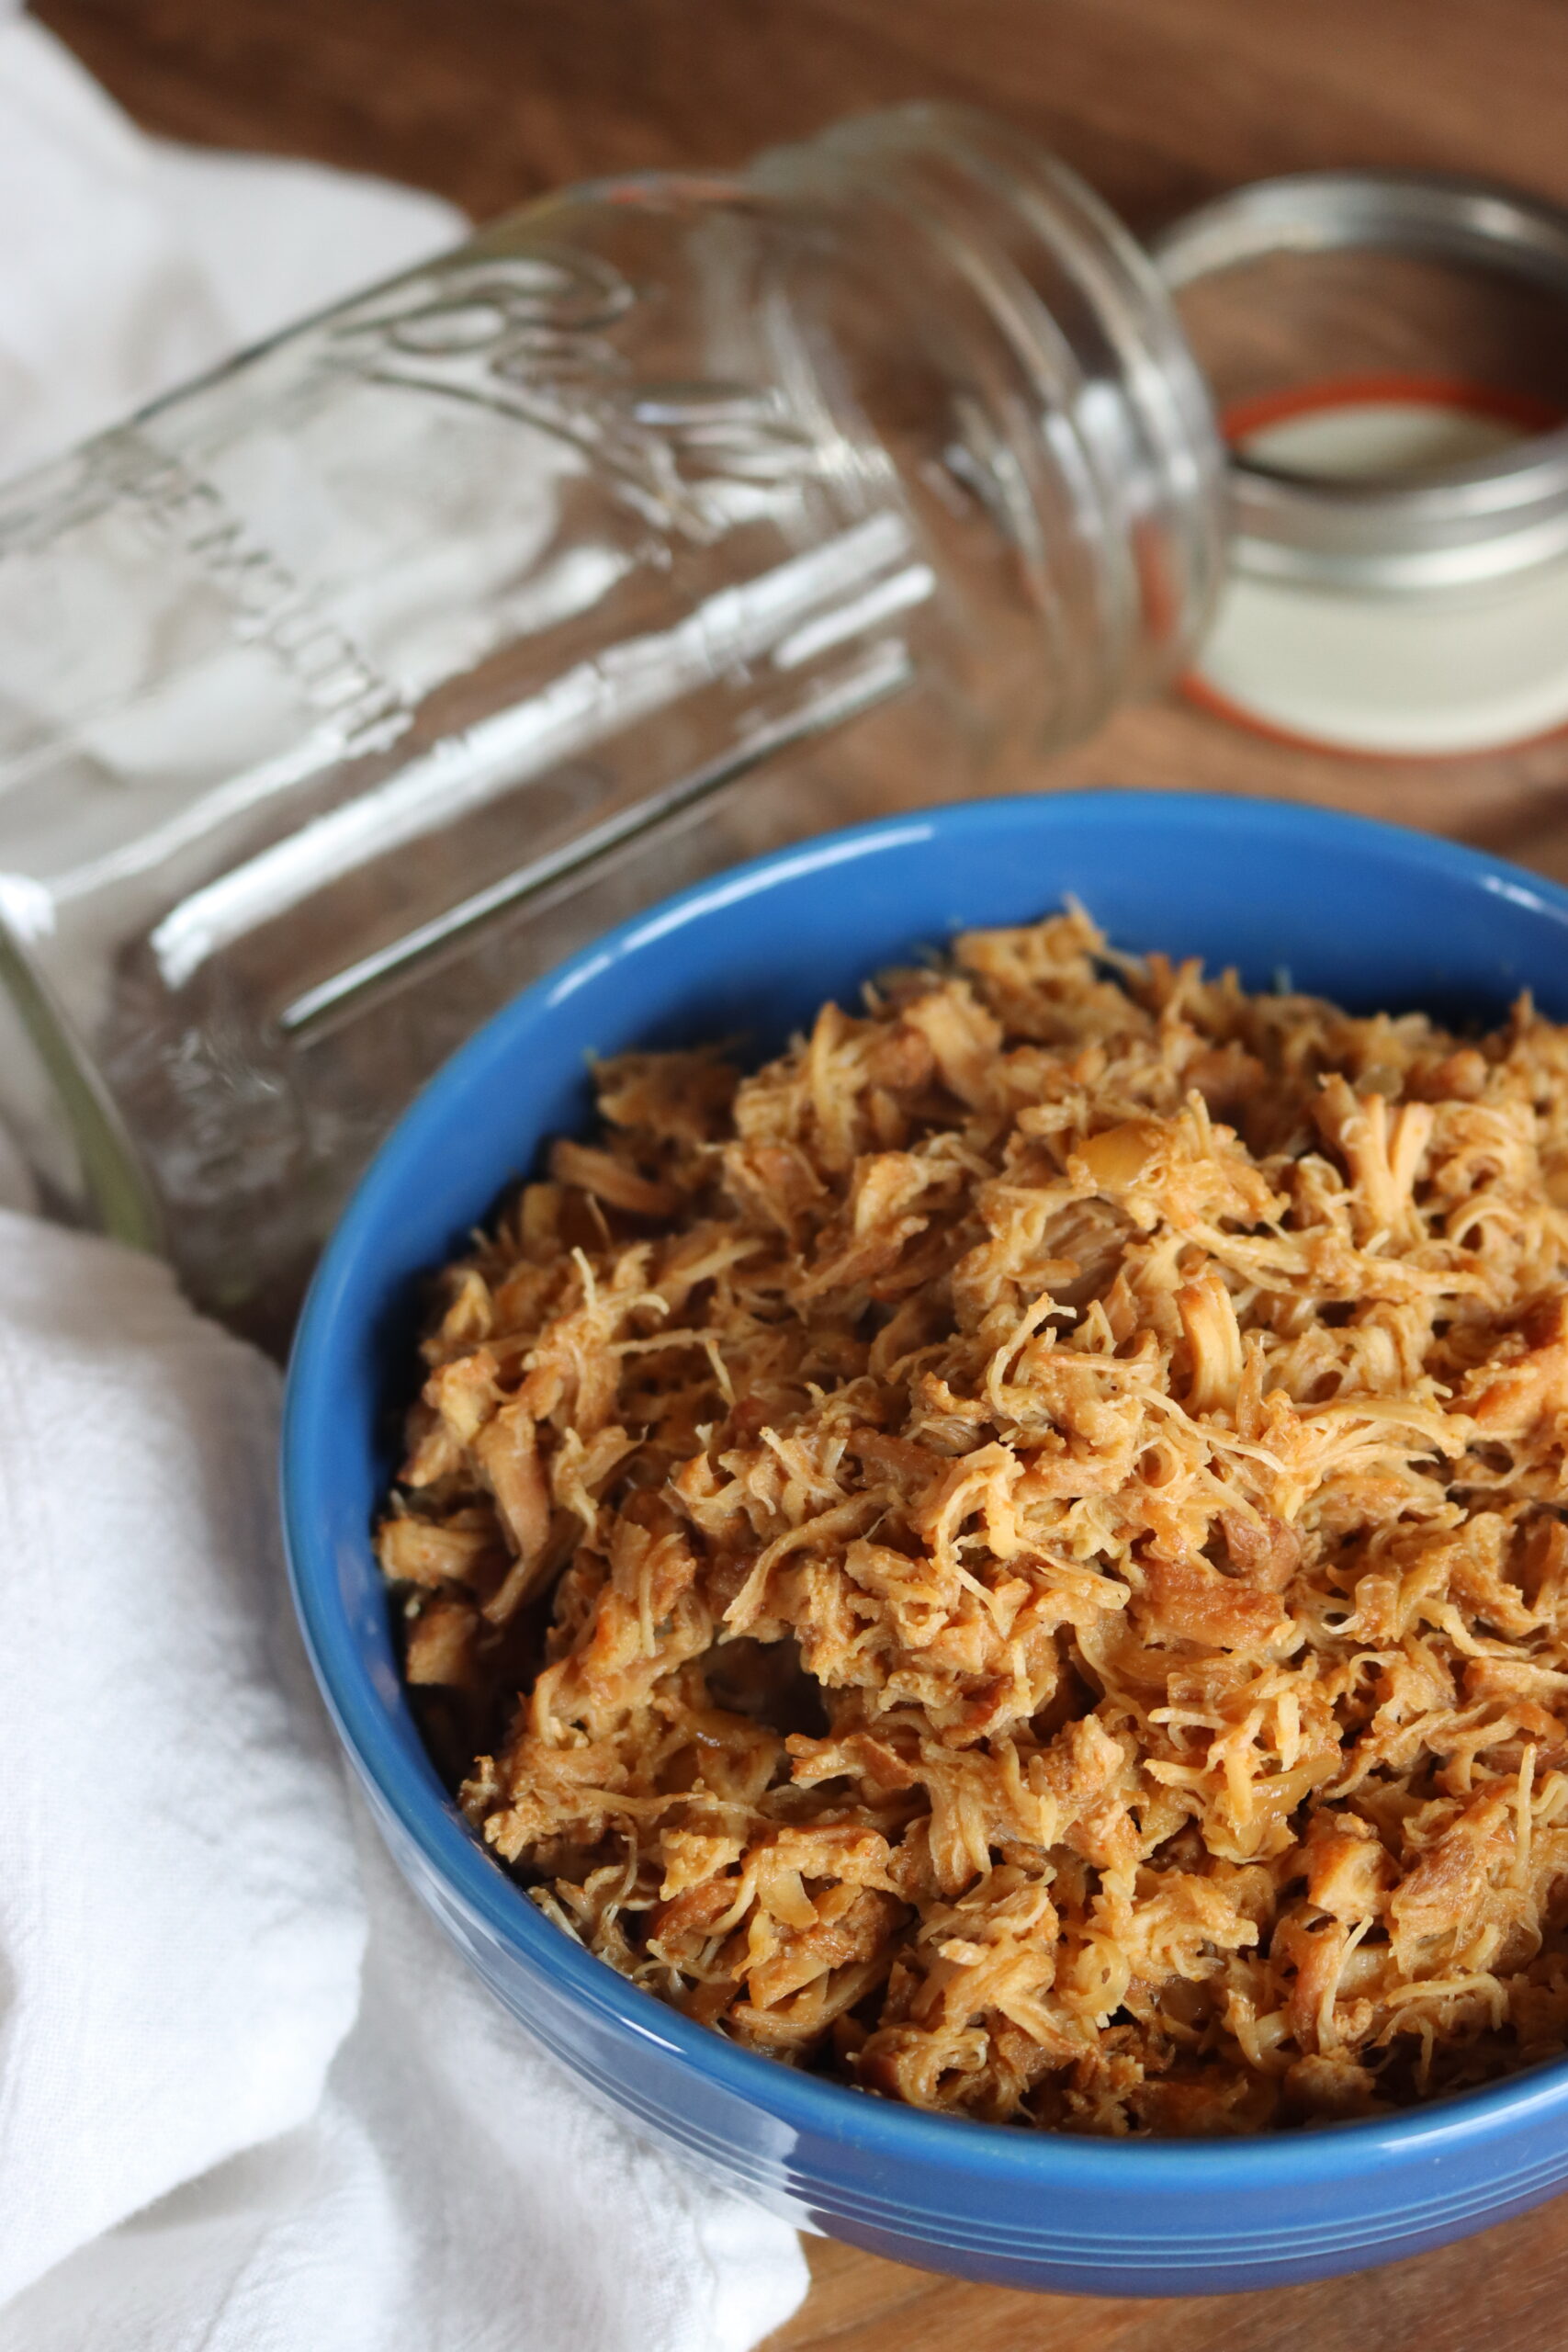
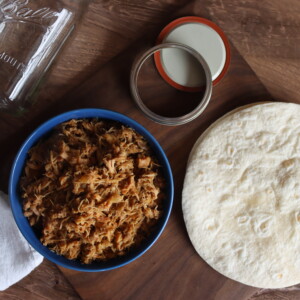
Once your Taco Meat Chicken is canned, it’s ready to use anytime. To serve, simply open a jar, shred the chicken with a fork (or use your hands), and warm it up on the stove or in the microwave.
Personally, I think it works much better to reheat on the stove, as the last bits of liquid evaporate and the pulled chicken crisps in its own rendered fat.
The chicken will be tender and juicy, full of flavor from the spices, and ready to use for tacos, wraps, burritos, or even in soups or salads. You can also add extra toppings like salsa, cheese, or guacamole to make your tacos even more delicious.
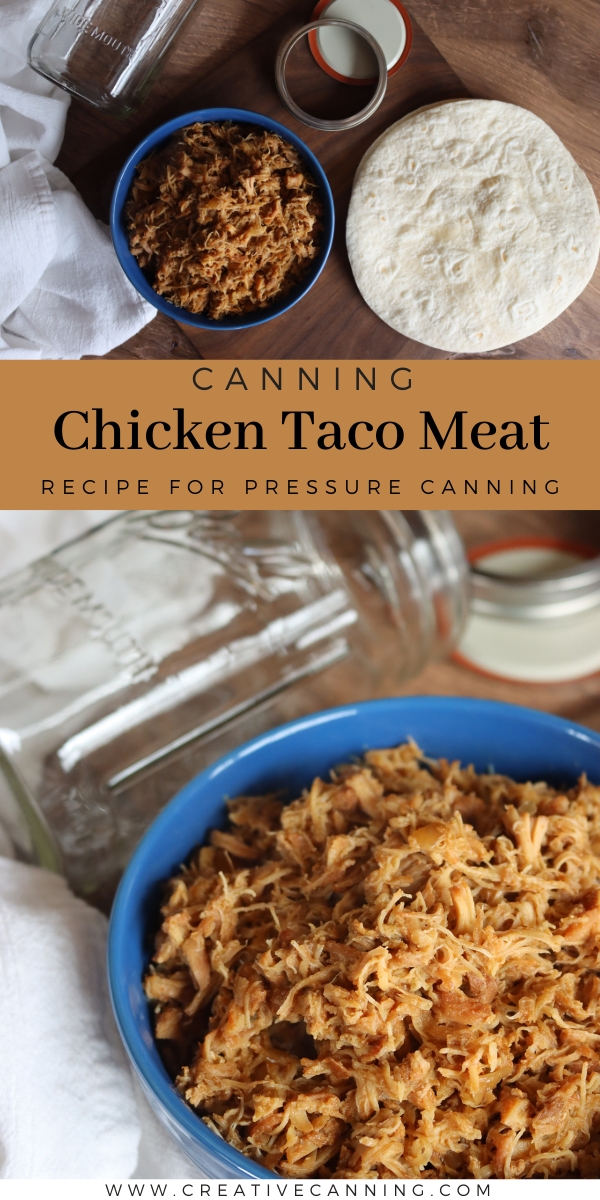
Canning Chicken Taco Meat
Equipment
- Wide Mouth Quart Mason Jars
- Wide Mouth Canning Lids
- Jar Lifter
Ingredients
- 5 lbs chicken thighs, boneless, skinless
- 1 Tbsp. Salt
- 1 Tbsp. Onion Powder
- 1 Tbsp. Garlic Powder
- 1 Tbsp. Paprika
- 1 tsp. Cumin
- 1 tsp. Black Pepper
- Red Chili Flakes, to taste, 1 tsp to 1 tbsp.
Instructions
- Start by trimming any excess fat from the chicken thighs. Dice the chicken into 1 to 2-inch pieces. You want them small enough to fit into the jars, but large enough to stay tender during the canning process.
- In a large bowl, combine the salt, onion powder, garlic powder, paprika, cumin, black pepper, and red chili flakes. Toss the diced chicken pieces with the seasoning mix until everything is evenly coated.
- Sterilize your quart-sized canning jars and lids. Then, begin packing the seasoned chicken tightly into the jars. You want the chicken to be packed as snugly as possible, but without squishing it. Leave about 1 inch of headspace at the top of each jar. The chicken will release liquid during the canning process, so don’t worry about adding any extra liquid.
- Before sealing, wipe the rims of the jars with a clean, damp cloth to ensure a good seal. Place the sterilized lids on the jars, then screw on the bands until they’re just finger-tight.
- Process the jars in a pressure canner. Follow the manufacturer’s instructions for your specific model. For quart jars, you’ll need to pressure can at 10 pounds of pressure for 90 minutes, or 75 minutes for pints, adjusting the pressure for altitude if above 1,000 feet in elevation (see notes)
- Once the canning time is complete, turn off the heat and allow the canner to cool down naturally. When the pressure has fully released, carefully remove the jars from the canner and set them on a clean, towel-lined counter to cool. You’ll hear the satisfying "pop" of the lids as they seal. Allow the jars to cool completely before storing them.
Notes
Altitude Adjustments
With pressure canning, the processing times stay the same at higher altitudes, but the pressures change. Here are the altitude adjustments for pressure canning: For dial gauge pressure canners:- 0 to 2,000 feet in elevation – 11 lbs pressure
- 2,001 to 4,000 feet in elevation – 12 lbs pressure
- 4,001 to 6,000 feet in elevation – 13 lbs pressure
- 6,001 to 8,000 feet in elevation – 14 lbs pressure
- 0 to 1,000 feet in elevation – 10 lbs pressure
- Above 1,000 feet – 15 lbs pressure
Nutrition
Nutrition information is automatically calculated, so should only be used as an approximation.
Chicken Canning Recipes
Looking for more chicken canning recipes?
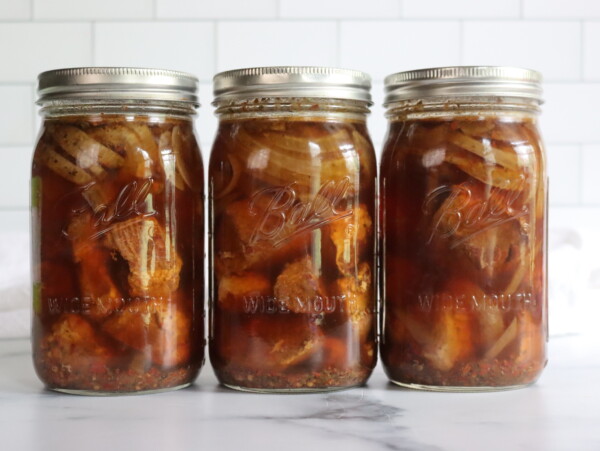
Taco Meat Canning Recipes
There’s more than one way to put up taco meat!
Can I substitute ground turkey for the chicken? Thanks!
Ground poultry is the one meat generally not tested for substituting into recipes. The NCHFP believes it has higher bacterial loads than other types of ground meat, so while you can use ground beef, pork, etc, they don’t recommend using ground chicken or turkey simply because they haven’t tested if the times are sufficient. If could be fine, but they just haven’t tested it yet and thus don’t recommend it. If you want to use ground meat, it needs to be browned first, and you’d be following instructions closer to this recipe for ground beef taco meat: https://creativecanning.com/canning-taco-meat/
Quick and easy seasoned meat canning recipe is lovely for last minute tacos. You can honestly use whatever dry seasoning your family likes here, but I think this mix is just about perfect!
Perfectly seasoned and so tender!
I didn’t have quite 5lbs of chicken so it made 4 pints. Will definitely be making more to have on hand. I’ve made your canned bbq beans..super tasty. What beef stew with veggies recipe would you recommend?
Wonderful, so glad you liked it! My favorite beef stew with veggies recipe is actually my beef pot pie filling recipe here: https://creativecanning.com/canning-beef-pot-pie-filling/
While it’s called a “pot pie filling” it’s a stew as well really.
I also have a straight beef stew recipe, and it’s made with carrots, potatoes and beef: https://practicalselfreliance.com/canning-beef-stew/