This post may contain affiliate links. Please see our disclosure policy.
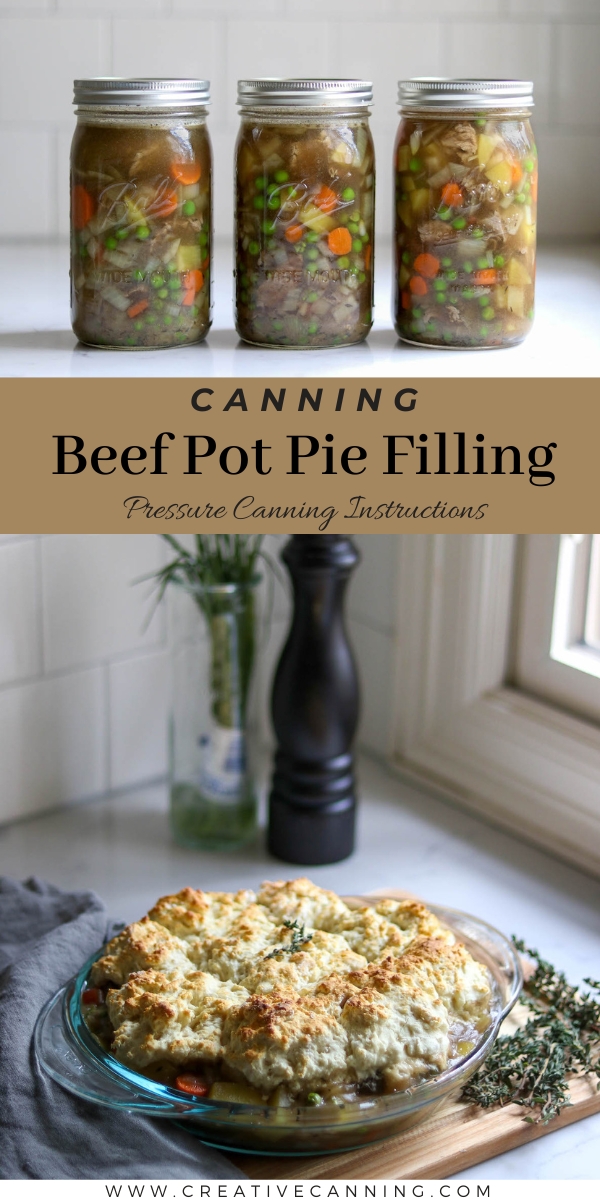
Canning beef pot pie filling makes a satisfying meal quickly, just add pie crust of a biscuit topping. In a pinch, you can also just heat and eat this hearty meal as a stew, skipping the crust for convenience.
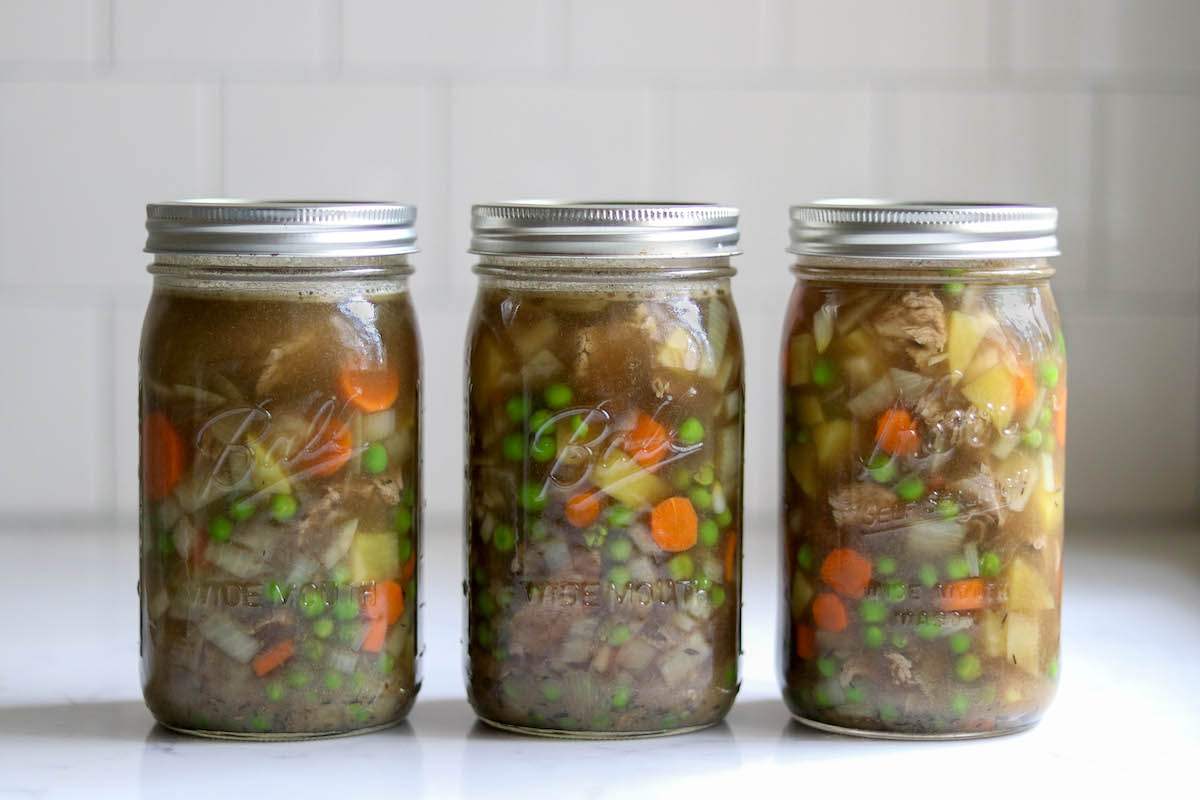
Table of Contents
Canning beef pot pie filling is the perfect way to ensure you always have an easy and delicious dinner on hand, and it’s one of my very favorite beef canning recipes.
It’s simple, economical, and only requires a few ingredients (like beef, broth, and your favorite vegetables). When you open up a jar, all you need to do is dump it into your pie crust and bake – and you’ll have a delicious, warming, and filling dinner that’s perfect for those busy and chilly winter nights.
This basic recipe can provide family dinners for months or years – making any dinner-time stress a thing of the past!
What’s the Difference Between Pot Pie Filling and Stew?
This recipe is very similar to a classic beef stew canning recipe, but with a few key differences.
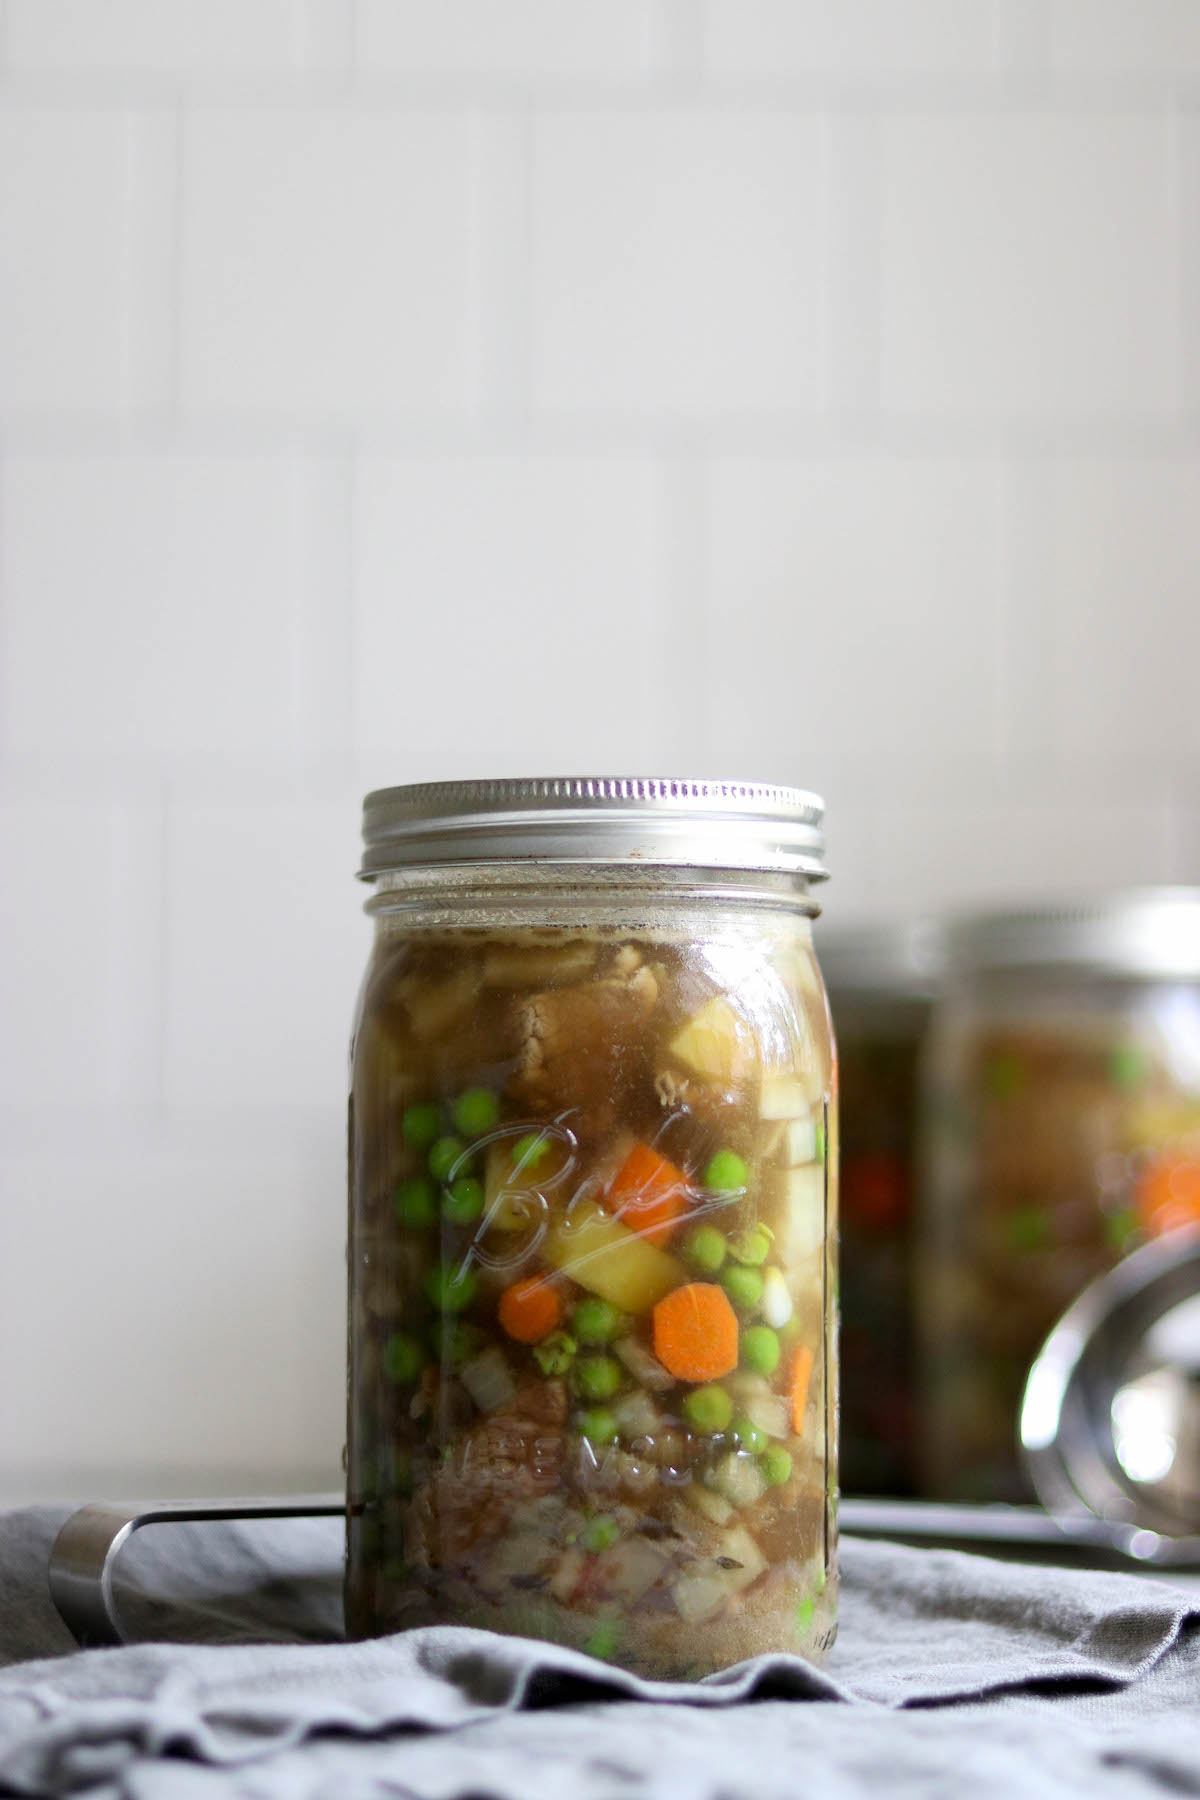
Since its assumes you will add pie crust or a biscuit topping, beef pot pie filling only has a few potatoes added. Beef stew, on the other hand, has lots of potatoes to soak up all that flavorful beef stock. The starch for this meal will come from the crust, so there’s more room for veggies in pot pie filling.
The other notable addition is peas, which add a blast of sweet green flavor to the pot pie. Peas are always a part of pot pie recipes in my house, but you can also substitute green beans if that’s your preference.
Ingredients for Beef Pot Pie Filling
The ingredients for making and canning beef pot pie filling are quite simple, and it’s easy to make substitutions to make a dish your family loves.
Most of these veggies can come right out of your own garden, or are readily available at the store. You can also substitute other vegetables if your family prefers them, and I have instructions for substitutions as well.
The only thing that might be hard to get is fresh-shelled peas, but you can use frozen peas, and they work just fine. (You can also substitute green beans in place of the peas, or skip them altogether.)
Generally, I adapt canning recipes pretty heavily from tested sources, following safe canning guidelines. As my husband says, “She never met a recipe she didn’t want to change.”
This one, however, is just perfect as it is. It comes from Angi Schneider’s Pressure Canning for Beginners and Beyond, which is hands down my very favorite pressure canning book. If you have a pressure canner, this book should be on your book shelf.
Angi made a real winner with this one, and I hope your family loves it as much as mine does!
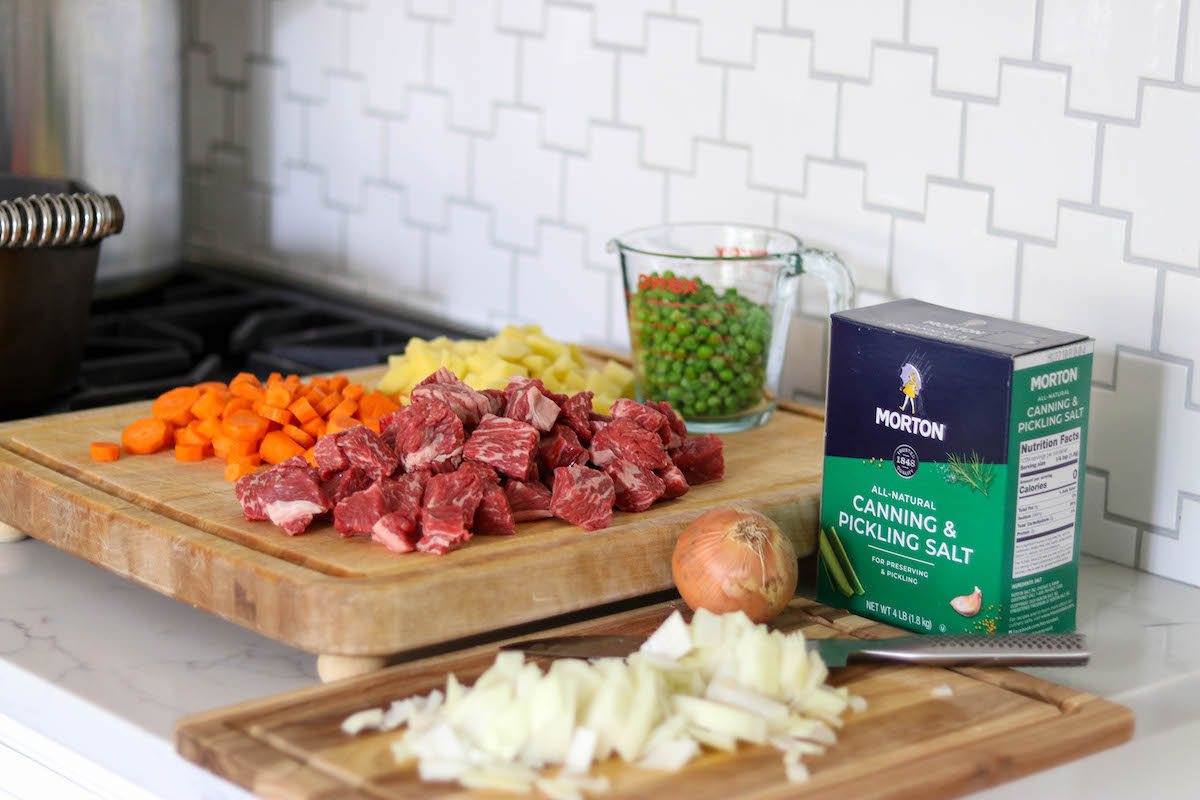
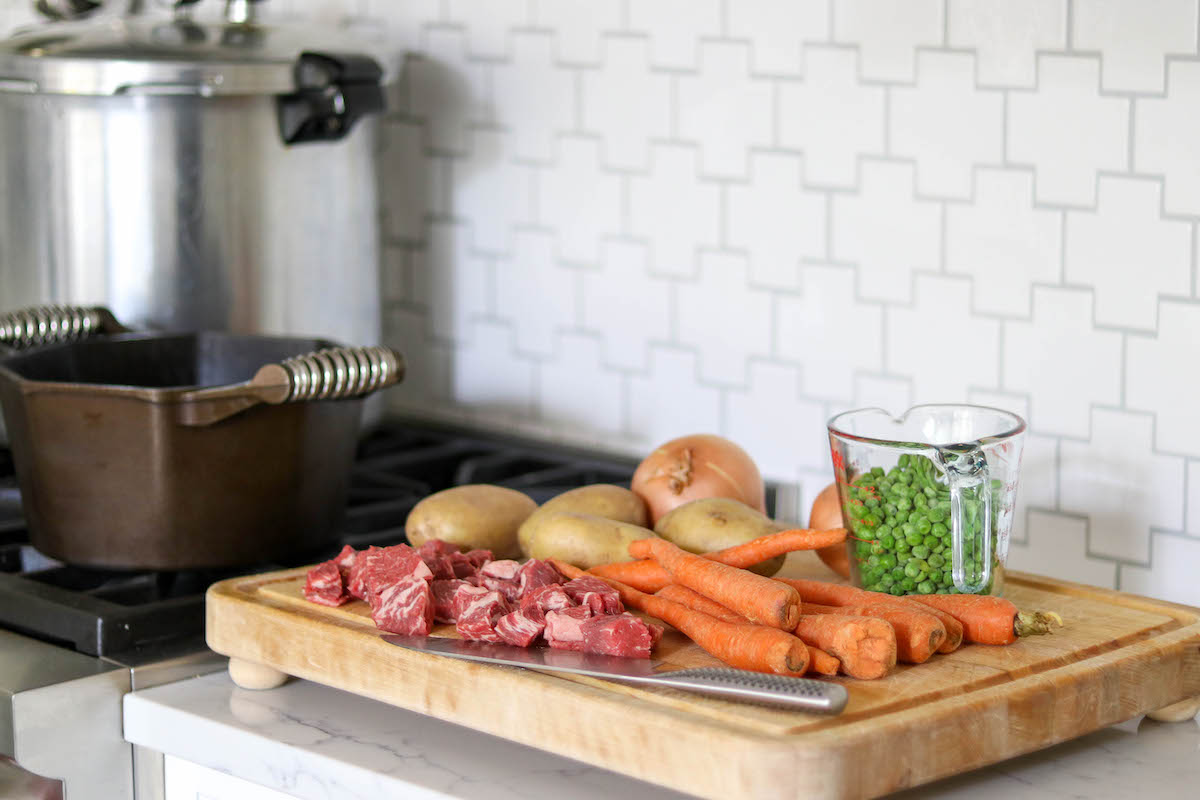
To make a canner batch of 4-quart jars (or 8-pint jars) you’ll need the following:
- 4 cups (600 grams) diced and peeled potatoes
- 3 cups (380 grams) sliced and peeled carrots
- 1 ½ cups (220 grams) of shelled peas
- 2 cups (320 grams) of chopped onions
- 2 lbs (900 grams) of cubed chuck or round beef (cut into 1-inch or 2.5 cm cubes)
- 1 tsp dried thyme
- 1 tbsp (8 grams) of garlic powder
- 2 cups (480 ml) water
- 2 cups (480 ml) beef broth
- 2 tsp (12 grams) non-iodized salt, like sea salt
For the potatoes, I tend to use waxy gold potatoes for canning, as they hold together the best and come out with a nice firm texture. Floury potatoes, like russets, tend to fall apart a bit more. Red potatoes will also work, but I just prefer the flavor of gold potatoes. You’ll need about 1 ⅔ lbs (or 750 grams) of whole potatoes as purchased.
To make 3 cups of peeled and sliced carrots, you’ll need 1 ¼ lbs (or 570 grams) of whole carrots. When canning carrots, I’d suggest choosing firm storage carrots as they do best in the canner. The tender summer carrots don’t hold together well.
Most bulk bags of carrots at the grocery store are storage carrots, but you should avoid the farmer’s market colorful carrots, or the carrots sold with tops attached. Those are not storage varieties, and they’re a bit too tender for canning.
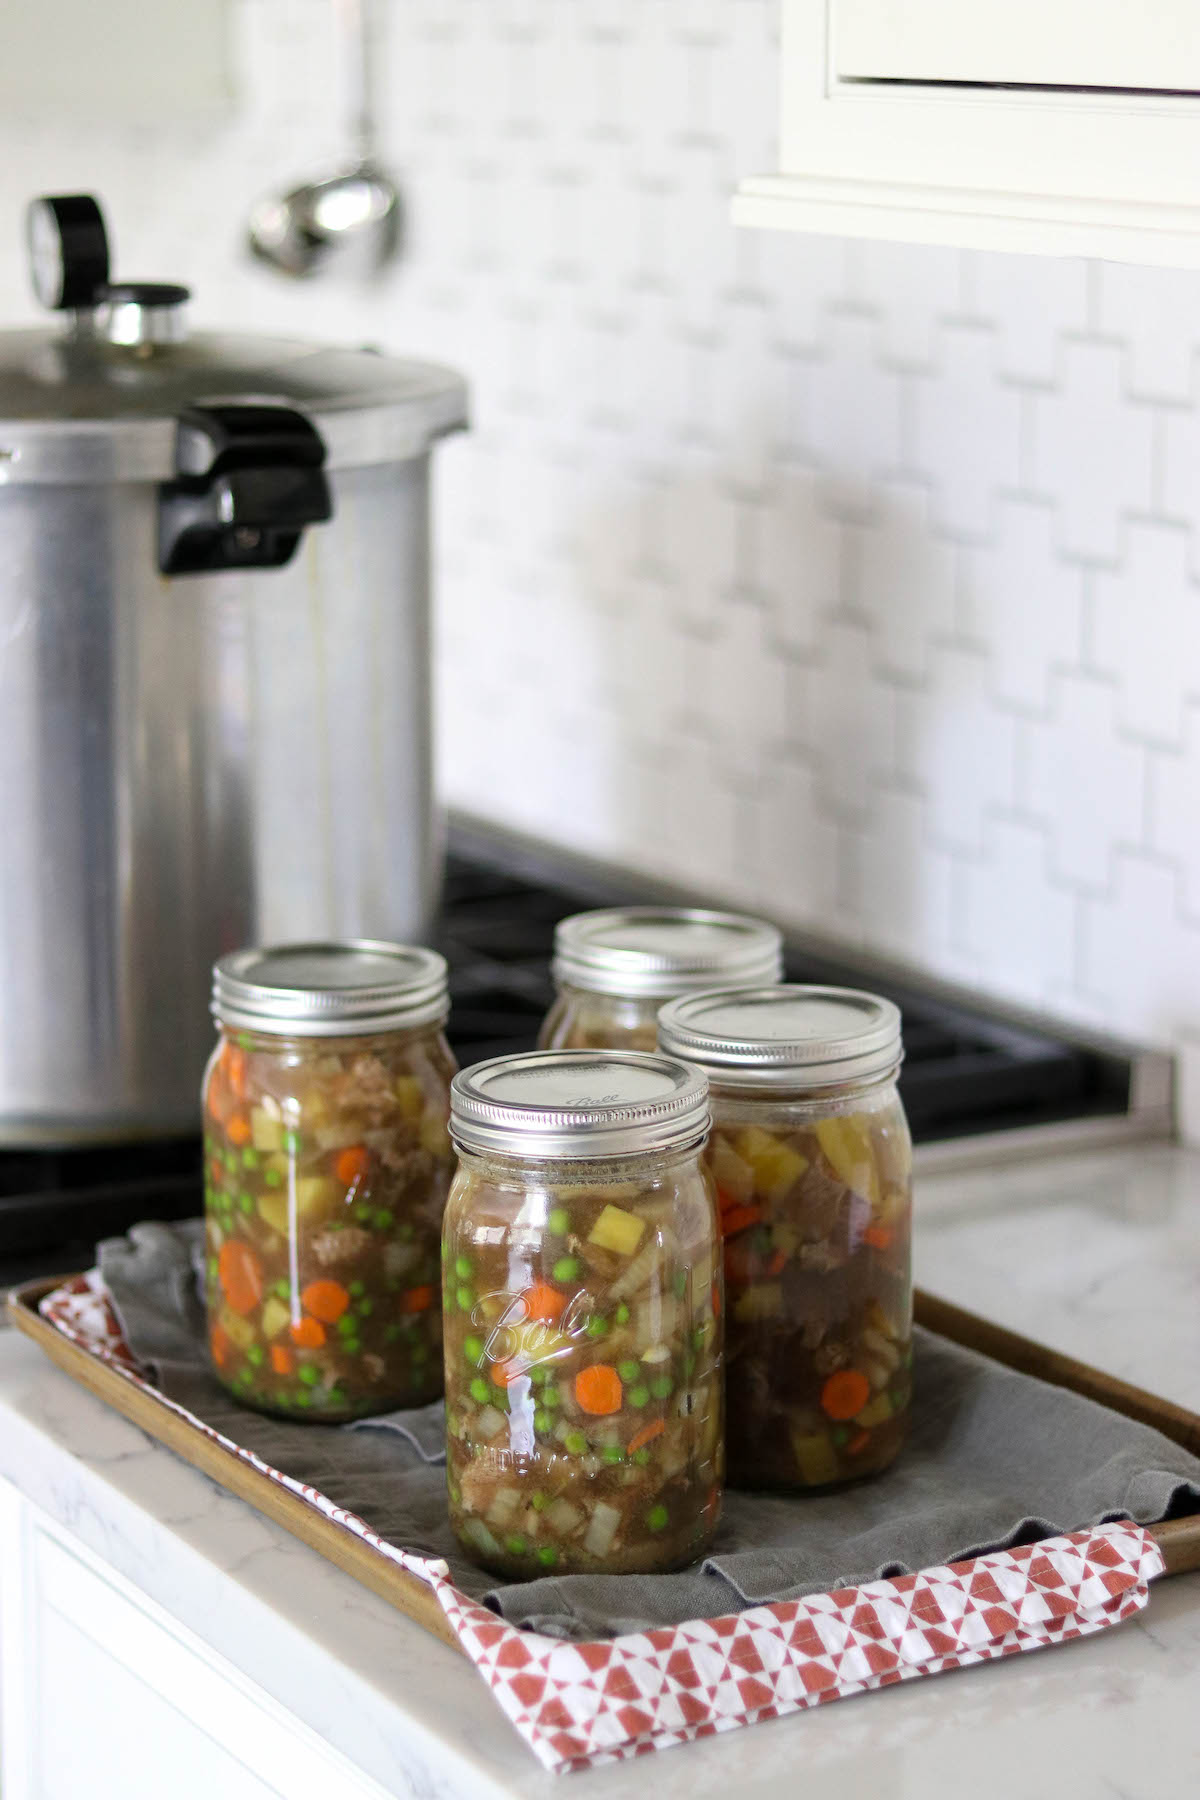
If you’re shelling peas from your own garden, you’ll need about 1 ¼ lbs (or 570 grams) of unshelled peas. You can sometimes find these at the farmer’s market or grocery store too. Trader Joe’s sells fresh, uncooked, shelled peas that are already cleaned. Frozen peas work wonderfully in this recipe as well; just thaw and drain before using.
Don’t use canned peas for this; they’re too soft.
About 2 medium onions will make for 2 cups of chopped onions, and by weight, that’s ¾ lb (or 340 grams) of unprepared onions. I’d suggest using strongly flavored white or yellow onions. The ones that make you cry the most have the most sulfurous flavor compounds that will really bring this pot pie filling to life. Avoid sweet onions or red onions.
You may add other spices and herbs to taste without compromising canning safety. Good options include parsley, rosemary, and sage.
If you choose to leave out any of these vegetables, or to substitute in other vegetables (for example, green beans instead of peas), that is fine. However, ensure the ratios of all vegetables remain the same to ensure canning safety. For example, if you add 1 ½ cups of green beans, remove 1 ½ cups of peas.
And be sure that the vegetables you choose are approved for canning.
While you can’t add thickeners to the jars before canning, it’s simple to thicken this pot pie filling upon serving.
When you serve each quart jar, you may also need the following:
- 1 tbsp (8 grams) of flour for thickening
- Prepared raw biscuit dough or pie crust
Simply drain the jar through a fine mesh strainer, and whisk 1 tbsp of flour into the liquid. Add the liquid and vegetables into a prepared pie crust.
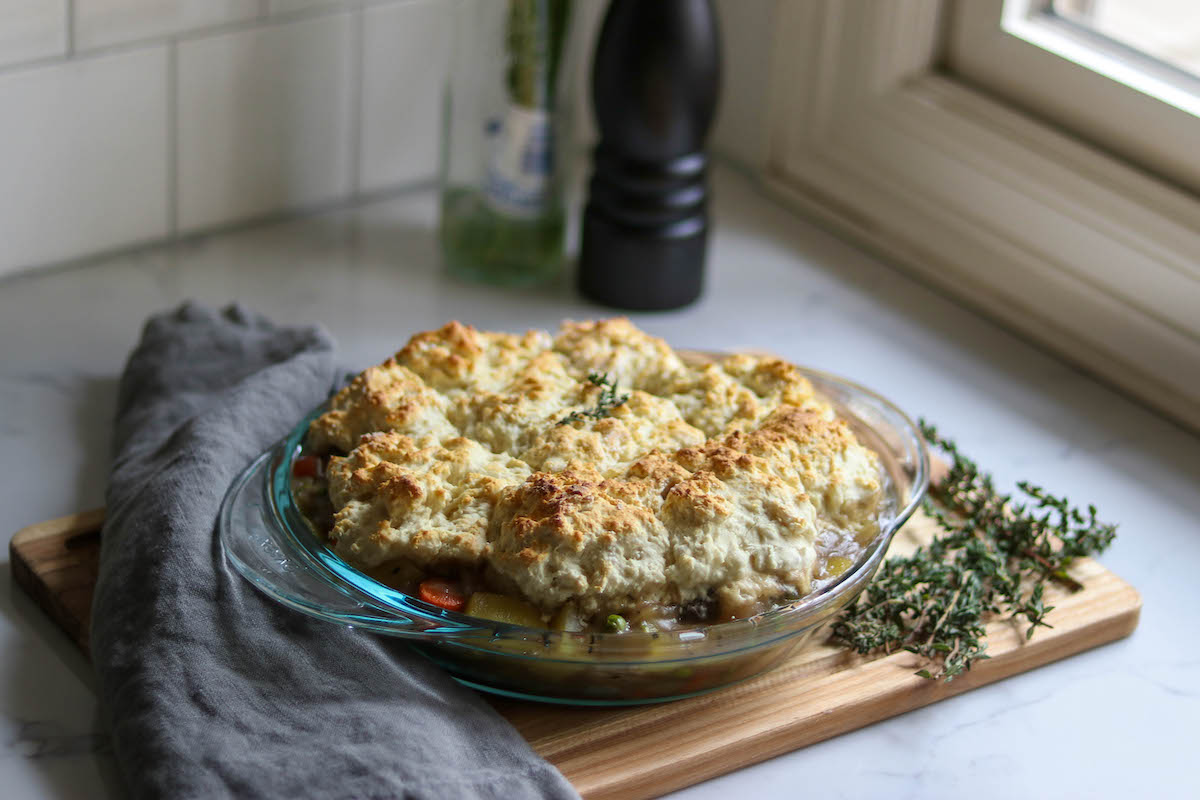
Alternatively, you can pour the thickened liquid into a baking pan and top it with raw biscuit dough. That makes more of a “cobbler-style” pot pie, and it’s really delicious. (And much easier than making a pie crust.)
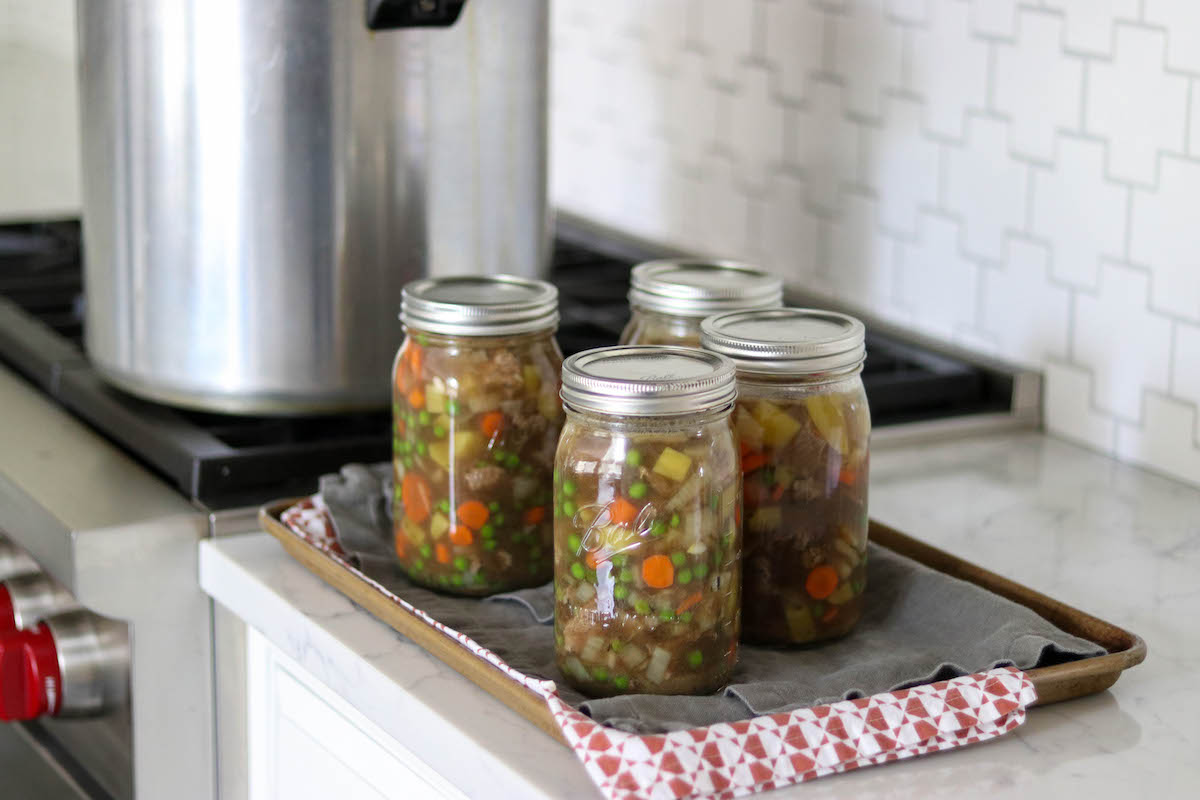
Canning Beef Pot Pie Filling
Begin by preparing the pressure canner along with the lids and jars. Most people will be canning this recipe in 4-quart jars, as a quart is just about right for a pot pie in a regular pie dish.
If you have a small family, or are cooking for just one or two people, you can prepare pint jars. A pint is about the right size for baking in a standard bread pan, and when I’m just cooking for my husband and myself, I’ll do a pint jar baked as a pot pie in a standard bread loaf pan.
Prepare jars and lids before you start making the recipe, either 4 quarts or 8 pints.
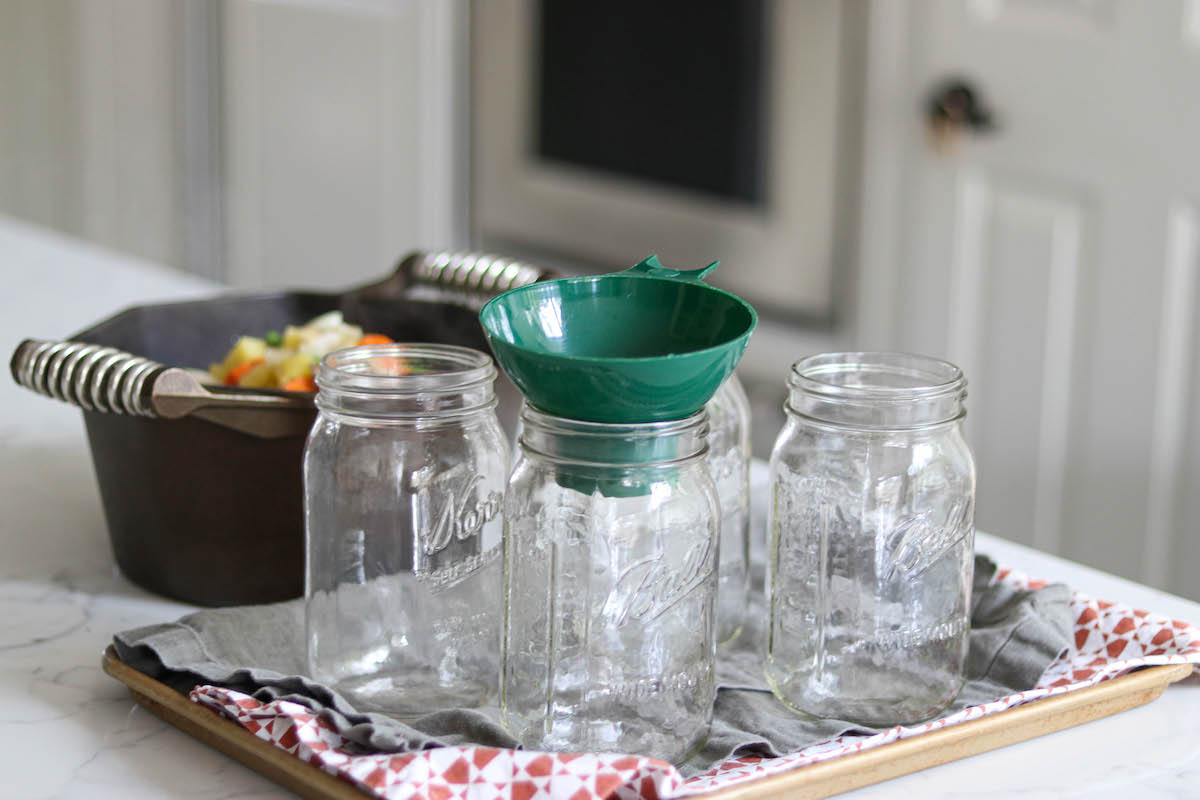
Because this is a hot-pack recipe, you will need to begin heating up the canner ahead of time. Refer to the manufacturer’s instructions for your brand of canner, but for most types, you’ll do the following:
Add in the bottom trivet and then fill the canner with about 2-3 inches of water.
Bring the canner up to a gentle simmer, about 180 degrees F.
Keep the canner warm while you prepare the pot pie filling.
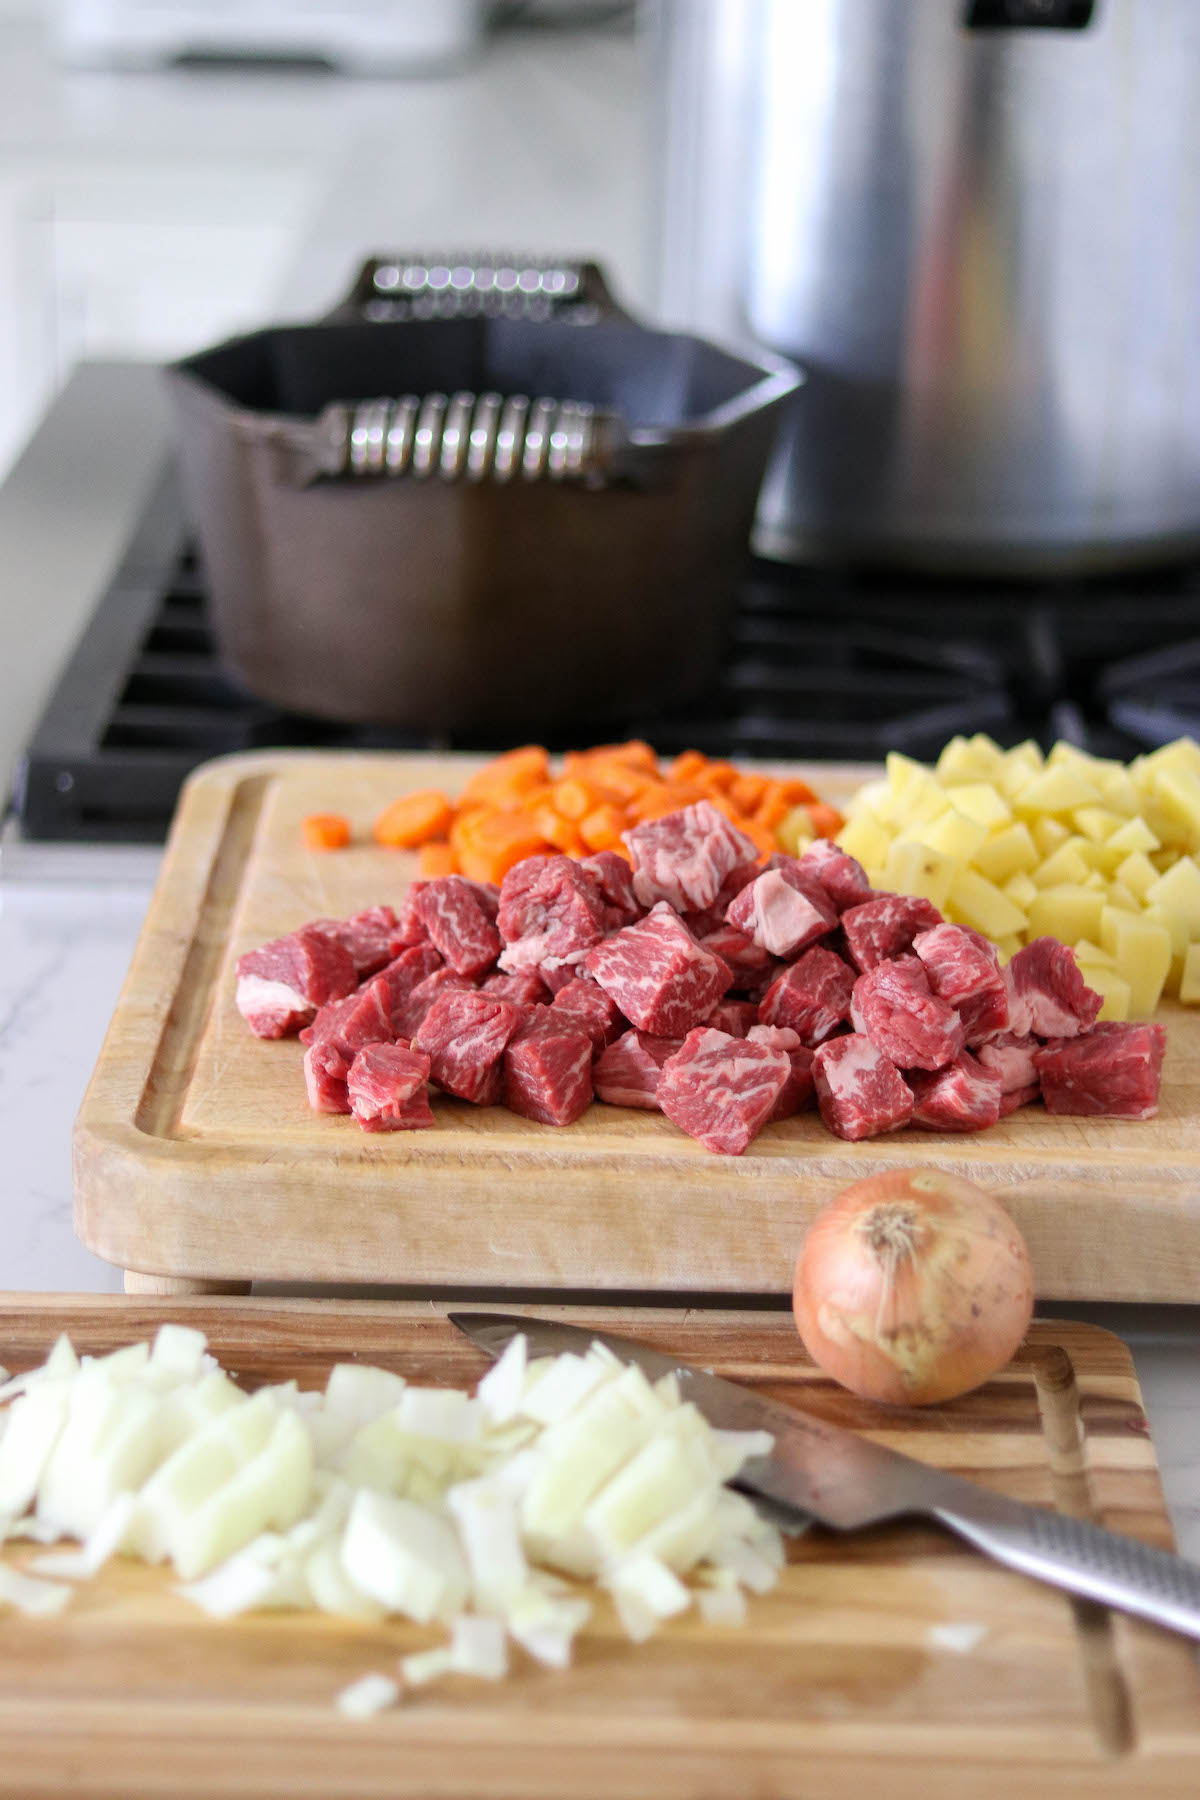
Prepare the vegetables by peeling and chopping, and prepare the meat as well by trimming and dicing.
Oftentimes, the meat is browned before it’s added to beef stew or pot pie recipes. You can brown the meat in a bit of oil if you prefer, and that’s a nice touch. It’s optional, though, you can just put the meat and veggies in a stock pot as is.
In a large stockpot, combine the beef, vegetables, broth, water, and spices. Bring everything to a boil, then turn the heat to a simmer for about 10 minutes.
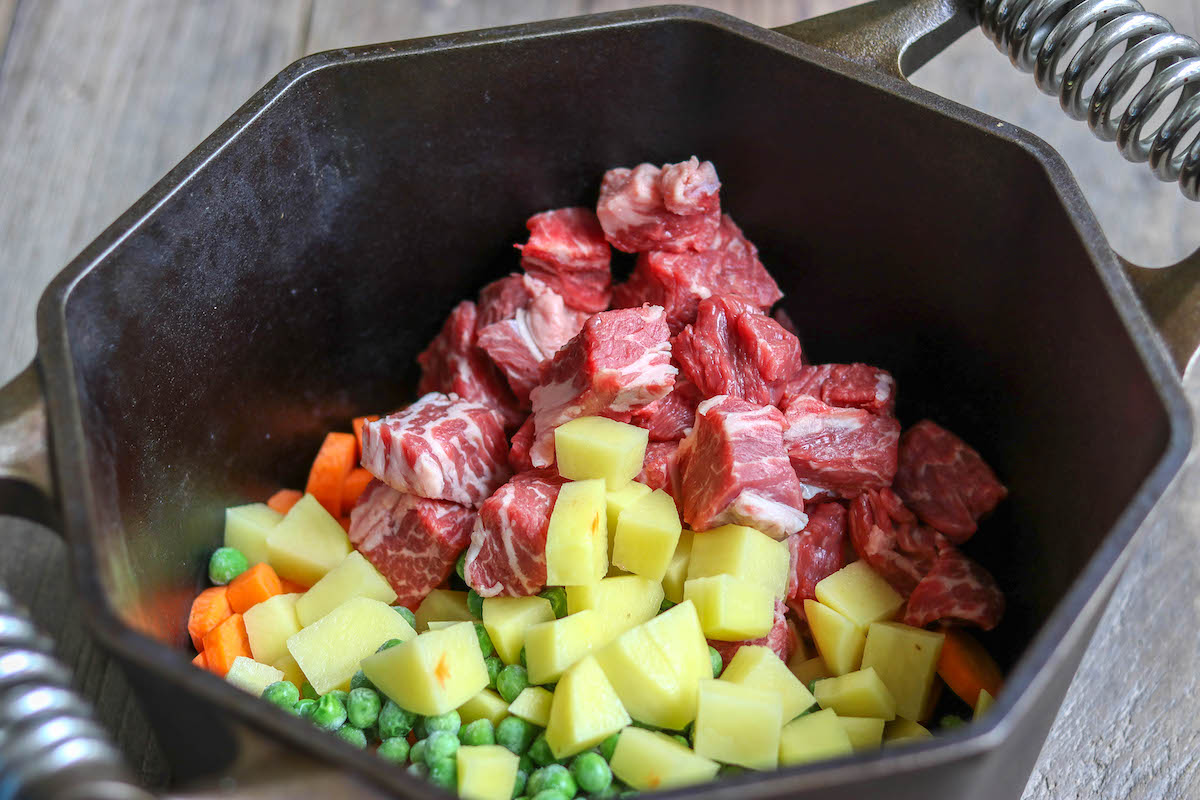
Everything needs to simmer for 10 minutes before canning for a few reasons.
First, the simmering helps to partially cook the vegetables, which drives off the air in their tissues. This will allow them to withstand the heat in the canner better, without breaking apart. It also helps prevent them from floating in the jars.
Second, the simmer time heats everything through to the center, so that everything is the right temperature for a hot pack.
After 10 minutes of simmering, take the stockpot off the heat.
Divide the mixture among the jars, loading the solids first and then the liquid.
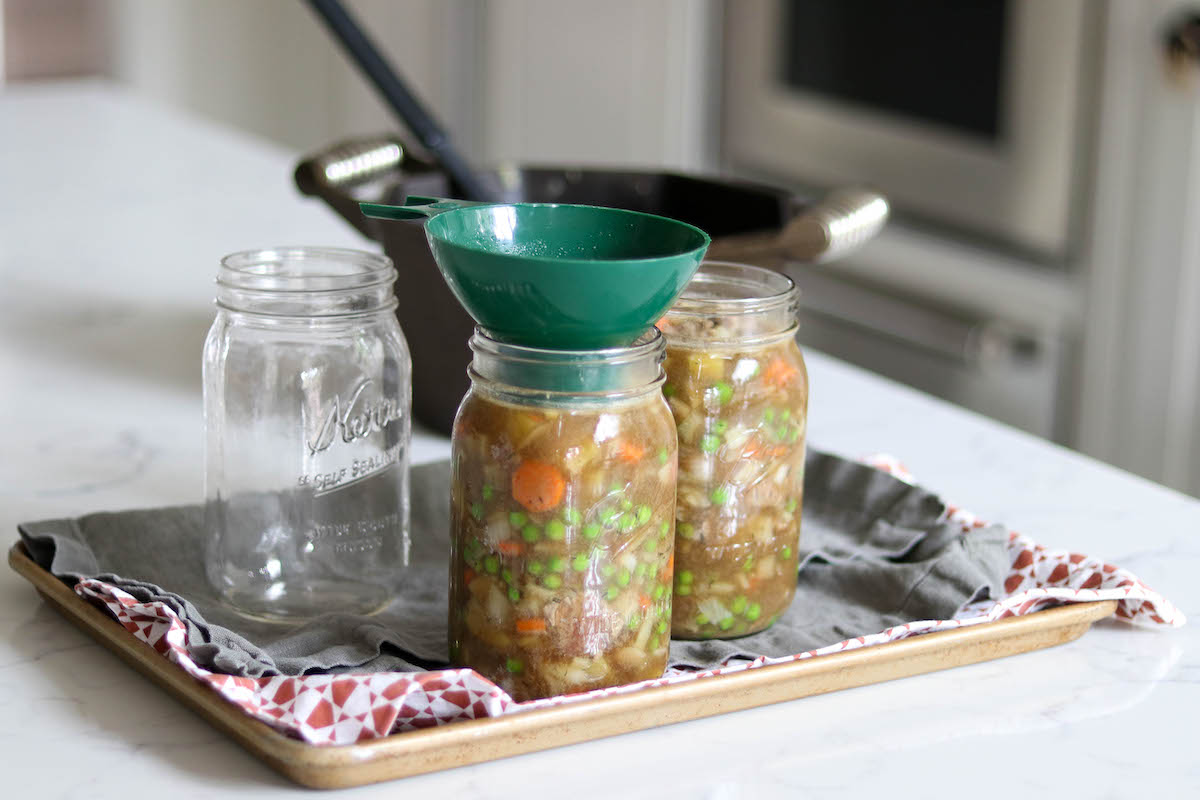
The headspace for this recipe is 1,” and it’s important that you maintain that headspace.
Too much headspace and the jars may not seal because there’s too much air, and not enough headspace and the contents will bubble up into the seal, and that can also prevent jar sealing (and make a mess).
Remove any bubbles with a bubble removal tool and double-check that your headspace is still correct.
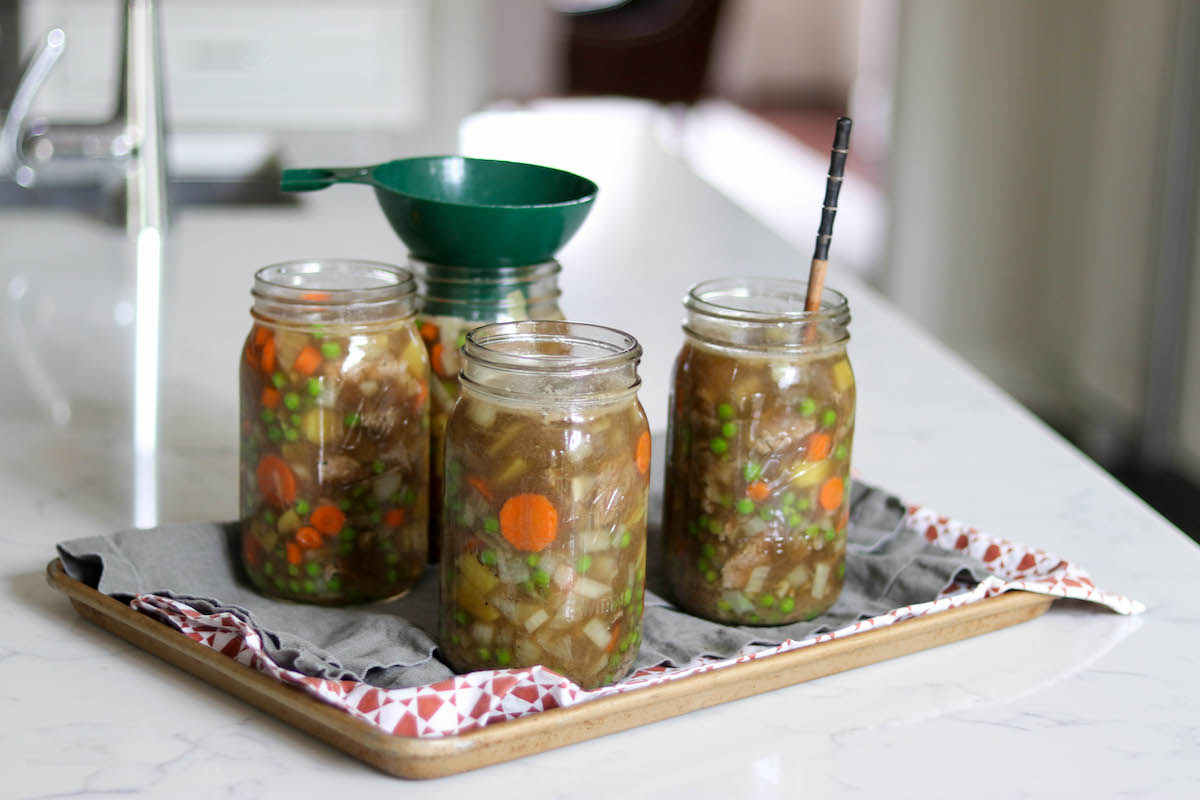
If you are short on liquid, you can add boiling water or more broth.
Wipe the rims of the jars with a clean cloth to remove food particles, then place the lids and bands on the jars. Tighten until they are fingertip tight, then load into the pressure canner.
Process your jars based on manufacturer recommendations for 10 lbs pressure for 75 minutes (for pints) and 90 minutes (for quarts).
Adjust for altitude if necessary; see adjustments below.
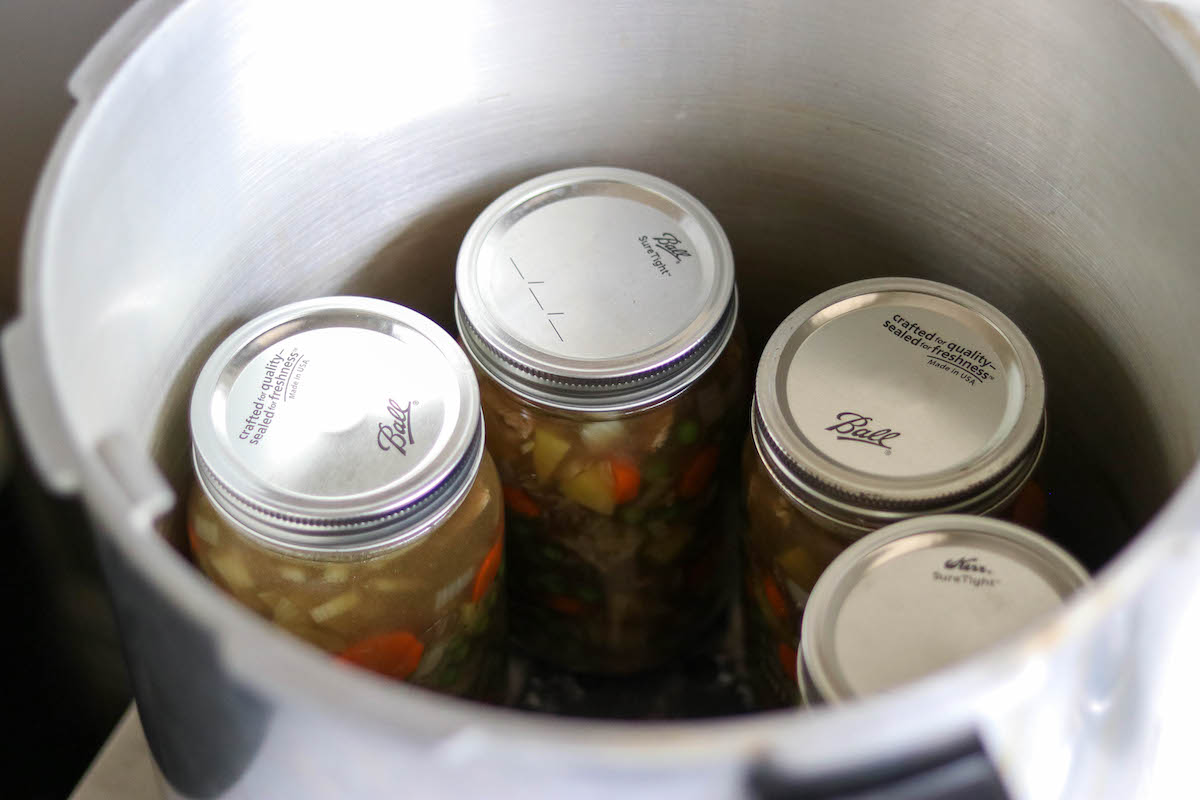
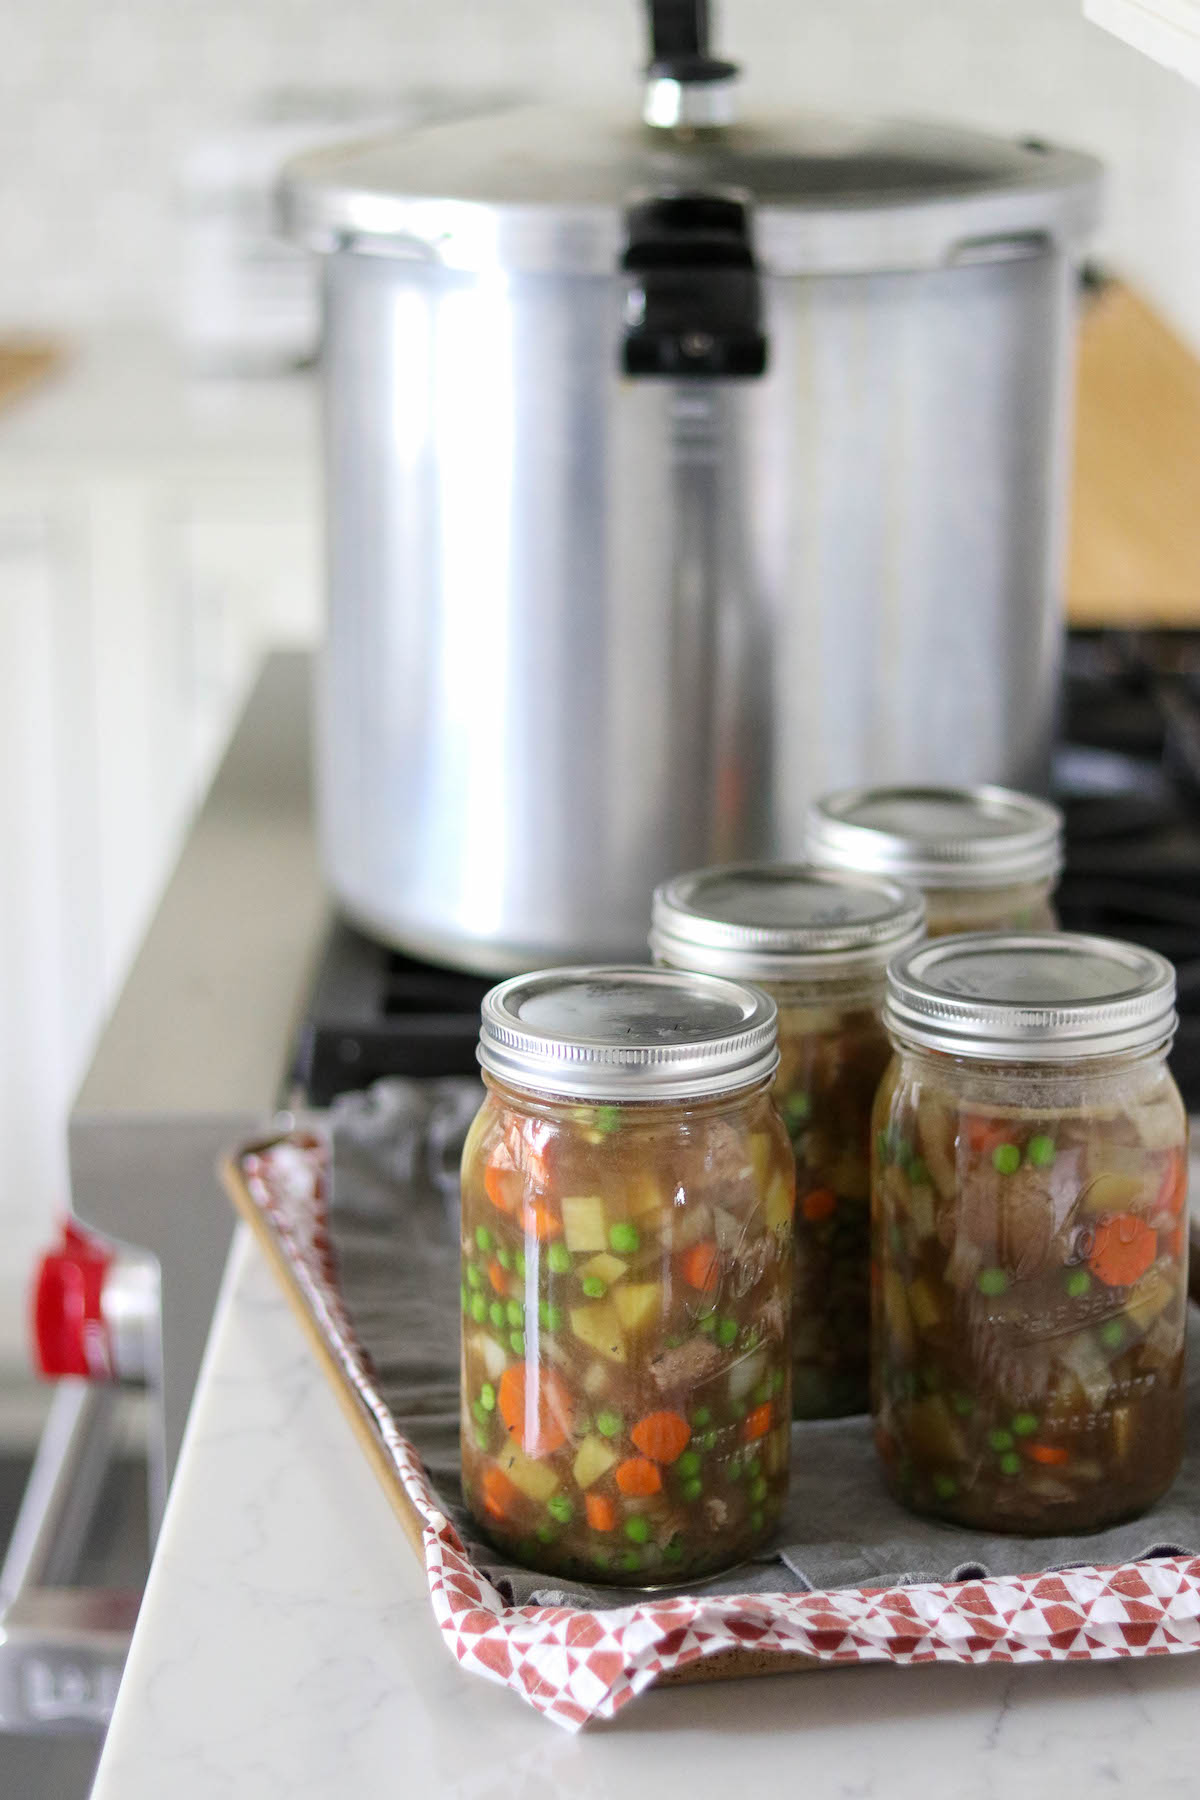
Once the jars are done processing, let the canner depressurize on its own, then remove the jars.
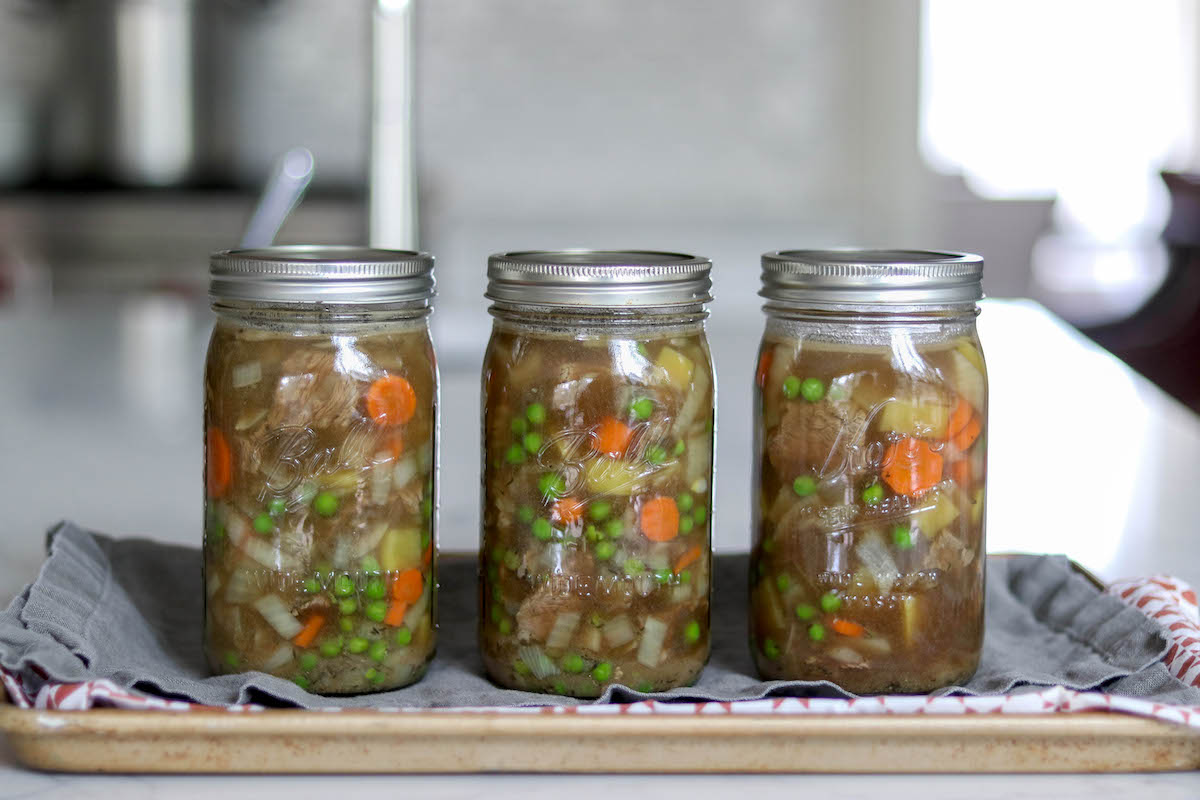
Allow them to cool on the counter for at least 12 hours, then check the seals.
Unsealed jars can be stored in the refrigerator for immediate use within a week. Properly canned and sealed jars will maintain quality on the pantry shelf for 12-18 months, and be good to eat so long as they are sealed.
Refrigerate after opening.
Altitude Adjustments for Canning Pot Pie Filling
Canning time remains the same regardless of altitude. However, the processing pressure increases as altitude increase.
Use the following table to determine the correct processing pressure if you’re above 1,000 feet in elevation.
For dial gauge pressure canners:
- 0 to 2,000 feet in elevation – 11 lbs pressure
- 2,001 to 4,000 feet in elevation – 12 lbs pressure
- 4,001 to 6,000 feet in elevation – 13 lbs pressure
- 6,001 to 8,000 feet in elevation – 14 lbs pressure
For weighted gauge pressure canners:
- 0 to 1,000 feet in elevation – 10 lbs pressure
- Above 1,000 feet – 15 lbs pressure
Canning Pot Pie Filling Variations
I honestly think this beef pot pie filling is absolutely perfect as it is, but there are a number of variations you can do.
The meat can be switched out to pork instead, and if you’re a hunter, you can also make it with venison, elk, bear, or any other wild red meat.
Other dry spices are allowed, and smoked paprika is lovely, especially if you’re substituting pork as the meat.
The peas can be switched to other green vegetables, like green beans, provided the veggies are approved for canning. The carrots and potatoes can be switched to other root vegetables like parsnips.
Onions can be replaced with green onions or shallots, and you can add a few cloves of garlic, too, if you like.
Anything can be omitted, so if you don’t like one of the ingredients, just leave it out. Make sure you don’t reduce the amount of broth, and then you’ll just end up with more broth than filling in your jars.
Serving Beef Pot Pie Filling
When you’re ready to serve your canned beef pot pie filling, there’s very little you will need to do.
This recipe tastes great as – you guessed it! – part of a beef pot pie, but is also wonderful over biscuits.
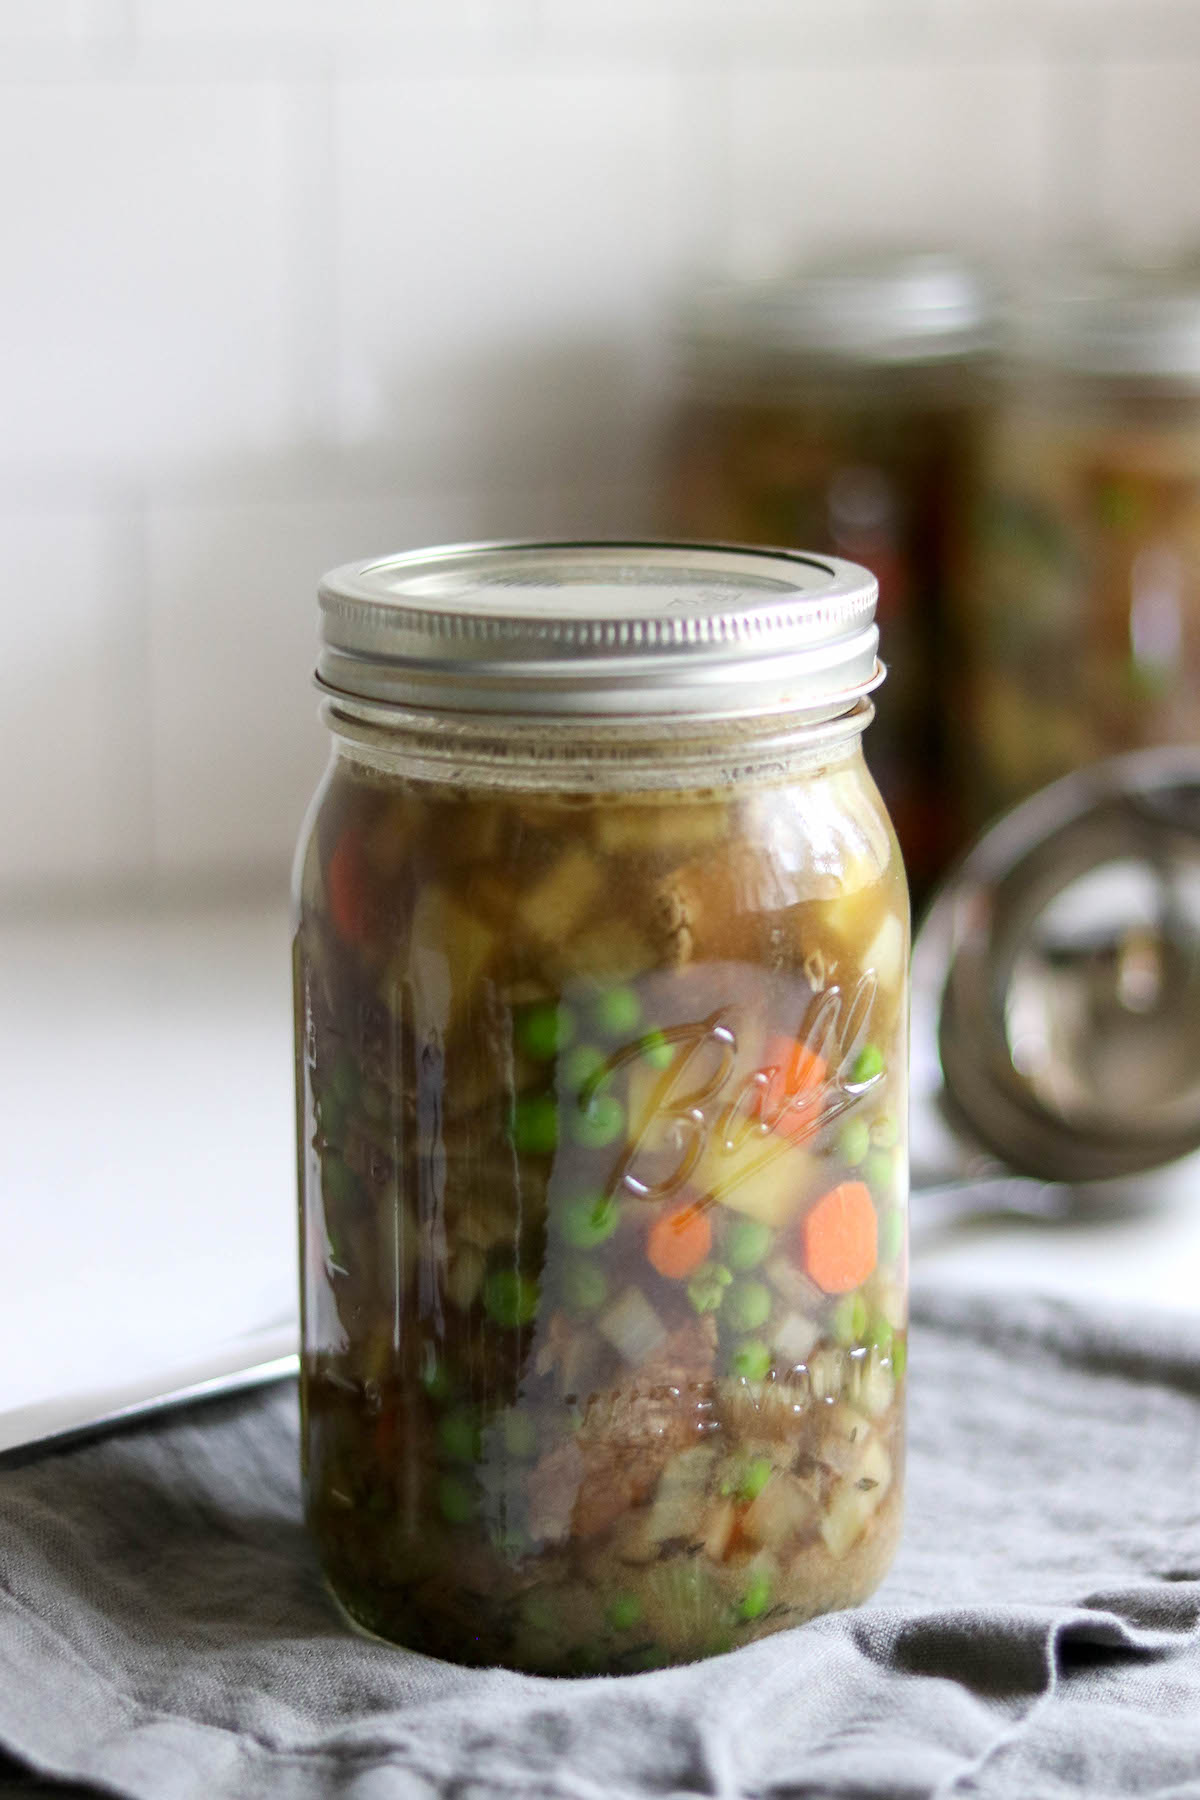
To make a pie crust, line a baking dish or pie pan with a prepared pie crust of your choosing.
Add the filling, then top with an additional pie crust and bake for 45 minutes at 375 degrees Fahrenheit (191 Celsius). The pie crust should be golden brown.
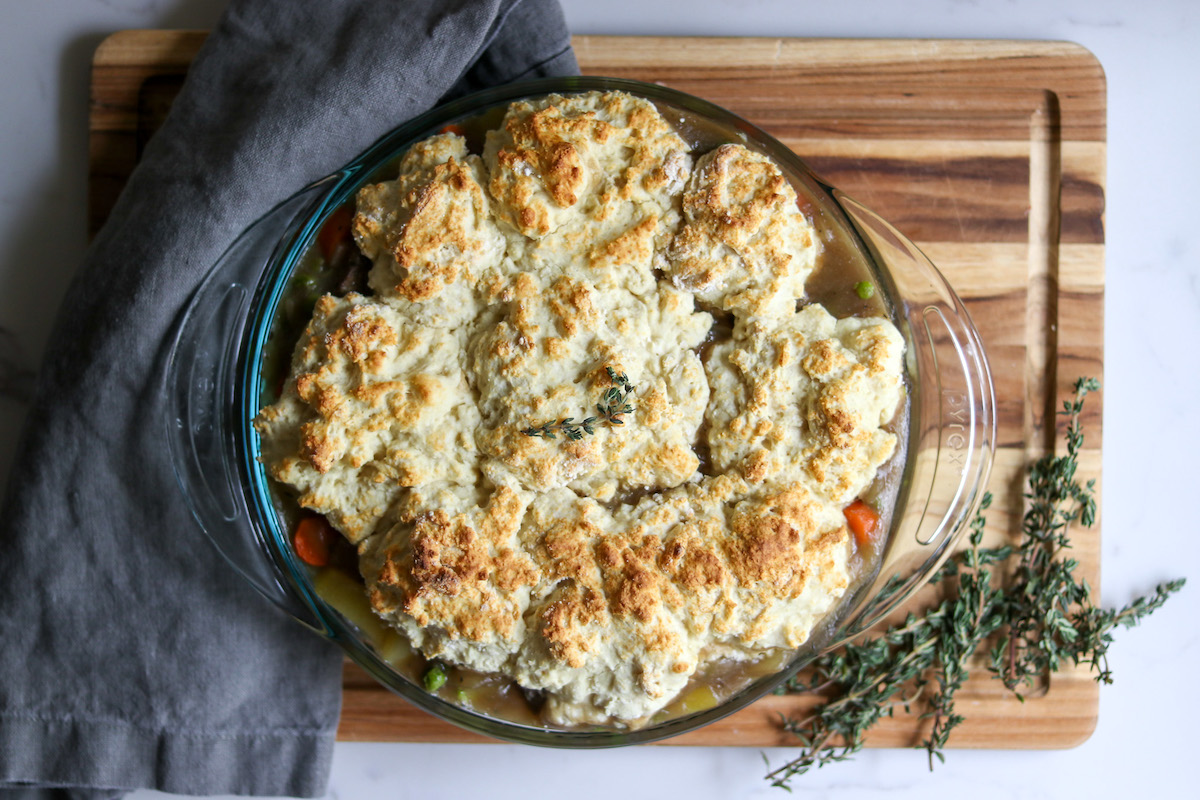
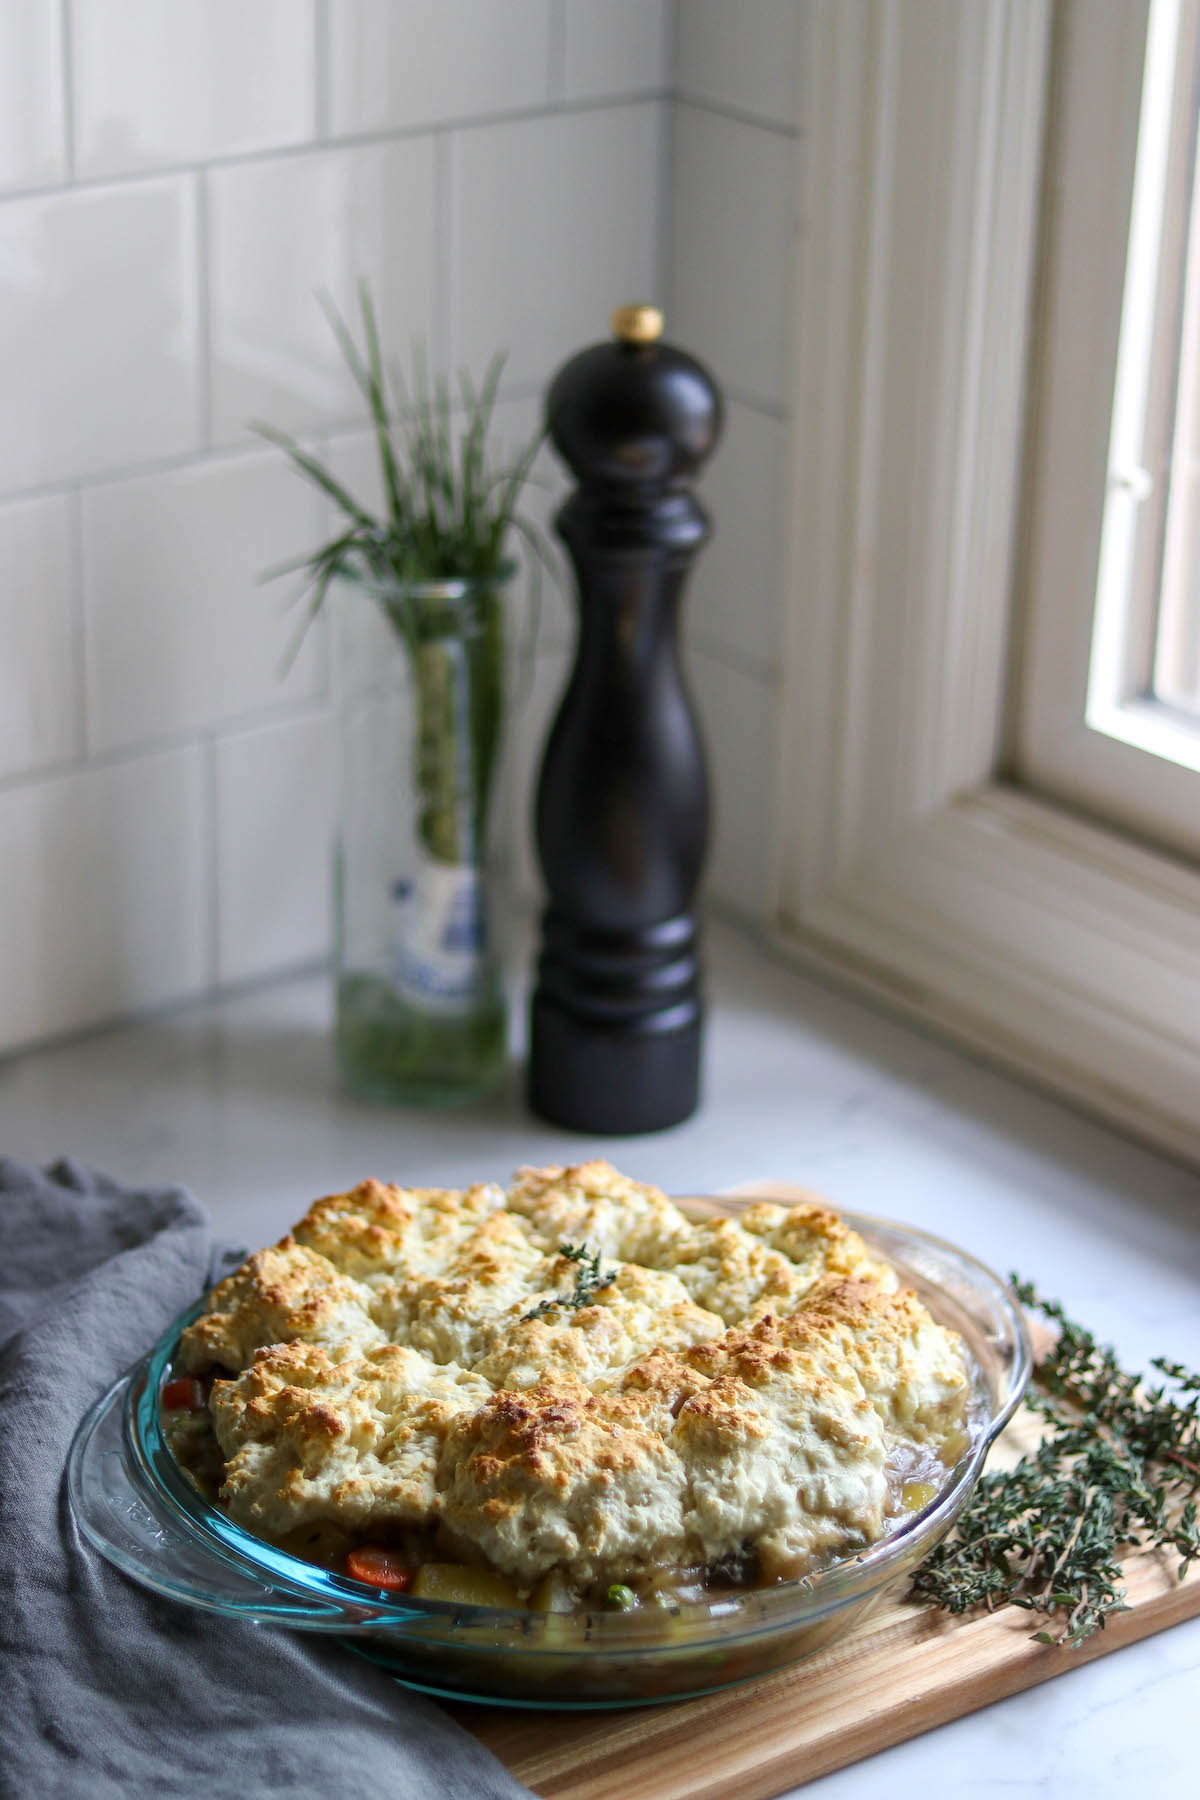
If you prefer to eat this with biscuits, pour the hot pot pie flailing into a pie pan, then top with raw biscuit dough. You can also just put cut biscuits on top. Again, bake at 375 Fahrenheit for 30 to 40 minutes, or until the biscuit topping is golden brown.
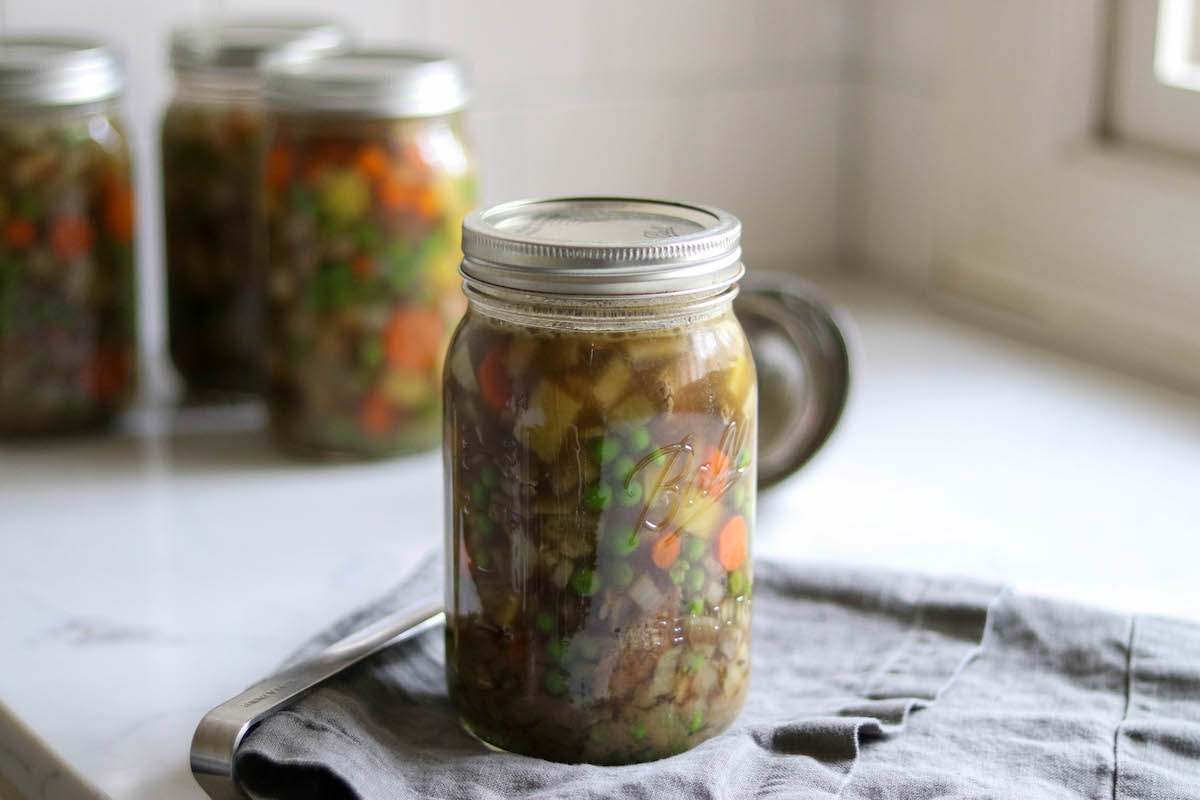
There’s no shame in eating this filling as is, either! It’s a hearty dish that tastes fantastic (and somewhat like beef stew!) when you warm it up and spoon it right out of the jar.
Pot Pie Filling Canning Recipes
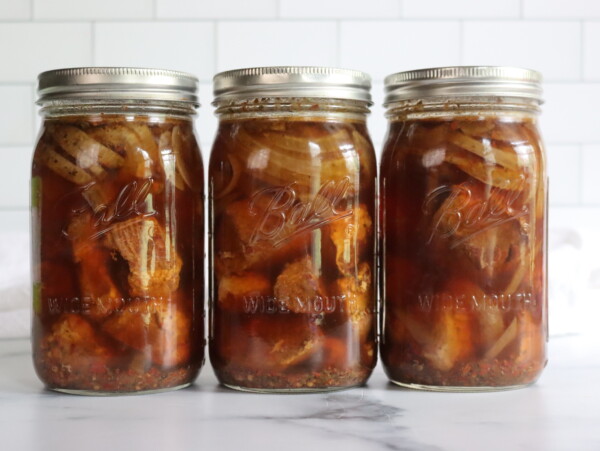
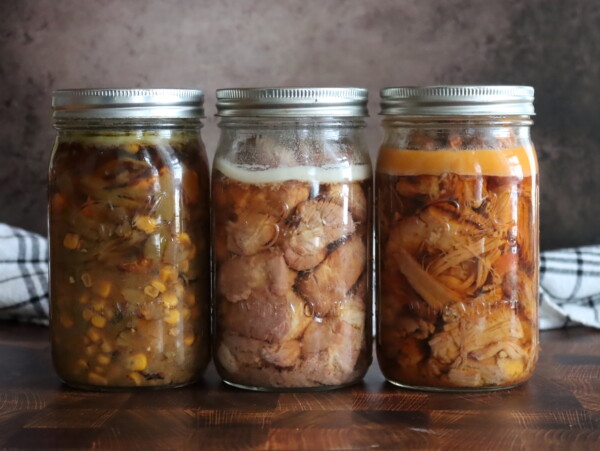
Looking for canning recipes for other savory pot pie fillings?
Canning Beef Pot Pie Filling
Equipment
- Pressure Canner I use an All-American Model 930
- Wide Mouth Quart Mason Jars
- Wide Mouth Canning Lids
Ingredients
- 4 cups Potatoes, Diced and Peeled
- 3 cups Carrots, Sliced and Peeled
- 1 ½ cups Peas, Shelled fresh or frozen
- 2 cups Onions, Peeled and Chopped
- 2 lbs Stewing Beef, Chuck Roast, Round Roast, etc
- 1 tsp Thyme, Dried
- 1 tbsp Garlic Powder
- 2 cups Water , or More Broth
- 2 cups Beef Broth, or Water
- 2 tsp Canning Salt
Instructions
- Prepare the pressure canner, lids, and jars. Fill the canner with a few inches of water, based on manufacturer instructions. Put the canner on the stove over low heat with the jars inside.
- In a large stockpot, combine the vegetables, beef, water, broth, and spices. Bring to a boil, then simmer for 10 minutes.
- Take the stockpot off the heat, then divide the mixture among the jars. Load the solids first, then add the liquid, leaving 1" of headspace.
- Remove air bubbles, then double check the headspace. Add more broth or boiling water if needed. Wipe the rims of the jars with a clean cloth to remove food particles. Place the bands and lids on the jars, tighten until they are fingertip tight, then load into the canner.
- Process the jars for 75 minutes (for pints) or 90 minutes (for quarts) at 10 lbs pressure, adjusting for altitude.
- Let the canner depressurize on its own once the canning time has elapsed. Remove the jars and let them cool for 12 hours.
- Check the seals and store for up to 12 months.
Notes
Vegetable Quantities
To arrive at the prepared quantities in this recipe, you'll need the following vegetables as purchased or harvested:- 1 ⅔ lbs or 760 grams of potatoes
- 1 ¼ lbs or 570 grams of carrots
- 1 ¼ lbs or 570 grams of unshelled peas, or a 1-pound bag of frozen peas
- ¾ lb or 340 grams of unprepared onions, or about 2 medium onions
Altitude Adjustments for Canning Pot Pie Filling
Canning time remains the same regardless of altitude. However, the processing pressure increases as altitude increase. Use the following table to determine the correct processing pressure if you’re above 1,000 feet in elevation.For dial gauge pressure canners:
- 0 to 2,000 feet in elevation – 11 lbs pressure
- 2,001 to 4,000 feet in elevation – 12 lbs pressure
- 4,001 to 6,000 feet in elevation – 13 lbs pressure
- 6,001 to 8,000 feet in elevation – 14 lbs pressure
For weighted gauge pressure canners:
- 0 to 1,000 feet in elevation – 10 lbs pressure
- Above 1,000 feet – 15 lbs pressure
To Serve
1 tbsp (8 grams) of flour for thickeningPrepared raw biscuit dough or pie crust Mix the flour into the filling as a thickener. Add the filling to a baking dish, then top with an additional pie crust and bake for 45 minutes at 375 degrees Fahrenheit (191 Celsius). The pie crust should be golden brown. (Do not add thickeners before canning. Flour is not approved for canning and needs to be added at serving.)
Nutrition
Nutrition information is automatically calculated, so should only be used as an approximation.
Meal in a Jar Canning Recipes
Need a few more meal-in-a-jar canning recipes?
Soup Canning Recipes
There are so many different soup canning recipes out there, try these for your pantry:
In comparing the recipes for beef pot pie and beef strogenoff the pot pie recipe has way more vegetables added. Couldn’t the strogenoff be filled with more approved ingredients as well?
Thanks
Yes. In this particular case, both recipes follow the University of Alaska’s “Hearty Soups” protocol, and you can add any veggies that are allowed in that protocol. You’ll find a full list and all the instructions here: https://creativecanning.com/choice-soup-canning-recipe/
I’ve been working on finding different foods to can and this one sounds awesome. Beside the stew idea, adding a can of diced tomatoes and putting mashed potatoes on top would create a shepards pie ,)
Thats such a great idea!
I made this and it is delicious! I thickened the filling and poured it piping hot into a pie pan. I used a pouch of Bisquick drop biscuits for the topping. It all came out perfect! I’m single and very busy so I appreciate having this quick meal on the shelf.
Lovely!
Planning to work on this soon. But can I leave out the peas and sub frozen corn in the recipe?
Yes, in this particular recipe, you can substitute an equal amount of corn in place of the peas. That’s not true in most recipes in general, but because of how this recipe is tested using the “hearty soups canning protocol” you can make that substitution. Here’s more on the guidance if you’re curious: https://creativecanning.com/choice-meal-in-a-jar-canning-recipe/
So how many pints or quarts does this make?
This recipe should yield 4 quarts or 8 pints.
I made this last year and opened the first jar this week. I ate it as is because I didn’t want the extra calories of a crust. It was so good. I didn’t thicken it because I never thought of it. I will definitely be making this again.
If you don’t have a fresh ingredient on hand, say peas, can you use the store bought canned equivalent safely in most recipes? Thanks.
Yes, you can use fresh or frozen equally in these recipes. For veggies like beans, corn or carrots, canned equivalents will be just as good. In the case of peas, you can use them safely, but already canned peas will come out really mushy when you can them again.
I HAVE LOTS OF HAMBURGER CAN I REPLACE THE BEEF CHUNKS WITH HAMBURGER AND HOW MUCH
You can replace the beef chunks with hamburger safely. You must brown the hamberger meat first, as it can’t be loaded into the jars raw. Replace it pound for pound with the beef chuck in this recipe, so in this case, it’d be 2 pounds ground in place of 2 pounds chuck. Don’t forget to brown it though. While you can raw pack beef that’s not ground, when it’s ground it has to be browned before canning so it doesn’t clump in the jars.
Can I use beef stock instead of broth? I feel it has a much better flavor.
New to pressure canning and can’t wait to try this with venison.
Yup, you can use stock or broth interchangeably. Any type really, chicken, beef, pork, veg and either stock or broth. All are fine substitutions.
Would it be dangerous to raw pack the ingredients except for hot beef broth or would it just affect the looks of it? ( floating veggies, etc)
To the best of my knowledge, it’s not a safety thing, but a quality thing. Ball canning has many raw pack meal in a jar recipes in their new canning book, literally dozens, and every single one is a raw pack recipe (for convenience, they say). The thing to watch if you’re raw packing is thermal shock on the jars. You do want the jars to be pre-heated if possible, and the broth to be boiling, but also make sure that the pressure canner is not boiling (just warm, around 140 F). If you put cool ingredients into a very hot canner the jars can break.
I’m wondering with this recipe if you can use clear jell to thicken prior to canning??? I’m going to try this! Sounds delicious! Happy Canning!!
So at this point, that’s a grey area that hasn’t been tested. The answer is probably, and some canning writers do suggest it, but that specific subject hasn’t been tested and clear jel is currently only tested in water bath canning recipes for fruit pie fillings and a few jams.
Ball canning notes in some of their books that you can probably use clear jel to “lightly thicken” broths for pressure canning, but they never specify what “lightly” means or give any specific recipes…because they haven’t actually tested it and they’re just guessing there.
The whole idea behind clear jel is that it transfers heat really well in the jar, so it stands to reason that it would work just fine, but no one can say for sure at this point. That’s one of those “do at your own risk” type things, at least for now.