This post may contain affiliate links. Please see our disclosure policy.
Canning apple cider is my favorite way to preserve fresh-pressed cider, and it’s perfect for a cup of hot mulled cider all winter long. Don’t fill up the freezer with cider when you can store it on the pantry shelf instead.
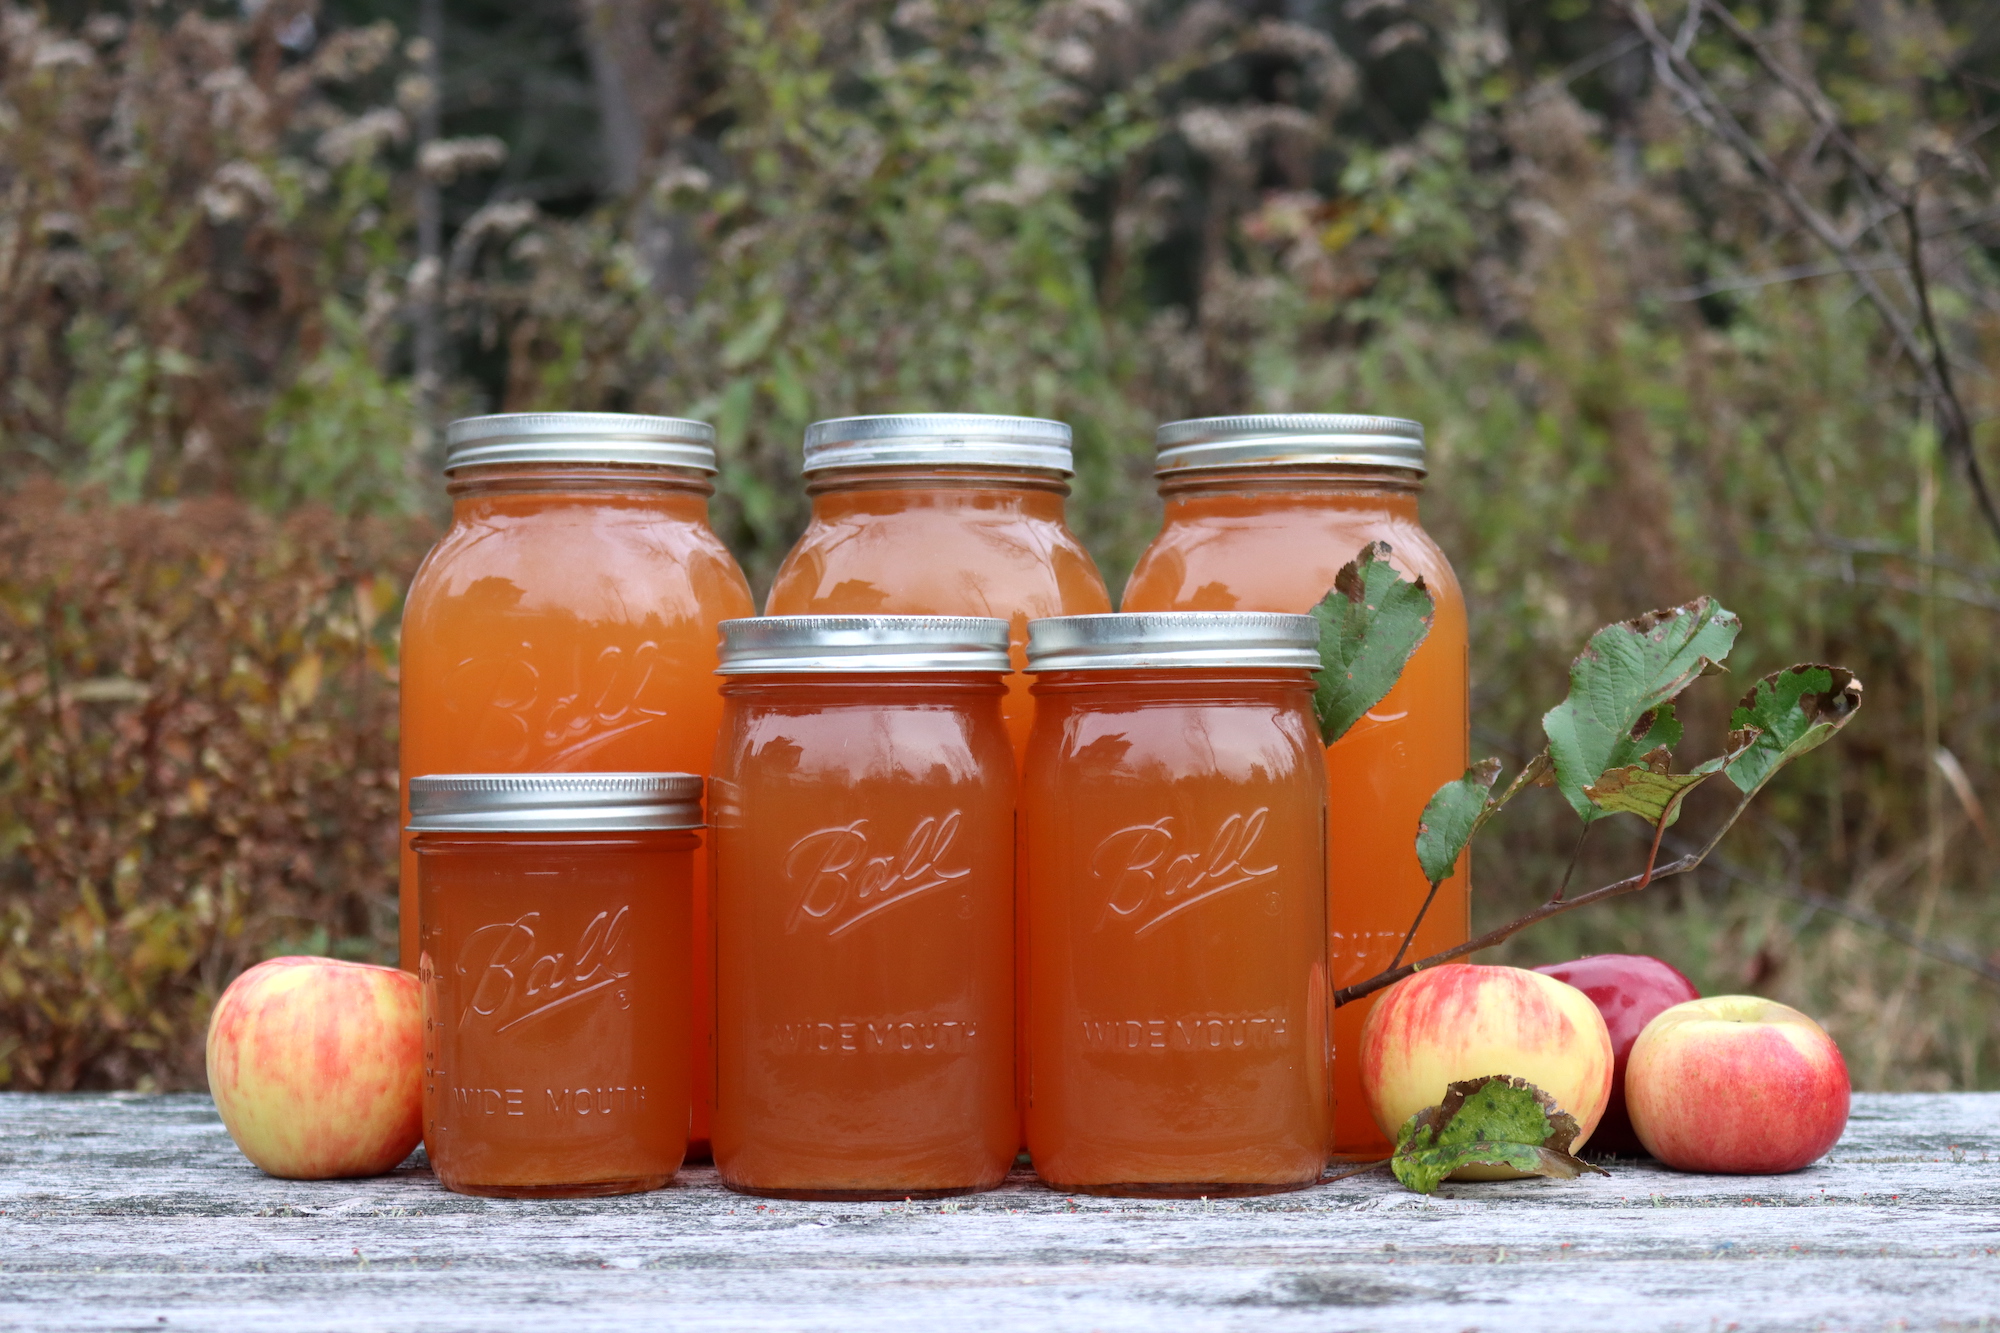
Our orchard produces apples by the truckload, and we work to preserve them all season long using just about every method possible. I pack fresh apples into our basement root cellar using our homemade apple storage rack, and they can last up to a year if I only use the best storage apple varieties.
Then my pantry gets filled with all my favorite apple canning recipes, from home-canned applesauce to apple pie filling and my kid’s favorite apple jam.
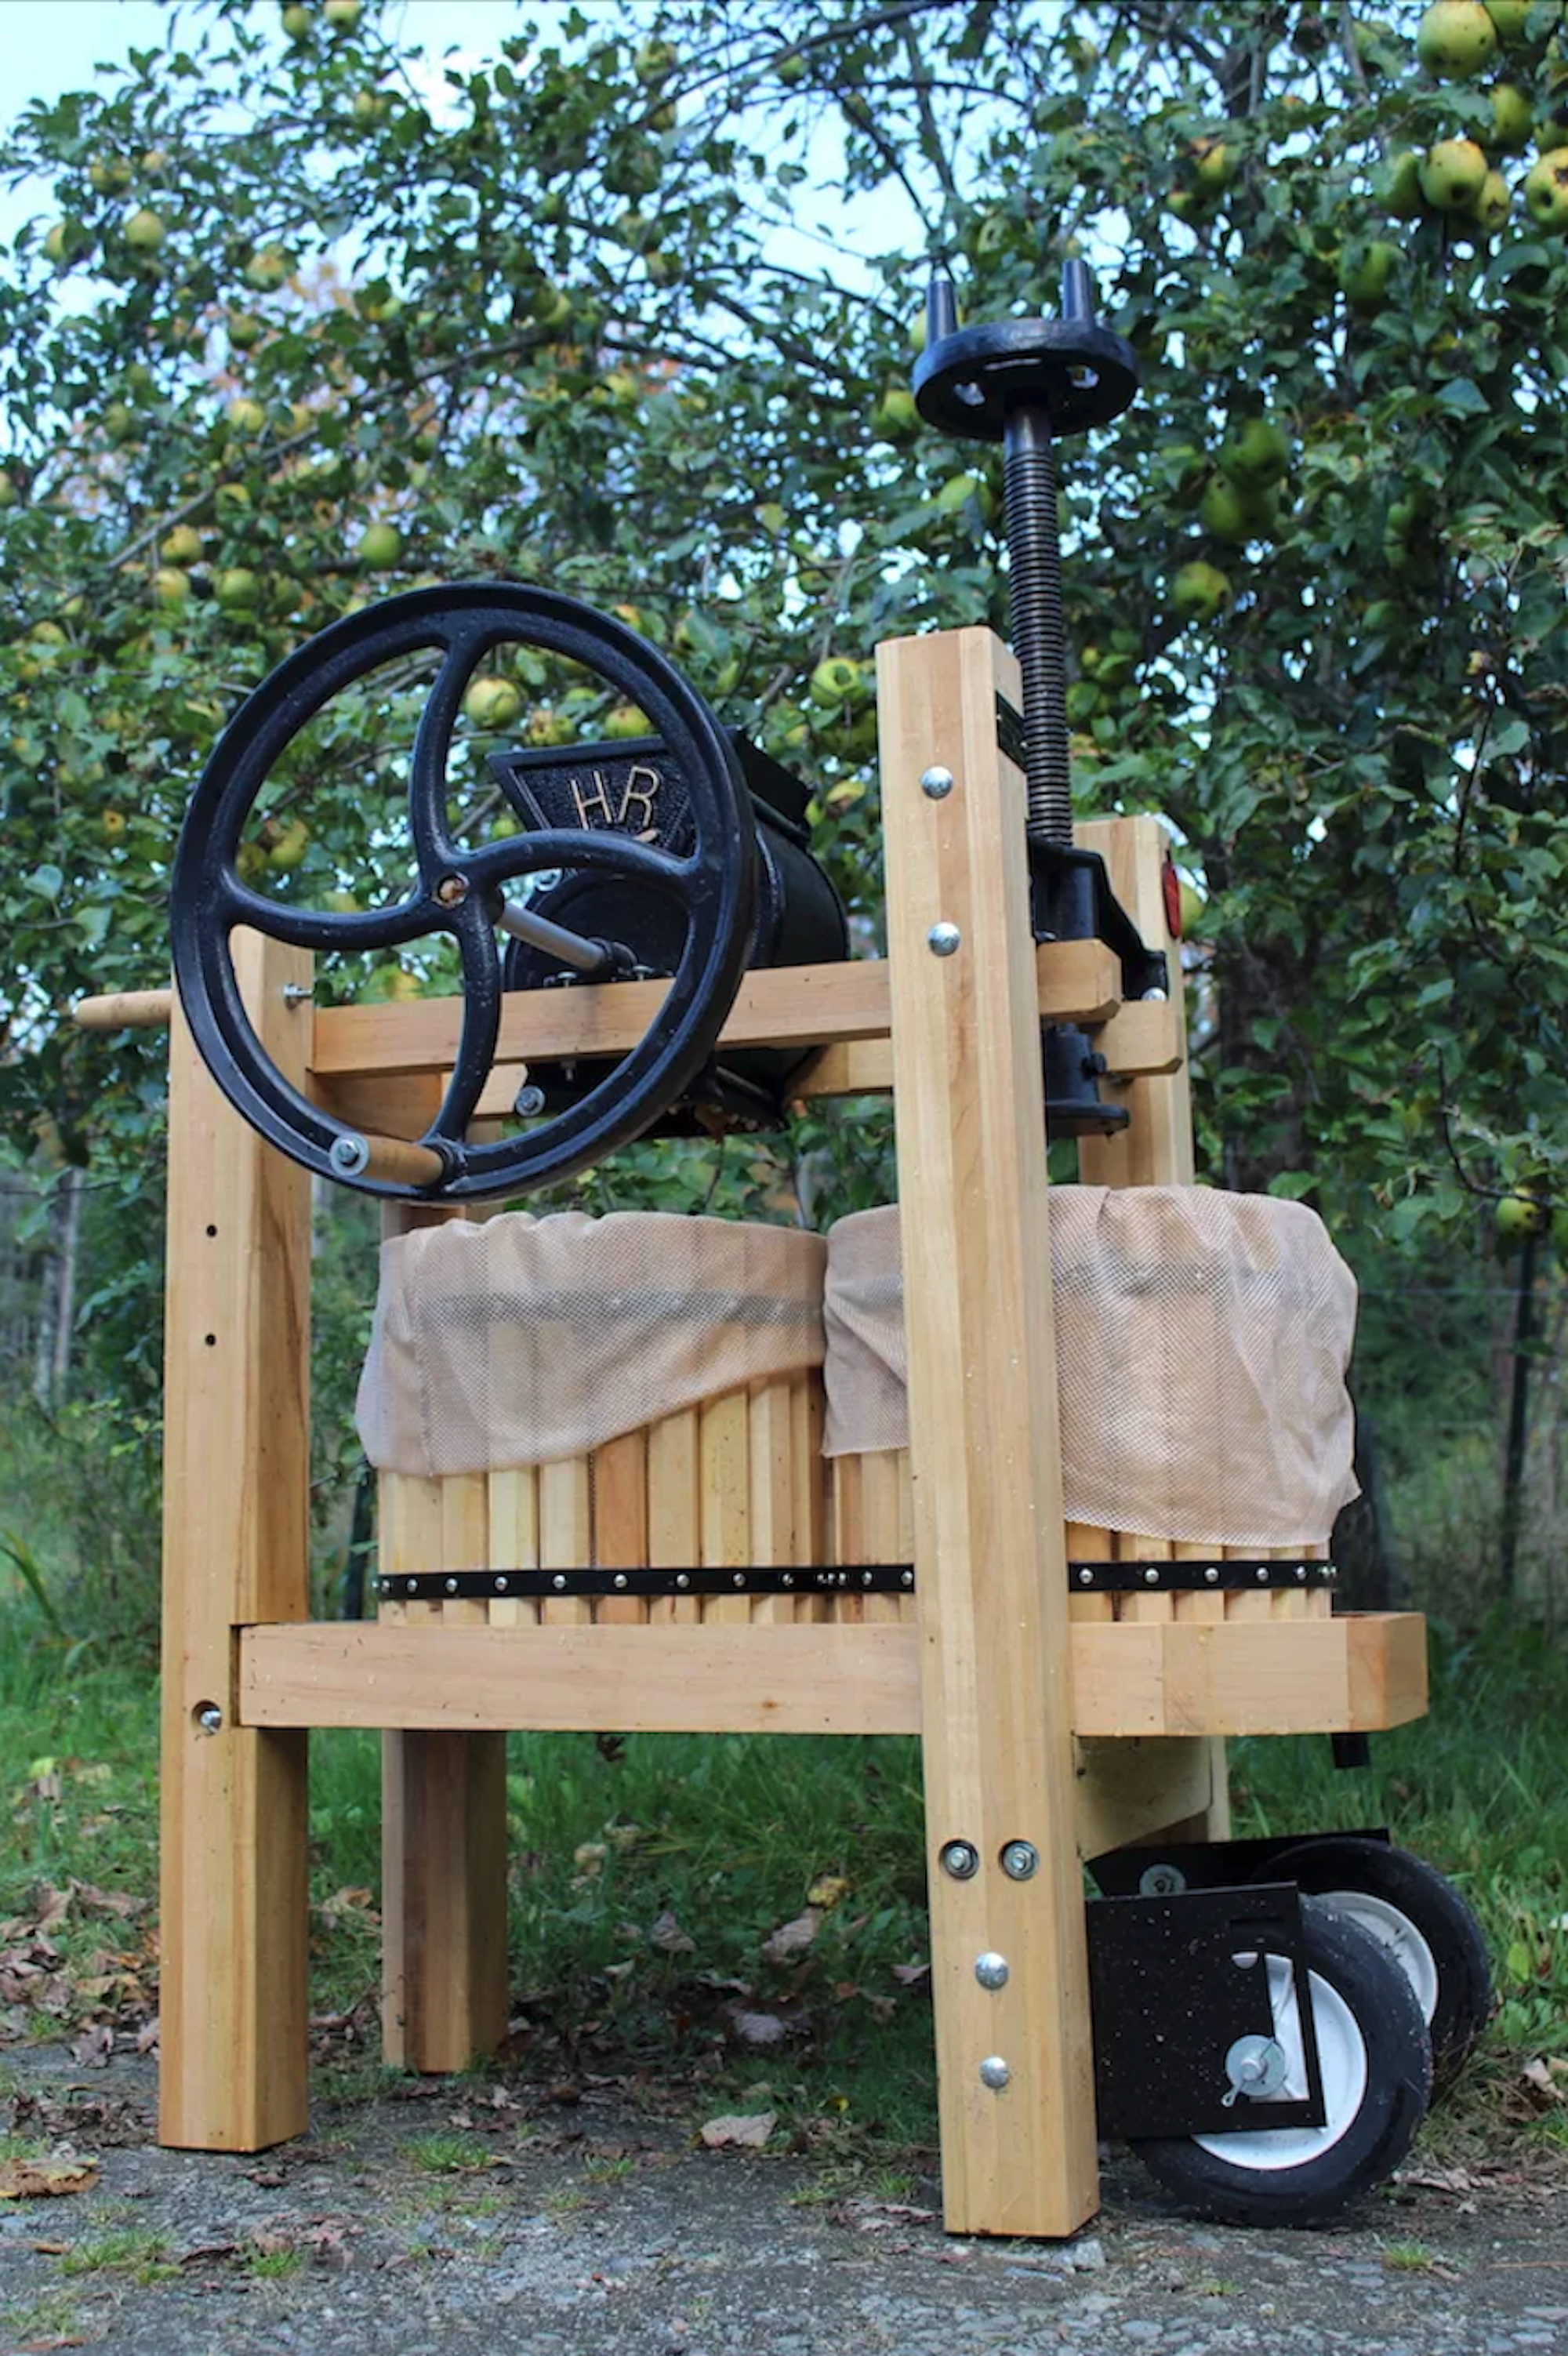
Finally, we pull out our Double-barreled cider press, and we’ll press fruit for hard cider and apple wine. Once the carboys are finally filled and bubbling away, we usually still have yet more apples!
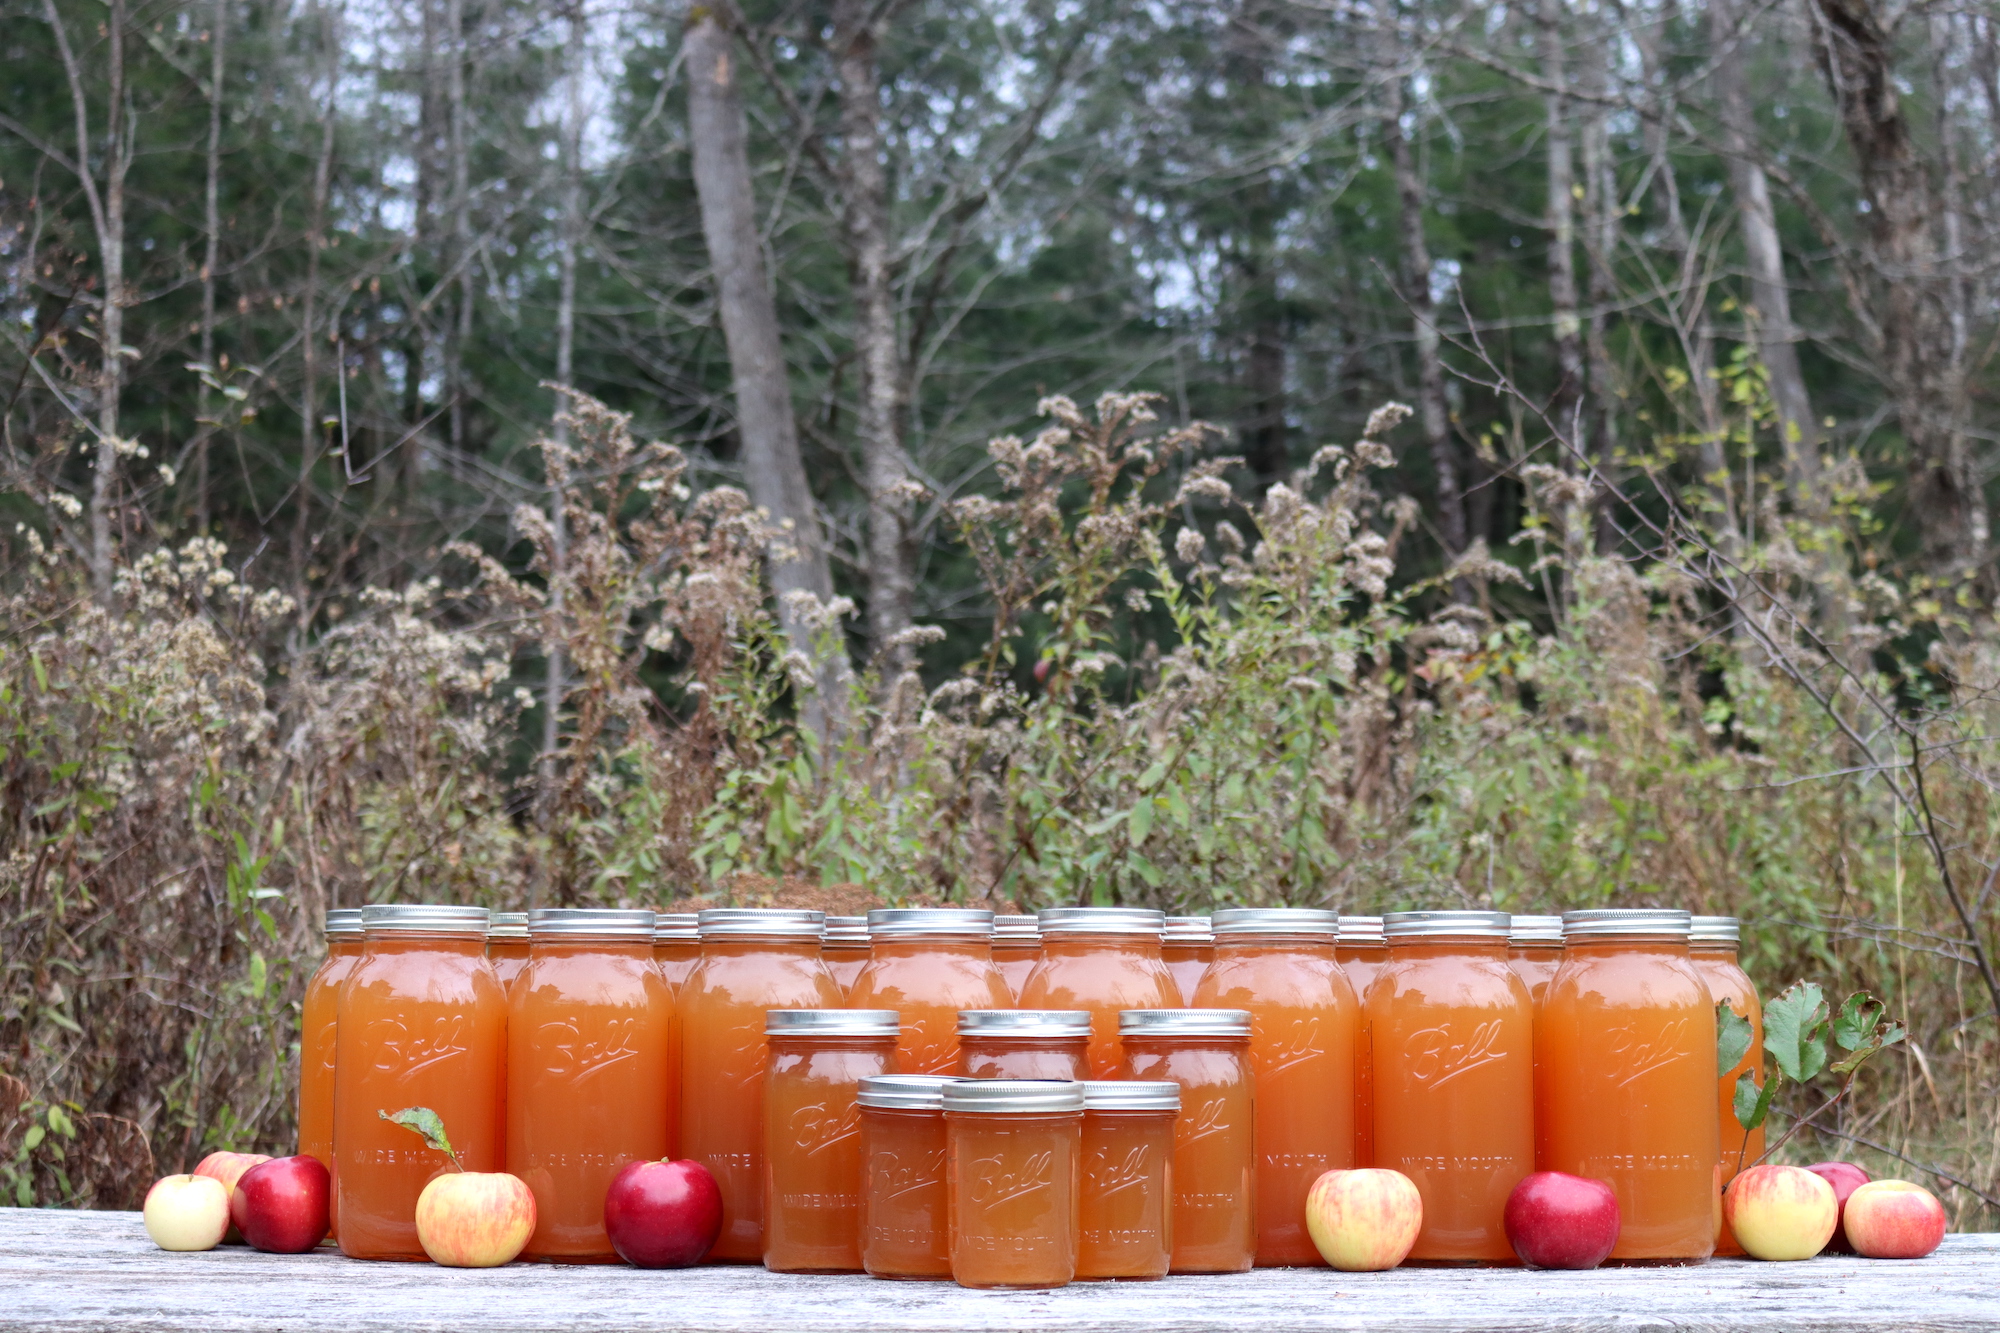
This past year, we had several hundred pounds left over for canning apple cider, and we put up more than ten gallons of canned apple cider.
If you do it right, gently heating the cider, it retains its cider flavor, color and character in the jar. Ball Canning developed this process, and you only heat the fresh pressed cider to 190 F to sterilize it before sealing the jars in a water bath canner.
Since it doesn’t boil, the pectin doesn’t set, and the cider keeps its cider flavor.
Ingredients for Canning Apple Cider
In my method, I’m using a cider press to extract juice from the apples. It takes about 15 to 18 pounds of apples to make a gallon of cider, so this isn’t something you’re going to do with expensive supermarket apples. This makes the most sense if you have an apple tree at home, or you get a great deal at your local pick your own.
If you don’t have a cider press, Ball canning also has a process for simmering the apples in water and then straining it through a jelly bag to extract the juice. It’s not “cider” anymore at that point, but if you’re looking for, here’s where you can find instructions for canning apple juice made without a cider press.
The last thing to note here is that new testing has found that sometimes apples aren’t quite acidic enough for canning, especially new super sweet varieties and apples grown in orchards with a lot of nitrogen fertilizer (or even too much compost). They end up with a higher pH as a result.
For that reason, the current recommendation is that you add a 1 Tbsp of bottled lemon juice to each quart jar. That works out to be ½ Tbsp per pint, or 2 Tbsp per half gallon.
For each quart of cider you wish to can, you’ll need the following:
- 1 quart Fresh Pressed Apple Cider (from about 4 to 5 lbs apples)
- 1 Tbsp. Bottled Lemon Juice
Jar sizes for Canning Apple Cider
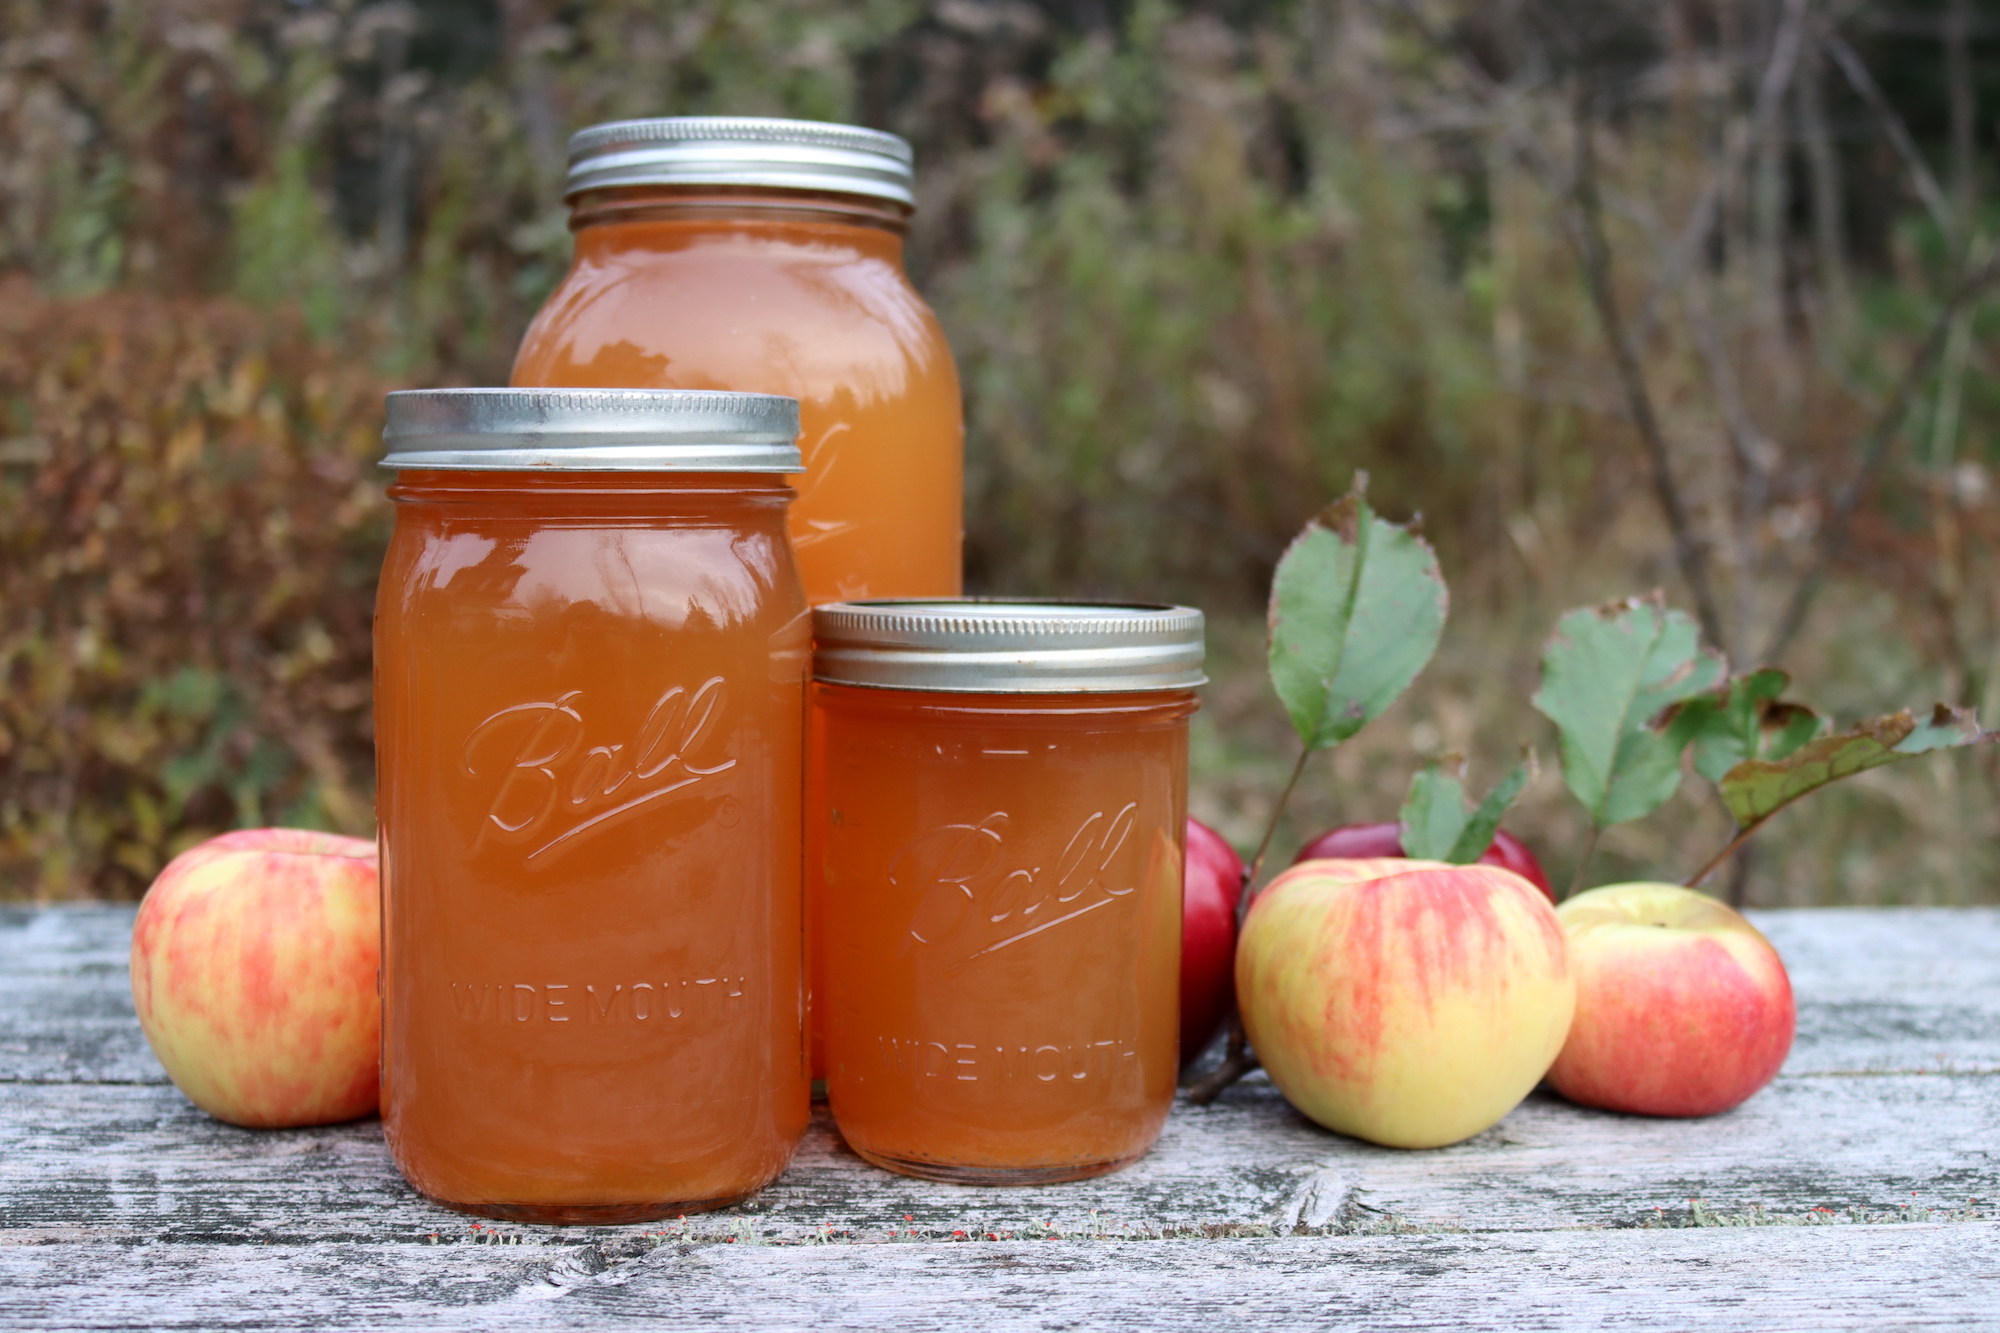
The National Center for Home Food Preservation generally doesn’t recommend canning in half gallon jars, but they do make a few exceptions, namely for home canned apple cider and grape juice. Those are the only things with tested methods for canning in half gallon jars.
As a result, this canning recipe for apple cider can be processed in any jar smaller than a half gallon, including:
- Half Pints
- Pints
- Quarts
- Half Gallons
The canning times for all jar sizes below 1,000 feet in elevation are 10 minutes. Above 1,000 feet, things get a bit more complicated, but see the section on altitude adjustments for guidance.
Making Apple Cider
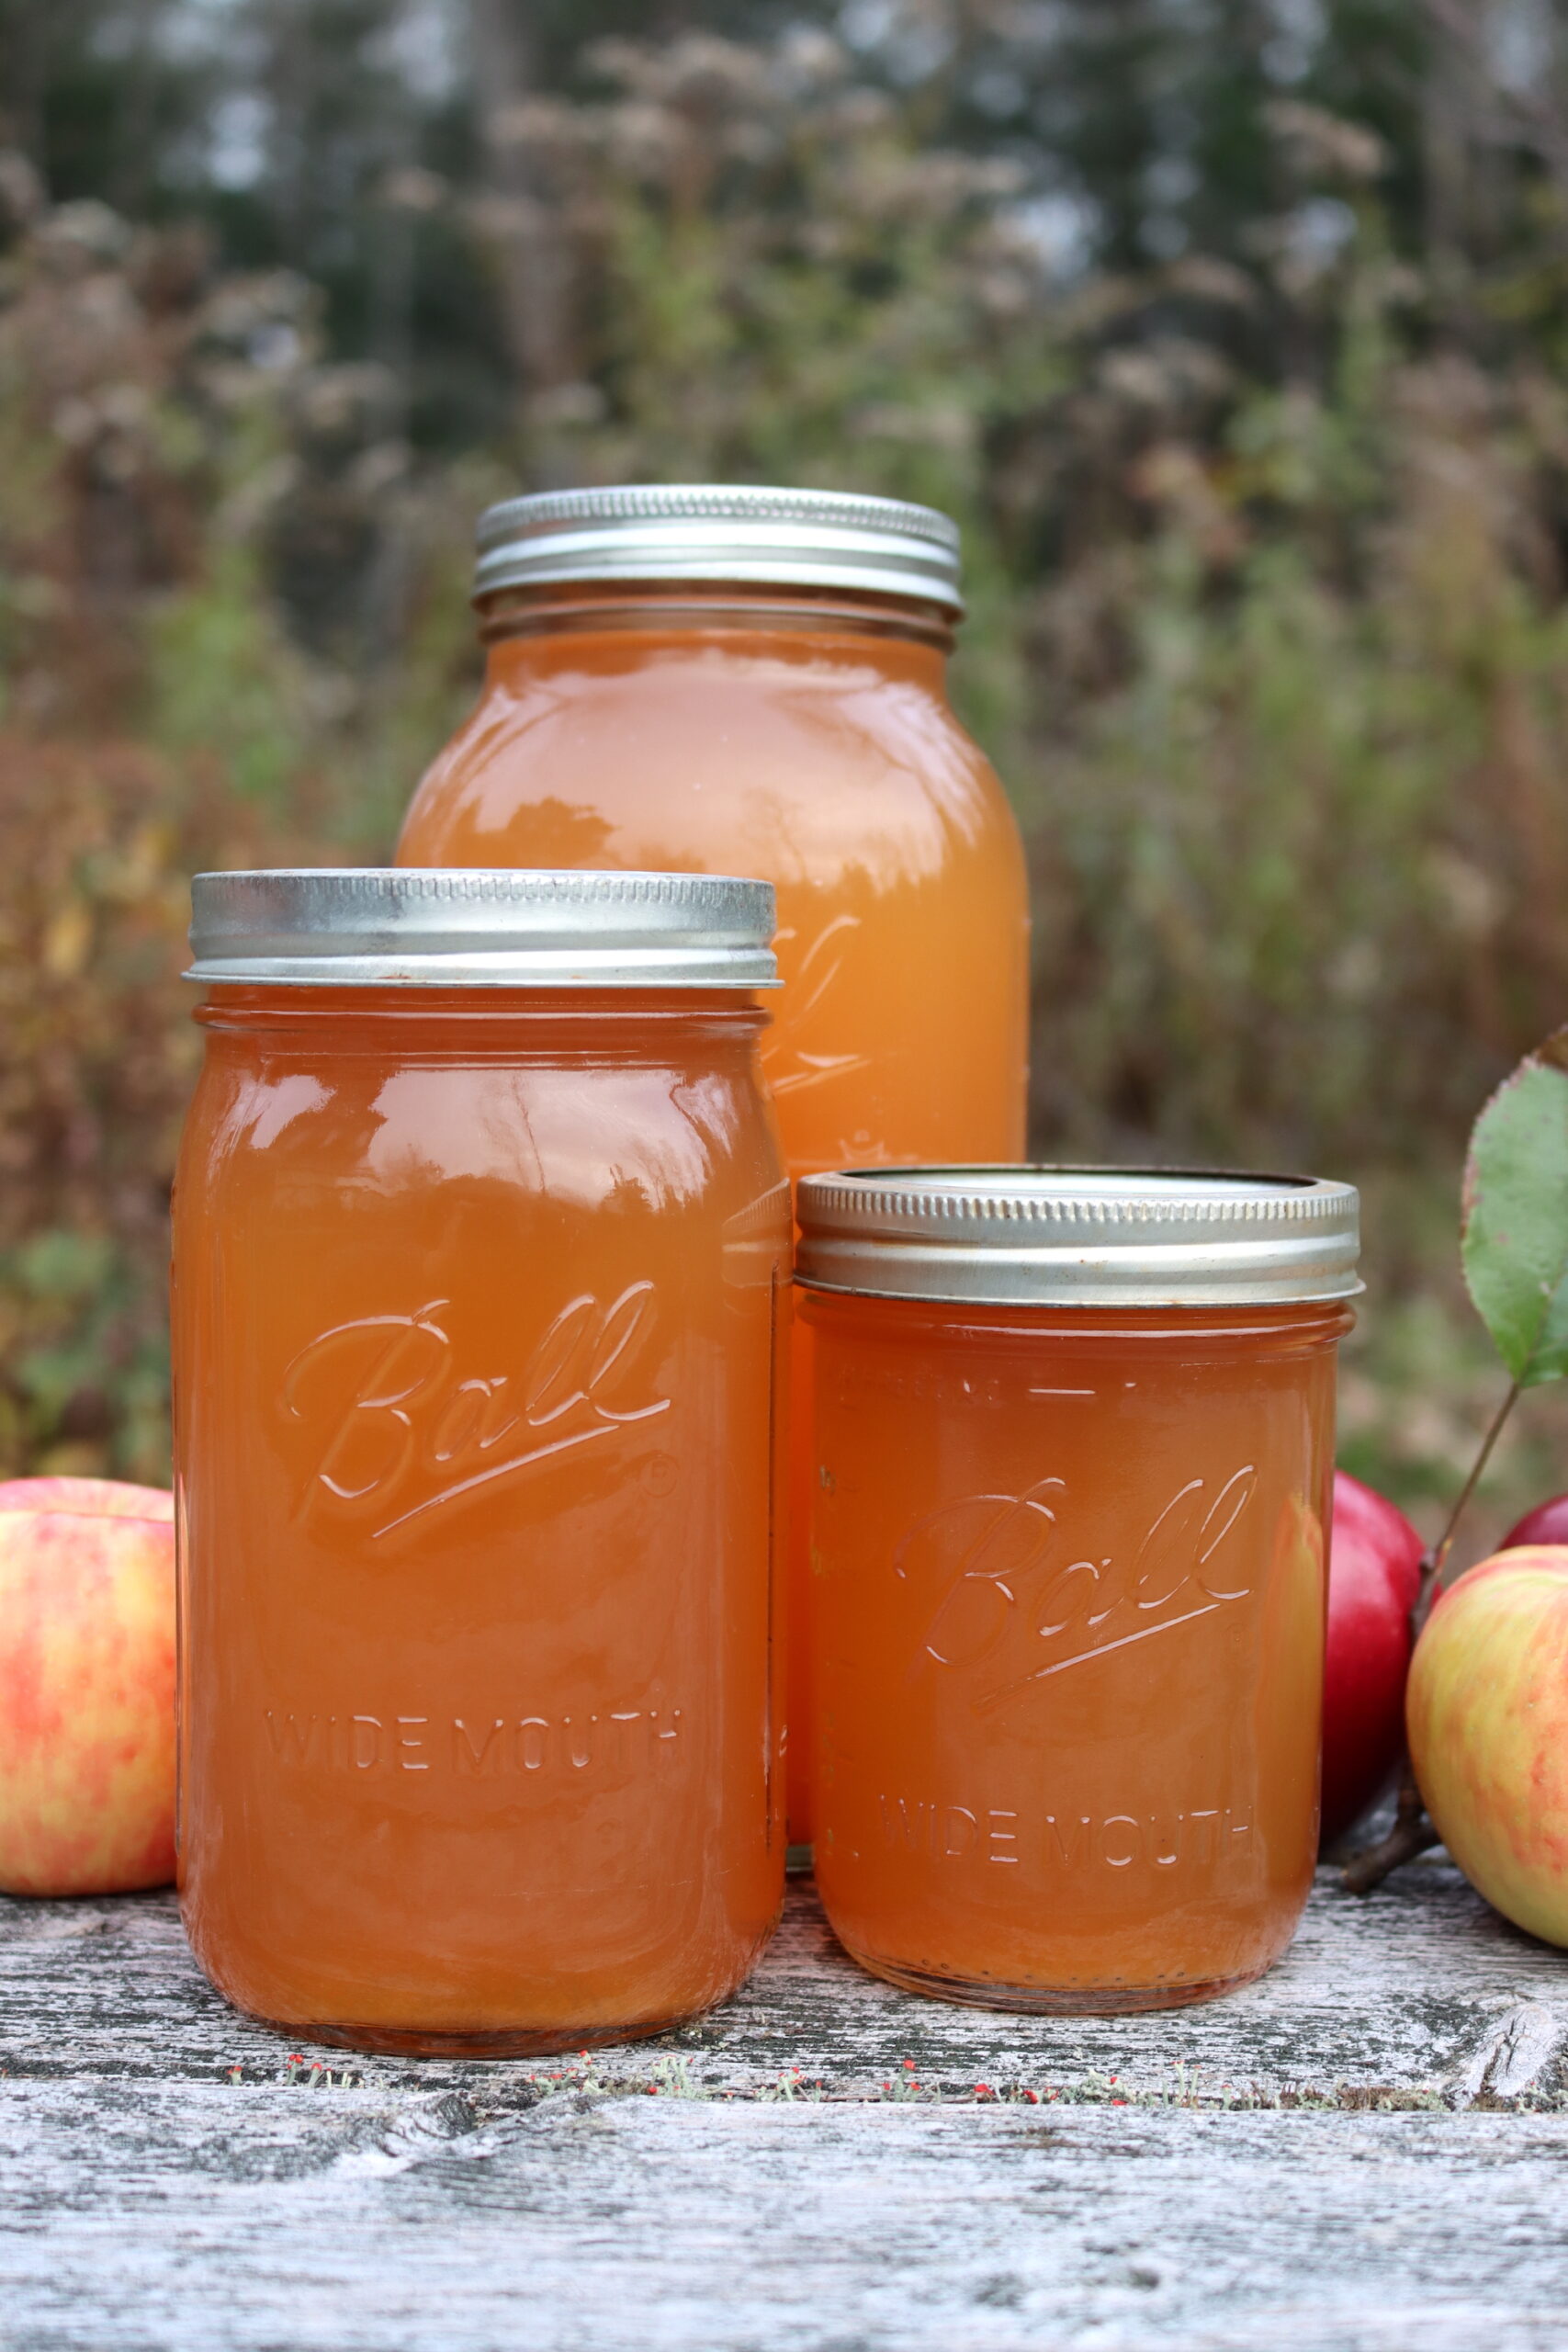
To begin your cider-making adventure, start by pressing your apples using a cider press. Ensure the apples are thoroughly washed, but there’s no need to peel them; the skins add flavor and nutrients to your cider. Once you’ve pressed the apples, collect the fresh juice in a large bowl or container.
If you prefer a clearer cider, you can refrigerate the juice for 24 to 48 hours to allow sediment to settle at the bottom. When ready to can, carefully ladle the juice into a large stainless steel saucepan, leaving any sediment behind.
Canning Apple Cider
Next, prepare your canner, jars, and lids for waterbath canning. The canner should be preheated for hot pack, and the water should be simmering at around 180 to 190°F (82 to 88°C).
In the stainless steel saucepan or stock pot, heat the apple juice to 190°F (88°C) over medium-high heat, stirring gently. It’s important not to boil the juice; just keep it at this temperature for about 5 minutes. This sterilizes the juice.
Afterward, add 1 Tbsp of bottled lemon juice to the bottom of each quart jar. (Adjusting the amount based on jar sizes.) This not only enhances the flavor but also ensures that the cider is acidic enough for canning.
Once the juice is ready, ladle it into hot, prepared jars, leaving a 1/4-inch headspace. Wipe the rims of the jars to ensure a good seal, then center a lid on each jar. Screw down the band to fingertip tight.
Place the filled jars into the preheated canner, making sure they are fully submerged in water. Bring the water to a rolling boil and process the jars for 10 minutes. After processing, remove the canner lid and let the jars sit for 5 minutes before taking them out.
Let the jars cool completely on a clean towel on the counter. After they have cooled, check that the lids have sealed properly and store any unsealed jars in the refrigerator for immediate use.
Store your properly sealed jars of canned apple cider in a cool, dark pantry for the best flavor. They’ll be safe to use so long as the jars are sealed, but flavor and quality is best when used within 12 to 18 months.
Altitude Adjustments
When canning, it’s important to adjust processing times based on your altitude. Here are the guidelines for canning apple cider:
- For 0 to 1,000 Feet in Elevation: Process for 10 minutes for all jar sizes.
- For 1,001 to 6,000 Feet in Elevation: Process for 10 minutes for quarts and smaller, and 15 minutes for half gallons.
- Above 6,001 Feet in Elevation: Process for 15 minutes for quarts and smaller, and 20 minutes for half gallons.
Serving Suggestions
Your homemade apple cider can be enjoyed in many ways! Serve it cold on a hot day, or warm it up with a cinnamon stick and some cloves for a cozy winter drink. It can also be used in recipes for marinades, sauces, or even as a base for festive cocktails.
We’ll put a few jars in the fridge for the kids to enjoy cold after school, and on cold nights, I’ll warm it up in a pan with spices for a quick mulled cider.
Apple Canning Recipes
This recipe is adapted from the Ball Complete Book of Home Preserving and is a tested recipe for home canning. Canning times based on jar sizes come from the National Center for Home Food Preservation.
Canning Apple Cider
Equipment
Ingredients
- Fresh Pressed Apple Cider
- Bottled Lemon Juice
Instructions
- Press the apples using a cider press to extract the juice.
- If desired, refrigerate the juice for 24 to 48 hours to allow sediment to settle. Ladle the clear juice into a large stainless steel saucepan, discarding the sediment.
- Prepare your canner, jars, and lids. The canner should be preheated for hot pack, and the water should be simmering at around 180 to 190°F (82 to 88°C).
- Heat the apple juice in the saucepan or stock pot to 190°F (88°C) over medium-high heat, avoiding boiling. Keep it at this temperature for 5 minutes, then turn off the heat.
- Measure 1 Tbsp of bottled lemon juice into the bottom of each quart jar. (Or ½ Tbsp for pints, or 2 Tbsp for half gallons).
- Ladle the hot juice into hot jars, leaving a 1/4 inch headspace. Wipe rims, center lids, and screw down bands to fingertip-tight.
- Process the jars in a boiling water canner for 10 minutes (adjust for altitude as needed; see notes). After processing, remove the lid and let the jars sit for 5 minutes before removing them. This extra time helps prevent siphoning and thermal shock on the jars.
- Cool the jars completely on a towel or rack and check seals before storing.
Notes
Yield
For each quart of cider you wish to can, you’ll need the following:- 1 quart Fresh Pressed Apple Cider (from about 4 to 5 lbs apples)
- 1 Tbsp. Bottled Lemon Juice
Altitude Adjustments
When canning, it’s important to adjust processing times based on your altitude, as water boils at a different temperature at different altitudes. Here are the guidelines for canning apple cider:- For 0 to 1,000 Feet in Elevation: Process for 10 minutes for all jar sizes.
- For 1,001 to 6,000 Feet in Elevation: Process for 10 minutes for quarts and smaller, and 15 minutes for half gallons.
- Above 6,001 Feet in Elevation: Process for 15 minutes for quarts and smaller, and 20 minutes for half gallons.
Nutrition
Nutrition information is automatically calculated, so should only be used as an approximation.
Apple Canning Recipes
Looking for more ways to store apples in a jar?
Drink Canning Recipes
Looking for more drink canning recipes?
- Canning Lemonade (and Lemonade Concentrate)
- Canning Strawberry Lemonade Concentrate
- Canning Limeade (& Limeade Concentrate)
- Canning Berry Juice
- Canning Rhubarb Juice
What can you do with the crushed apples after?
At that point, they’re mostly just fiber, and most the flavor is pulled out of them. We use them for chicken feed at that point.
That said, I have seen some people cook it down (with added water) and run it through a food mill to remove the cores/seeds/skins to turn it into apple butter. If you cook it down long enough you can concentrate what little flavor is left into a preserve.
How long does it keep once you’ve canned it?
Canned goods, in general, are good to eat so long as they’re still sealed. As a rule of thumb, canned goods tend to degrade in quality (though not safety) after about 12-18 months in the pantry. I have found that cider tends to maintain quality a bit longer than most things though.
We put up more than 10 gallons of home canned apple cider this year, and that’s after making hard cider and cider syrup. There’s no better way to preserve it, especially if you’re short on freezer space. We make it into mulled cider all winter long.
Do I have to add lemon juice to the cider?
Ball canning recently did some testing and found that some apples aren’t quite acidic enough for canning, and they updated their recommendations in 2024 to include lemon juice in all apple canning recipes. The NCHFP hasn’t yet done the testing, and doesn’t yet recommend adding lemon juice to apples in canning. A few years ago, I would have said, “Of course not, who adds lemon juice to their cider?” But now the canning authorities are mulling the idea over, so to speak.
I personally still use the NCHFP process and don’t add lemon juice, but we always have tart apples in our mix. I’ve written the recipe, as with all my recipes, using the most conservative guidance out there, and I’ll let you use your best judgement.