This post may contain affiliate links. Please see our disclosure policy.
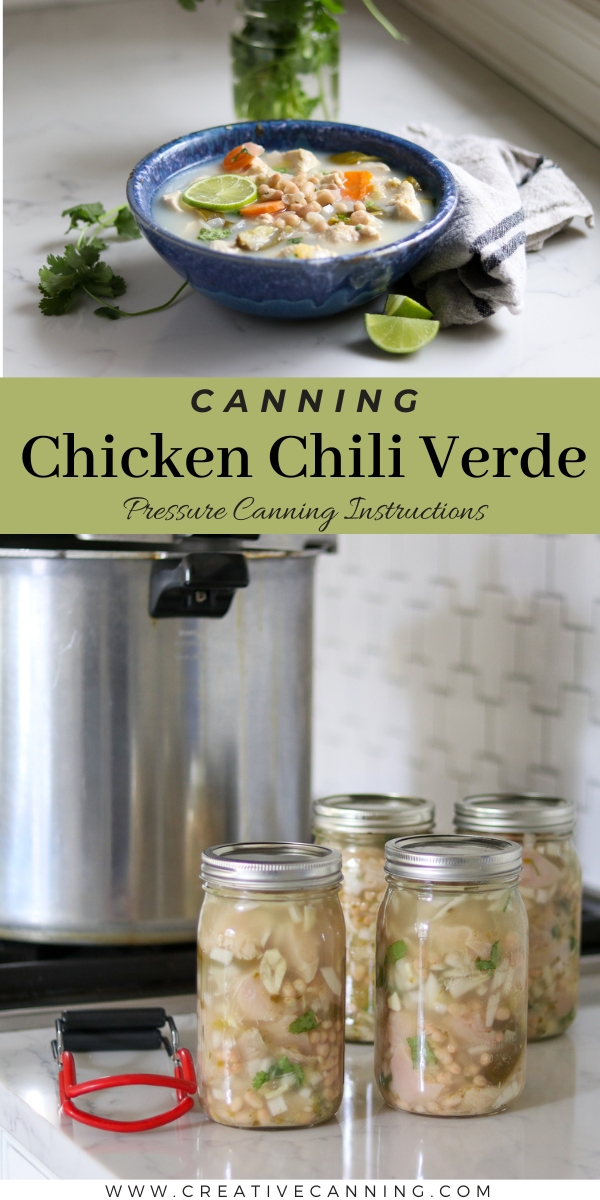
Canning chicken chili verde is a unique chicken canning recipe that puts up a flavorful chicken chili right on your pantry shelf. Salsa verde (made with either tomatillos or green tomatoes) gives this chili its rich, well-rounded flavor.
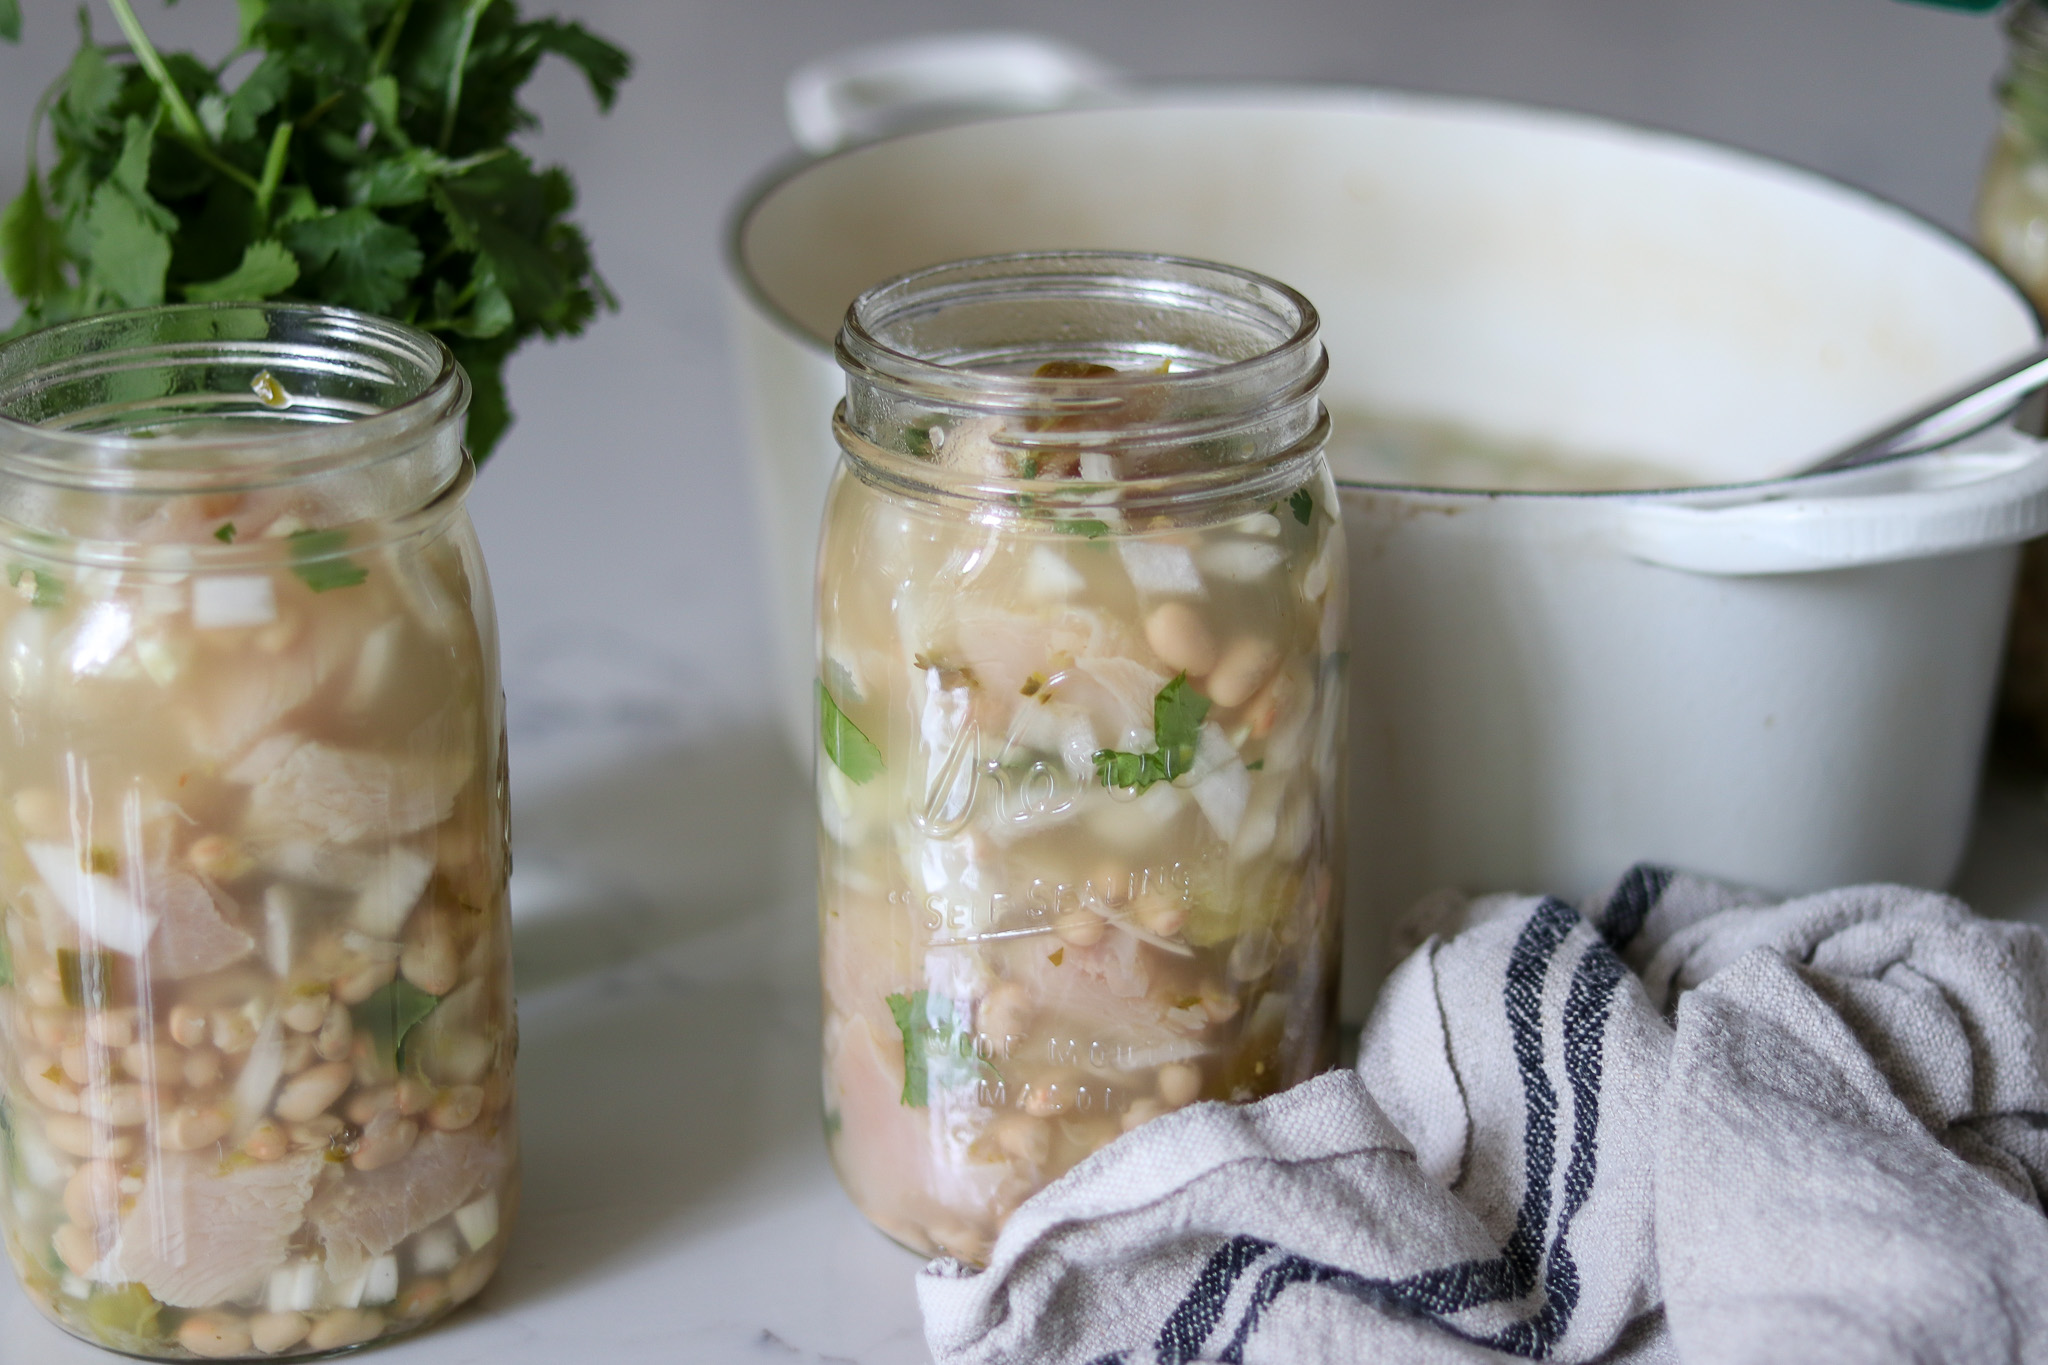
Meal-in-a-jar recipes canned right on your pantry shelf make for quick weeknight meals and take the stress out of mealtime. All it takes is a bit of planning ahead, and you can pressure can this delicious chicken chili verde ahead of time.
This tested recipe for canning chicken chili verde comes from the All New Ball Book of Home Canning, which has a whole chapter on meal-in-a-jar canning recipes.
Ingredients for Chicken Chili Verde
Their original recipe is a very small batch, with just 2 quarts or 4 pints. I’ve doubled it to make it a full “canner batch” that would fit in most people’s standard-sized canners.
I have a very large canner that holds a lot more, so I tend to make this in even larger batches. Feel free to increase (or decrease) the batch size to suit your needs or your size canner.
To make a 4 quart (or 8 pint) batch, you’ll need:
- 4 lbs boneless chicken, chopped into 2” chunks
- 2 cups canned white beans, drained and rinsed
- 2 cups onions, diced
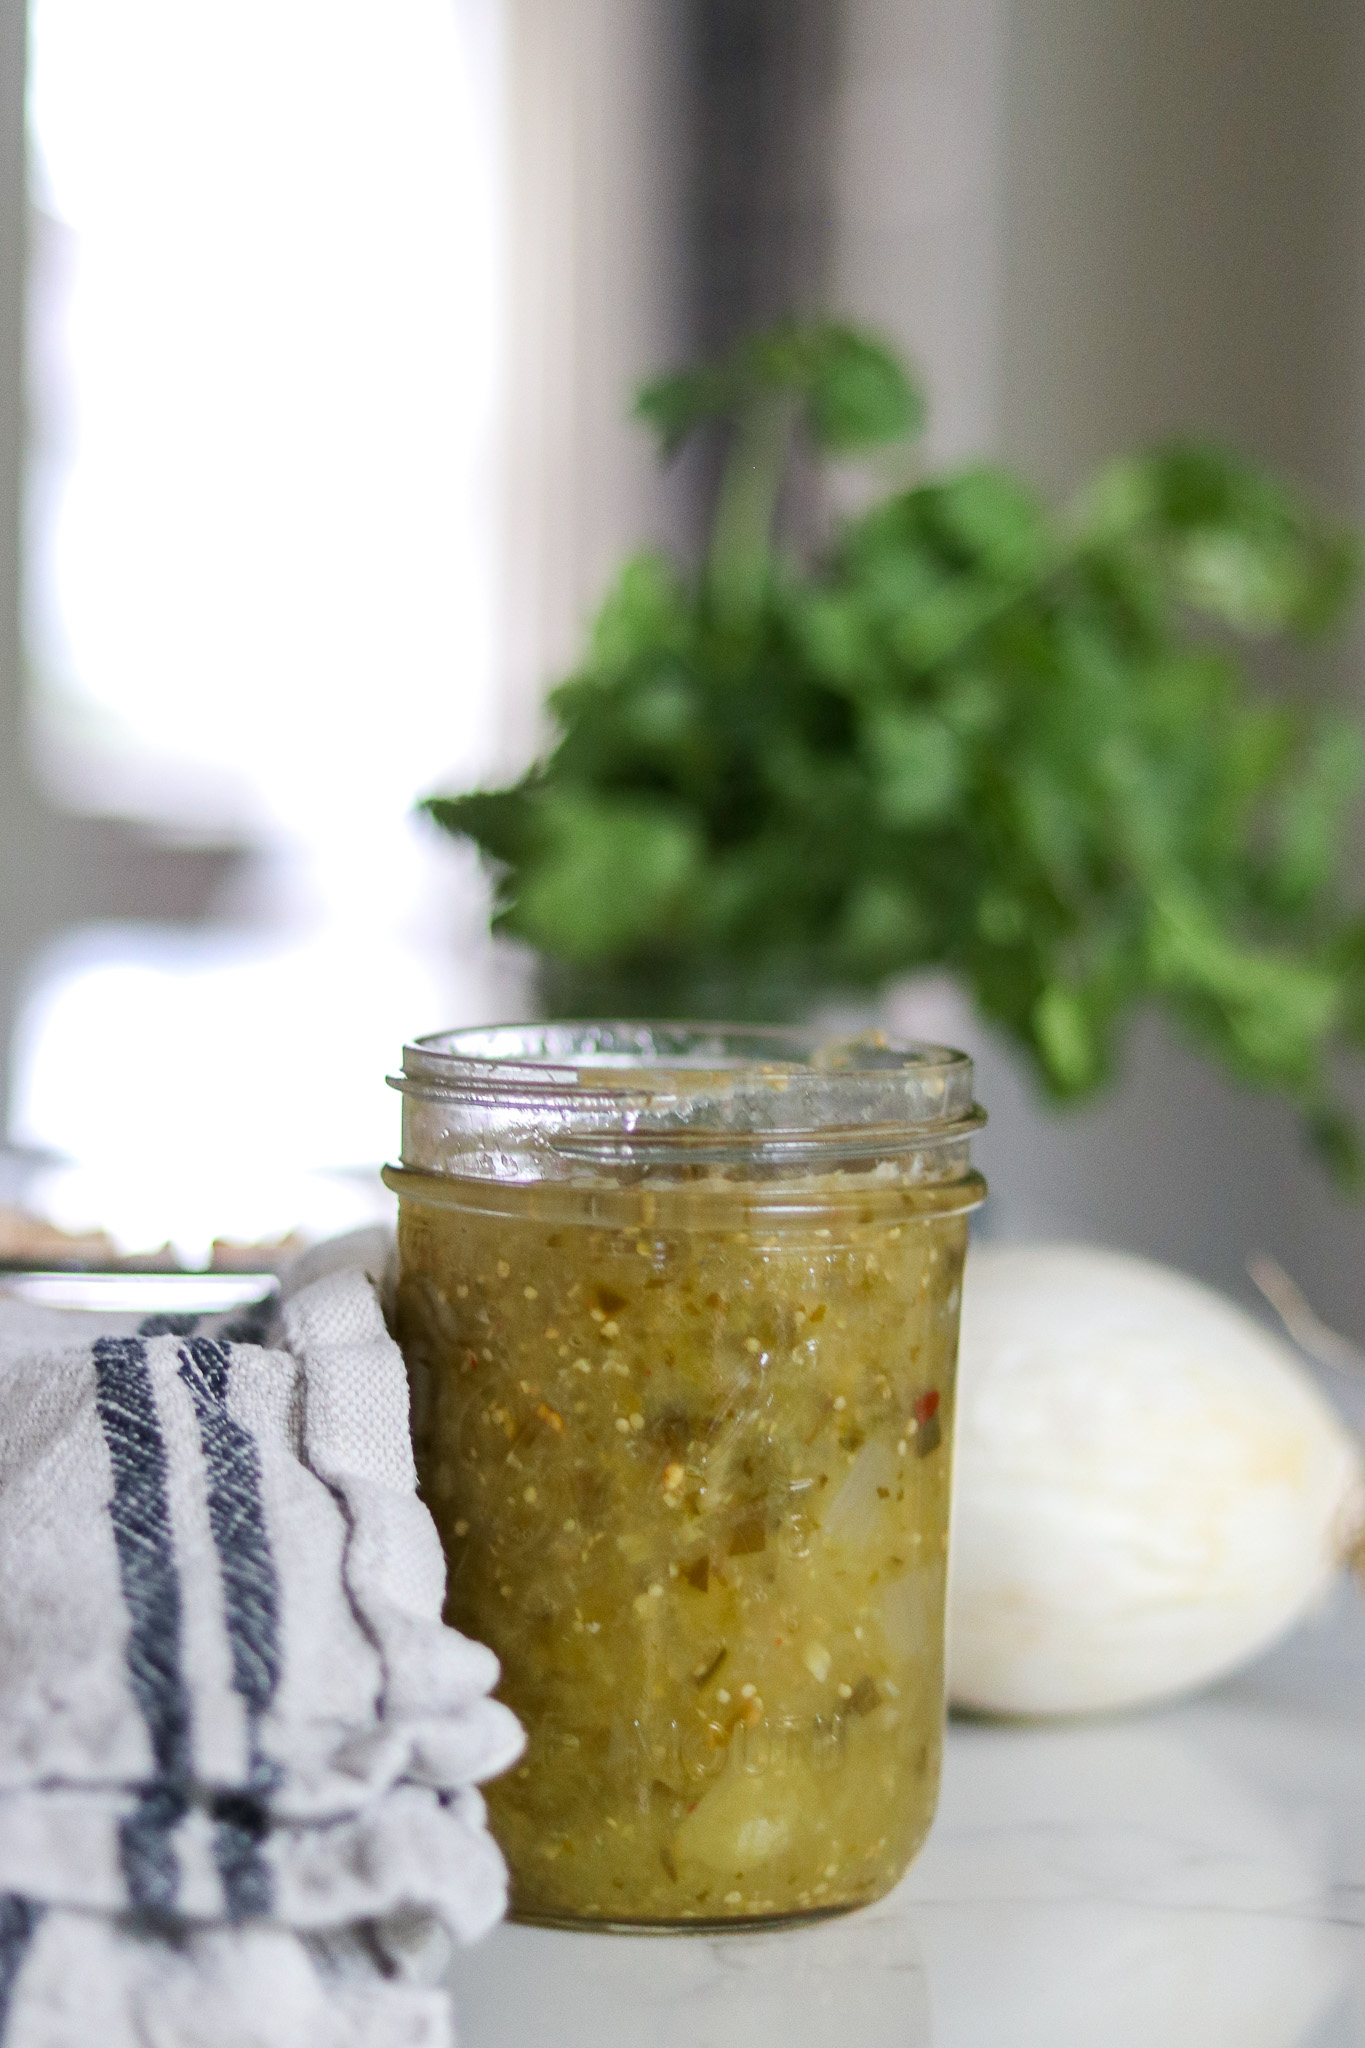
- 2 cups salsa verde (see note)
- 4 tsp salt
- 4 garlic cloves, minced
- 1/2 cup sliced pickled jalapenos (homemade or store-bought)
- 1/2 cup fresh cilantro, chopped
- Chicken broth to fill, about 2 quarts
The salsa verde can be homemade or store-bought, and the same goes for the pickled jalapenos.
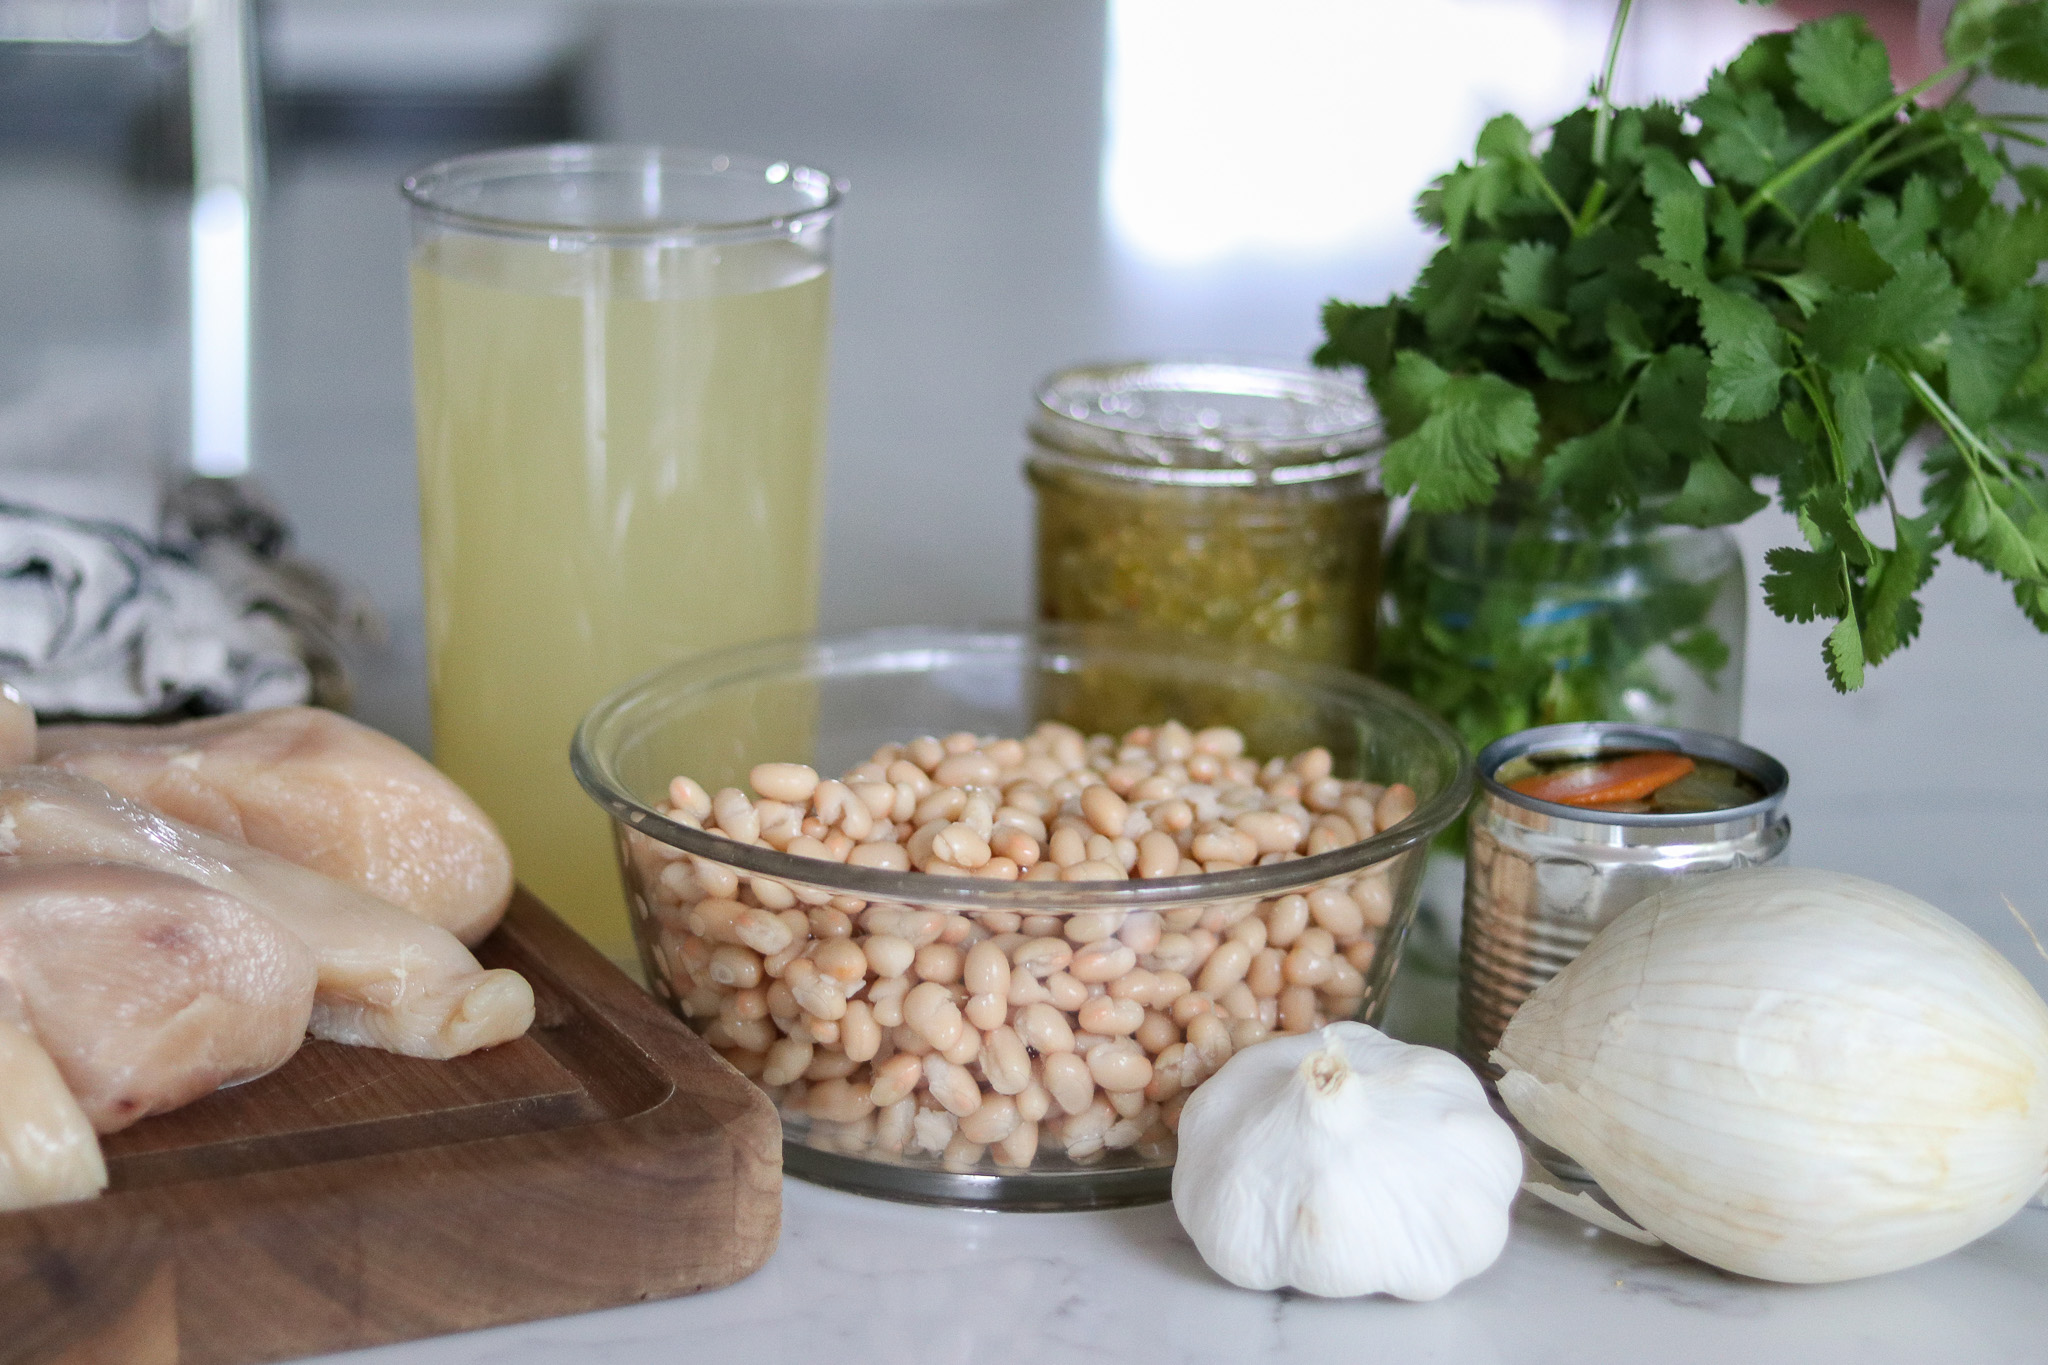
Sometimes store-bought pickled jalapenos have other vegetables mixed in, like onions or carrots, and that’s perfectly fine. They’re all pickled in there together, so you’re adding “1/2 cup pickled vegetables” instead of jalapenos, which is fine for canning.
I usually make my own pickled jalapenos, but using canned is a great option if you didn’t make any of your own pickled this year. This particular batch came in a tin can, and it’s a mix of jalapenos and carrots.
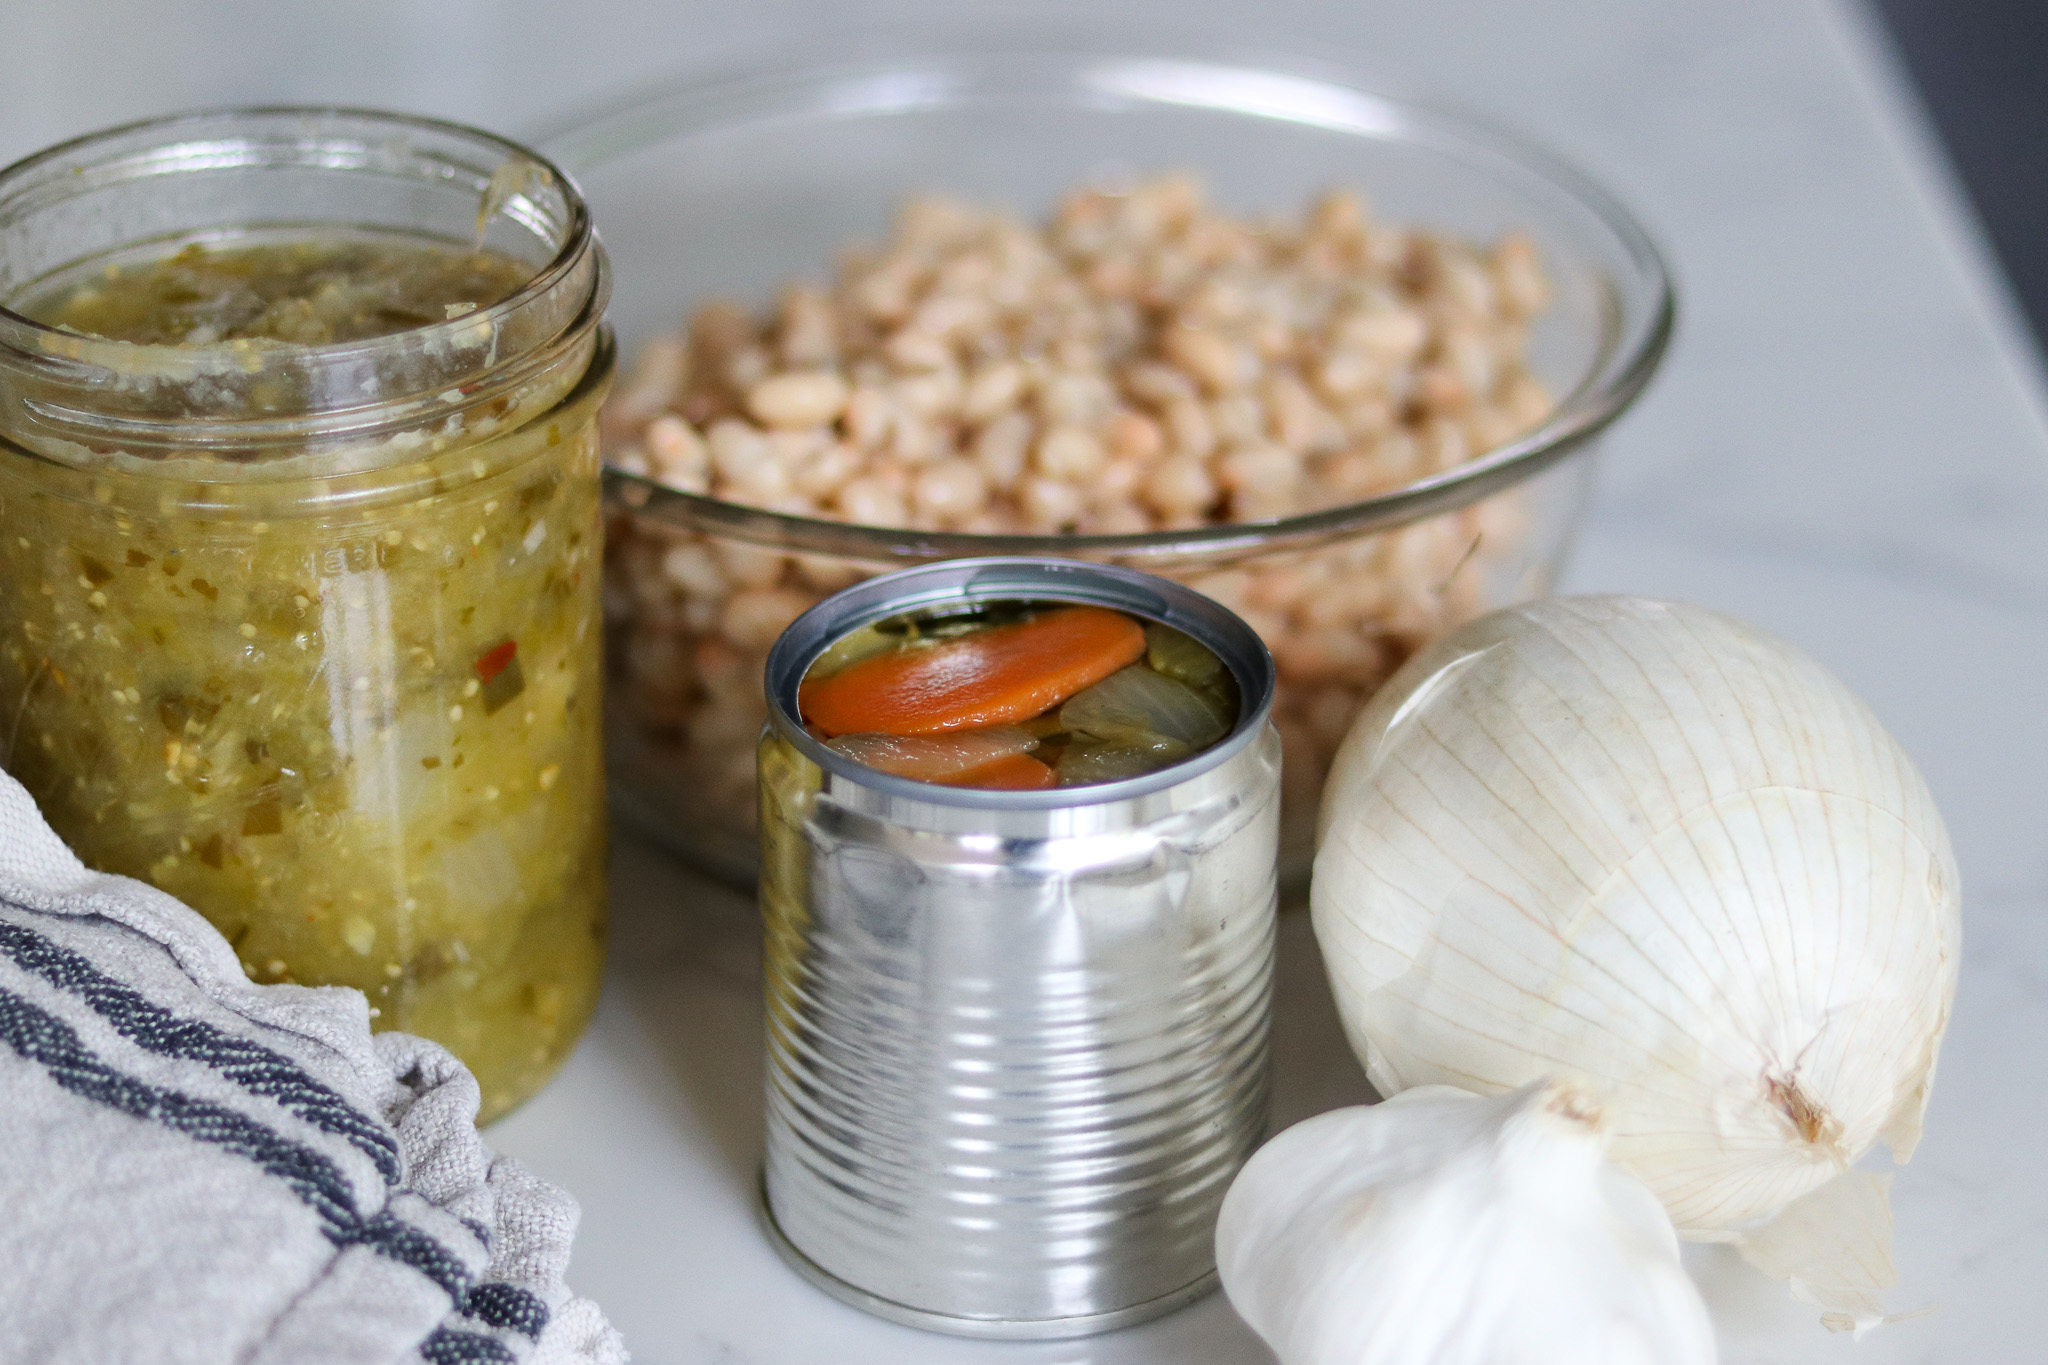
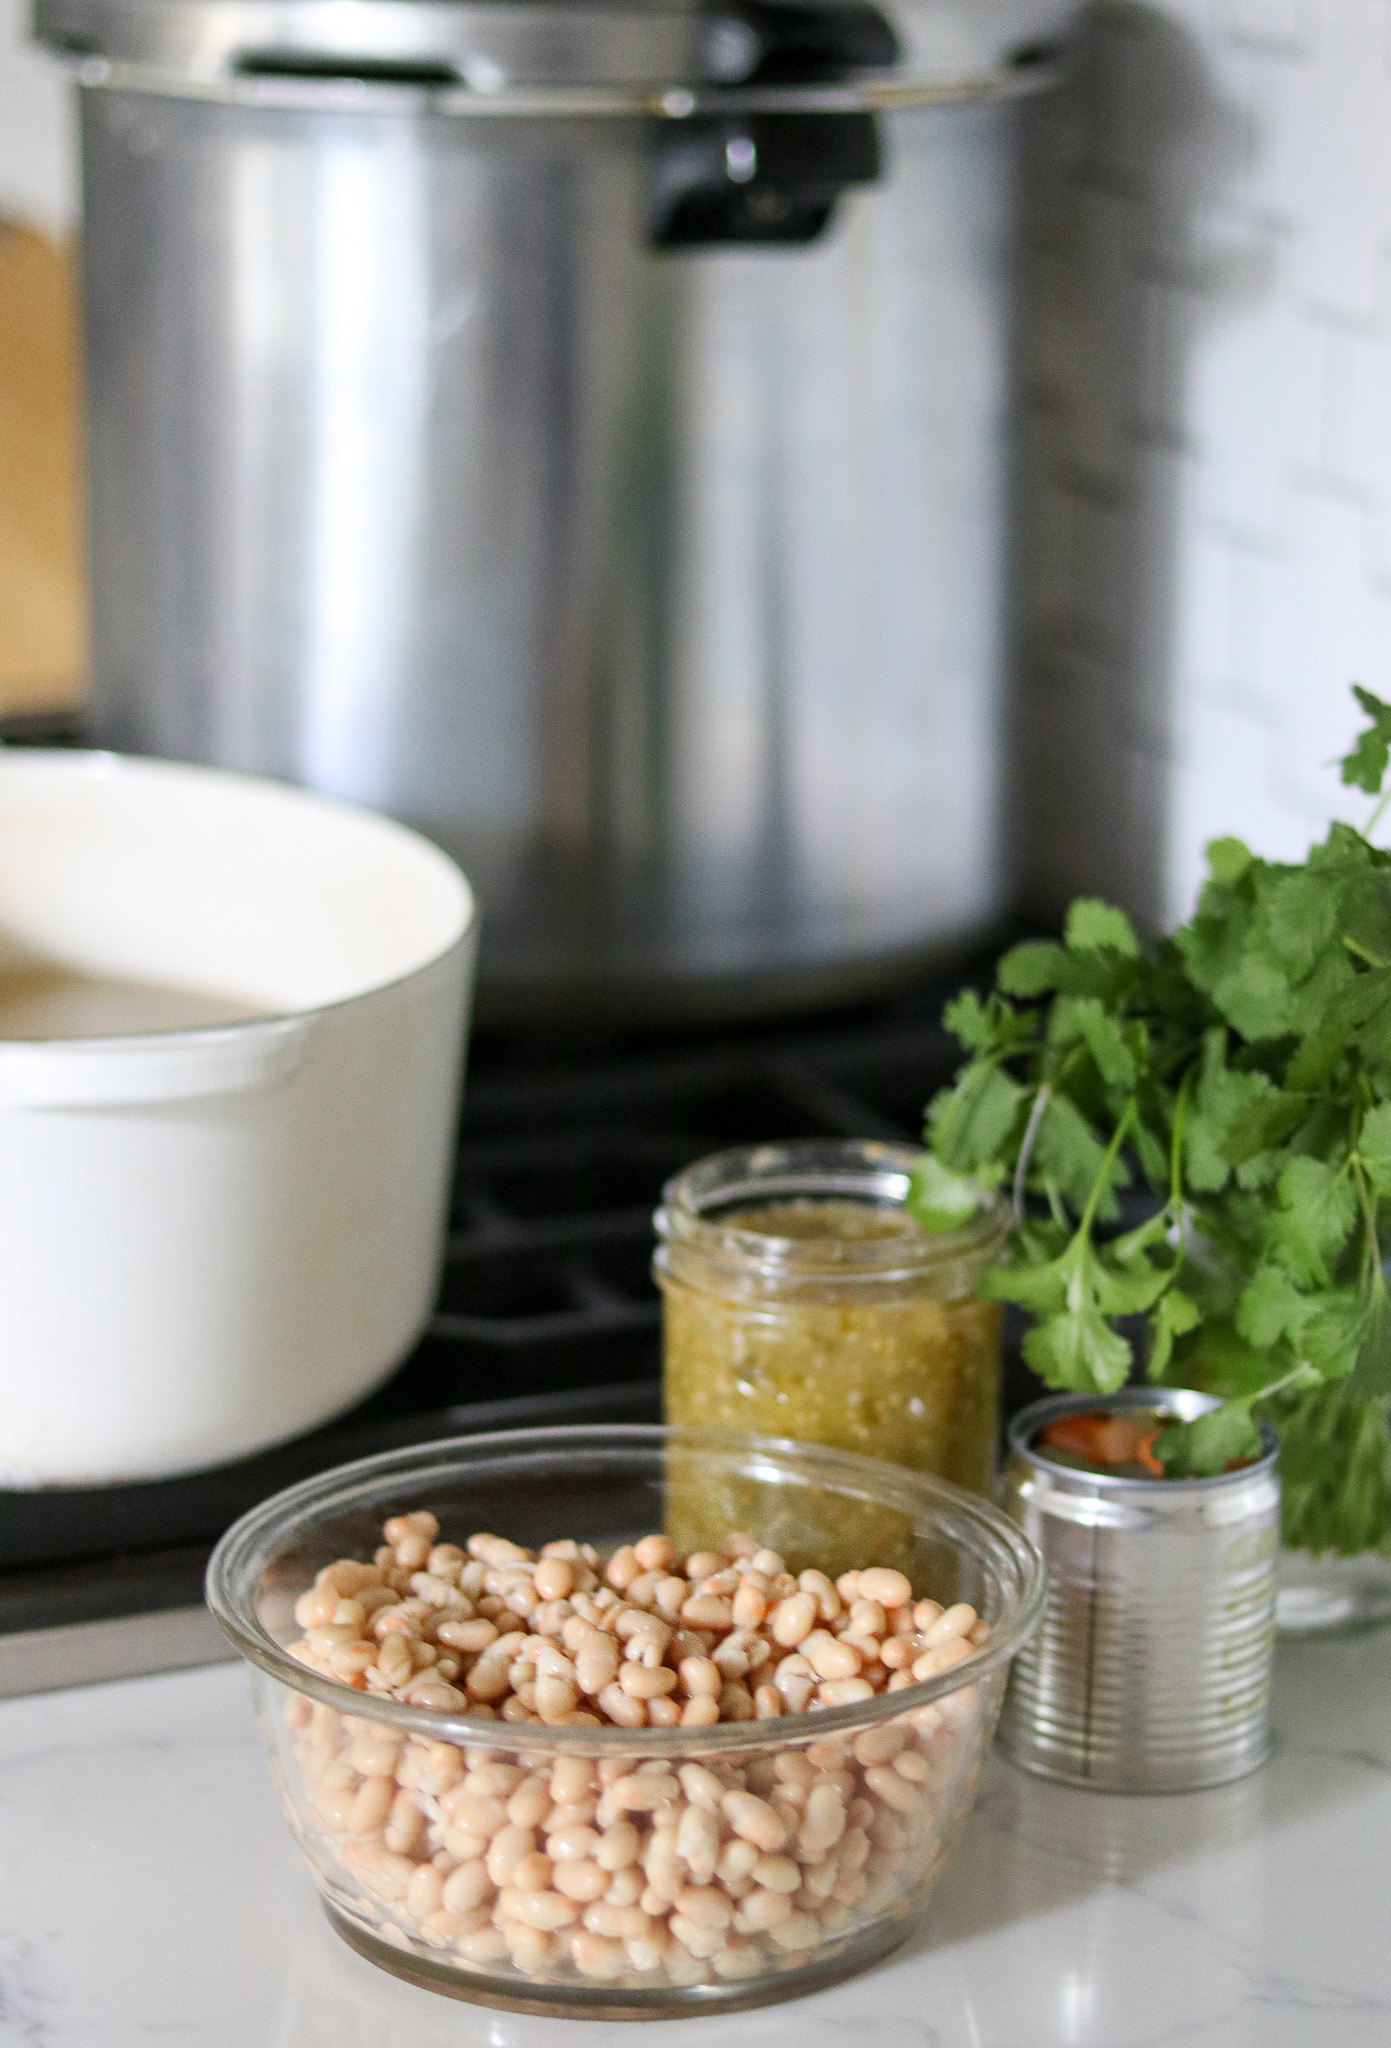
The beans in this recipe are canned white beans, but if you’d like, it is possible to substitute dry beans. This recipe uses 2 cups of fully cooked beans, but would only need 2/3 cup of dried beans.
Yes, they do get that much bigger when they’re cooked.
To substitute dried beans, soak the beans overnight. Drain the water and then place them in a pan of fresh water. Bring them to a boil, and simmer for 30 minutes before turning off the heat and straining.
They won’t be fully cooked yet, but they’ll be fully rehydrated. They can finish cooking in the pressure canner, and you won’t need to add any extra liquid because you’ve cooked them enough to allow them to fully rehydrate before going into the jars.
(Or, just go with store-bought canned beans, either way.)
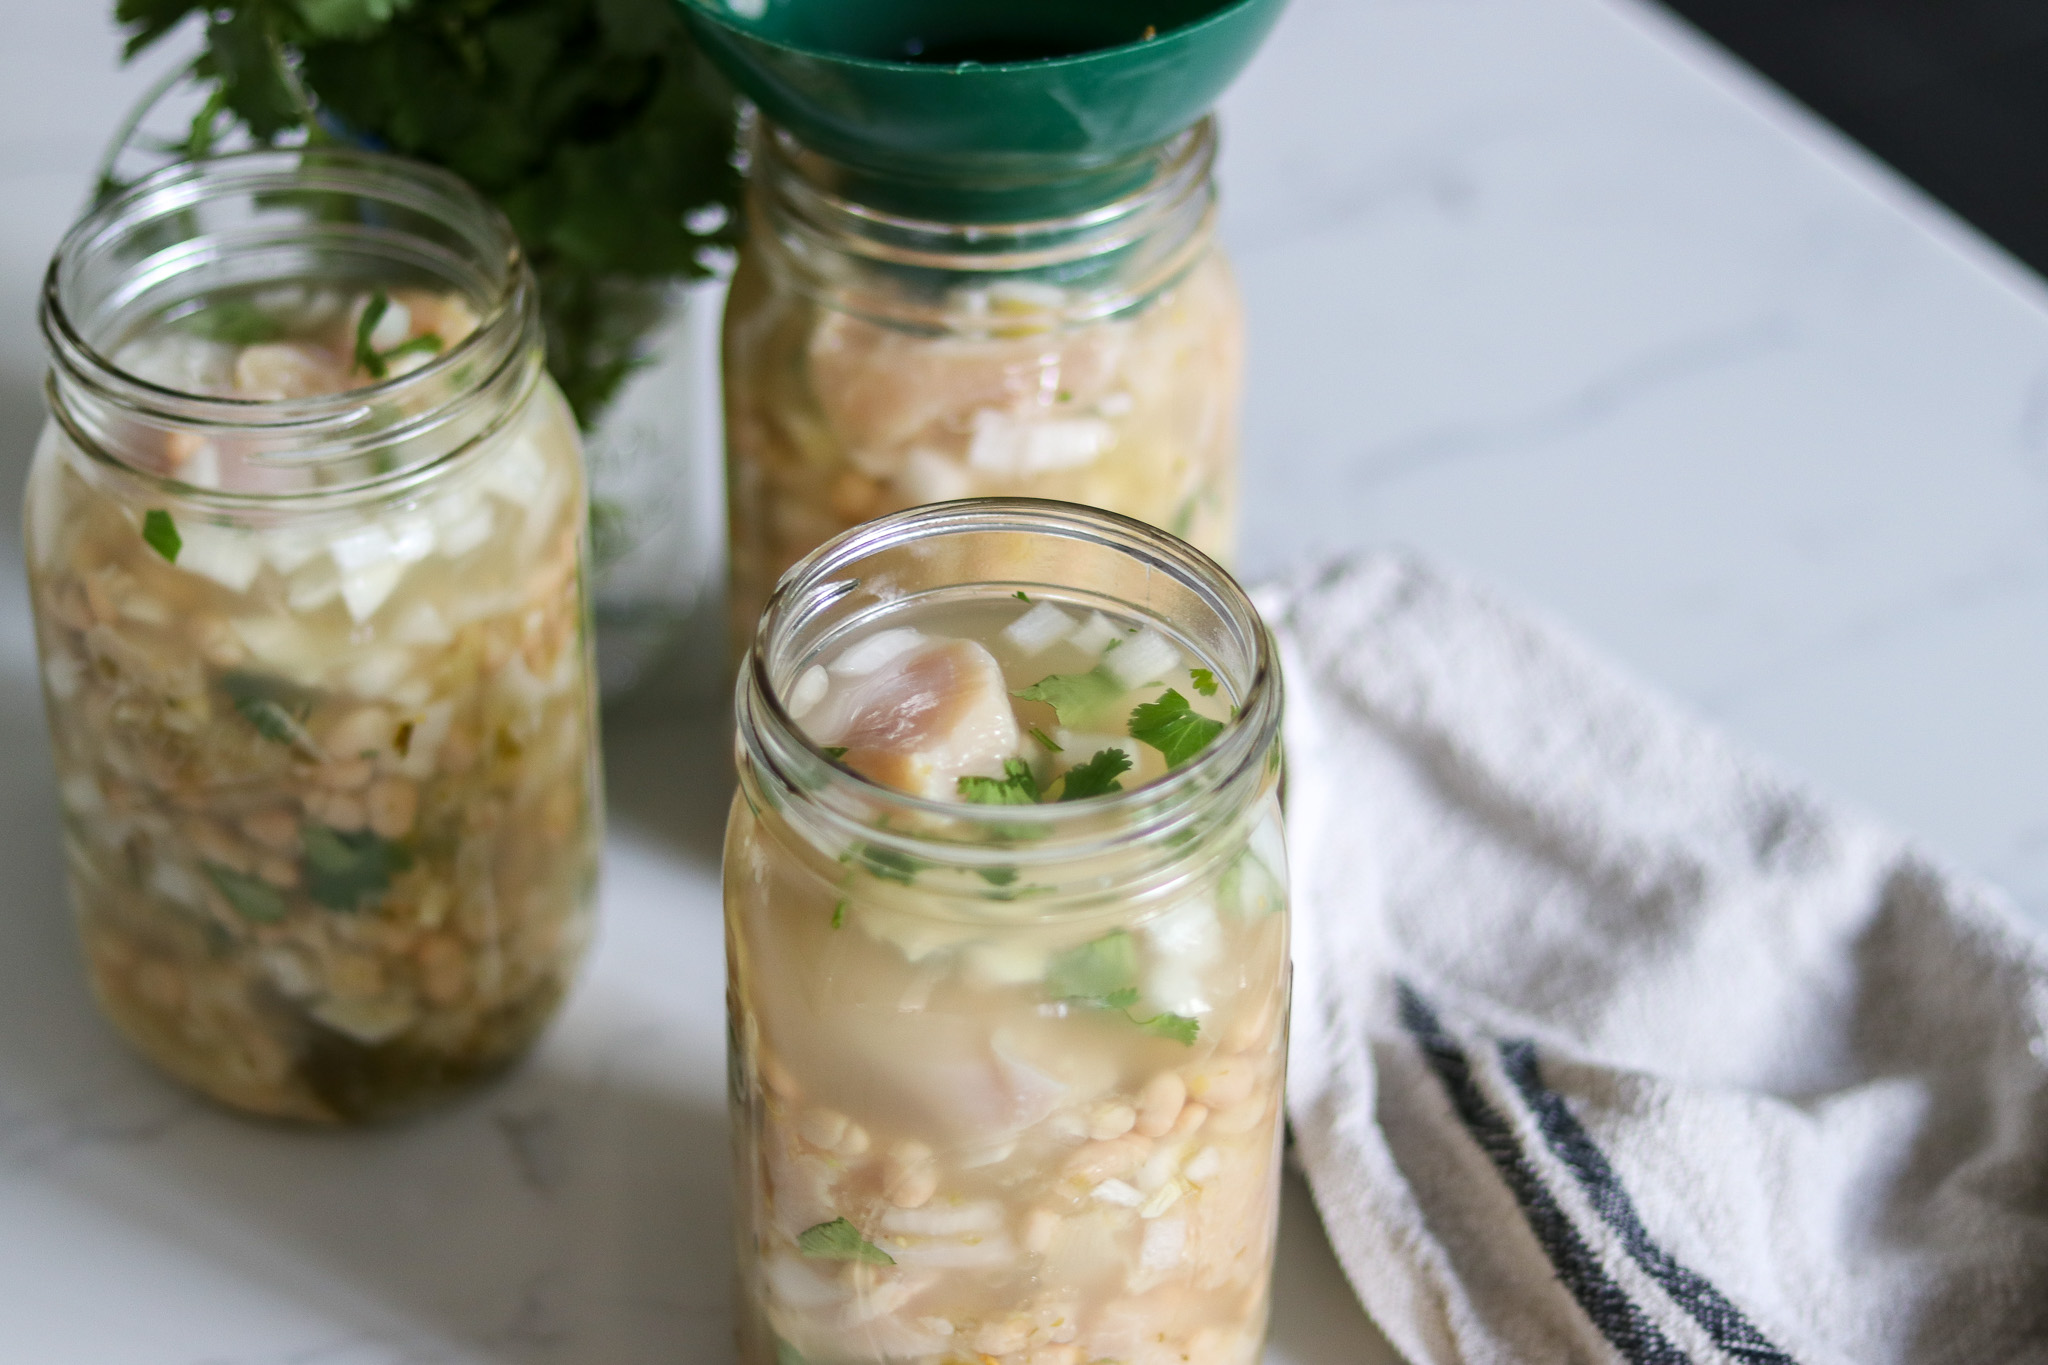
Ball canning has done this one as a simple raw pack recipe, which means all you have to do is combine all the ingredients in a bowl, stir to distribute and then pack in the appropriate number of jars.
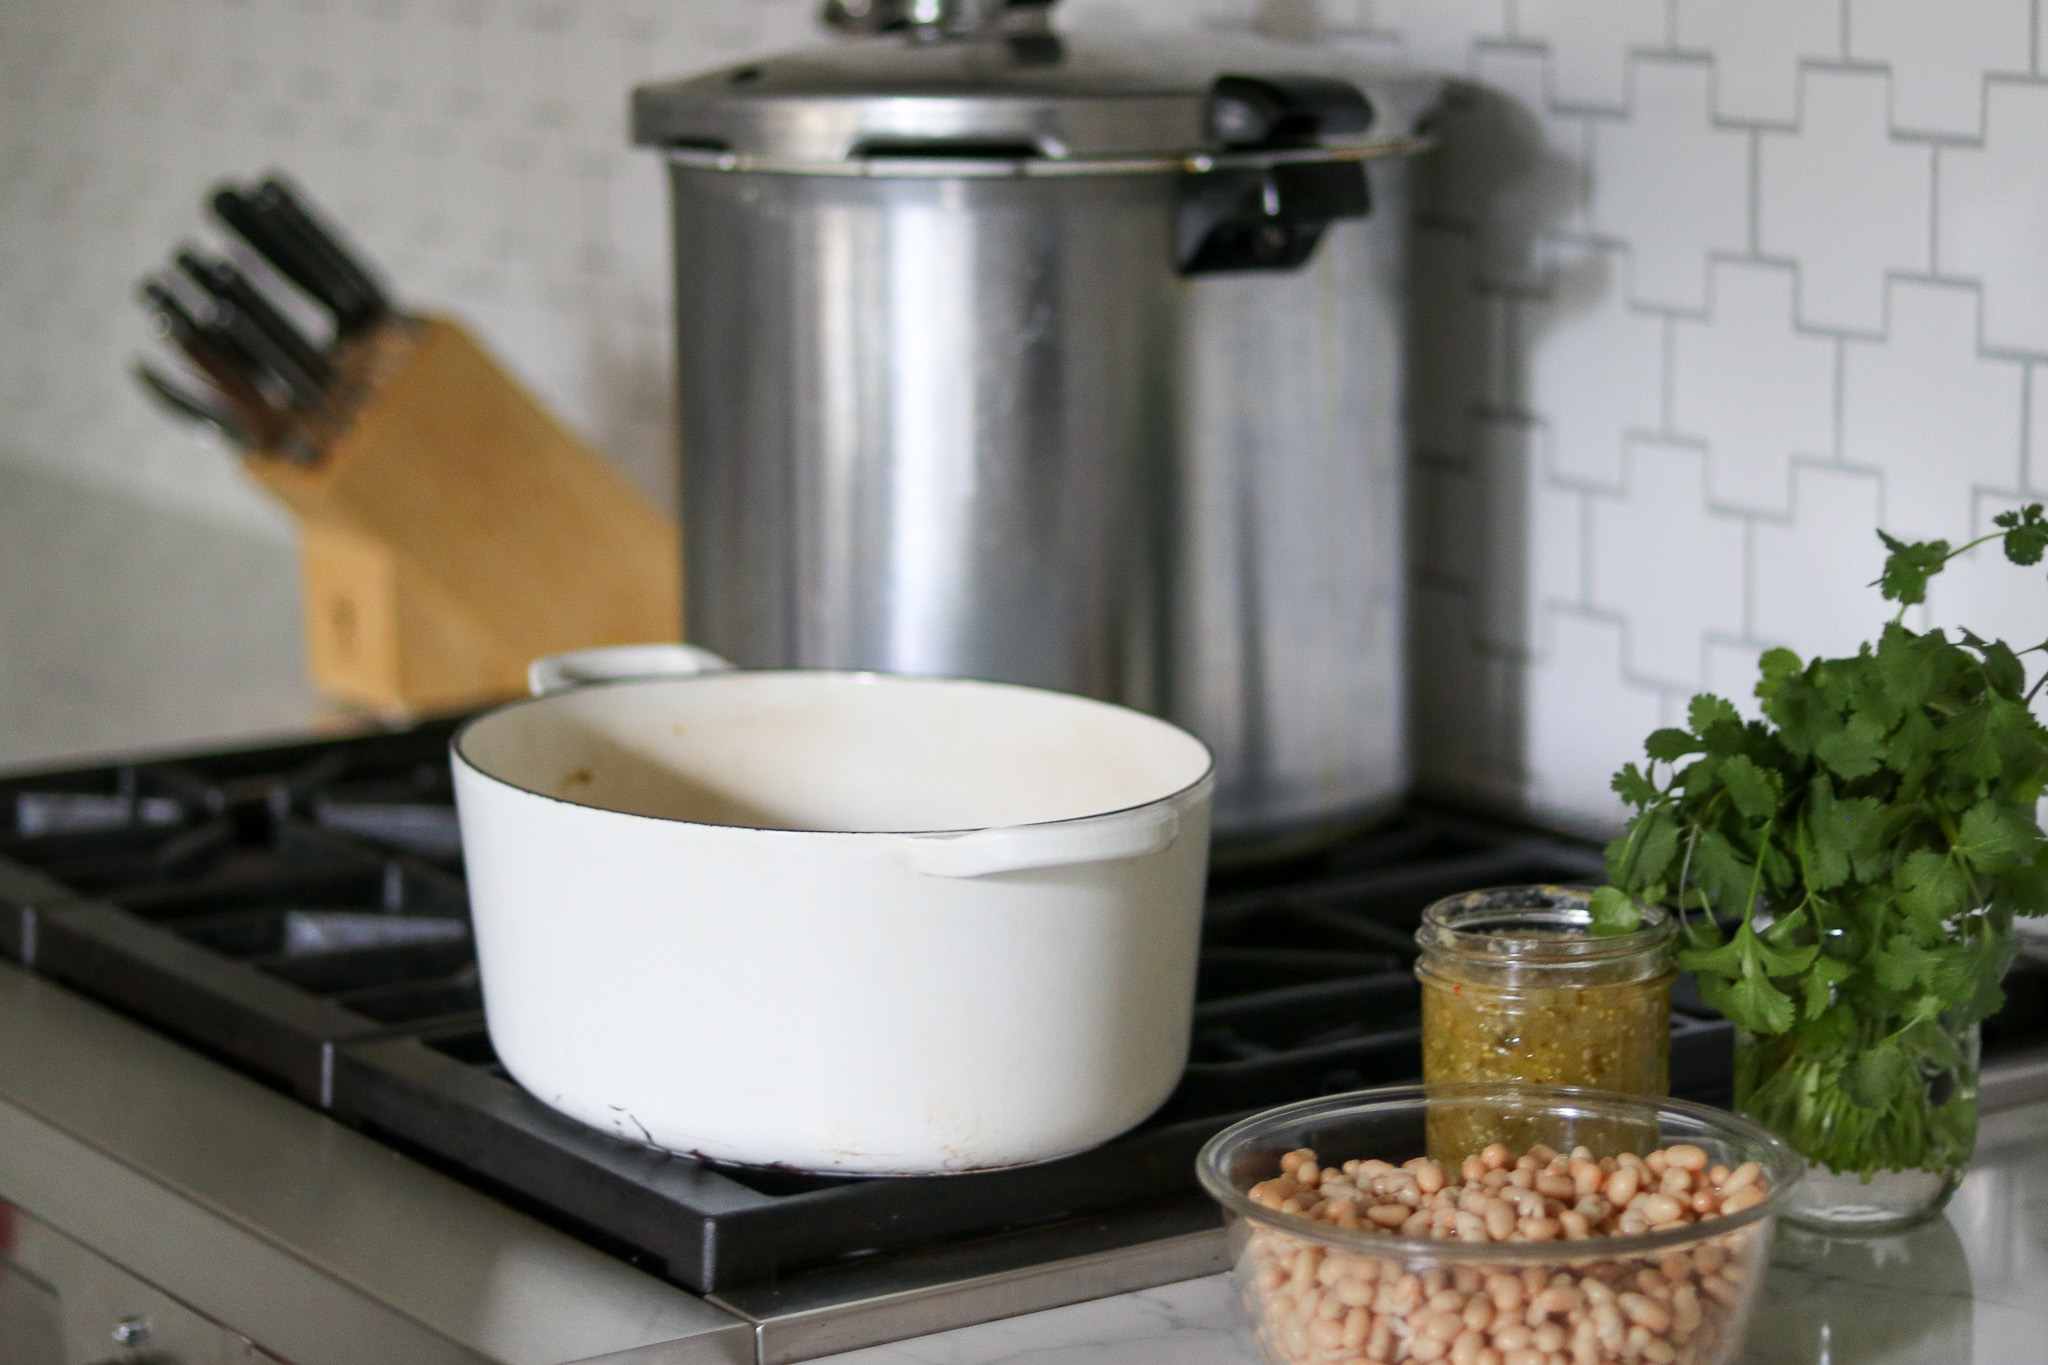
The one thing that is “hot” when this recipe is packed is the chicken broth. Bring the chicken broth to a boil in a stock pot or saucepan before filling the jars.
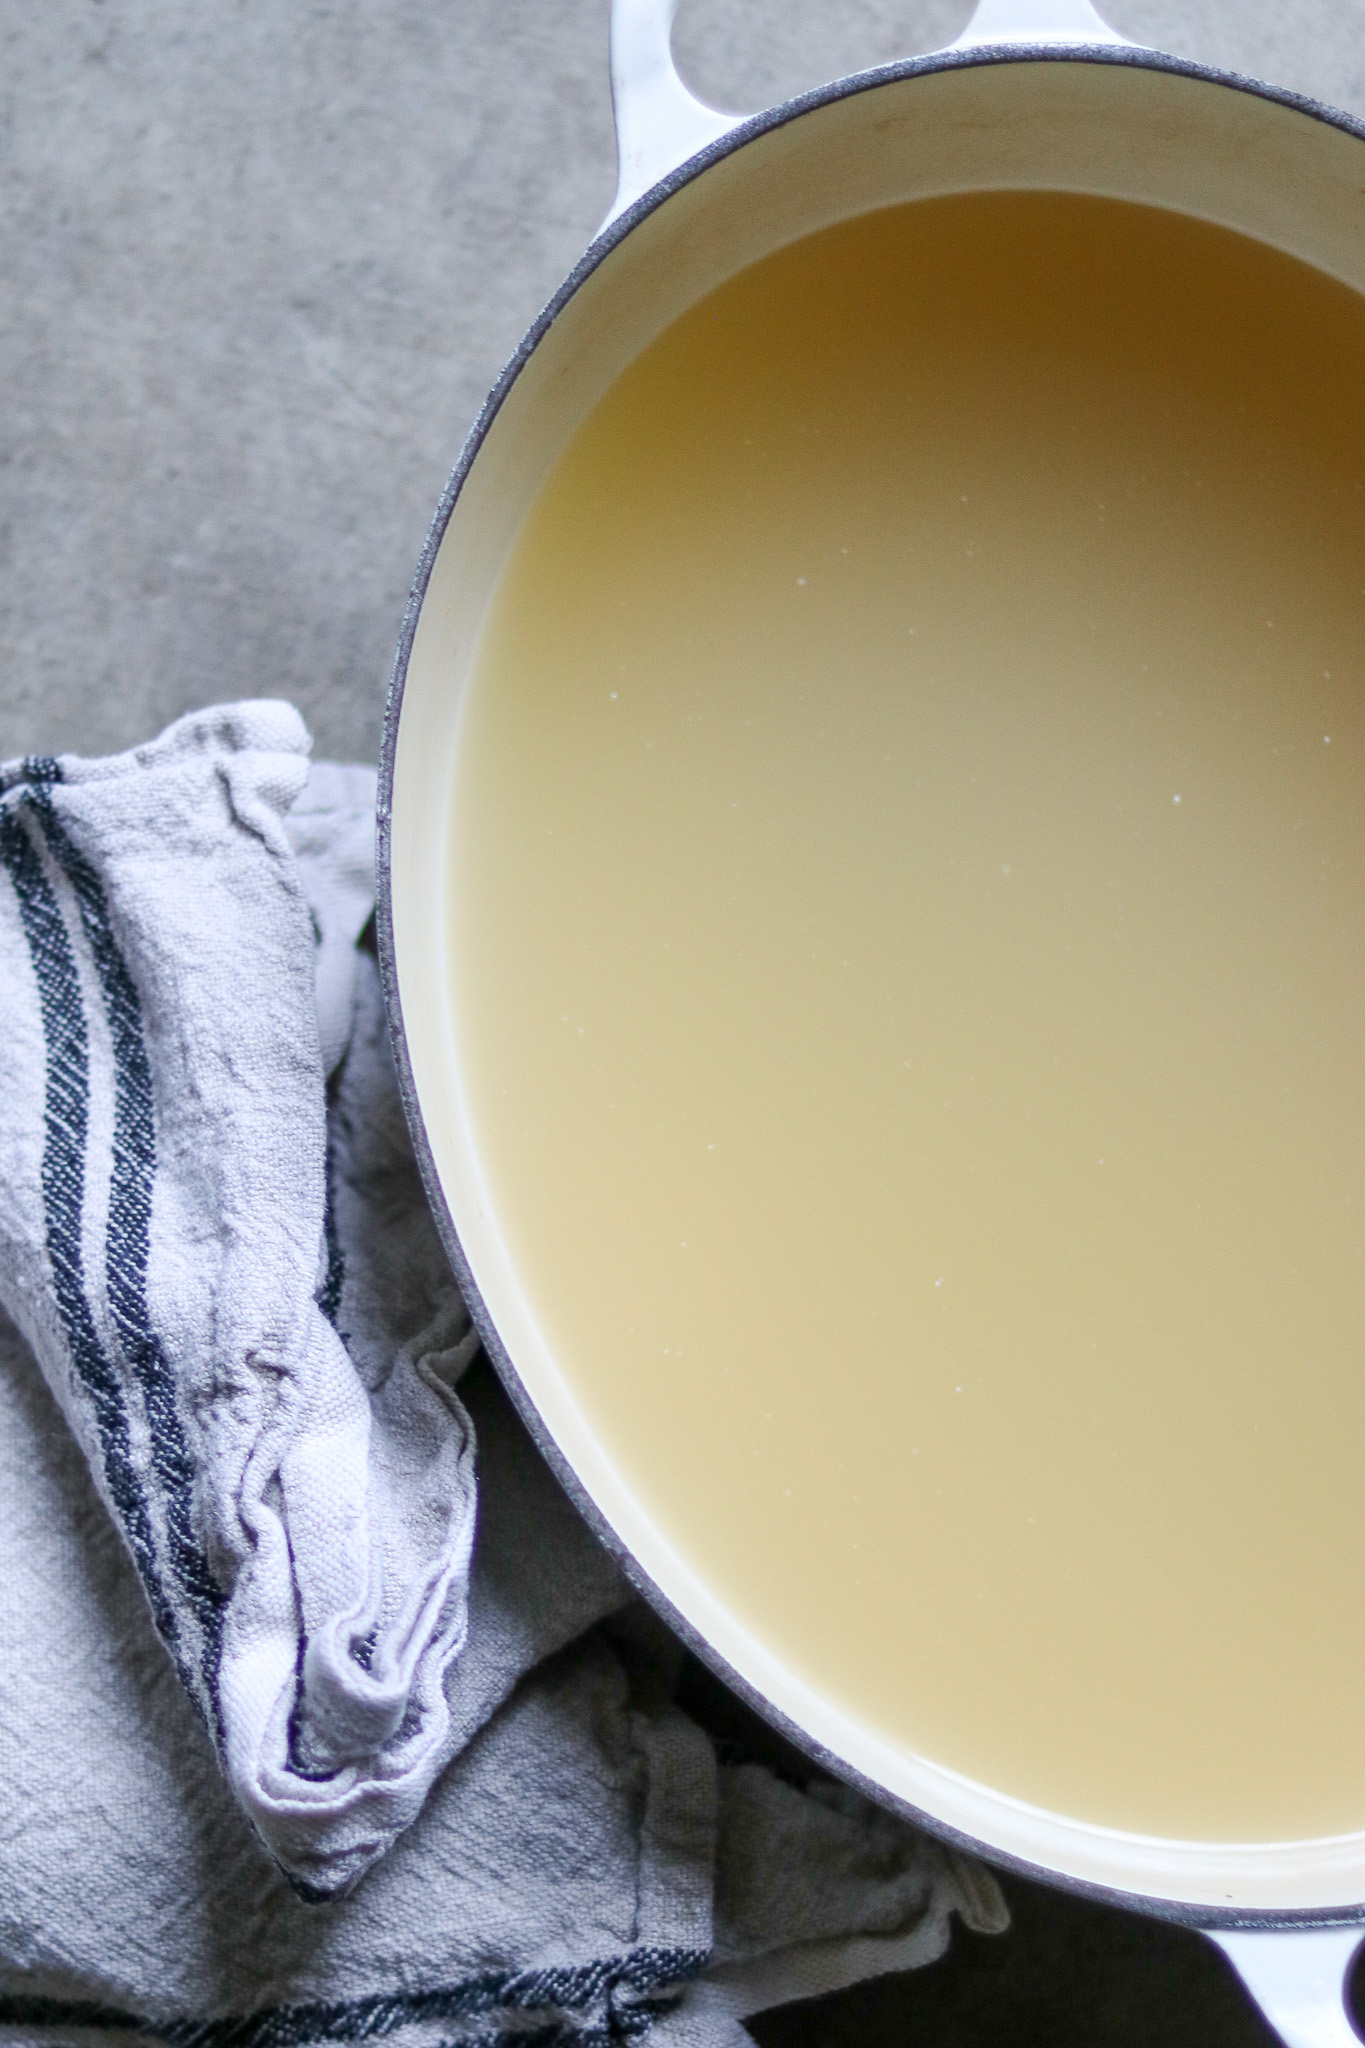
Once all the raw pack ingredients are in the jars, prepare your pressure canner for raw pack (preheating the water to about 140 degrees F) and bring the stock to a boil on the stove.
(If you’re not familiar with pressure canning, please be sure to read my beginner’s guide to pressure canning before making this recipe.)
Top with boiling hot chicken broth to fill, leaving 1” headspace.
Quick Salsa Verde
This recipe assumes you’ve already made some type of salsa verde at home, and they specifically recommend their recipe for roasted tomatillo salsa verde.
Any green salsa that you enjoy will work here, whether it’s home-canned or store-bought.
If you don’t have prepared salsa verde, you can quickly make the pint that’s required in the recipe with the following ingredients:
- 1 1/2 lbs tomatillos, husks removed, diced
- 1/2 medium onion, diced
- 1 jalapeno, sliced
- 2 garlic cloves, peeled and minced
- 3 Tbsp lime juice
- 2 tbsp fresh cilantro, chopped
- 1/2 tsp salt
- 1/2 tsp pepper
For a quick salsa verde, bring all the ingredients to a boil on the stove and simmer for about 15 to 20 minutes, until cooked through. Process in a food processor, blender or with a stick blender until smooth.
Once ready, combine your salsa verde with the other ingredients as specified above for raw pack canning.
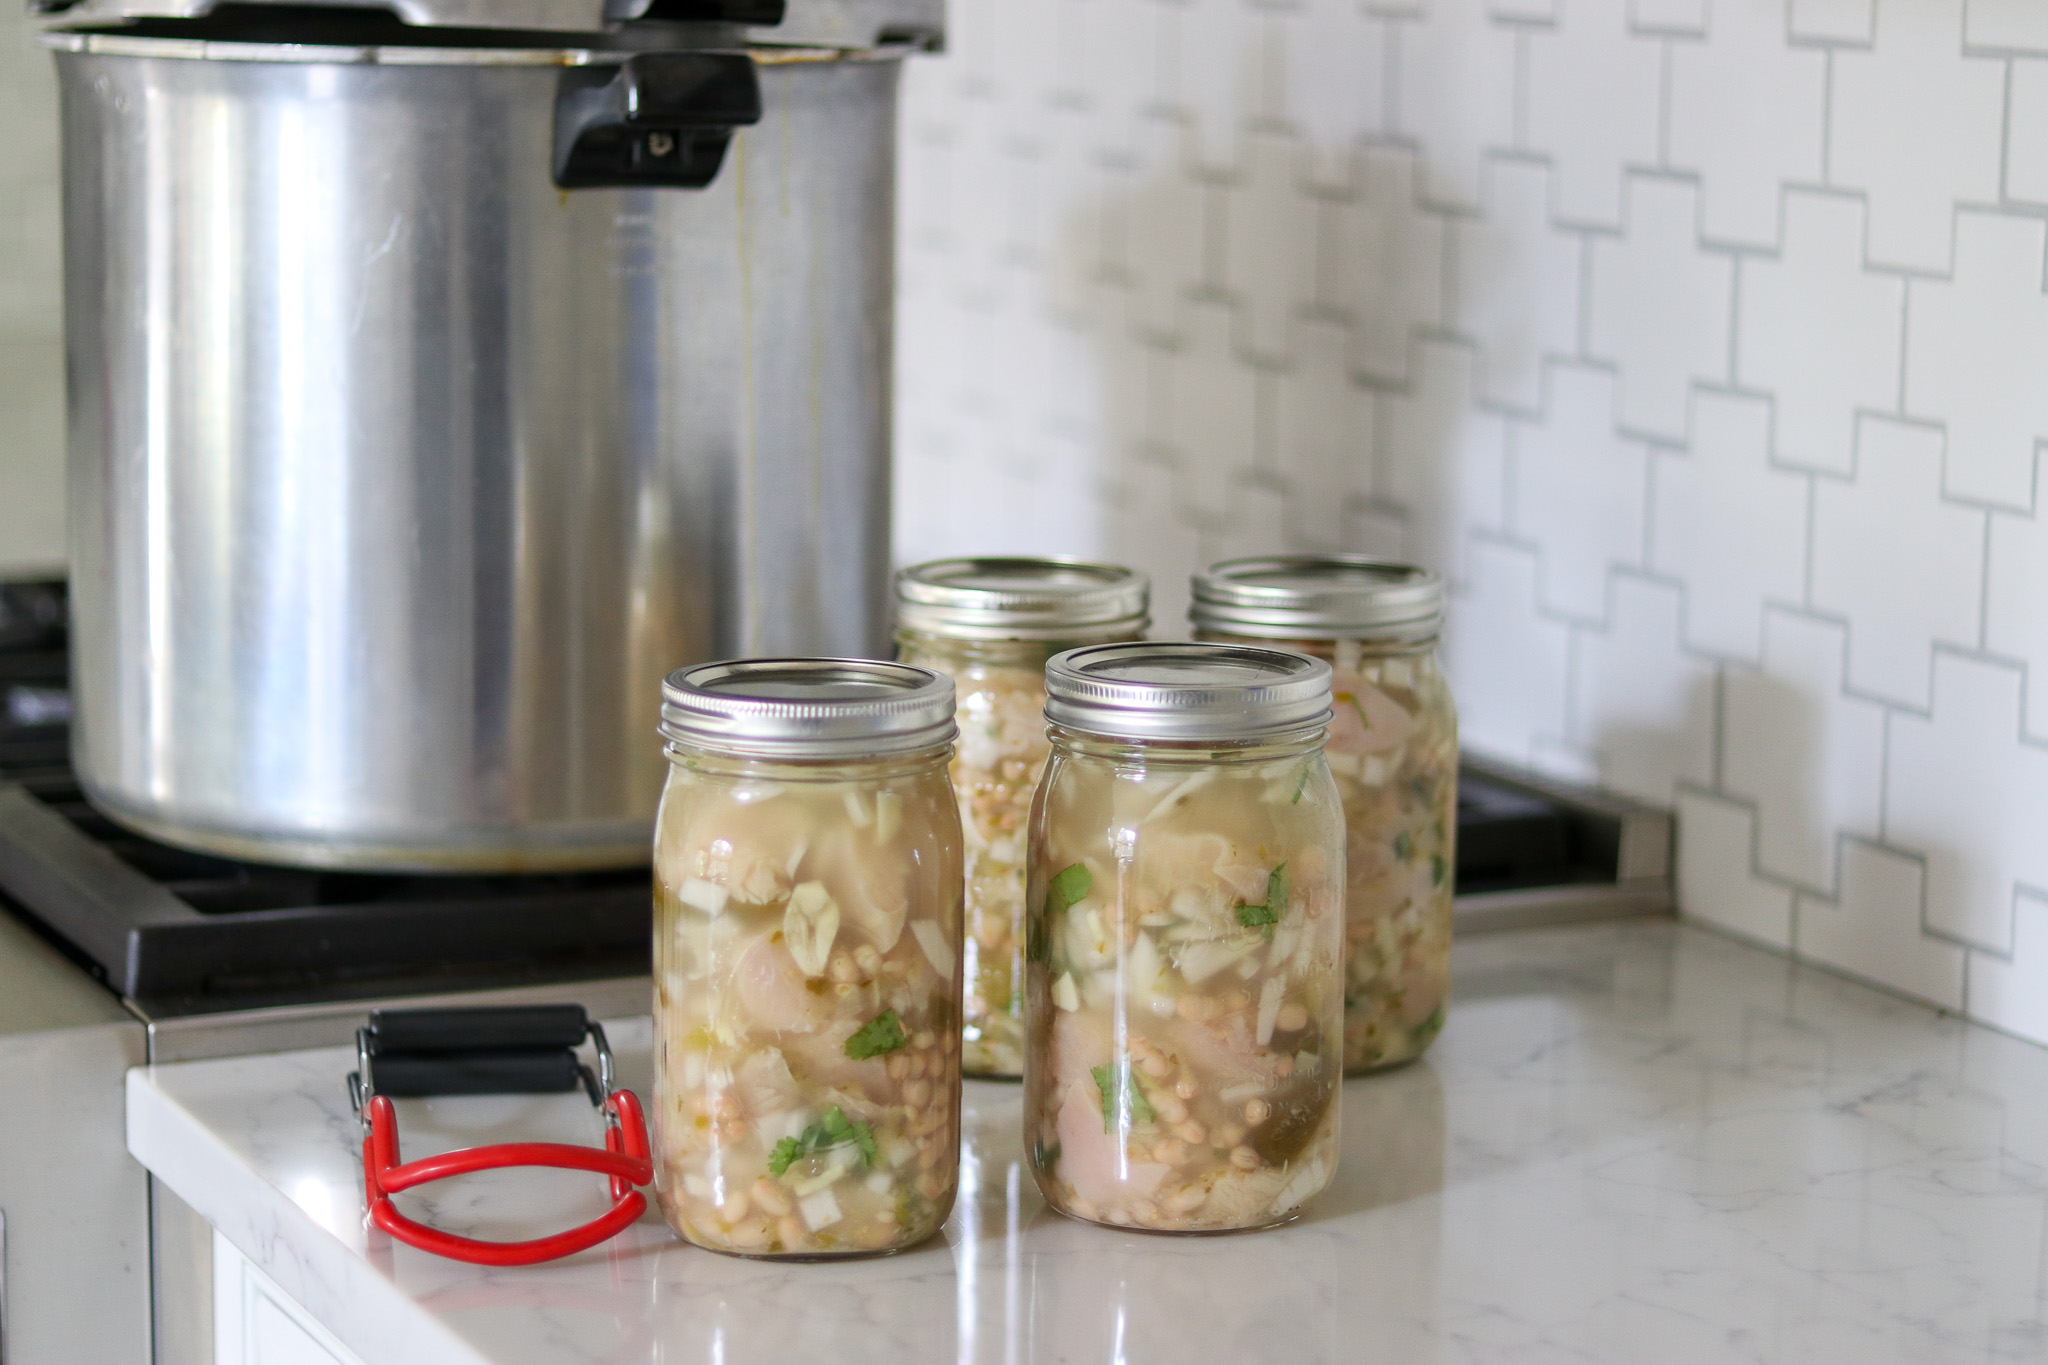
Canning Chicken Chili Verde
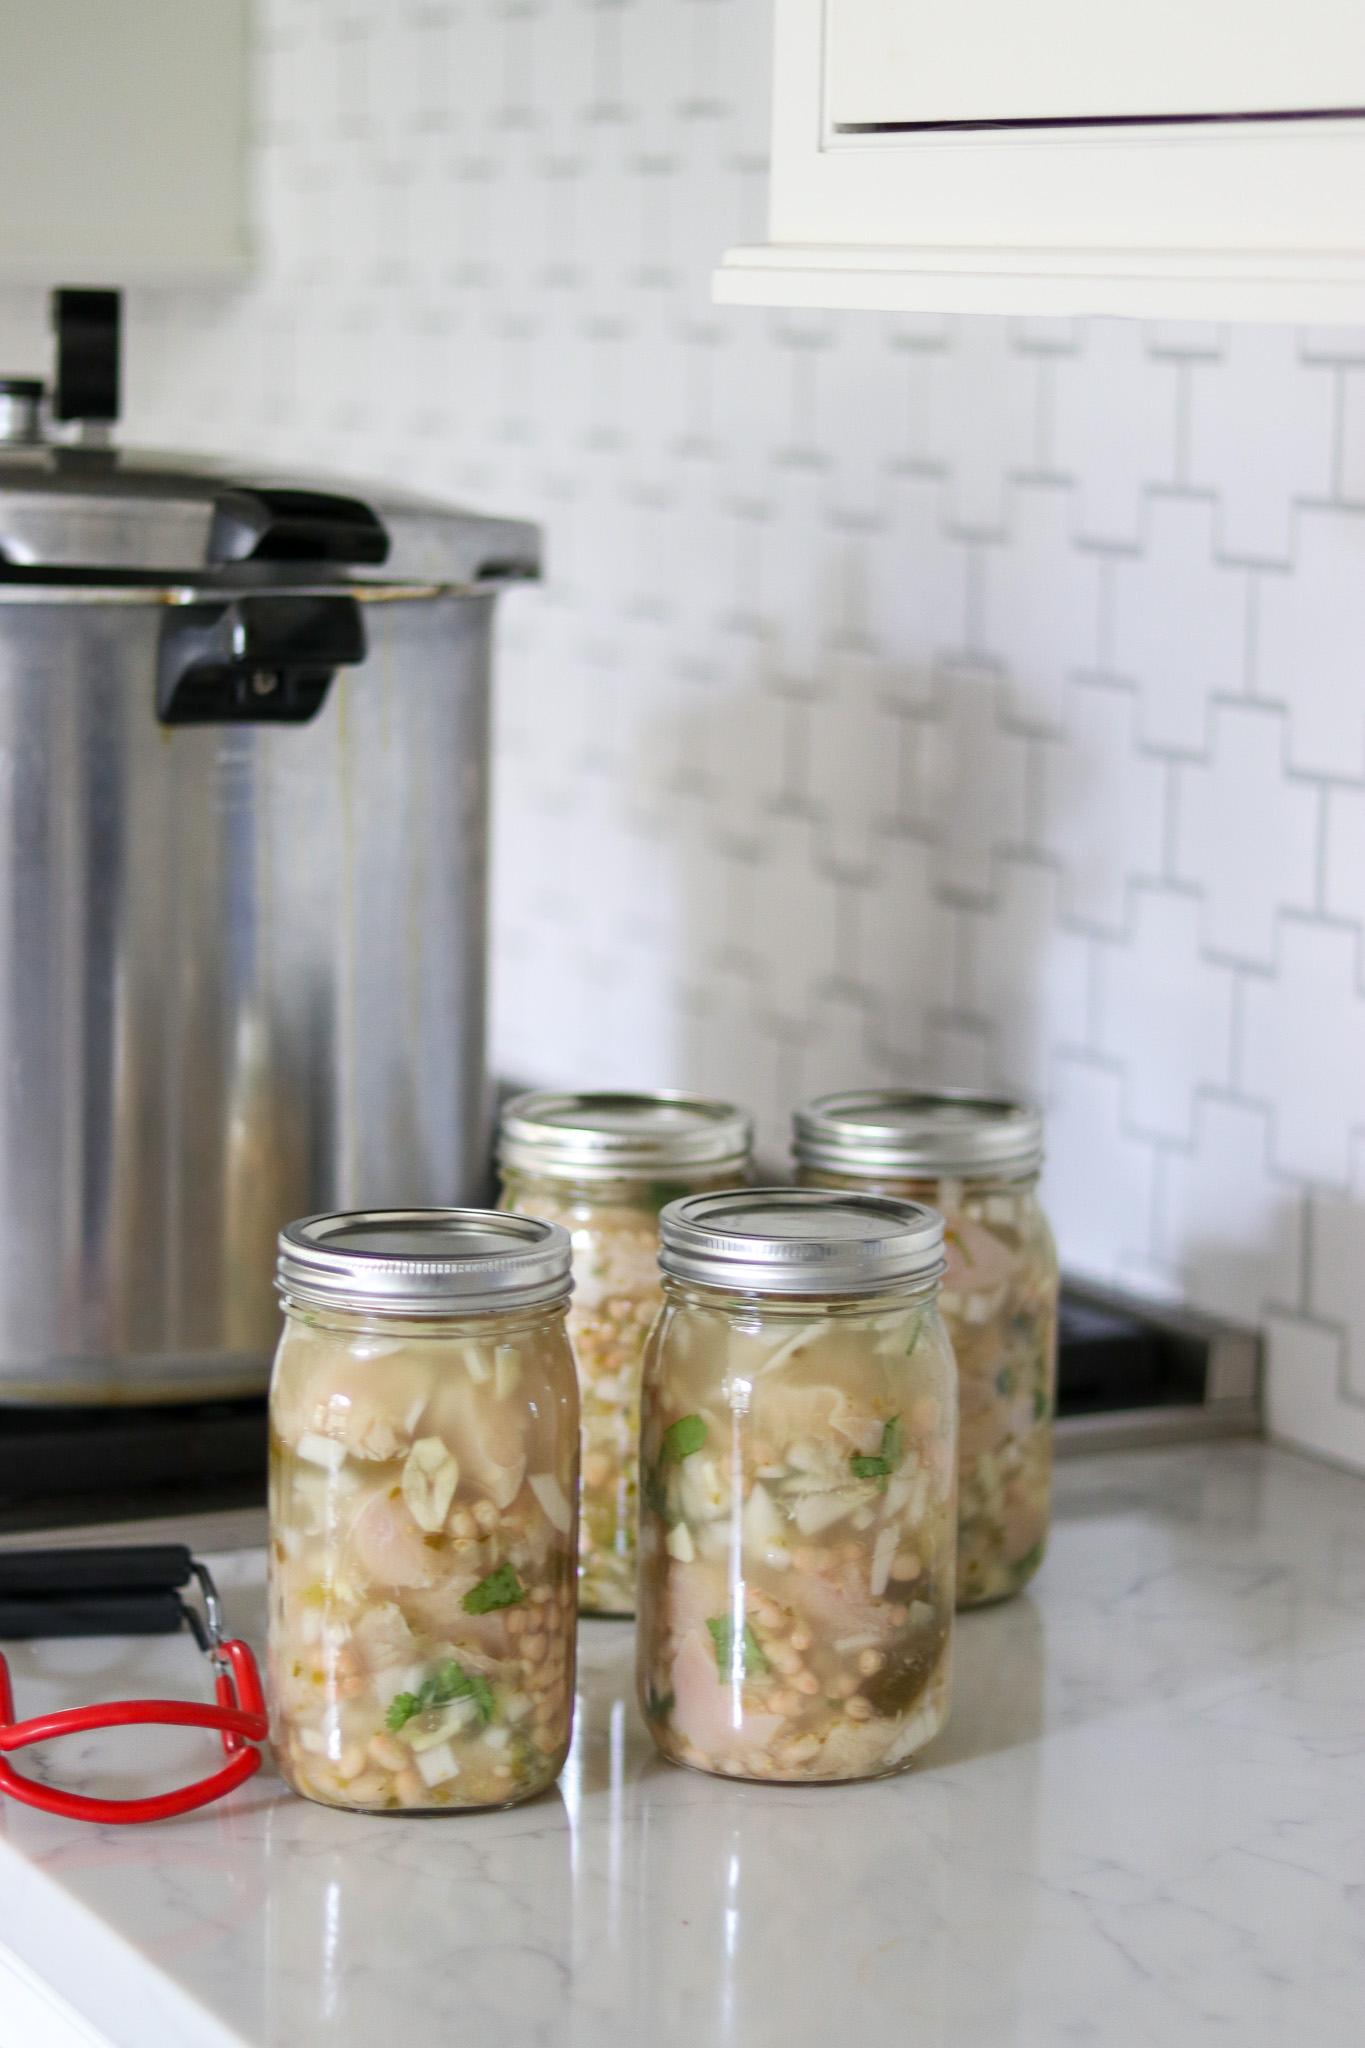
This is a quick and simple raw-pack canning recipe, which means that all you need to do is combine all the ingredients in a large bowl.
Stir to distribute the seasonings, and then pack everything into the appropriate number of jars.
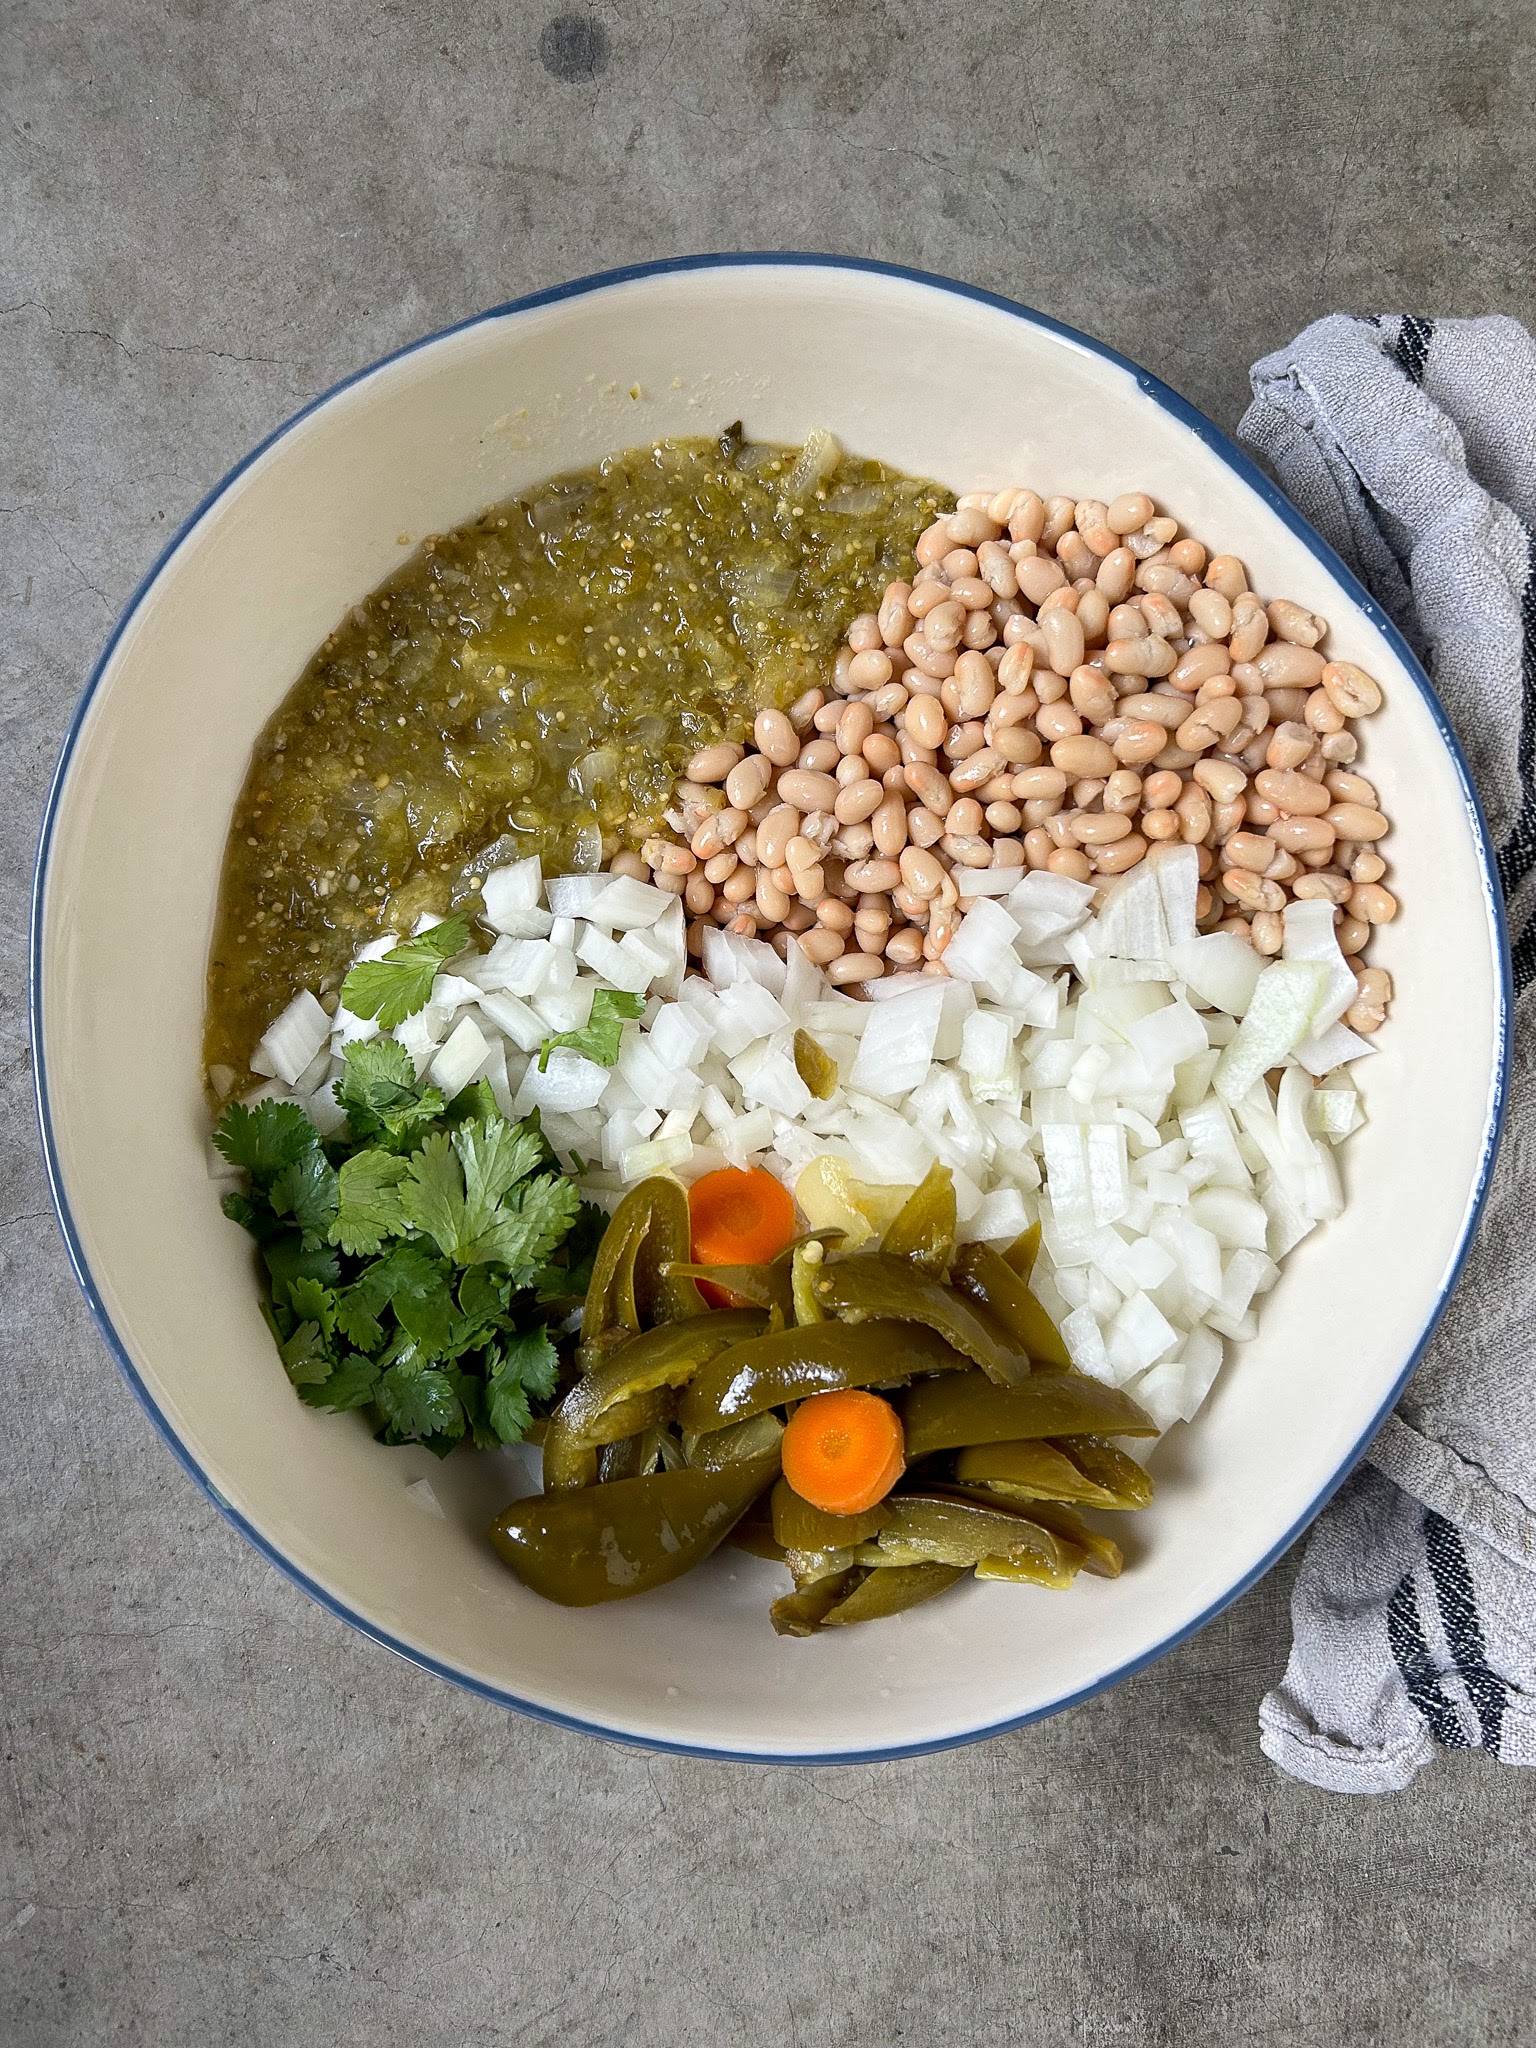
In this case, I’ve written this as a 4-quart canner batch, so you’ll want to evenly distribute the ingredients across 4 jars.
You should have a few quarts of chicken broth simmering on the back of the stove, and you’ll use that to top the jars.
Be aware that the jars will not be completely full of solids and that much of the contents should be broth.
This allows for even heat distribution during canning and ensures that the jars aren’t too tightly packed.
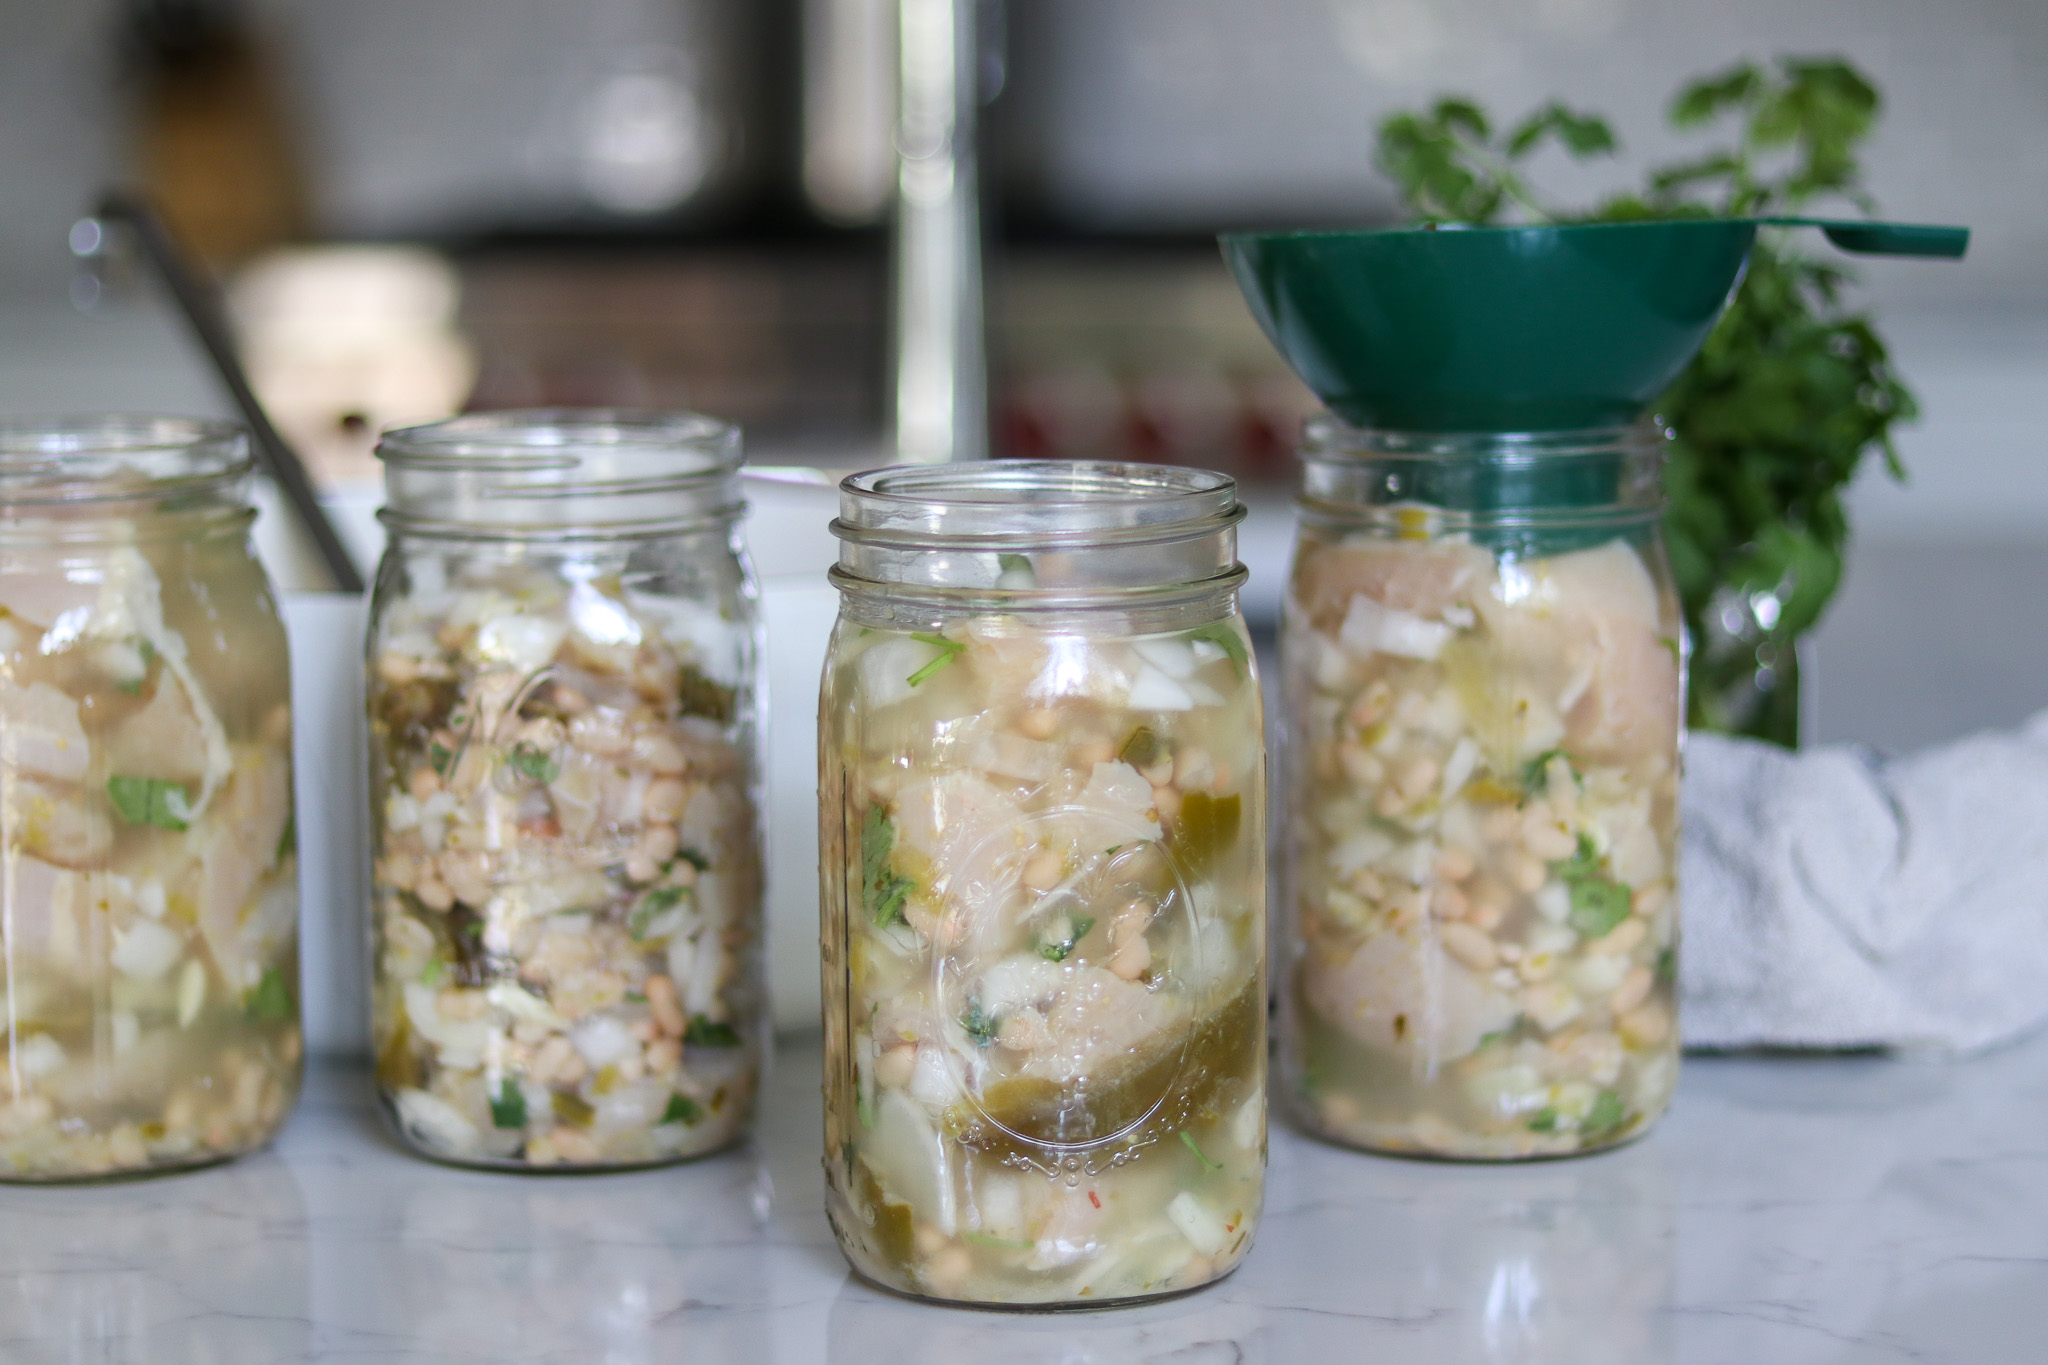
Do not overpack the jars.
Just use the specified quantities of ingredients, divided across 4-quart jars (or 8-pint jars), and fill the remaining space with chicken broth.
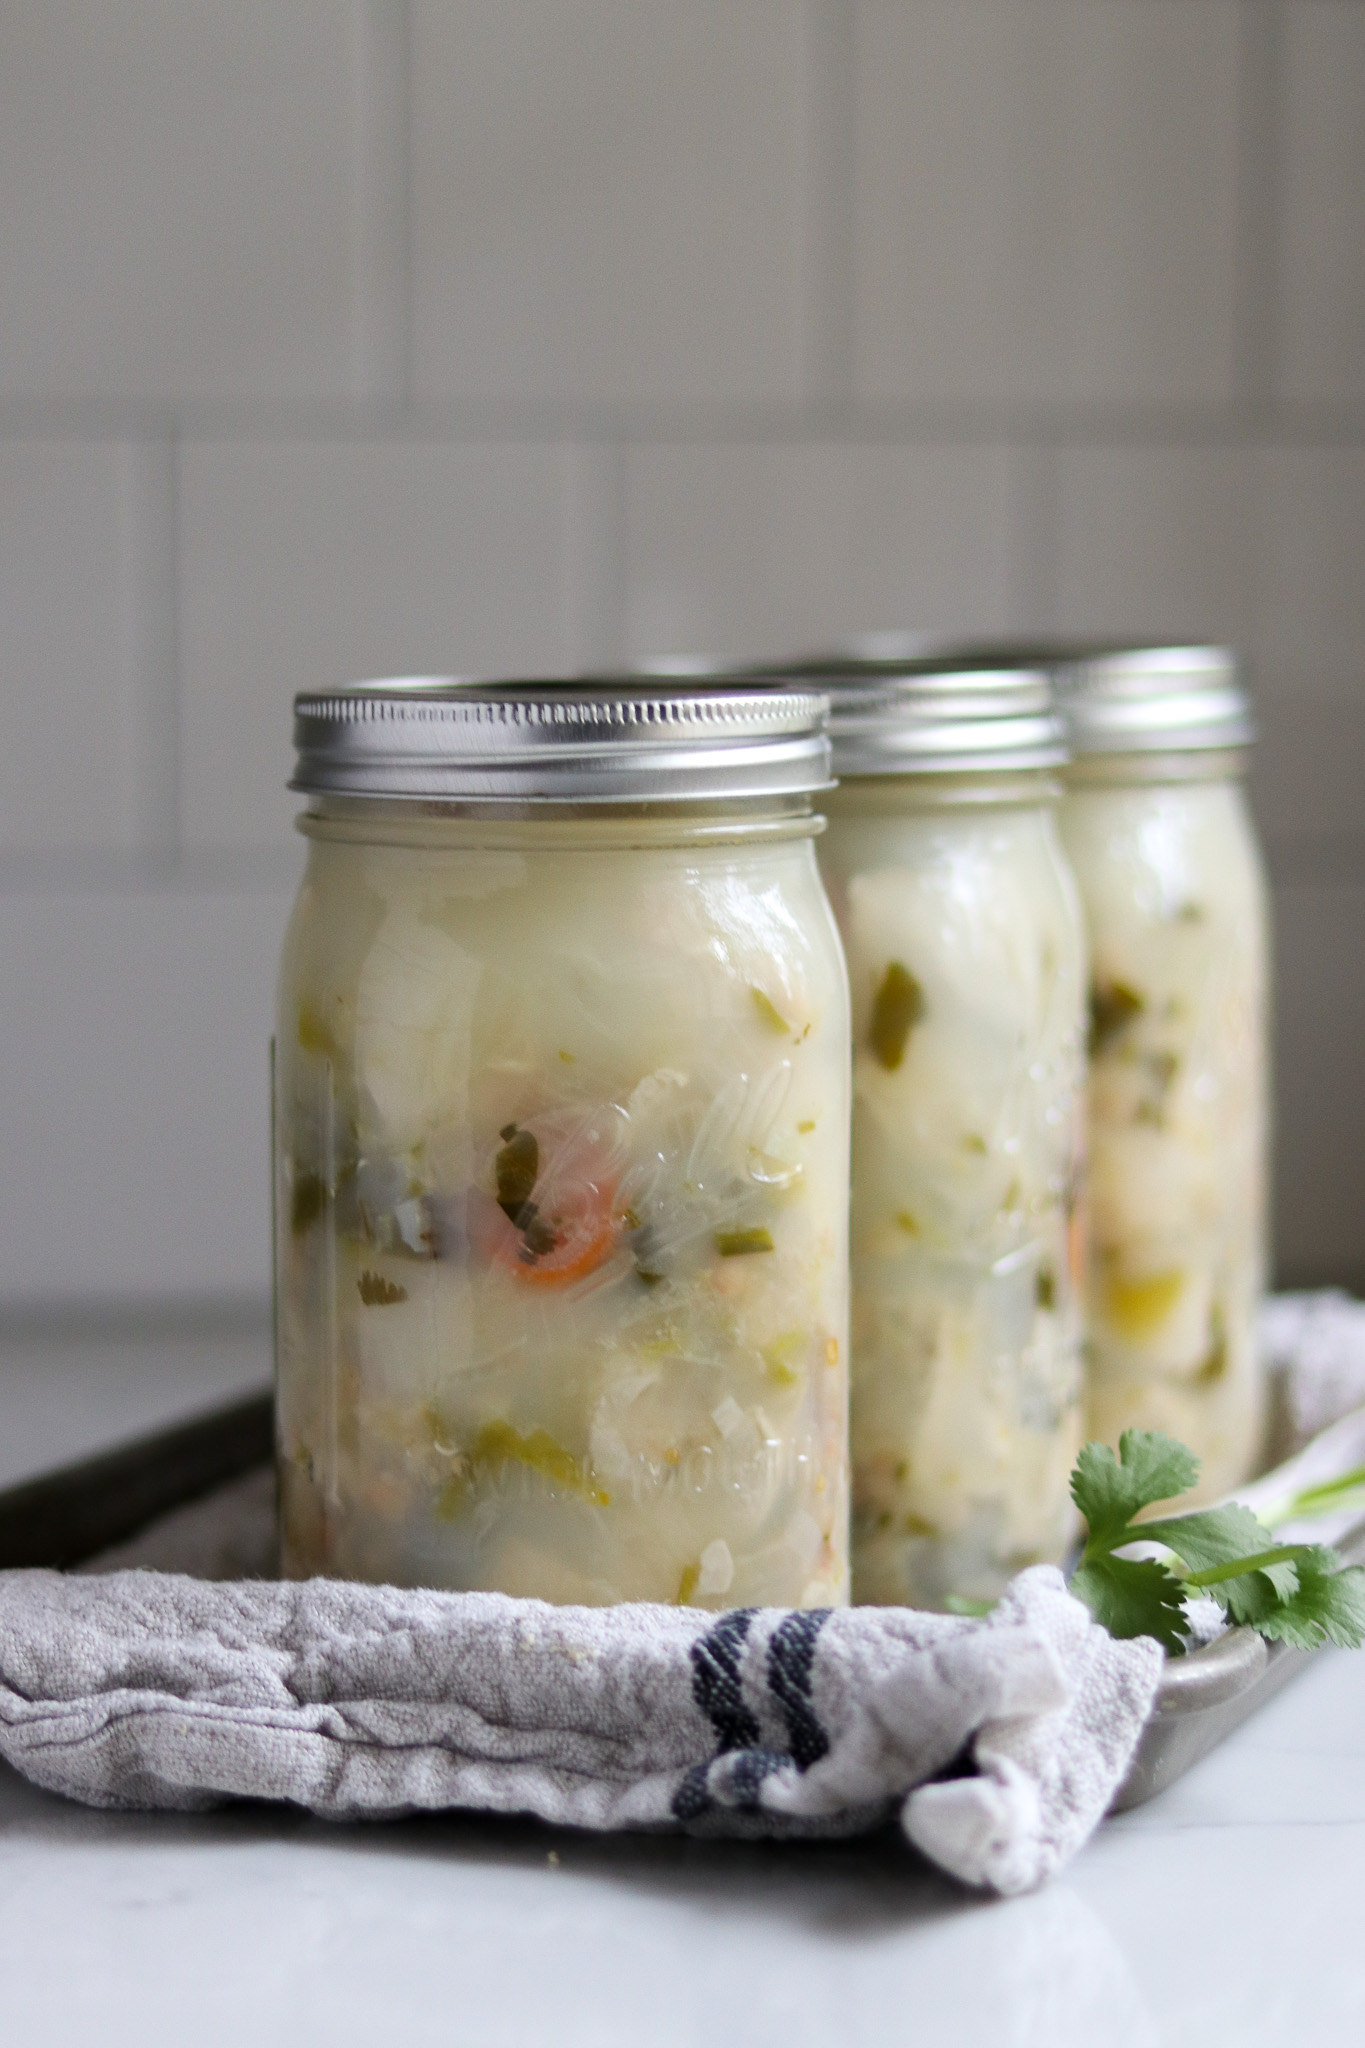
To can, process pint jars for 75 minutes and quart jars for 90 minutes, adjusting for altitude.
Altitude Adjustments
The pressure canning time stays the same regardless of altitude, but the canning pressure changes as you rise above sea level.
For dial gauge pressure canners:
- 0 to 2,000 feet in elevation – 11 lbs pressure
- 2,001 to 4,000 feet in elevation – 12 lbs pressure
- 4,001 to 6,000 feet in elevation – 13 lbs pressure
- 6,001 to 8,000 feet in elevation – 14 lbs pressure
For weighted gauge pressure canners:
- 0 to 1,000 feet in elevation – 10 lbs pressure
- Above 1,000 feet – 15 lbs pressure
Serving Canned Chicken Chili Verde
Most, though not all, meal-in-a-jar canning recipes require you to add something at serving.
When I’m canning chicken soup, I assume I’m going to serve it over hot, cooked egg noodles to make chicken noodle soup. It takes about the same amount of time to cook the pasta as it does to heat the soup, so it works out.
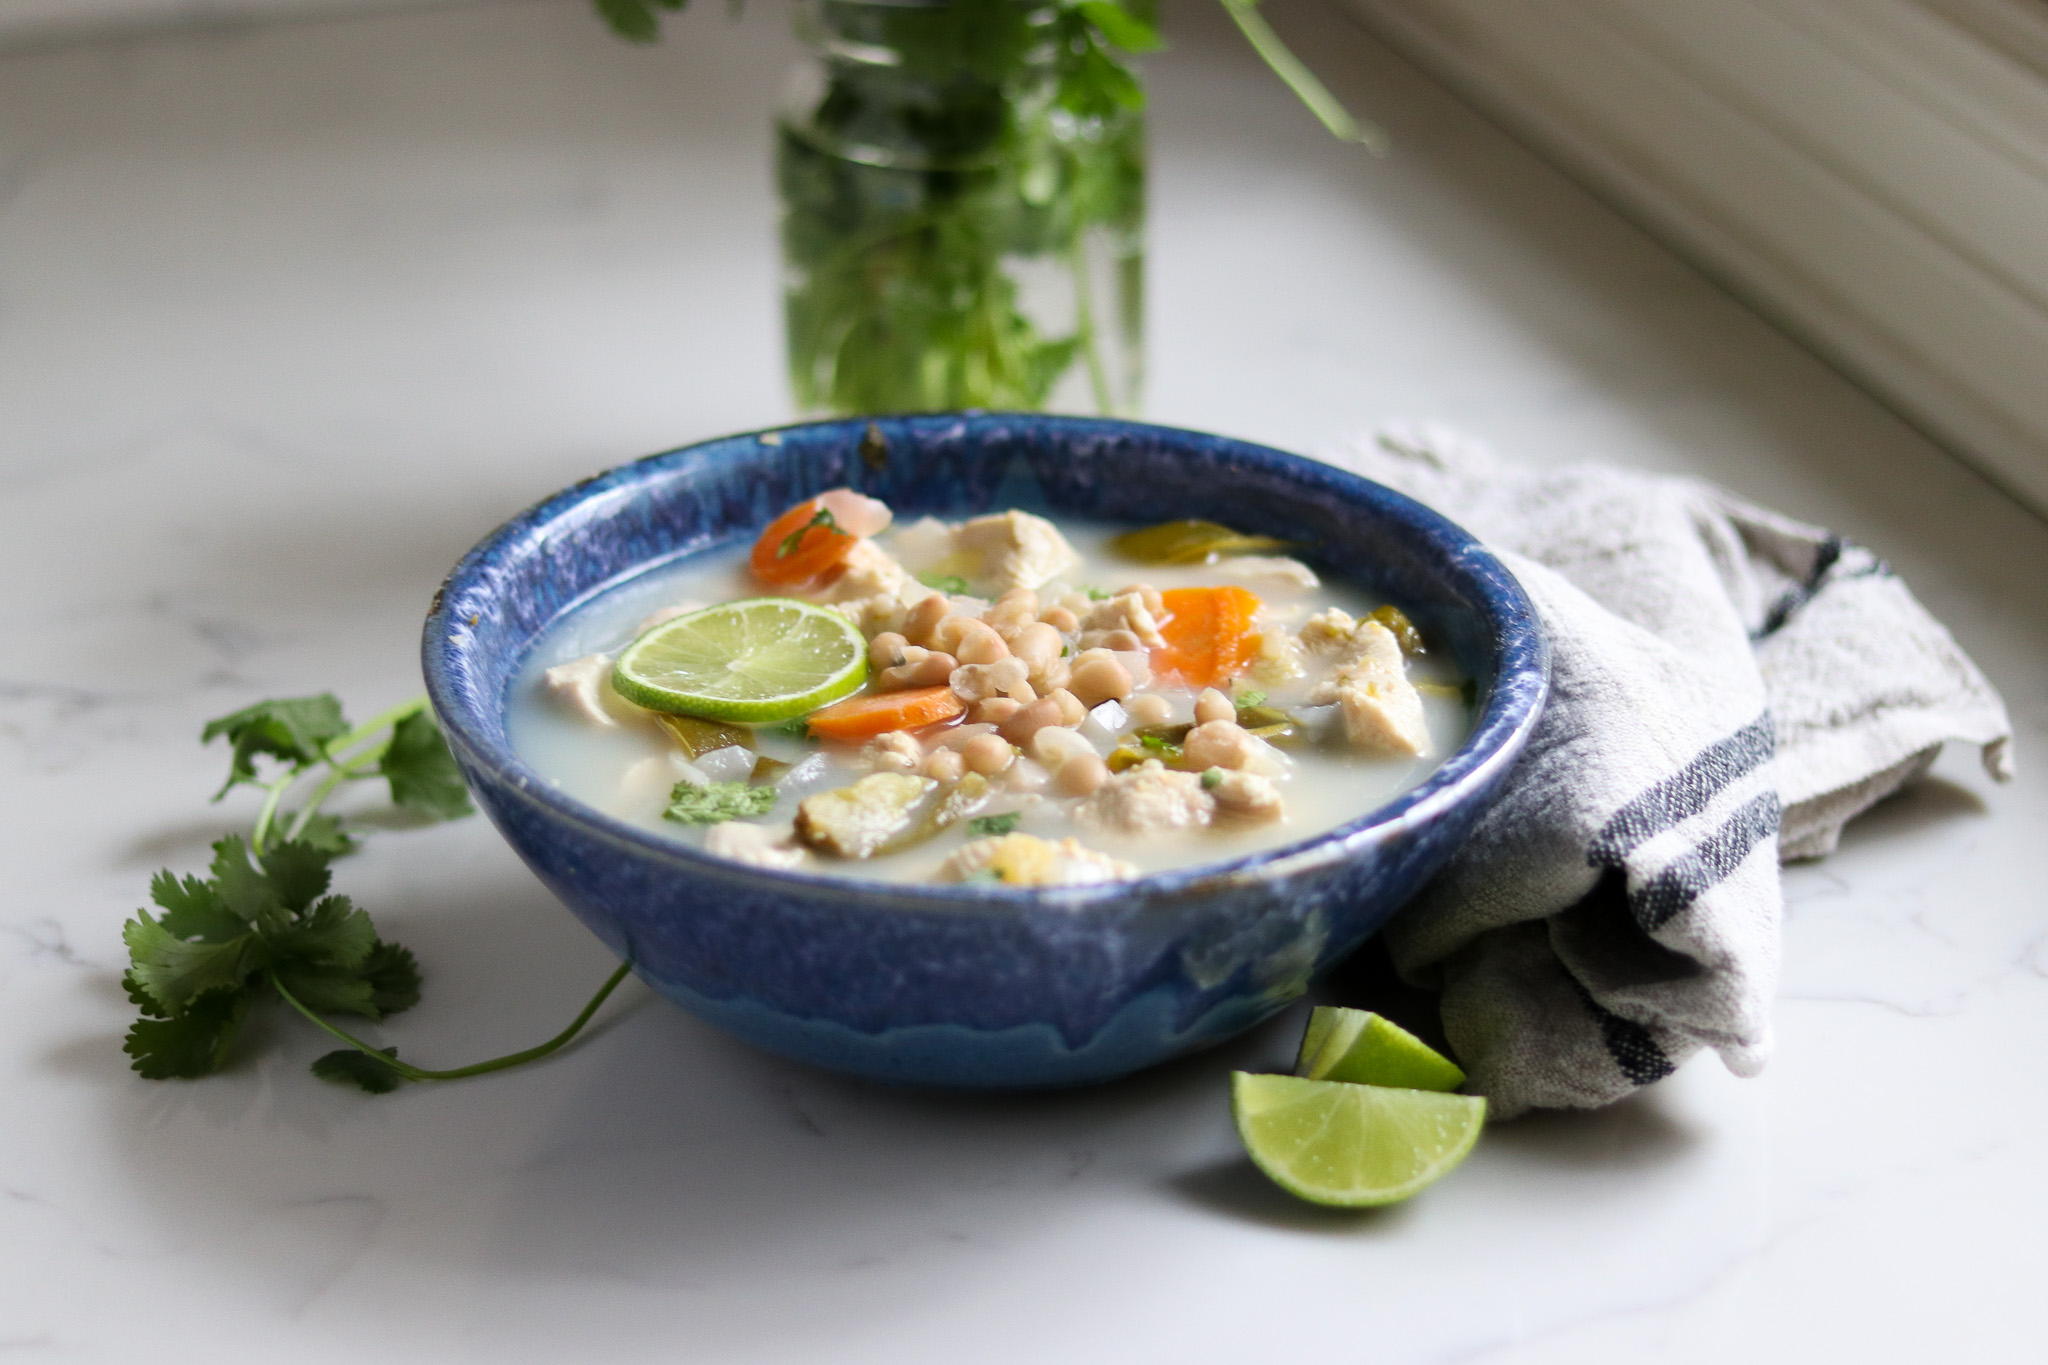
In this case, the chicken chili verde can be heated and served as is, or it can be served over hot cooked rice. It also goes well with a side of cornbread, or with a dollop of sour cream on top.
Chicken Canning Recipes
Looking for more canning recipes that use chicken?
Canning Chicken Chili Verde
Ingredients
For 4 quarts or 8 pints:
- 4 lbs boneless chicken, chopped into 2'' chunks
- 2 cups canned white beans, drained and rinsed
- 2 cups onions, diced
- 2 cups salsa verde, see below
- 4 tsp salt
- 4 garlic cloves, minced
- 1/2 cup sliced pickled jalapenos
- 1/2 cup fresh cilantro, chopped
- Chicken broth to fill, about 2 quarts
Instructions
- Salsa Verde: You can use a pint jar of prepared salsa verde, either home canned or storebought. If you need to make a quick version at home, use the salsa verde ingredients listed below in the notes. Place everything in a stock pot and simmer for about 15-20 minutes until fully cooked. Next, puree everything into a smooth salsa with a blender, food process or stick blender. This should make about 2 cups. Proceed with the recipe for chicken chili verde.
- Start by preparing a pressure canner for raw pack based on the
manufacturers instructions. That usually means adding in the bottom trivet, along with several inches of water and warm it to around 140 degres F (very hot but not yet simmering). - Bring chicken broth to a boil in a pot on the stove.
- Place all the ingredients for chicken chili verde in a large bowl and stir to distribute the spices and ingredients evenly.
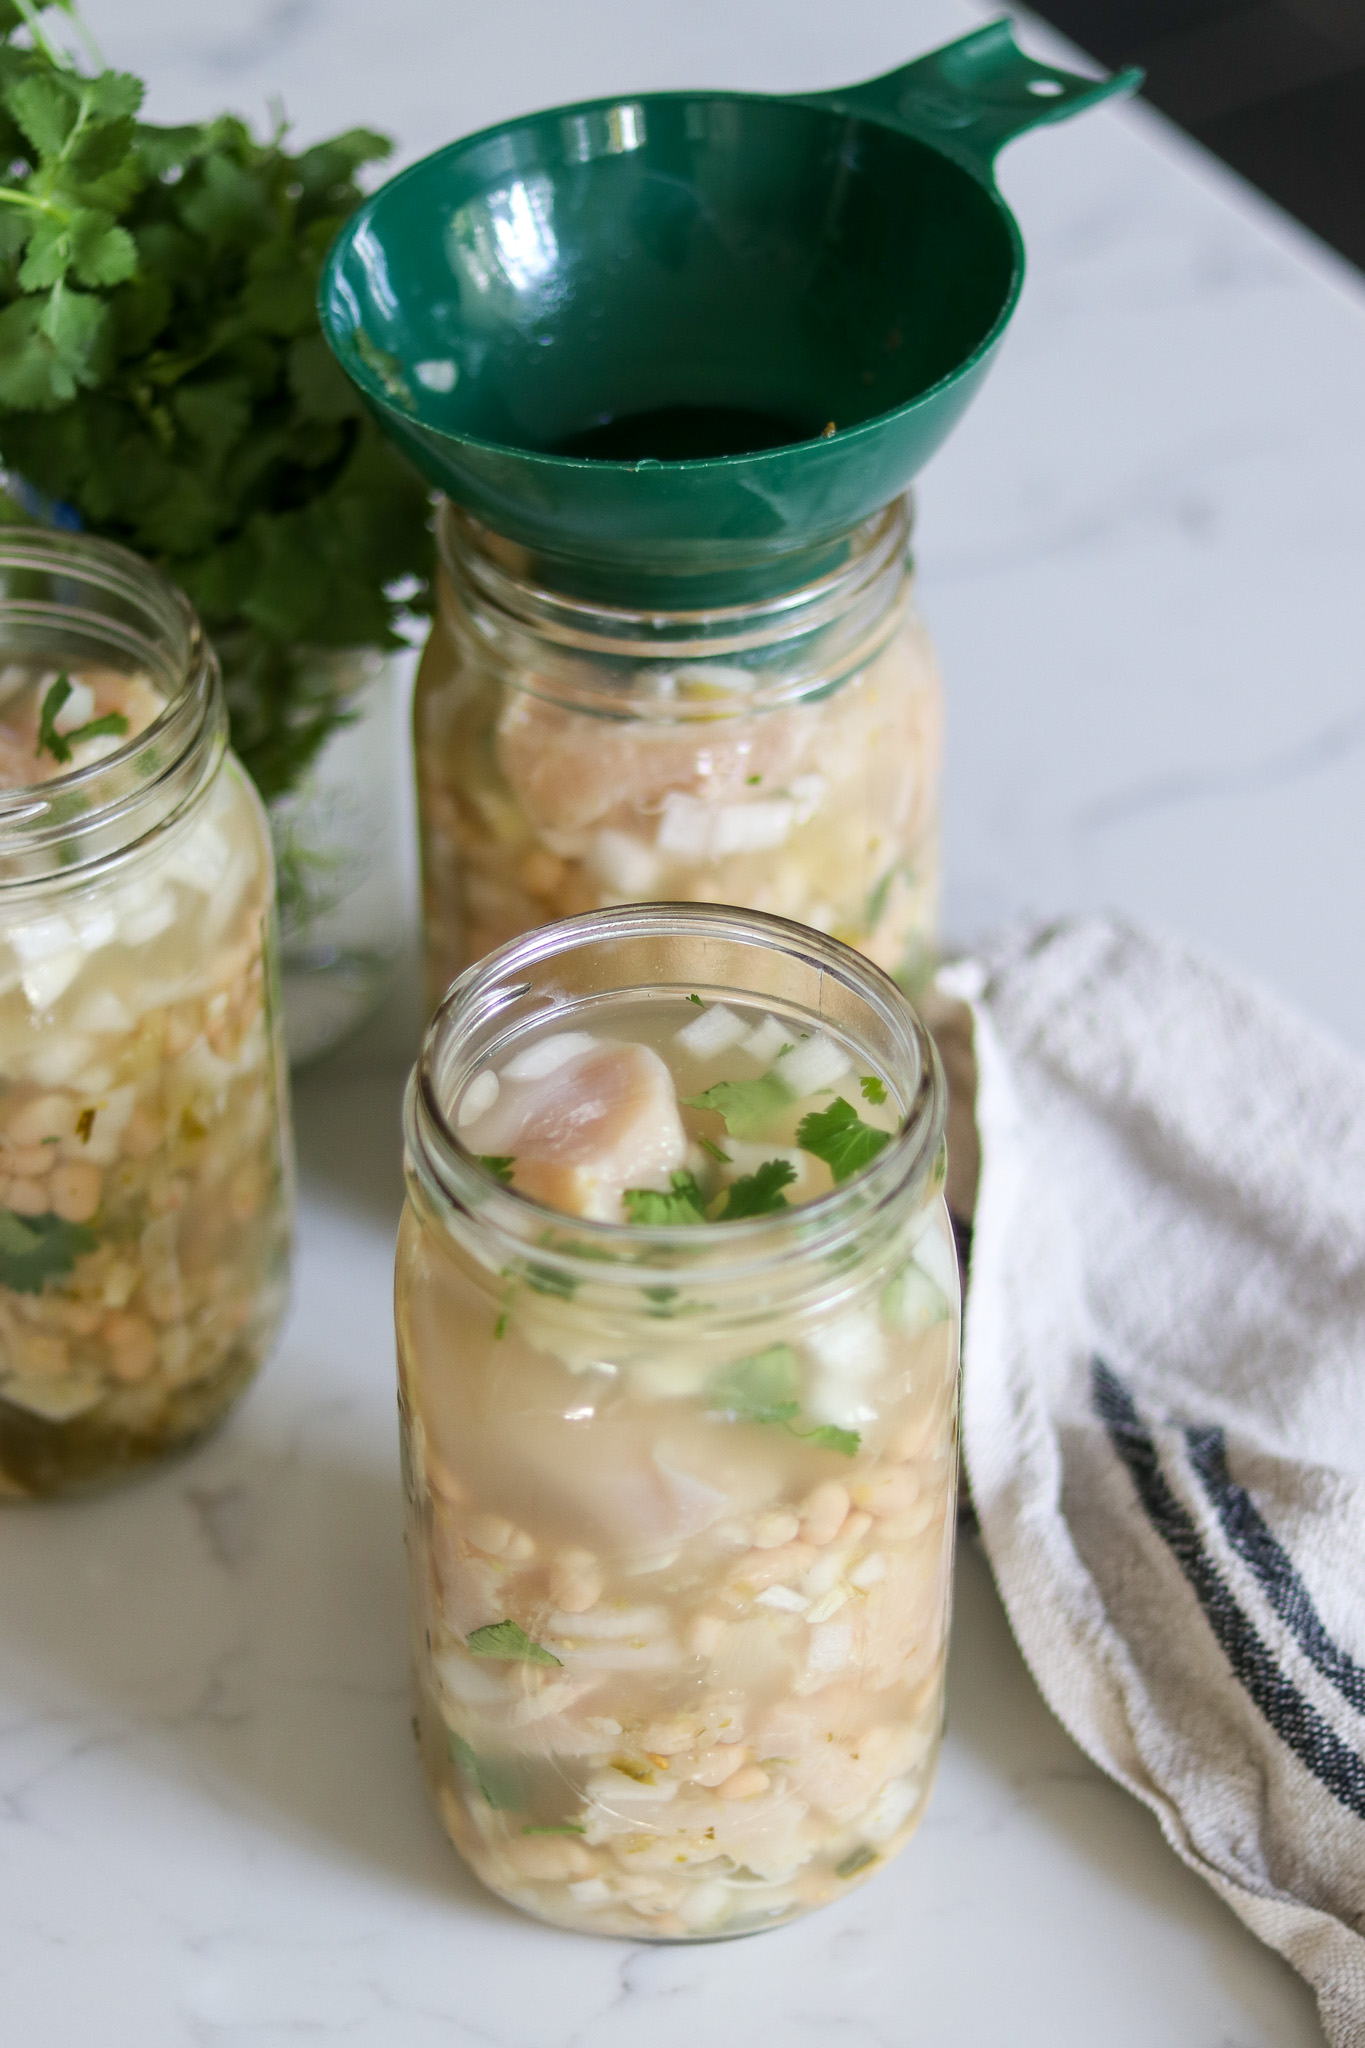
- Use a canning funnel to load the jars with the chicekn mixture, distributing it evenly across 4 quart jars or 8 pints. It will not completely fill the jars.
- Top with hot chicken broth to fill, leaving 1'' headspace.
- Cap with 2 part canning lids and load into preheated pressure canner.
- Process the jars for 75 minutes for pints, and 90 minutes for quarts, adjusting for altitude (see notes).
Notes
Salsa Verde
To make 1 pint of quick salsa verde, combine the following ingredients, then simmer 20 minutes, and puree:1 1/2 lbs tomatillos, husks removed, diced
1/2 medium onion, diced
1 jalapeno, sliced
2 garlic cloves, peeled and minced
3 Tbsp lime juice
2 tbsp fresh cilantro, chopped
1/2 tsp salt
1/2 tsp pepper
Altitude Adjustments
For dial gauge pressure canners:- 0 to 2,000 feet in elevation – 11 lbs pressure
- 2,001 to 4,000 feet in elevation – 12 lbs pressure
- 4,001 to 6,000 feet in elevation – 13 lbs pressure
- 6,001 to 8,000 feet in elevation – 14 lbs pressure
- 0 to 1,000 feet in elevation – 10 lbs pressure
- Above 1,000 feet – 15 lbs pressure
Meal in a Jar Canning Recipes
Looking for more meal-in-a-jar canning recipes to keep your pressure canner running this season?
Hi!
I’m new to canning and was wonder If I could omit the beans and just add more chicken for this recipe? Thanks
Yes, in this particular recipe, that’s actually totally fine. Enjoy!
Can you use fresh jalapeños instead of pickled?
Yes, that’s fine in this particular recipe.
Can I do this with dry beans that have been soaked vs. Pre-canned beans from the store?
To replace the cooked beans in the recipe, you need to soak the dry beans and then simmer them for 30 minutes. They’ll not be fully cooked yet, but after a 30 minute cook they have absorbed as much water as they will from the pot, and they’re equivalent to fully cooked canned beans when it comes to canning recipes.
I can’t find this in any of the ball cookbooks. It isn’t in the one linked. Can you share the link to the book it’s in?
This one is from the pressure canning chapter (Ch. 3) of the All New Ball Book of Canning and Preserving. It’s listed under “Simple One Jar Meals” and it’s called Chicken Chili Verde. It’s the first recipe in that section, listed right before chicken curry.
What is the shelf life ?
Just about any canned good will keep indefinitely on the shelf so long as it’s sealed, at least in terms of being safe to eat. After about 12-18 months, the quality declines. I’d plan to use this within 12 months for best quality, but know that if you find a jar that’s older than that, there’s no reason to throw it out provided it’s still sealed.