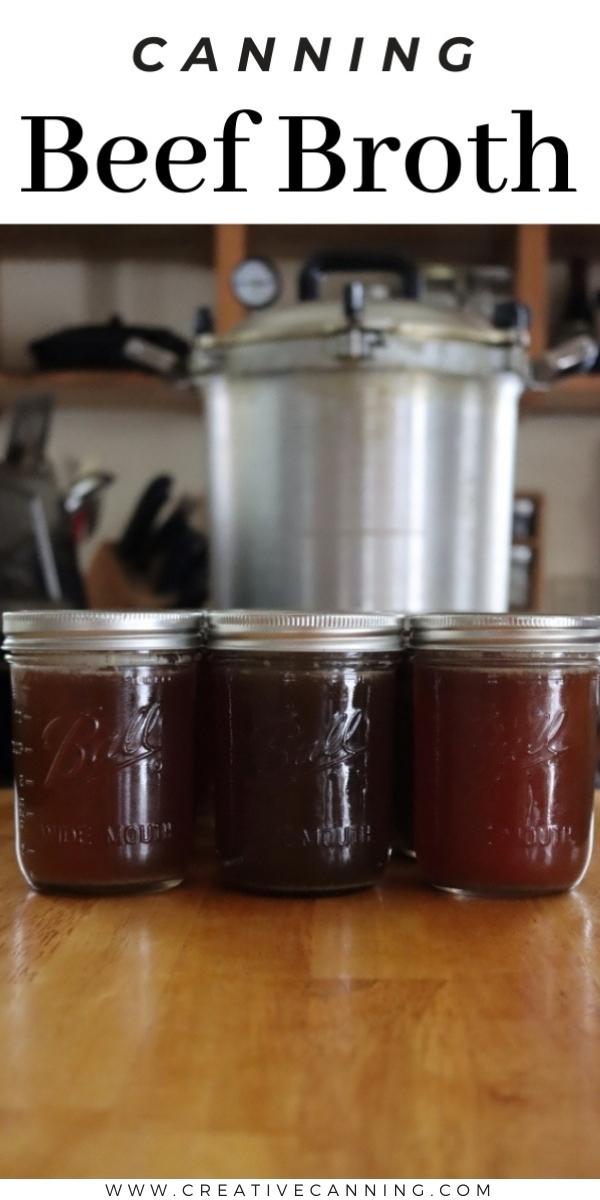
Canning beef broth is easy when you have the help of a pressure canner, here’s how to ensure you have a rich broth in the pantry all year long.
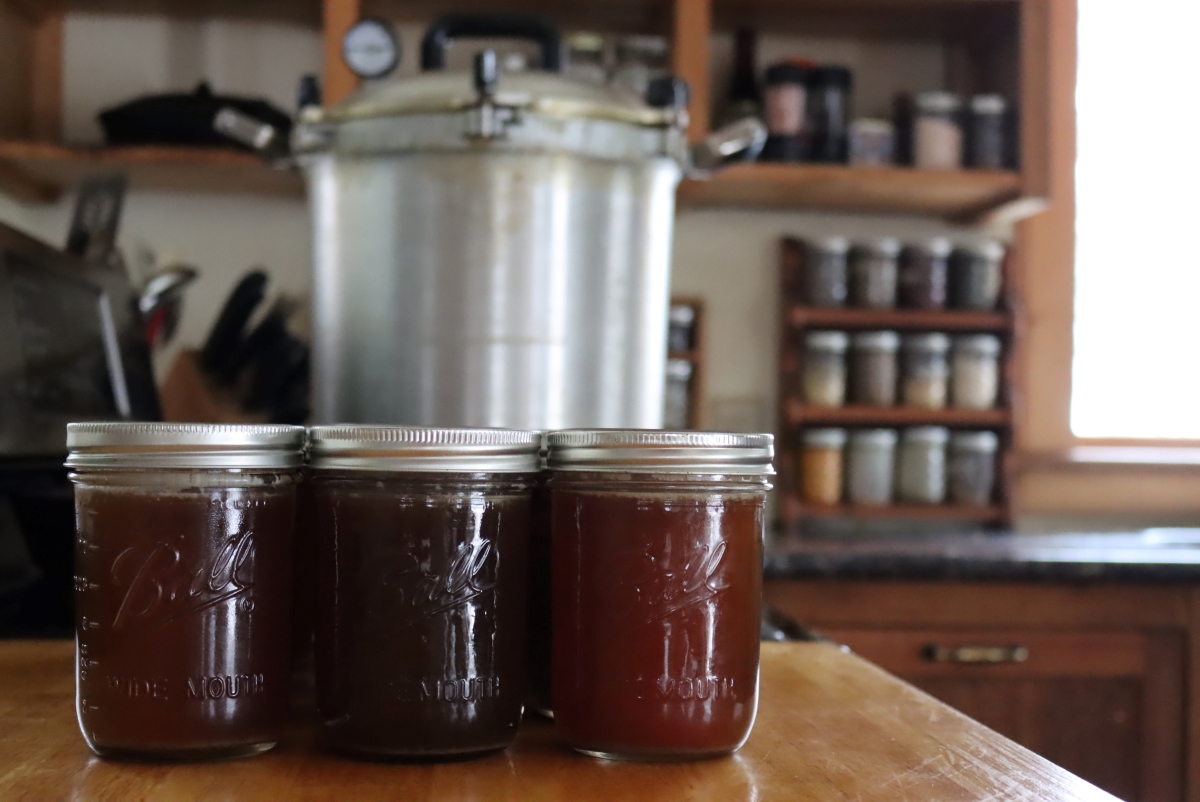
Ever since we made the decision to buy an entire side of beef, which translates to approximately 225 pounds of meat, I’ve been finding as many ways as possible to use up the bones and other “waste” components that come along with it.
Beef broth is a natural fit for using up bones, as well as offal, and it’s something I like to make when I’m flush with leftover bones from roasts, steaks, and ribs.
It’s always been funny to me that beef broth, which is essentially made up from “unusable” or at least hard-to-use parts, is now being sold at a premium in certain health food stores. Why pay ridiculously high prices for a pint of bone broth when you can make your own at home for a small, small fraction of the price?
And while it’s great to freeze small batches of homemade beef broth, why not process it in a pressure canner and free up precious freezer space? The pressure canner part is important: there is no way to safely can broth or other meat-based products using a water bath canner.
I’m going to walk you through my favorite method for making beef broth, and then show you how to make it last for up to 18 months in your pantry by processing it in a pressure canner (which, incidentally, are safe and easy to use once you get the hang of it).
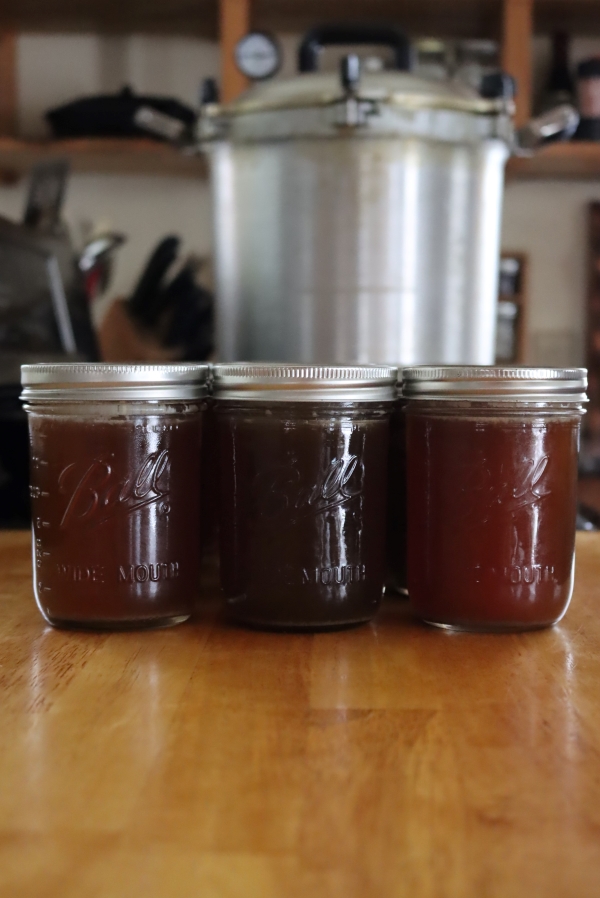
Making Beef Broth
To make homemade beef broth you’ll need about 5 to 6 pounds of beef stock bones, which can include knucklebones, oxtails, shank bones, marrow bones, and beef neck bones. If you happen to have any veal bones, feel free to throw those in, too.
Bones that have bits of raw or cooked meat attached will add the most flavor, while gelatin-rich knucklebones and oxtails are full of collagen, which will naturally thicken the broth and give it a velvety smooth texture.
Bone broth, which is sold in small quantities for exorbitant amounts of money in grocery stores, is simply broth that has been made from collagen-containing bones that have been simmered for a long period of time.
If you’re interested in making beef bone broth specifically, I’ve created a step-by-step guide which can be found here — not only will making it at home save you a ton of money, you can also switch up the ingredients and tailor the broth to your specific flavor preferences.
So where’s the best place to source bones?
You can buy them from a butcher, use the bones leftover from a roast or other meal you’ve enjoyed, or you can use bones that have been removed from raw meat as it’s being prepared. Keep a resealable bag in the freezer just for leftover beef bones and once it’s filled up you’ll be ready to make a batch of broth.
Don’t get too hung up on having the perfect ratio or mix of any specific type of bone, the only kind I would caution against (and even still, they can be used in small amounts), would be bones that have already been used to make broth, as they won’t impart the same level of nutrients to the finished product.
Another option, which is an especially good one for those of us eating nose-to-tail, is to use organ meats to bolster the taste of your homemade beef broth. If this is something that interests you, I’ve written a guide to making organ meat stock, which breaks down the uses for each type of offal.
The most effective method for getting maximum flavor out of beef bones is to roast them in a hot oven before adding them to the stockpot.
I roast the bones at 450° F for 45 minutes, flipping them over halfway through and roasting until they’ve turned a nice, deep brown color. This step isn’t a strict requirement, but it will give the finished broth a much deeper, almost caramelized flavor.
There have been times where I’ve skipped this step, and I’ve still had good results, so I wouldn’t say it’s absolutely necessary (but definitely recommended if you have the time). Keep in mind that if there are any raw ingredients that go into the pot, the resulting beef broth will be cloudy.
Roast everything first for a nice clear broth with exceptional flavor.
You’ll also want to add a selection of vegetables and aromatics to your beef broth, either odds and ends you’ve collected and frozen over time, or fresh vegetables and herbs prepared right before making the broth.
Classic additions include quartered onions with their skins (you can also add extra onion skins for more color), celery stalks and leaves, carrots, leeks (wash carefully first), and garlic (add a few whole cloves or, if you love garlic as much as I do, cut the whole head in half and add to the pot, don’t worry about removing the surrounding papery skins).
Again, you have the option to roast the veggies with the bones, although if you go with this method be prepared for some crispy vegetables at the end of the cooking time. I sometimes add the vegetables when I flip the bones halfway through, or else I just add them uncooked to the stockpot with the bones.
Roasting the bones is a lot more important than vegetables. For the vegetables, the difference in flavor is pretty minuscule, so I would say go with whatever method you’re most comfortable with.
I also like to add aromatics such as thyme, rosemary, bay leaves, parsley, and whole peppercorns directly to the stockpot; I prefer fresh if I have it, but dried herbs can also be used with good results as long as they haven’t been kicking around in the pantry for too long.
Once the beef bones, vegetables, and aromatics have been added to the stockpot, all you need to do is cover them with water and bring them to a boil, before simmering the contents for anywhere from 4 to 24 hours. If you roasted the bones, you can also deglaze the roasting pan with a up or two of water. Scrape up any of the brown bits at the bottom, and pour everything into the stockpot.
For long simmers, I can’t stress how valuable a basic slow cooker can be. A slow cooker can be left unattended, even overnight, and will simmer the broth at an even, consistent temperature the entire cooking time. Even if you own a smaller slow cooker, you can easily adapt the ratio of ingredients to fit in a smaller cooking vessel.
Avoid boiling the stock!
A gentle simmer is all you want here. If the pot comes to a hard boil while it’s cooking then the finished beef broth will be cloudy. (Once everything’s been strained out, boiling hard won’t affect quality.)
When the broth has finished cooking, it’s time to remove the bones and strain out all the other ingredients so that the broth is ready to be canned. I find it easiest to line a large colander with a few layers of folded cheesecloth, placing both over another large stockpot so the beef broth can be ladled into the colander.
Give the solid matter in the cheesecloth a few minutes to drain, resisting the urge to press down or squeeze as the bones and vegetables will be ultra-soft by that point, and unwanted pieces can make their way into the finished broth by accident.
Some folks like to let the broth cool at this point, storing it in the fridge until the fat solidifies at the top, at which point it can be scooped off and discarded (or be used for cooking). I usually just skim the broth for fat while it’s hot, since I don’t have the refrigerator space to store that much stock until it’s time to can.
Try to remove as much fat as you can. A bit left is fine, but too much can bubble up during canning and interfere with the jar sealing process inside the canner.
At this point, the beef broth is ready to be used or, as I’m about to show you, is ready to be canned in a pressure canner.
How to Can Beef Broth
When it comes to canning low acid foods such as beef broth and other meat products, a pressure canner must be used to ensure safe storage. A water bath canner will not reach the necessary, consistently high temperature that a pressure canner can sustain.
If you’re new to pressure canning, I’d strongly recommend reading my beginner’s guide to pressure canning before you begin.
For a batch of beef broth, you’ll need approximately 14 (1-pint) canning jars or 7 (1-quart) canning jars, as well as corresponding jar lids and rings. I’d also recommend a solid jar lifter, which will save you from accidental steam burns, and a canning funnel, which helps keep the jars neat and tidy.
If you have these pieces of equipment you’re well on your way to making all kinds of canned goods, both in a pressure canner and a water bath canner.
To begin, prepare the jars and two-piece lids. Fill the pressure canner with about 2 inches of water and place it over low heat while you bring the beef broth to a boil once again.
When the beef broth has reached a boil, turn off the heat but keep the stockpot on the stove. Using a ladle and a canning funnel, transfer the broth to the hot jars, leaving 1-inch headspace at the top of each jar. Wipe the jars with a clean, damp cloth and apply the lids and rings until finger-tight.
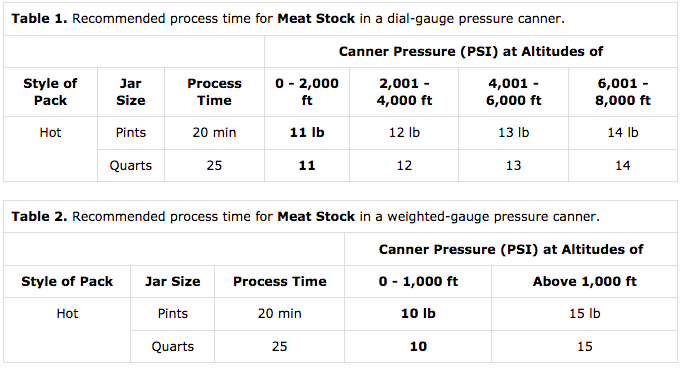
Load the jars into the canner and process at 11 PSI (for dial-gauge pressure canners) or 10 PSI (for weighted-gauge pressure canners). I’ve included the processing times in the tables below, noting the differences in time between jar sizes and altitudes.
When the timer goes off, allow the pressure canner to depressurize naturally before carefully transferring the jars to a clean surface. Make sure there’s about an inch of space between each jar and give them about 12 to 24 hours to cool to room temperature, at which point the rings can be removed, washed, and used again.
Check the seal of each lid, if any seem loose or like they didn’t seal properly, transfer those jars to the fridge and enjoy within a week or two.
Meat & Broth Canning Recipes
Looking for more meat canning recipes?
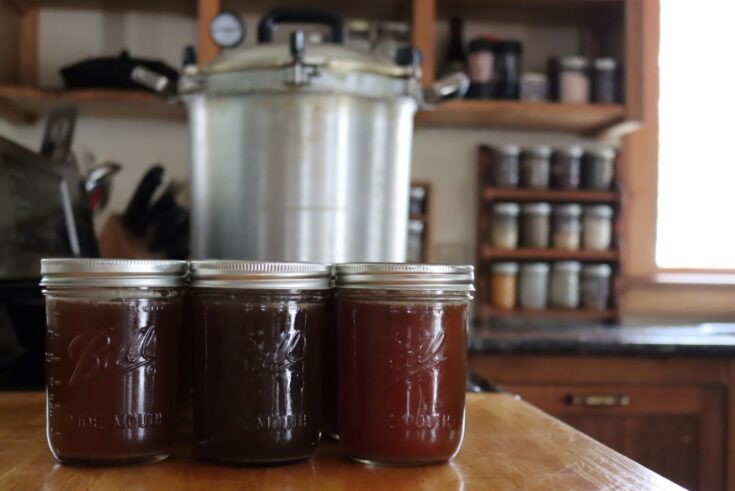
Canning Beef Broth
Feel free to add your own signature ingredients to this recipe for beef broth, which is then processed in a pressure canner.
Ingredients
- 5-6 lbs. beef stock bones
- 3-4 whole onions, quartered (skins included)
- 4-5 carrots, roughly chopped
- 3 celery ribs, roughly chopped
- 1 head of garlic, cut in half horizontally (skins can be left on)
- 2 gallons of water (or enough water to cover the ingredients by about 2 inches)
- 3 bay leaves
- 2-3 sprigs fresh thyme OR 1 tsp. dried thyme
- 2-3 sprigs fresh rosemary OR 1 tsp. dried rosemary
- Small bunch of fresh parsley OR 1 tsp. dried parsley
- 10 whole peppercorns
Instructions
- Preheat oven to 450° F.
- Place beef bones in a large roasting pan. Roast for 45 minutes, turning once halfway through.
- Remove roasting pan from the oven and transfer the bones to a large stockpot or slow cooker. De-glaze bottom of the roasting pan with 1 cup water, scraping up any brown bits from the bottom and adding to the stockpot.
- Add the vegetables and aromatics.
- Cover with water by about 2 inches.
- Bring to a boil and then simmer for anywhere from 4 to 24 hours.
- When the broth is done cooking, place a colander lined with folded cheesecloth over another large stockpot. Ladle the contents of the beef broth stockpot into the colander and let the liquid strain into the other stockpot.
- Prepare a dial-gauge or weighted-gauge pressure canner as well as jars and lids.
- Keep the jars warm in the prepared pressure canner as you bring the finished broth to a boil (turn off heat once the broth is boiling).
- Using a canning funnel, carefully ladle the hot broth into each jar, leaving 1-inch headspace. Apply lids and rings and wipe the jar off with a clean, damp cloth before placing back in the canner.
- For dial-gauge canner: process at 11 PSI for 20 minutes (pints) or 25 minutes (quarts). For weighted-gauge canner: process at 10 PSI for 20 minutes (pints) or 25 minutes (quarts).*
- When the timer goes off, allow the canner to depressurize naturally.
- Using a jar lifter, transfer the hot jars to a clean surface, allowing for 1-inch of space between each jar.
- Let the jars come to room temperature, about 12 to 24 hours, and check the seal on each lid. If in doubt, store the broth in the fridge and consume within a couple of weeks.
- Remove the rings to be washed and stored for your next canning project.
- Store the jars in a cool, dry place away from direct light for up to 18 months.
Notes
Feel free to use your favorite beef broth canning recipe. As long as it's strained thoroughly before canning, the actual quantity and proportion of ingredients used to make the stock are up to you. The "recipe" above is just a suggestion for quantities and seasonings.
This assumes that you don't use anything that's not generally approved for canning, for example, milk, butter, flour, etc.
Those ingredients are not generally in stock anyway. As long as you stick to meat, bones, vegetables, and seasonings (and strain thoroughly) you can follow these same beef broth canning instructions.
Altitude adjustments for canning beef broth
The processing times are always 20 minutes for pints and 25 minutes for quarts, but the pressure is adjusted.
Dial Guage Pressure Canner
- 0 to 2,000 Feet use 11 pounds pressure
- 2,001 to 4,000 Feet use 12 pounds pressure
- 4,001 to 6,000 Feet use 13 pounds pressure
- 6,000 to 8,000 Feet use 14 pounds pressure
Weighted Guage Pressure Canner
- 0 to 1,000 Feet use 10 pounds pressure
- Over 1,000 Feet use 15 pounds pressure
Pressure Canning Recipes
Keep that pressure canner hot with these pressure canning recipes:
MaryAnn McAuliffe
I’ve been pressure canning our broths for a few years now. You can’t beat the taste of homemade broth and canning it is so easy. So much more convenient than freezing
Cindy
I recently processed 7 quarts of beef broth & noticed siphoning as well as several jars spewing broth upon removal from the canner. I waited for the canner to naturally depressurize but I did keep the pressure at 13-14 lbs instead of 11 exactly for 25 minutes.
Is my broth safe to store? Should I throw it out or re-boil & re-can it?
Ashley Adamant
Siphoning isn’t an issue so long as the jars seal well. One way to help prevent that is to keep the canner closed completely until everything is at room temperature. To do that, I usually can in the afternoon and then leave it all to sit until the following morning after I turn it off.
Debra
Beef rib bones are okay to use?
Do you have thoughts on an instant pot?
Ashley Adamant
Yes, you can use beef rib bones to make stock, they work wonderfully. I’d suggest roasting them first, as with any bone for broth.
Also yes, you can make it in an instant pot, and that works well. Do not can in the instant pot though. For canning, you need a real canner. More on why you cannot can in an instant pot here: https://creativecanning.com/instant-pot-canning/
Teresa Wood
What is the shelf life of canned broth?
Ashley Adamant
The lids on the jars are rated for 18 months, but in reality, so long as the jars are properly canned and sealed (and stay sealed), the broth will not spoil. Quality is best in the first 18 months or so in any case, but past that they’re still fine for use if still sealed.