This post may contain affiliate links. Please see our disclosure policy.
Rhubarb chutney is a fun way to preserve rhubarb, and it’ll add zest to your meals (and charcuterie plate) all year long!
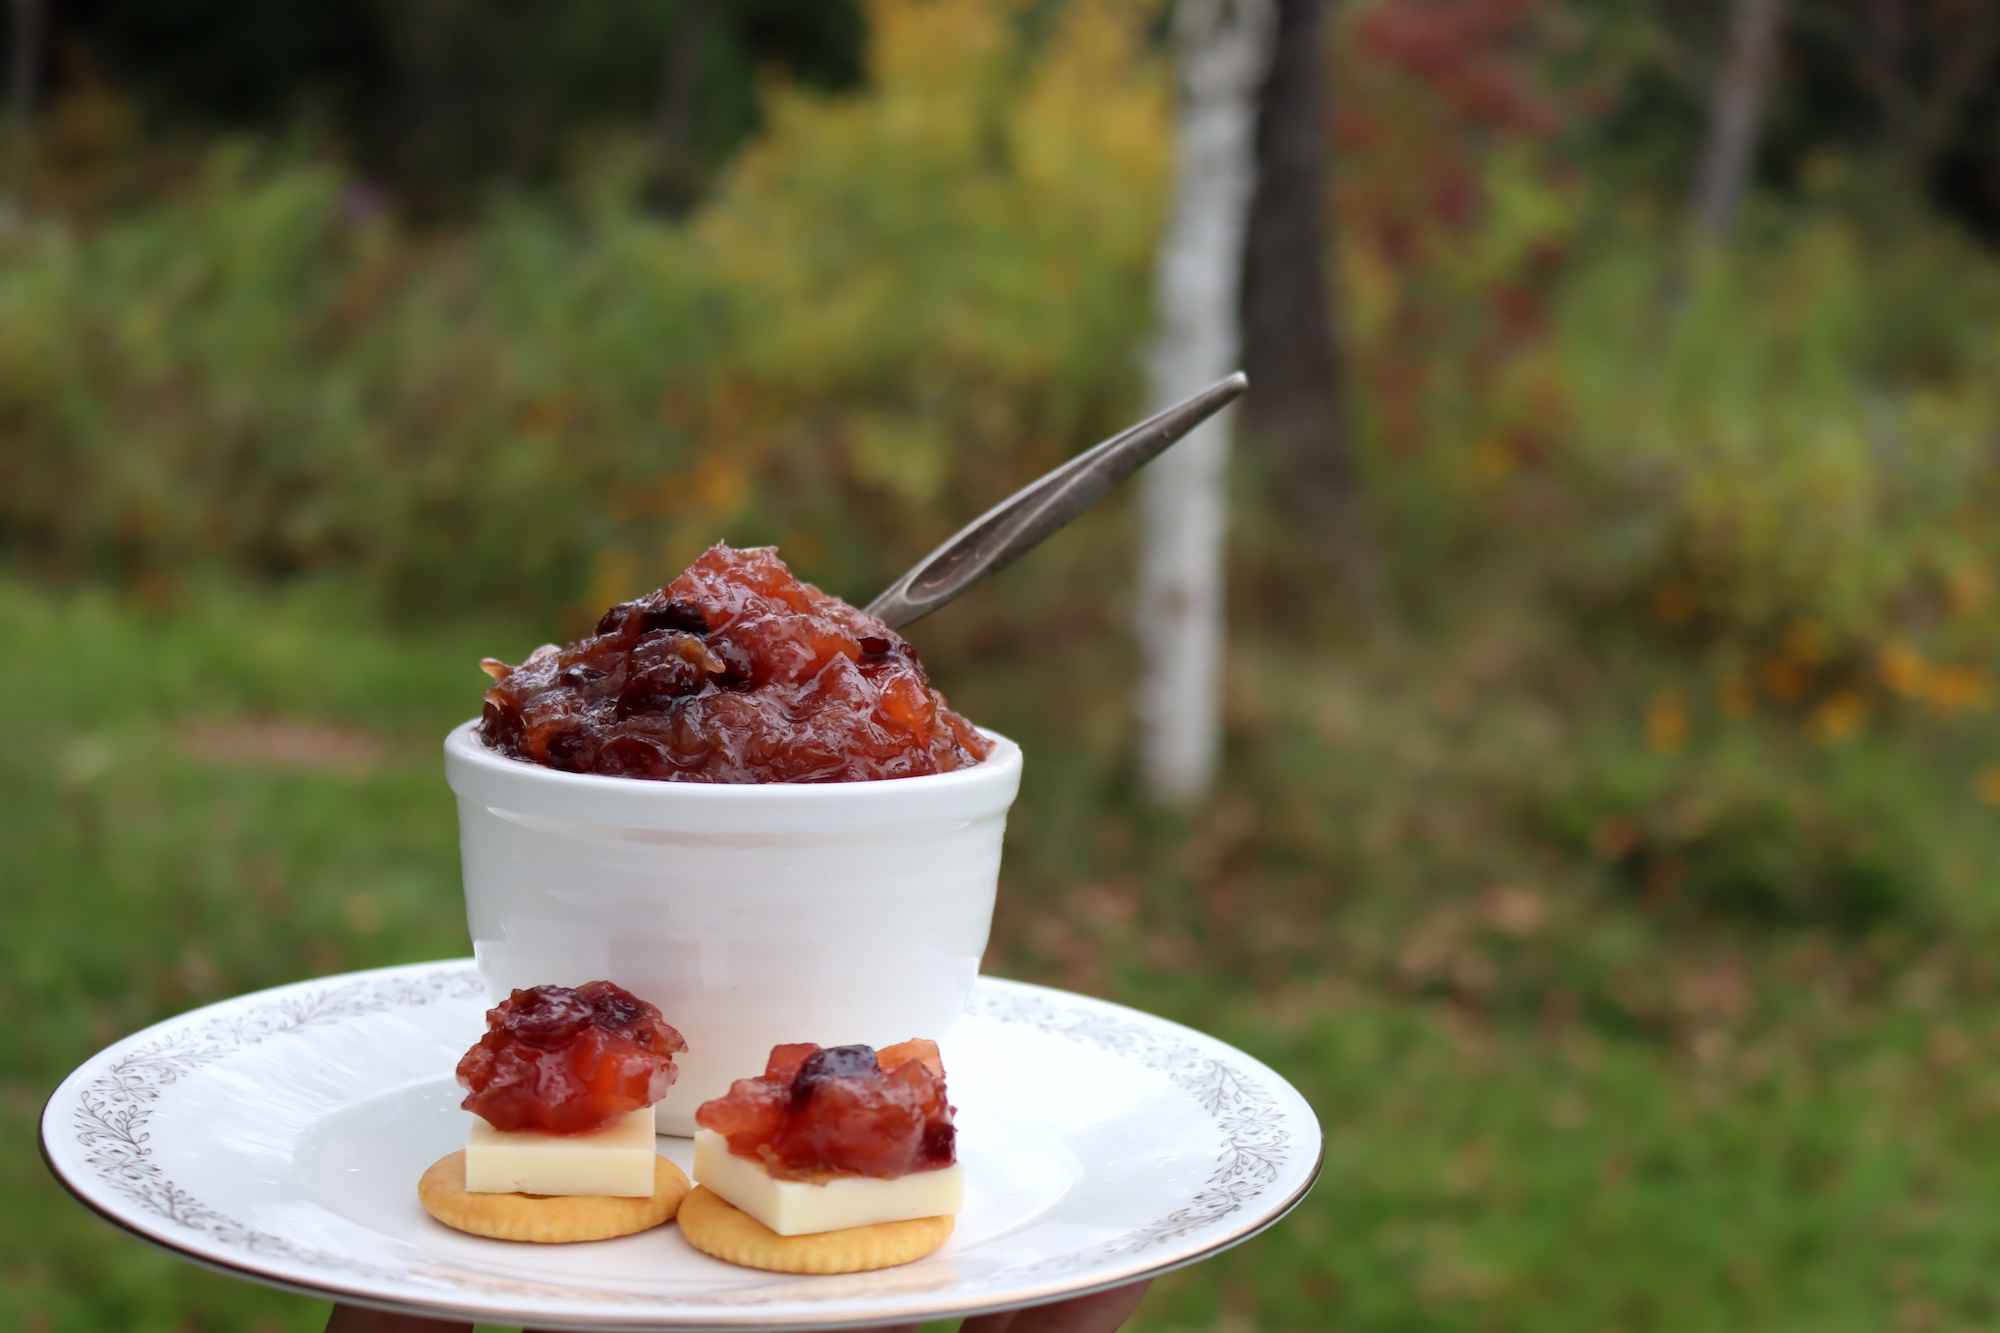
Rhubarb chutney is a flavorful condiment that’s absolutely perfect for adding some zing to your meals. Made with fresh rhubarb, onions, sugar, vinegar, and spices, this sweet and tangy chutney is a perfect accompaniment to chicken, pork, or sandwiches. It’s also a great way to use up extra rhubarb from your garden or local farm market.
And, of course, one of the best things about canning rhubarb chutney is that it can be stored for several months, so you can enjoy the delicious flavor all year long.
Ready to get started? Here’s how to can your own rhubarb chutney at home!
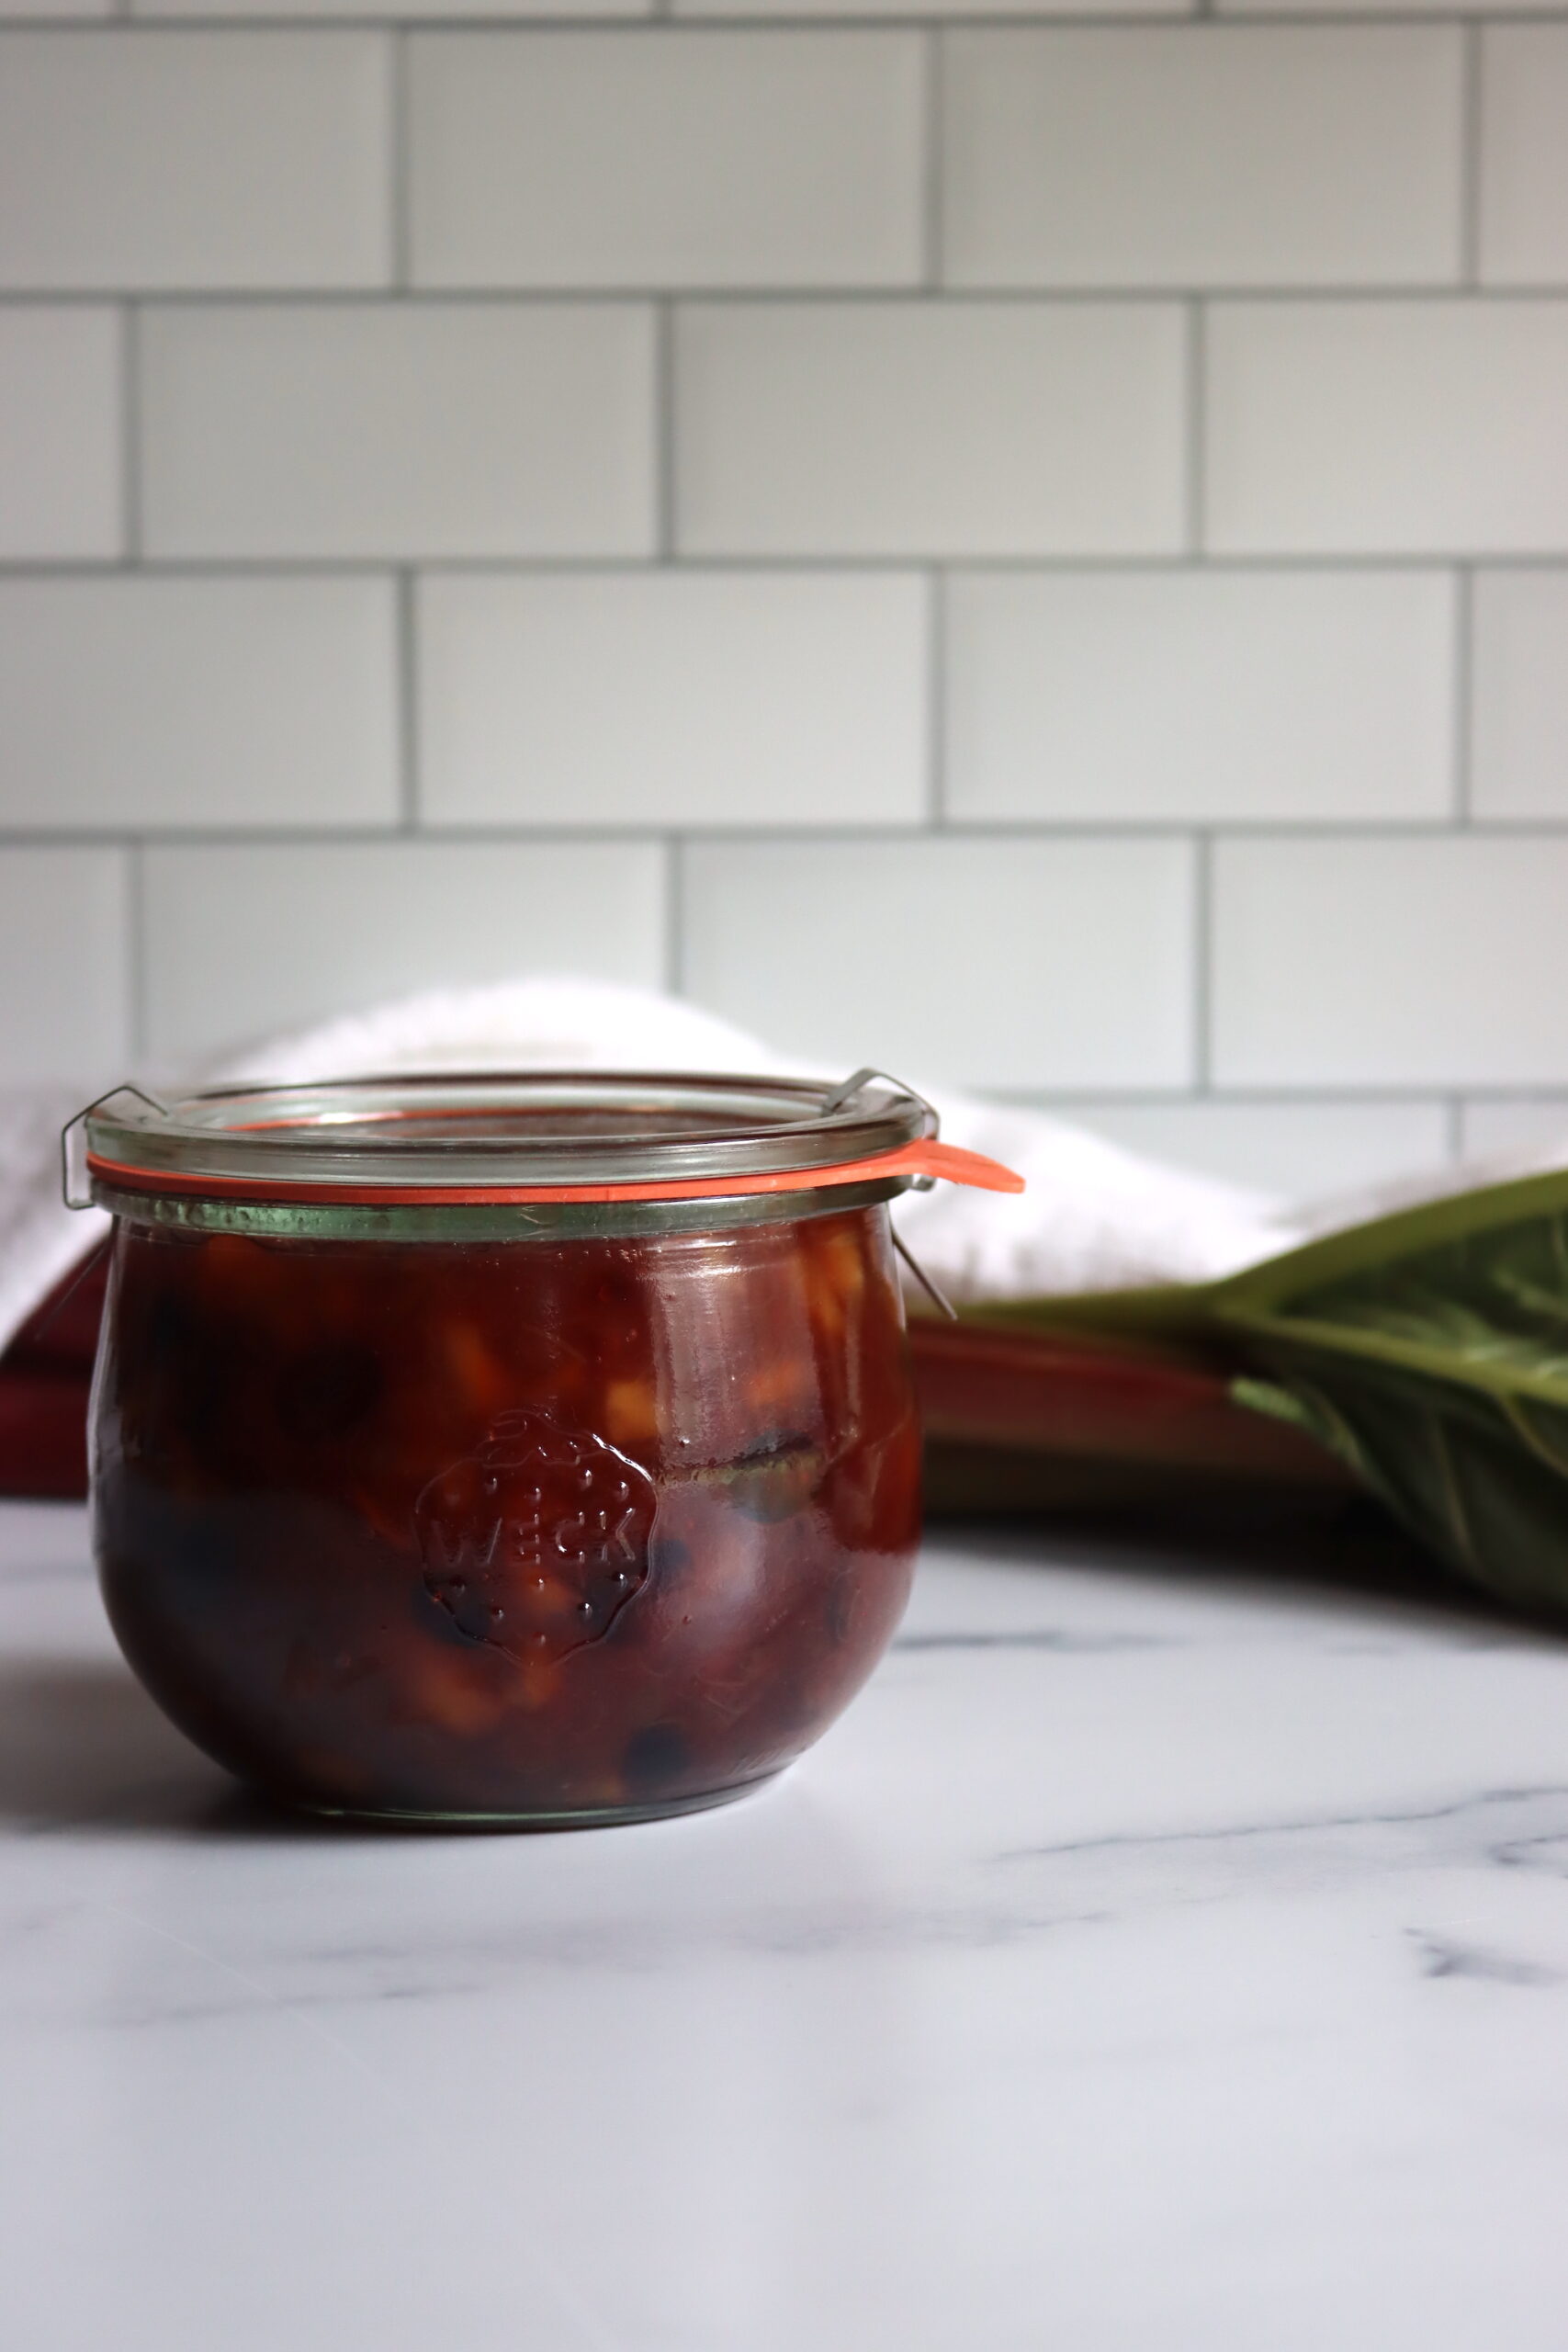
Ingredients for Rhubarb Chutney
This recipe is adapted from the Ball Complete Book of Home Preserving, where it’s called “Rhubarb Apple Chutney.” Many chutneys have chopped apple, and that’s largely to add pectin and ensure they keep a good texture. In this case, the flavor is all rhubarb.
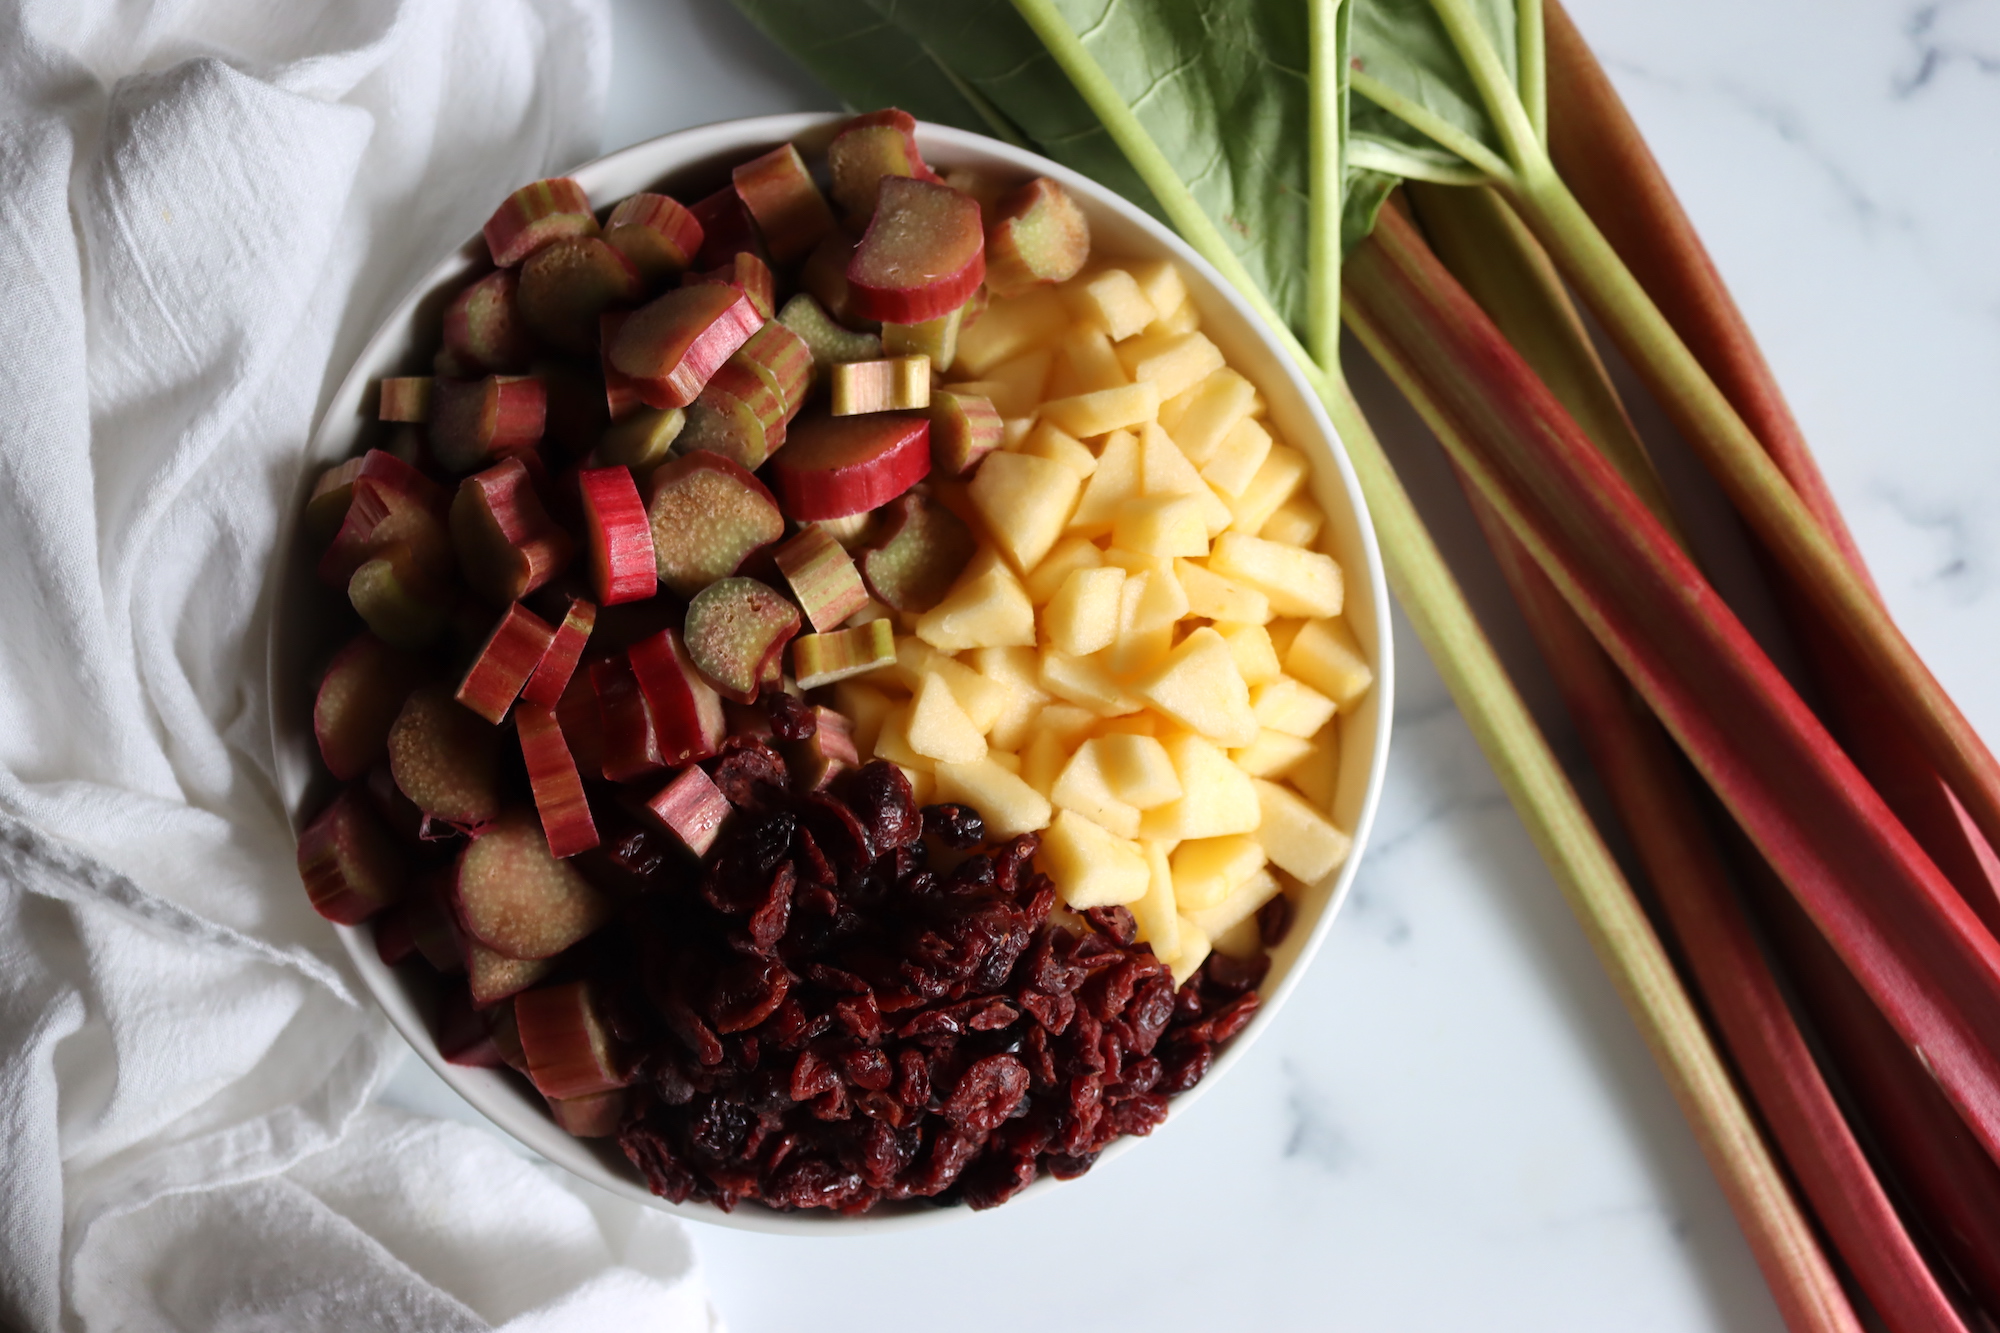
The ingredients for canning rhubarb chutney are quite simple. To make a canner batch of four 8-ounce (250 mL) jars, you’ll need the following:
- 4 cups apples (peeled, diced, and cored, treated to prevent browning), about 1 L
- 4 cups granulated sugar, about 1 L
- 2 cups rhubarb (fresh or frozen is fine, diced), about 500 mL
- 1 tsp ground cinnamon, about 5 mL
- ½ tsp ground nutmeg, about 2 mL
- ½ cup dried cranberries, about 125 mL
- ½ cup water, about 125 mL
- Grated zest and the juice of one lemon
For this recipe, you will need three to four apples for this recipe along with about half a pound of rhubarb. Try to select apples that are farm and fresh, ideally, those that will keep their shape well during cooking, like honey crisp or granny smith apples.
Canning Rhubarb Chutney
First, make sure you have all the necessary materials. You’ll need a canner, which is a large pot with a rack to hold the jars, as well as enough water to cover the jars by 2 inches. You’ll also need jars, lids, and rings that are specifically designed for canning, as well as a jar lifter to handle the hot jars.
Before you start canning, sterilize your jars and lids by boiling them in water for 10 minutes. Keep them hot until you’re ready to fill them.
In a saucepan, combine the apples, sugar, water, lemon zest and juice, and rhubarb. Bring the mixture to a boil over medium-high heat, stirring often. Then, reduce the heat and cook at a low boil, again, stirring often, for about 15 more minutes.
Next, add the cranberries, nutmeg, and cinnamon. Continue to boil gently, stirring often, until the chutney is thick enough to mound up on a spoon. This should take about 15 more minutes.
When your chutney is ready, ladle it into the hot jars, leaving 1/2 inch of headspace at the top. This is important to allow for air expansion during processing. Use a bubble remover tool to remove any air bubbles and adjust the headspace as necessary by adding more chutney.
Wipe the rims of the jars with a clean, damp cloth to remove any residue, which can interfere with the seal. Place the lids on the jars and tighten the rings finger-tight, which means just tight enough to hold the lid in place without being too hard to remove.
Now it’s time to process the jars. Place them in the canner using a jar lifter, making sure they’re fully immersed in the water, and the water level is at least 1 inch above the jars. Bring the water to a boil and process the jars for 10 minutes.
After the 10 minutes have passed, turn off the heat and remove the canner lid. Let the jars sit in the hot water for five more minutes to cool a bit.
Remove the jars from the canner using a jar lifter and place them on a towel to cool completely. As they cool, you may hear a popping sound, which means the lids have sealed properly. Don’t touch or disturb the jars until they’re completely cool.
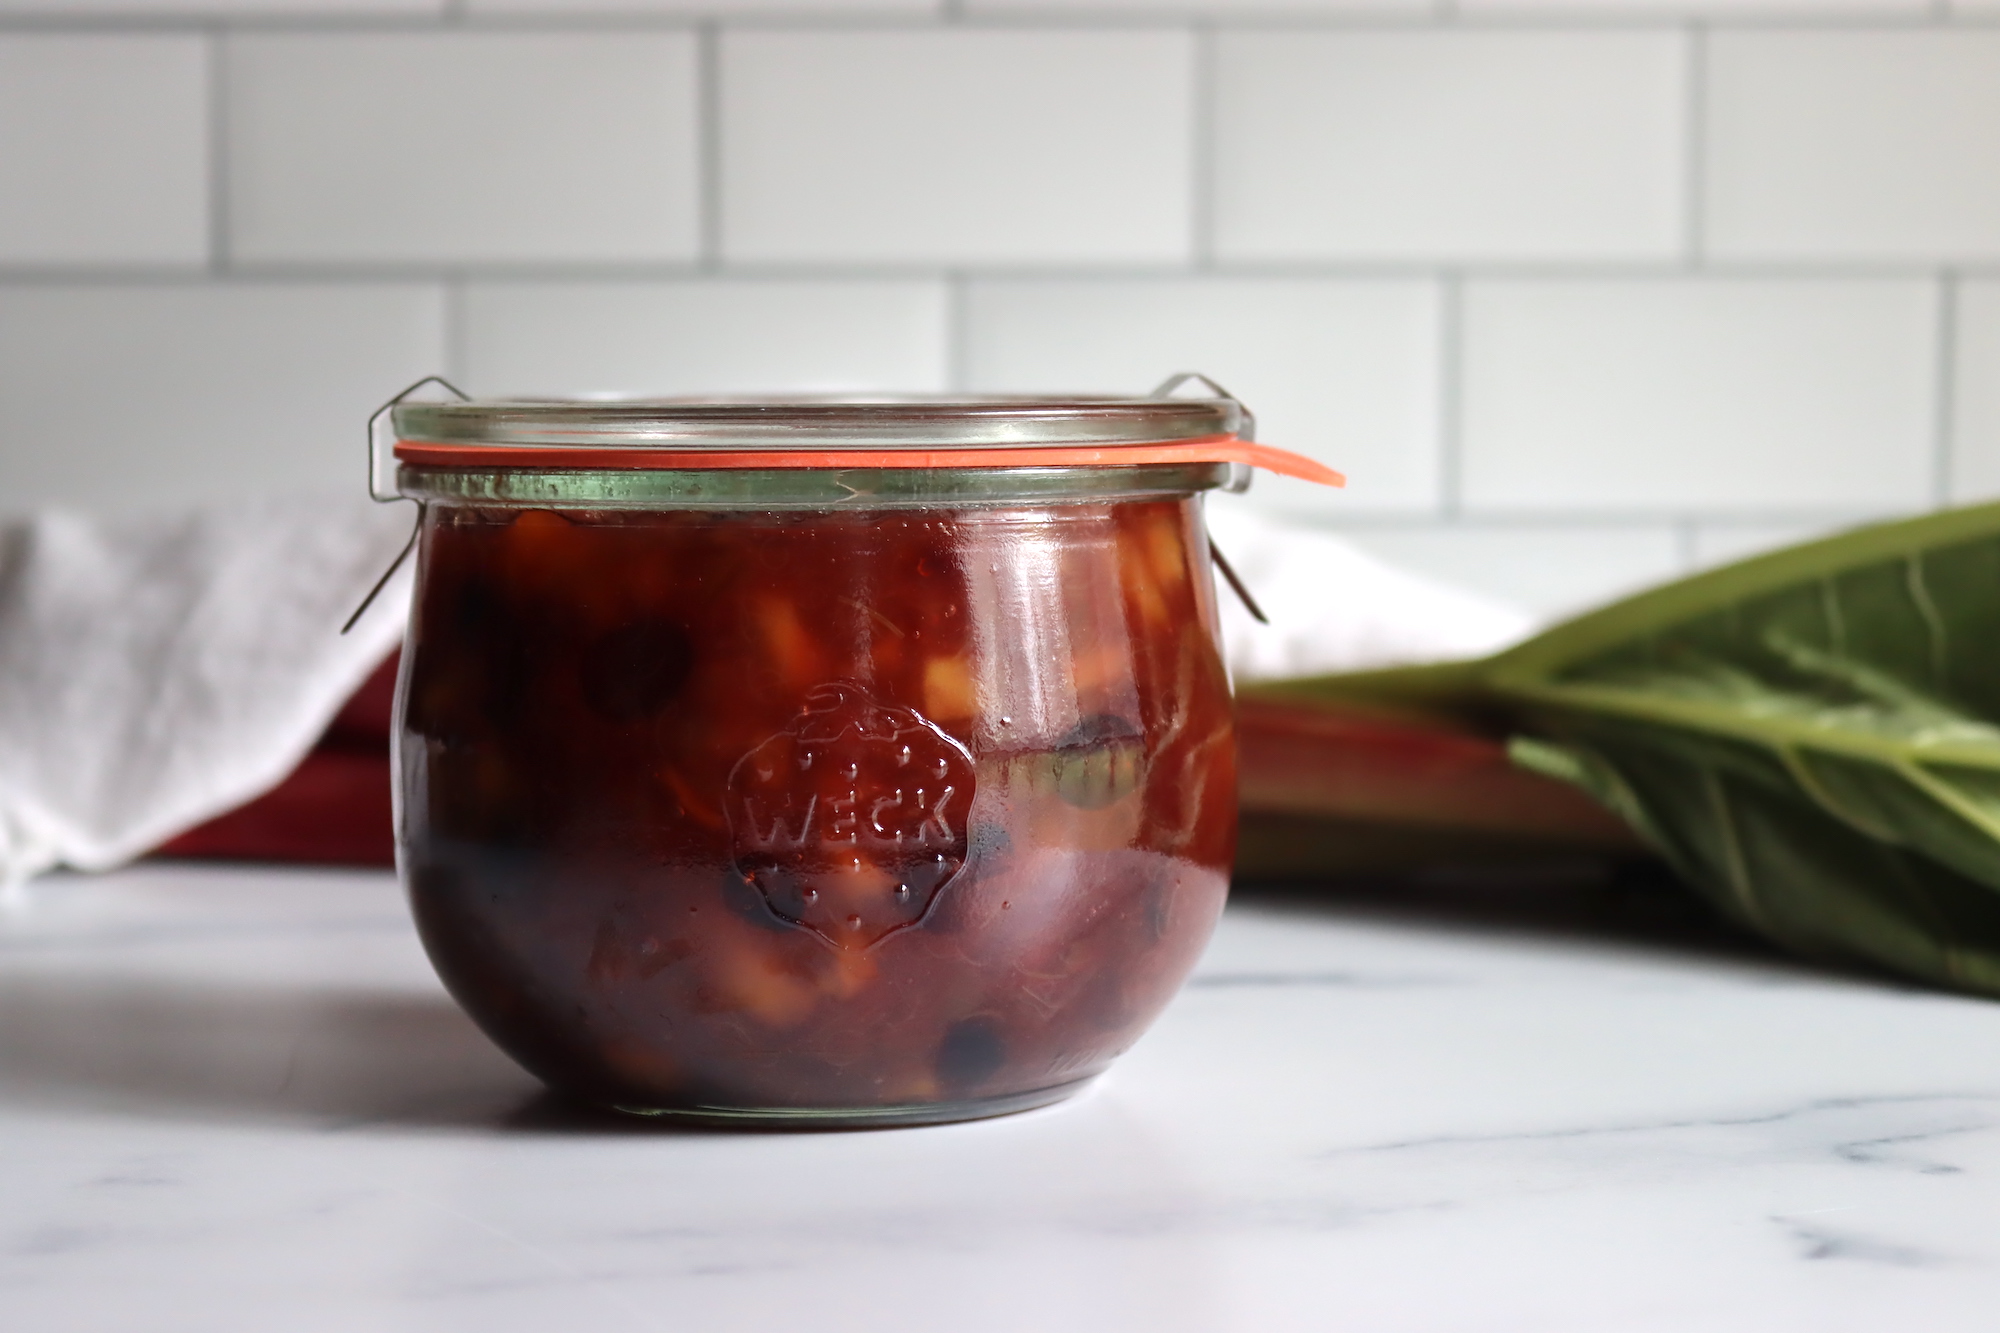
Label the jars with the contents and date, then store them in a cool, dry place away from sunlight. Canned chutney can last up to a year or more, but be sure to check the seals and discard any jars that show signs of spoilage or leakage.
Serving Rhubarb Chutney
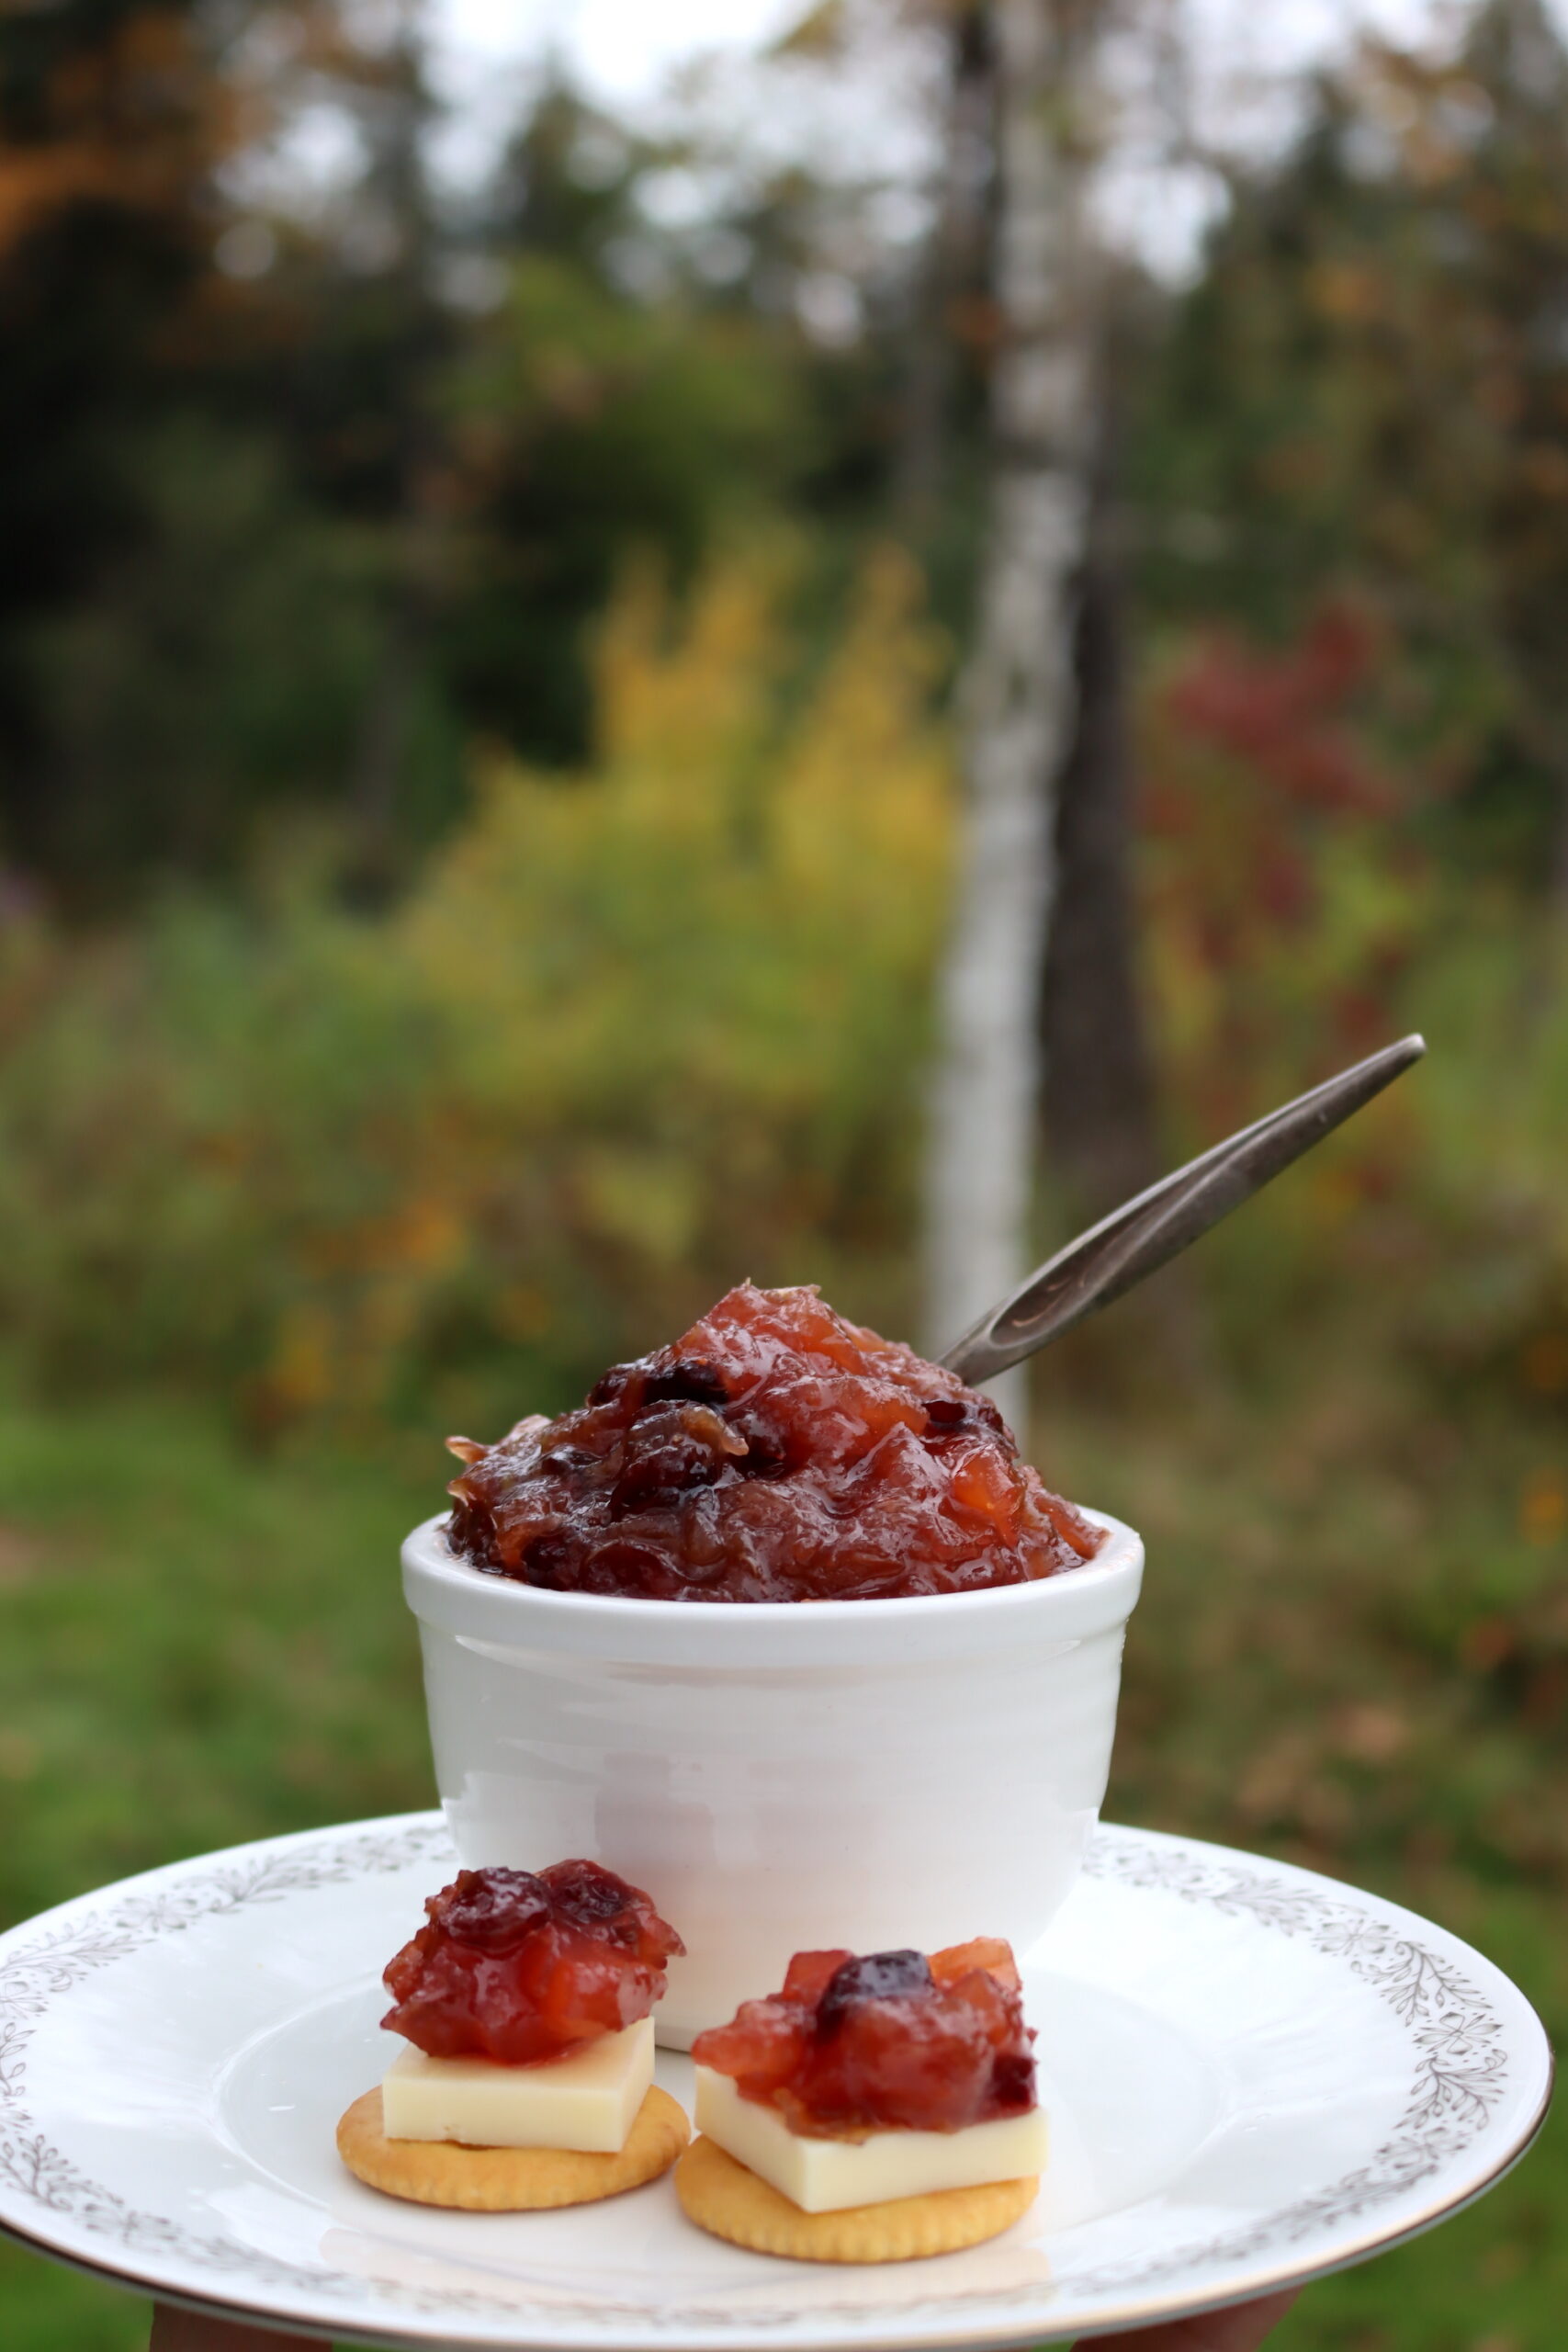
Rhubarb chutney can be enjoyed either warm or cold, depending on your preference. If you want to heat it up, simply pop it in the microwave or warm it on the stove for a few minutes. If you prefer it cold, just store it in the fridge until you’re ready to serve.
This chutney is a versatile condiment that goes well with both sweet and savory dishes.
For a savory option, try serving it with grilled chicken or pork chops. The acidity of the chutney pairs perfectly with the richness of the meat.
If you’re looking for a sweeter option, try pairing it with vanilla ice cream or cheesecake. The sweetness of the chutney will complement the richness of the dessert perfectly!
Ways to Preserve Rhubarb
Looking for more ways to preserve rhubarb?
Rhubarb Chutney
Equipment
Ingredients
- 4 cups apples, peeled, diced, and cored, treated to prevent browning, about 1 L
- 4 cups sugar, about 1 L
- 2 cups rhubarb, fresh or frozen is fine, diced, about 500 mL
- 1 tsp ground cinnamon, about 5 mL
- ½ tsp ground nutmeg, about 2 mL
- ½ cup dried cranberries, about 125 mL
- ½ cup water, about 125 mL
- Grated zest and the juice of one lemon
Instructions
- Sterilize your jars and lids by boiling them in water for 10 minutes. Keep them hot until you're ready to fill them.
- In a saucepan, combine the apples, sugar, water, lemon zest and juice, and rhubarb.
- Bring the mixture to a boil over medium-high heat, stirring often. Then, reduce the heat and cook at a low boil, again, stirring often, for about 15 more minutes.
- Add the cranberries, nutmeg, and cinnamon. Continue to boil gently, stirring often, until the chutney is thick enough to mound up on a spoon, or about 15 minutes.
- When your chutney is ready, ladle it into the hot jars, leaving 1/2 inch of headspace at the top.
- Use a bubble remover tool to remove any air bubbles and adjust the headspace as necessary by adding more chutney.
- Wipe the rims of the jars with a clean, damp cloth to remove any residue, which can interfere with the seal.
- Place the lids on the jars and tighten the rings finger-tight, which means just tight enough to hold the lid in place without being too hard to remove.
- Now it's time to process the jars. Place them in the canner using a jar lifter, making sure they're fully immersed in the water, and the water level is at least 1 inch above the jars. Bring the water to a boil and process the jars for 10 minutes (or 15 minutes above 6,000 feet in elevation).
- After the 10 minutes have passed, turn off the heat and remove the canner lid. Let the jars sit in the hot water for five more minutes to cool a bit.
- Remove the jars from the canner using a jar lifter and place them on a towel to cool completely. As they cool, you may hear a popping sound, which means the lids have sealed properly. Don't touch or disturb the jars until they're completely cool.
- Label the jars with the contents and date, then store them in a cool, dry place away from sunlight.
Nutrition
Nutrition information is automatically calculated, so should only be used as an approximation.
Rhubarb Canning Recipes
Need a few more ways to put up a bumper crop of rhubarb?
