This post may contain affiliate links. Please see our disclosure policy.
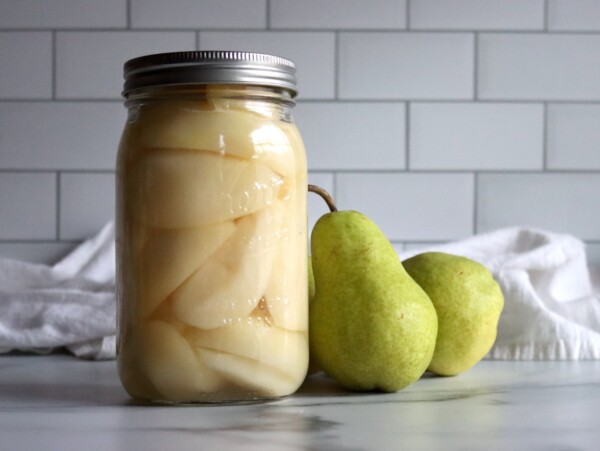
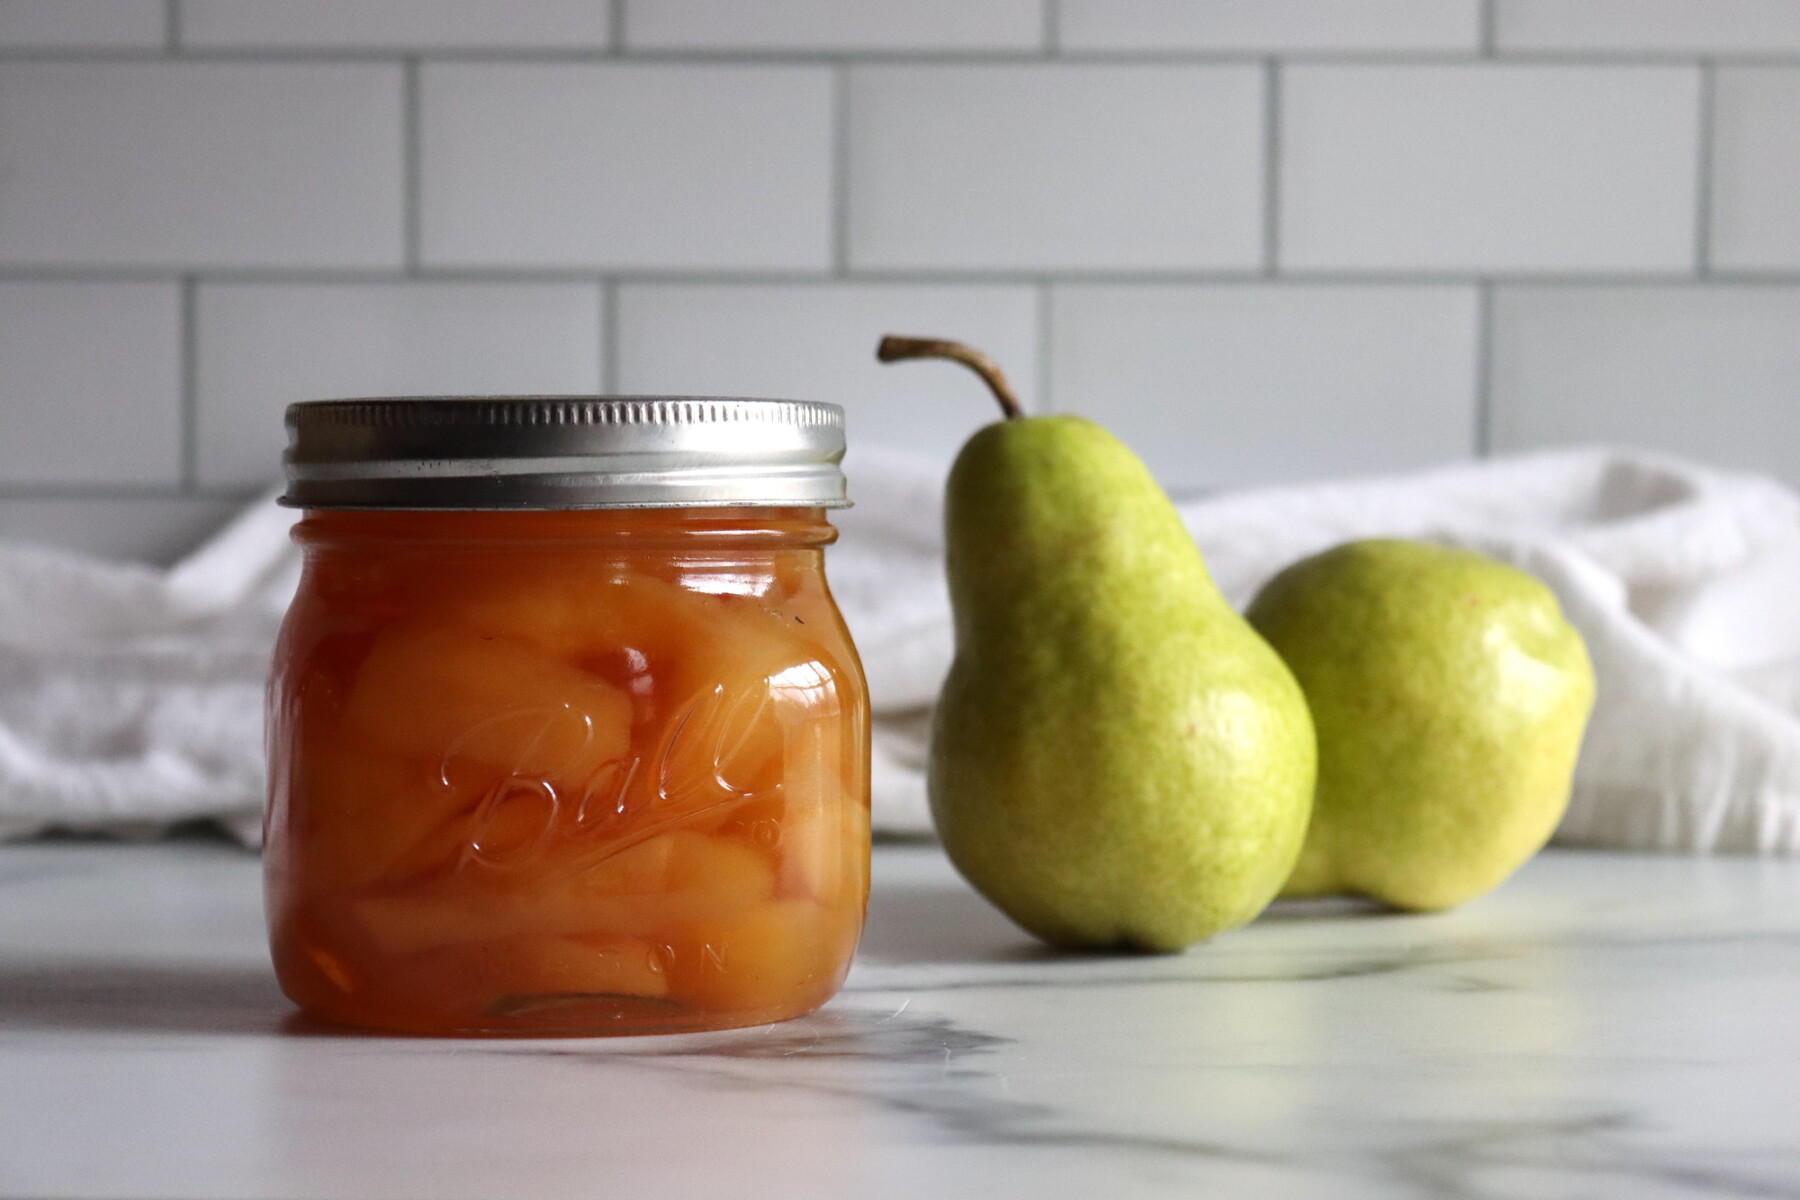
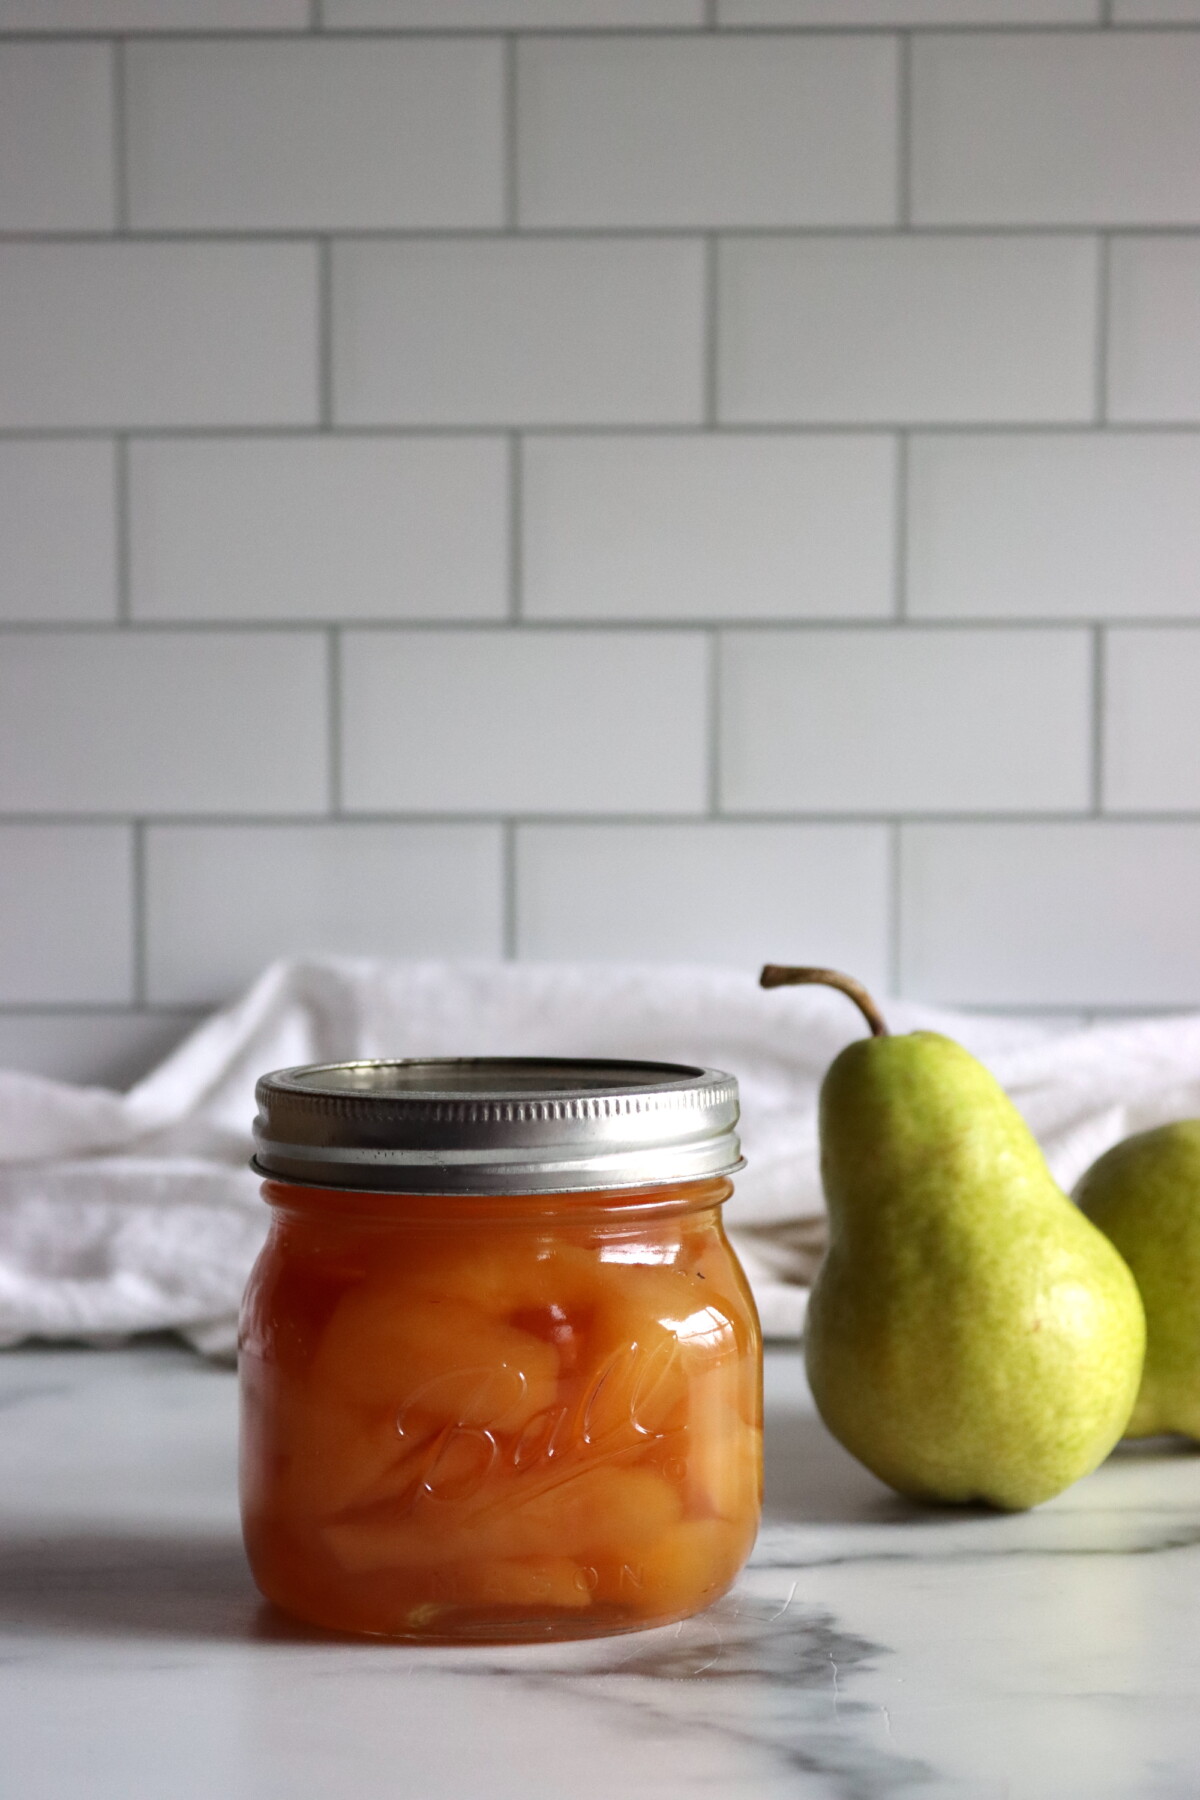
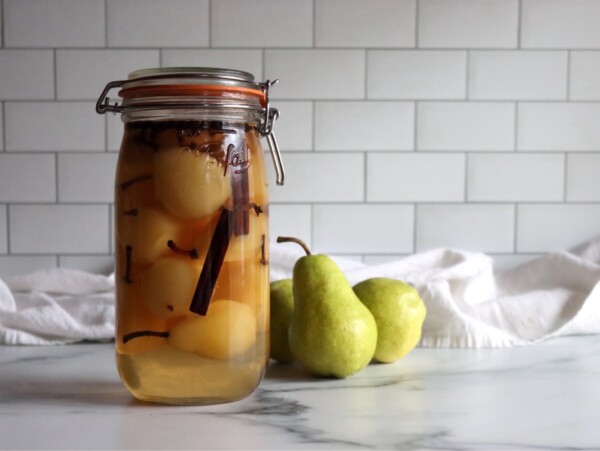
Pear preserves are a sweet slice of nostalgia, made the old-fashioned way with whole pieces of fruit suspended in a thick, sugary syrup. This traditional method of preservation dates back to before water bath canning and is still beloved for its simplicity, texture, and unmistakably comforting taste.
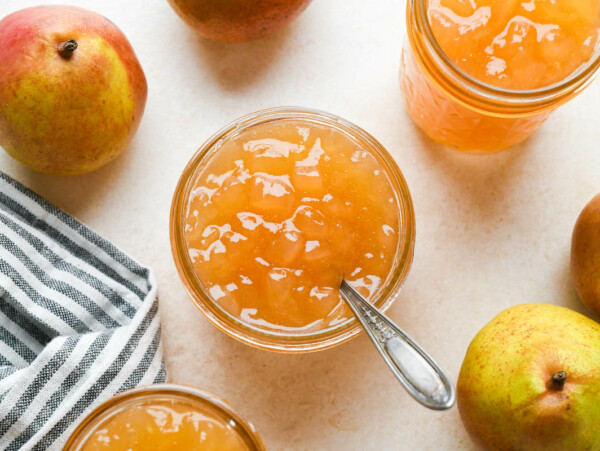
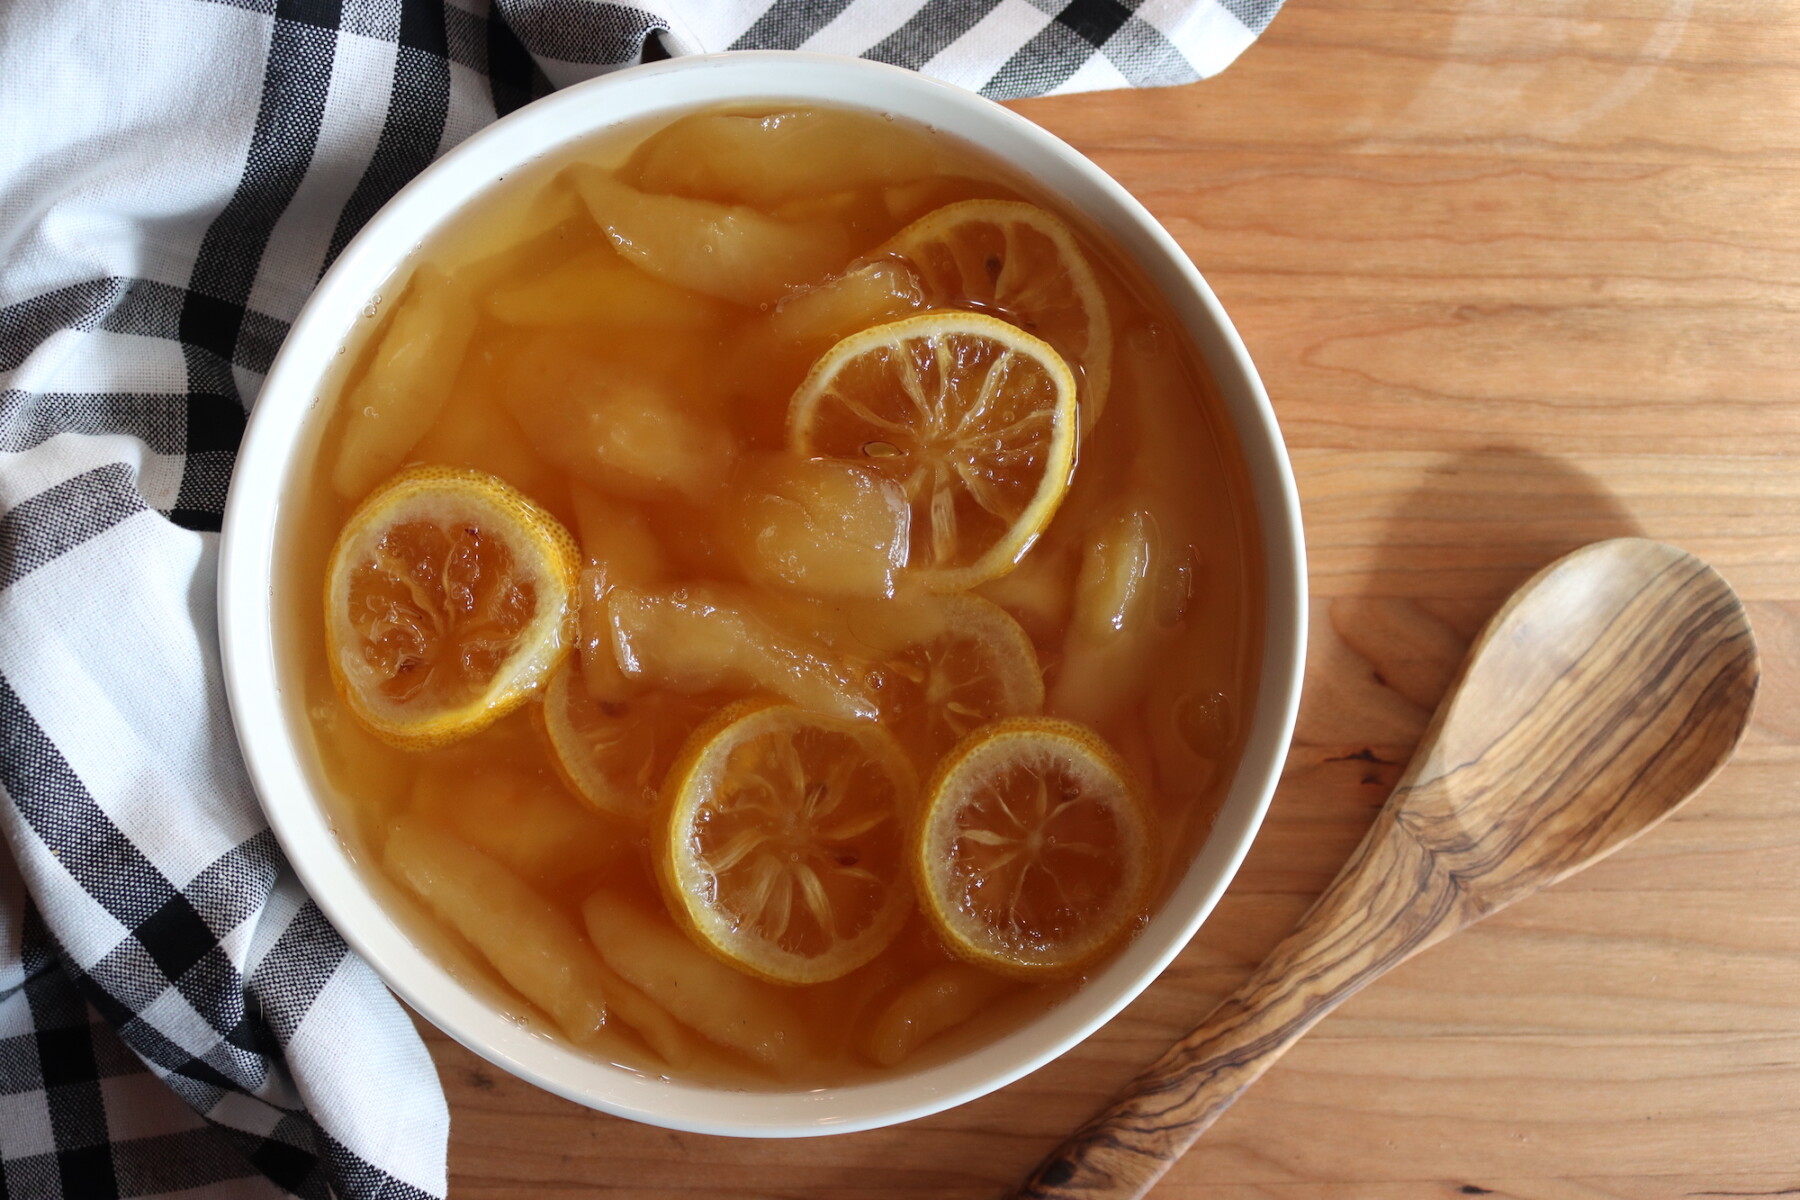
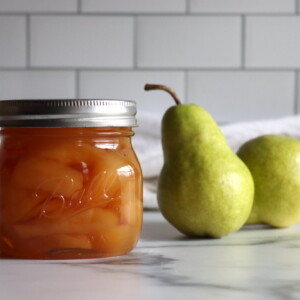
Pear preserves are not jam, and that’s a good thing. Unlike pear jam, which is made by cooking fruit until it breaks down into a smooth or chunky spread, preserves are all about keeping the fruit pieces whole and suspended in a thick, sugary syrup.
It’s a style of preserving that dates back to long before water bath canners, when sugar alone was used to keep food shelf-stable. This old-fashioned method still holds a place in many homestead kitchens today, not just for its nostalgia, but for its unique flavor and texture.
There’s really nothing like this old fashioned pear canning recipe, and it’s not something you’ll find at your modern supermarket.
This traditional pear preserves recipe comes from the National Center for Home Food Preservation (NCHFP) and uses just a handful of ingredients: pears, sugar, water, and a bit of lemon for brightness.
The secret is patience!
Cooking in stages allows the pears to absorb the syrup and become almost translucent, while avoiding case hardening (when fruit cooks in sugar too fast and becomes rubbery). The result is golden slices of pear with rich flavor and soft texture, perfect for spooning onto toast, pancakes, or even roasted meats.
While this method is safe for canning, it’s also perfectly fine to make pear preserves as a refrigerator or freezer preserve if you’d prefer not to can them. But if you do take the extra step, these sugary jars will last more than a year on the pantry shelf, and the flavor only improves with time.
A Quick Look at the Recipe
- Recipe Name: Pear Preserves
- Recipe Type: Traditional Fruit Preserve (Fruit in Thick Sugar Syrup)
- Canning Method: Waterbath Canning
- Prep/Cook Time: 1 hour prep, then overnight rest
- Canning Time: 10 Minutes (or 15 minutes above 6,000 feet)
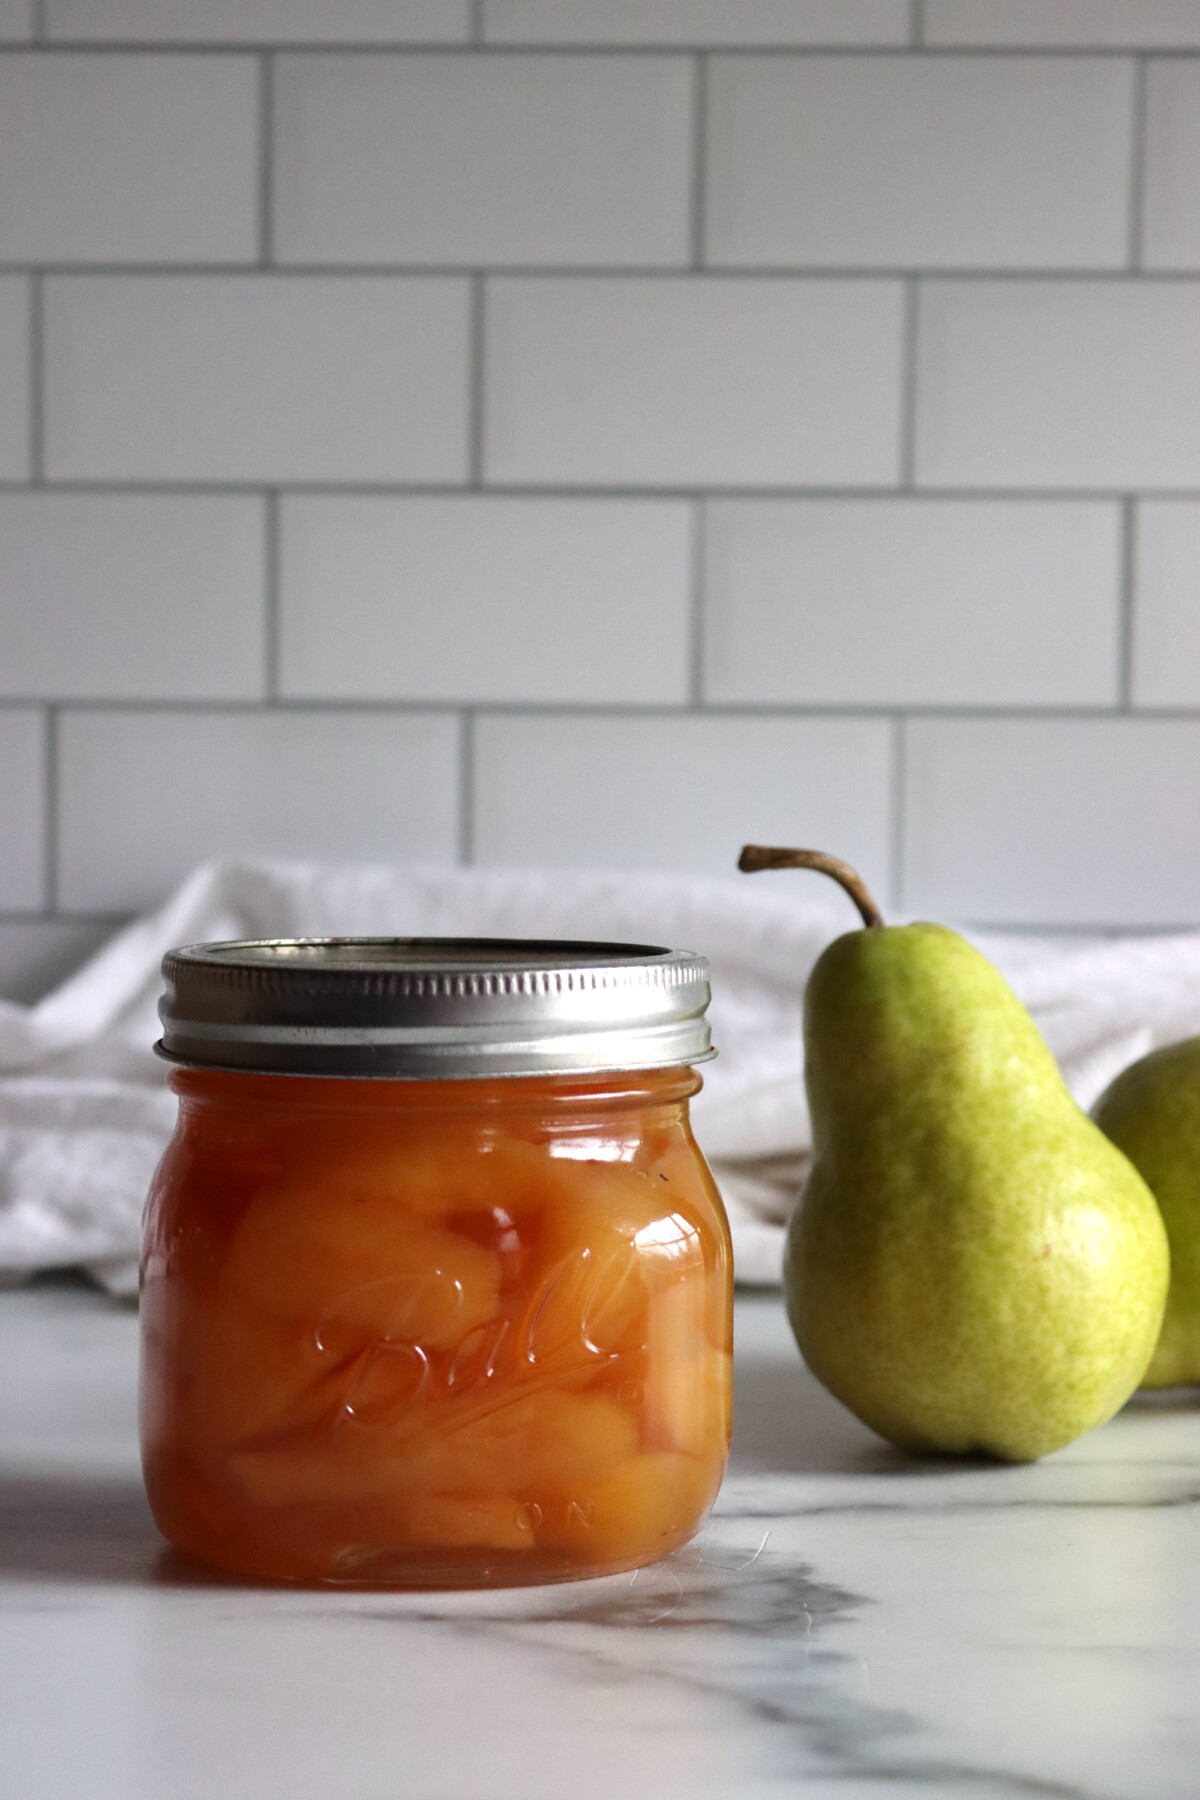
- Yield: 4 to 5 half pint jars
- Jar Sizes: Quarter Pint, Half Pint or Pint (see notes for quart jars)
- Headspace: 1/4 inch
- Ingredients Overview: Pears, Sugar and Lemon Slices
- Difficulty: Moderate. While this is a simple recipe, patience is key. Don’t add all the sugar at once, and make sure you let it sit overnight before canning.
- Similar Recipes: The process is very similar to making other old fashioned preserves, like traditional strawberry preserves.
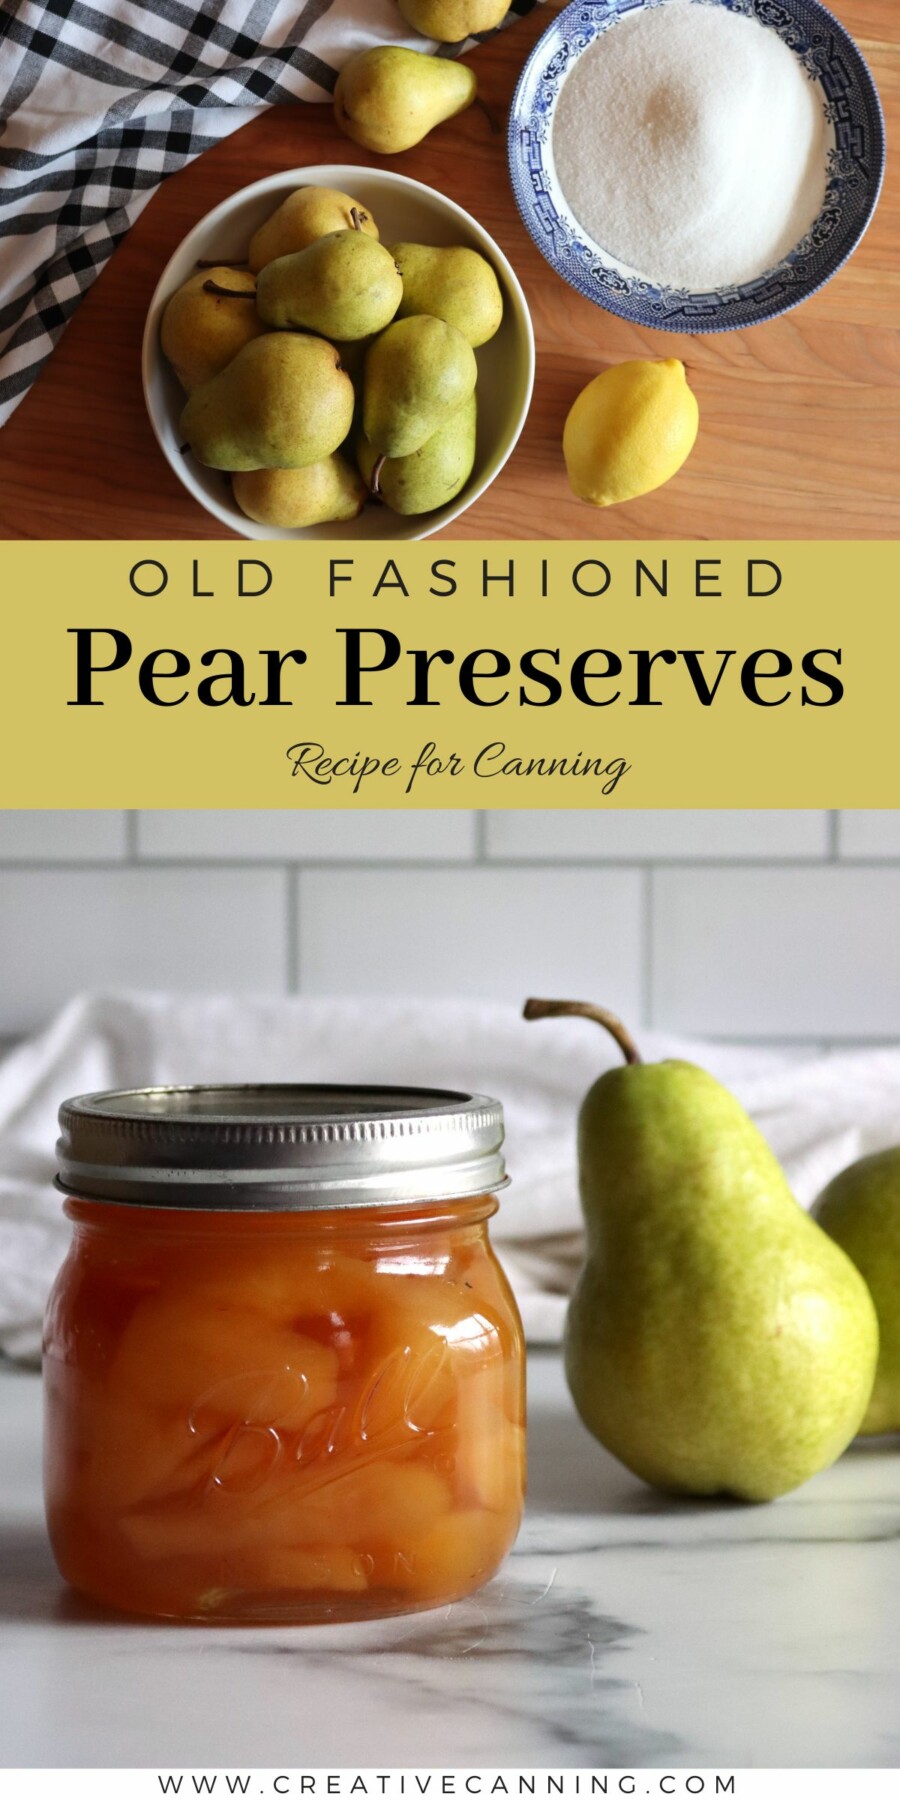
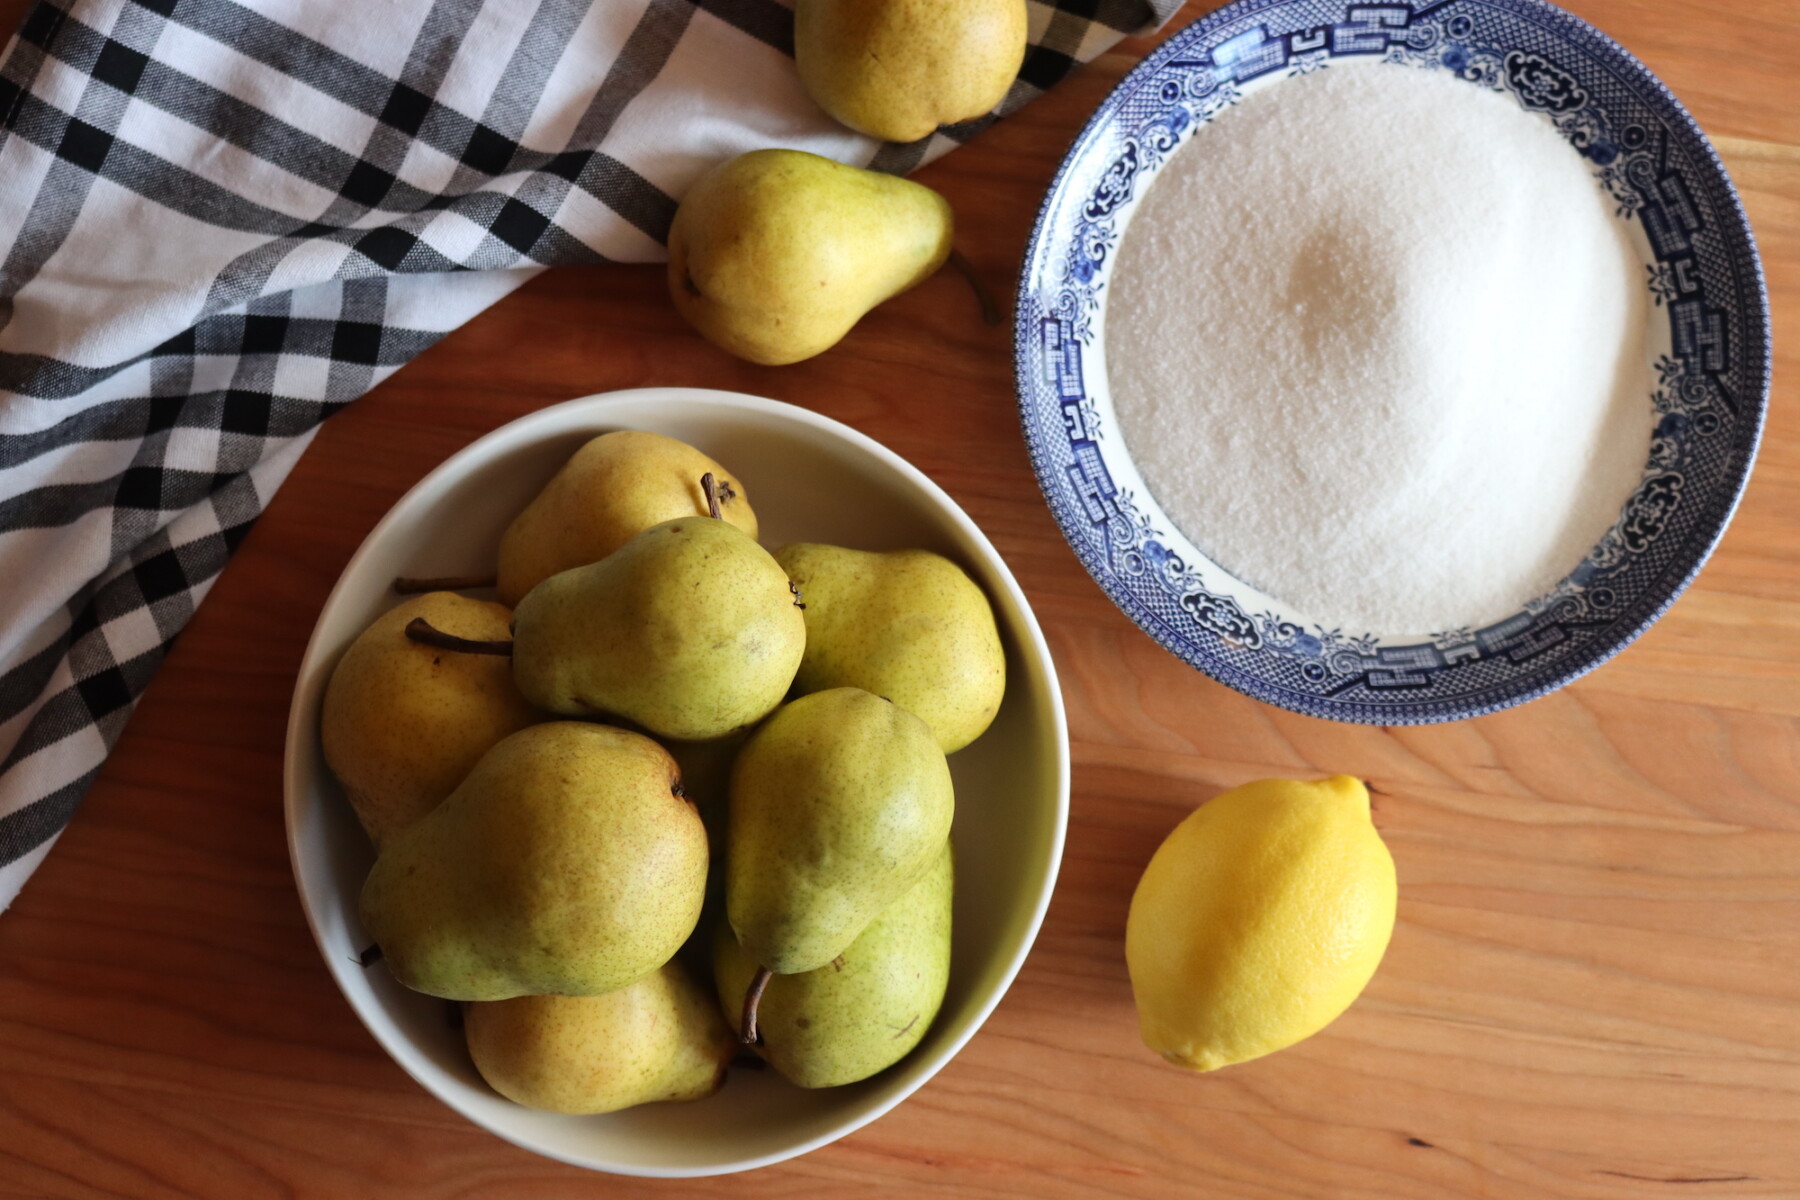
Ingredients for Pear Preserves
This recipe makes about 5 half-pint jars of pear preserves (or about 2 ½ pints).
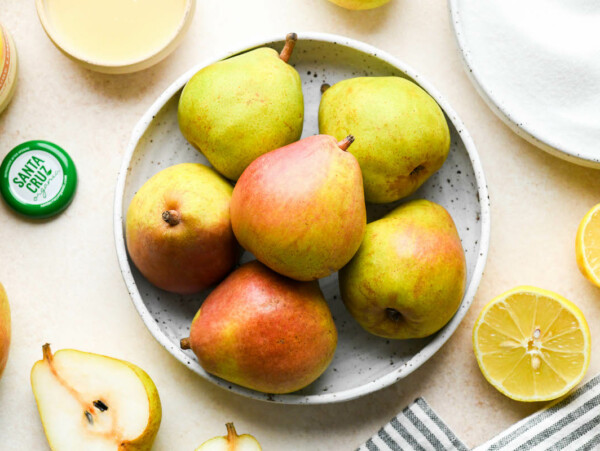
- 6 medium pears, hard-ripe (about 2 pounds), cored, peeled, and halved or quartered
- 2½ cups water
- 3 cups sugar, divided (1½ cups added at the start, 1½ cups added later)
- 1 lemon, thinly sliced and seeded
I know this seems like a lot of sugar, and it is. By modern standards, this is pretty absurd, but this is an old fashioned recipe. If you’re looking for something with less sugar, try making pear butter or pear sauce, both of which can be made without sugar if you have sweet ripe pears. (Or try pear pie filling, which is unique, and can be made with any amount of sugar.)
If you’re using very small pears, you can preserve them whole with the stems attached. Just peel the pears and wash the stems well.
That’s similar to the way they used to make pickled pears, which are another old fashioned treat. Pickled pears sounds strange, but fruit pickles nothing like modern cucumber pickles. They’re made with a mix of just a bit of vinegar and then an absolute boat load of sugar, so not sour at all.
Think of the vinegar like a bit of lemon juice to brighten, and they’re not all that different than pear preserves. Pickled pears are one of my favorite ways to put pears up, believe it or not, but I digress.
Brandied pears, similarly, are much like preserves, but with a bit less sugar and plenty of brandy and warm spices for incredible flavor.
And ginger, of course, is traditional in pear preserves, and you only need a small piece of fresh or about ½ to 1 tsp ground to infuse incredible flavor.
All three of those are lovely variations to try if you’re excited about pear preserves.
How to Make Pear Preserves
Don’t start preparing your waterbath canner yet, this is a two day recipe.
Wash, peel, core, and slice the pears into halves or quarters. You want firm, ripe pears. Too soft and they’ll fall apart, too hard and they won’t absorb the syrup well.
Really small pears, under about 2 inches in diameter, can be peeled and left whole with the stem attached. The seeds are fine in there, don’t worry. Whole pear preserves work really well in baked goods, like those dramatic pear loaf breads with a whole pear baked inside, and they’re also great in savory roast pork dishes.
In a large pot, combine 1½ cups of the sugar with 2½ cups of water and bring to a boil. (Note: That’s only half the sugar!) Let the syrup cook rapidly for 2 minutes to begin thickening. Carefully add the sliced pears and reduce to a gentle boil. Cook for 15 minutes, stirring occasionally to prevent sticking.
Next, add the remaining 1½ cups of sugar and the thinly sliced lemon. Stir gently until the sugar dissolves. Continue cooking at a steady boil for about 25 minutes, or until the pears turn translucent and the syrup thickens slightly.
Watch the mixture at this point, as it’ll foam rapidly as the syrup thickens. You may need to turn the heat down as it cooks.
Remove the pot from heat, cover, and allow the mixture to stand overnight or for 12 to 24 hours. Overnight, you can just leave it on the stove and pick back up in the morning. Longer than that, put it in the refrigerator.
This rest period helps the pears fully absorb the syrup and improves the final flavor and texture. Don’t skip it! Canning the pears before they’ve fully absorbed all the sugar can cause them to break apart.
In the morning, you’ll notice the pears have shrunk dramatically. They’ve taken on A LOT of sugar and that’ll change their flavor and texture. It’s what gives pear preserves their characteristic taste and bite.
Canning Pear Preserves
When you’re ready to can, prepare your jars and lids. Bring the fruit and syrup back to a boil.
Pack the pears carefully into jars, leaving ¼ inch of headspace. If the syrup still seems thin, cook it for another 3 to 5 minutes to thicken before ladling it over the fruit in the jars. Wipe rims, apply lids, and process in a boiling water bath canner for 10 minutes (or 15 minutes above 6,000 feet in elevation).
Pear preserve can be put up in quarter pints, half pints or pints. There are no tested times for quarts.
However, they’re not all the different than canned whole pears with a lot of sugar, so you could can them as you would when just canning pears, in which case the quart canning times are 25 minutes for quarts under 1,000 feet in elevation. If using quarts, be sure to adjust for altitude as you would when canning pears in syrup.
After canning, allow jars to sit undisturbed for 12–24 hours before checking seals. Store in a cool, dark pantry for up to 18 months.
Creative Canning Variations
Once you’ve mastered the basic recipe for old-fashioned pear preserves, there are countless ways to make it your own. These simple additions and substitutions can add depth, warmth, or unexpected brightness, perfect for customizing preserves to suit your pantry or the season.
- Mix in Other Fruit – Try combining pears with a handful of blueberries, cherries, or cranberries to add visual contrast and flavor variety. These additions make for a beautiful jar and an extra-special treat.
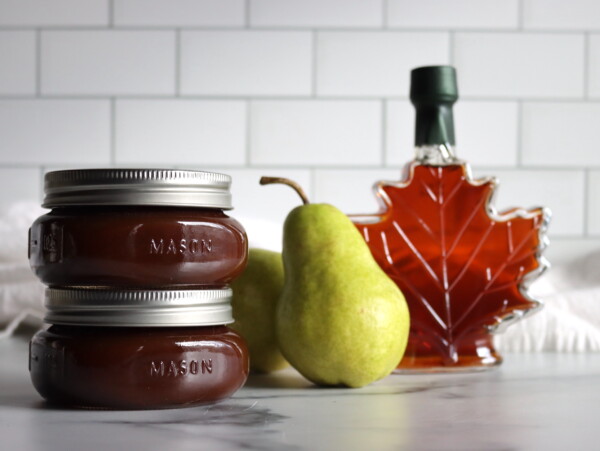
- Use Part Brown Sugar – Swap out half of the white sugar for light brown sugar to add a rich, caramel-like depth. It pairs beautifully with the natural sweetness of pears and adds a touch of molasses flavor. A pinch of salt will give you a salted caramel flavor in combination with brown sugar.
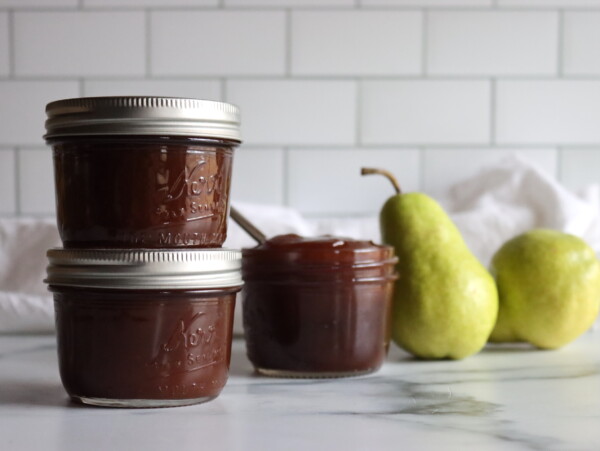
- Add Warm Spices – Try adding ½ teaspoon of ground ginger, cinnamon, or cardamom to the syrup for a spiced preserve that’s perfect for fall. A whole cinnamon stick or a slice of fresh ginger can also be simmered with the fruit for a more subtle infusion.
- Include Vanilla or Almond Extract – Stir in a teaspoon of vanilla extract or almond extract just before ladling preserves into jars for a delicate, aromatic twist.
- Add a Splash of Brandy or Bourbon – For a more decadent version, stir in 1 to 2 tablespoons of brandy or bourbon right before canning. It enhances the syrup’s complexity and is excellent for gifting or holiday spreads.
- Tuck in Sliced Crystallized Ginger – Add a thin slice of crystallized ginger to each jar before sealing to infuse gentle spice and sweetness as the preserves age.
Yield Notes
Two pounds of pears equals about 6 medium pears or 9 small pears. The number of jars you get will depend on the size and density of your pears, and how thick your final syrup is after cooking. Small pears will pack more densely and yield closer to 6 jars, while large wedges may only give 4 or 5.
If you have extra syrup, you can process that as well, without the pear pieces included. The canning times for pear syrup are the same as for preserves.
Recipe Tips
- Case hardening happens when fruit is exposed to too much sugar too early. That’s why this recipe splits the sugar addition into two steps.
- For best flavor, allow the preserves to age for 3 to 5 weeks in the pantry before opening. The flavor continues to develop as the syrup and fruit mellow together.
- You can add a piece of preserved ginger to each jar if you want to infuse a bit of warm spice.
- Don’t expect a jam like texture at the end of this process. Preserves are fruit in a dense sugar syrup.
Ways to Use Pear Preserves
Pear preserves are delicious spooned over buttered toast, biscuits, pancakes, or waffles. You can also use them as a topping for cheesecake, serve them alongside cheese boards, or pair them with roasted pork or chicken. Their thick syrup also makes a wonderful base for cocktails, tea sweeteners, or glaze for baked goods.
Pear Preserves FAQ
No. Pear preserves are whole or sliced pears suspended in a heavy sugar syrup, while pear jam is a cooked, mashed spread made with crushed fruit and sometimes pectin. Preserves have large distinct fruit pieces; jam does not.
Yes, that rest period allows the fruit to absorb the syrup fully. Skipping it results in pears that are bland and floating in overly sweet syrup.
You can reduce the sugar safely, since this recipe is preserved by canning rather than with sugar alone. That said, the definition of pear preserves is pears in sugar syrup. If you want reduced sugar, consider making pear jam or canning pears in light syrup or juice.
You want firm, ripe pears. Overripe ones will fall apart during cooking, and underripe pears may stay hard and not absorb the syrup properly.
Pear Canning Recipes
Traditional Pear Preserves
Equipment
Ingredients
- 2 pounds pears, peeled, cored, halved or quartered
- 2½ cups water
- 3 cups sugar, divided in half, see recipe
- 1 medium lemon, thinly sliced and seeded
Instructions
Day 1
- Prep the pears. Choose hard-ripe pears for best texture. Wash, peel, and core the pears. Cut into halves or quarters. Very small pears can be left whole with stems attached (peeled and cleaned).
- Make the initial syrup. In a large pot, combine half the sugar and all of the water. Note: Only use half the sugar at this point! Bring to a boil and cook rapidly for 2 minutes.
- Cook the pears. Add pears to the hot syrup. Reduce to a gentle boil and cook for 15 minutes, stirring occasionally.
- Add remaining ingredients. Stir in the remaining half of the sugar and the lemon slices. Continue boiling gently for about 25 minutes, until the pears become translucent and the syrup thickens. Watch for foaming and reduce heat slightly if needed.
- Let rest overnight. Remove from heat, cover the pot, and allow the preserves to sit for 12–24 hours. This helps the pears fully absorb the syrup. Leave on the stovetop overnight or refrigerate if storing longer than 12 hours.
Day 2
- The next day, prepare your canning equipment. Wash and sterilize jars, prepare two-part lids, and get your water bath canner ready.
- Bring the fruit and syrup back to a boil. Pack pears carefully into hot jars, leaving ¼ inch headspace. If the syrup is too thin, cook it an additional 3 to 5 minutes before adding to jars. Wipe rims, apply lids, and process half pints and pints in a boiling water bath canner for 10 minutes (or 15 minutes above 6,000 feet in elevation).
- After canning, allow jars to sit undisturbed for 12–24 hours before checking seals. Store in a cool, dark pantry for up to 18 months. (If not canning, simply pack into jars and store in the refrigerator or freezer.)
Notes
- Curing Period: For best flavor, allow to age 3–5 weeks before opening.
- Case Hardening: Avoid by not adding all the sugar at once. Cooking in stages helps pears absorb syrup without turning rubbery.
- Flavor Additions: A small piece of preserved ginger or ½ to 1 tsp ground ginger can be added for variation. You can also experiment with a touch of cinnamon or cardamom.
- Variations: Try brandied pear preserves (with less sugar and added brandy), or pickled pears with a splash of vinegar and warm spices.
- Texture: Don’t expect a jam-like texture—these are tender pieces of fruit in thick, sugary syrup.
Yield Notes
Two pounds of pears equals about 6 medium pears or 9 small pears. The number of jars you get will depend on the size and density of your pears, and how thick your final syrup is after cooking. Small pears will pack more densely and yield closer to 6 jars, while large wedges may only give 4 or 5.Altitude Adjustments
Water bath can both half-pints and pints:- 0–6,000 ft: 10 minutes
- Above 6,000 ft: 15 minutes
Nutrition
Nutrition information is automatically calculated, so should only be used as an approximation.
Find the perfect recipe
Searching for something else? Enter keywords to find the perfect recipe!