This post may contain affiliate links. Please see our disclosure policy.
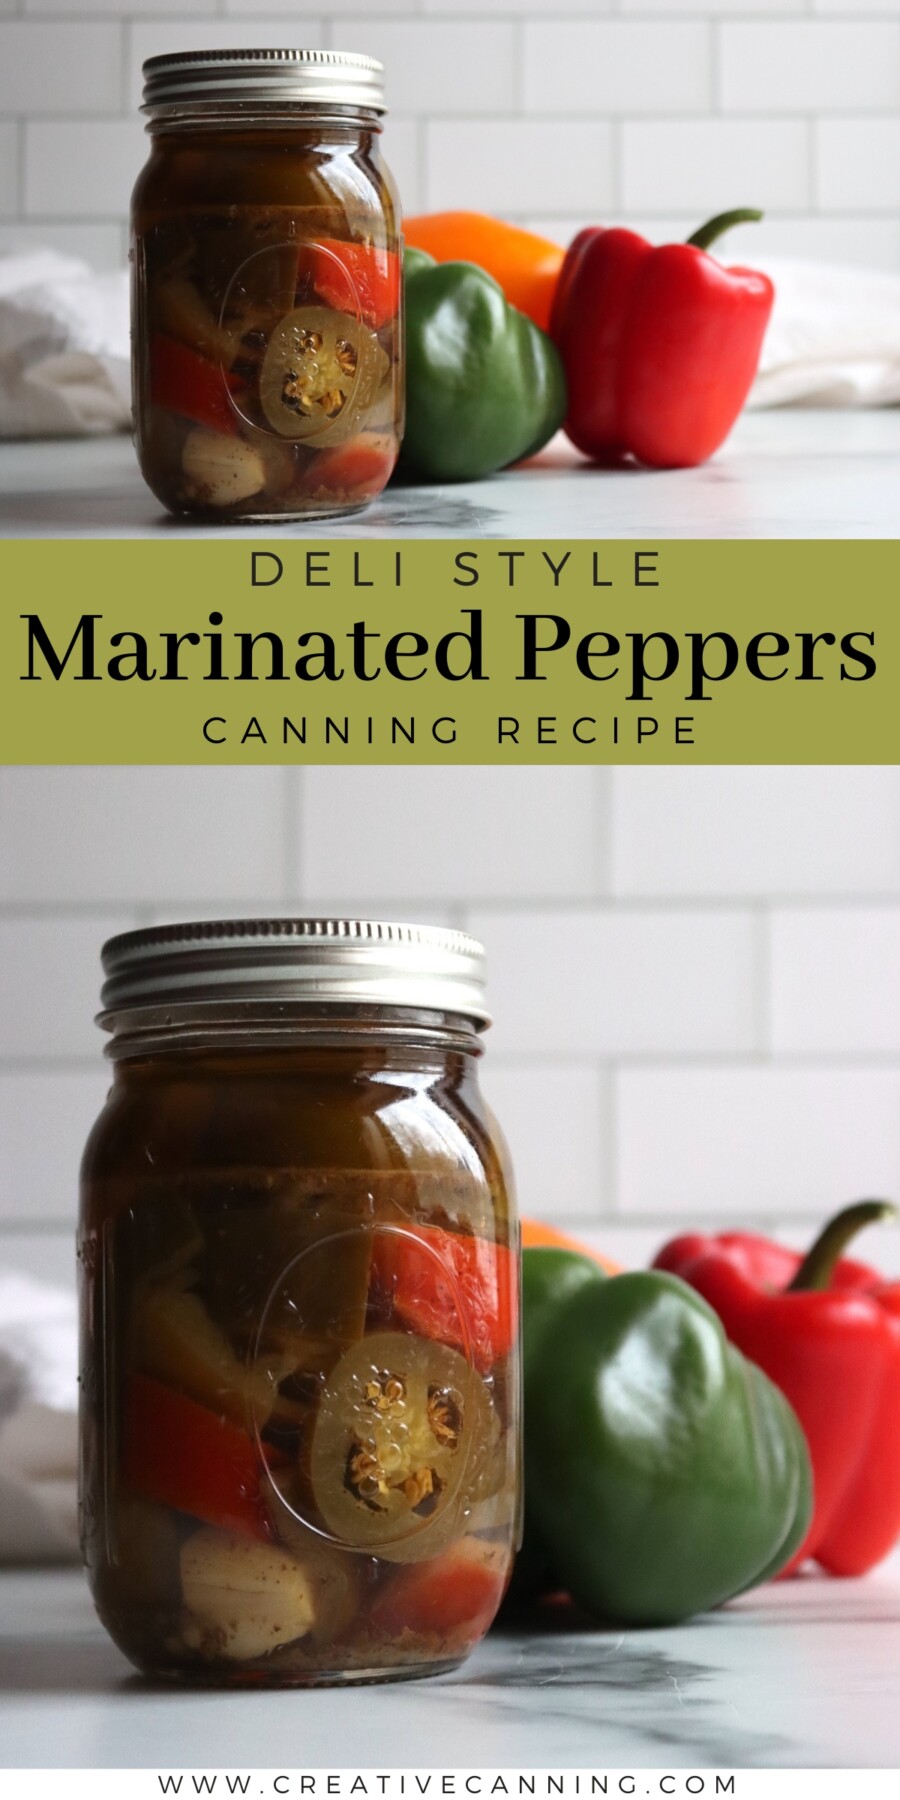
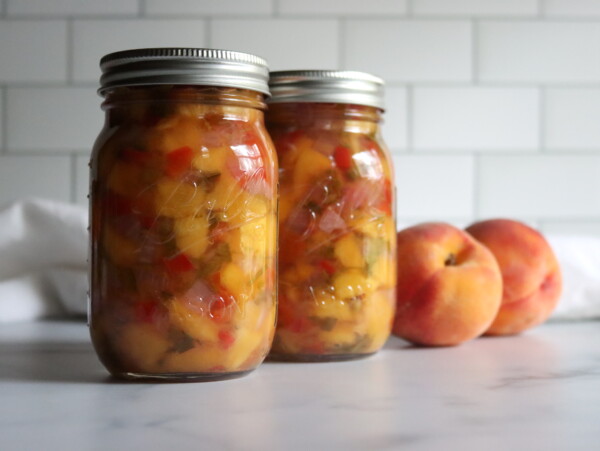
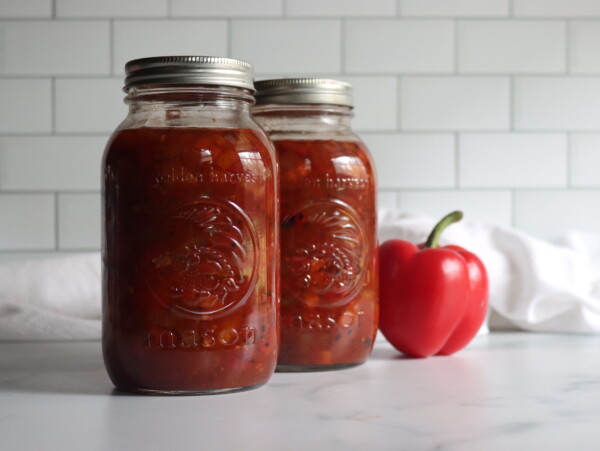
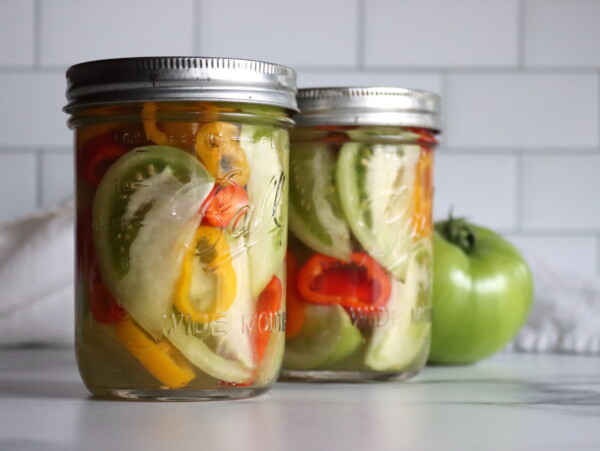
Canning marinated peppers is one of those pantry projects that pays you back all year. You do the prep once, and then you’ve got jars of glossy, tangy peppers in an herby oil-and-vinegar marinade ready for sandwiches, antipasto plates, tacos, pizza night, or a last-minute charcuterie board.

Table of Contents
Canning marinated peppers is one of the easiest ways to turn a pile of fresh peppers into jars you’ll actually reach for all year. They’re bright and tangy like classic pickled peppers, but the real magic is the marinade.
This is a tested National Center for Home Food Preservation (NCHFP) water bath canning recipe. I know, it seems odd to add olive oil to a canning recipe, but this very recipe is the one we made during the Master Food Preserver Certification course that I took with the Cornell University Extension.
Because it contains oil, it’s important to follow the ingredient ratios and directions exactly so the jars are both delicious and properly preserved.
The oil gives the finished peppers a richer, deli-style flavor that works with everything from sandwiches to pizza night, without feeling like “just another jar of vinegar pickles.”
Why you’ll love this tested canning recipe!

This is one of those jars I’m genuinely glad to see waiting in the pantry because it makes even a simple meal feel a little more “done.” The flavor is bright and tangy, but what really sets it apart is that it’s one of the few tested canning recipes that includes oil. That little bit of oil gives the marinade real richness, carries the oregano and onion flavor, and makes these taste like something you’d scoop from a deli case instead of just another straight vinegar pickled pepper.
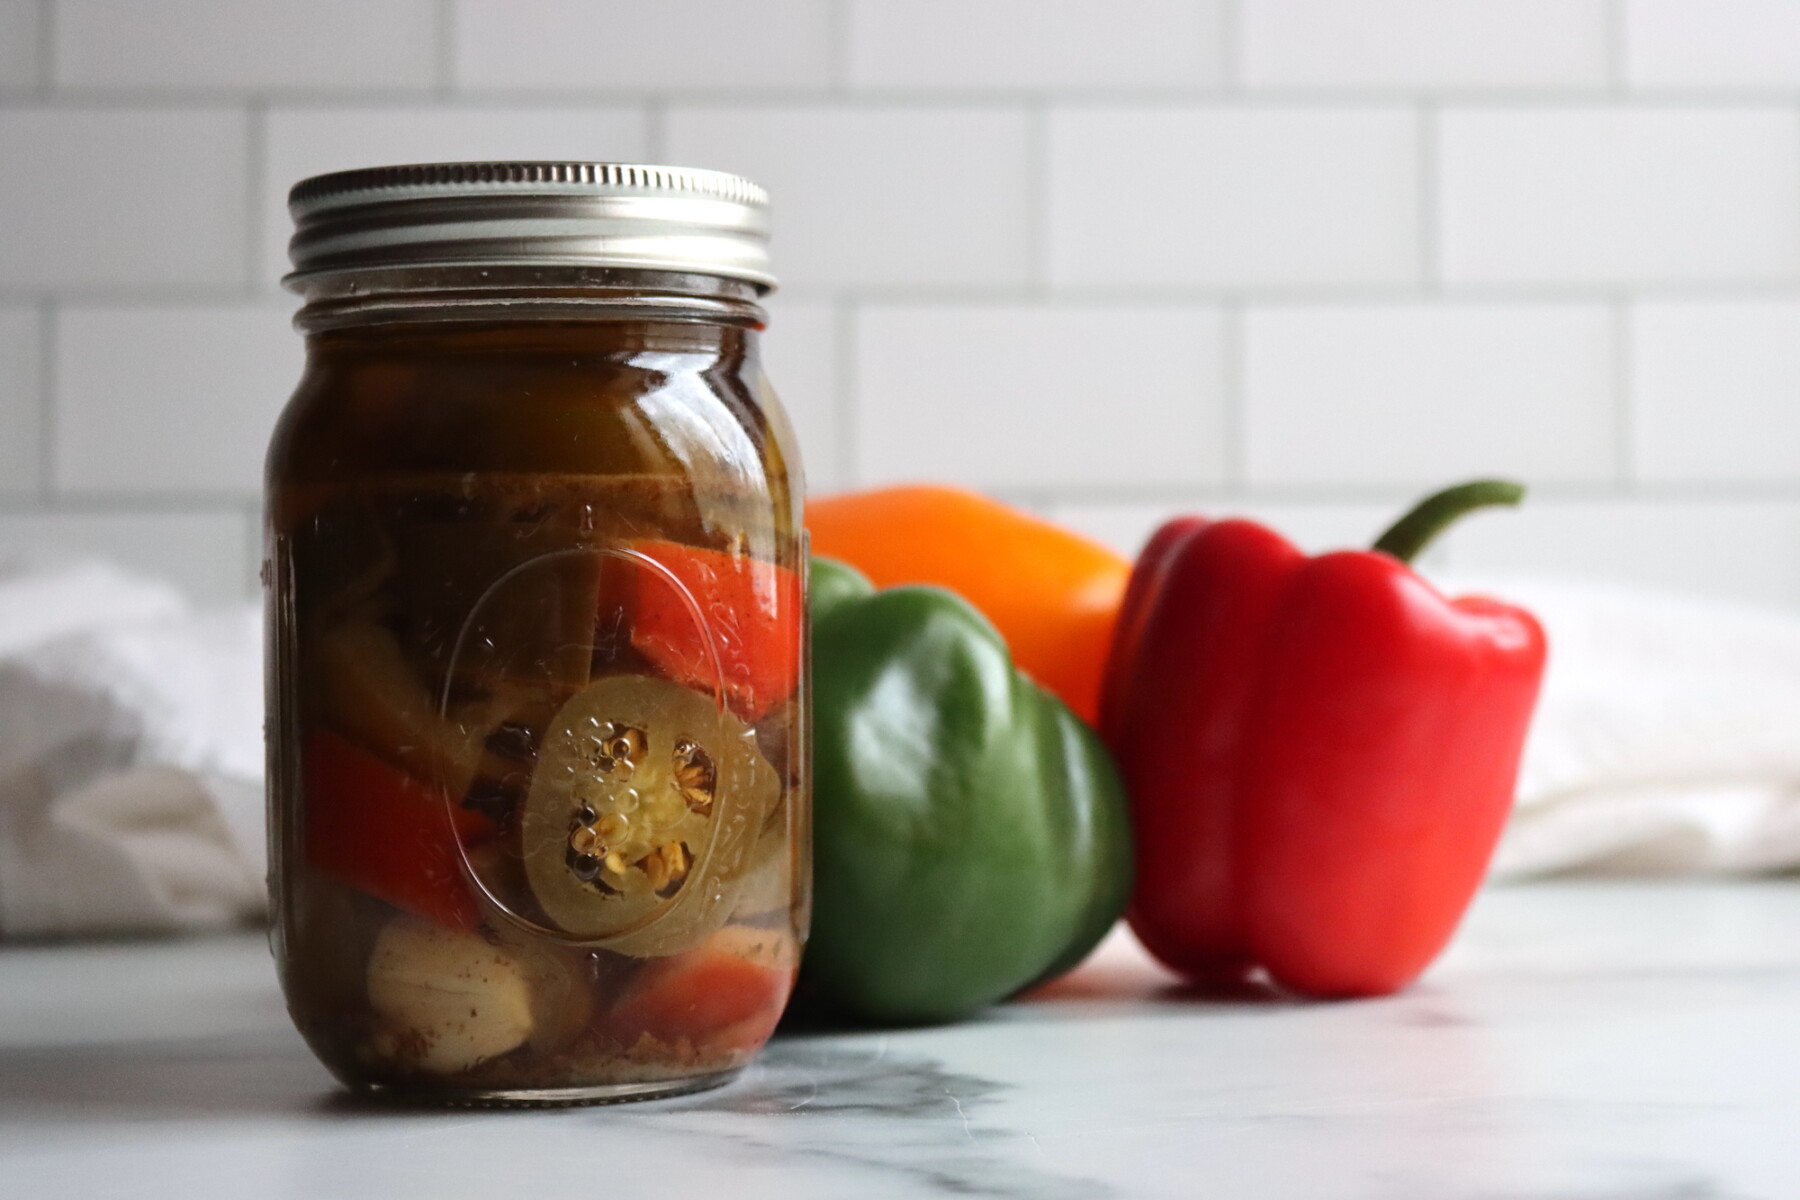
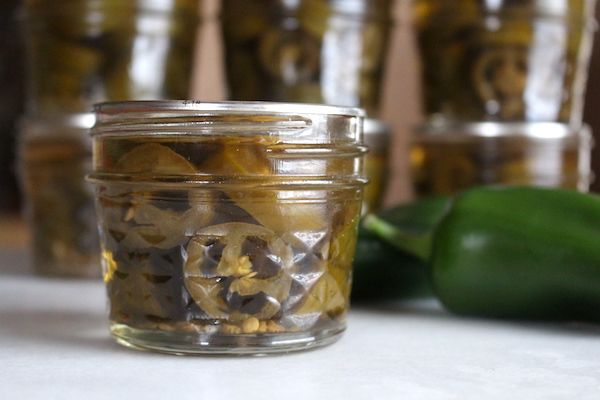
I also love it when the pepper harvest gets a little out of hand, because I can mix and match whatever I’ve got on the counter. If I’m using jalapeños, I’ll adjust the heat by blending in sweet peppers so everyone’s happy, and then I’m set for months. When I’m staring at a plain sandwich, a bowl of leftovers, or a rushed weeknight dinner, a forkful of these (and a tiny drizzle of that marinade) is all it takes to make the whole plate feel intentional.
A Quick Look at the Recipe
- Recipe Name: Marinated Peppers
- Recipe Type: Pickled Pepper Recipe
- Canning Method: Waterbath Canning
- Prep/Cook Time: 15 Minutes
- Canning Time: 15 Minutes
- Yield: 9 half pints, or 4 to 5 pints
- Jar Sizes: Quarter Pint, Half Pint or Pint
- Headspace: 1/2 inch
- Ingredients Overview: Peppers, Oil, Vinegar, Lemon Juice, and Spices.
- Safe Canning Recipe Source: University of Georgia Extension
- Difficulty: Easy! It’s a quick raw pack recipe.
- Similar Recipes: The process is very similar to making other pepper pickling recipes, like pickled banana peppers or pickled habanero peppers. It’s also quite similar to this marinated mushrooms canning recipe.
Ingredients for Marinated Peppers
Here’s what goes into the jars, with a few notes that matter for consistency and safety:
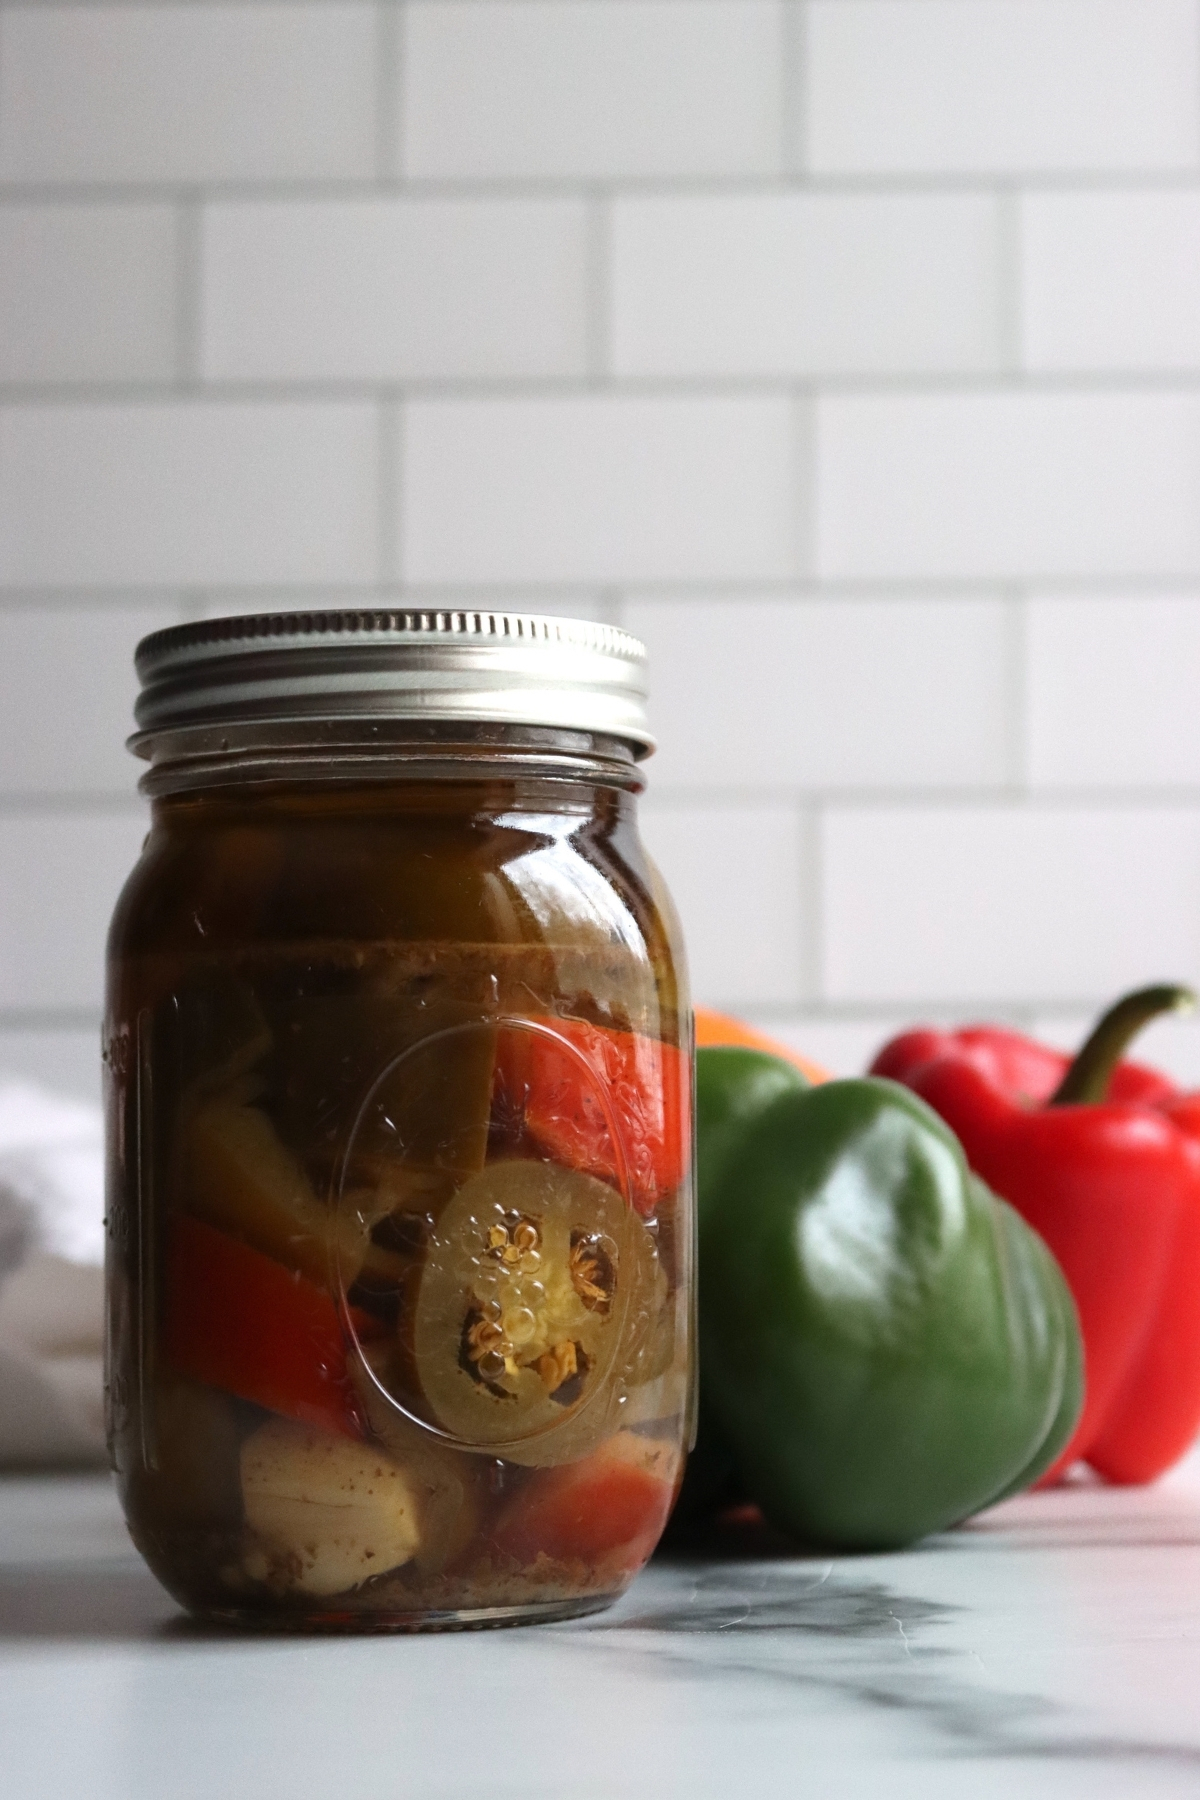
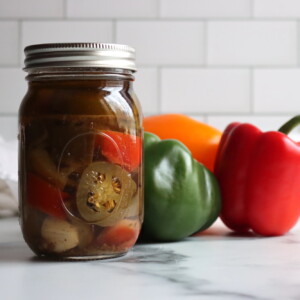
- Peppers (bell, Hungarian, banana, jalapeño, or a mix): The main ingredient, obviously, but the type you choose controls the final heat level and texture. Firm, fresh peppers hold their shape in the jar and stay pleasantly bitey instead of turning soft.
- Bottled lemon juice: Adds reliable acidity with a consistent pH, which is important for safety in a tested canning recipe. It also brightens the flavor so the finished peppers taste lively instead of flat.
- White vinegar (five percent acidity): The backbone of the pickling liquid. It provides the sharp tang you expect in marinated peppers and (along with the lemon juice) keeps the recipe safely acidic for water bath canning.
- Oregano leaves: Gives the jars that classic pizza-parlor, Italian-deli vibe. The flavor blooms in the hot pickling liquid and keeps developing as the jars sit on the shelf.
- Olive oil: Creates the “marinated” character, rounding out the sharpness of the vinegar and carrying the herb flavors. It also gives the peppers a richer mouthfeel, which is exactly what makes these so good on sandwiches and antipasto plates. The tested recipe says you can use olive oil or “salad oil” which is any vegetable oil, but olive oil tastes a lot better and it’s worth the splurge.
- Chopped onions: Adds savory sweetness and depth to the marinade. The onions soften slightly in the hot liquid and help the jars taste like something you’d find at a deli counter rather than a plain quick pickle.
- Garlic (optional): Adds a pungent, savory note that plays really well with the oregano and vinegar. It’s optional, but it’s a nice boost if you want more of that classic marinated-pepper flavor.
- Prepared horseradish (optional): Brings a gentle sinus-heat that’s different from chile heat. It makes the marinade taste sharper and more complex without necessarily making the peppers “hotter” in the jalapeño sense.
- Salt (added to each jar): Seasons the peppers all the way through and helps the flavor taste finished and balanced. It’s not there to preserve the recipe (the acid does that), but it makes a noticeable difference in how the peppers taste once they’ve mellowed in the jar.
Do not reduce the vinegar or lemon juice and don’t increase the oil. With marinated (oil-containing) recipes, those ratios are doing real preservation work.
You can use any type of pepper in this recipe, hot or sweet, just stick to the same total quantity.
All the seasonings are optional, and you can tweak them to suit your tastes with reasonable amounts of dry seasoning. For example, you can use dried basil or parsly in place of dried oregano. Just don’t add fresh spices, and if you choose to omit the horseradish, you can’t replace it with anything fresh or dried.
How to Make Marinated Peppers
Start by getting your boiling water canner heating and your jars ready, keeping the jars hot while you prep the peppers.
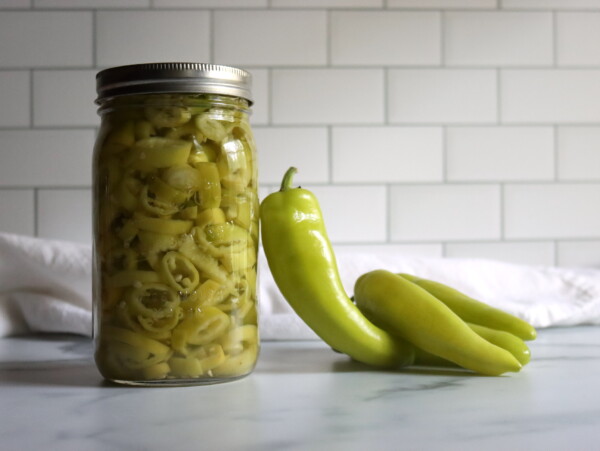
Wash the peppers well, then leave small peppers whole and quarter larger ones, slashing two to four small slits in each pepper so the pickling liquid can move in and out and you don’t end up with trapped air pockets. If you’re working with hot peppers, put on gloves and be mindful about touching your face.
For tougher-skinned hot peppers, it’s helpful to roast and peel them (but this is optional). Blanch briefly or blister the skins using a hot oven, broiler, or range-top method until the skins loosen, then let the peppers cool in a covered pan with a damp cloth to make peeling easier. Peel as needed and flatten whole peppers so they pack neatly into the jars.
Once the peppers are ready, combine the lemon juice, vinegar, oregano, oil, onions, and any optional horseradish in a saucepan and bring it to a boil, stirring well so the oil and liquids are thoroughly mixed.
Add salt to each jar and tuck in a small piece of garlic if you’re using it, then pack the peppers into the hot jars. Next, pour the hot, well-mixed pickling solution over the top, keeping 1/2 inch headspace.
Canning Marinated Peppers
Canning is optional, and you can simply store these jars in the refrigerator for up to a few weeks. Personally, I like canning because it allows me to store them on my pantry shelf until I need them.
Take a moment to remove any air bubbles and re-check that you still have 1/2 inch headspace. Wipe the rims carefully (especially important with oily recipes), and apply the lids and bands.
Process the jars in a boiling water canner for 15 minutes (adjusting for altitude, see below), then let the jars cool undisturbed until sealed before labeling and storing.
Altitude Adjustments
This is a simple waterbath canning recipe, but it’s important to adjust the processing time to altitude to ensure safe processing. The altitude adjustments are as follows:
- 0–1,000 ft: 15 minutes
- 1,001–3,000 ft: 20 minutes
- 3,001–6,000 ft: 20 minutes
- Above 6,000 ft: 25 minutes
This recipe is only tested in pint or half pint jars, and the canning times are the same for both jar sizes.
Serving Marinated Peppers
These marinated peppers are one of those jars that instantly makes a meal feel more finished. I use them anywhere I want bright, tangy flavor and a little extra richness from the oil, especially on sandwiches and wraps where they add zip without any extra effort. They’re also perfect on an antipasto or charcuterie board, tucked alongside cured meats, olives, and cheese, and I’ll often spoon a little of the marinade over the top for extra flavor.
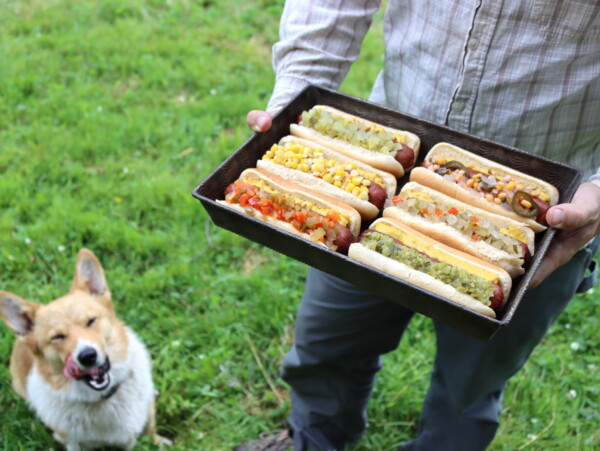
On busy nights, I’ll scatter them over pizza before baking or pile them onto sausages, burgers, and grilled meats the way you’d use peppers and onions from a deli counter. They’re great chopped into pasta salad, potato salad, or grain bowls, and if I’m making something simple like scrambled eggs or a rice-and-beans bowl, a spoonful on top turns it into something I actually look forward to eating. Because the oil and vinegar naturally separate in the jar, I always give it a quick gentle swirl before serving so you get a little of everything in each bite.
Marinated Peppers FAQs
For safety and to stay within the tested method, don’t swap the acids or change their amounts. You can use any type of vinegar, provided it’s standardized to 5% acidity. Both white and cider vinegar work well in this recipe, and you can even add in a bit of balsamic or white wine vinegar if it’s the correct acidity.
Fresh lemon juice can vary in acidity, and changing vinegar type/strength (or reducing either acid) can affect the recipe’s safety. Don’t substitute more vinegar in place of the lemon juice (as lemon juice is much more acidic than vinegar) and don’t use fresh lemon juice to ensure the proper finished acidity.
No. This tested recipe is only approved for half-pints and pints. Quarts are not recommended because the jar size changes heat penetration and would require a tested process time that isn’t provided for this product.
They’re technically ready once the jars have sealed and cooled, but for the best flavor, let them sit at least a week so the peppers absorb the marinade. They continue improving over the next few weeks.
Use firm, fresh peppers that will hold their texture after processing. This recipe works well with bell, Hungarian, banana, and jalapeño peppers. For heat level, use all jalapeños for hot, or blend jalapeños with sweet/mild peppers for a medium or mild jar.
For best quality, store sealed jars in a cool, dark place and use them within about one year. They may remain safe longer if properly processed and sealed, but flavor, color, and texture are best in that first year.
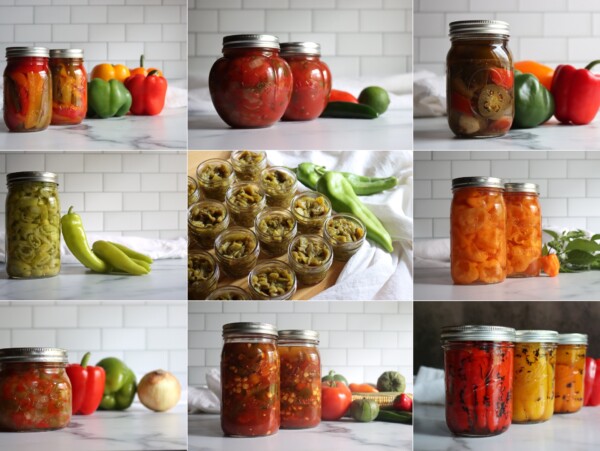
Pepper Canning Recipes
If you tried this Marinated Peppers Canning Recipe, or any other recipe on Creative Canning, leave a ⭐ star rating and let me know what you think in the 📝 comments below!
And make sure you stay in touch with me by following on social media!
Marinated Peppers
Equipment
Ingredients
- 4 lbs peppers, any firm fleshed type including bell, Hungarian, banana, jalapeño, or a mix
- 1 cup bottled lemon juice
- 2 cups white vinegar, 5 percent acidity
- 1 tbsp oregano leaves, dried
- 1 cup olive oil
- 1/2 cup onions, chopped
- 2 cloves garlic, quartered (optional)
- 2 tbsp prepared horseradish, optional
- Salt, 1/4 tsp per half-pint jar or 1/2 tsp per pint jar
Instructions
- Prepare boiling water canner, jars, and lids. Keep jars hot.
- Wash peppers. Leave small peppers whole and slash 2 to 4 slits in each small pepper to allow the marinade to reach the center. For large peppers, slice or quarter each pepper. Flatten whole peppers and pepper slices if cupped so they fit in the jars better.
- (Optional) For tough-skinned hot peppers, blanch briefly or blister skins (400°F oven or broiler 6–8 minutes, or on a wire-mesh-covered burner) until skins blister. Cool peppers. Cover with a damp cloth for several minutes, then peel as needed.
- In a saucepan, combine lemon juice, vinegar, oregano, oil, onions, and horseradish (if using). Heat to boiling, stirring well.
- Add salt to each jar (1/4 tsp per half-pint or 1/2 tsp per pint). If using garlic, add about 1/4 clove per half-pint (double for pints).
- Pack peppers into jars. Ladle hot, well-mixed pickling solution over peppers, leaving 1/2-inch headspace.
- Remove air bubbles, adjust headspace, wipe rims, and apply lids and bands fingertip tight.
- Process pint or half pint jars in a waterbath canner for 15 minutes, adjusting for altitude (see notes).
- Cool 12–24 hours, check seals, label, and store.
Notes
Altitude Adjustments
This is a simple waterbath canning recipe, but it’s important to adjust the processing time to altitude to ensure safe processing. The altitude adjustments are as follows:- 0–1,000 ft: 15 minutes
- 1,001–3,000 ft: 20 minutes
- 3,001–6,000 ft: 20 minutes
- Above 6,000 ft: 25 minutes
Nutrition
Nutrition information is automatically calculated, so should only be used as an approximation.
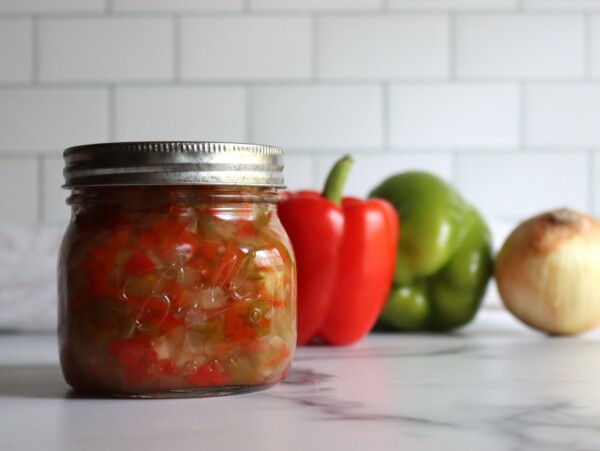
Pickling Recipes
Find the perfect recipe
Searching for something else? Enter keywords to find the perfect recipe!