This post may contain affiliate links. Please see our disclosure policy.
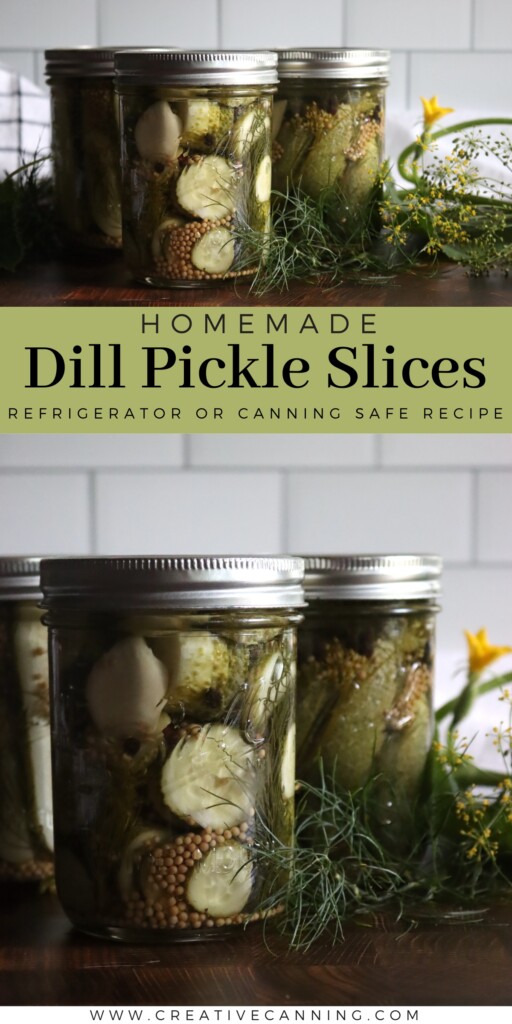
Classic dill pickle slices with garlic and spices come together quickly with no fancy prep. A quick, crunchy canning recipe for perfect sandwich pickles—from garden to jar in less than an hour.
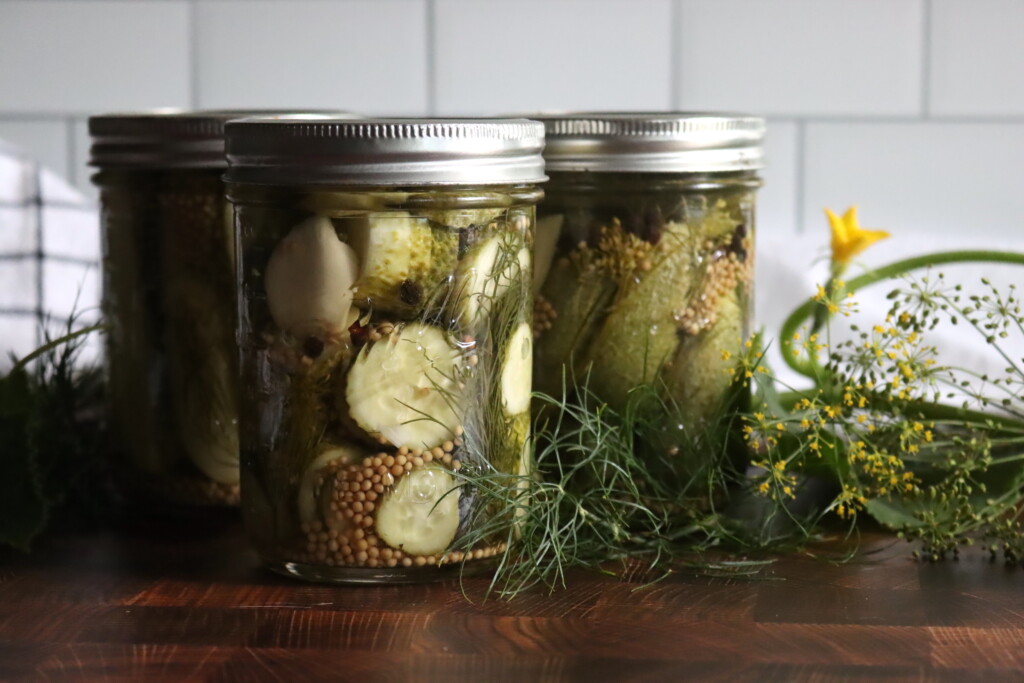
These no-sugar dill pickle slices are a throwback to old-school deli flavor—salty, tangy, crisp, and packed with herbs and garlic. There’s no fancy prep here: no soaking, no salting, no waiting. Just slice your cucumbers, pack your jars with garlic, dill, and spices, and pour in a brine. Process in a water bath canner and you’ve got classic dill sandwich pickles with a satisfying crunch and zero sweetness.
This is a great small-batch recipe if you want traditional dill pickle chips without the extra steps or sugar. These quick pickles are perfect for burgers, sandwiches, charcuterie boards, or eating straight from the jar. They’re shelf-stable, easy to customize, and taste better with each passing week.
Why You’ll Love It
- No sugar added: Classic sour dills with a bold, briny bite—no sweetness here.
- Quick prep: No soaking or pre-treatment, just slice, pack, and process.
- Sandwich-ready: Sliced pickle chips that are made to stack.
Ingredients for Dill Pickle Slices
This recipe makes about 5 pints of sliced dill pickles. The ingredients below are written per batch, but most of the spices are added by the teaspoon per jar.
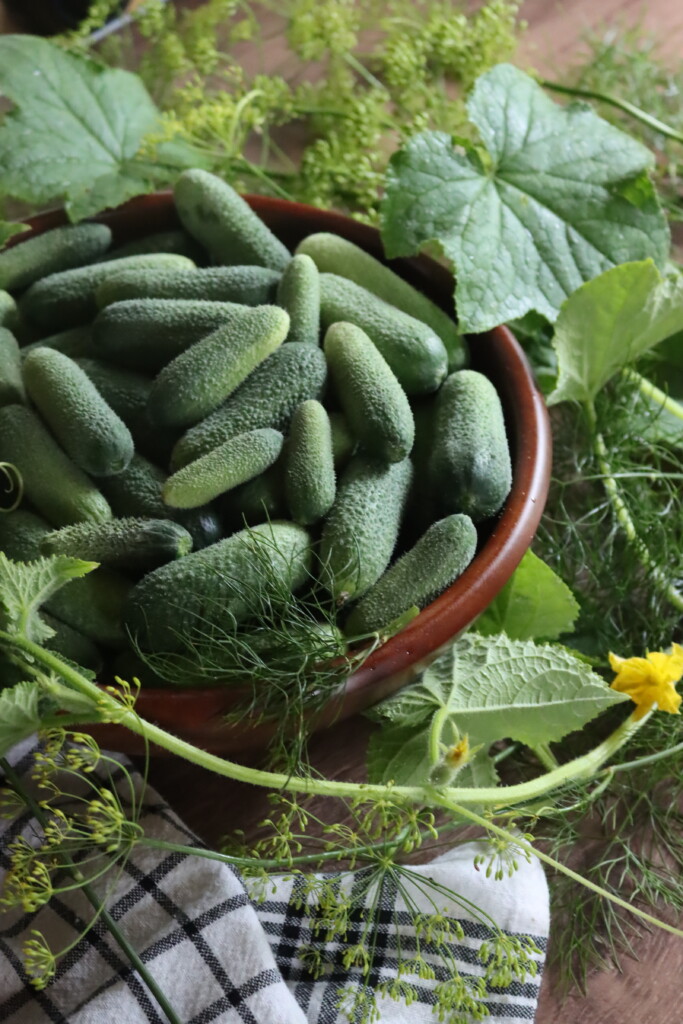
- Cucumbers: Use small, firm pickling cucumbers. Slice off both ends and cut into ½-inch thick rounds for dill chips. You can leave them whole or cut spears instead if you prefer.
- Water & Vinegar: The base of the brine. Use white or apple cider vinegar, but always make sure it’s 5% acidity. Never reduce the vinegar—this ensures safety for water bath canning. You can increase the vinegar slightly for a tangier pickle.
- Pickling Salt:Adds flavor and helps draw moisture from the cucumbers during canning, giving them a better texture and preventing a washed out flavor. Salt isn’t required for preservation, so you can adjust it to your taste. Use pickling or canning salt—table salt can cloud your brine or leave sediment.
- Garlic:One clove per pint adds a strong garlic bite. For extra garlicky pickles, toss in another clove or two.
- Fresh Dill Heads or Sprigs:Classic dill flavor comes from both the green fronds and dill seed. If you can’t find fresh dill, you can increase the dill seed to compensate.
- Mustard Seed, Dill Seed, Coriander Seed, Black Peppercorns (1 tsp each per pint): This mix brings warmth, depth, and complexity to the brine. You can adjust these to your liking without affecting safety.
- Pickle Crisp (optional, 1/8 tsp per pint): Helps maintain crunch after processing. Optional, but recommended if you want extra snap.
How to Make Dill Sandwich Pickles
Start your water bath canner and bring it to a boil—it needs to be ready when your jars are packed. While that heats up, prepare the brine: combine the vinegar, water, and salt in a saucepan. Bring it to a boil and stir until the salt is fully dissolved.
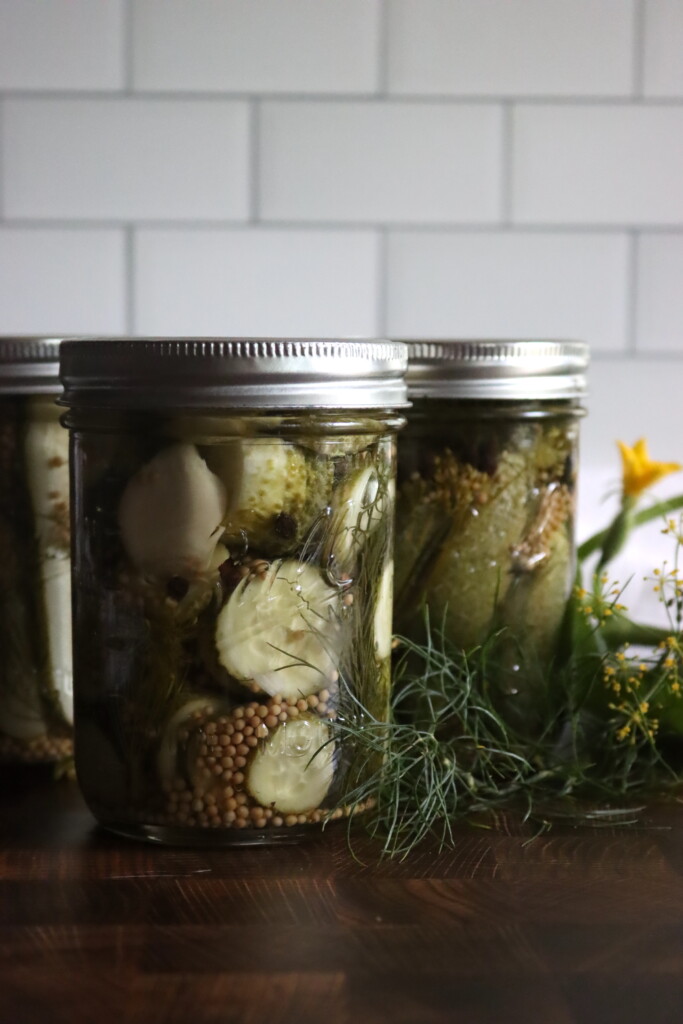
Wash your cucumbers and trim both ends. Slice into ½-inch rounds, or cut into spears if you prefer. In each sterilized wide-mouth pint jar, add 1 teaspoon each of mustard seed, dill seed, coriander seed, and black peppercorns. Add 1 sliced garlic clove and a fresh dill head or sprig. If using Pickle Crisp, add ⅛ teaspoon now.
Pack the cucumber slices tightly into each jar. Be sure to leave 1 inch of headspace above the pickles. Pour the hot brine into the jars, covering the cucumbers but leaving ½ inch of headspace at the top. Remove air bubbles with a knife or chopstick, and adjust the liquid if needed.
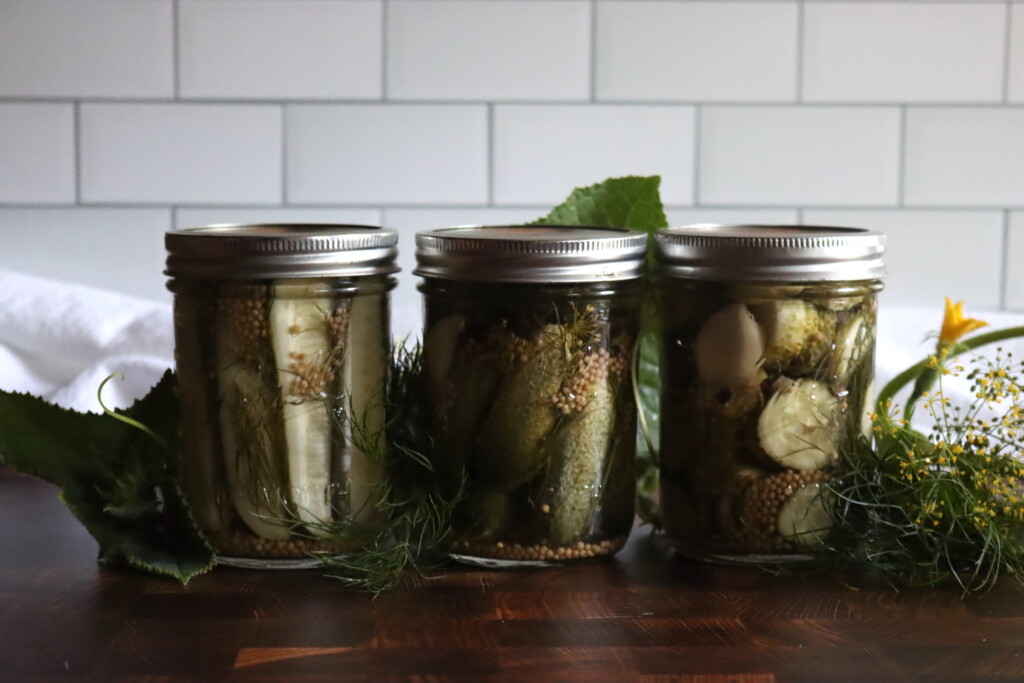
Wipe the rims, apply the lids and rings, and place the jars into your boiling water bath. Process for 10 minutes for pints or 15 minutes for quarts (see altitude adjustments below). Once processed, let the jars cool for 12–24 hours. Check the seals, label them, and store in a cool, dark place. These pickles are shelf-stable and ready to eat in about a week—but even better after 2–3.
Altitude Adjustments
Adjust your processing time based on elevation to ensure safety. I do not recommend canning these in quarts, as they do much better in smaller jars with a shorter processing time:
- 0 to 1,000 feet: Process pints for 10 minutes and quarts for 15 minutes.
- 1,001 to 6,000 feet: Process pints for 15 minutes and quarts for 20 minutes.
- Above 6,000 feet: Process pints for 20 minutes and quarts for 25 minutes.

Dill Pickle Slices
Equipment
Ingredients
- 5 lbs pickling cucumbers, small, 3 to 4 inches each
- 4 cups water
- 4 cups cider or white vinegar, 5% acidity
- ½ cup pickling salt
- 5 cloves garlic, sliced
- 5 fresh dill heads or sprigs, 1 per pint
- 5 tsp mustard seeds, 1 tsp per pint
- 5 tsp dill seeds, 1 tsp per pint
- 5 tsp coriander seeds, 1 tsp per pint
- 5 tsp black peppercorns, 1 tsp per pint
- ⅝ tsp Pickle Crisp, optional, ⅛ tsp per pint
Instructions
- Prepare brine: Bring vinegar, water, and salt to a boil, stirring to dissolve the salt.
- Prep cucumbers: Wash well, trim ends, and slice into ½-inch rounds.
- Fill jars: In each pint jar, add 1 tsp each of mustard, dill, coriander, and peppercorns. Add garlic, dill, and Pickle Crisp if using. Pack with cucumbers, leaving 1 inch headspace.
- Add brine: Cover cucumbers with hot brine, leaving ½ inch headspace. Remove air bubbles and adjust brine as needed.
- Process: Wipe rims, apply lids, and process in boiling water bath for 10 minutes (pints). Adjust for altitude.
- Cool & store: Let cool 12–24 hours. Check seals, label, and store. Best after 1–2 weeks.
Notes
Altitude Adjustments
Adjust your processing time based on elevation to ensure safety:- 0 to 1,000 feet: Process pints for 10 minutes and quarts for 15 minutes.
- 1,001 to 6,000 feet: Process pints for 15 minutes and quarts for 20 minutes.
- Above 6,000 feet: Process pints for 20 minutes and quarts for 25 minutes.
Nutrition
Nutrition information is automatically calculated, so should only be used as an approximation.

Quick and easy way to get those classic dill hamburger slices. The recipe is written specifically for this cut, and it’s nice not to have to adapt a whole cucumber recipe to slices. Great flavor too!